The back story:
There is nothing more rewarding than crawling into a deliciously cozy bed after working all day. Those first few minutes of stretching out between clean cool sheets, your head cradled by a perfect pillow….devices off, darkness surrounding, and the tiredness of the day overcoming you faster than you can ward it off.
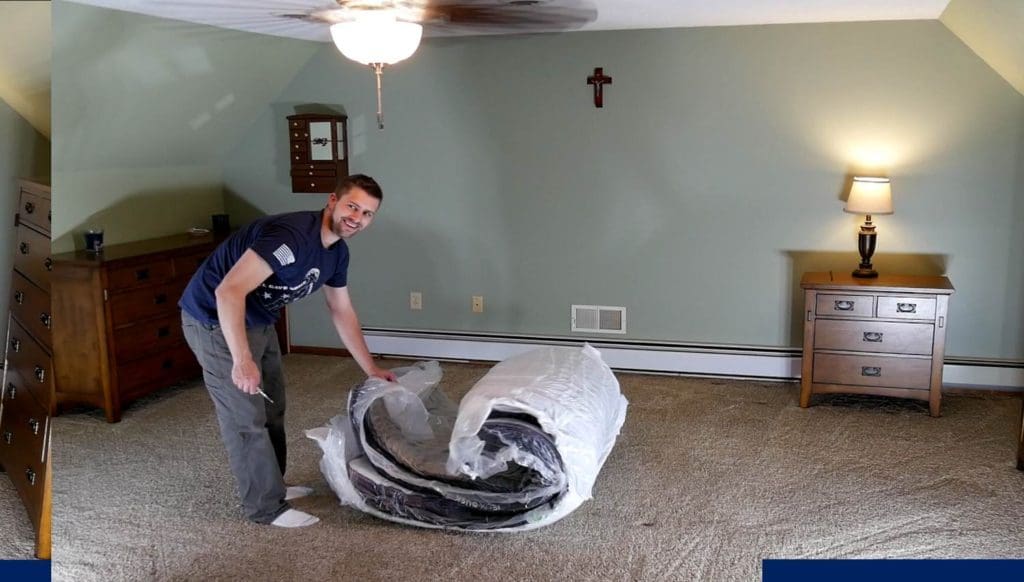
Sound familiar? How about adding in a little tossing and turning, maybe some grumbling about an uncomfortable mattress? Yeah, that was me too. Until a few months ago anyway, when Helix mattress partnered up with us and caught our interest in their products.
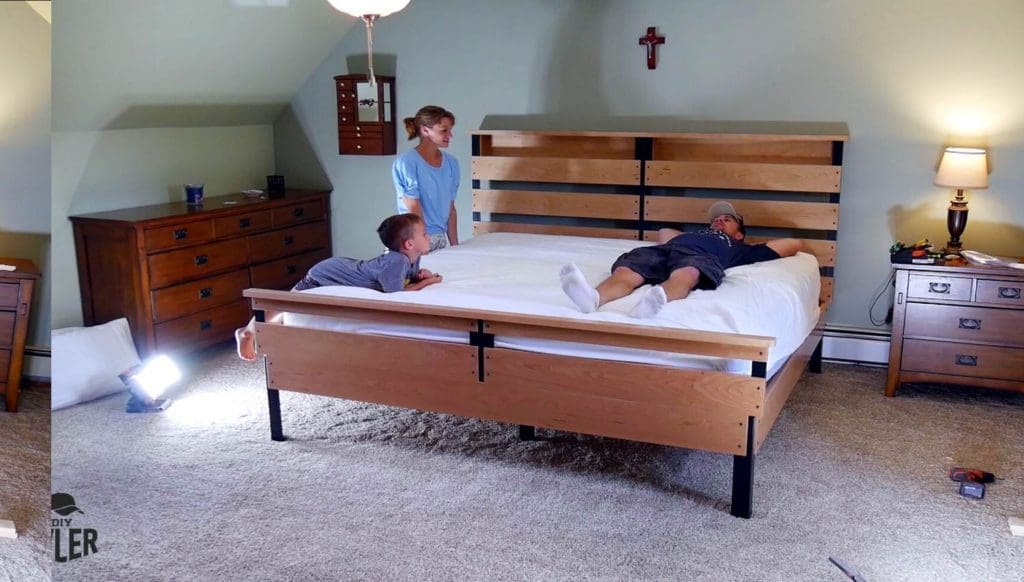
My wife and I decided on a King size, just because our bedroom is big enough for one. Anyway, a little extra sprawling area isn’t such a bad thing, especially when the kids come in. (Parents, you know how much room these little people take up!)
The mattress arrived in a timely manner, factory rolled and decently packed into a very heavy rectangular box. We hoisted it upstairs and hoped against hope that once opened, we’d LIKE the thing. I mean, as soon as we slit that plastic, the mattress sprang out in four ways and puffed up to a solid 14 inches! The kids thought that part was pretty great. (It really was!)
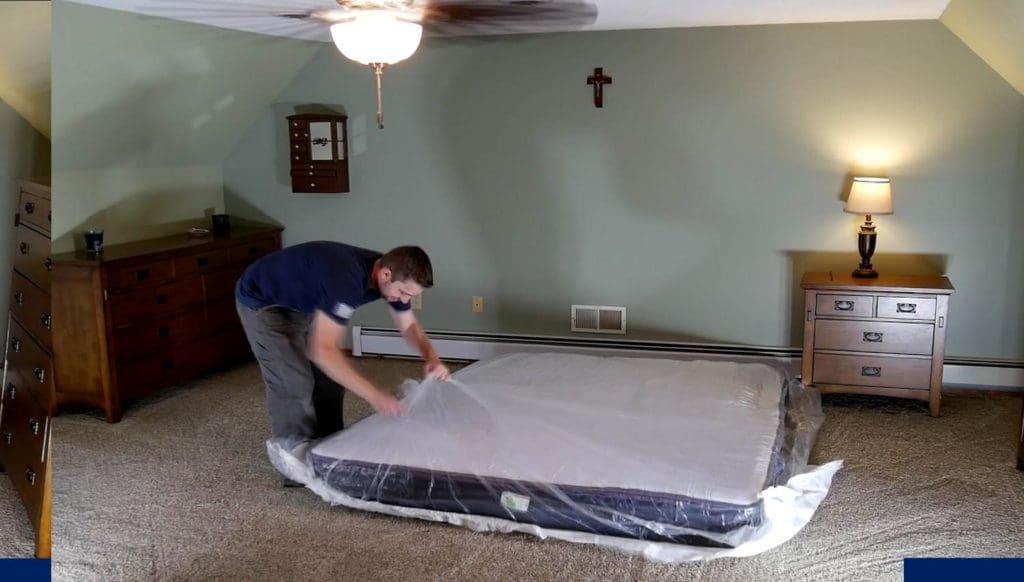
It’s been perfect though, this Helix mattress. The wife and I have slept very comfortably, and have experienced no crooks and creaks in the ole back since bringing it into our life. The thing that fascinates me on a daily basis is that, it doesn’t move! I mean, my wife can get out of bed, back into it, roll over or jump on it and there is no transfer of movement. Pretty cool, right? The Helix cooling pillows have been very nice too, so now that this whole sleeping upgrade was a success, it was time to build a frame for this thing.
If you are in the market for a new mattress we highly recommend you check out Helix Sleep, you will not be disappointing! You can thanks us later by email, DIYTyler@gmail.com !
Game plan:
We decided on a modern rustic wood/metal combo, in part for the aesthetics, and in part to keep the frame as sturdy but light as possible.
Cherry was our wood of choice, for it’s natural beauty and the ongoing fascination of how it will change with time. In a few years it will darken to match our other pieces of furniture upstairs! We incorporated a simple headboard shelf, too, which is perfect to slide your watch or phone into before dozing off to sleep.
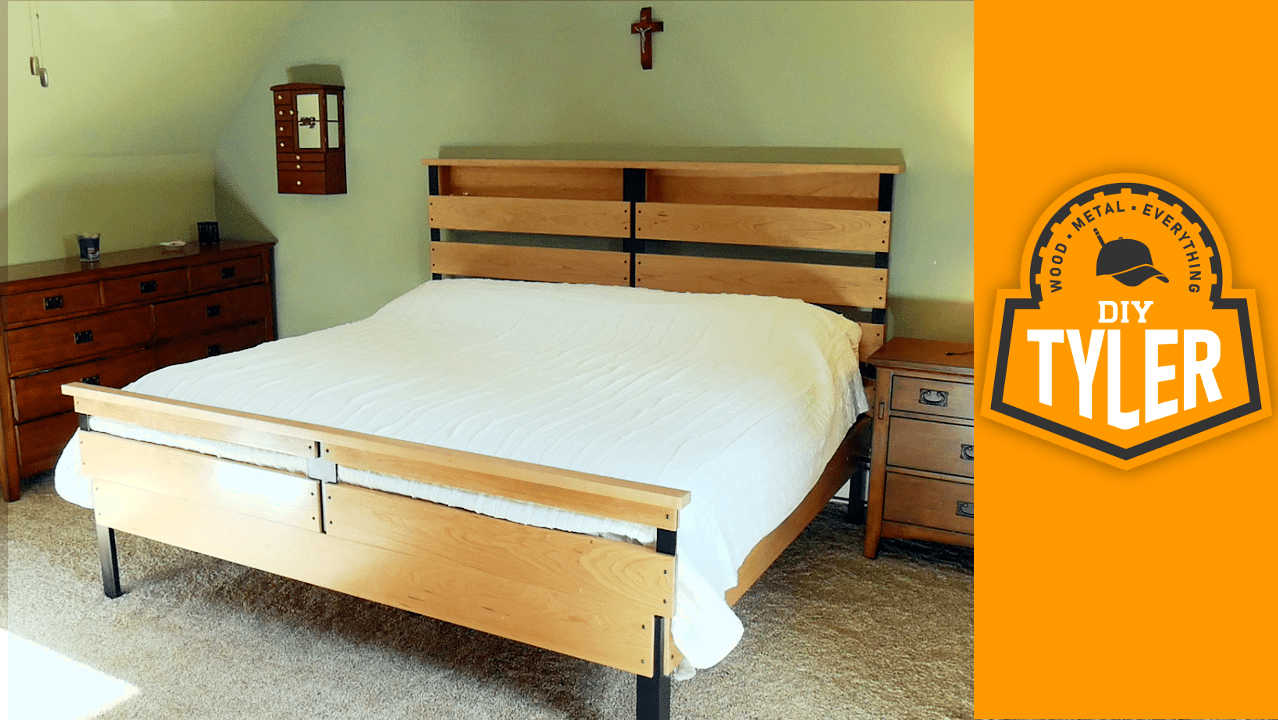
Fit for a king, or is it not?

(Please never mind the lack of pillows! We’re discussing the beautiful frame here, not the foof on top.)
Outline:
The outline of this project is going to be: Cutting our lumber to rough length, Milling down the stock, gluing UP the stock (because I needed more thickness), then milling down the stock again for the final thickness. Sanding, mortising, routing, then we will pause somewhere in there for the metal work before finishing and assembly. If you think that was long winded, it was. It’s taken me a solid 3 months to complete this project!
I have made plans available for this beautiful bed, so my aim right now is to simply supply you with a few visuals and a basic commentary. All the details can be found in the build video or the downloadable PDF plans.
Let’s get started!
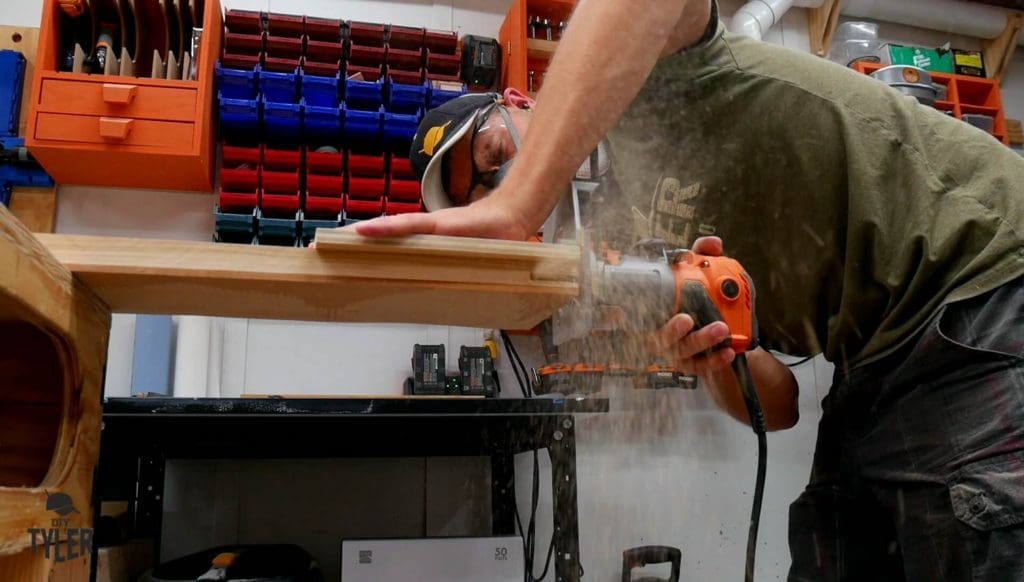
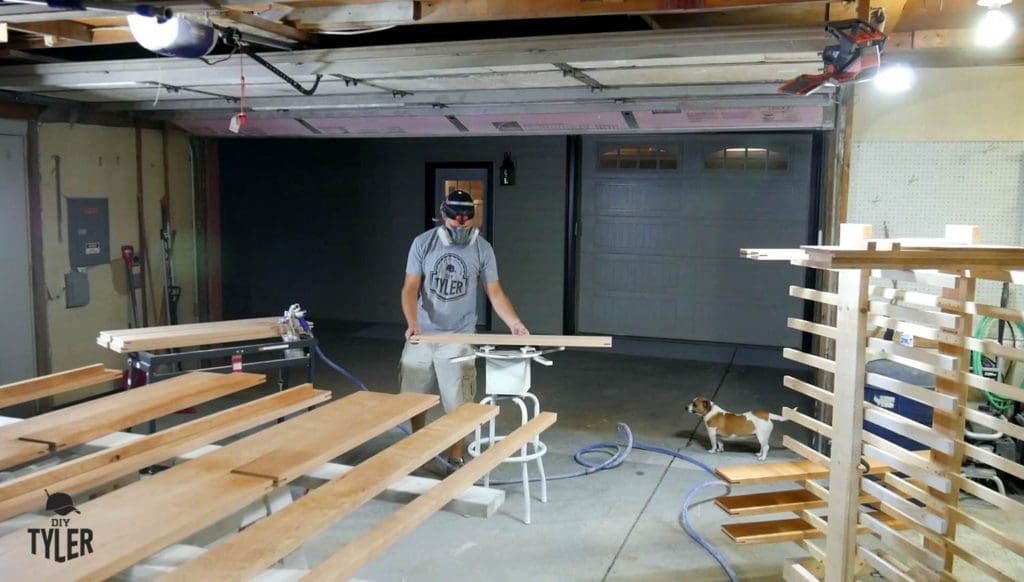
Step 1: Milling
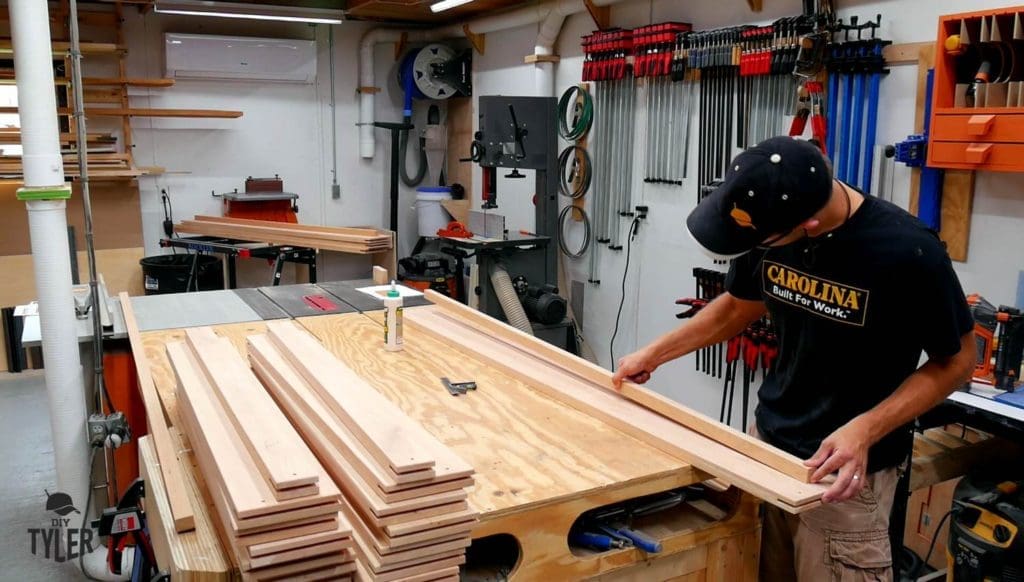
I was looking for cherry stock that was eight quarter thick. What was available when I shopped around for this project though, was four quarter. I went with it…and set myself up for extra work to obtain the 1 1/8 inch thickness that I needed.
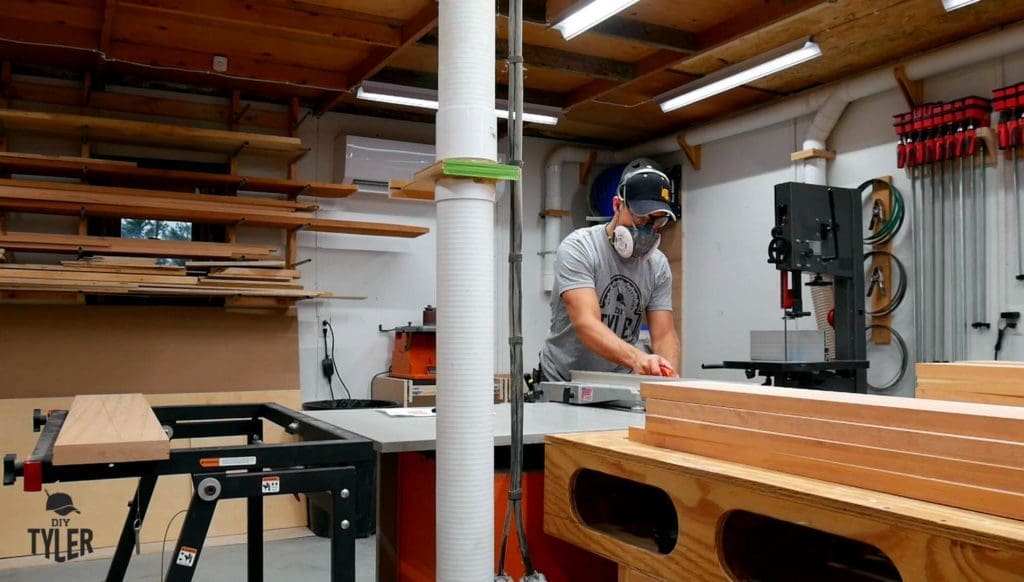
On the jointer I passed each piece through to create a face and edge on one side, then over to the thickness planer to smooth everything down. I recently upgraded both of these machines with a helical head for this project, and the results were spectacular. Nearly ready for sanding to 220 grit right out of the planer! But I’m getting ahead of myself here.
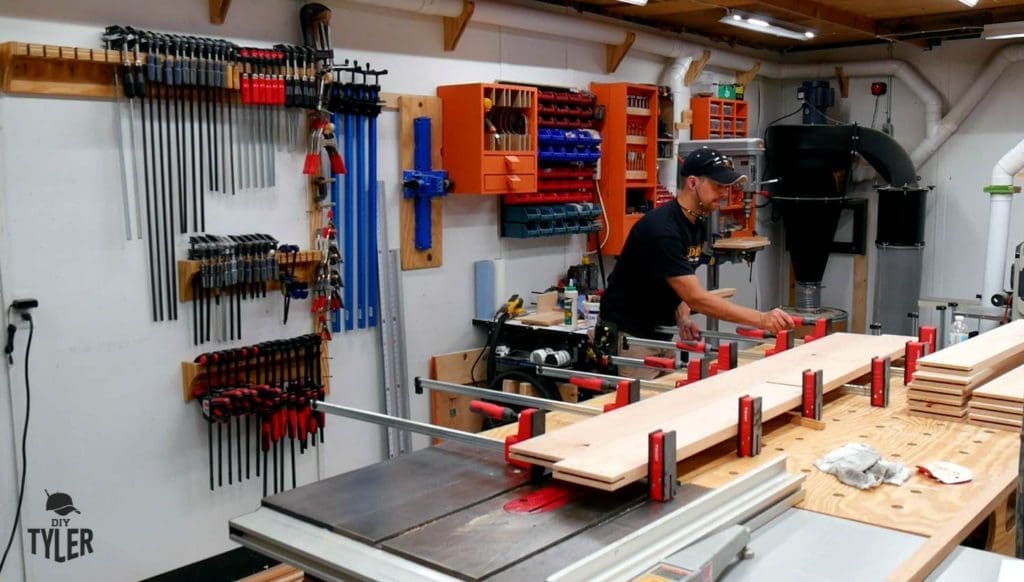
What I needed to do, simply put, was make several “board sandwiches” with the stock planed down. I set up my piece of bread ( board with the smooth side up), added my mayo (titebondIII) on both pieces, then added the filling (another board) before pressing them into the parallel clamps. Then I would make another sandwich, add to the stack of clamped goodies and repeat, until everything was used up.


This chunk of wood sat for several days, waiting for a cure.
Once the glue was dried, I opened up the clamps and pulled out all of the stock to repeat the same process as before, now on much thicker boards. I was very conscientious of marking each piece on the open face and on the jointed side. All of the work from this point onward will need consistent referencing, so marking and re-checking is critical here. Spoiler alert: the marked sides are the ones that will face outward on the completed bed.
Chop chop!
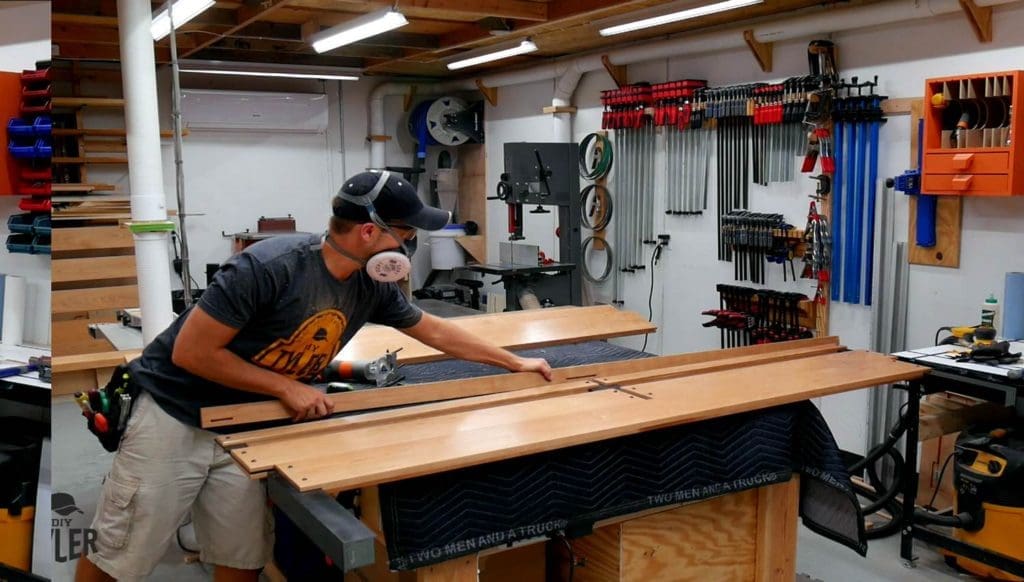
Next came a whole lot of cutting down to proper length, done on my miter saw. I followed my plans carefully with the use of a stop block to get the precision needed.
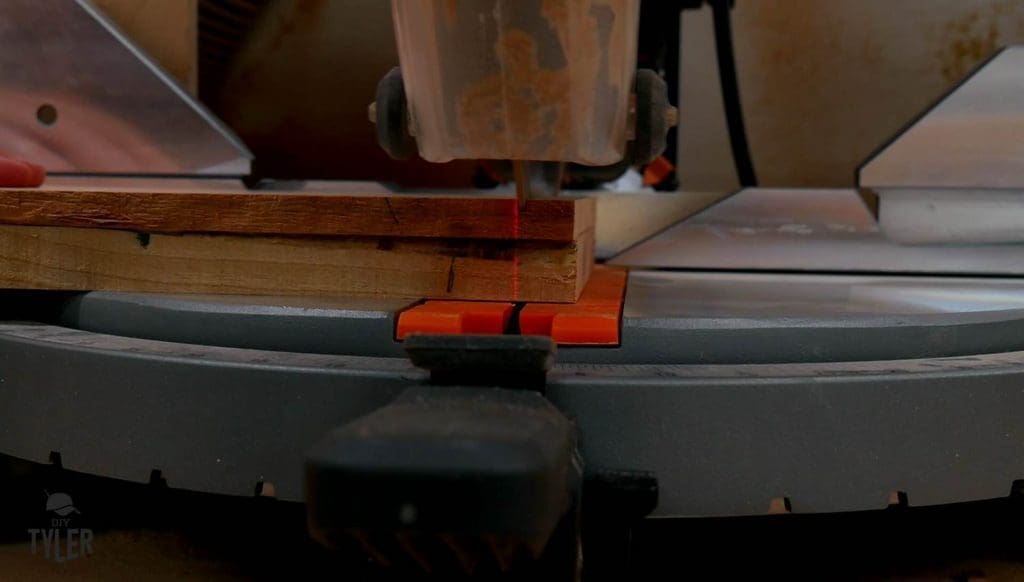
For my final width, I moved over to the table saw and changed the blade from my trusty Amana combination blade, to a dedicated glue line rip blade. This results in a better cut that is easier on the saw, as it has less teeth.
For the sake of brevity, let’s just say…there were a LOT of pieces to run through.
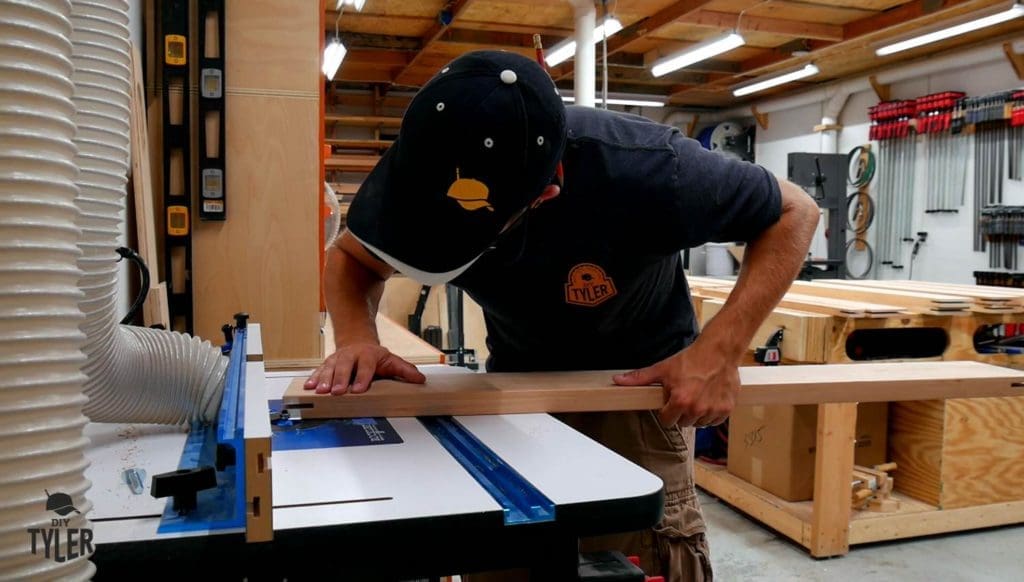
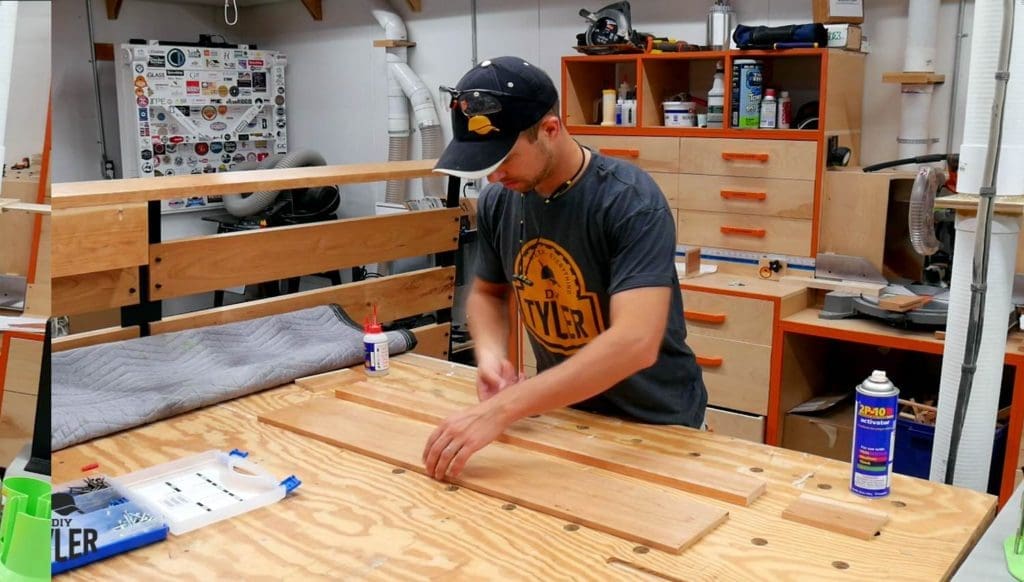
The joinery of this bed will be quarter inch dadoes, slid on either side of metal supports, and secured with bolts.
To do this, I used my trim router with the included fence, also adding a homemade auxiliary fence for precision. I put in my quarter inch Amana bit and embraced the mess that this step created. The depth of the dado depended on the piece, but the process was the same for each board. Back and forth, back and forth. One dado on each end.
A visit to the router table was next, creating the cutest little champfer along each edge that you’ve ever seen.
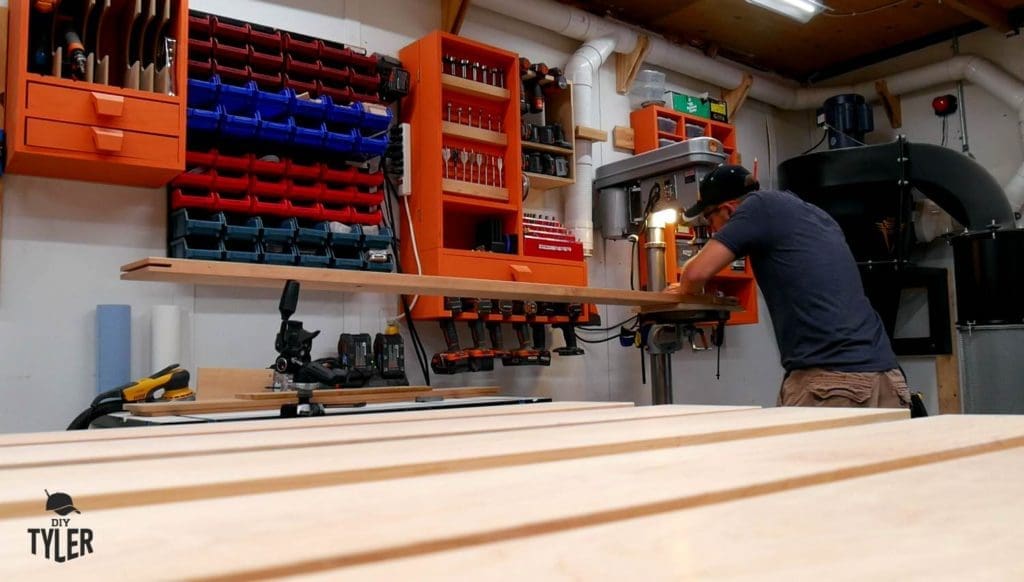
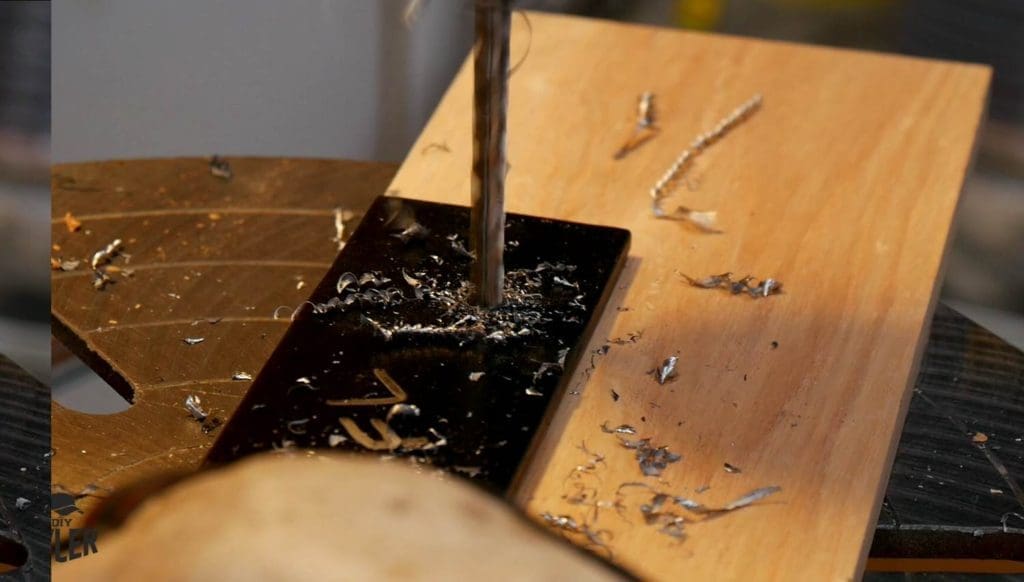
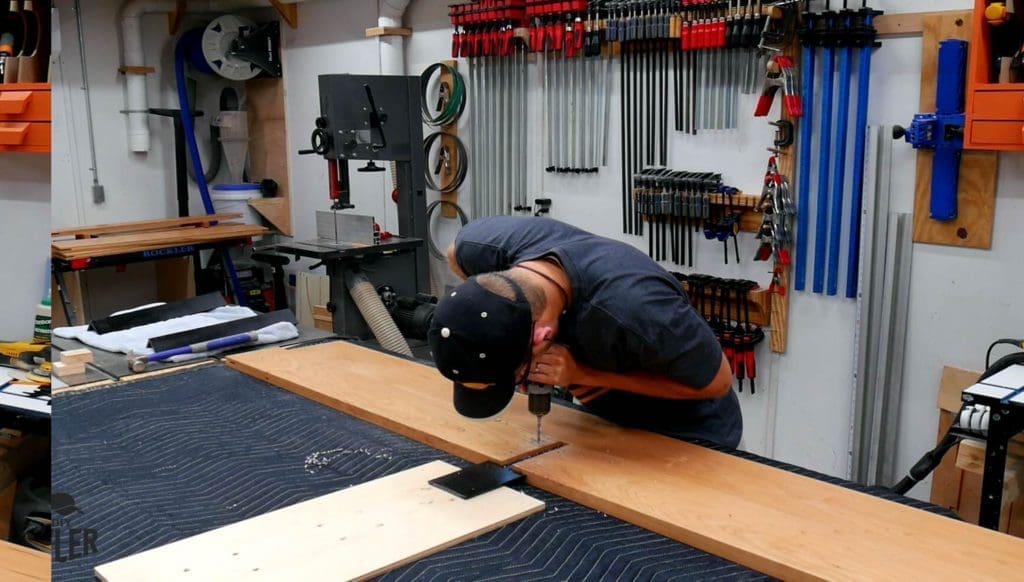
Moving over to the drill press, I secured a stopblock for repeatable holes in each end of every board, right through the dado area (for eventual hardware.) It took a little ingenuity to hold the long boards up while working. Who said tripods are for cameras, anyway?
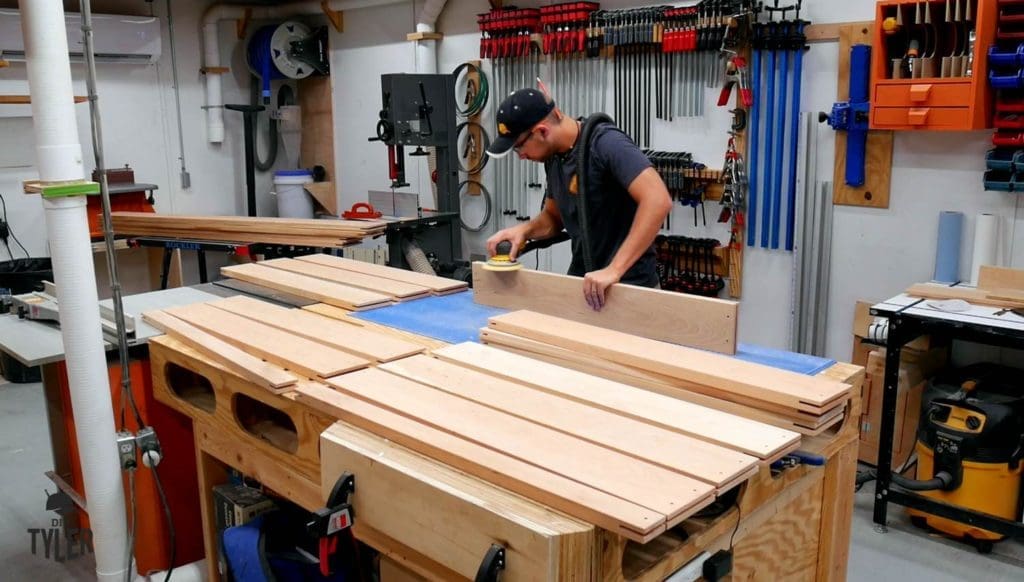
Sanding this bad boy wasn’t awful with the upgraded helical head on the planer and jointer. I was able to go right to 220 grit on everything except what I ripped with the table saw, and even there I started out at 180.
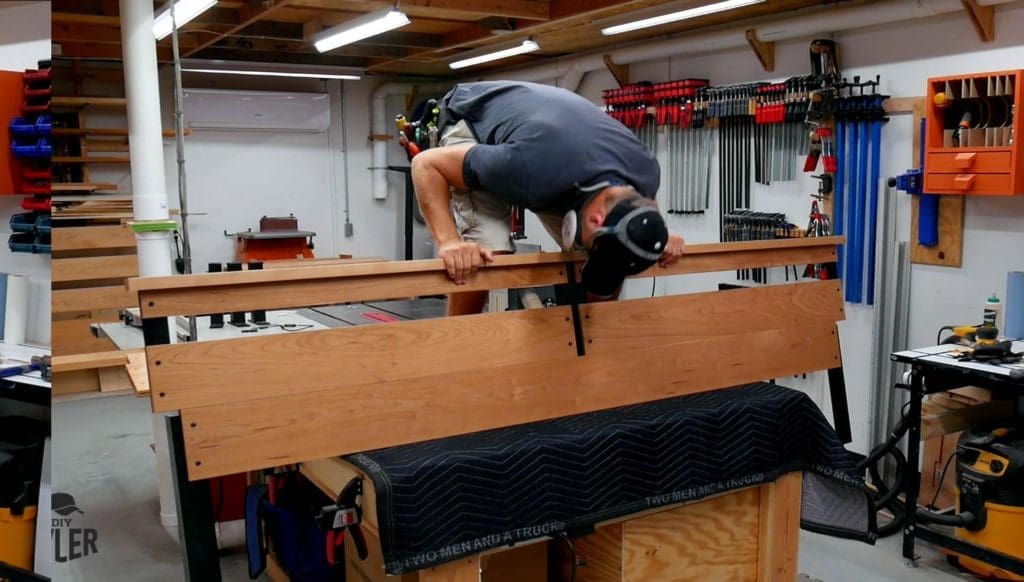
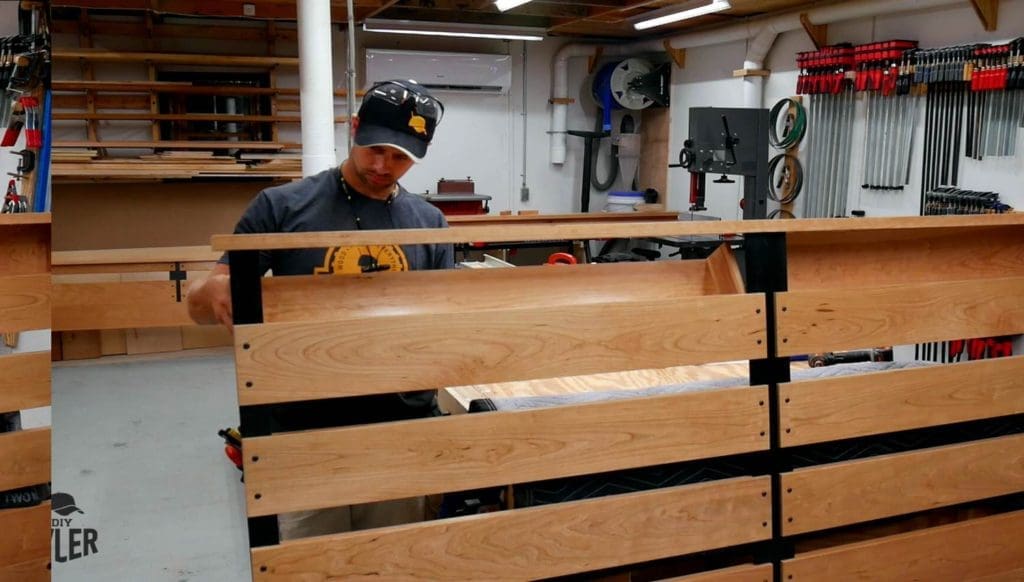
Minor Assembly, Part 1
The bottom frame needed mattress support rails, and the head and footboard are now ready to align.
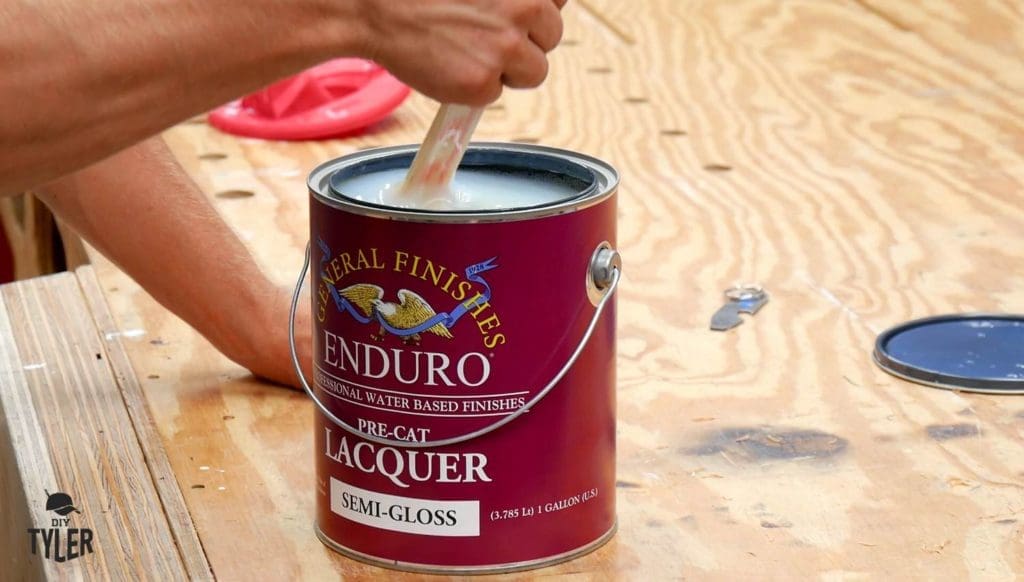
Finish
General Finshes has been my favorite brand of finishes for a long while now, and we chose their Enduro pre-catalized lacquer for this project. We love how it came out! The downside for some folks might be the need to spray.
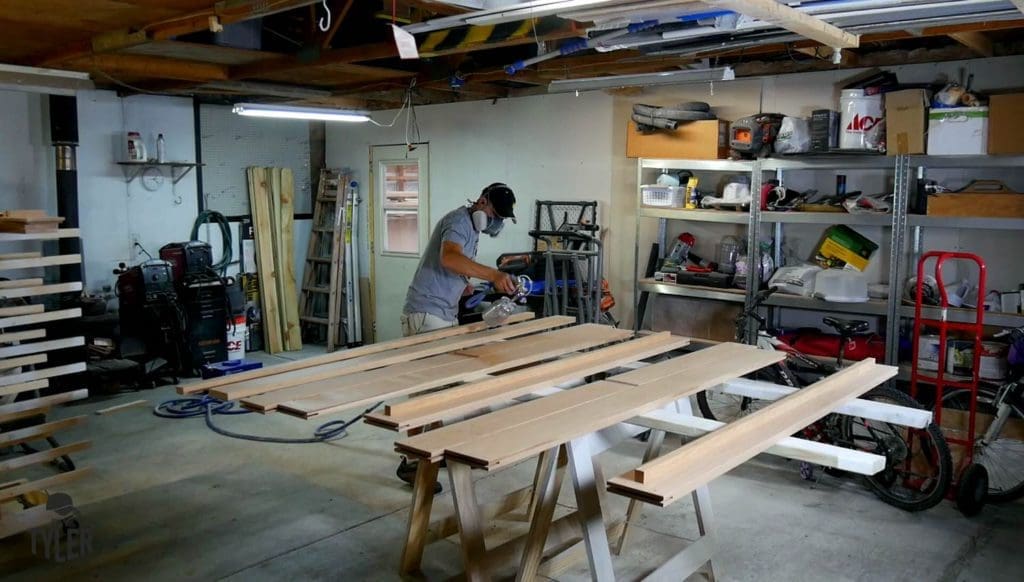
Spraying is my preference though, and I went to town getting finish on these boards. Notice in the shot how a few of our past projects are being put to excellent use! The HARBOR FREIGHT TURN TABLE was great for this job, and the CABINET DOOR DRYING RACK was perfect for the situation as well.
Our dog, Delta, is standing by for moral support.
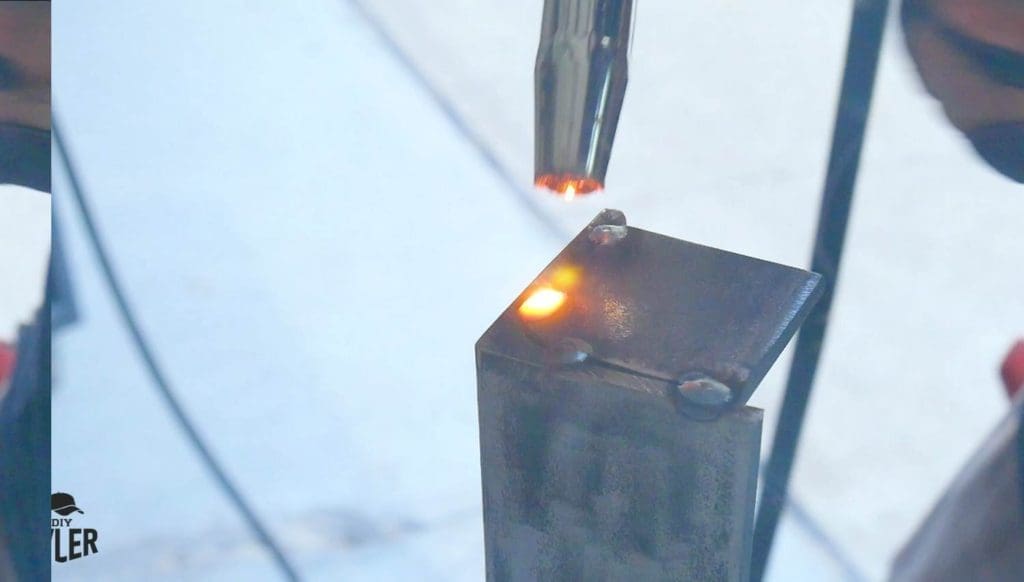
The metal
The metal for this bed is all custom made, but it doesn’t have to be. If you don’t have the tools -or desire- to make this part of the project, I’ll bet you wouldn’t have to look very far to find a local shop that would do this for you for a couple bucks. Personally I enjoy working with metal, and it’s a treat to use my welder.
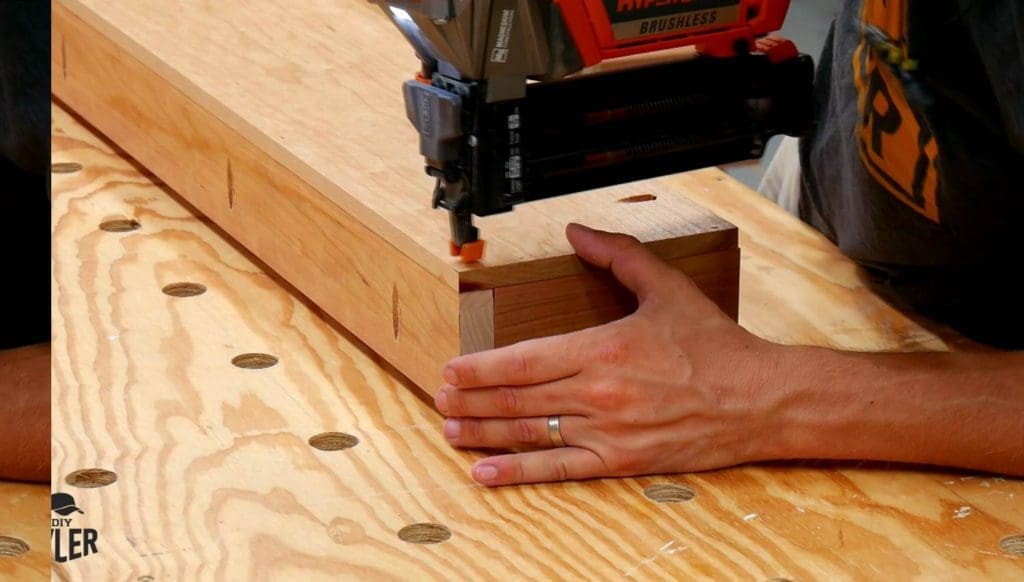
The main stock on this bed is flat 4 x 1/4 inch thick, and 2 x 1/4 inch thick. I cut this down on my cold cut saw.
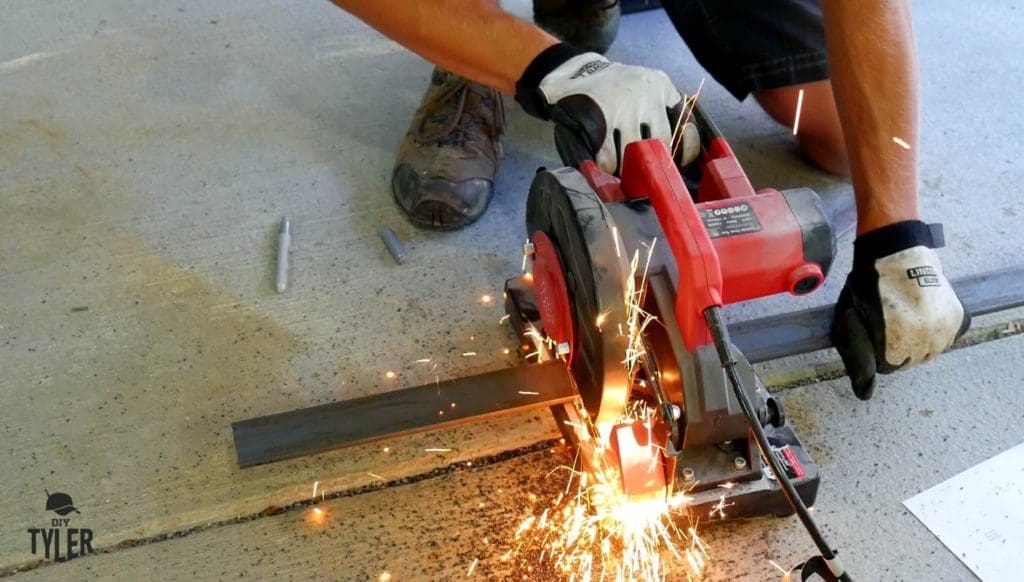
The four corner posts are made of angle iron, which I cut down on my portable band saw. I welded on some simple “feet” so the posts wouldn’t cut into our carpet so badly. Also made a few more posts to support the heavy frame and mattress beneath.
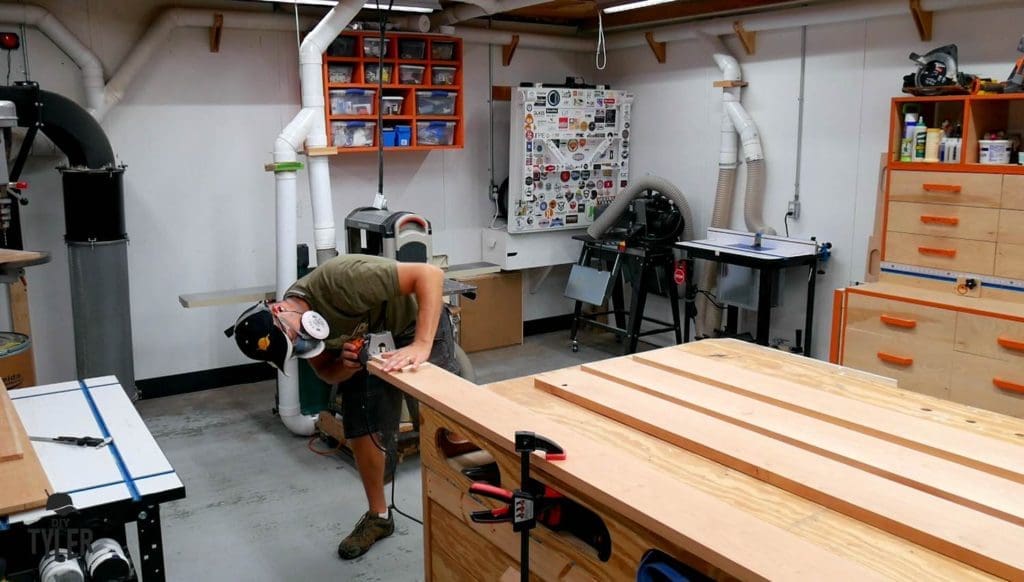
A little “sanding” with the angle grinder, and we were ready for some rattle can self etching primer, then Rustoleum semi gloss black paint.


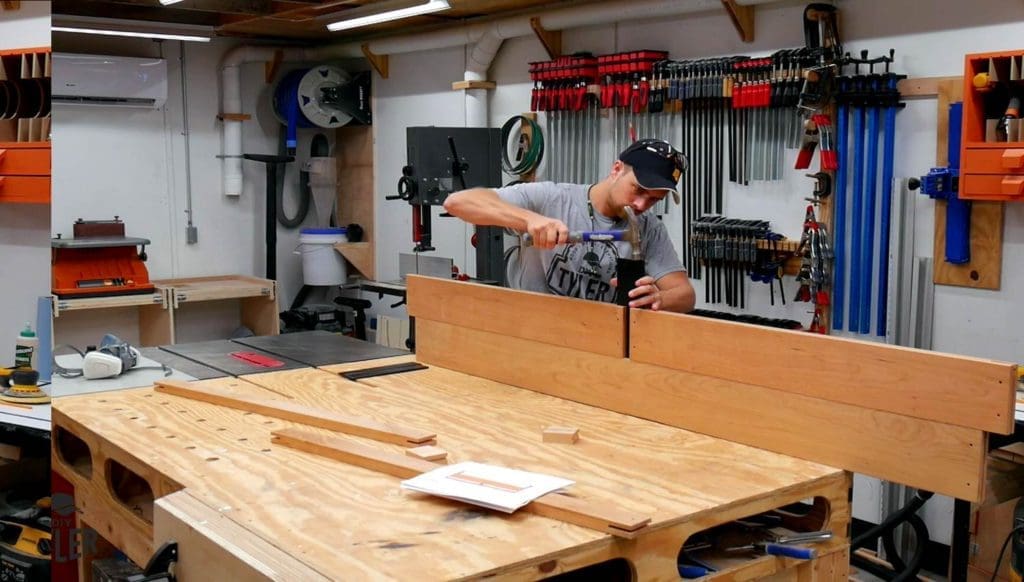
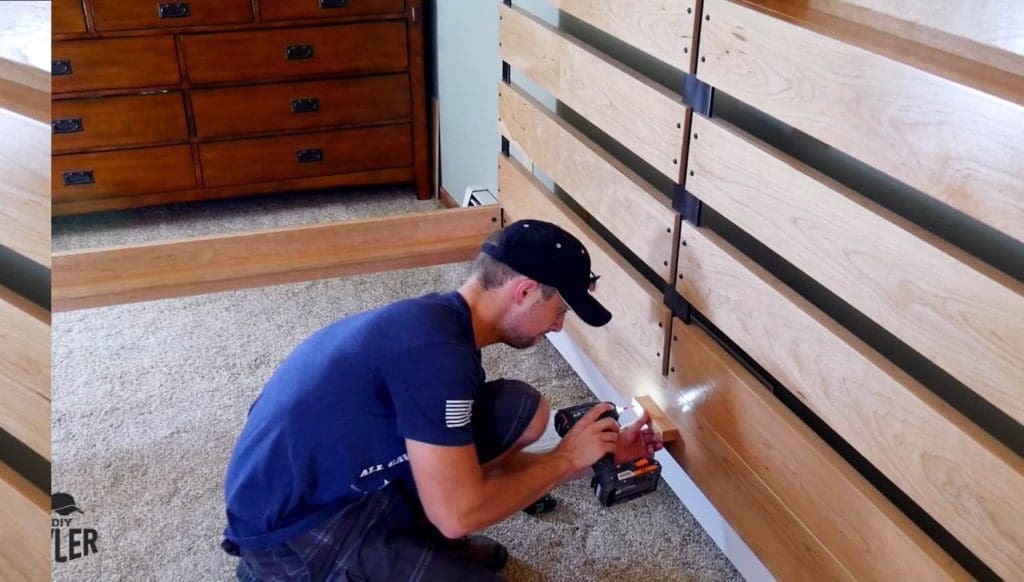
Assembly part 2
Time to add the finished metal stock into the head and foot board! I had to open up my outside dadoes just a fraction, to account for the thickness of the paint on the metal. Just a fraction. For the center pieces though, I couldn’t get my router bit in there and had to hammer the stock into place.
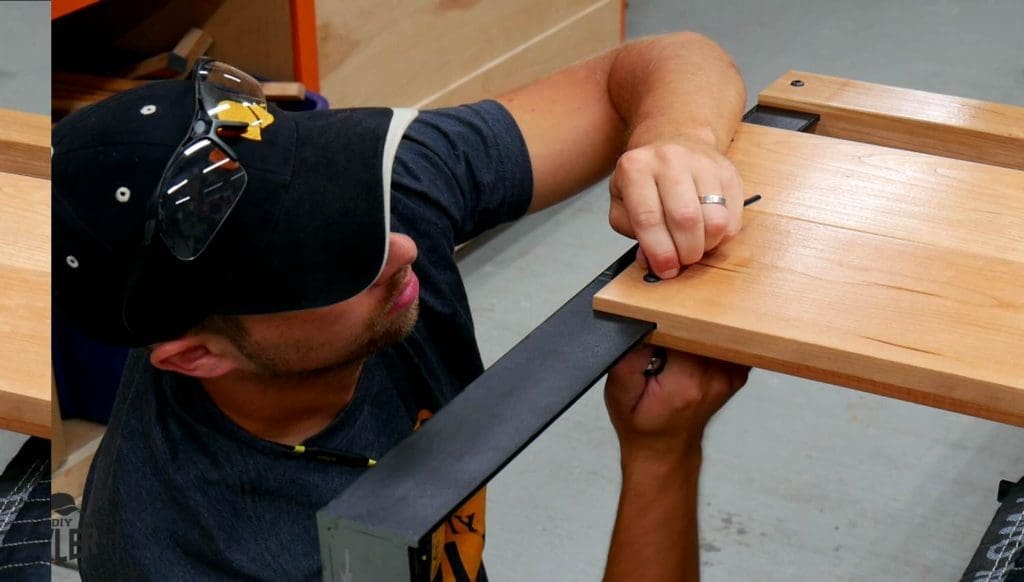
Once all the metal was in it’s proper position, it was time to punch holes though it. The most important step here is: 1) Make sure all your metal stock is in it’s final destination, and 2) make sure your corner posts are in the right orientation.
Where I could, I brought the piece over to the drill press, but where I couldn’t, I used a cordless drill. Both ways utilized a quarter inch bit.
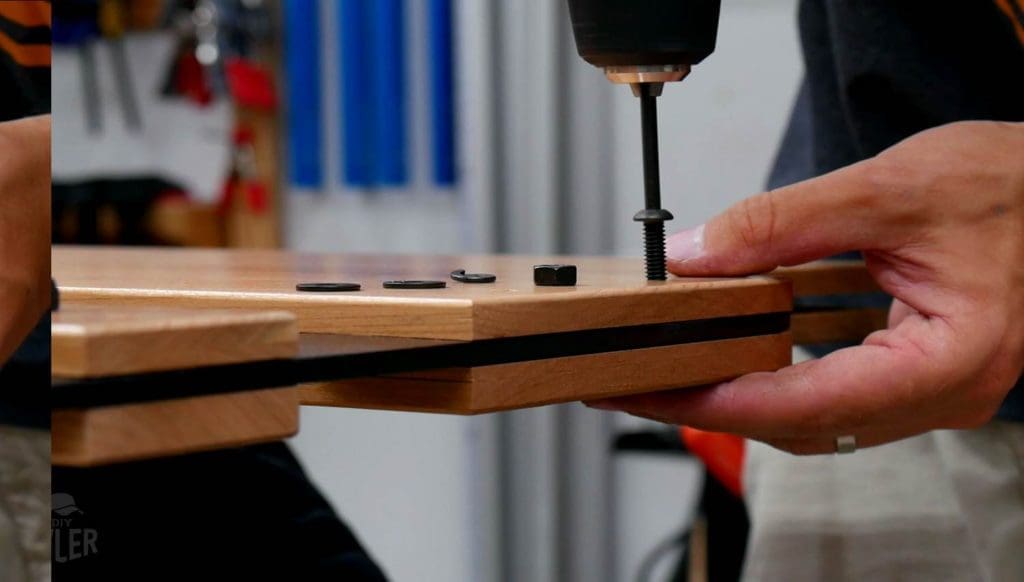
Let’s discuss hardware for a second. The bed will be assembled using black, button head hex screws. Usually I would always add a washer to the top, insert the screw bolt and add a washer (recessed) to the back, before capping it off with a nylock nut.
However! I had to adapt to my wood being thinner than I originally planned. In the end I decided to forego the recessing to insure the integrity of the wood remained intact. At least for now, I’m going with ; bolt, split washer, and nut. If it doesn’t satisfy me in the future, I’ll be purchasing longer bolts. Today though, that’s what we’re doing.
All coming together.
The top of the footboard being added.
I previously prepped this piece but saved routing the mortises until now, to insure perfect alignment. Looking good here, from every angle!
The headboard was much the same; just bigger, heavier, and needing a minute to add in the shelves for bedtime knickknacks.

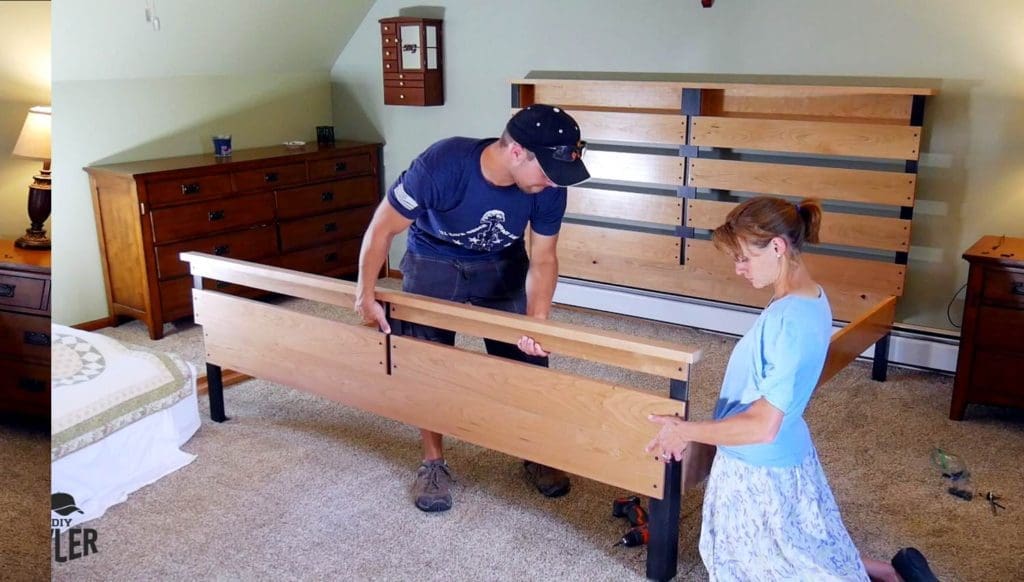
Install and final assembly
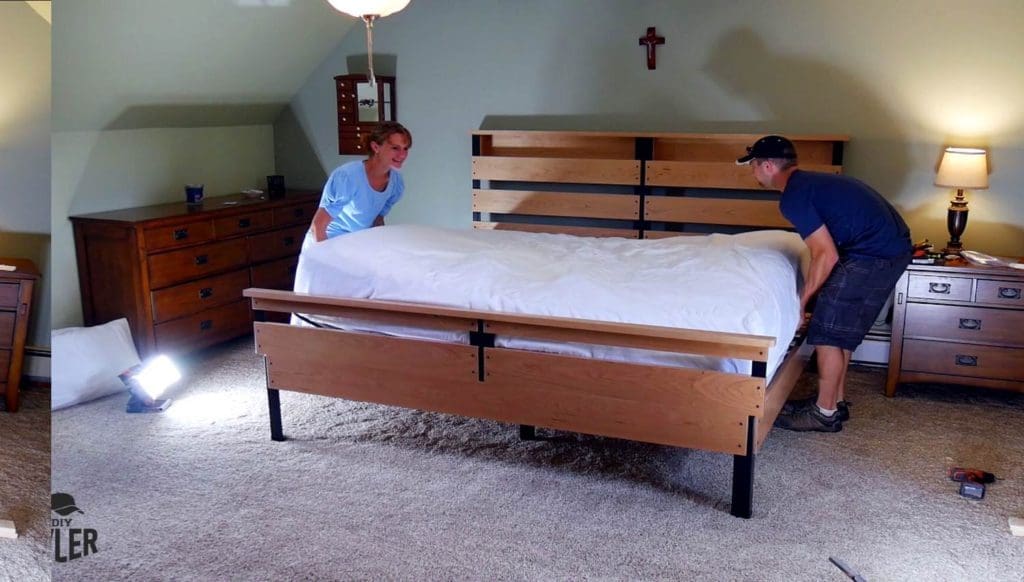
Time to bring this beauty indoors!
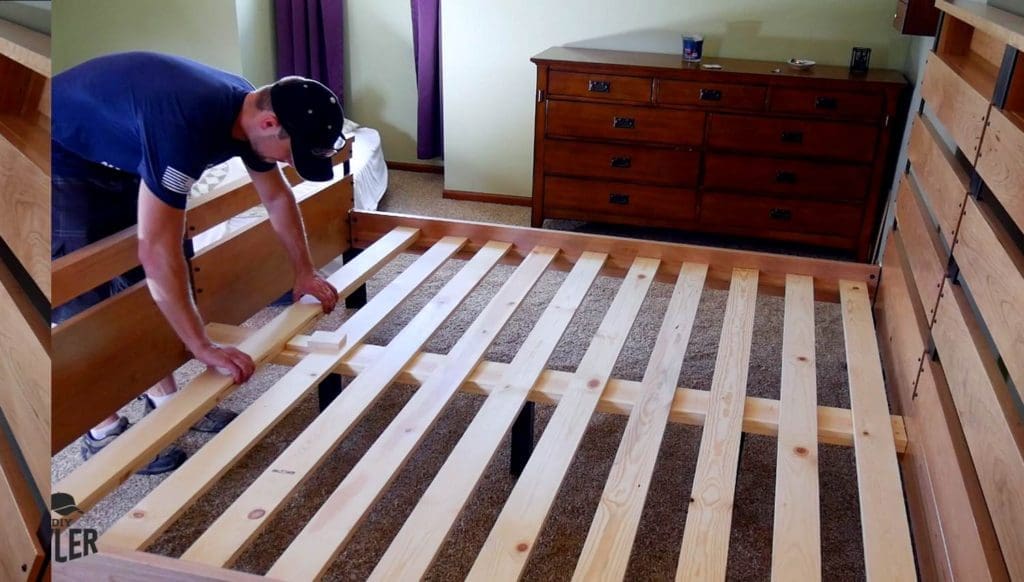
There is a whole lot going on underneath the bed here. Most of the supports underneath are pine, but the center board is supported by the metal angle iron pieces that we welded earlier on.
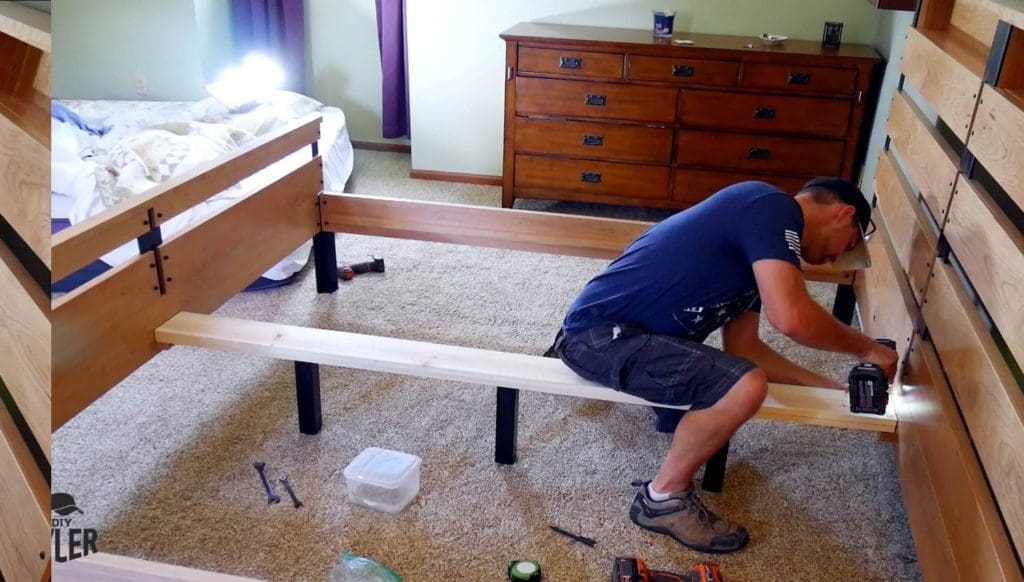
We secured the brace in place, added all the pine cross boards, and were ready to set on the mattress!
(The cross made by the metal in the foot board was an accident. But we really love it!)
Concluding thoughts
This has to be one of the most rewarding pieces of furniture I’ve built! Besides beautifully minimal on the outset, this bed frame doesn’t move. No shaking, rattling, or rocking this thing! It stands strong but welcoming, waiting upstairs for the sun to set and the sheets to be thrown back to enfold us.
Pretty dreamy, yeah?
Please follow and like us:
2 thoughts on “MODERN RUSTIC KING BED”
This is beautiful! I want it for my new apartment but I’m already mentally prepared to make that Murphy bed you designed!!! I can’t do both! I just tripped over your stuff when I was searching Murphy beds on You Tube. Can’t wait to get started!
Pingback: Hickory Farmhouse Apron Table with Metal X Legs - DIYTyler