In the next installment of the ongoing saga of our bathroom remodel, I’m going to be showing you the ins and outs of waterproofing your walk-in shower using the Schluter brand shower system.
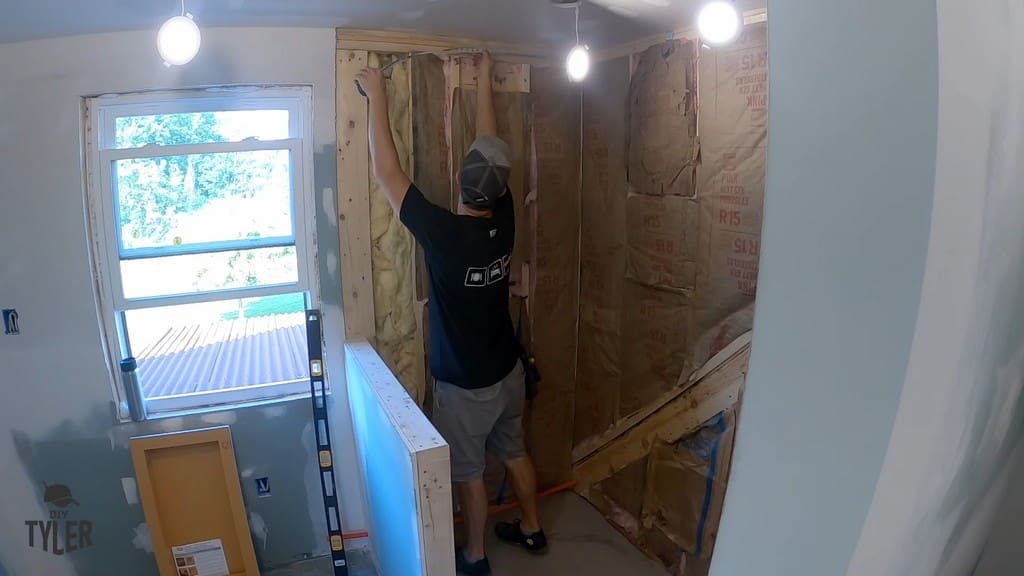
This bathroom is going to have a double-headed shower with an installed bench and a pre-fabricated curb.
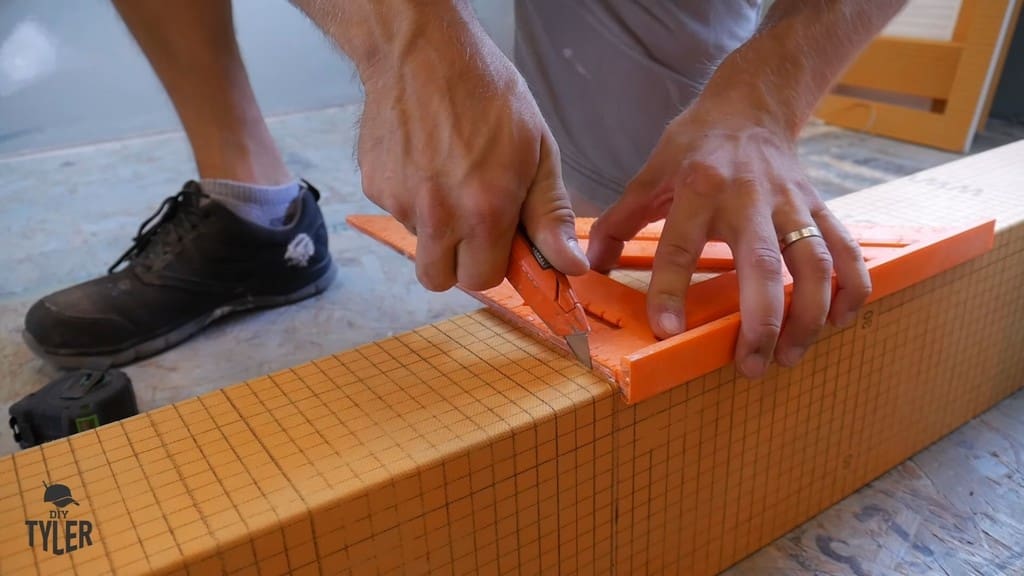
Measuring and Cutting the Kerdi Boards
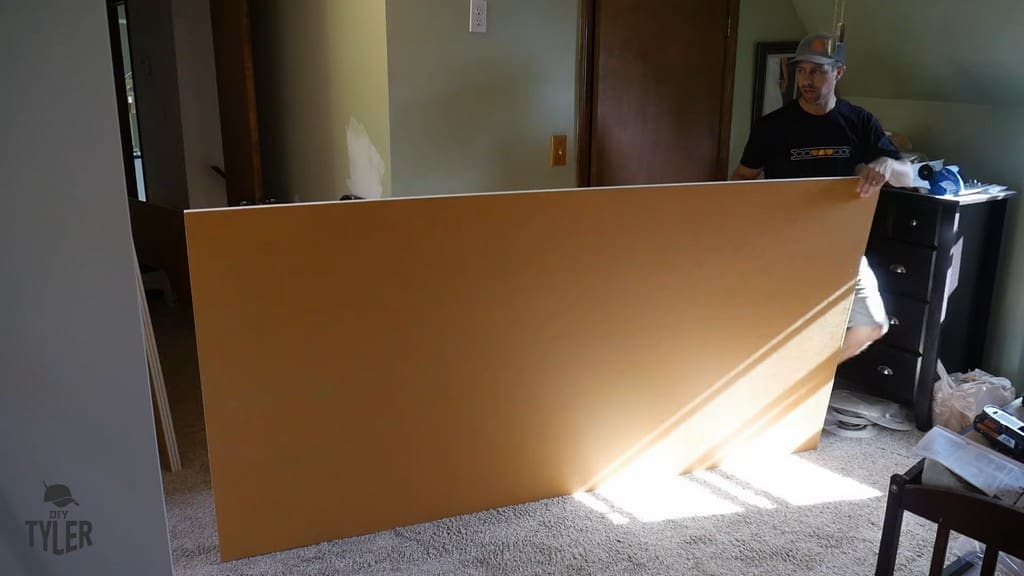
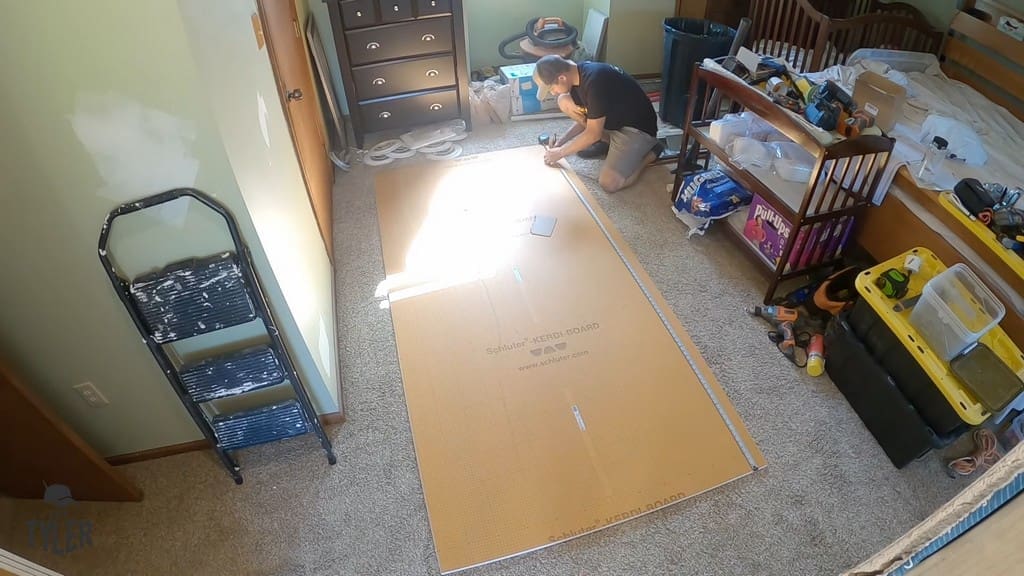
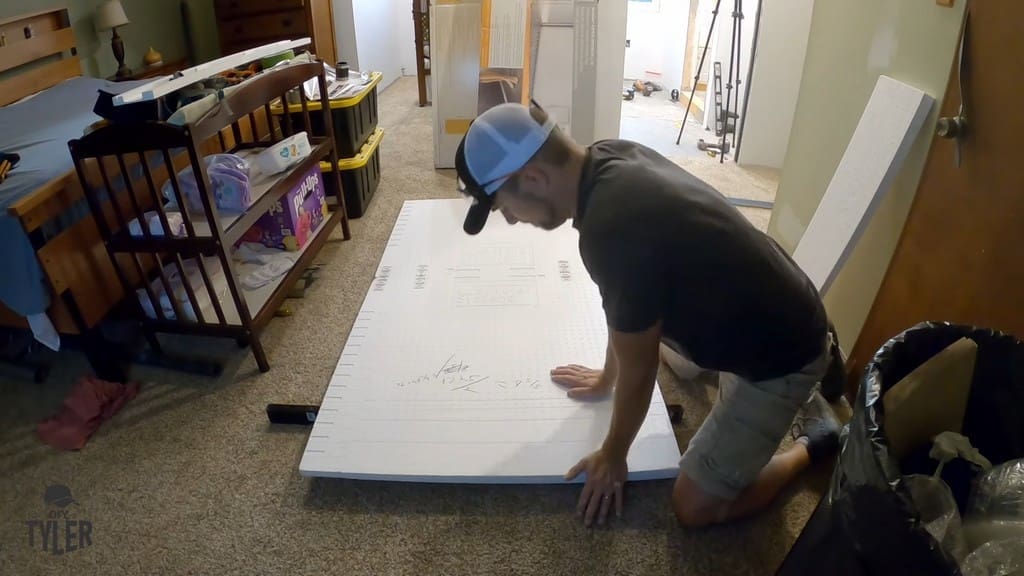
First, I measured the space for the Kerdi boards I would be using. One of the great things about this style of board is that it is made of polystyrene, making it light and maneuverable.
In addition, the board also comes with markings and a preinstalled waterproofing membrane, so I only had to waterproof the seams.
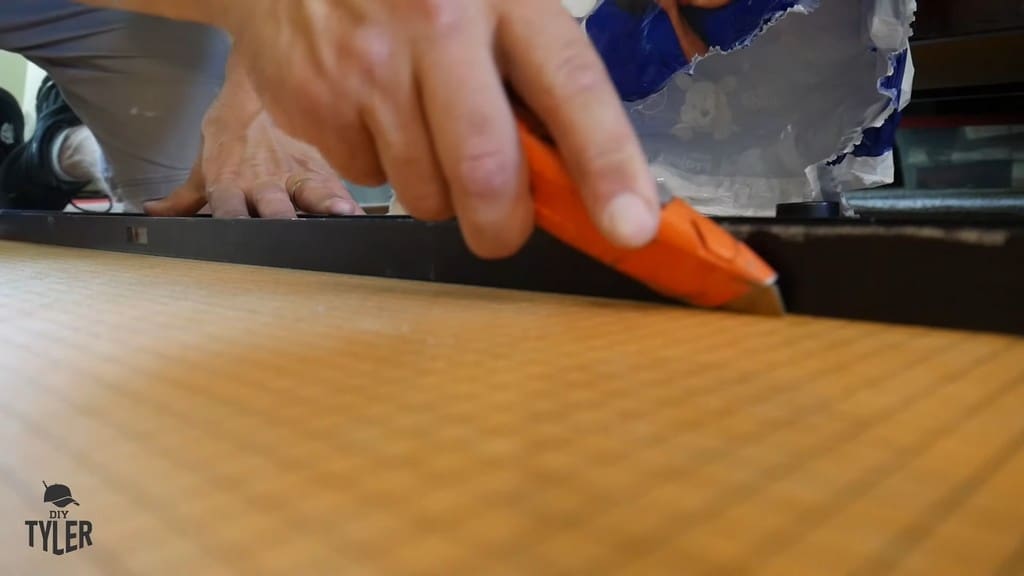
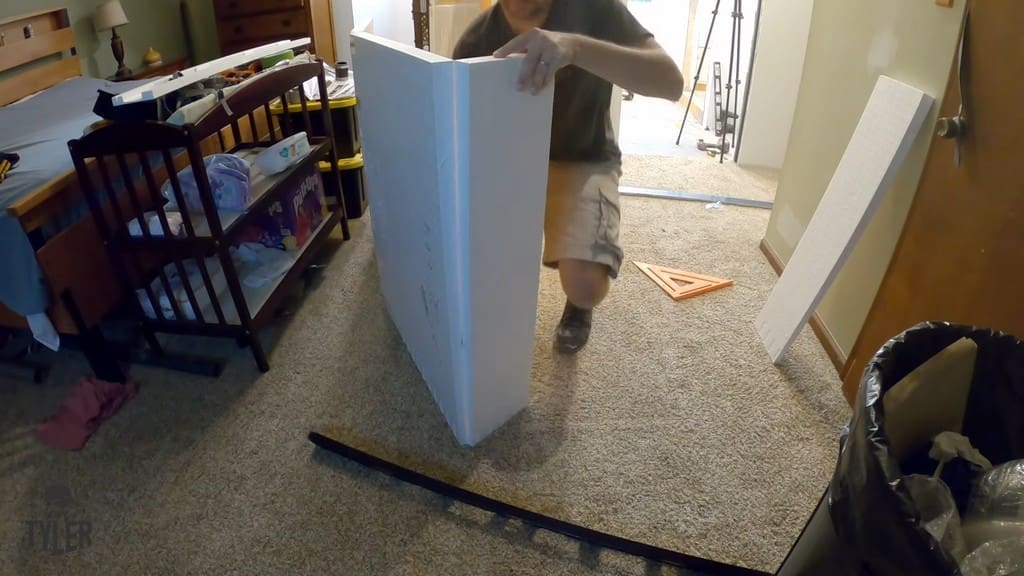
After measuring the Kerdi board, I cut into it with my utility knife. Note that I have the blade tipped toward my straight edge, which makes for a straighter cut with this type of board.
Overall, the Kerdi board is relatively dust-free when you cut it. In addition, you can fully remove the cut piece off of the main body just like a piece of drywall. You do this by bending the piece you want to remove, scoring the opposite side, and pulling the piece free.
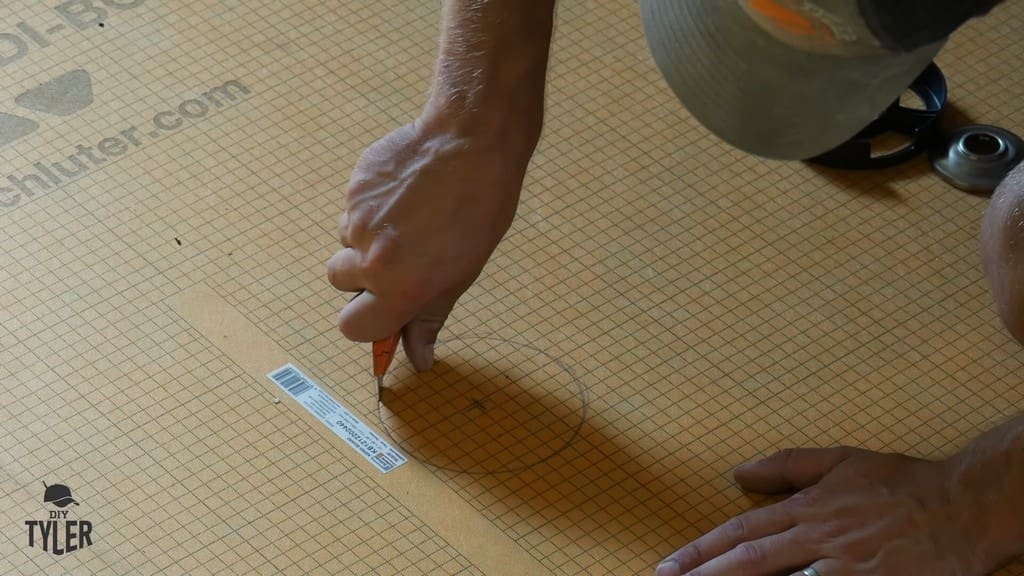
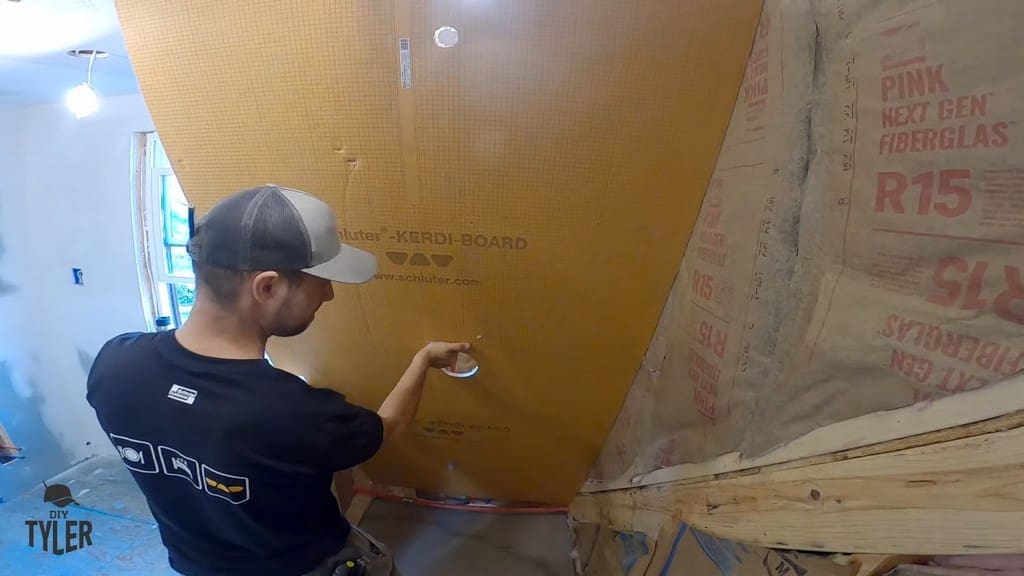
Of course, I also cut out holes for the showerheads and the mixing valves.
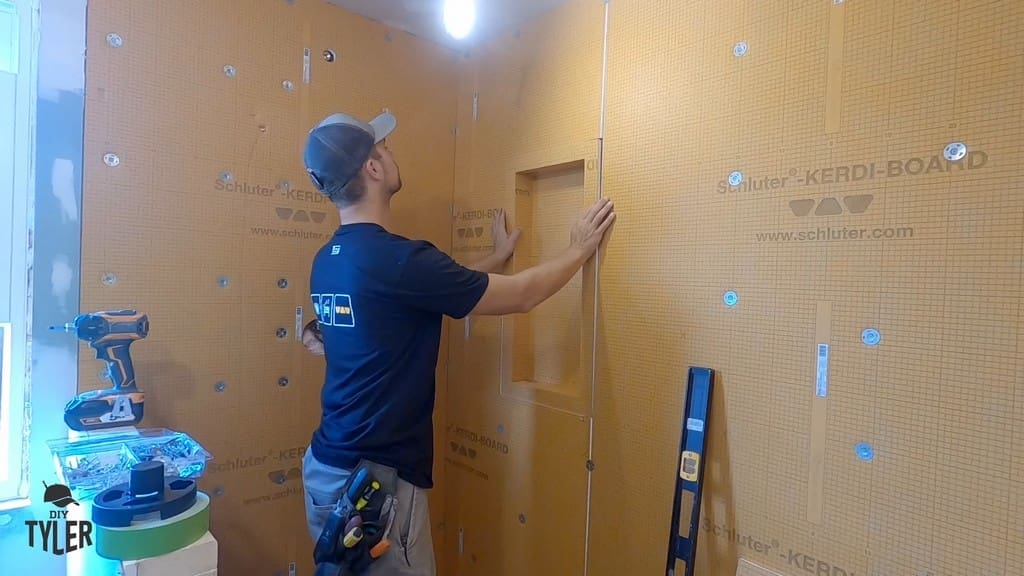
Fitting the Kerdi Boards into Place
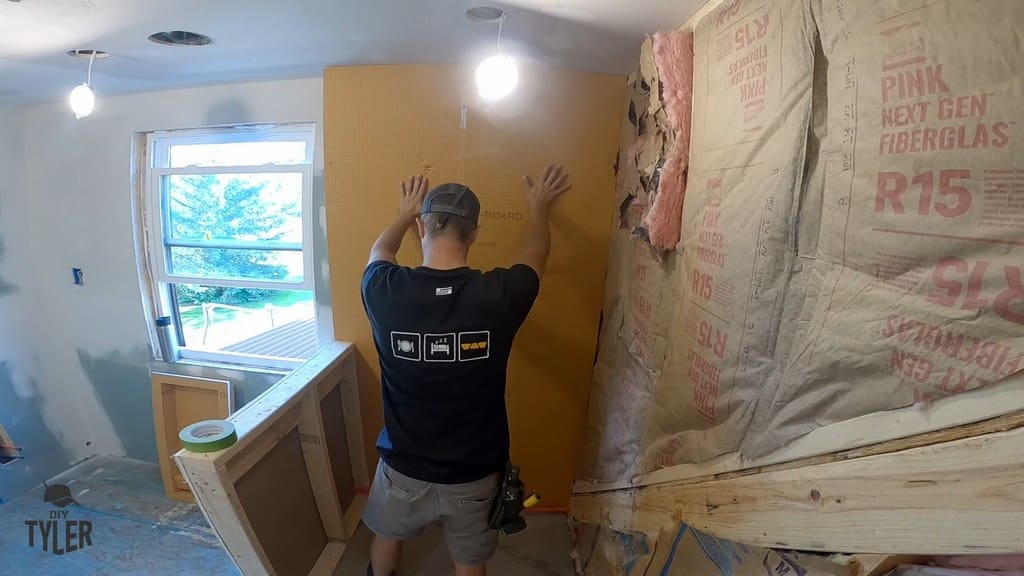
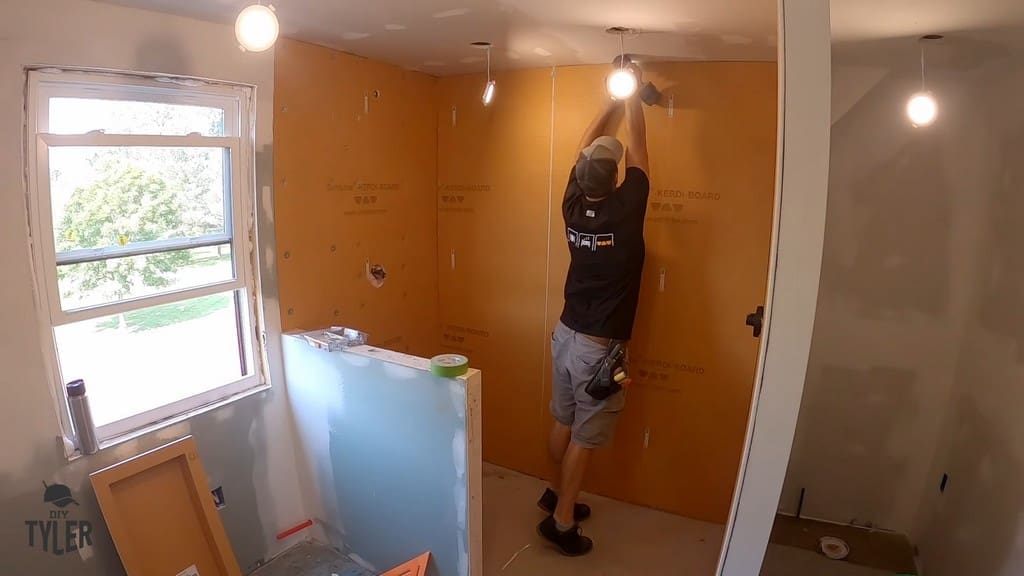
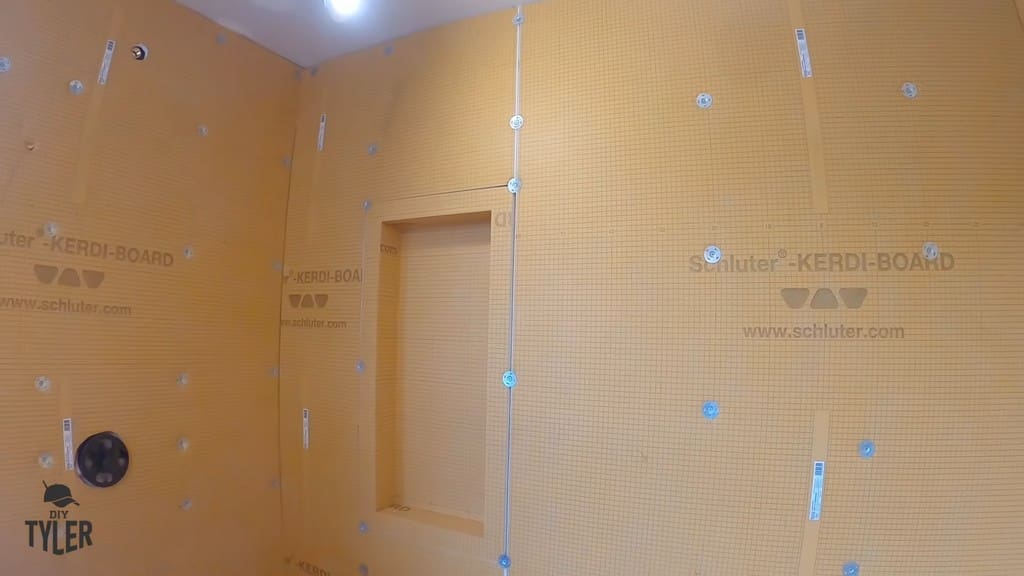
I slid the Kerdi board into place, though the fit was a bit snug, especially at the top (I forgot to take the caulking into account when I cut the board for height!).
With the board right where I wanted it, I screwed it in place. I had previously marked out where my studs were so I wouldn’t miss them. The vertical distance between the screws was 12 inches.
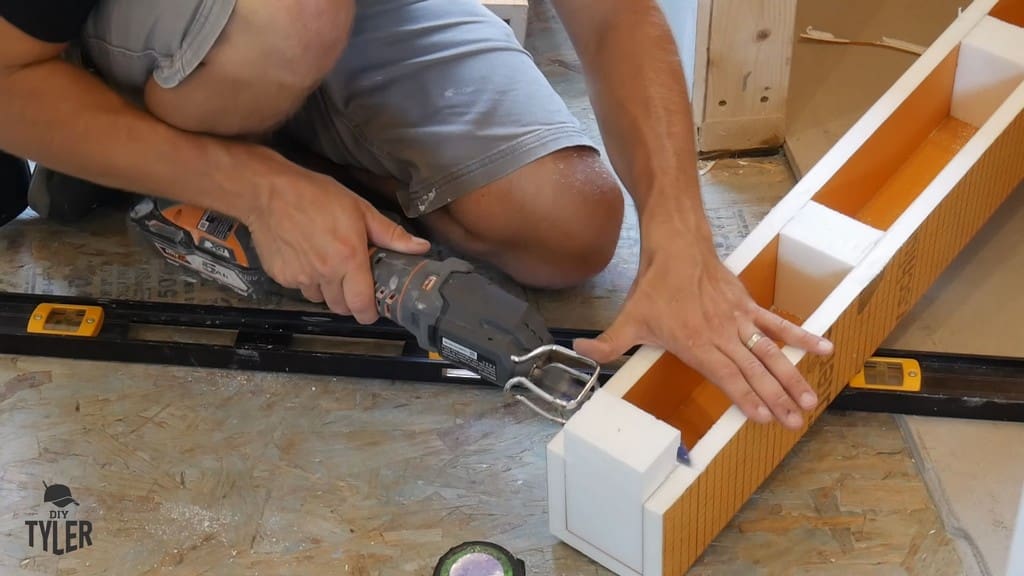
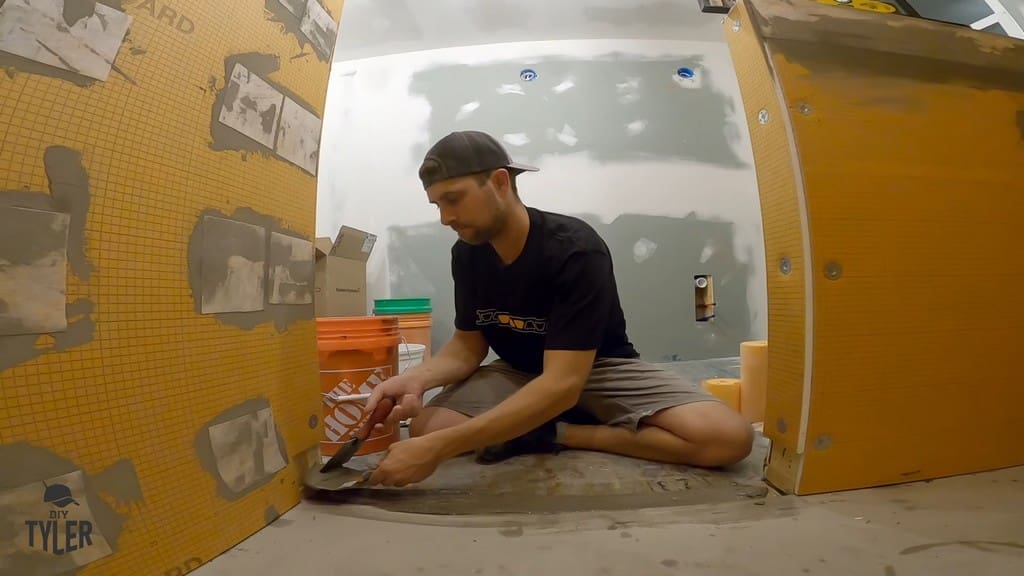
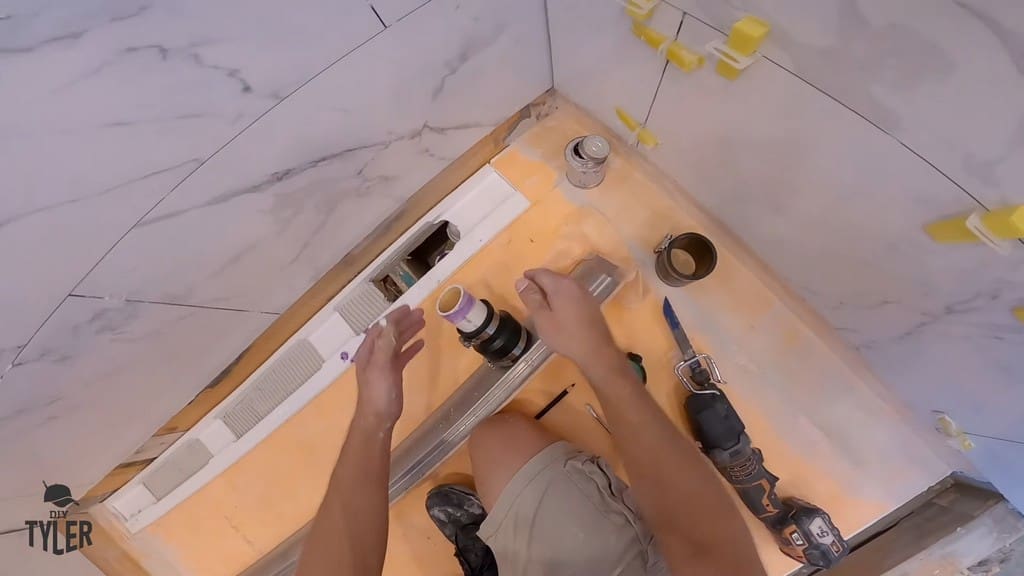
Measuring and Cutting Prefabricated Shower Curb
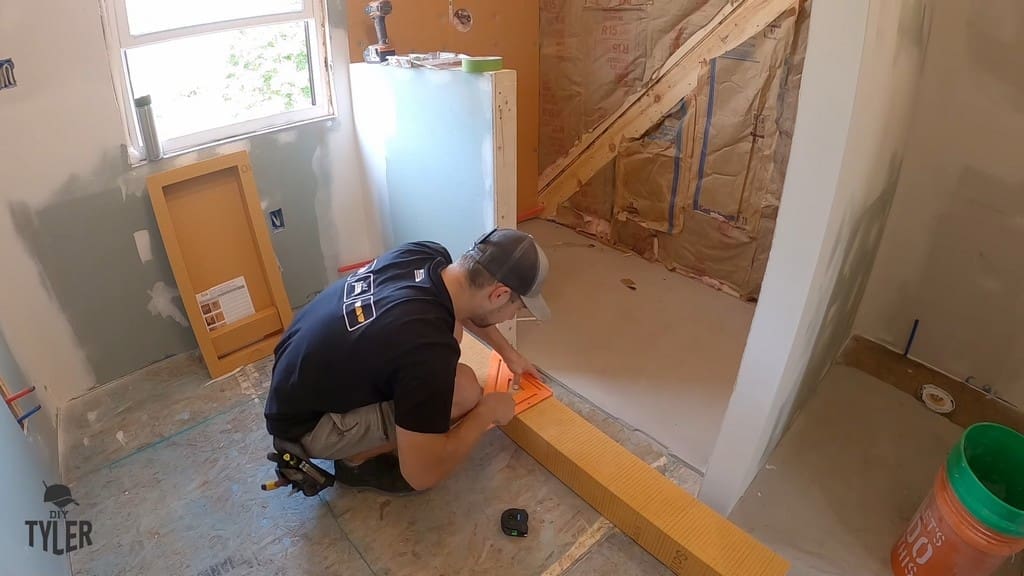
Next, I measured and cut the prefabricated Schluter shower curb for the shower entrance.
I also cut off a bit of the edge of the prefab curb on one side so that it could overlap with the dried self-leveler (see this article).
This ensured a snug fit when I installed the prefab shower curb. The long side adjacent to the shower overlapped with the self-leveler as planned.
Installing the Niche
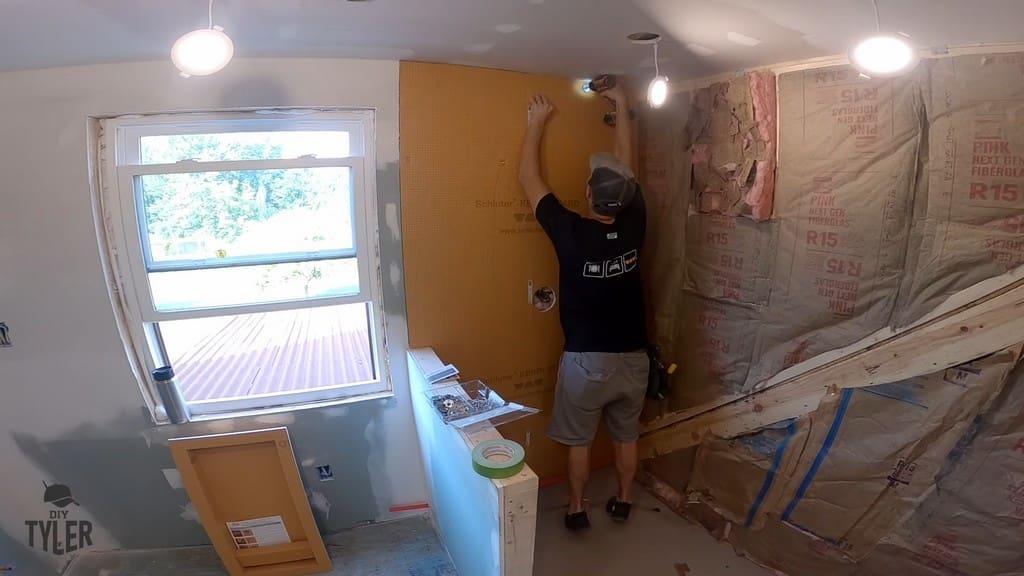
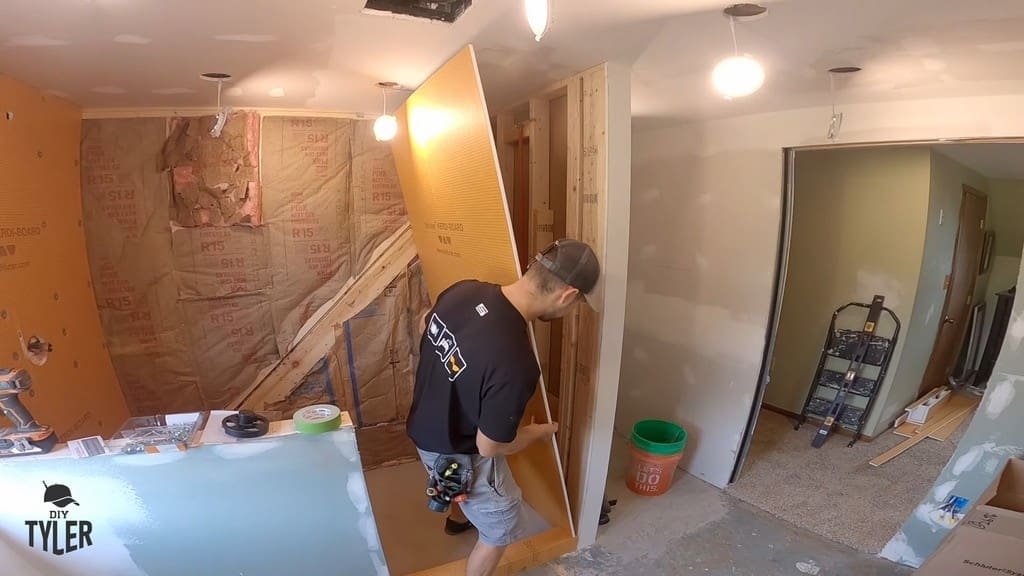
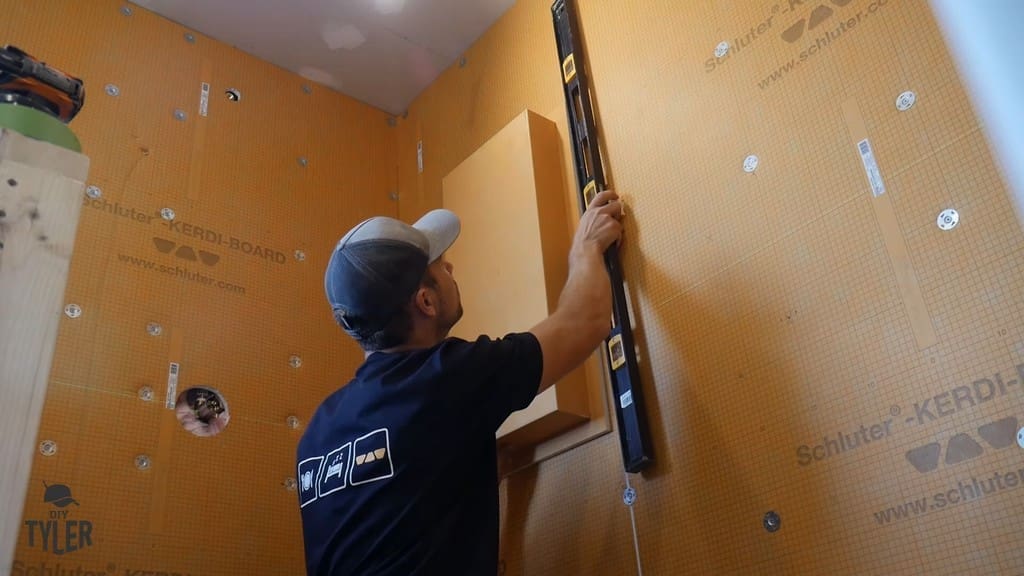
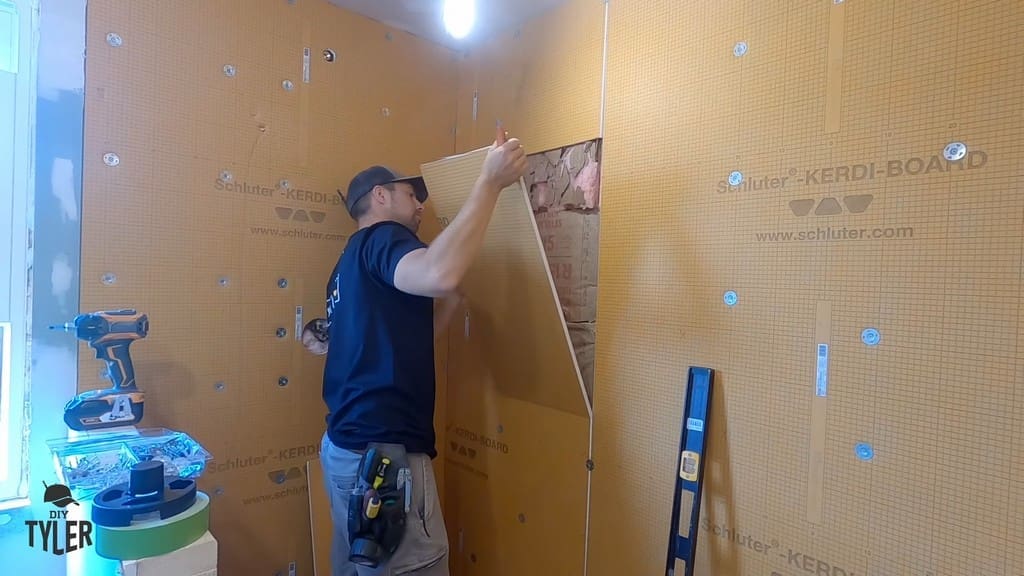
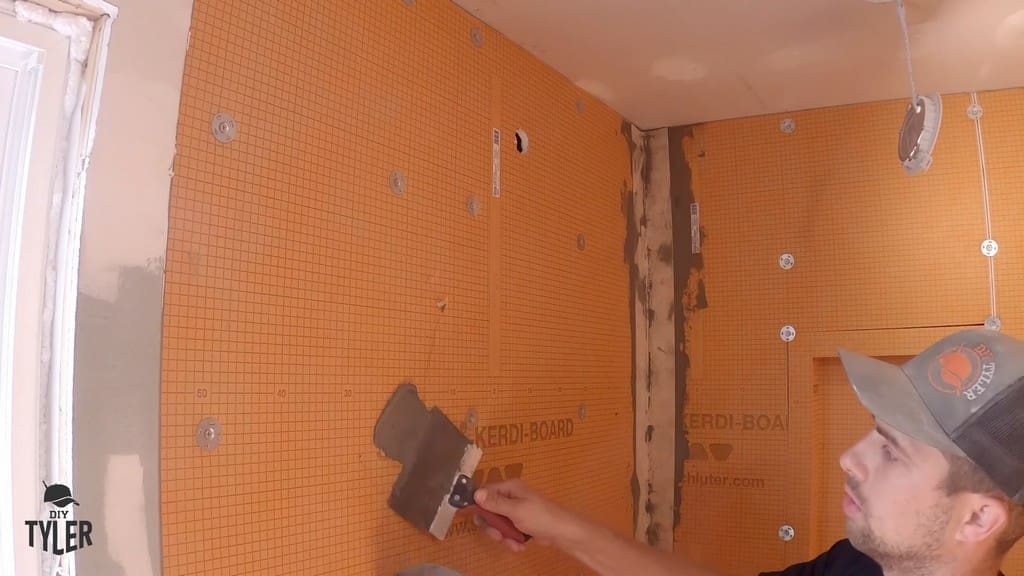
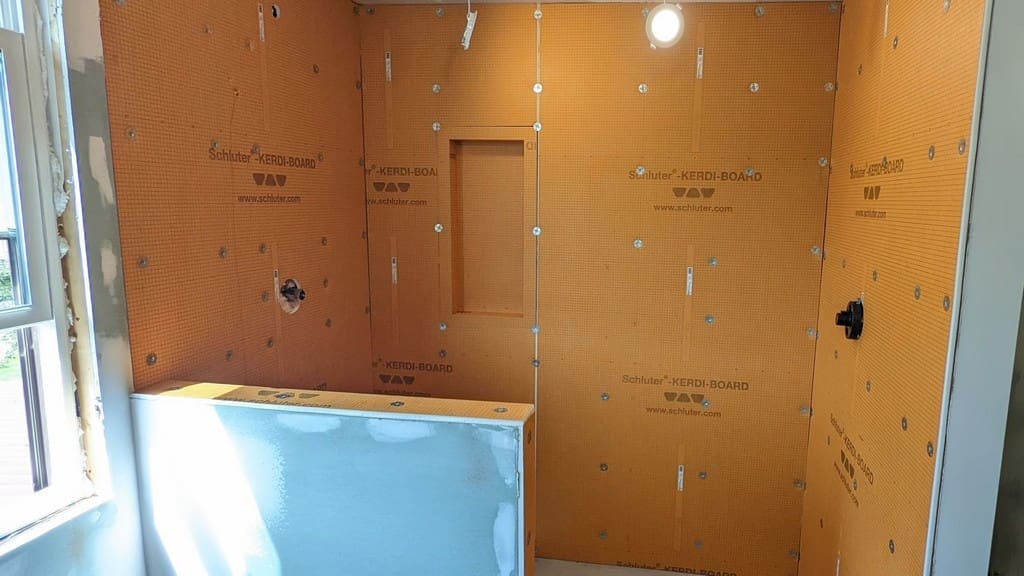
With that out of the way, I installed the next two Kerdi boards in the same manner as the first one.
My next task was to establish the right location for the niche that I wanted to install. After making sure everything was level, I cut out the desired section of the Kerdi board.
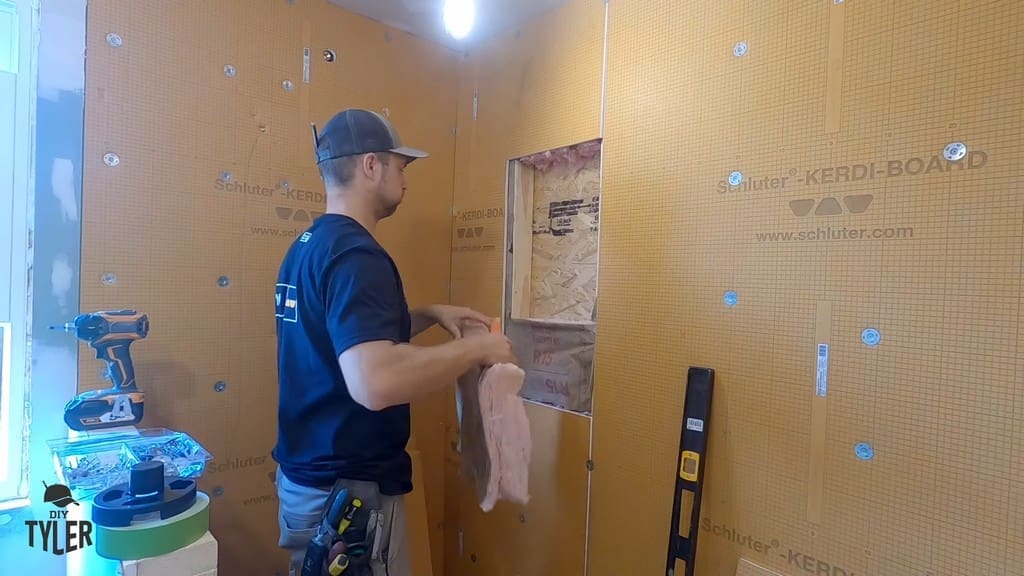
This also entailed removing insulation to make space for the niche.
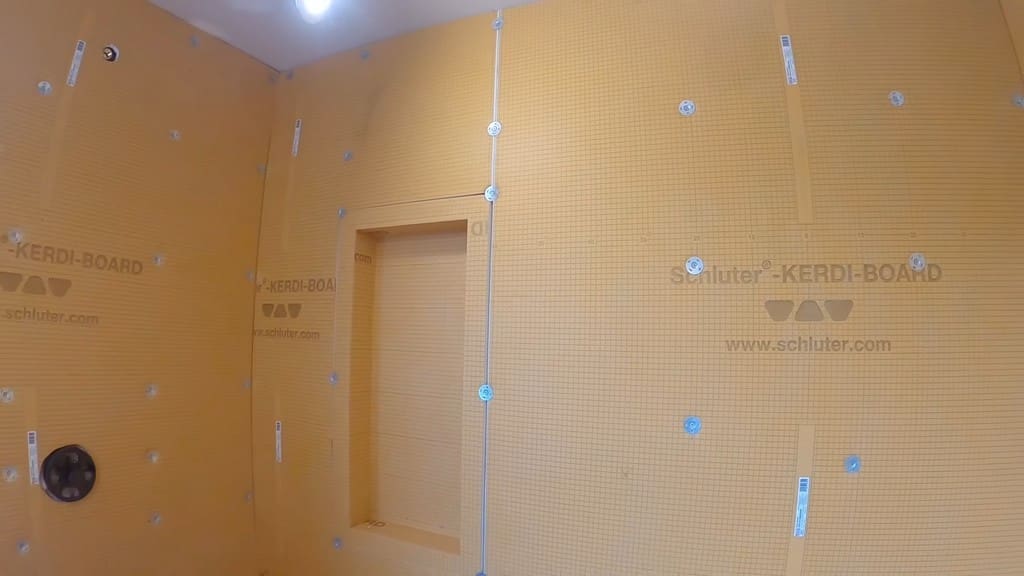
Here is a shot of the installed Kerdi board.
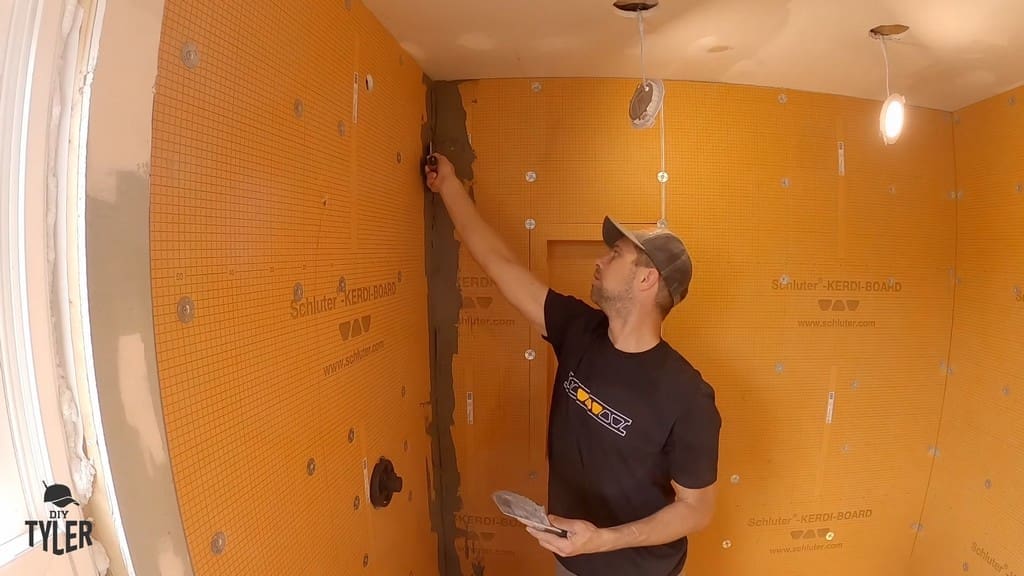
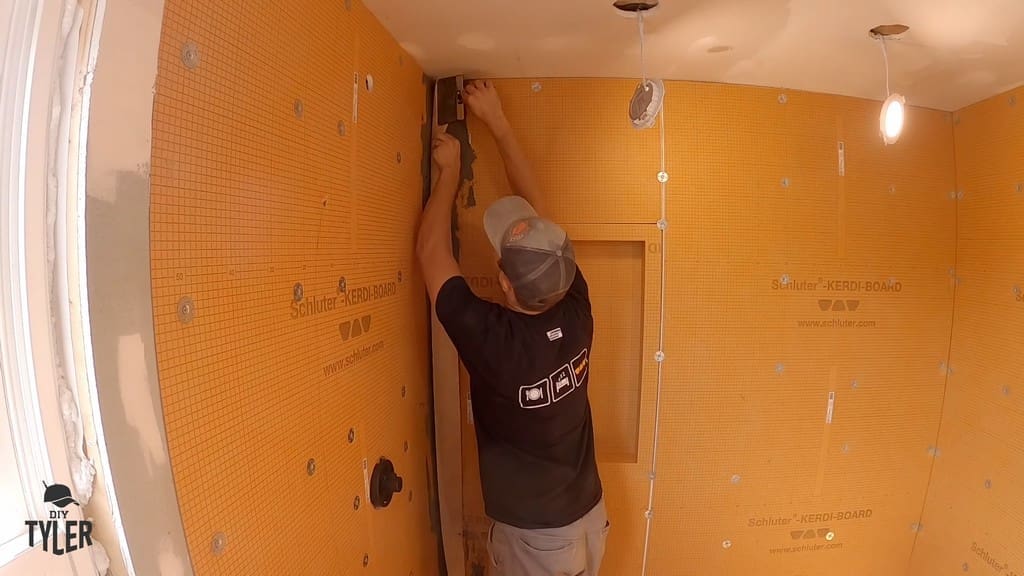
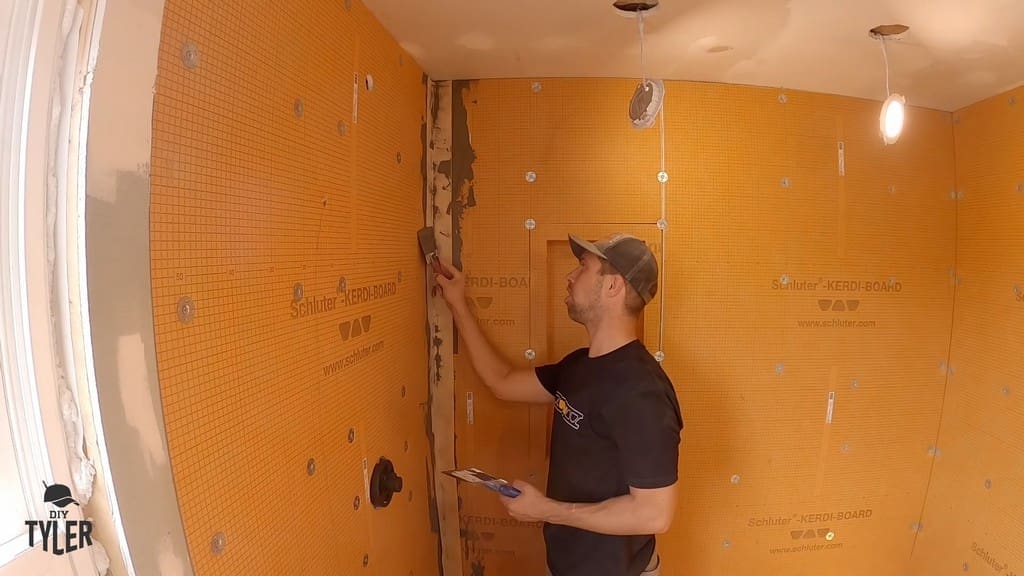
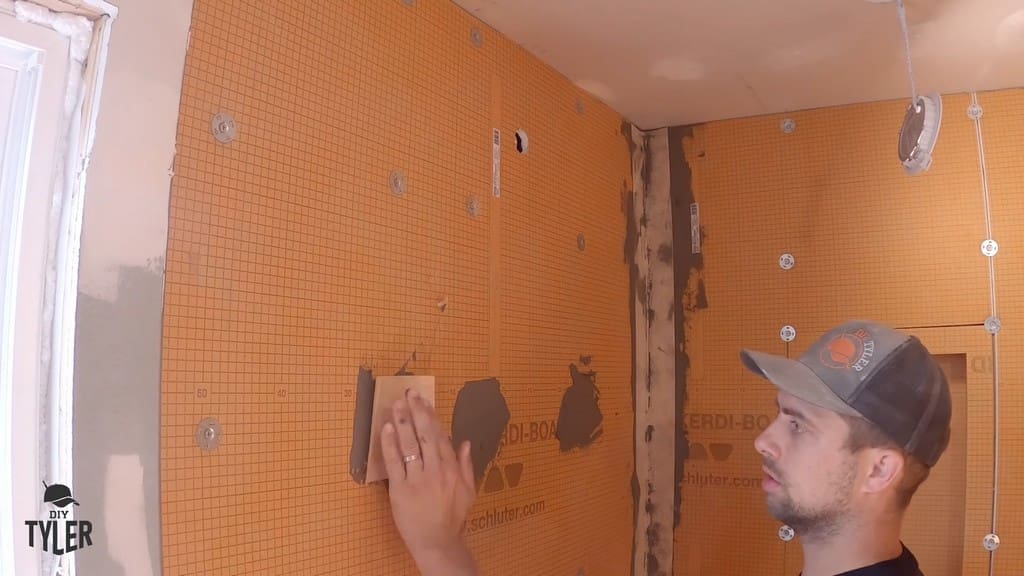
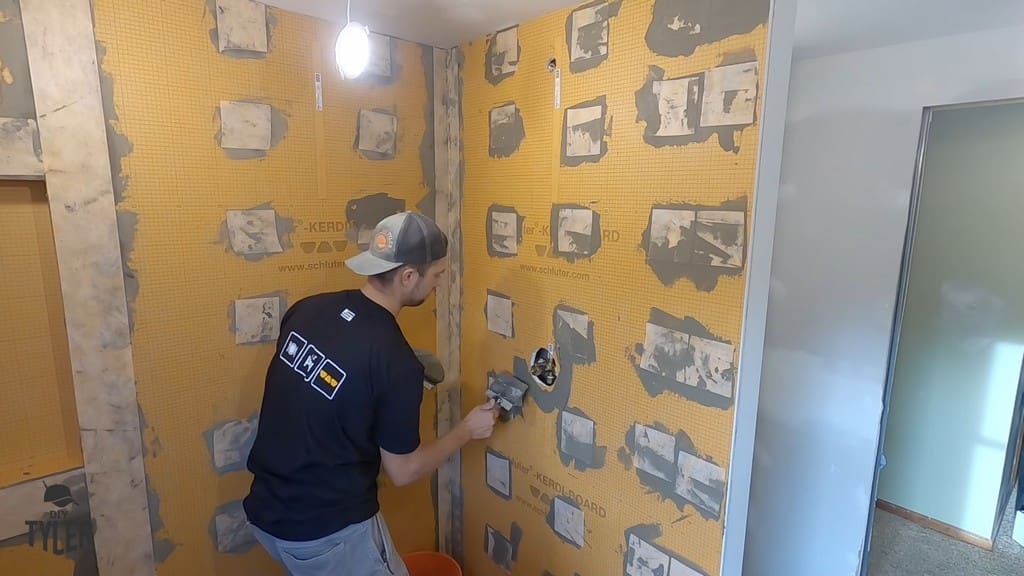
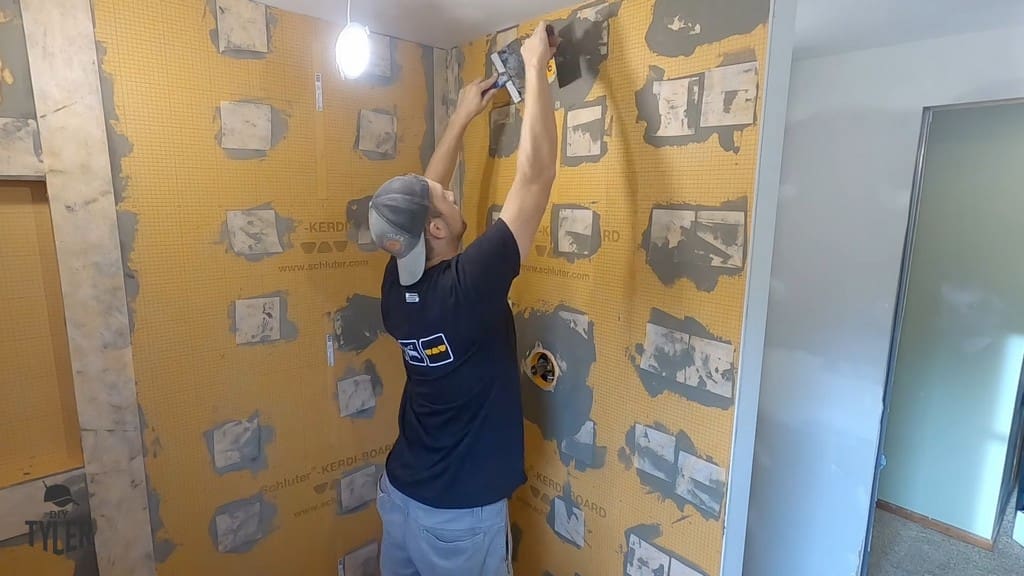
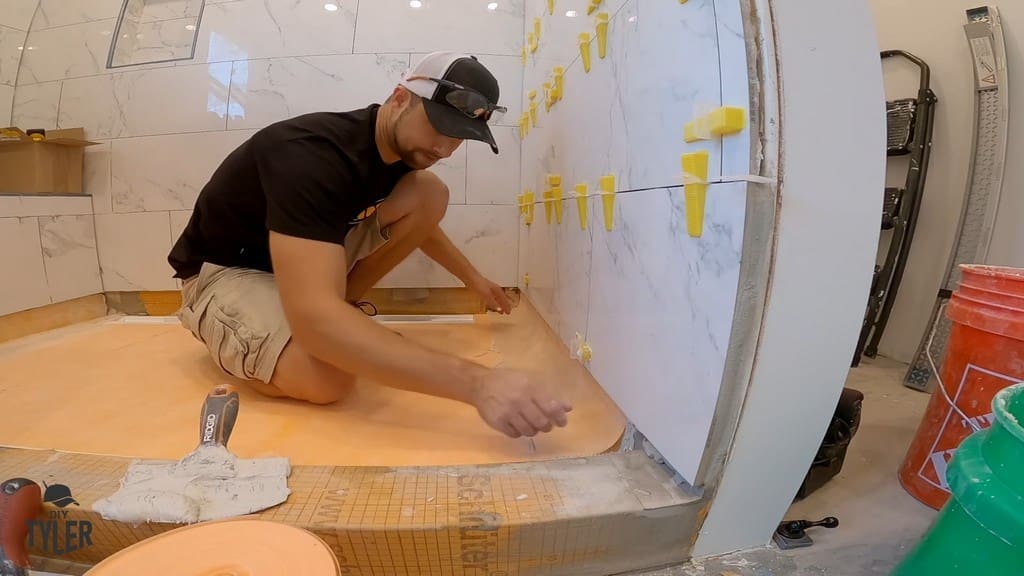
Patching Up Seams and Screw Holes
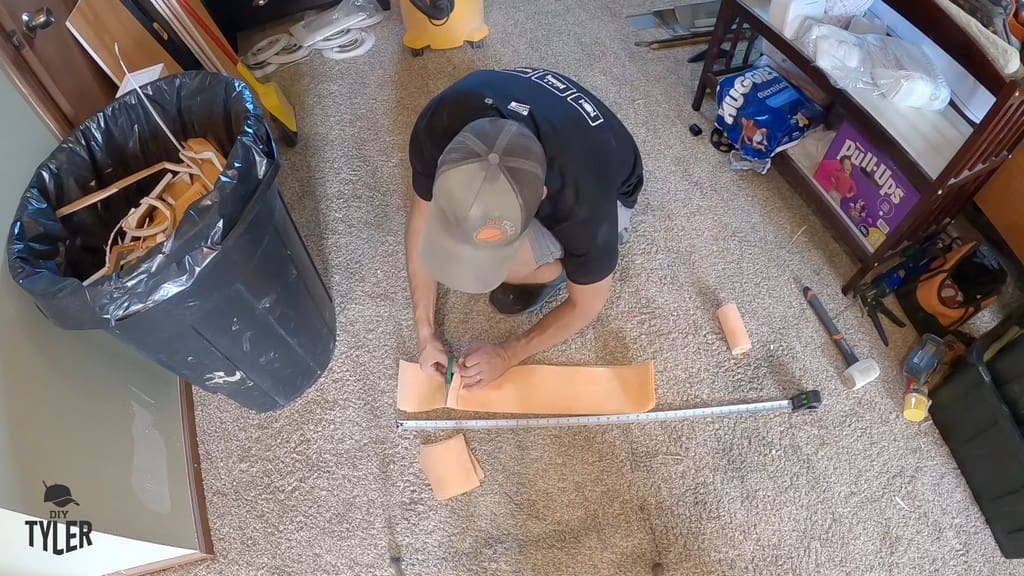
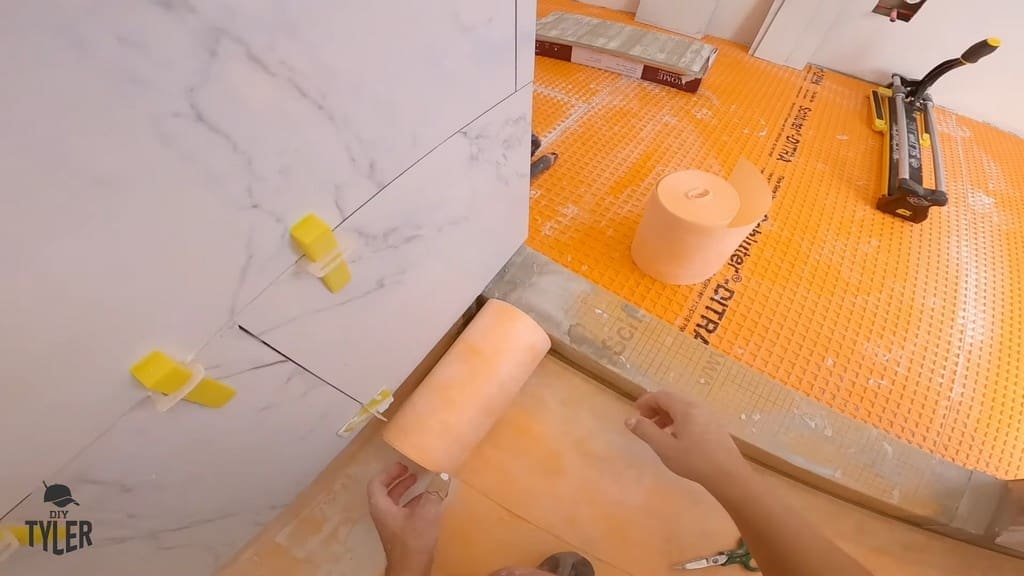
I prefer cutting the Kerdi band with a pair of scissors. My method is to roll out several strips and then cut them all at once into 5-inch pieces.
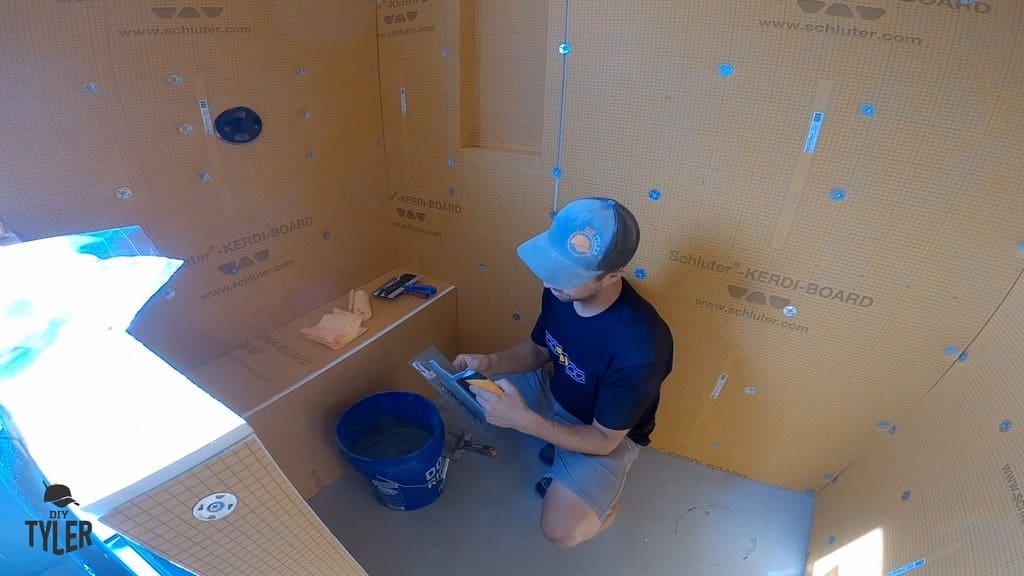
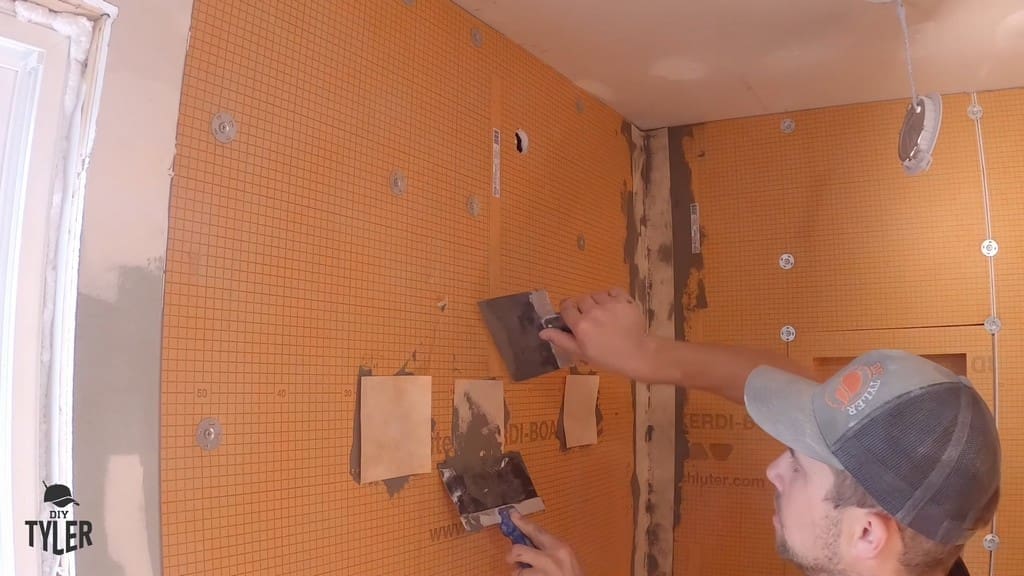
For waterproofing the screw areas and the seams in the Kerdi boards, you’ll want half a bucket of Schluter ALL-SET, two straight drywall knives (for getting into corners), and an 8×8 mortar scraper. Additionally, I’ve found it’s useful to use a RIDGID tile tool to scrape the ALL-SET mud out of the bucket.
In addition to the 5×5 Kerdi band pieces I cut out, I also used some pre-made inside and outside corner pieces.
First, I applied and smoothed out the mud onto the corners. Next, I applied a long Kerdi band to the corner. My two-knives method involved using one drywall knife to hold the band in place while smoothing out the opposite side with my other knife.
Although I didn’t need a mud covering over the Kerdi band, I did want to smear out all of the excess mud coatings from beneath the band. Above all else, this ensures a good bond.
For the screw holes, I applied a big dollop of mud, followed by slapping a 5×5 piece of Kerdi band into place.
Finally, I used my two-knives method again to stick these 5×5 pieces into place.
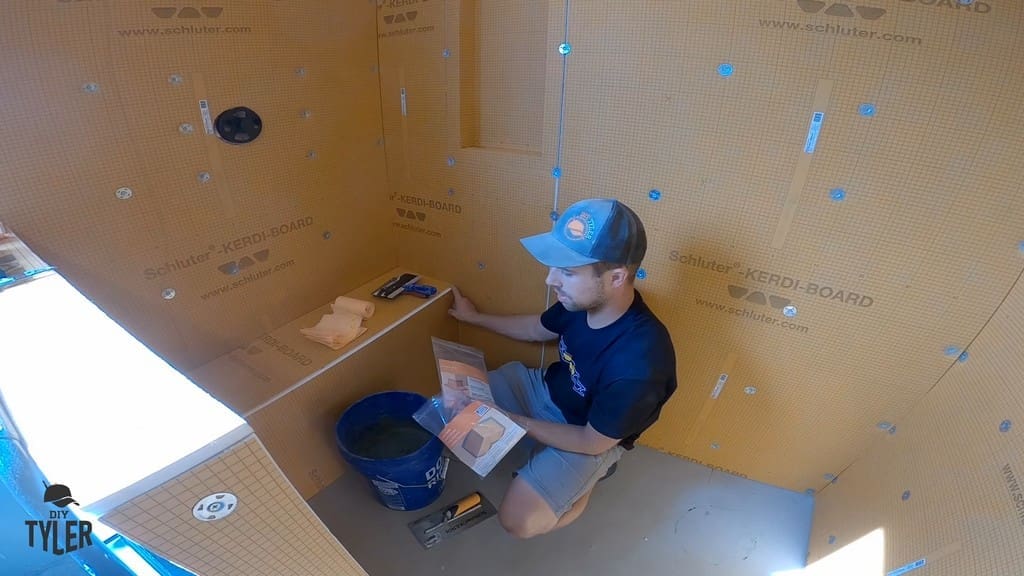
Applying Seal to Openings
For the mixing valve and showerhead pipe holes, I added a layer of mud around the hole-shaped openings. After smoothing that coat out, I applied the seal for the mixing valve. Make sure the thick side is facing the mixing valve inside the wall!
After installing these seals, I added a coat of mud as needed to the outside layer.
Installing the Walk-In Shower Bench
Now that I had waterproofed every part of the shower except the curb, I next turned to the bench. For starters, I laminated two boards that would serve as the first of the four legs for the bench.
Making sure those two mudded boards were flush, I repeated the process for the remaining bench legs.
Next, I installed the walls of the bench, making sure to properly level and mud them. I also applied the Kerdi band at the seams in the same manner described above.
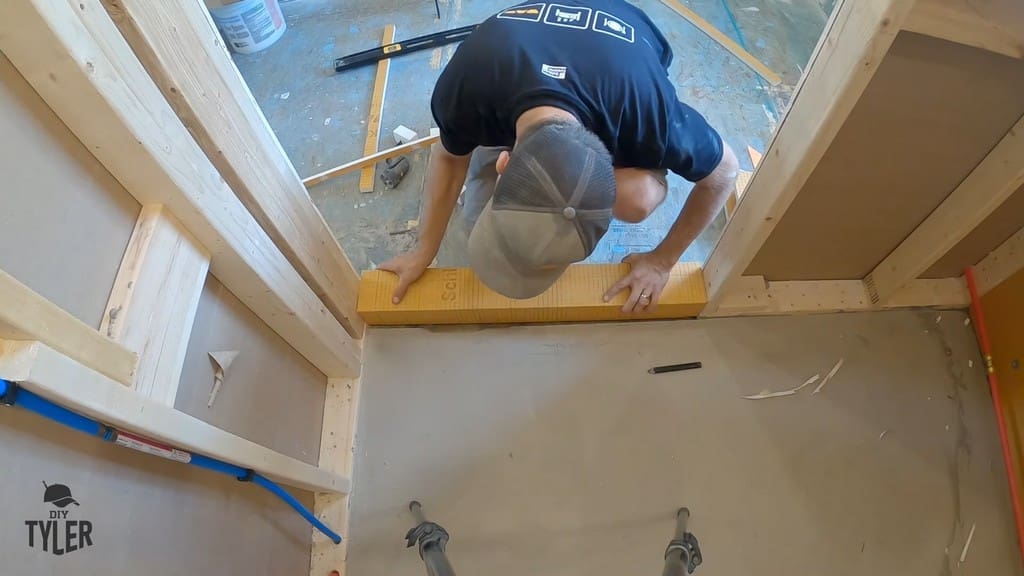
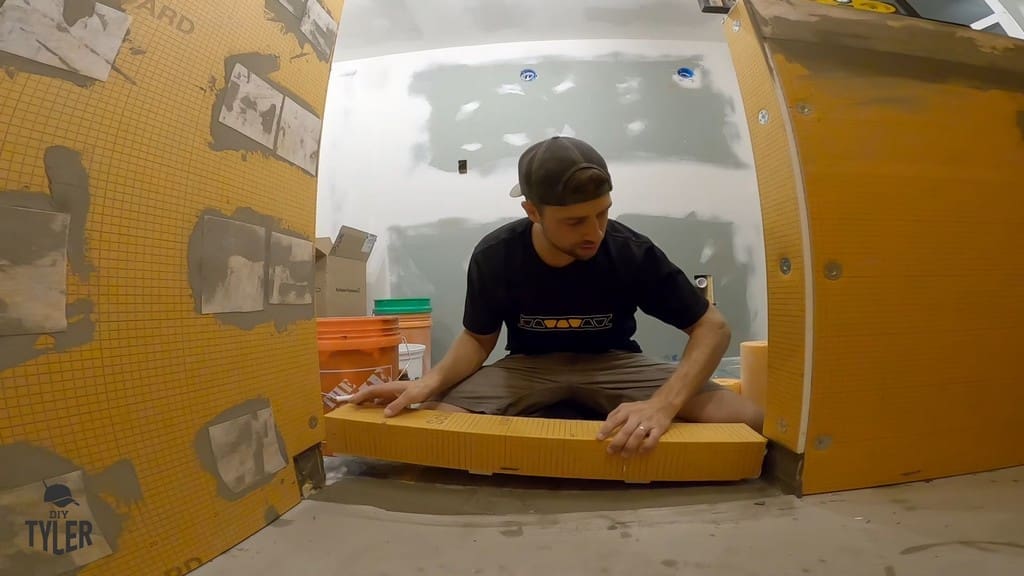
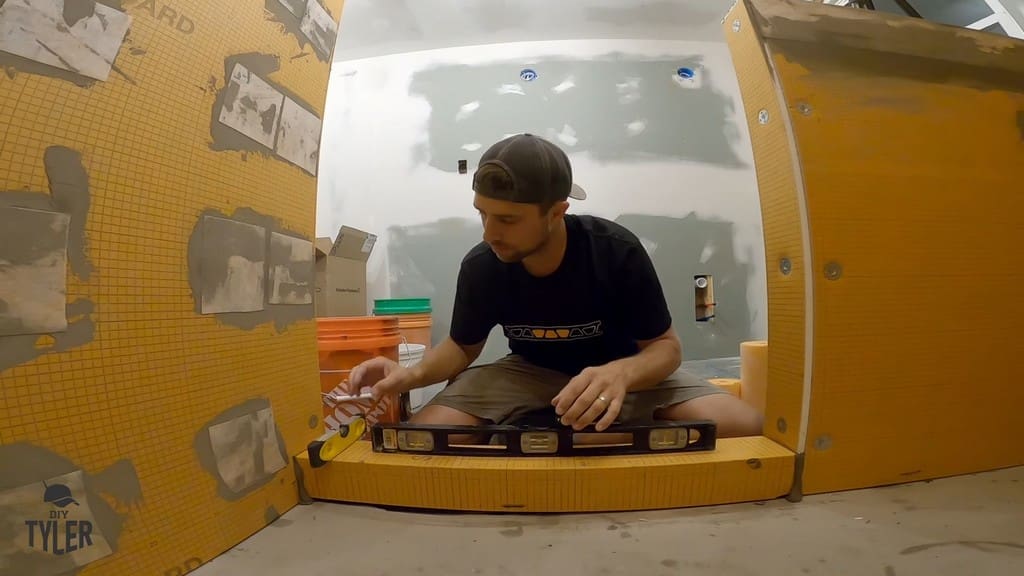
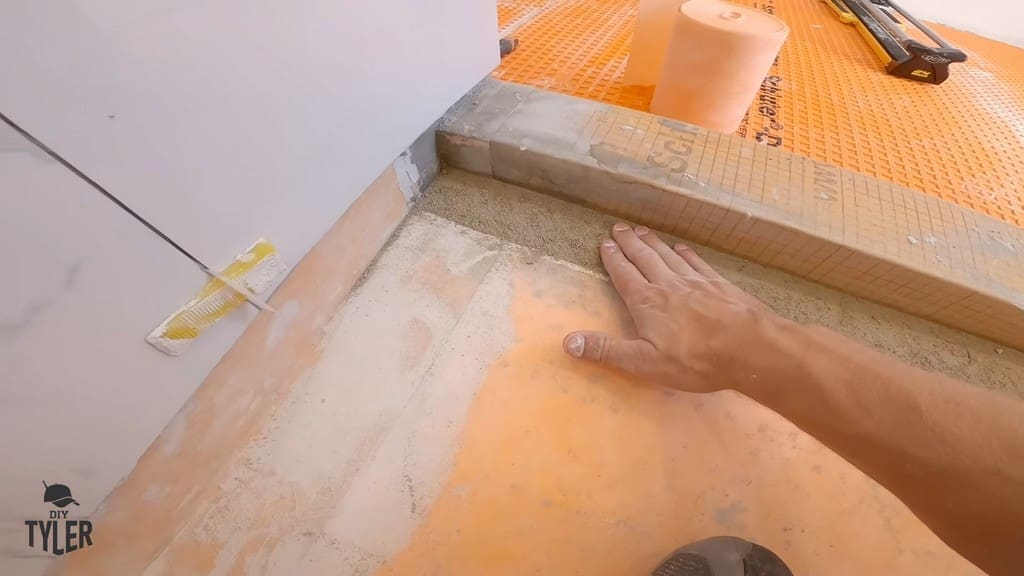
Mudding the Shower Curb into Place
With everything else done, I finally moved on to affixing and waterproofing the shower curb and the adjacent corners. I temporarily took the curb out, added some mud, then replaced the curb piece.
After establishing the level and pitch of the installed curb, I mudded the seams and applied the Kerdi band tape as before.
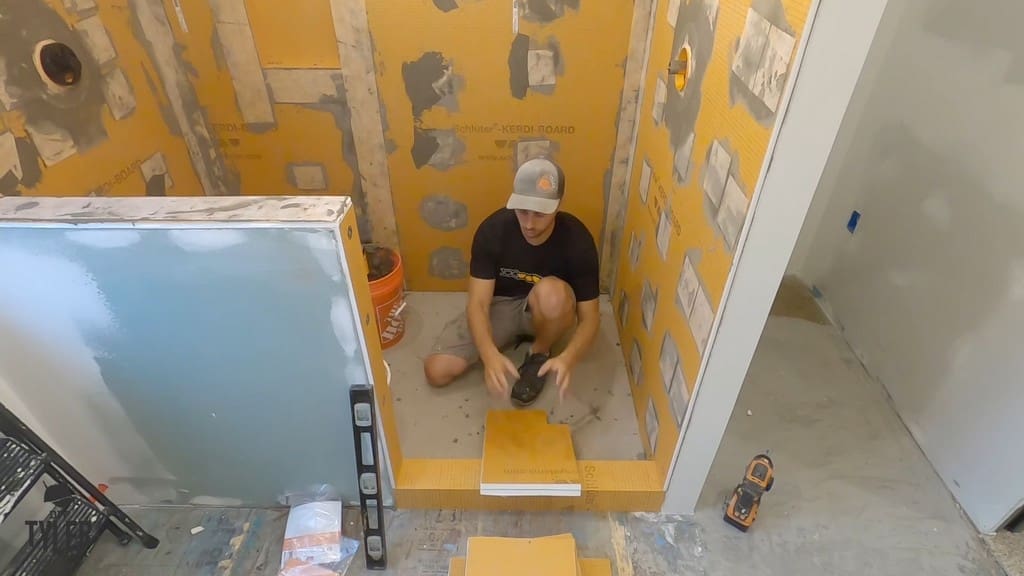
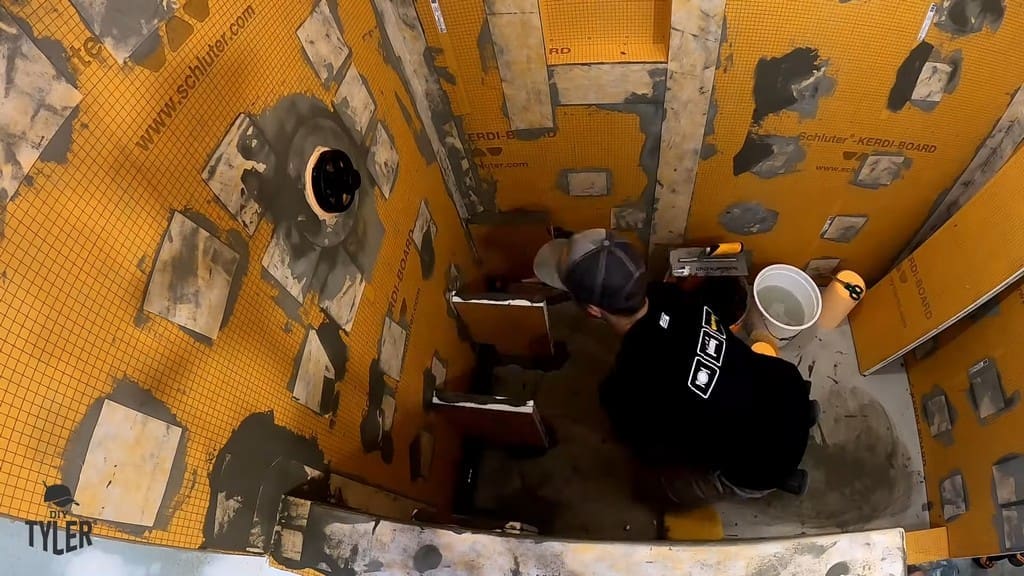
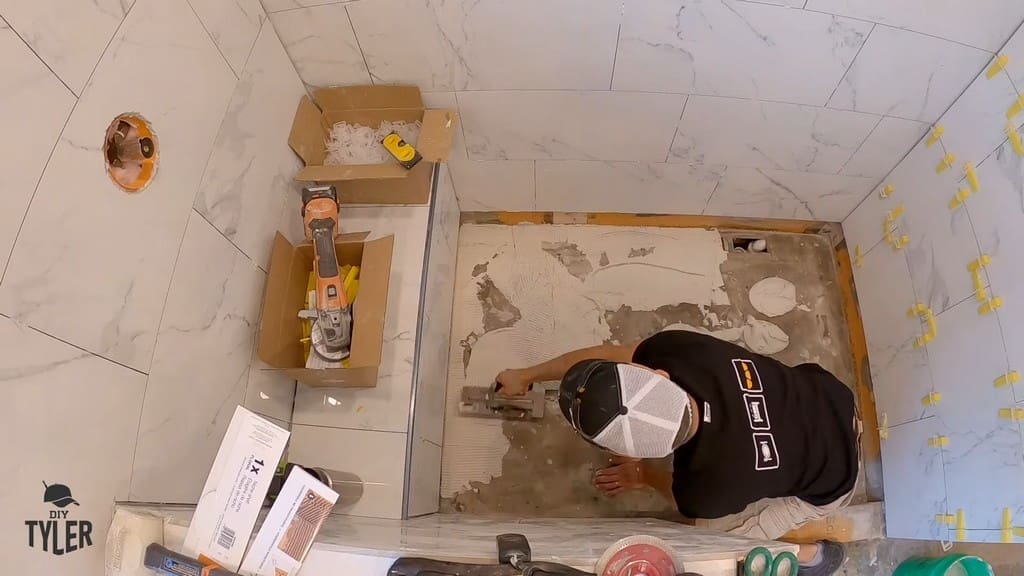
Installing the Shower Pan and Drain Pieces
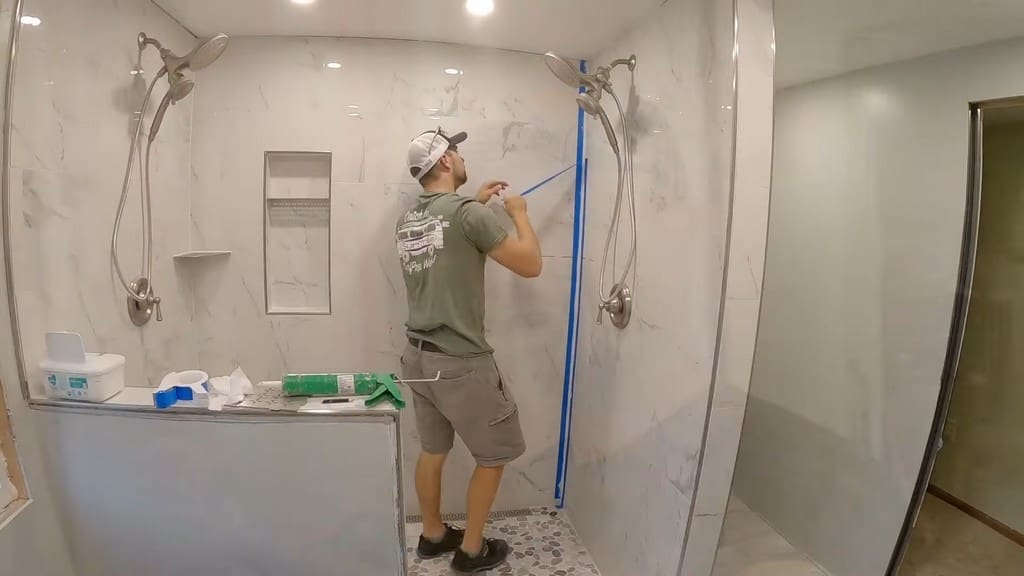
We’ll show the tiling process in a separate video and article, but for now, I’m going to jump forward in time to when I installed the shower pan, which was the final step in the shower waterproofing process.
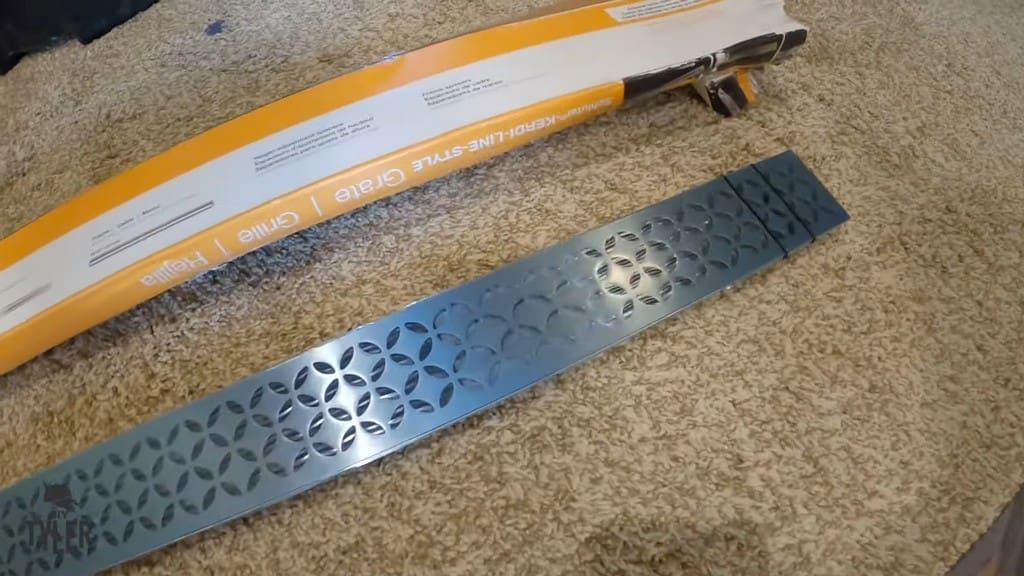
We chose a lovely floral-patterned linear drain from Schluter. I paired this with a Schluter channel body that included an offset drain.
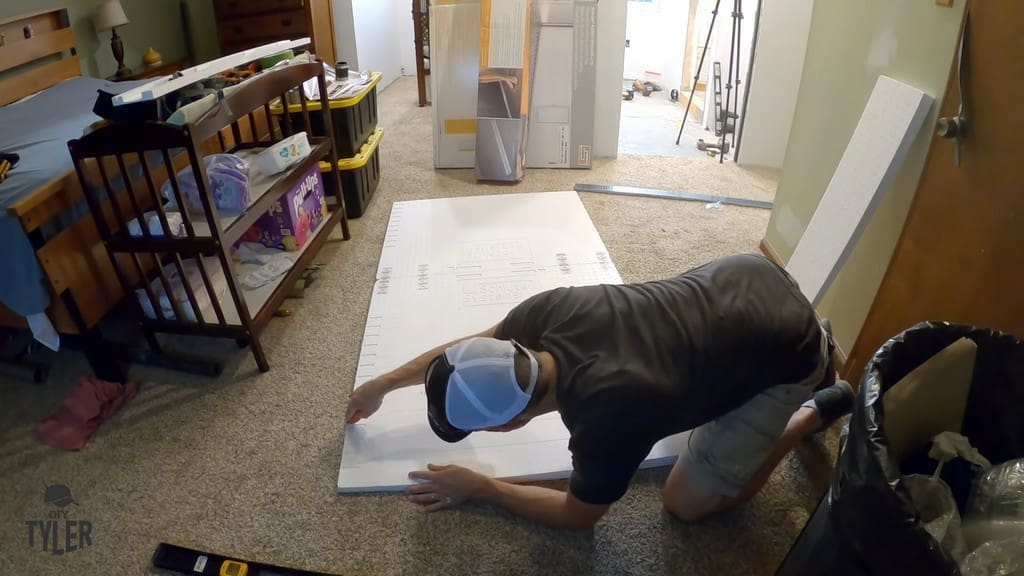
Measuring and Cutting the Shower Pan
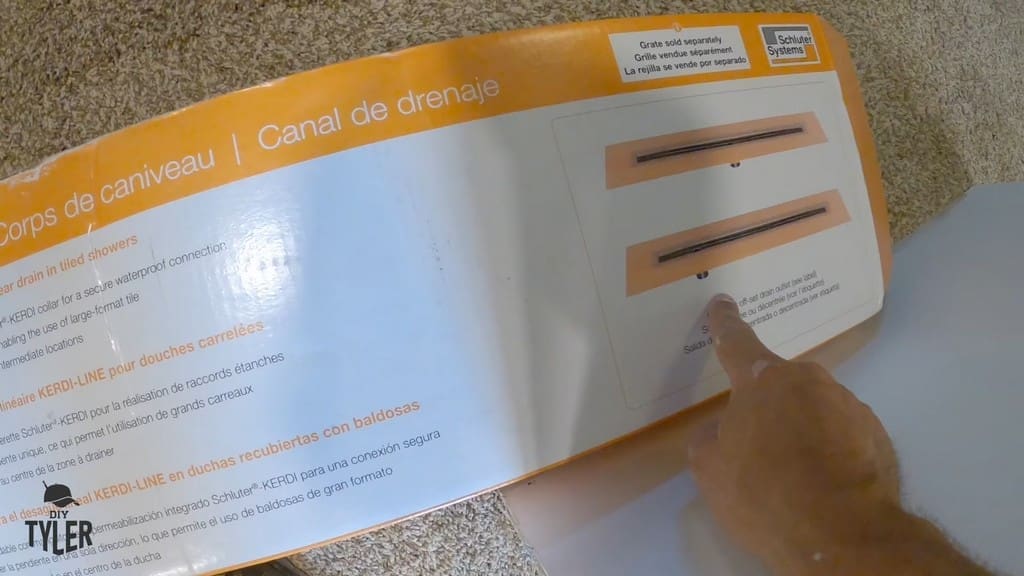
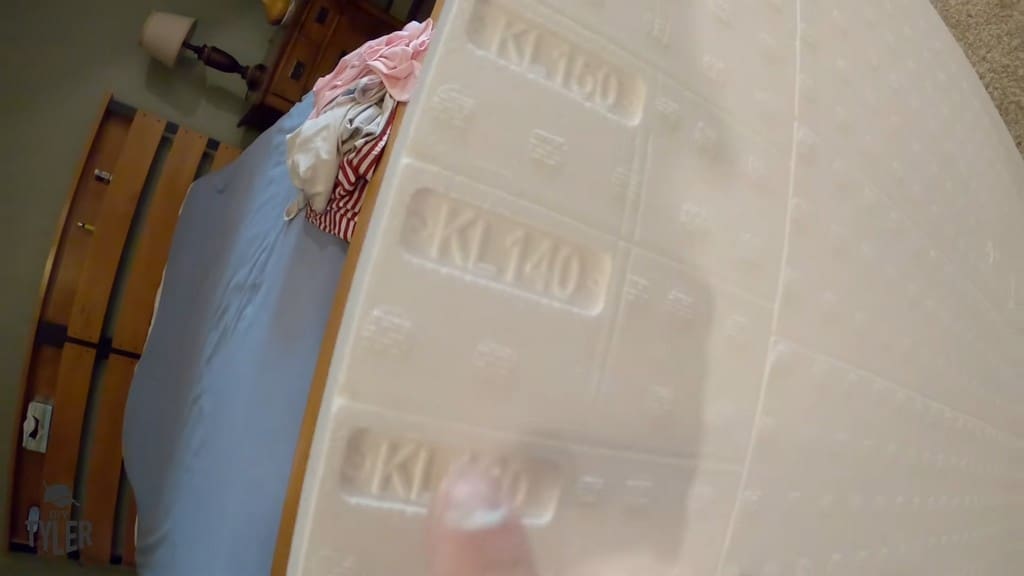
Note these handy markings on the back of the prefabricated shower pan. You simply have to match the unit number from your separately purchased channel body to the marking on your shower pan.
This gives you the right markings to cut along so that you can cut your shower pan to match the size of your channel body.
Cutting the shower pan is as simple as carefully scoring it alongside your level, then removing your level and cutting in deeper with a full-blade cut along the guiding line you just scored into the material.
Despite the cuts, you won’t be able to break the cut piece off of the main body of the shower pan without some force. I rested the shower pan onto my level near the break line, then I used my body weight to press down onto the piece I was removing.
After breaking the excess piece loose, I cleanly cut the remaining material on the opposite side.
I repeated this process for the other edges.
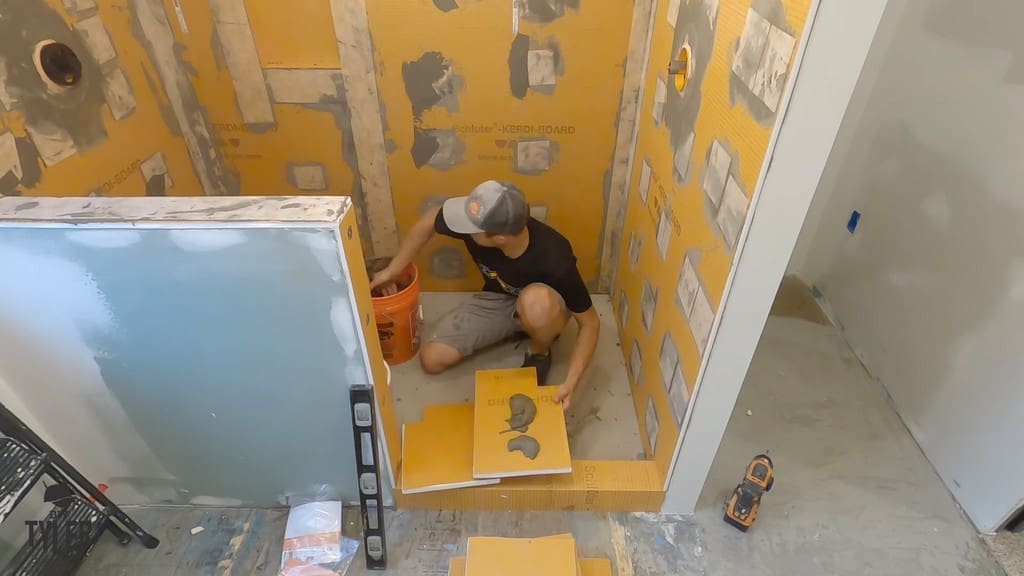
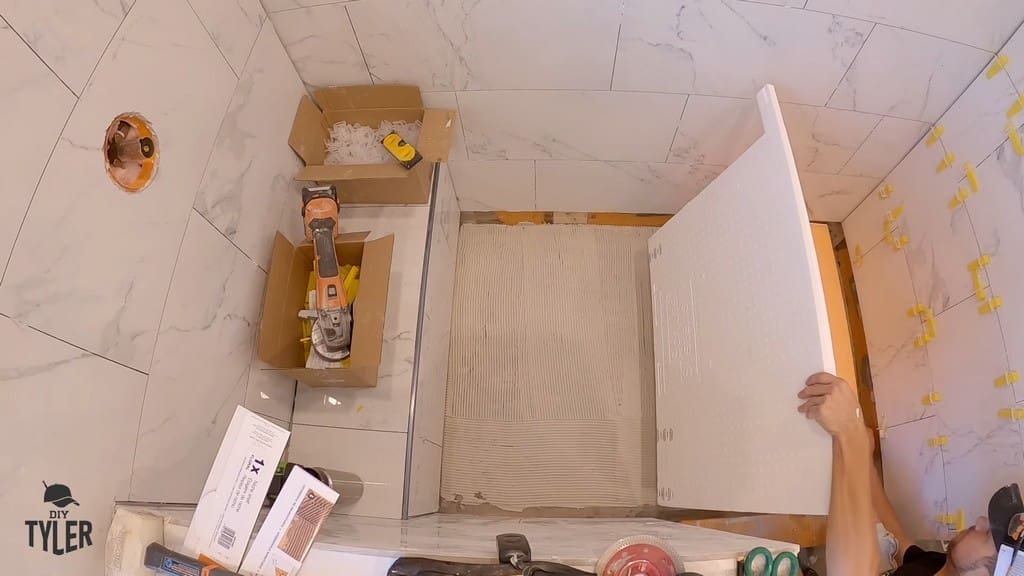
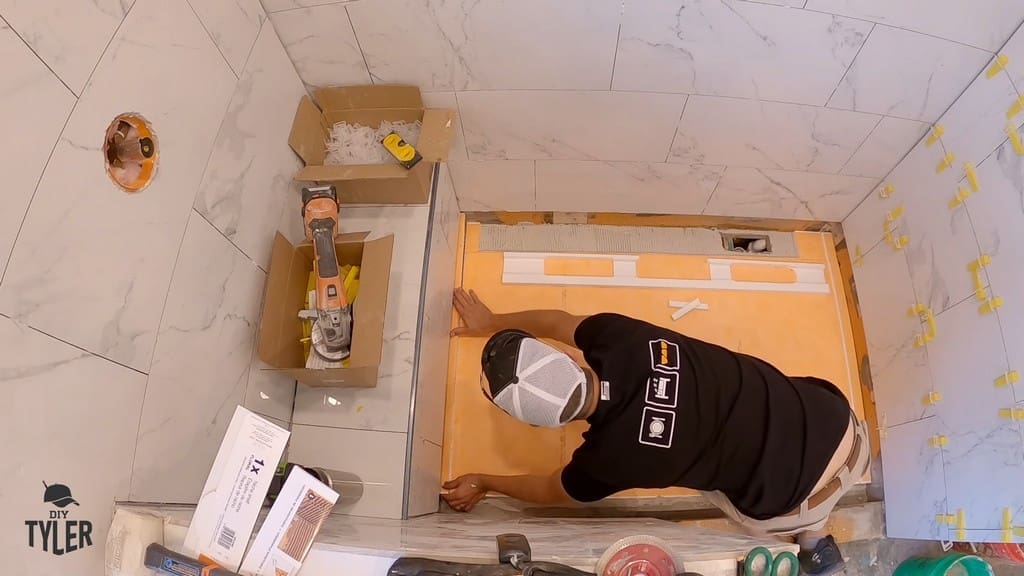
Putting the Shower Pan in Place
For mudding the floor of the shower, use more water than normal for the mud so that it can spread more easily.
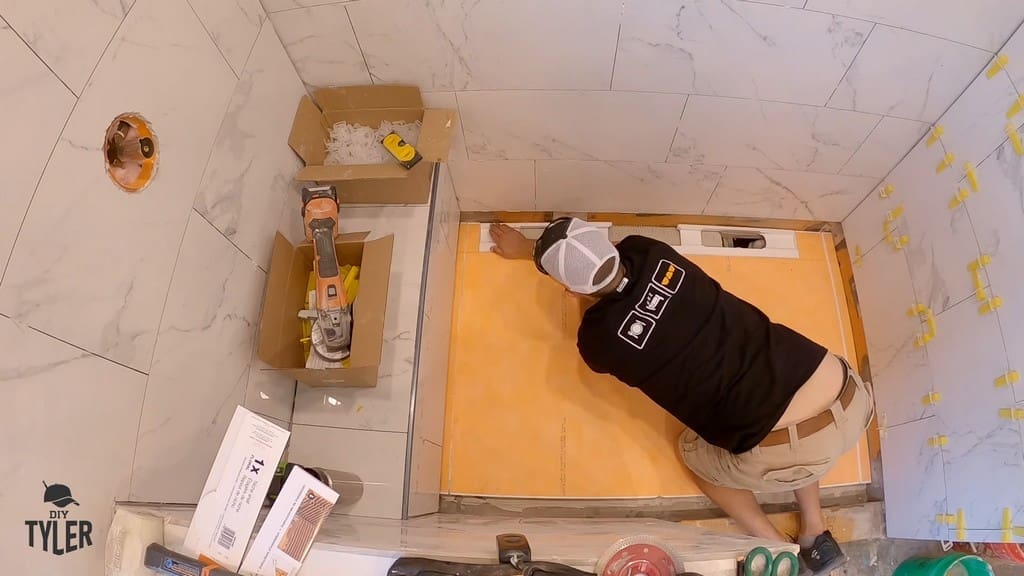
With the mudding finished, I laid out the shower pan in a couple of different pieces.
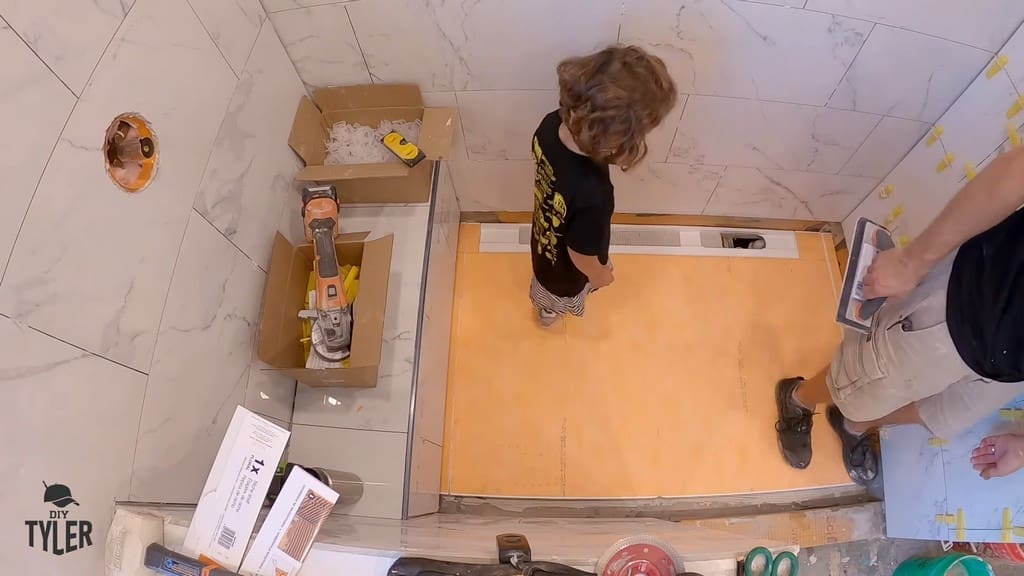
Now that all those pieces were in place, I installed the drain channel. I smoothed the pan out with my trowel and then tamped it down (with some assistance from one of my little helpers!).
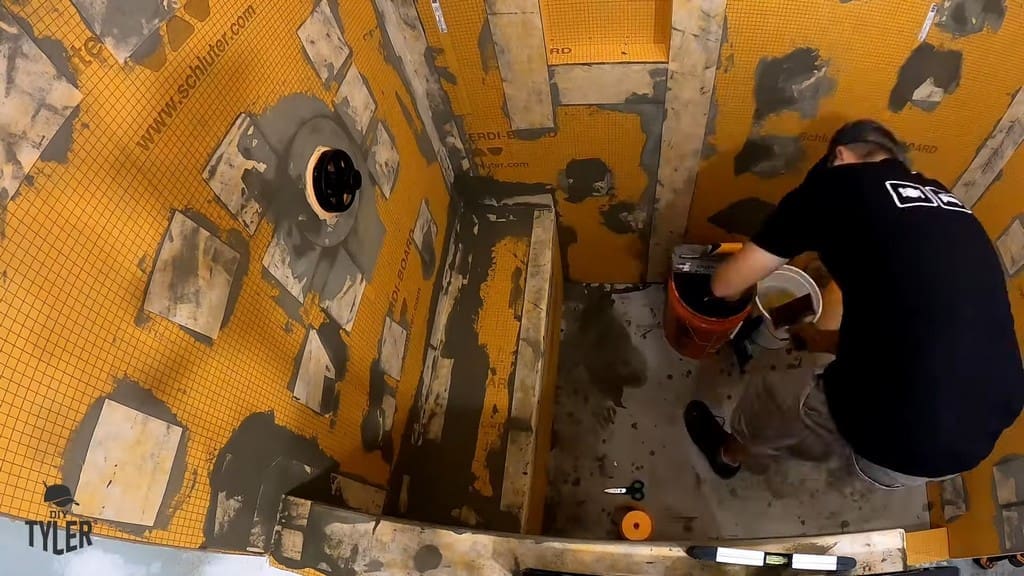
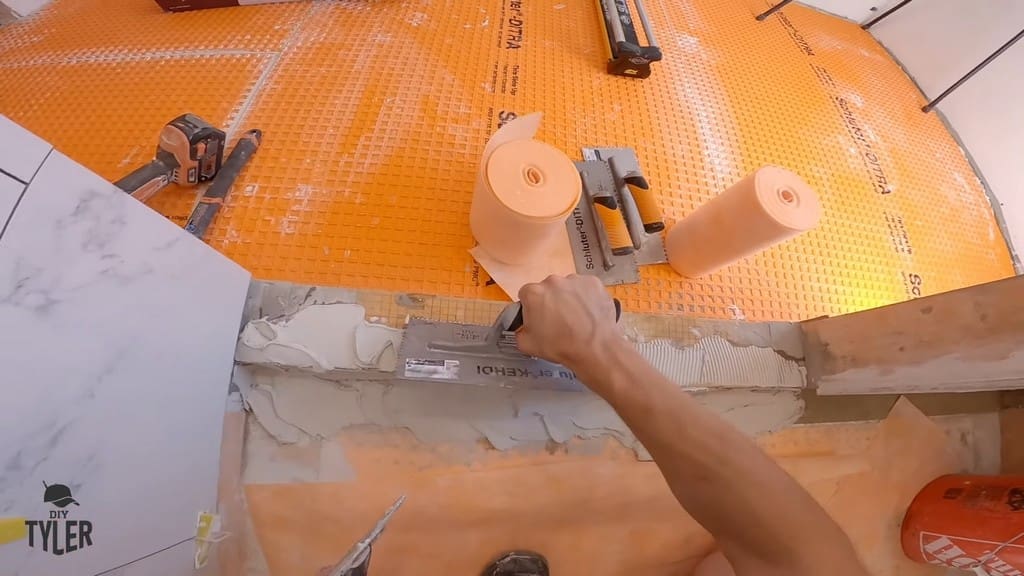
Now that I had installed the shower pan, I mudded the seams so that I could apply some 5-inch-wide Kerdi band.
Installing Shower Drain Pieces
For my drain pieces, I primed everything and then tightened the coupler piece ahead of time. I had to do this since we don’t have access to the plumbing beneath the shower.
Before installing, I spread some mortar to hold the channel down. After that, I pushed the drain pieces into place.
Unfortunately, I somehow failed to get video footage of installing the flower-patterned drain later on, but as you can see, the final product looks fantastic!
It wasn’t too tricky to get in there, either. The process was similar to the Kerdi wrap process found throughout this article.
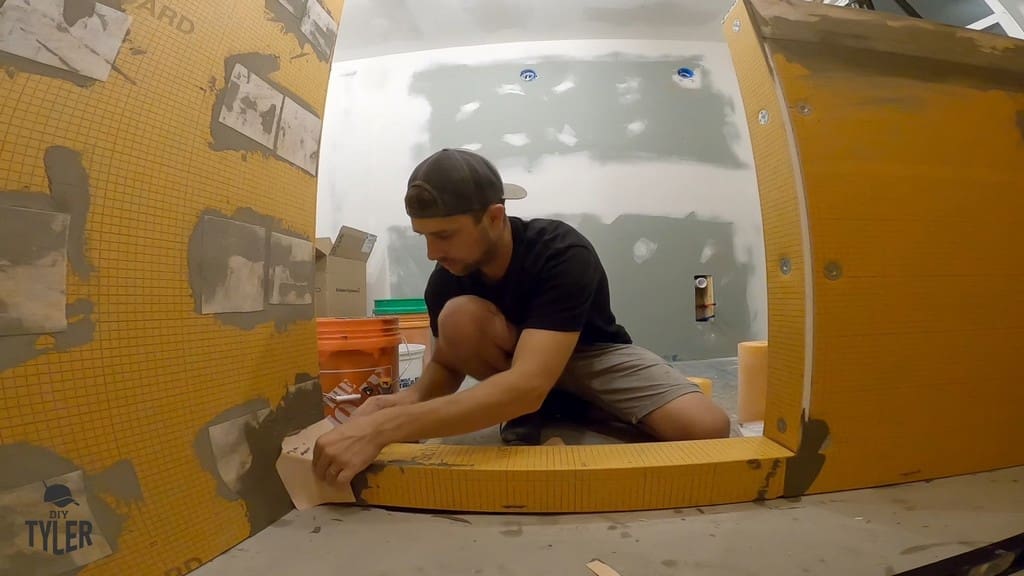
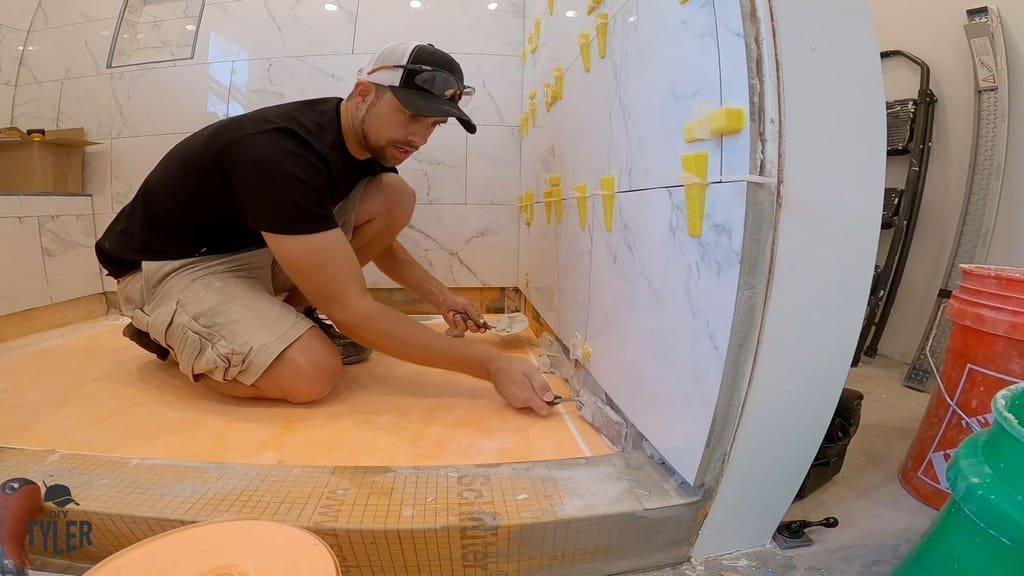
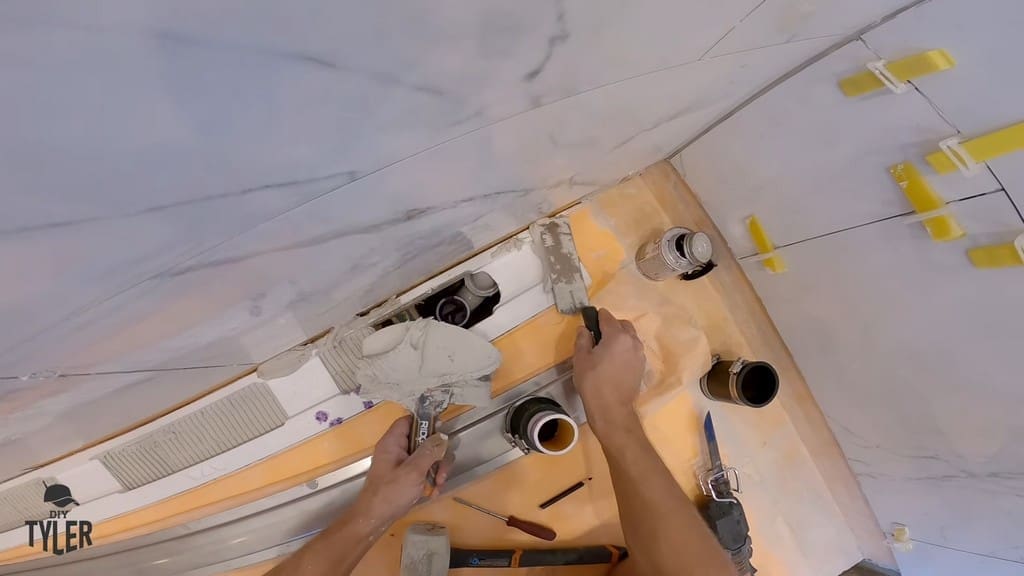
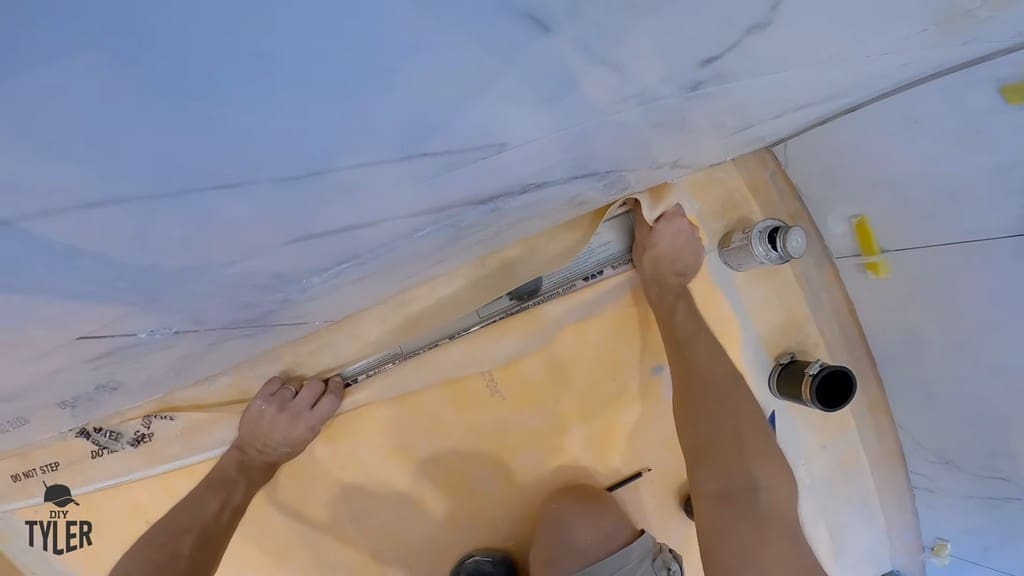
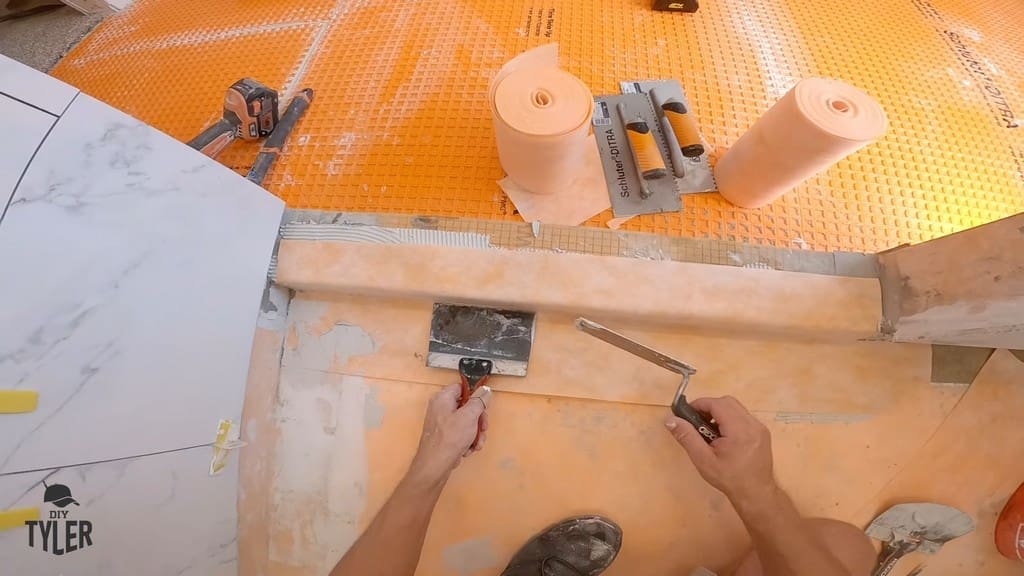
Waterproofing the Walk-In Shower Curb
Moving back to the earlier section of the project, here I’m sitting with the dry pack mortar next to the shower curb.
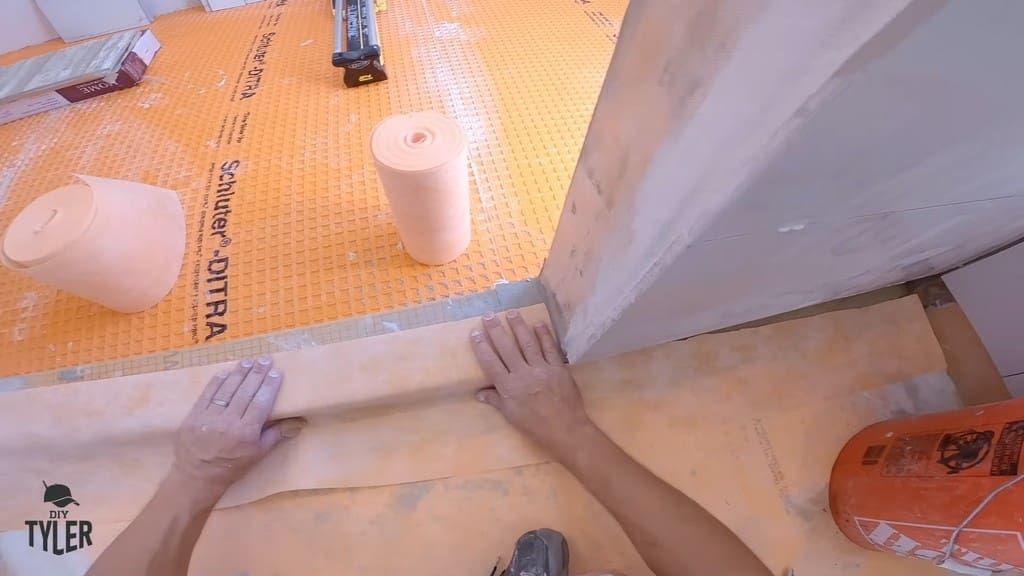
I rolled out my wider Kerdi band, cutting out a segment to allow part of the band to wrap over the curb.
For the section that fell against the wall of the shower rather than the curb, I ended up swapping out the wider Kerdi band for my 5-inch wrap.
Next, I followed the typical process for mudding, scraping, and applying the Kerdi band.
Final Thoughts
Finally, I’m happy to present the completed shower, along with a shot of the pre-tiled shower as it had looked before I applied the Kerdi band patches.
Certainly, anyone can follow the Schluter system to waterproof the way I did. The end result is a magnificent shower that is worth the effort and the hours you’ll put into it.
Keep your eyes posted for our next installment covering the tile work for this awesome shower project!
Please follow and like us:
5 thoughts on “DIY Guide to Waterproofing Your Walk-In Shower”
David
Hi,
Your install does not meet Schluter standards. I. E. Maximum 12 in vertical fasteners, among many others. Not saying it won’t hold, but definitely won’t be under warranty as is documented here.
David….his text says he did adhere to 12″
“With the board right where I wanted it, I screwed it in place. I had previously marked out where my studs were so I wouldn’t miss them. The vertical distance between the screws was 12 inches.”
this is an awesome blog. we just started a diy bathroom remodel and have been using blog posts like this for so much help. we’ve just finished the bathroom cabinet refinishing and are now working on the shower and water proofing! Thank you for the great tips and help! We’ll be coming back to this blog for more help!


5 thoughts on “DIY Guide to Waterproofing Your Walk-In Shower”
Hi,
Your install does not meet Schluter standards. I. E. Maximum 12 in vertical fasteners, among many others. Not saying it won’t hold, but definitely won’t be under warranty as is documented here.
David….his text says he did adhere to 12″
“With the board right where I wanted it, I screwed it in place. I had previously marked out where my studs were so I wouldn’t miss them. The vertical distance between the screws was 12 inches.”
How much do you charge for a shower like that
this is an awesome blog. we just started a diy bathroom remodel and have been using blog posts like this for so much help. we’ve just finished the bathroom cabinet refinishing and are now working on the shower and water proofing! Thank you for the great tips and help! We’ll be coming back to this blog for more help!
Pingback: Waterproof Your Shower Floor: A Step-by-Step Guide