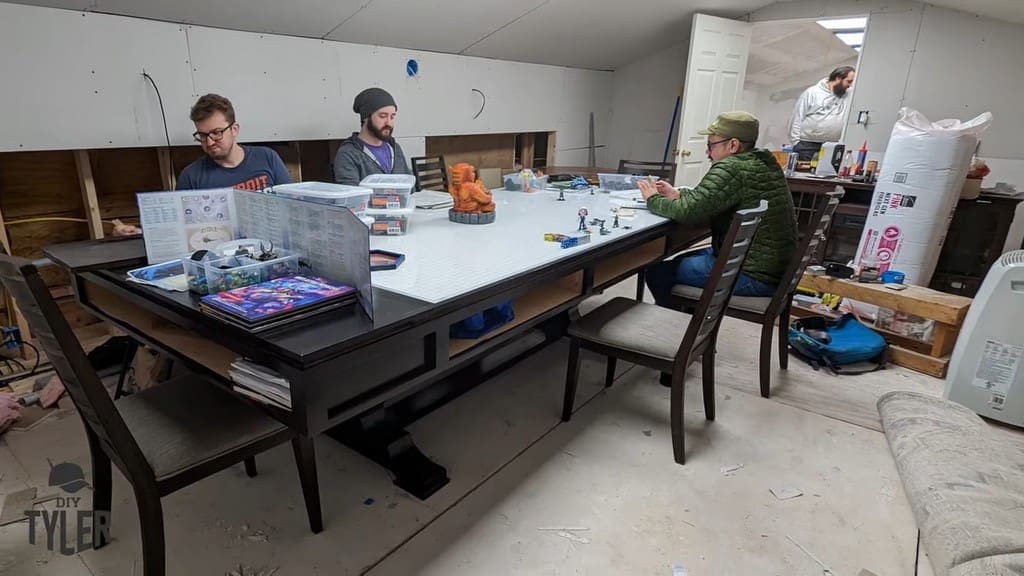
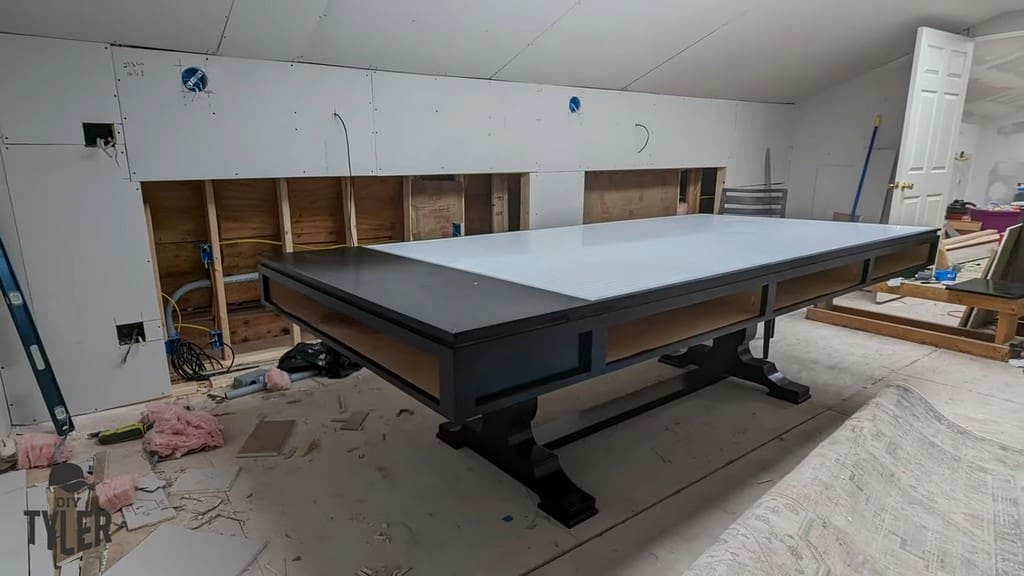
This is the start of a 10’x4’ DIY D&D game table build! If you’re a fan of the site, you know I love building a good game table!
This massive Dungeons & Dragons gaming table was constructed with a hard maple pedestal base. I’ll be focusing on that section in this particular piece.
Meanwhile, a future piece will cover the table’s plywood top.
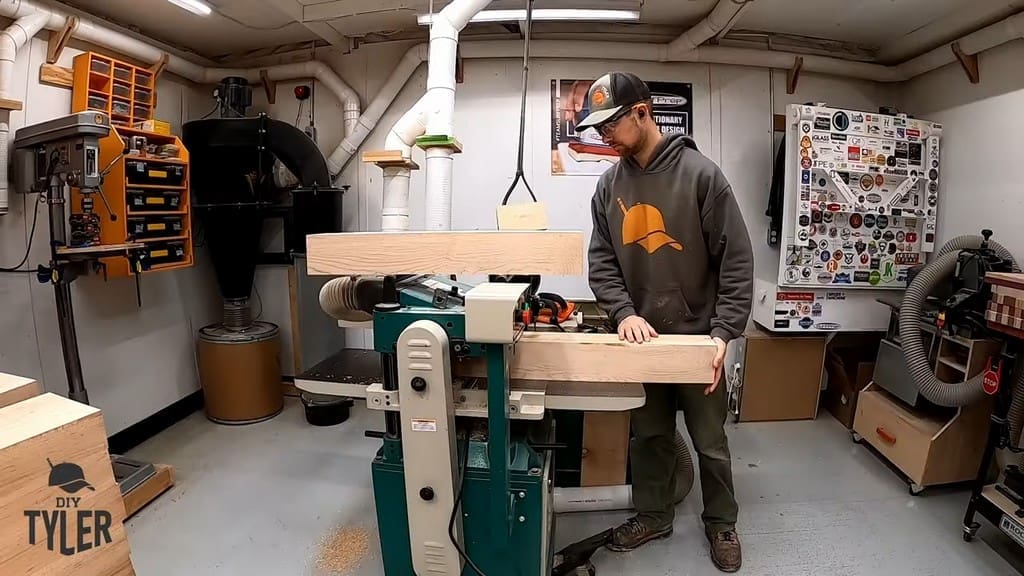

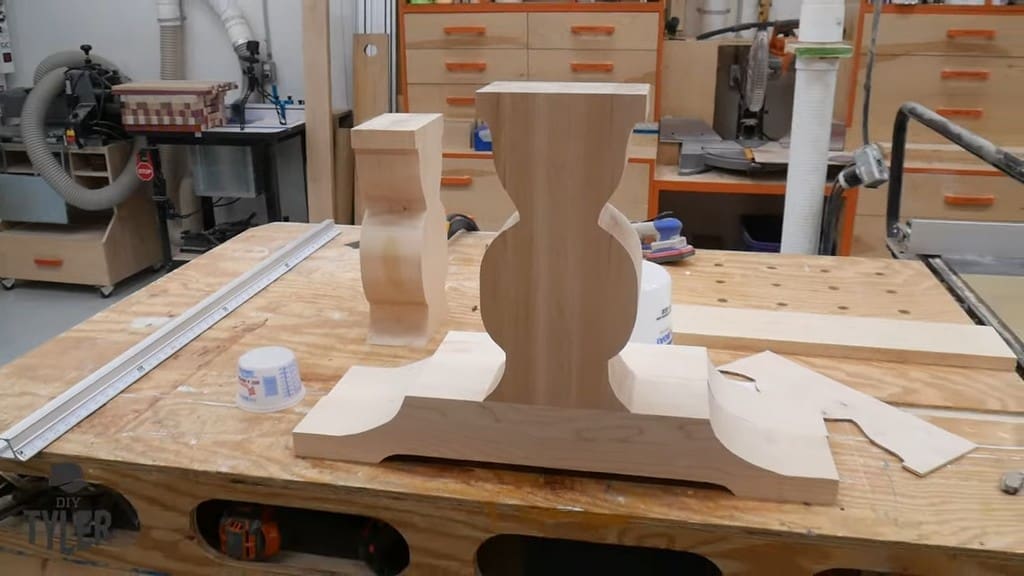
Milling and Cutting the Pedestal Pieces
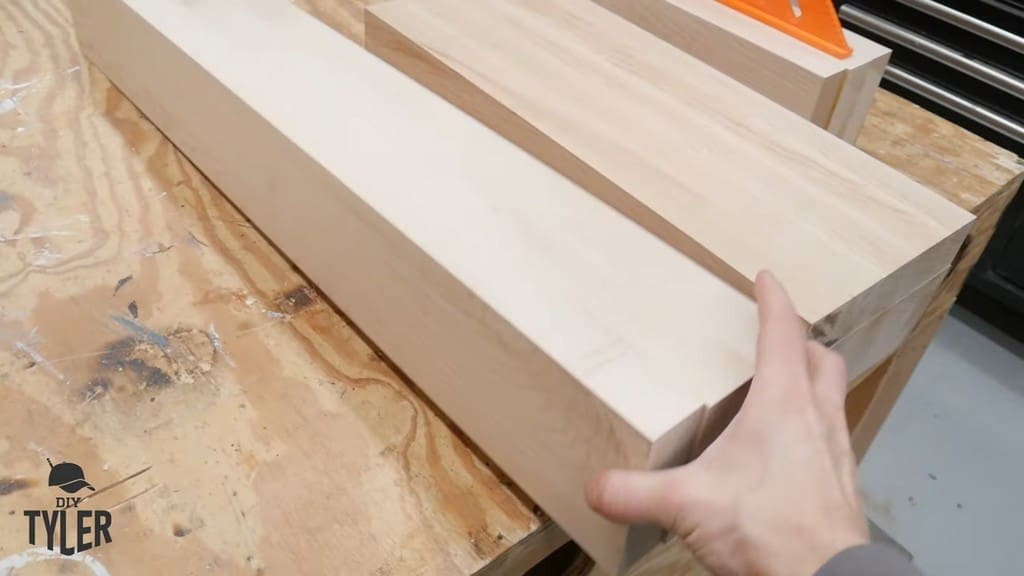
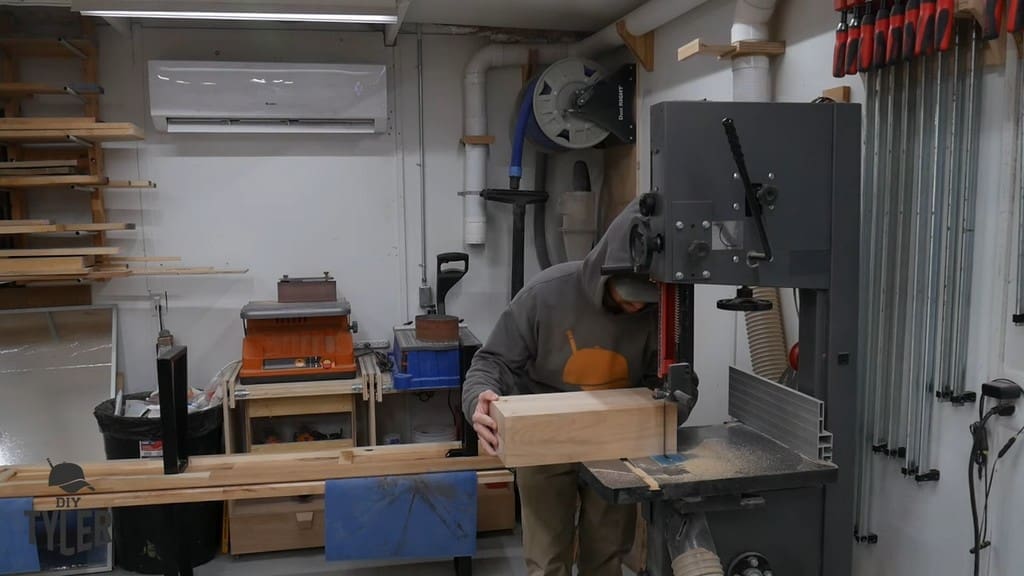
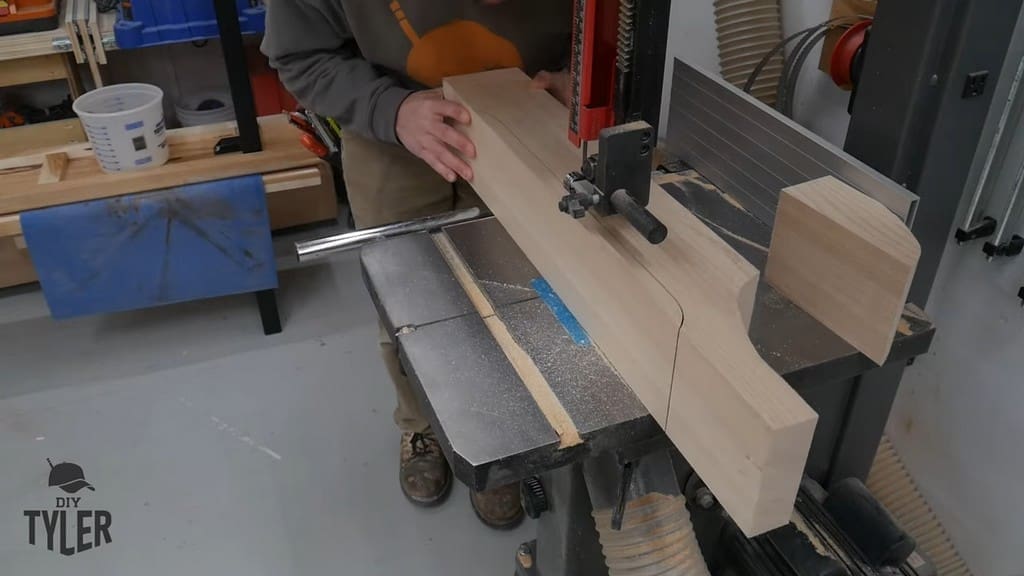
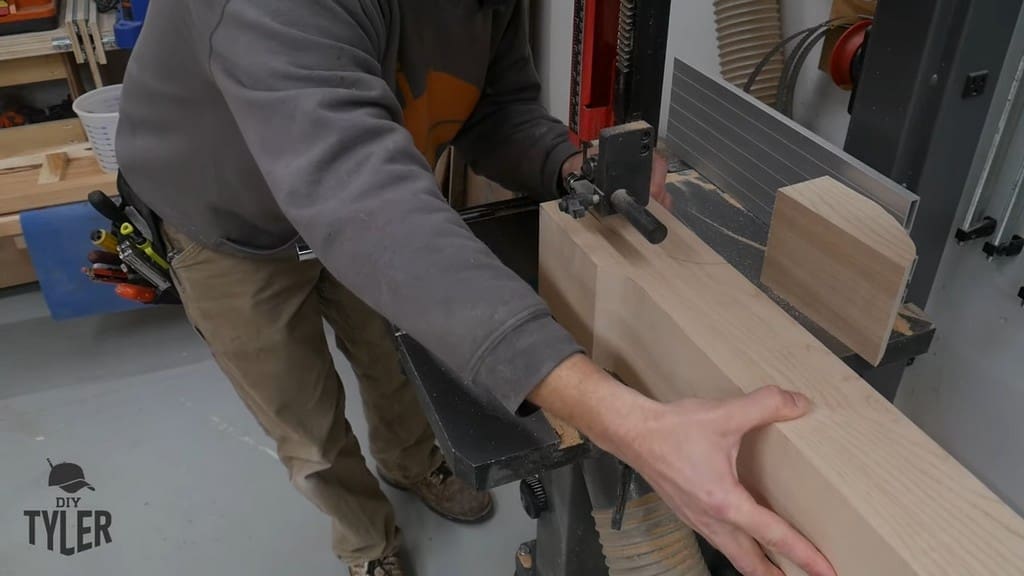
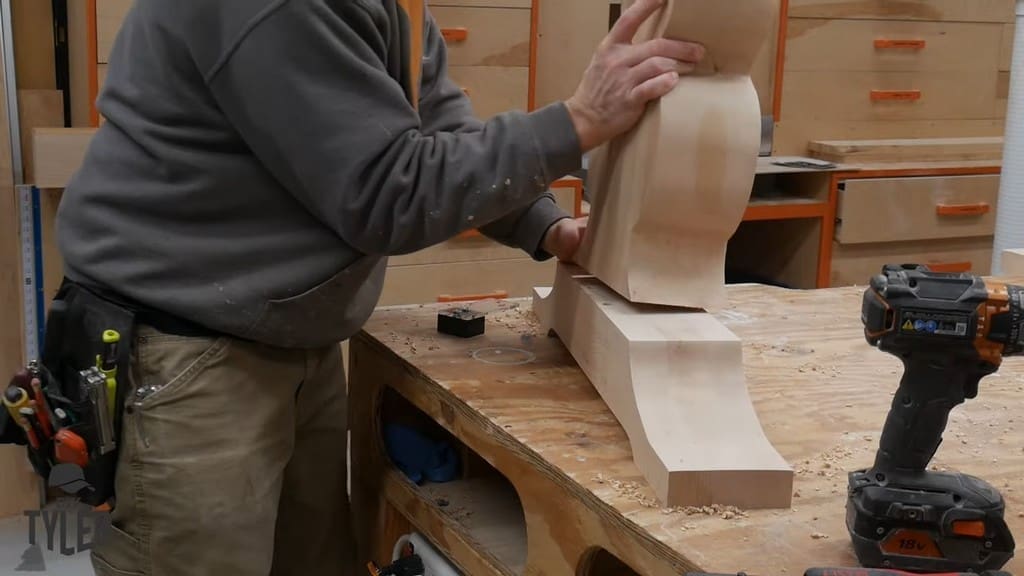
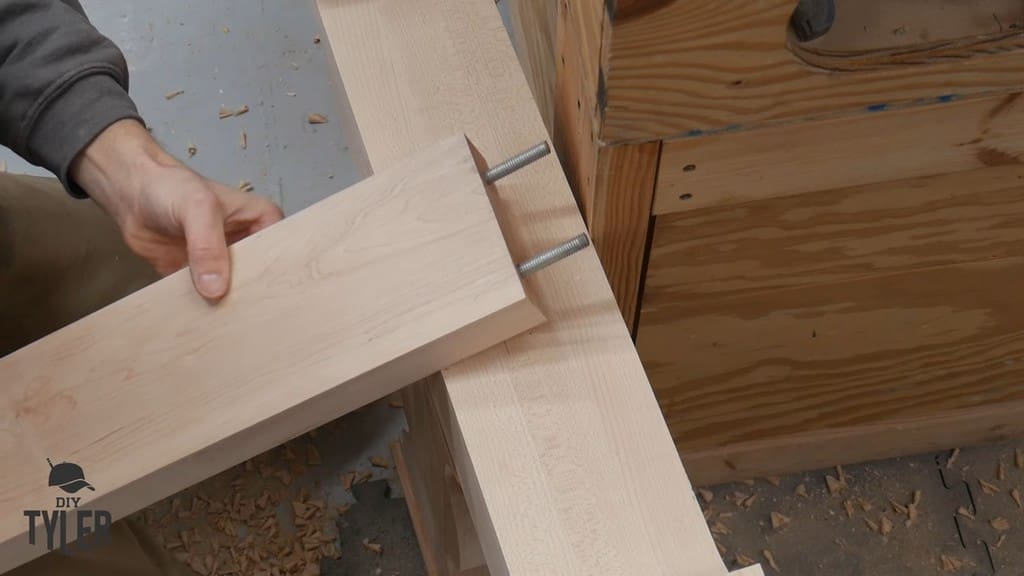
For the hard maple pedestal base, I had to laminate multiple sections together. The section I’m pictured holding was for the base. The thicker section made up the vertical portions used to give the pedestal a nice design.
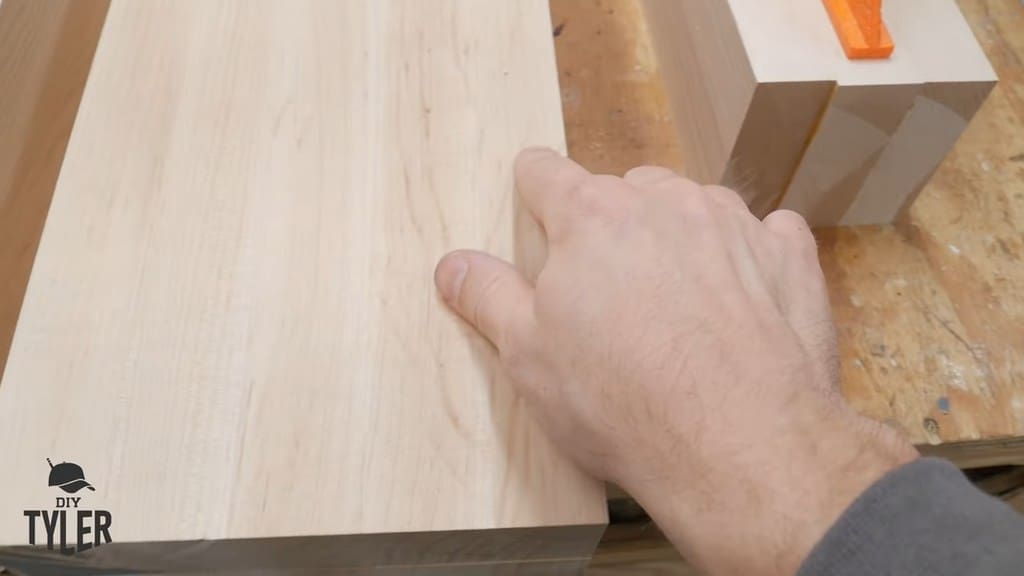
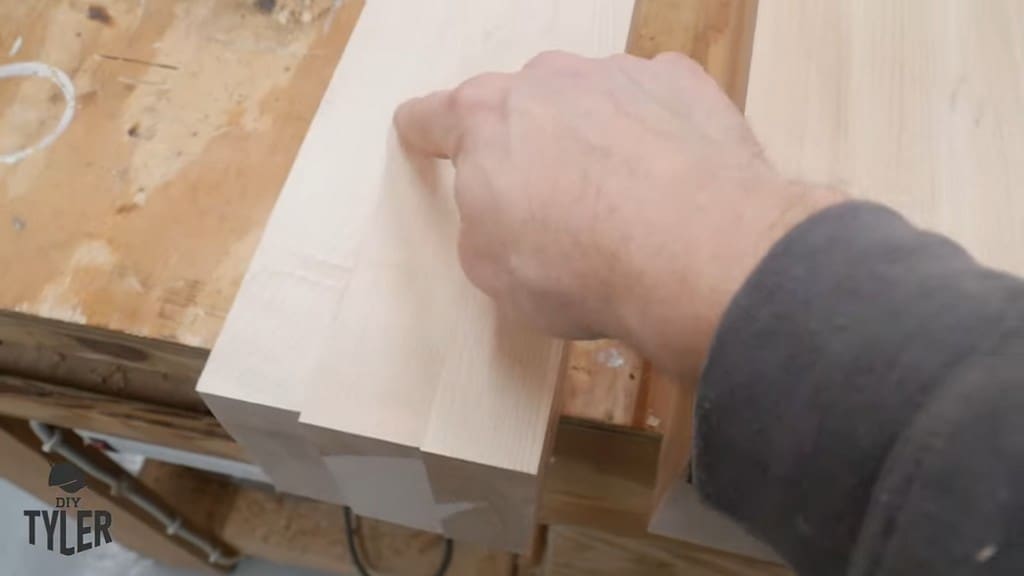
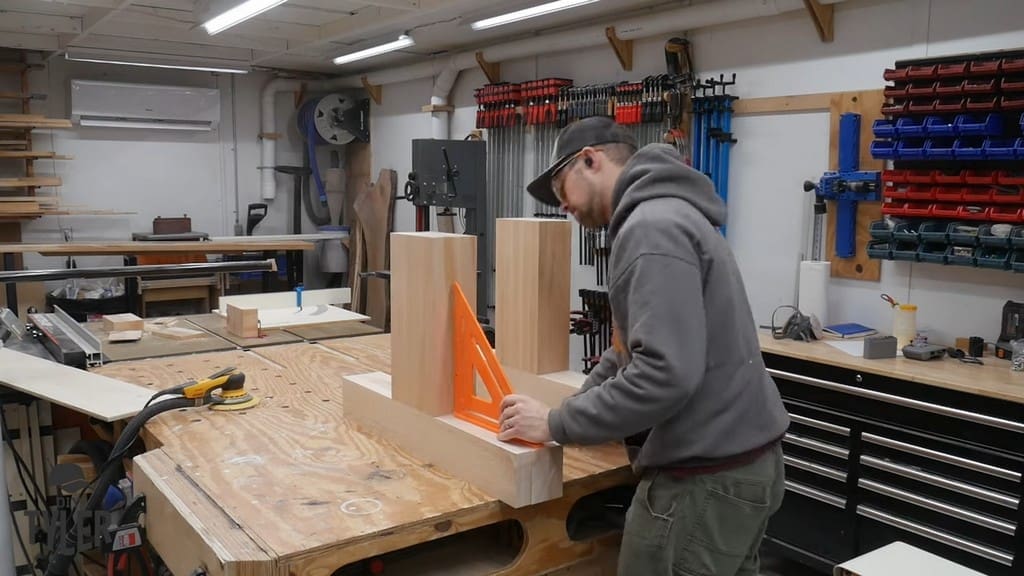
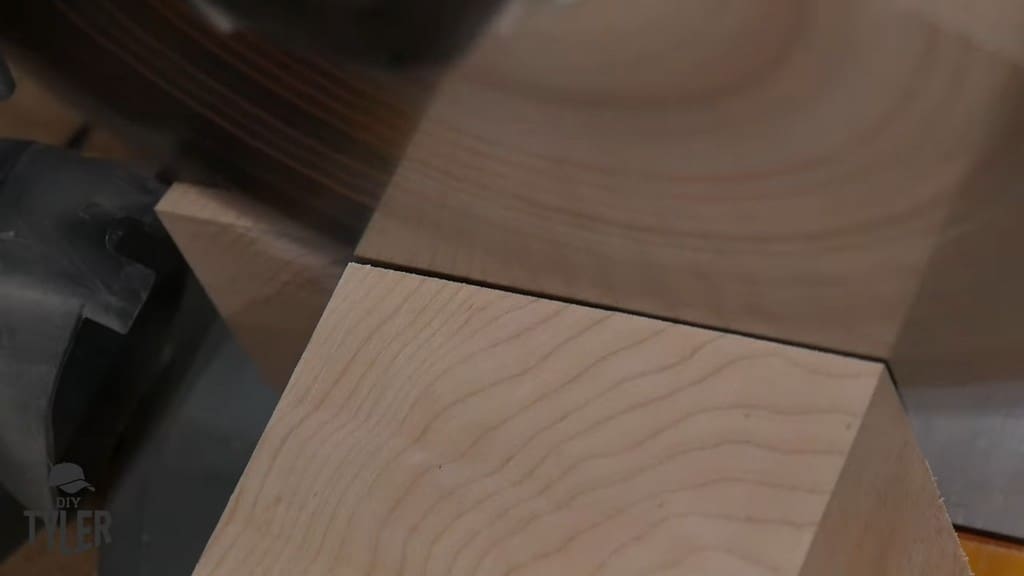
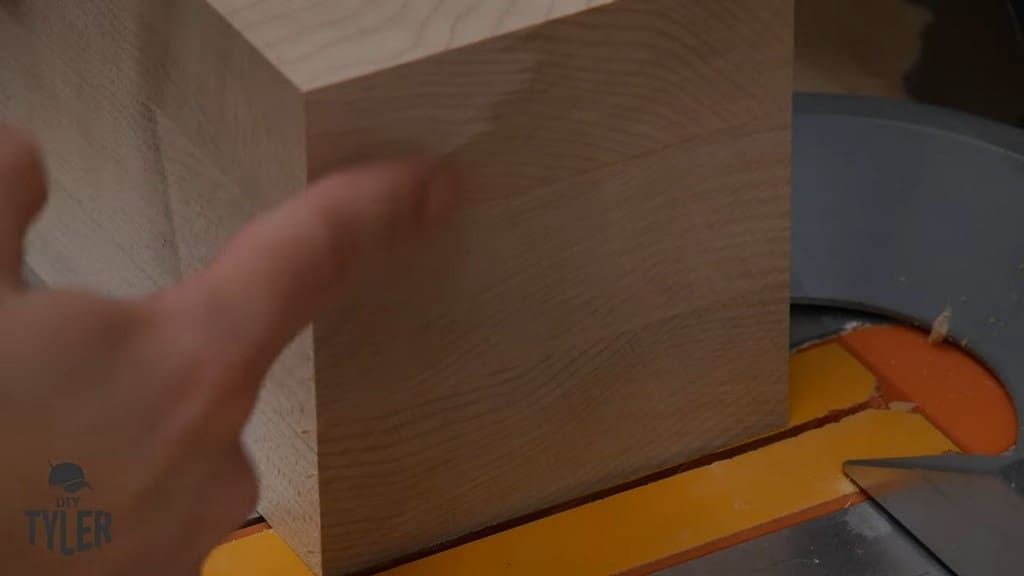
I wanted to make sure that I pushed symmetrically every time on my table saw sled. A little bit of slop can go a long way toward making a pedestal go wonky. That’s why I had to be careful to avoid any slop.
I measured the same spot in the same way every time to make sure I was always square.
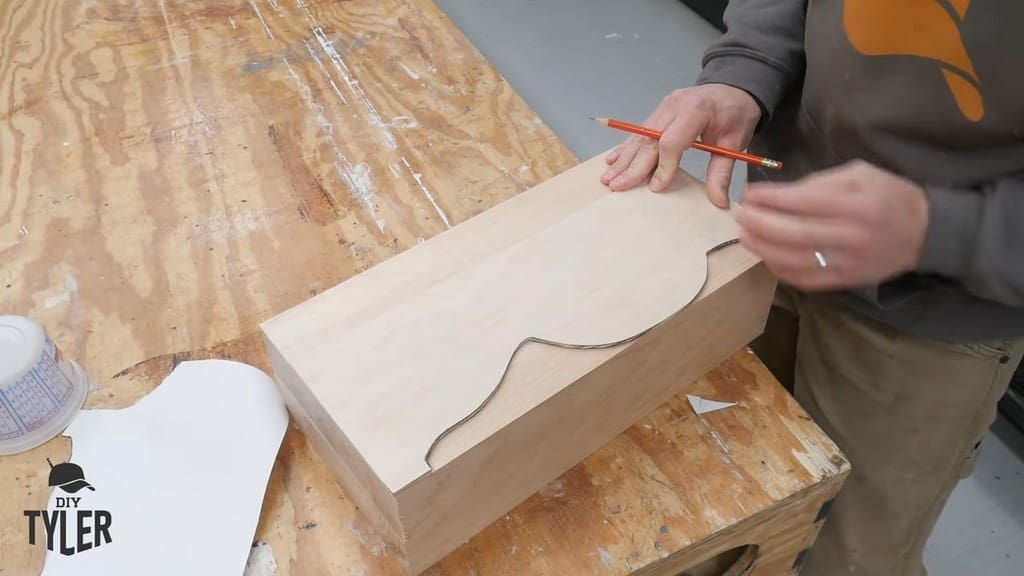
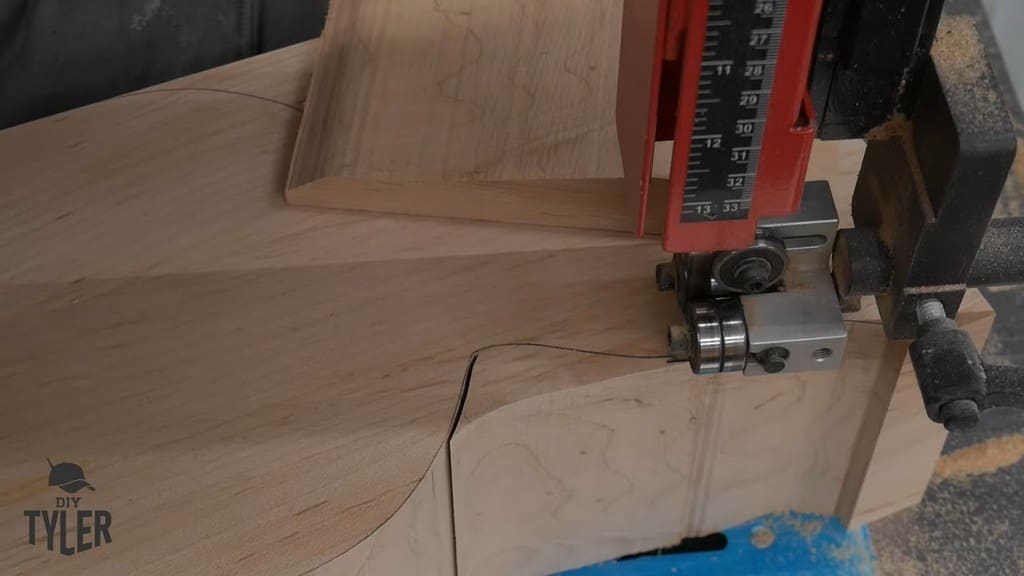
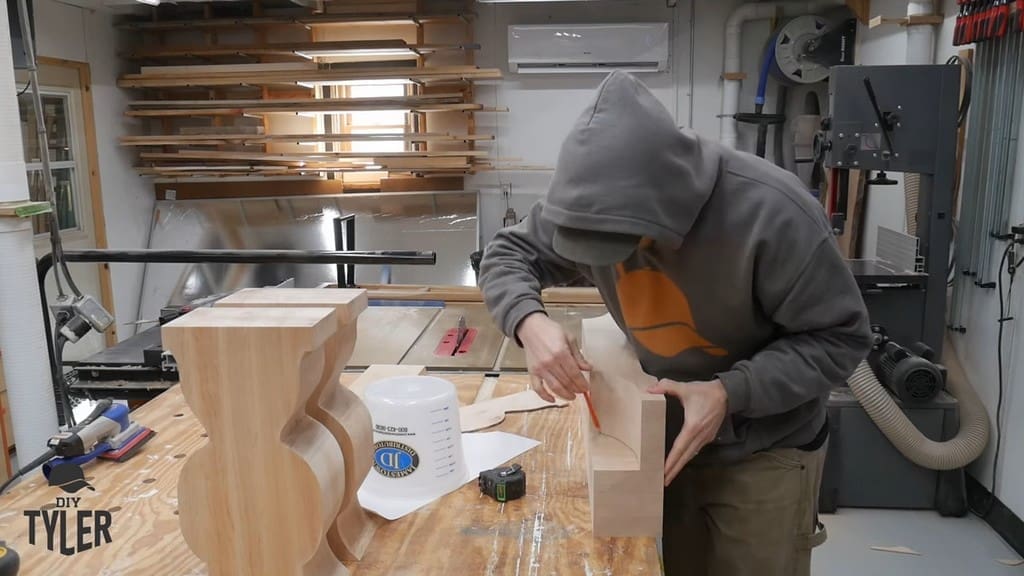
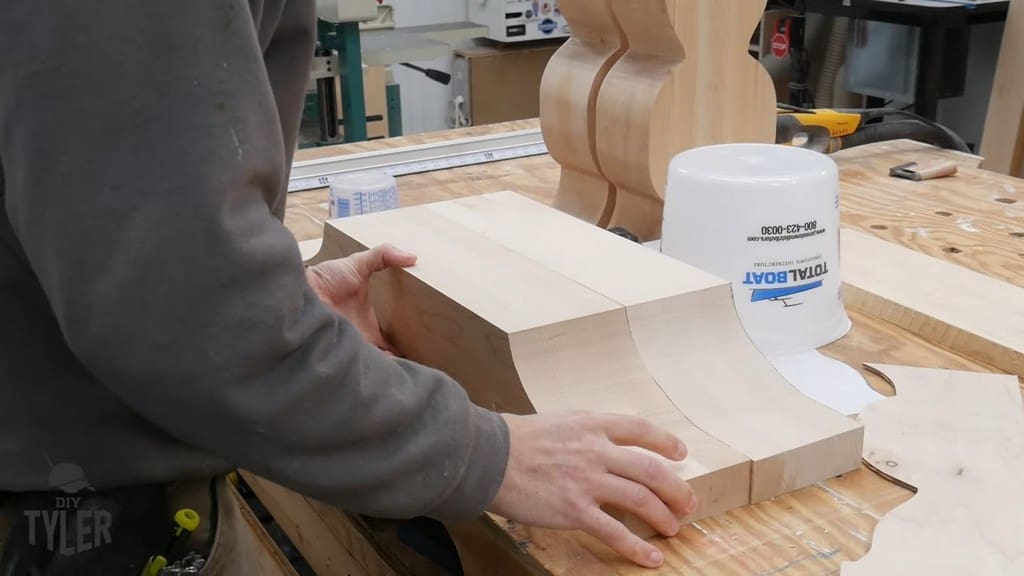
Next, I whipped up a template using the bandsaw and the spindle sander. This ensured I could have the same design on both sides.
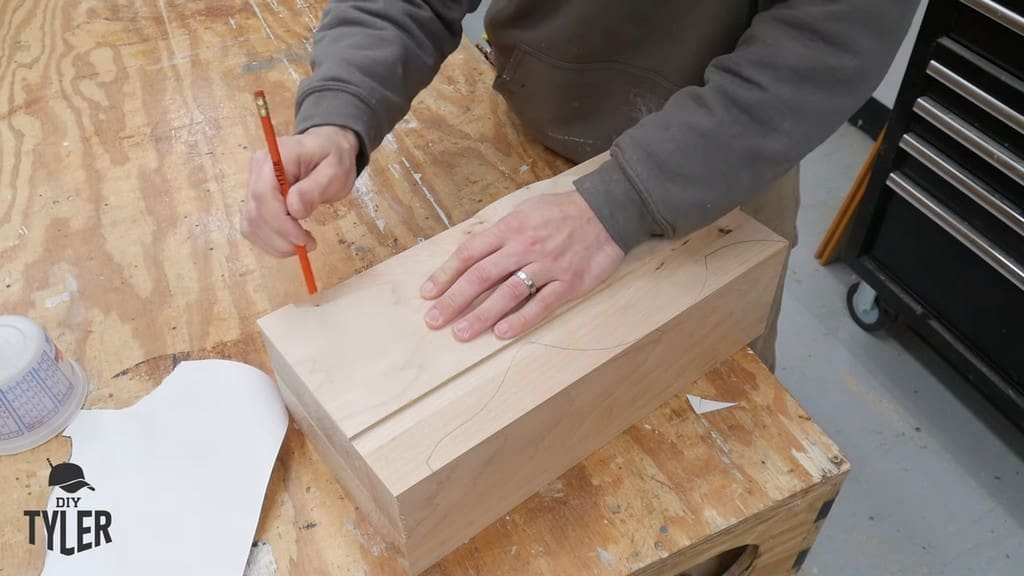
I cut the template out of quarter-inch plywood, touched it up with my tools, and transcribed it to the hardwood.

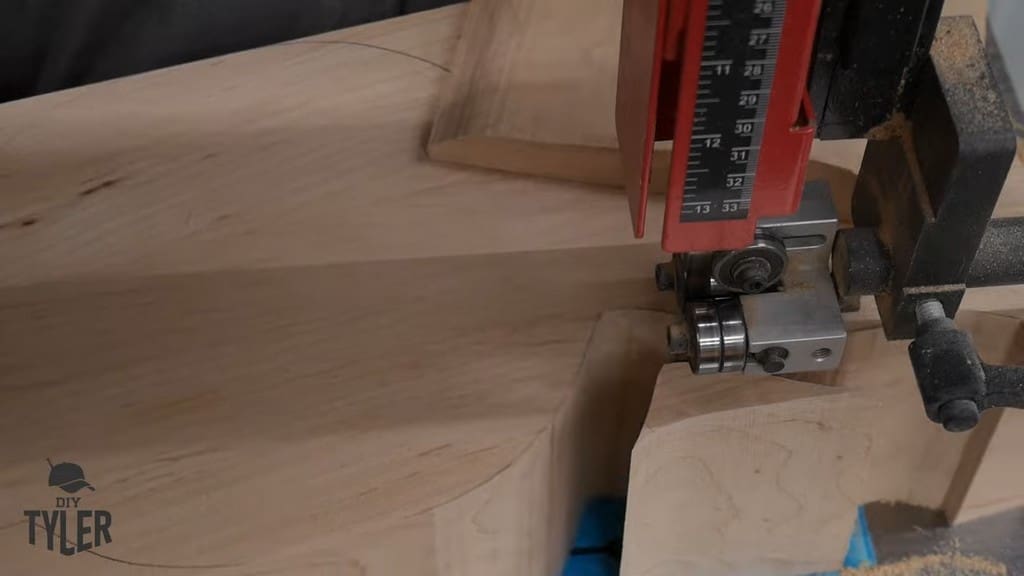
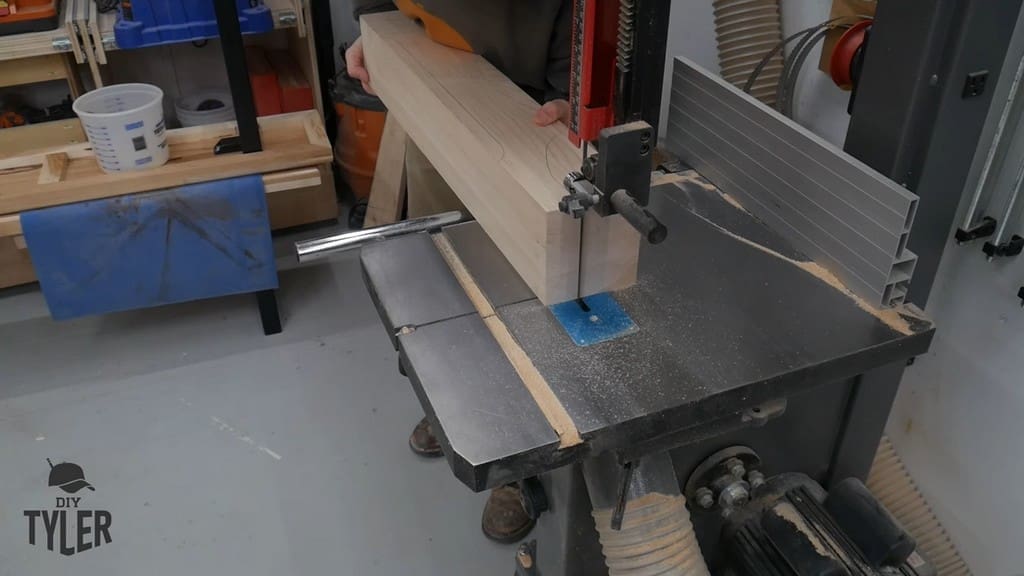
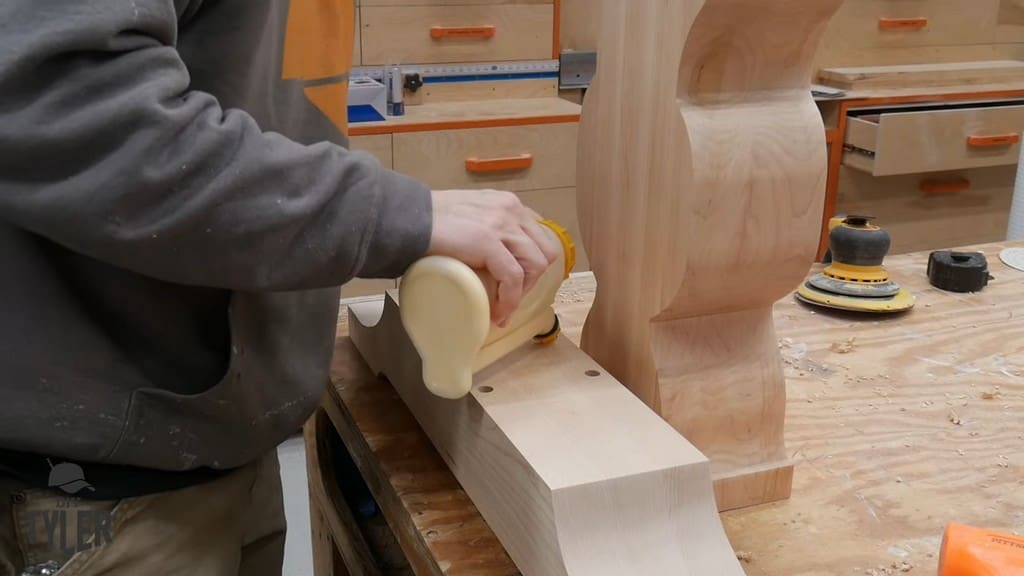
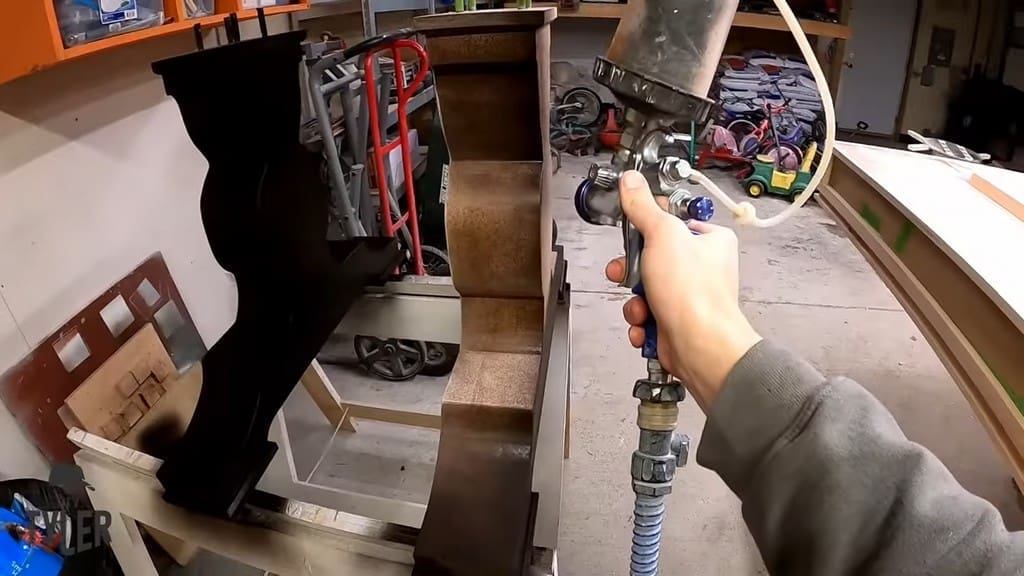
For the vertical portion, I used a thinner blade (three-inch skip tooth blade) to make quick work of the hard maple. The bandsaw did a fantastic job cutting out all the curves. Of course, I still had to do a ton of hand-sanding to get these vertical portions looking nice and smooth.
You have to hit every side of the pedestal pieces to get the smoothness you’re looking for.
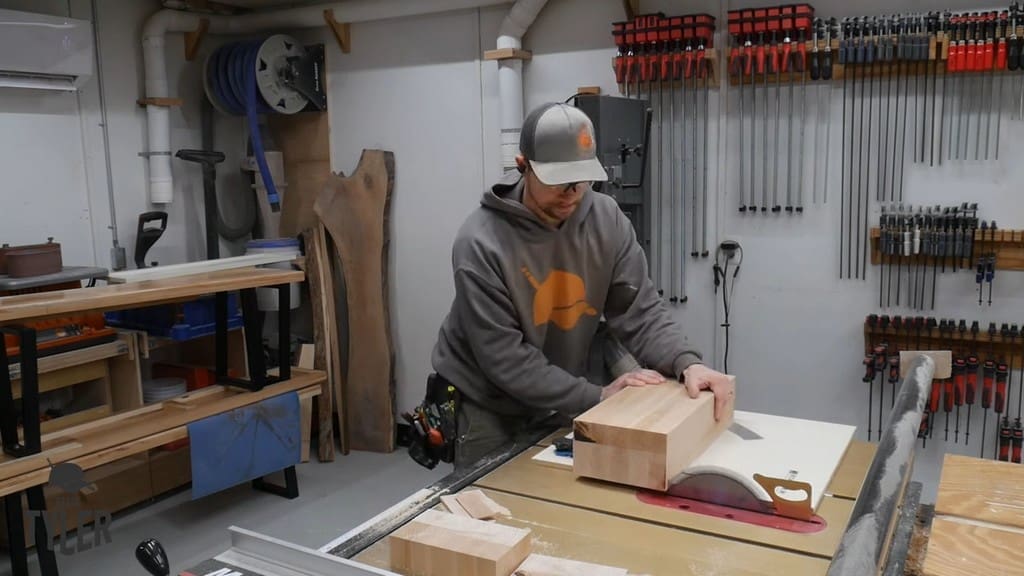
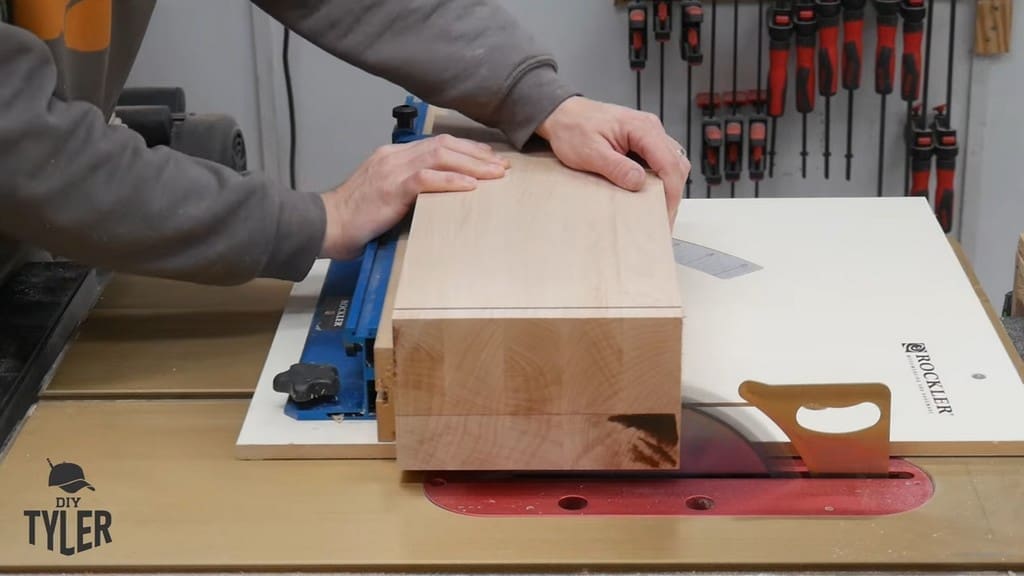
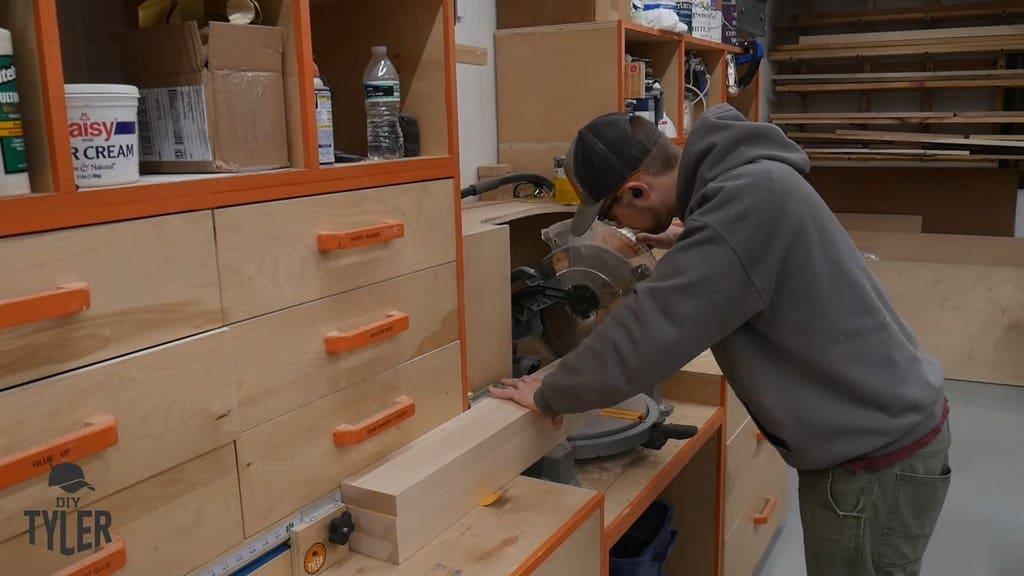
Next, I moved on to the base section. I squared the pieces up over in the milling section before moving them to the miter saw. I used a 12-inch CMT blade for my miter saw, with great results. This CMT blade has given me the smoothest cuts I’ve ever seen.
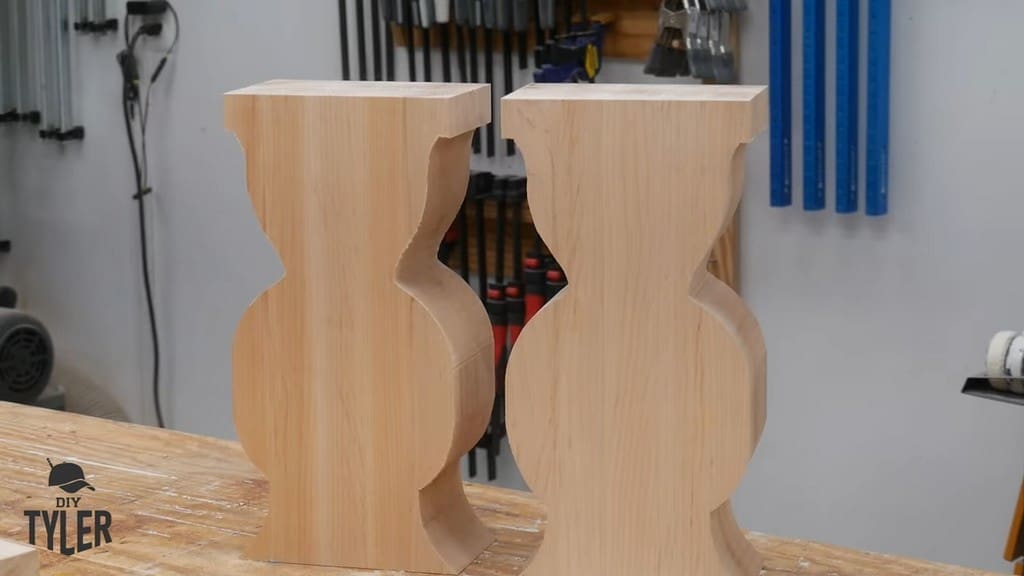
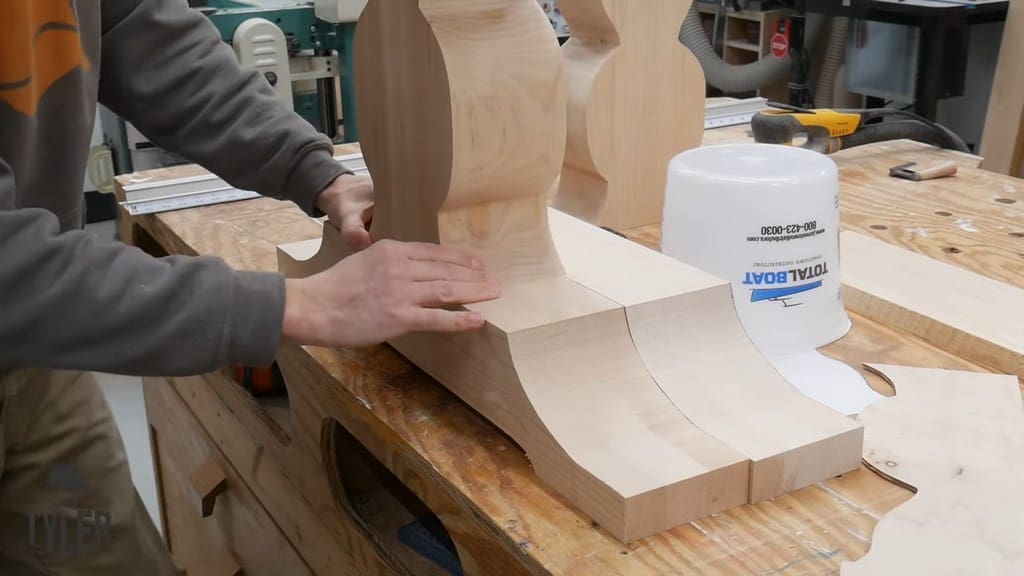
Just like with the vertical portions, I needed to cut some curves into the top and bottom of the base pieces.
Once again, the bandsaw was the right tool for this job. Thanks to the templates, I created perfectly symmetrical pieces that led to a really nice look.
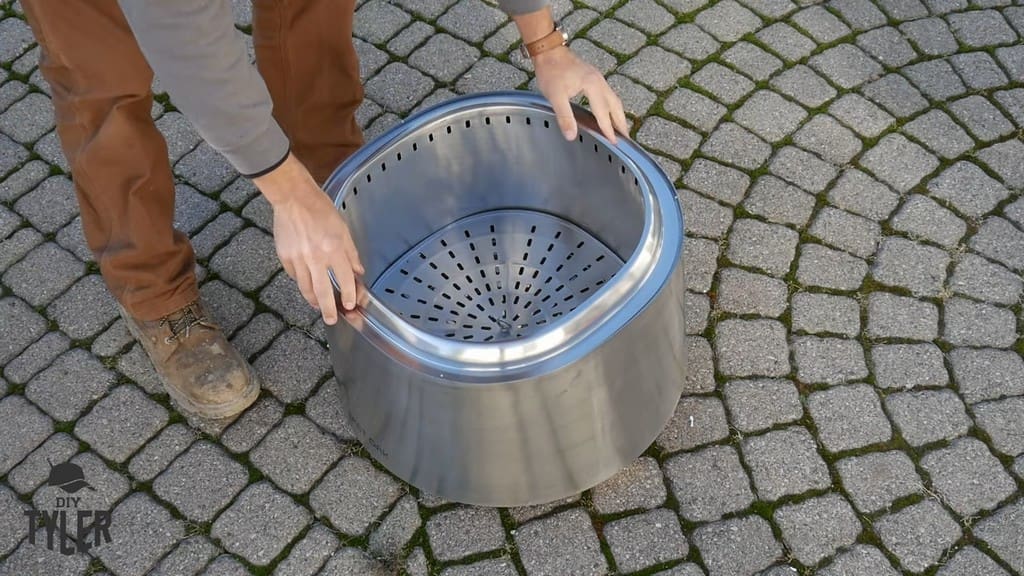
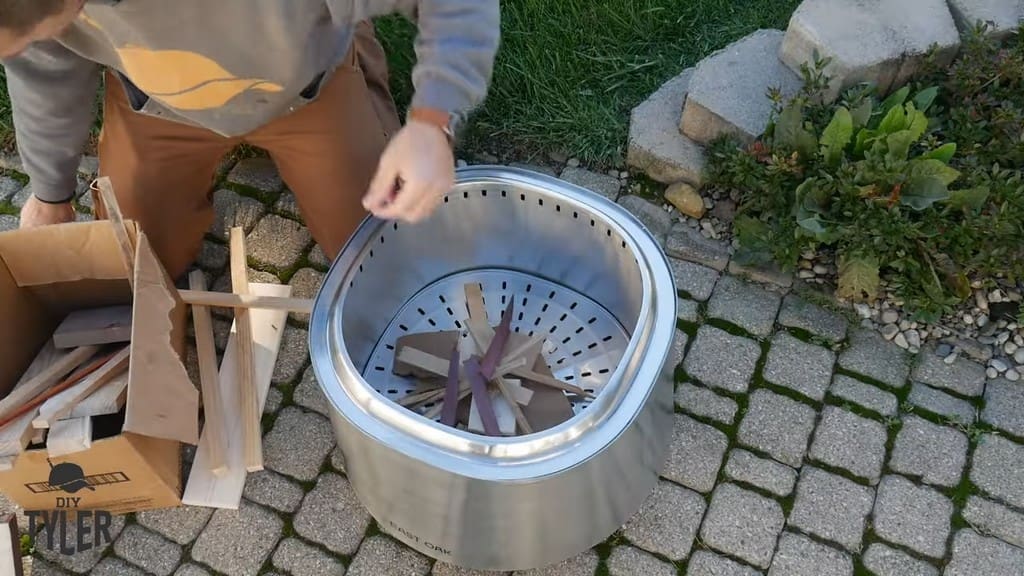
Disposing of the Wood Scraps
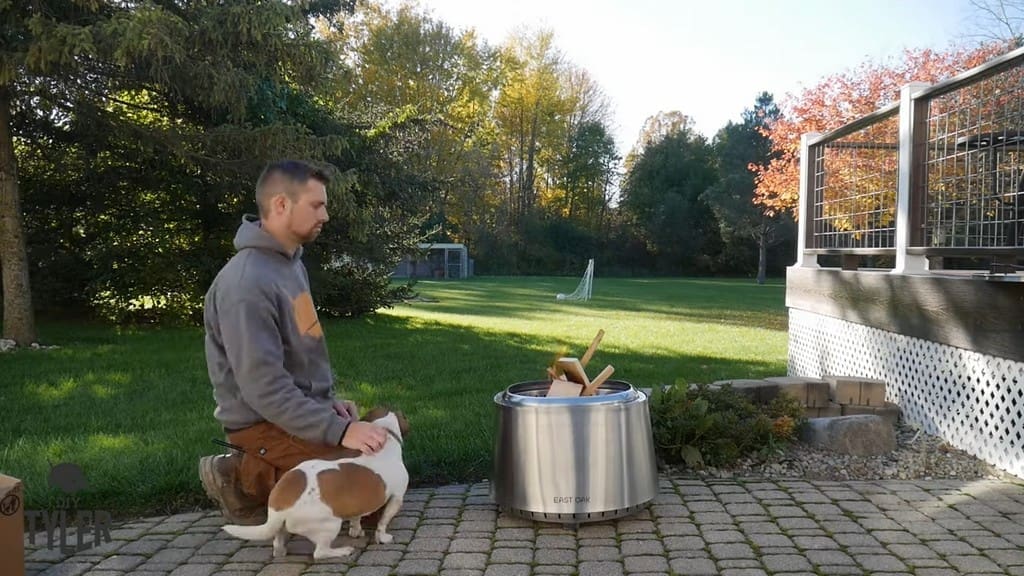
When it comes to disposing of my wood scraps, my kids love a good bonfire. And East Oak recently sent me a smokeless firepit to do just that!
I was impressed that there was almost no ash after burning two buckets of scrap wood.


Attaching the Vertical and Base Pedestal Pieces
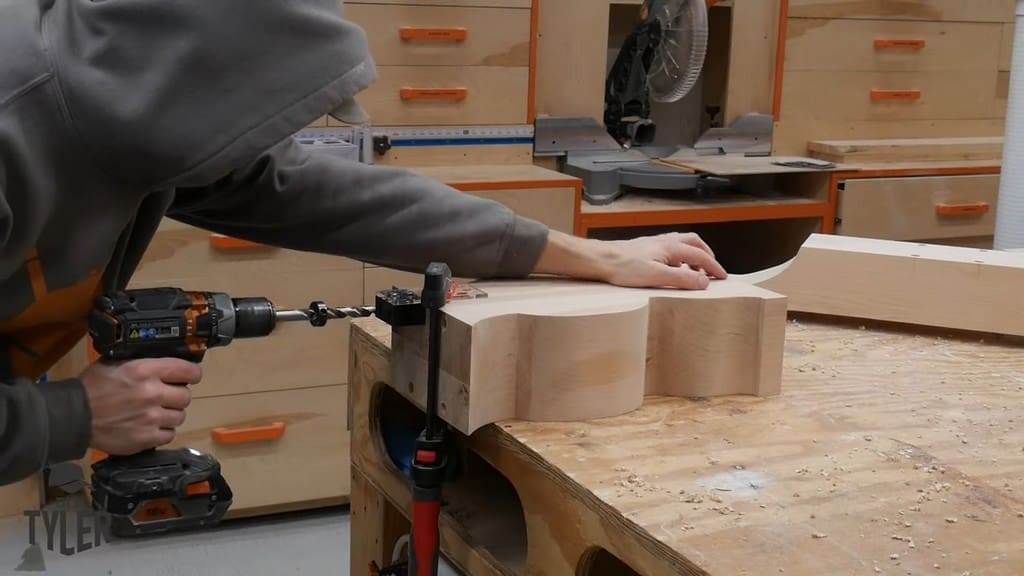
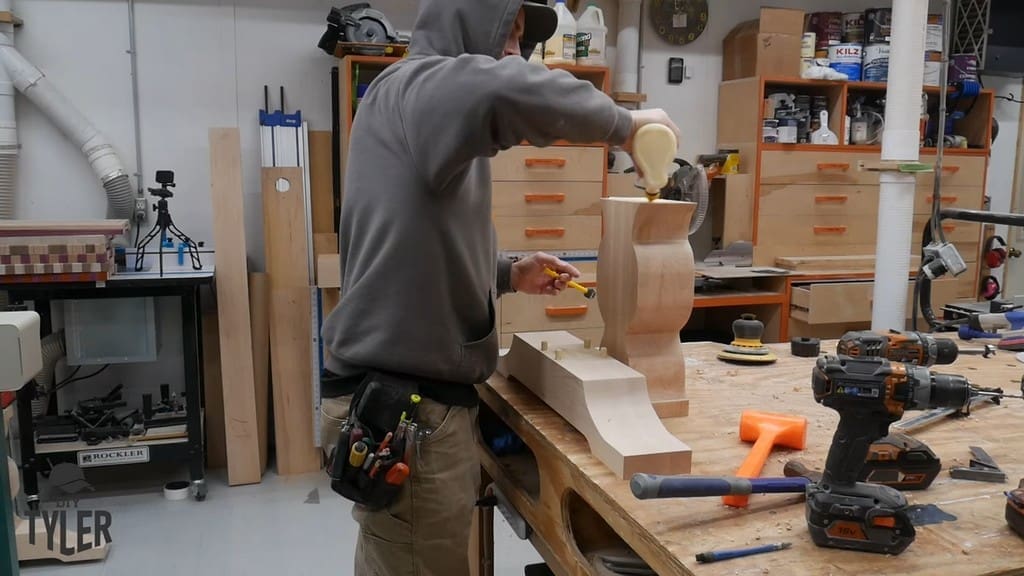
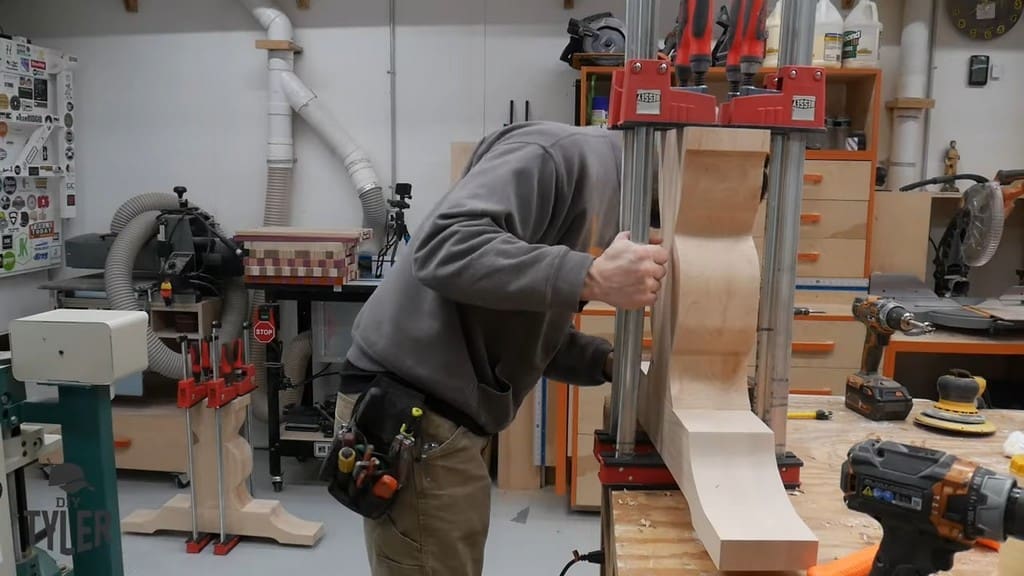
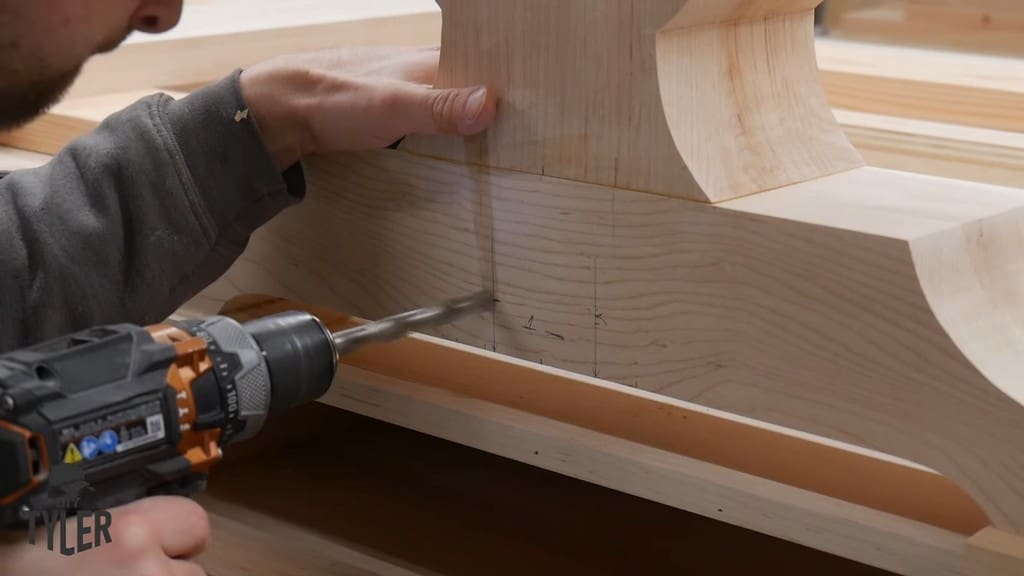
You might be wondering how I went about attaching the two pieces of the pedestal base for the DIY D&D game table together. Well, I used some hefty half-inch dowels as shown here.
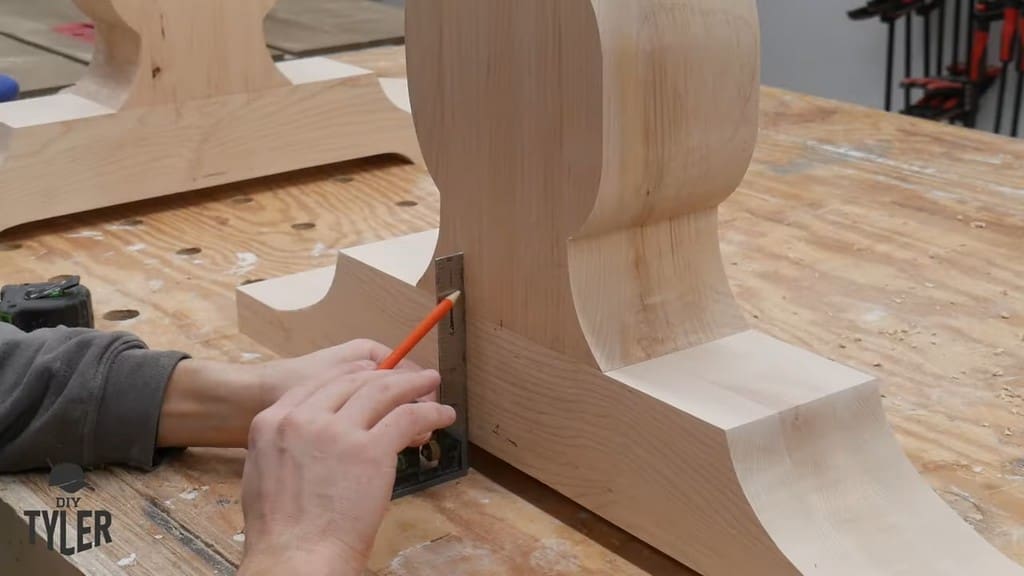
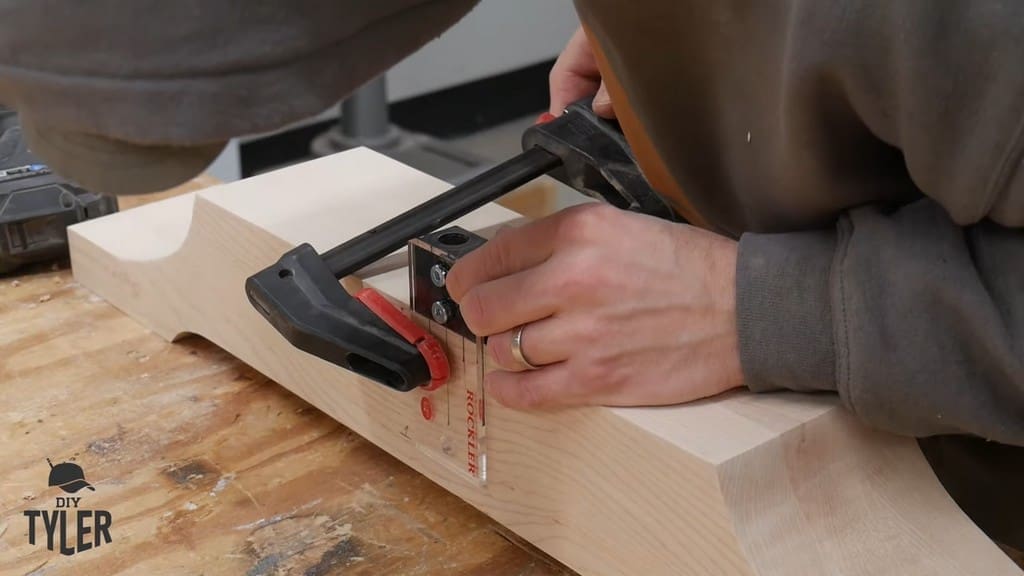
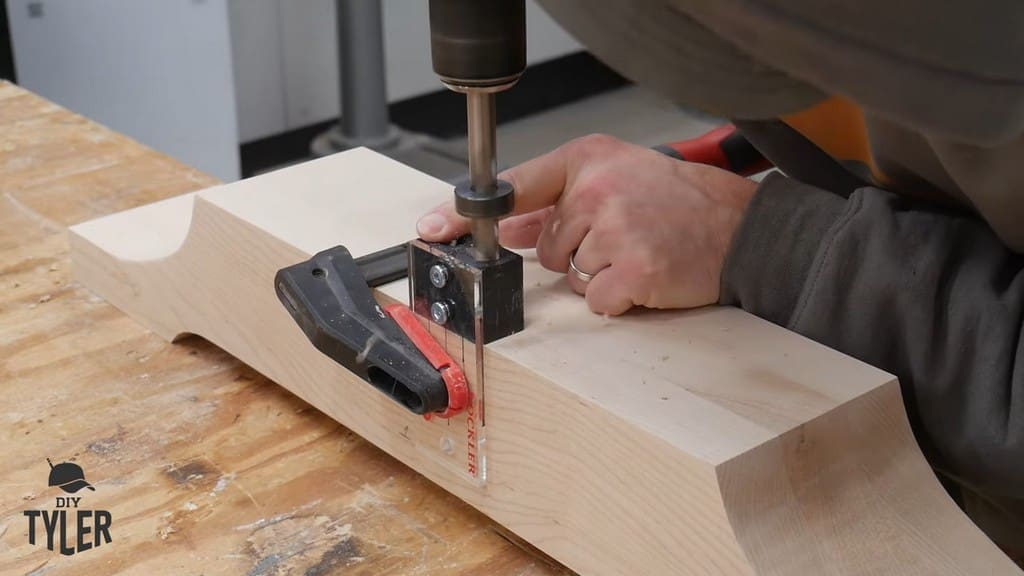
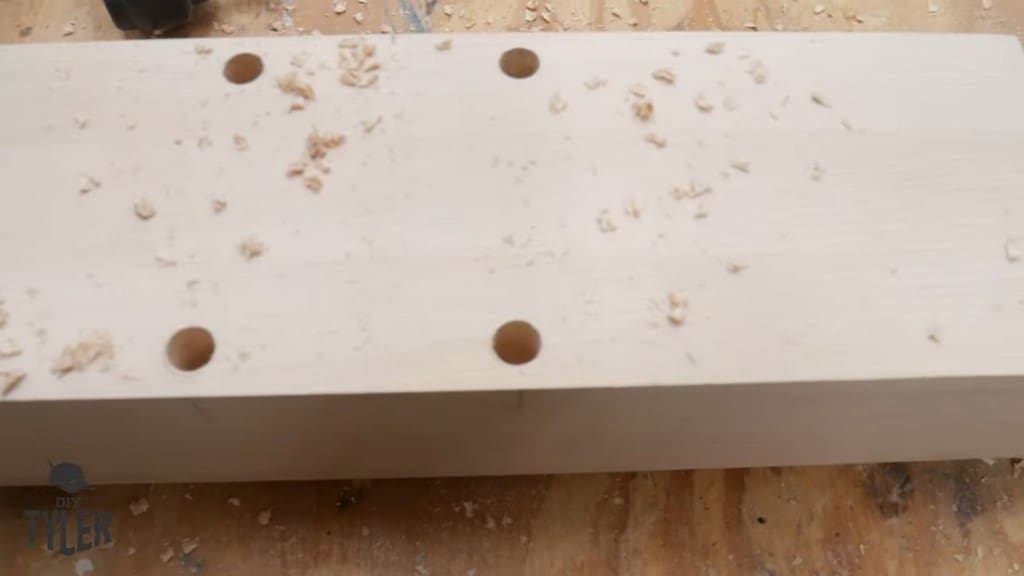
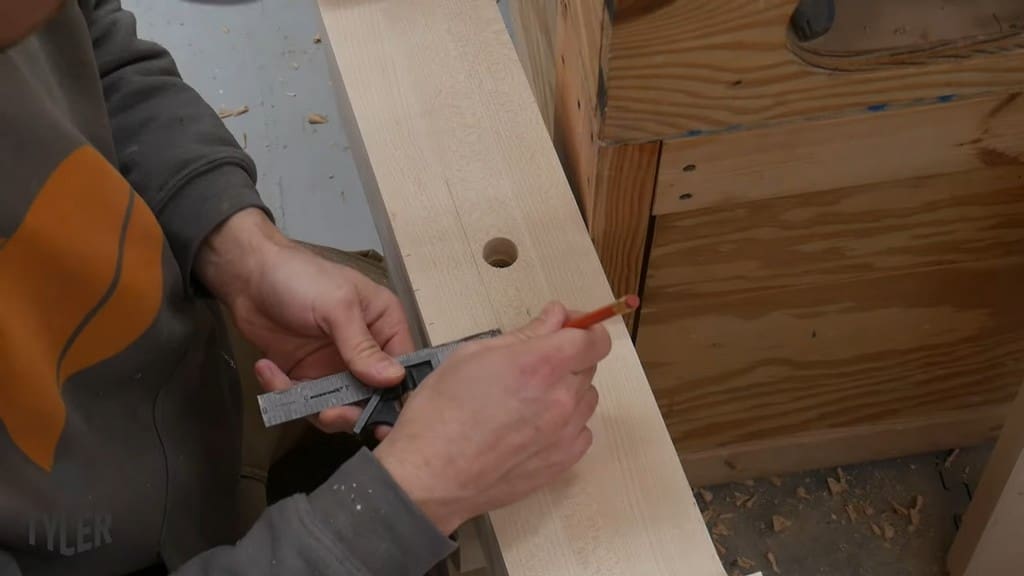
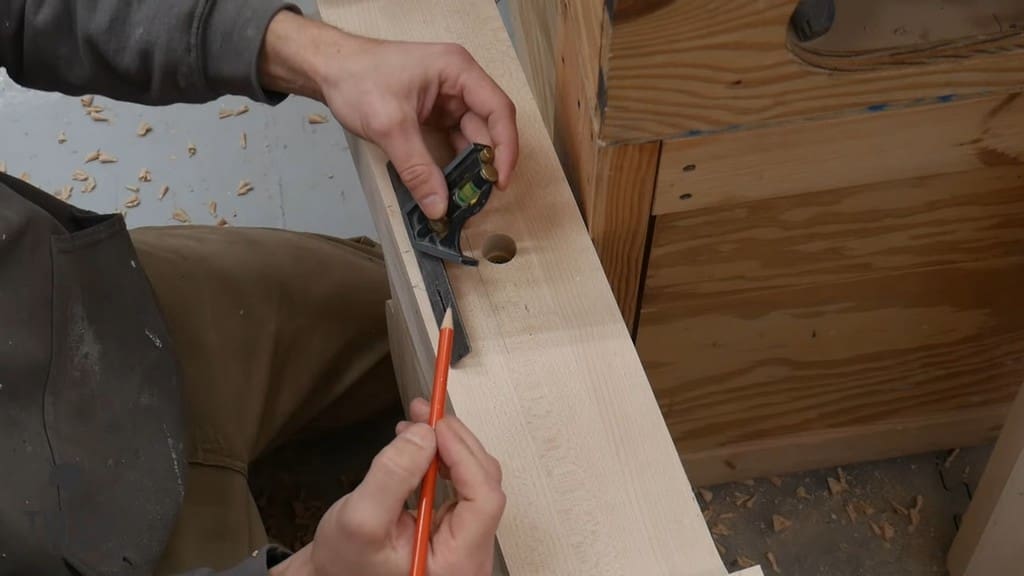
I wanted to keep things simple by using wood glue and adding four dowel pins in a symmetrical pattern. I then transferred that from the base pedestal portion to the vertical pedestal portion.
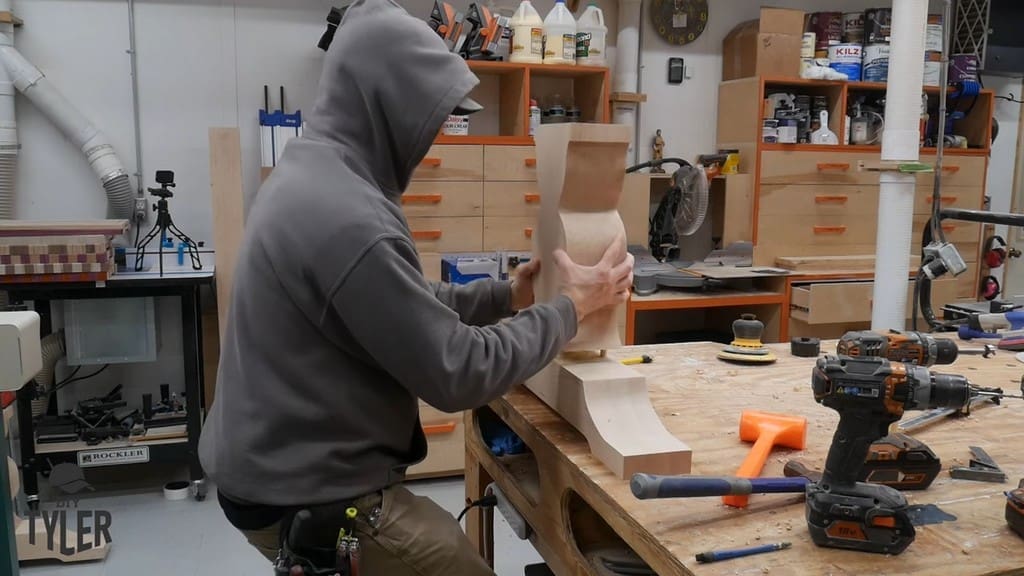
Make sure to keep the pieces aligned so that the same sides always stick to the same sides.
If anything moves, everything will be symmetrical. Also, as you move on to drilling a hole to accept the cross-brace later on, you’ll want the proper sides aligned accordingly.
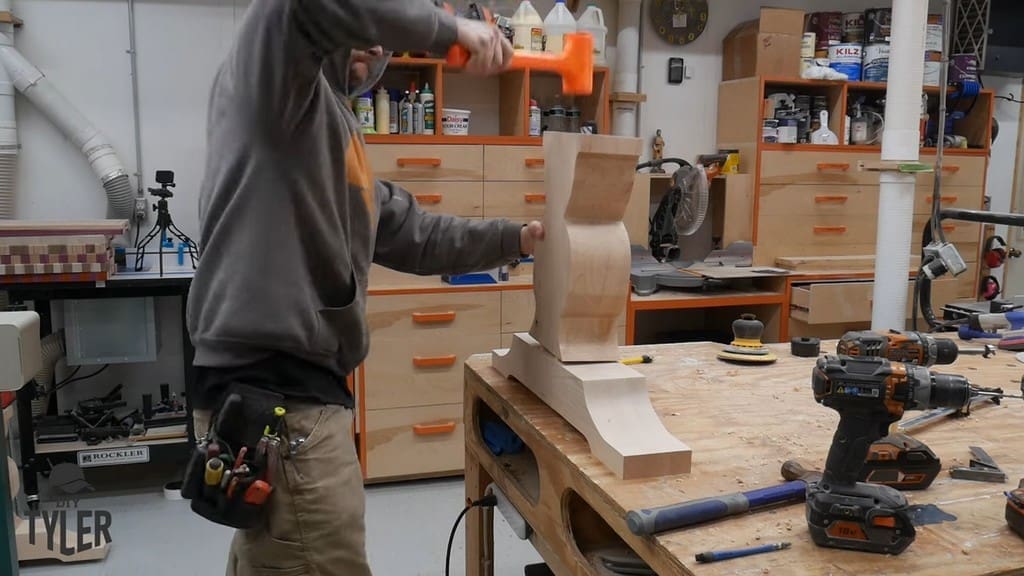
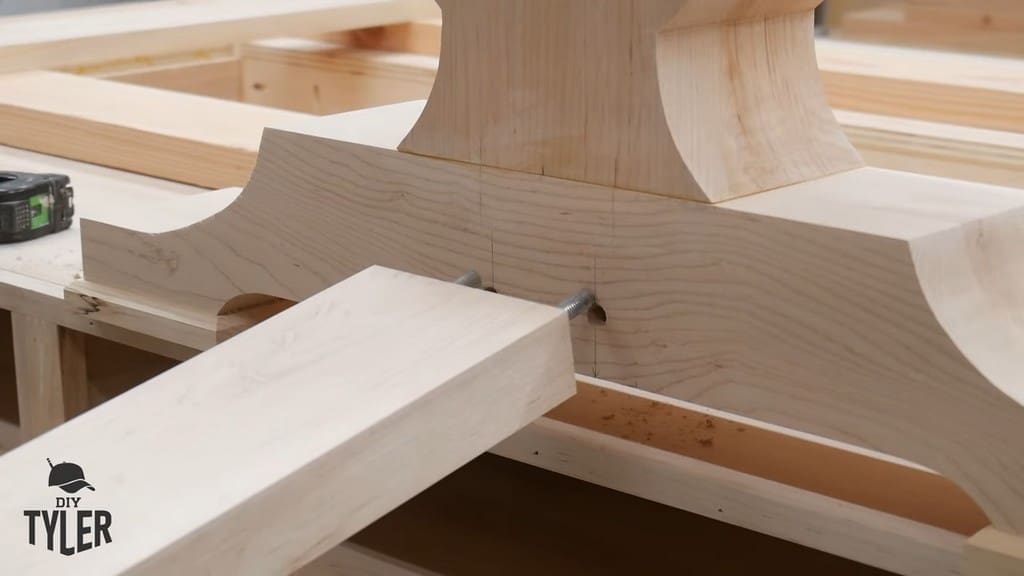
After applying a hefty amount of Titebond glue, I joined the two pieces together.

It did take quite a bit of persuasion to get the pieces together. Dowels don’t always drill perfectly straight.
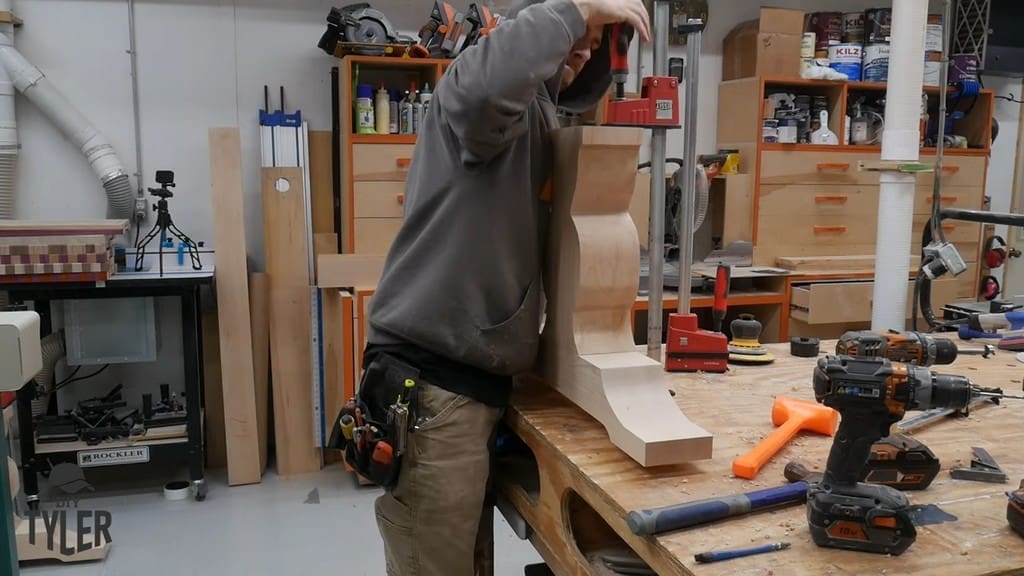
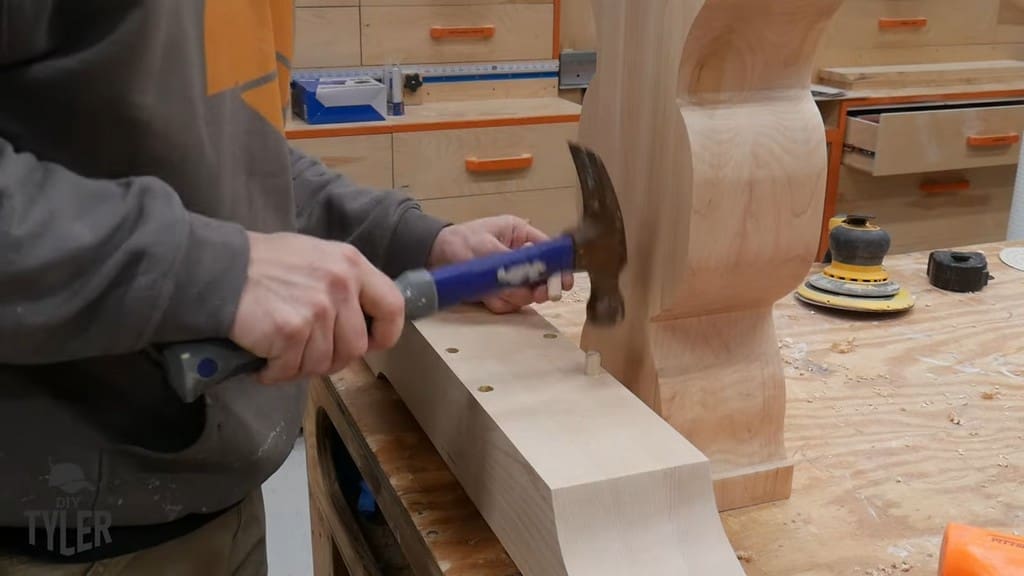
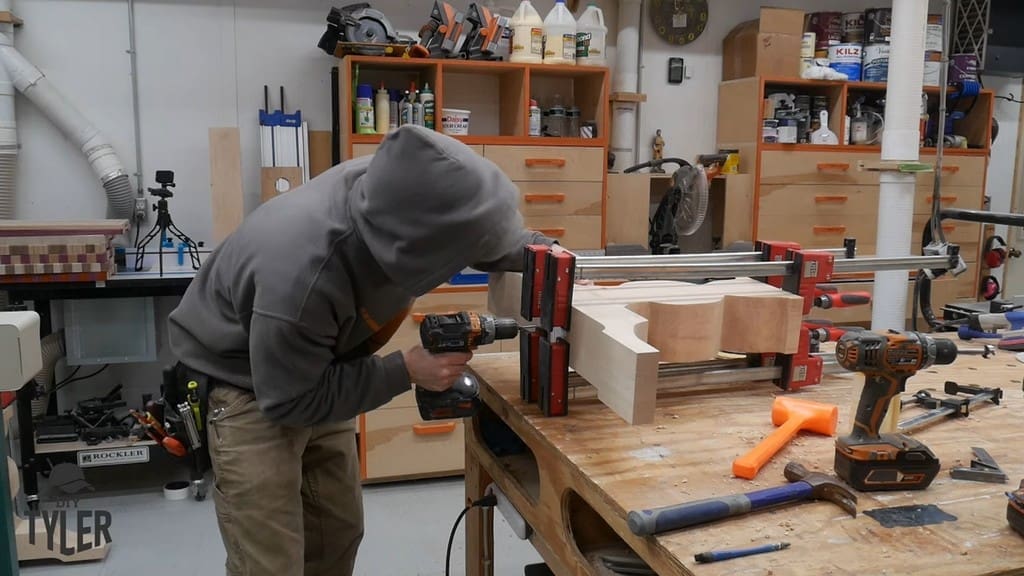
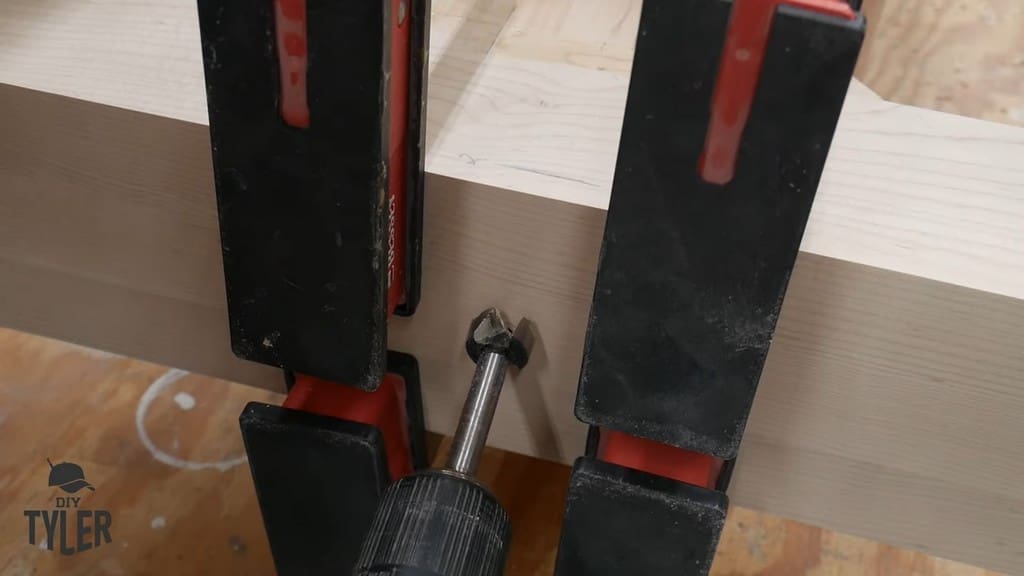
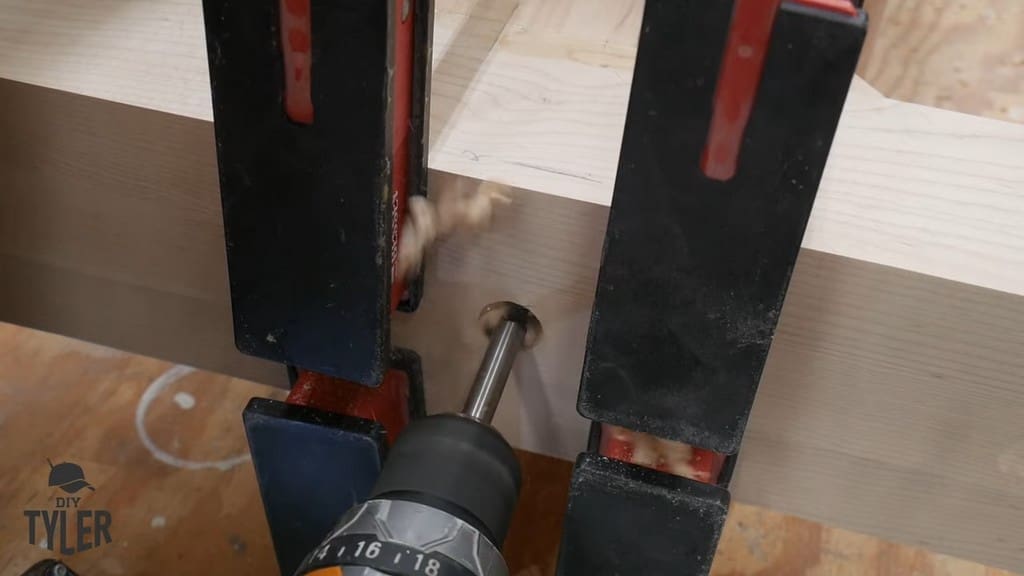
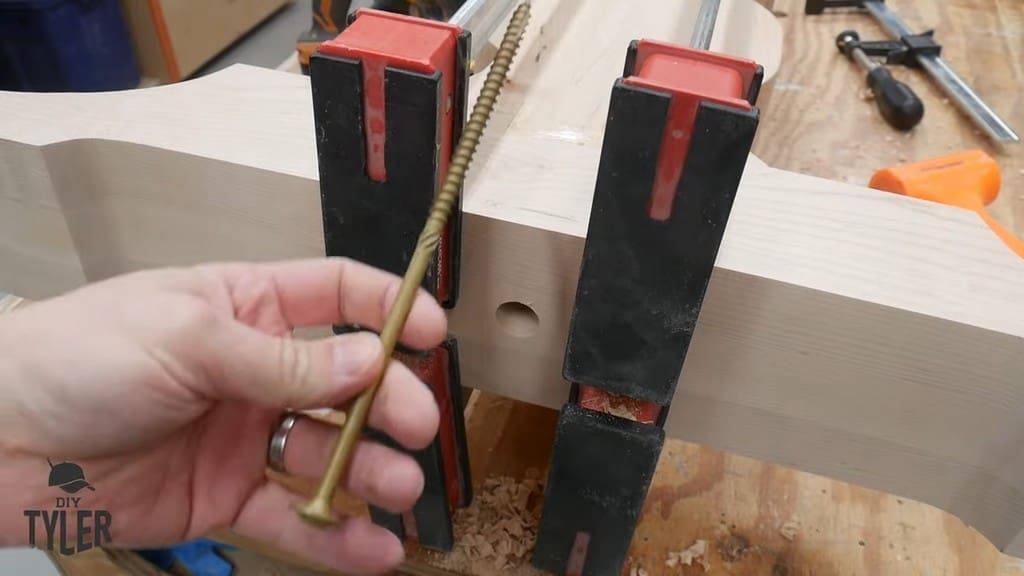
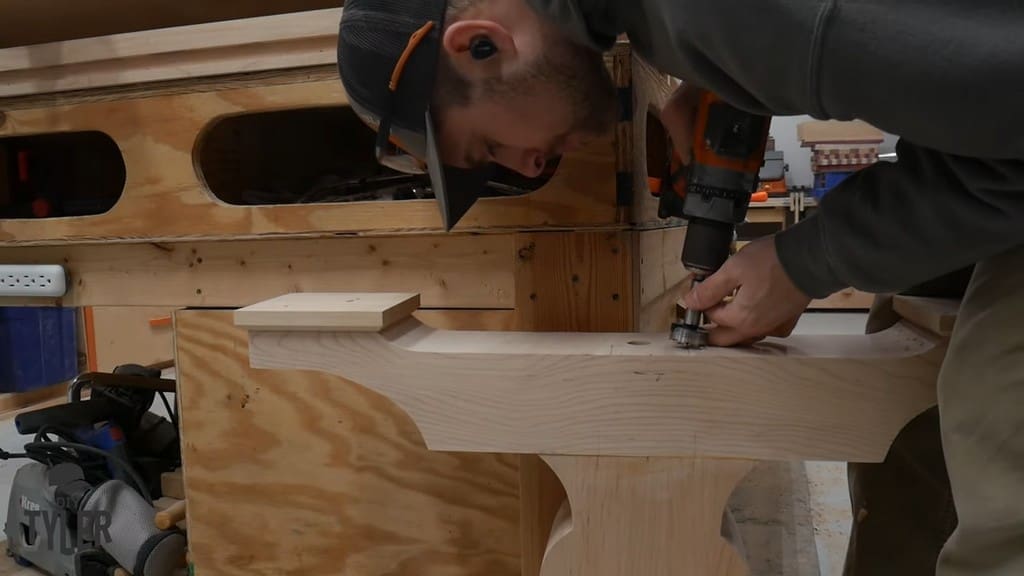
I did drill and countersink through the base and into the pedestal so that I could drive an eight-inch structural screw into the base. That made sure that everything was pulled together and would never come apart.

With the two sections permanently joined together, I cut some threaded dowels and used epoxy to place them into the dowel holes for joining the base pieces to the DIY D&D game table’s top piece.
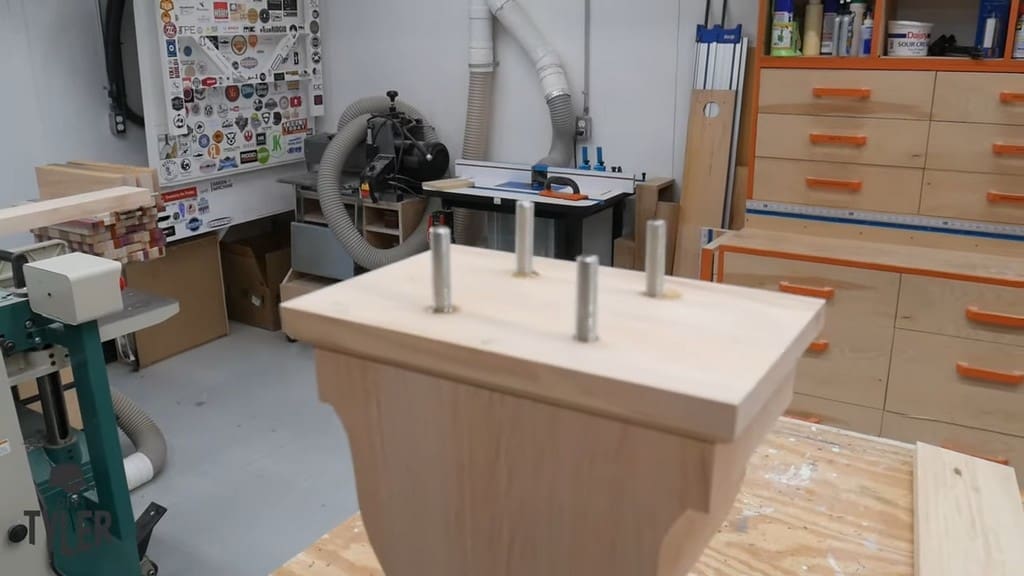
I used markings to make sure I was keeping account of everything, including where I would need to align my cross-brace piece for later.
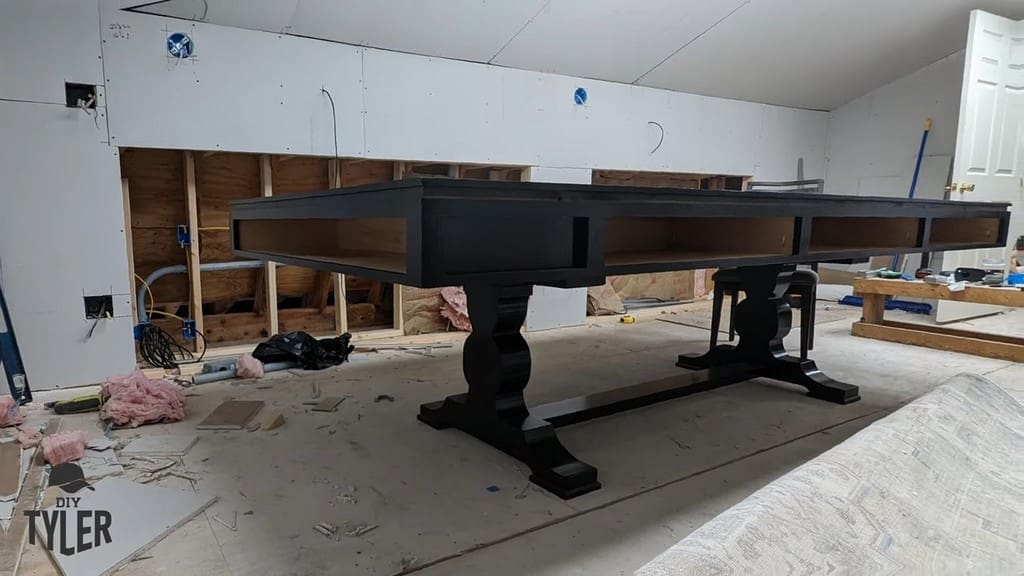
To Be Continued . . .
There’s a lot left to finish, but I had to stop my video for now with the completion of the base. Turn in to find out how I finished up this epic DIY D&D game table build, including an espresso stain and an Enduro poly coating!
Please follow and like us: