DIY Guide to Installing Perfectly Aligned Drawer Fronts
I’ve made plenty of dressers and drawers for my YouTube channel and on the website, but I’ve often breezed over my drawer front installation process. It’s tedious and methodical, but it’s necessary to create drawers that are nice and even.
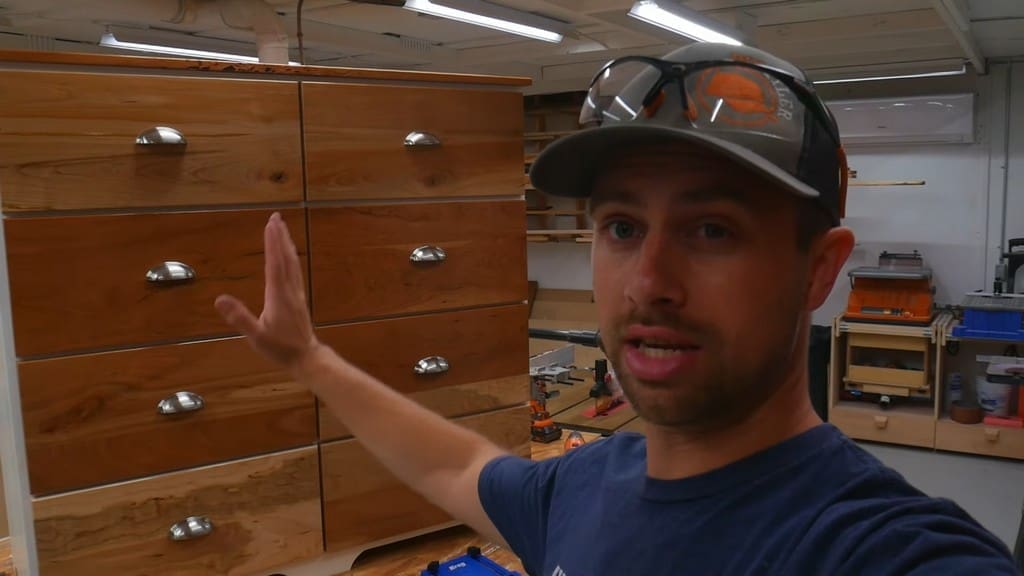
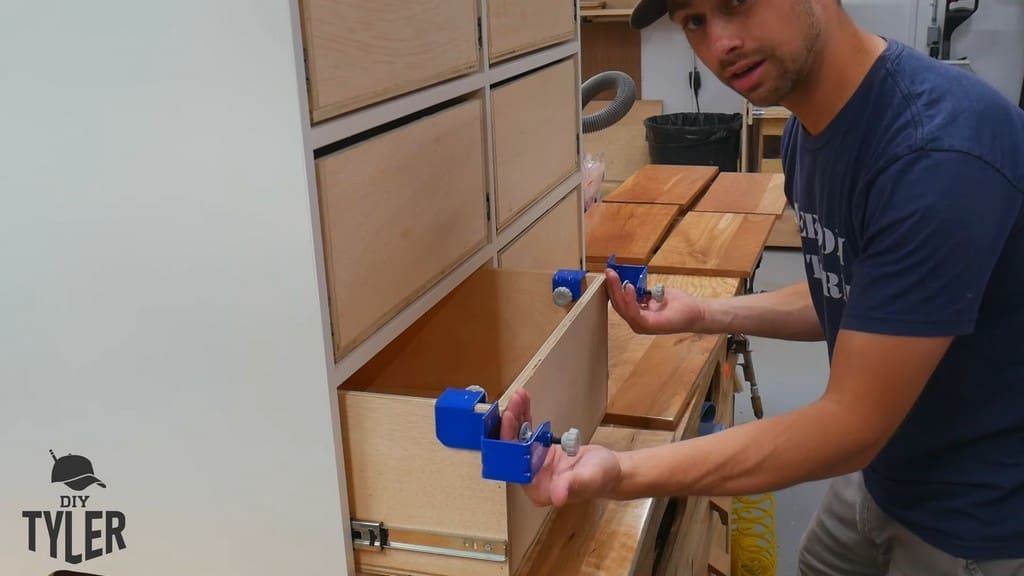
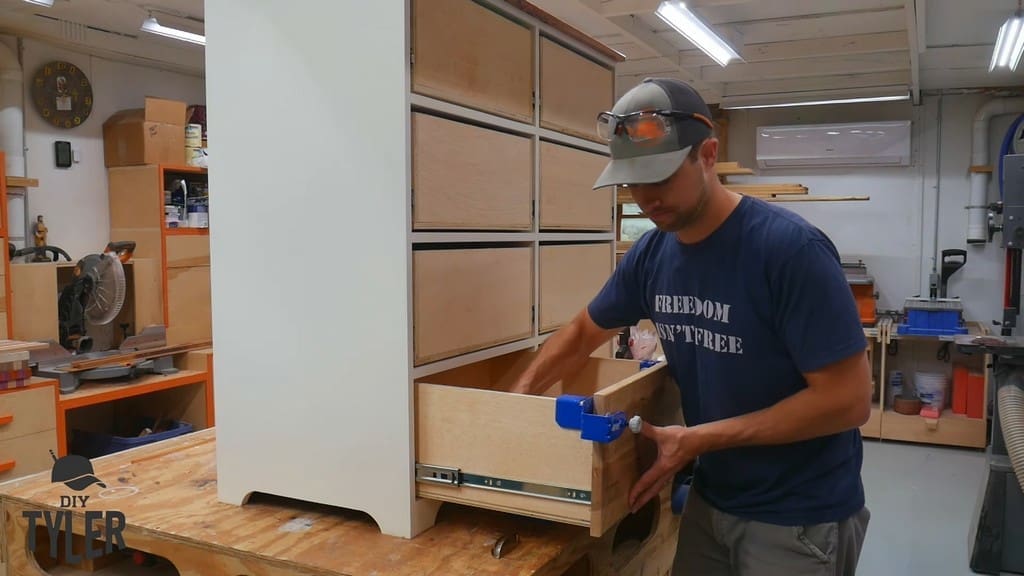
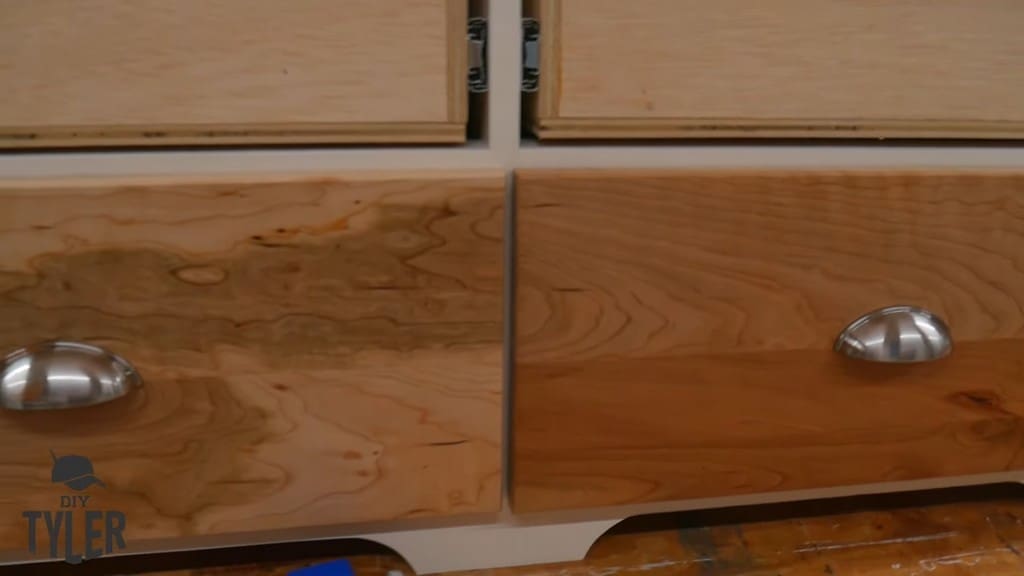
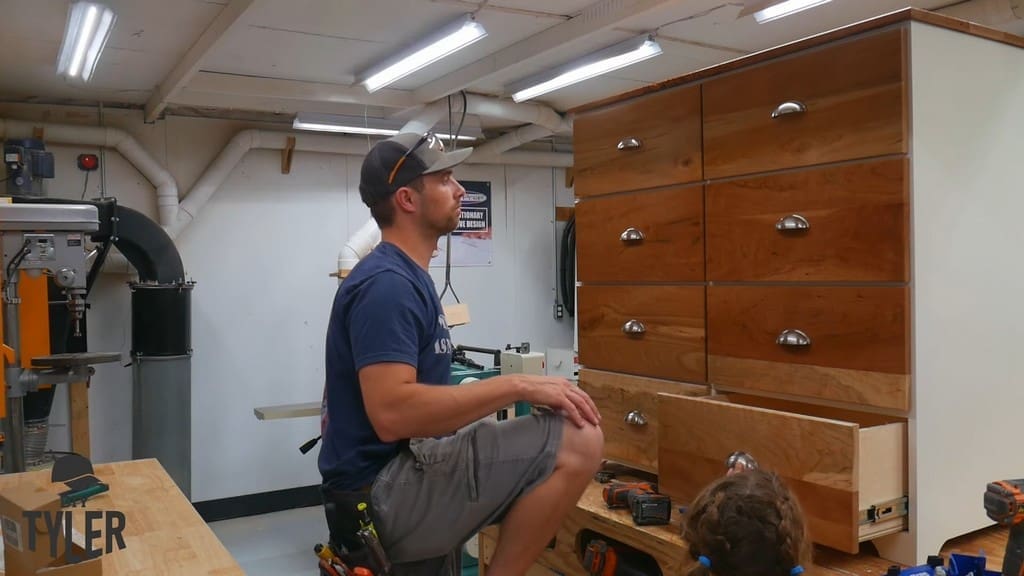
Here is the cherry-top dresser I’m using for this demonstration, as well as the cherry drawer fronts.
Initial Set-Up
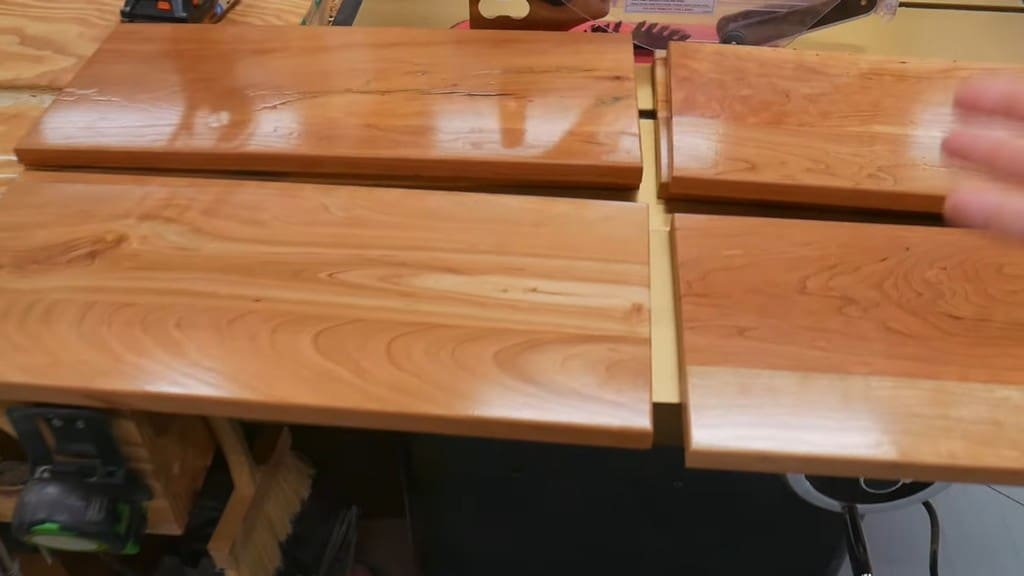
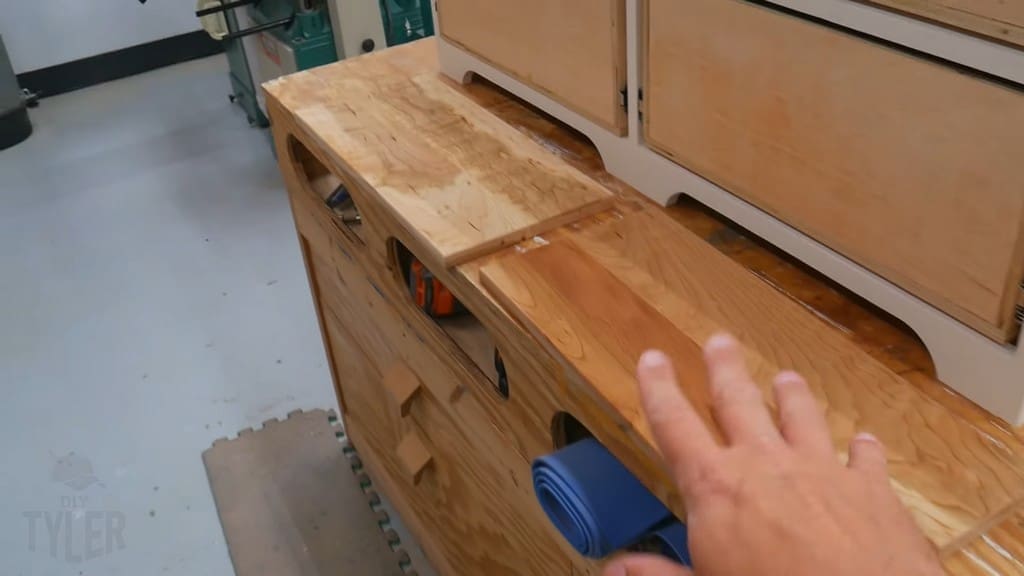
Your first step is to lay your drawer fronts out in a way that’s convenient for you. I had some off-color fronts, so I’m going to lay my pieces out in such a way that the color blends really nicely.
Make sure your pieces are arranged in such a way that you install the drawers from bottom to top.
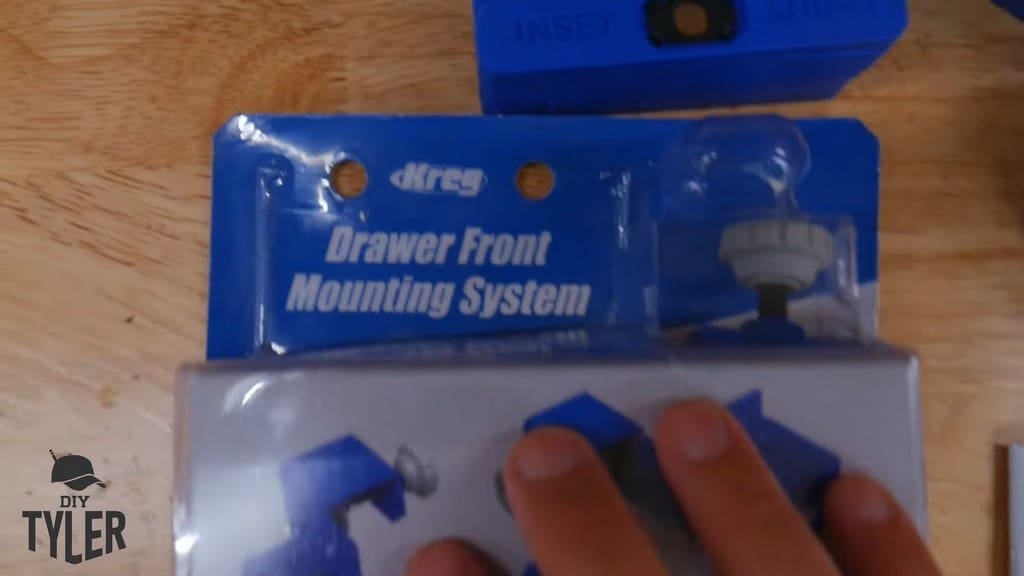
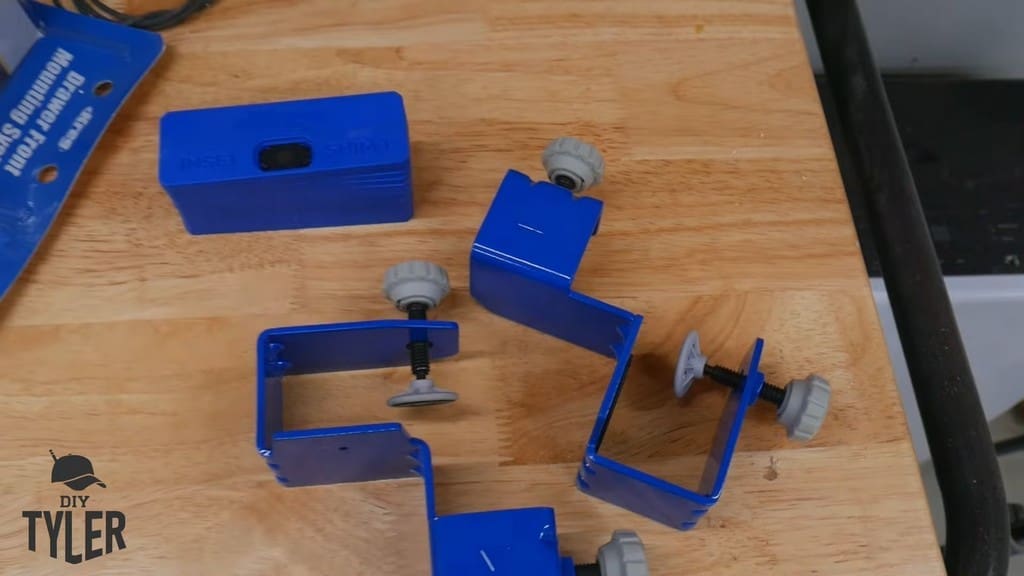
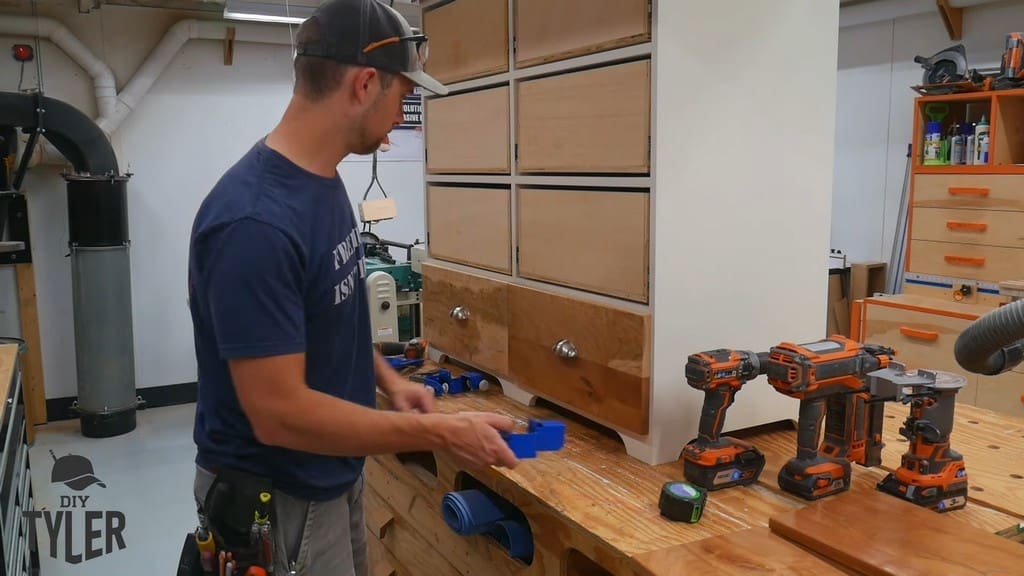
The original video’s sponsor, Kreg, provided me with their new mounting system for drawer front installation.
I used the two drawer clamps and the kit’s included set of shims as part of my installation process. I also had a Kreg jig to help me drill holes into the drawer fronts.
Clamp Drawer Fronts and Establish Alignment
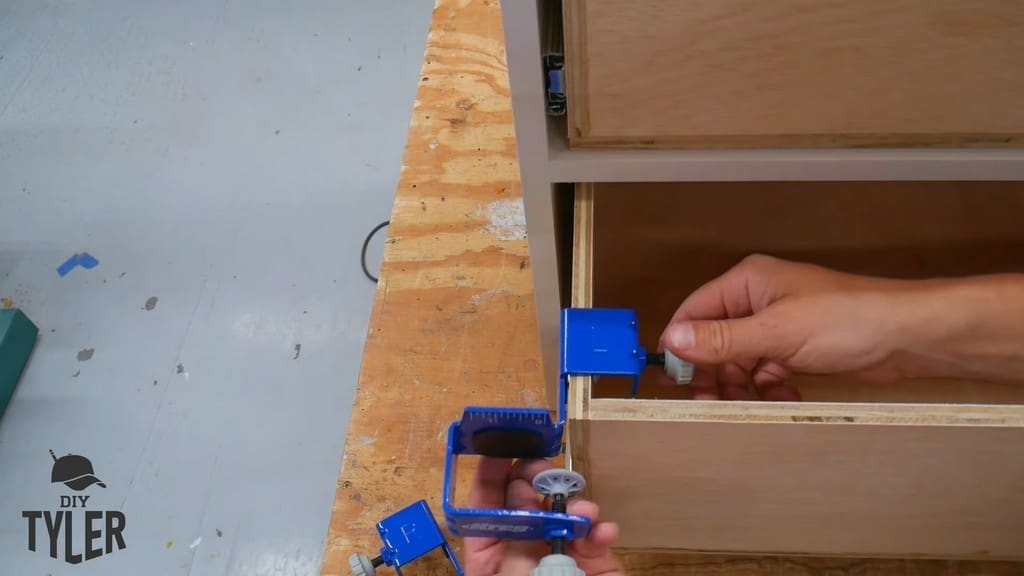
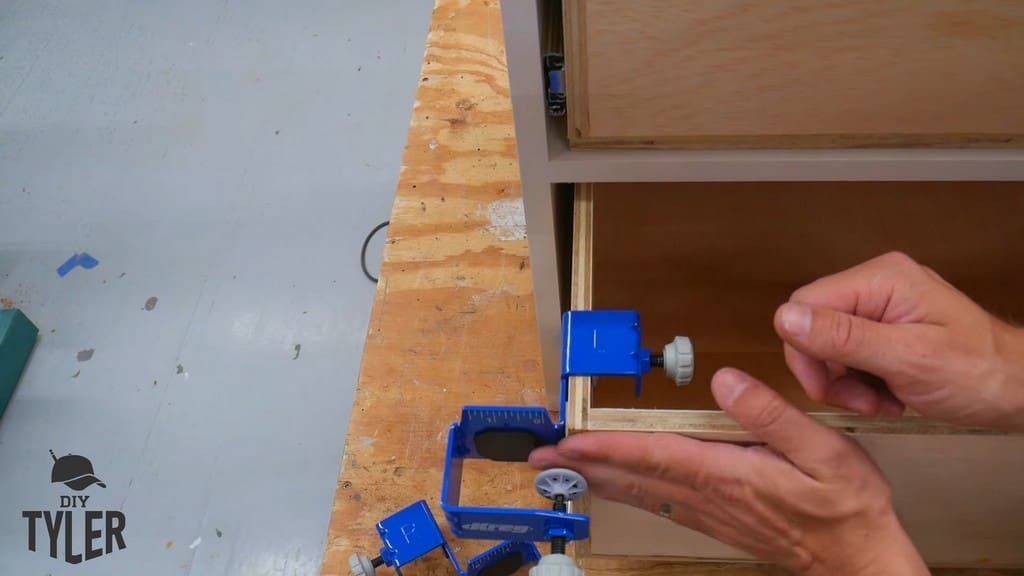
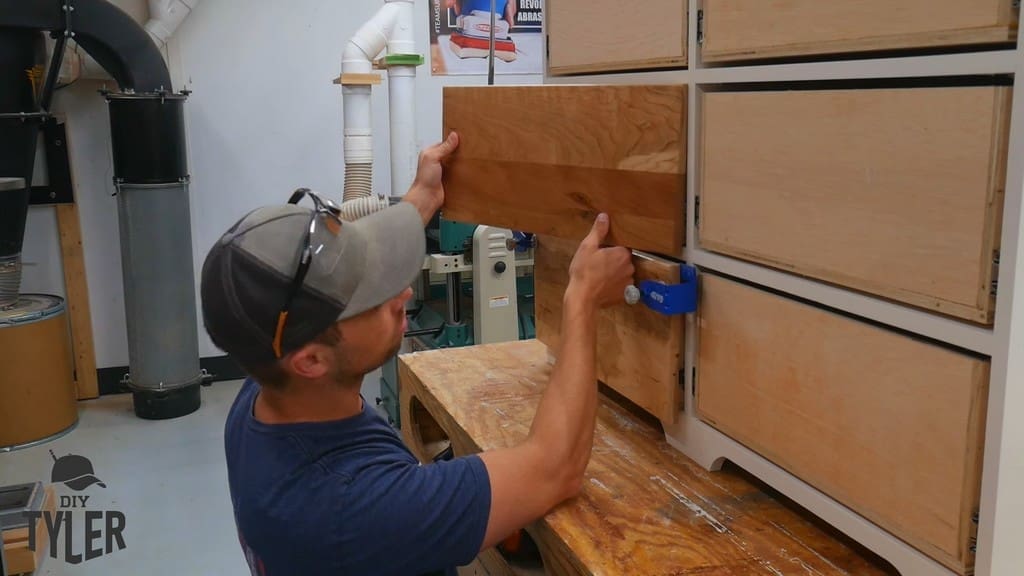
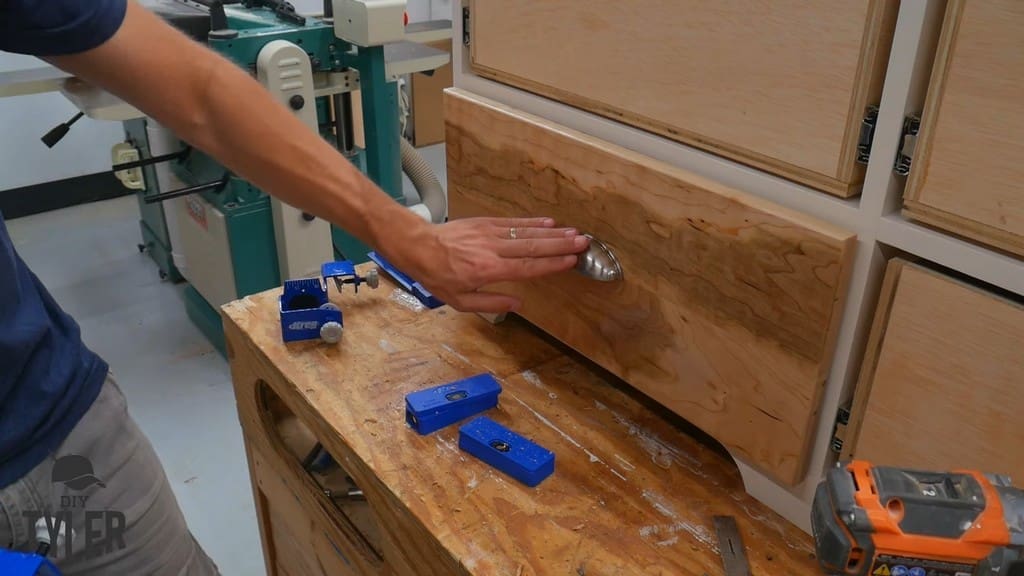
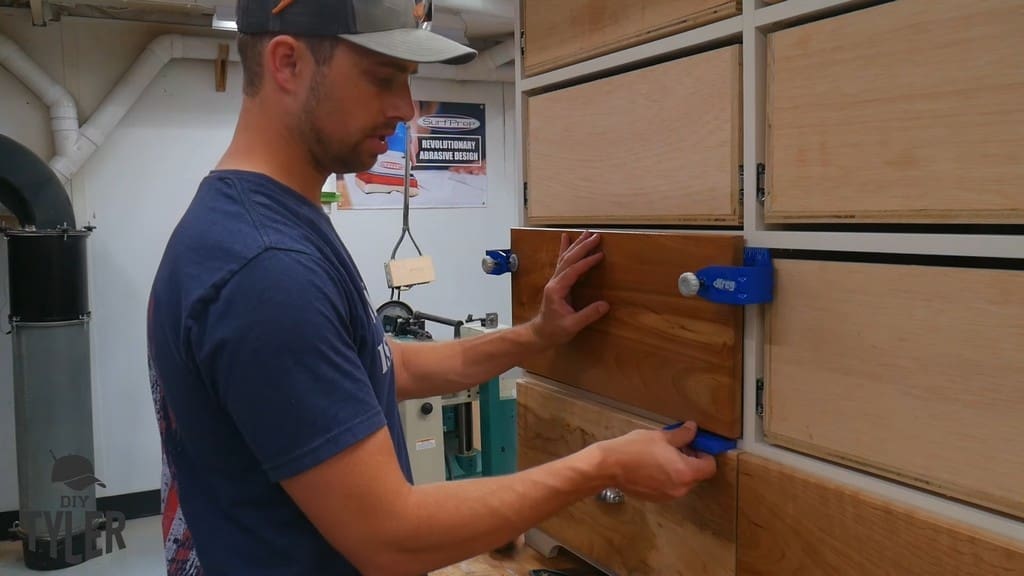
To start, you need to match the drawer clamp labeled “Left” and affix it so that it is clamped flush with the top of the lefthand drawer.
You should also get as close to flush as possible with the front-facing part of the clamp.
Once you have both the “Right” and “Left” clamps in place, back off on the front-side clamps. Next, slide your drawer front up and into place.
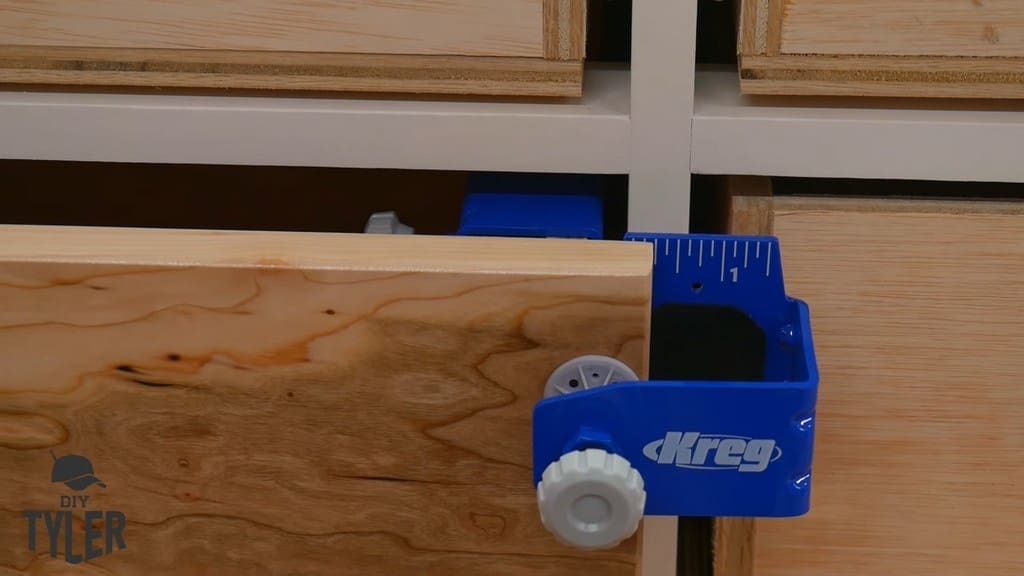
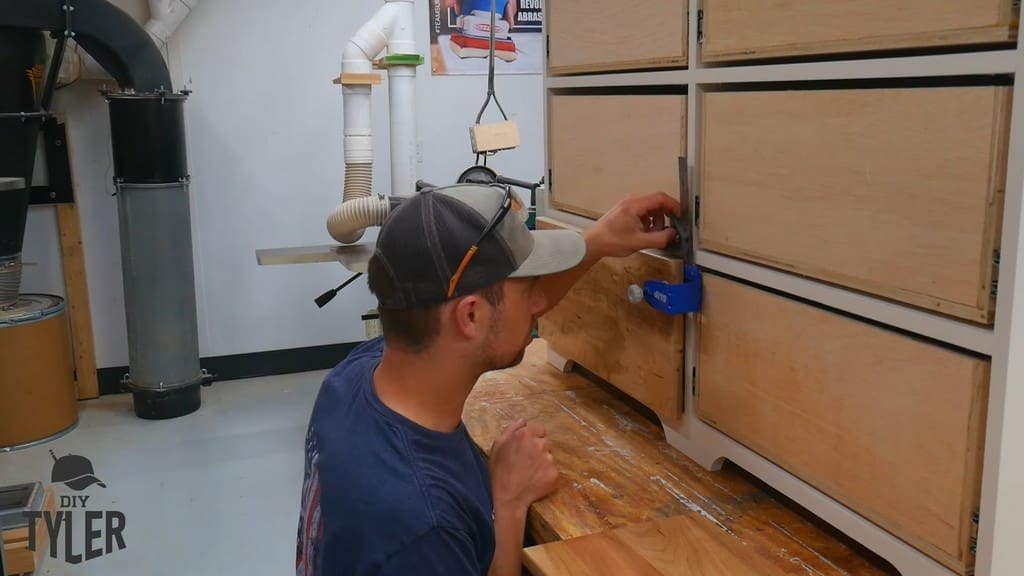
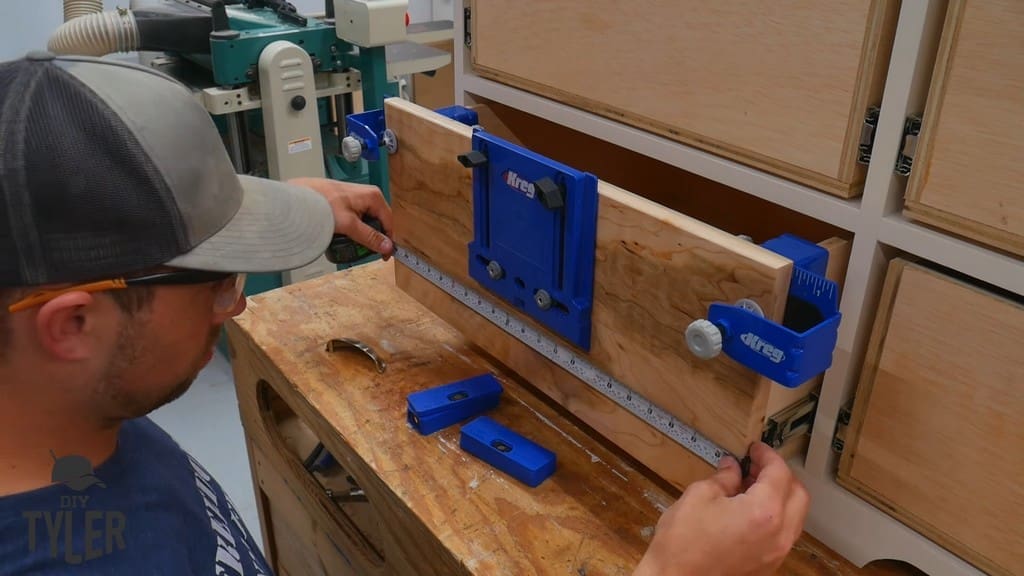
While the vertical alignment is important, I started by locking in the horizontal alignment. The Kreg clamps come with handy markings in Imperial units. I used these to achieve a quarter-inch on either side.
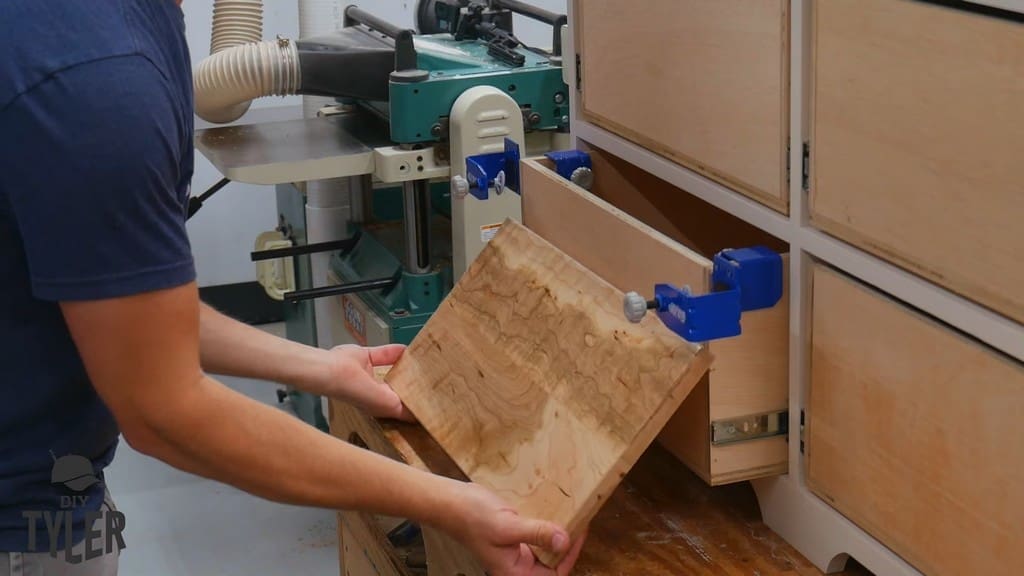
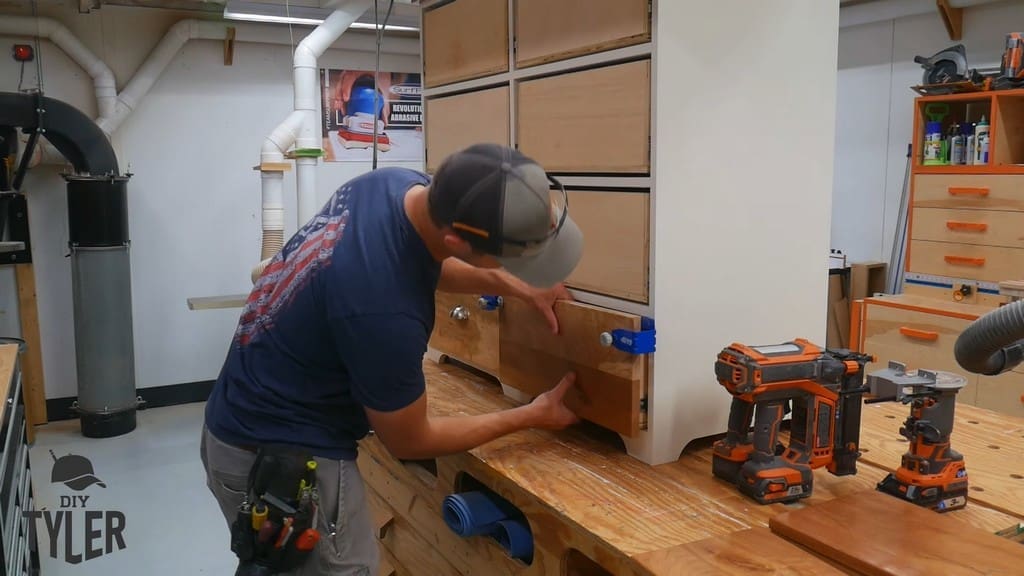
With the horizontal alignment taken care of, I moved on to the vertical. I set up another drawer front to check for vertical alignment. Once you get the first row perfectly aligned, you can use your shims to stack up the remaining front pieces in the drawers above (more on that later).
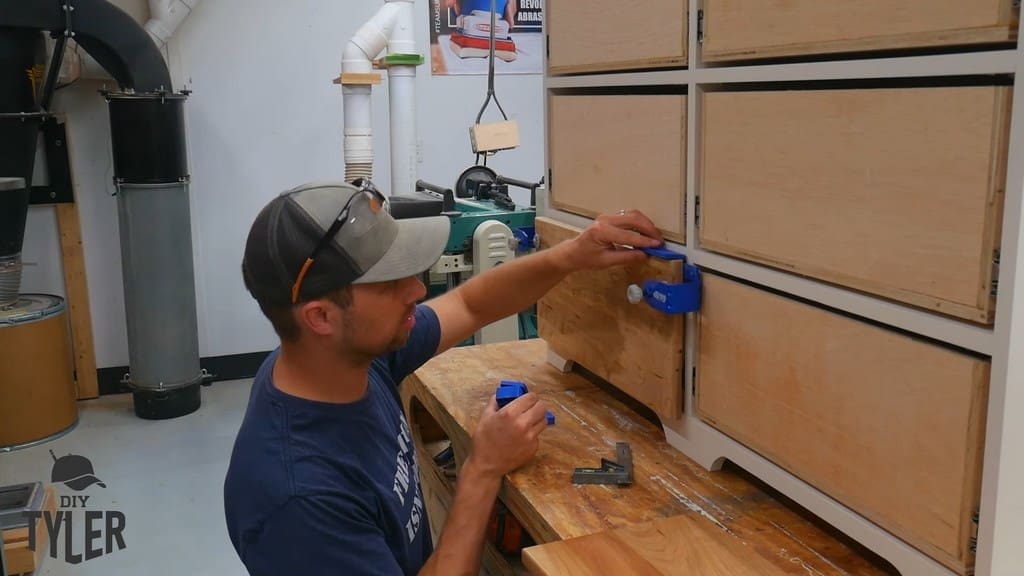
I gingerly backed off on the front-facing clamps and slid the front up just enough to reach an overlap of roughly one-eighth of an inch.
Again, after getting the bottom row perfect, you can use a double stack of shims to ensure the correct spacing for each drawer front above the first level.
Install Drawer Front Handles
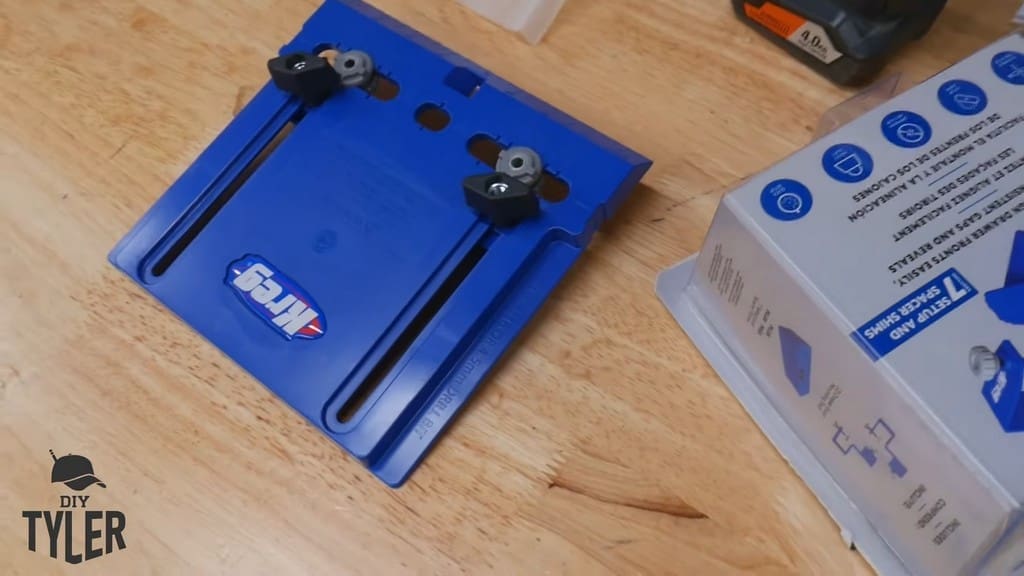
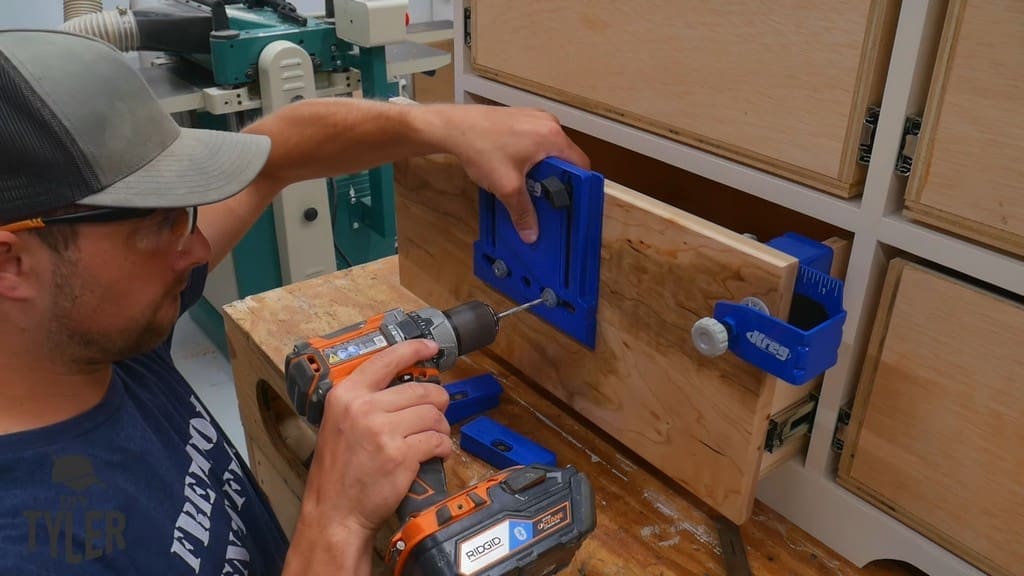
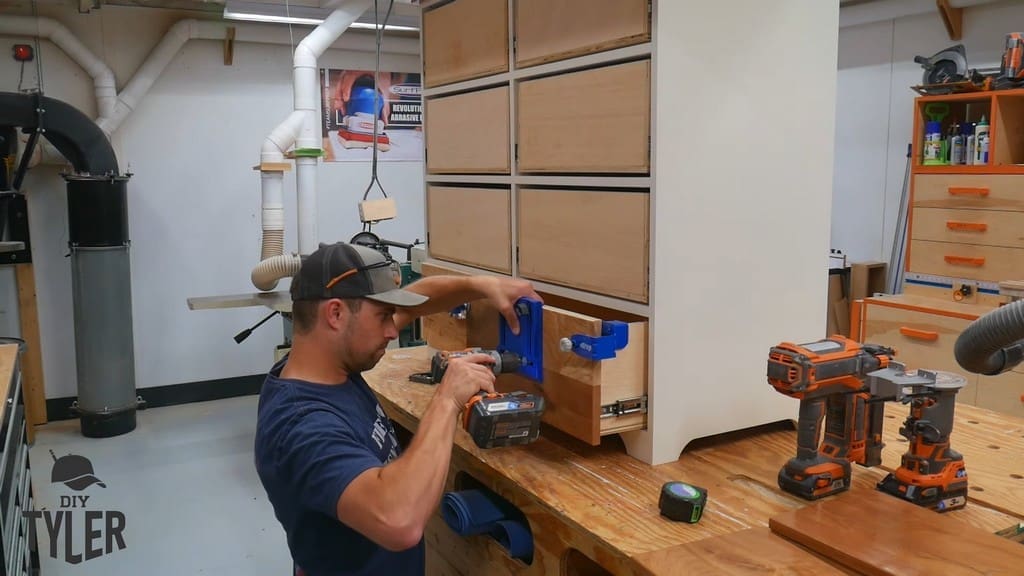
I like to attach the drawer fronts by using the handle screws. To get those screws in place, I used my trusty Kreg drawer handle hole jig. (That’s a mouthful!)
The jig was adjusted for my three-inch handles with four and three-quarter inches of drop. This put the handle right in the middle of the drawer front.
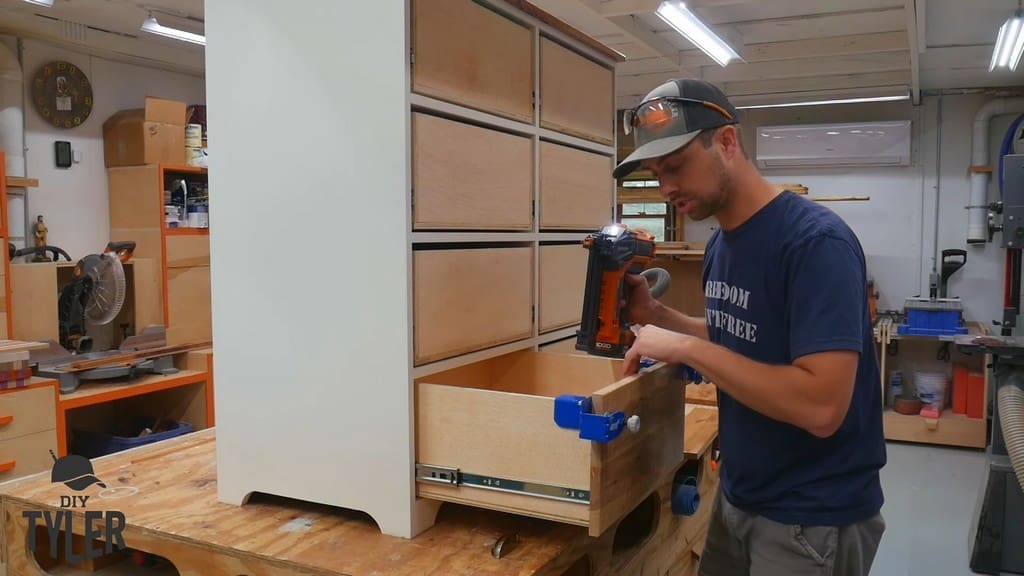
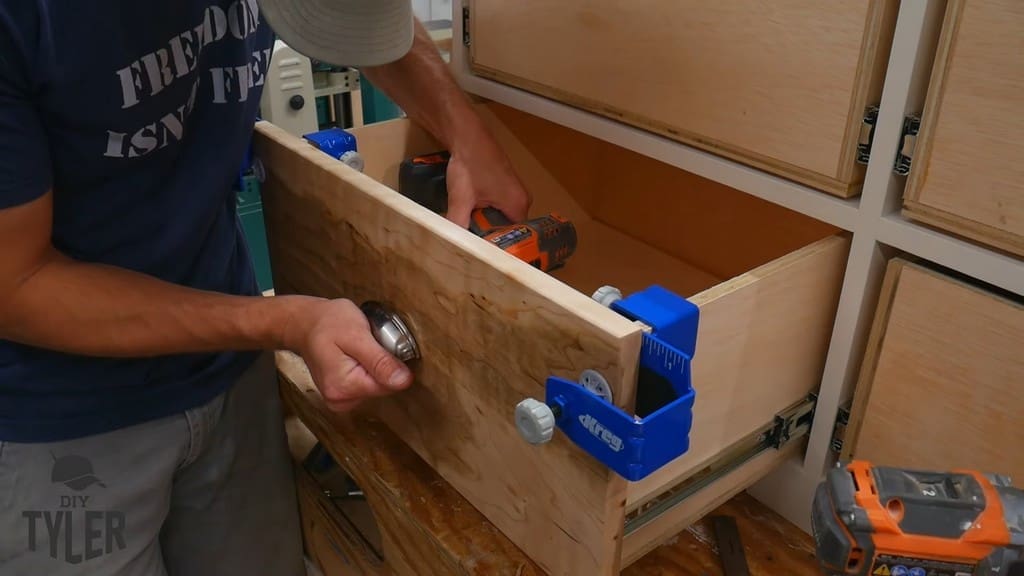
Before measuring for the middle of the drawer (on the x-axis), I popped a couple of nails in with my cordless nailer to hold everything in place.
The drawer boxes themselves were made of half-inch material with three-quarter-inch drawer fronts. So, I used one-inch nails. Using the right length keeps you from going through the material and hitting your hand.
With the two nails in place, I measured and set up my Kreg hole jig. After that, it was a breeze to drill the two handle holes.
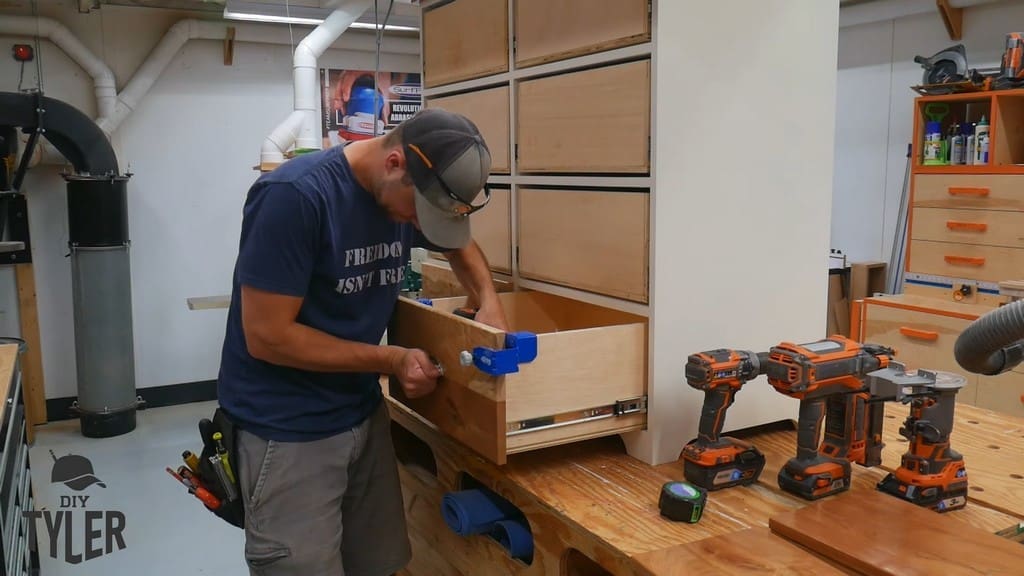
Next, I affixed the screws to hold the drawer front handle in place. With those fasteners in place, the drawer front wasn’t going anywhere!
It was the same process for the right-hand drawer front piece.
Repeating the Drawer Front Installation Process
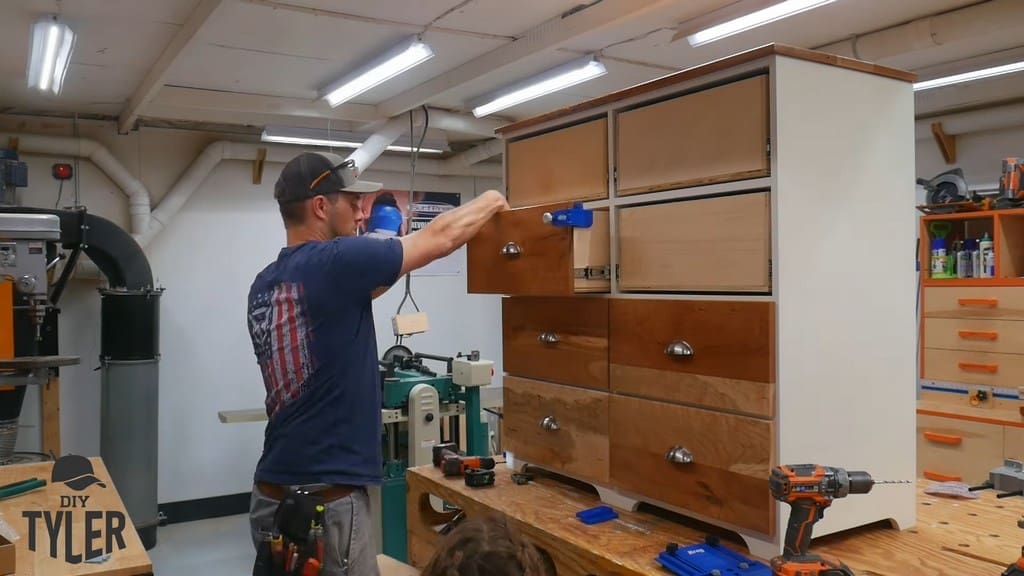
With the base-level drawers completed and level with each other, I moved on to the second row.
This time, I found the vertical alignment by stacking up a one-eighth and a one-quarter shim, creating a three-eighths stack.
If your required gap is smaller than an eighth of an inch, you can stack together playing cards instead. The drawback is that method will likely be less consistent than using a shim.
Once you’ve established the horizontal and vertical alignments, the drawer front installation process is the same as before: nail, line up the jig, drill handle holes, affix the handle, and remove the clamps.
With the right tools for the job, this process goes by quickly!
Final Thoughts
And just like that, I was finished installing the drawer fronts onto the dresser! With the right drawer front jig and clamps, assembling a piece of furniture like this becomes a DIY possibility!
Please follow and like us:
1 thought on “DIY Guide to Installing Perfectly Aligned Drawer Fronts”


1 thought on “DIY Guide to Installing Perfectly Aligned Drawer Fronts”
Pingback: Can You Replace the White Front of Kitchen Drawers? - LX Hausys