The focus of this latest build is a DIY deck fire table with a propane flame. It was made out of cheap pine material, galvanized metal, and a self-poured concrete top. Plans are available for this build https://www.diytyler.com/shop/fire-table/
Creating the Concrete Tabletop
Assembling the Tabletop Mold
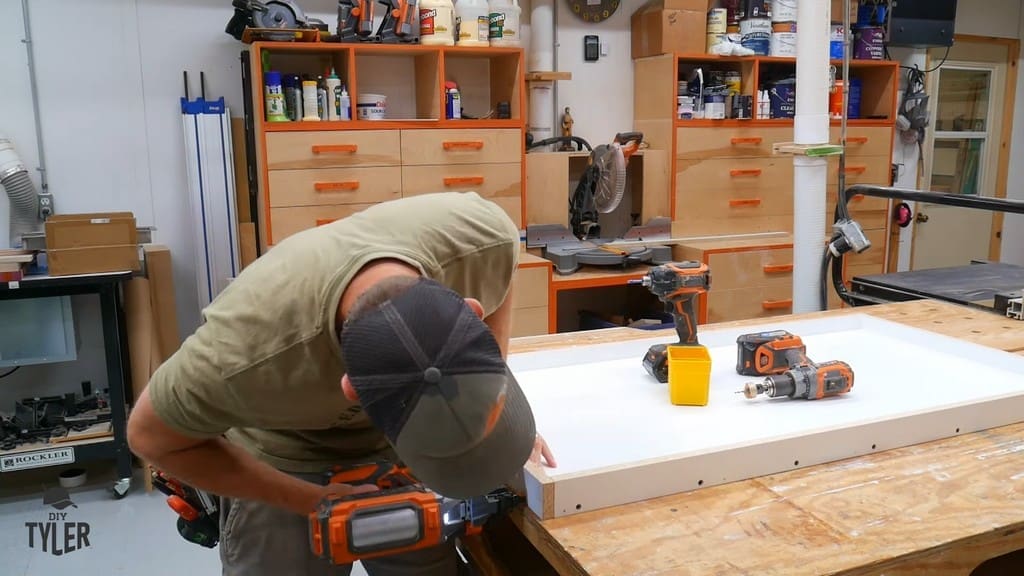
The first task was creating the concrete top. I prioritized this so that the slab would have time to cure while I was working on the rest of the build. For the mold, I used ¾-inch melamine material.
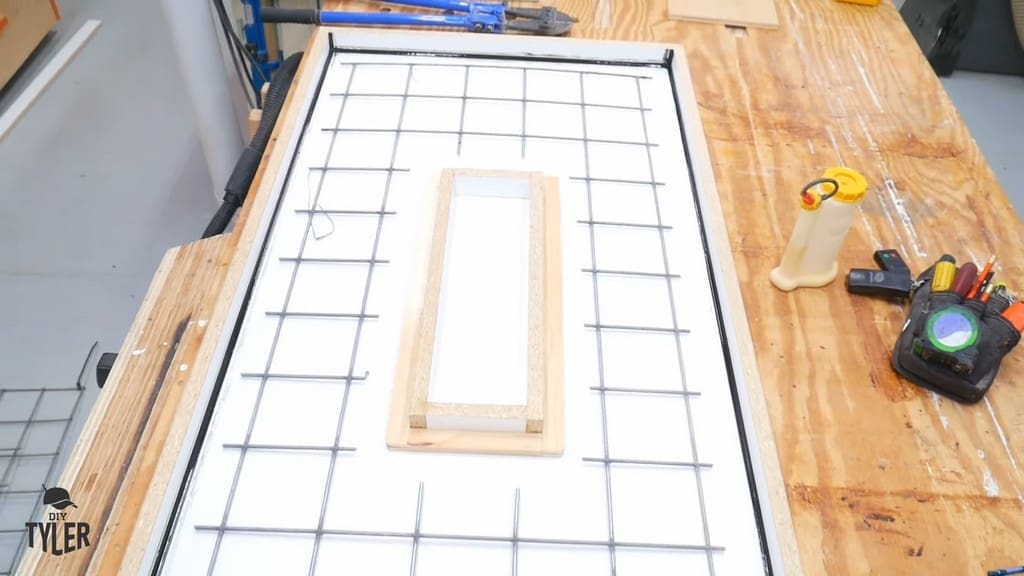
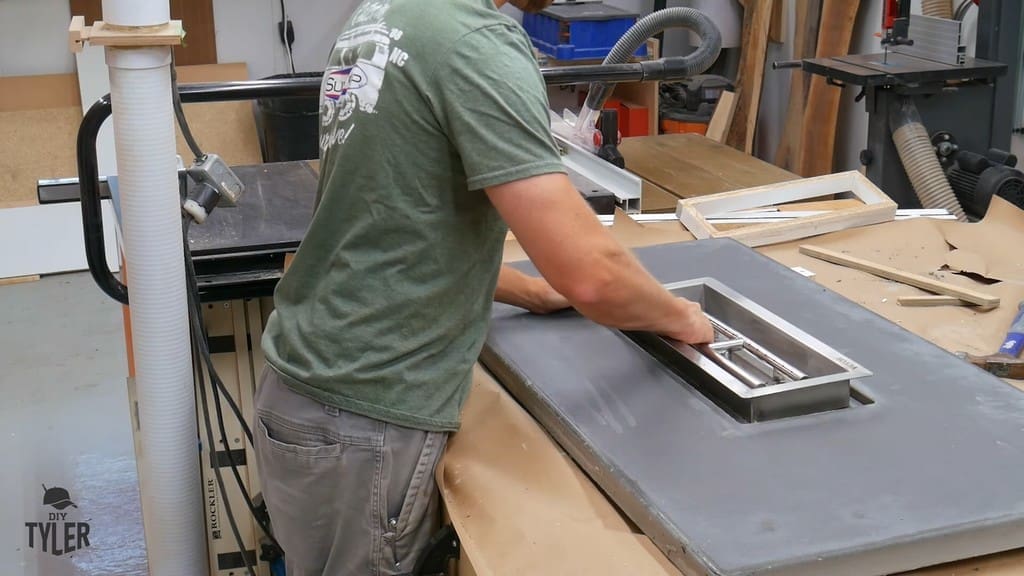
This tabletop was 1.5 inches thick. I also needed to capture some negative impressions to allow space for the fire pan to sit down recessed within the concrete top.
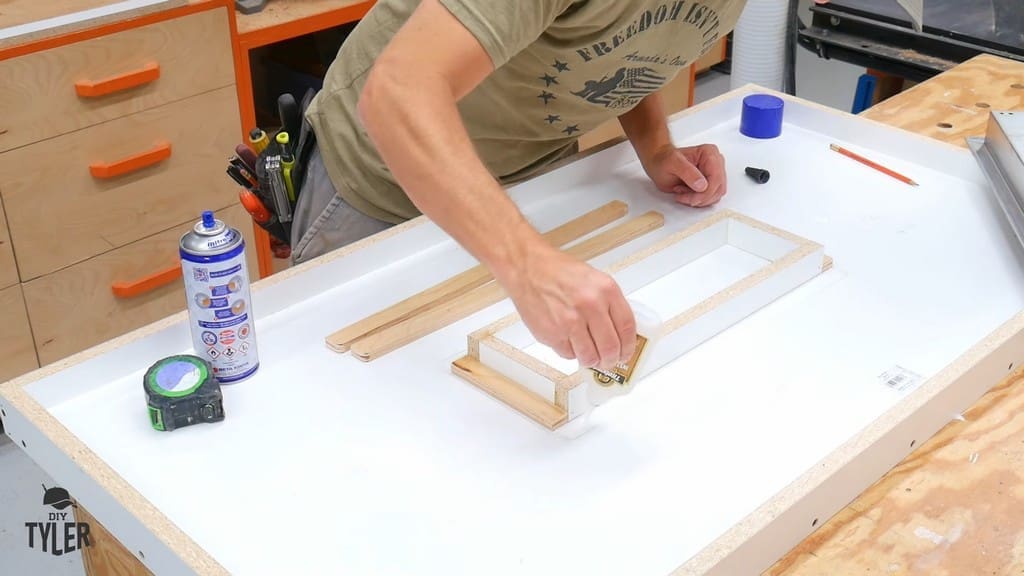
I made sure that I had the fire pan perfectly centered on the tabletop. Marking it out with a pencil allowed me to put the negative forms within the space so that the pan would have a place to sit inside.
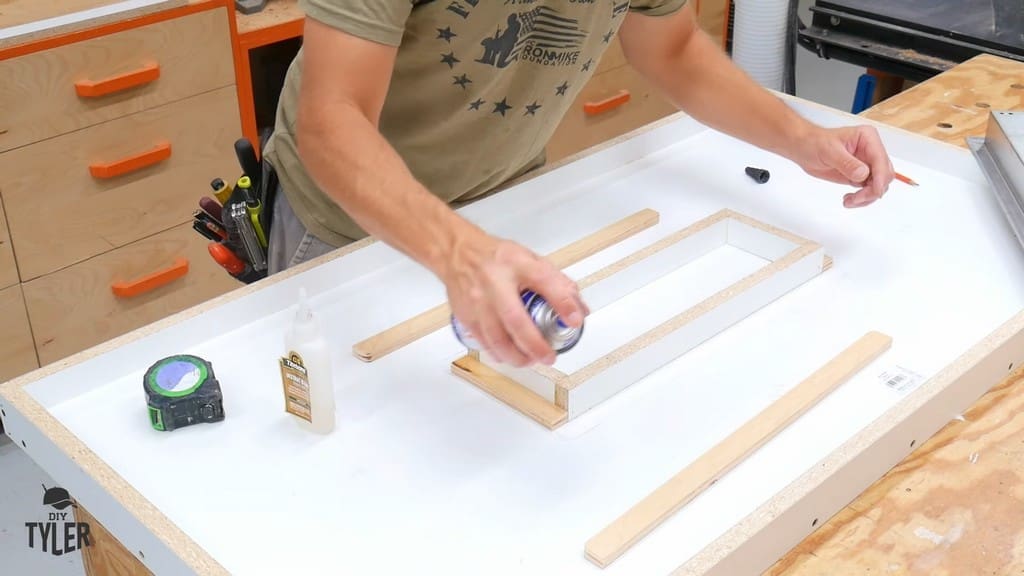
The negative forms were made of the same melamine material, which I affixed using some fast-acting CA glue.
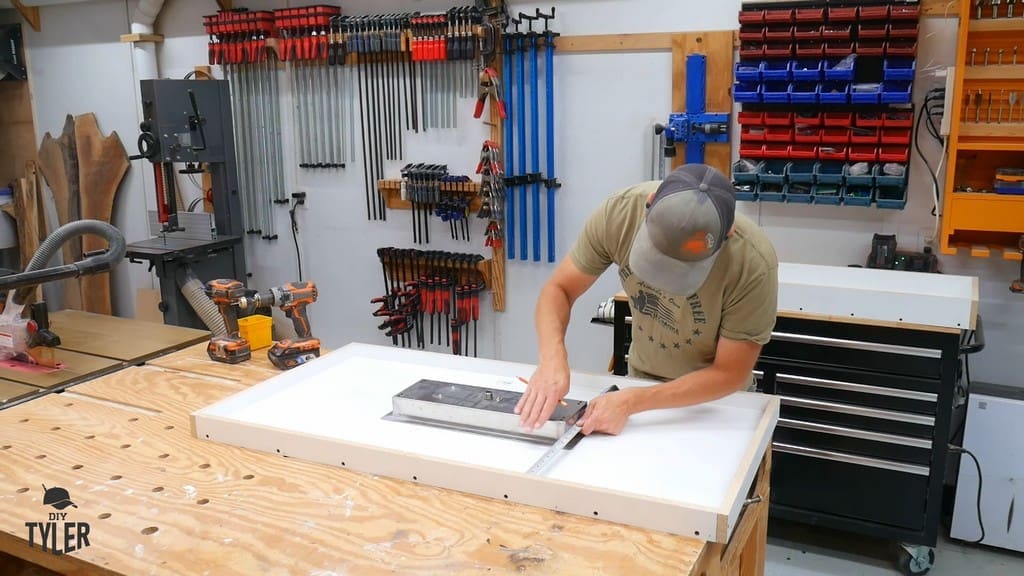
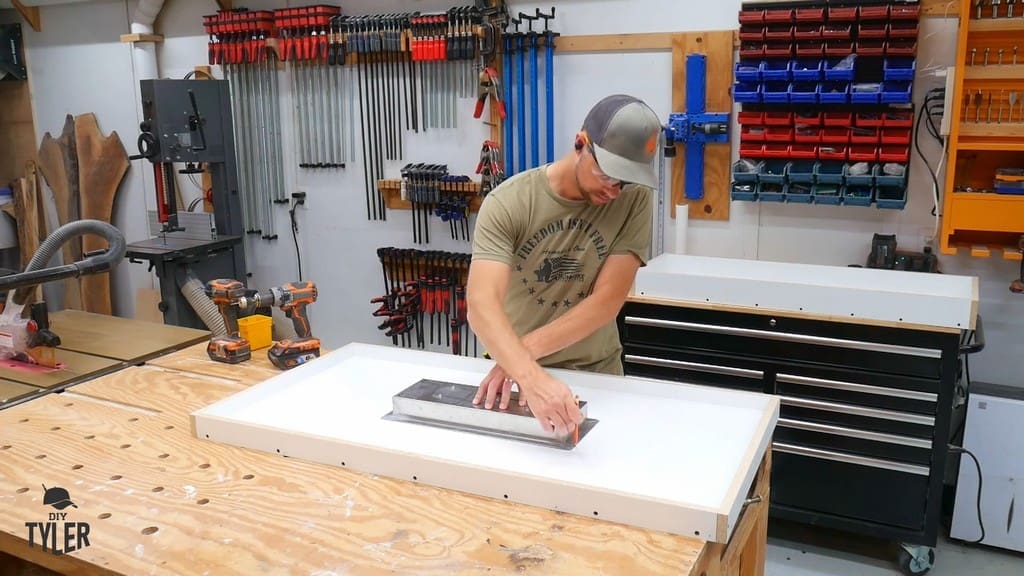
The little ledge you see pictured was intended to make a shelf for the fire tray to rest on. I sanded a bit of a radius around the edge so that this ledge would conform to the fire tray nicely.
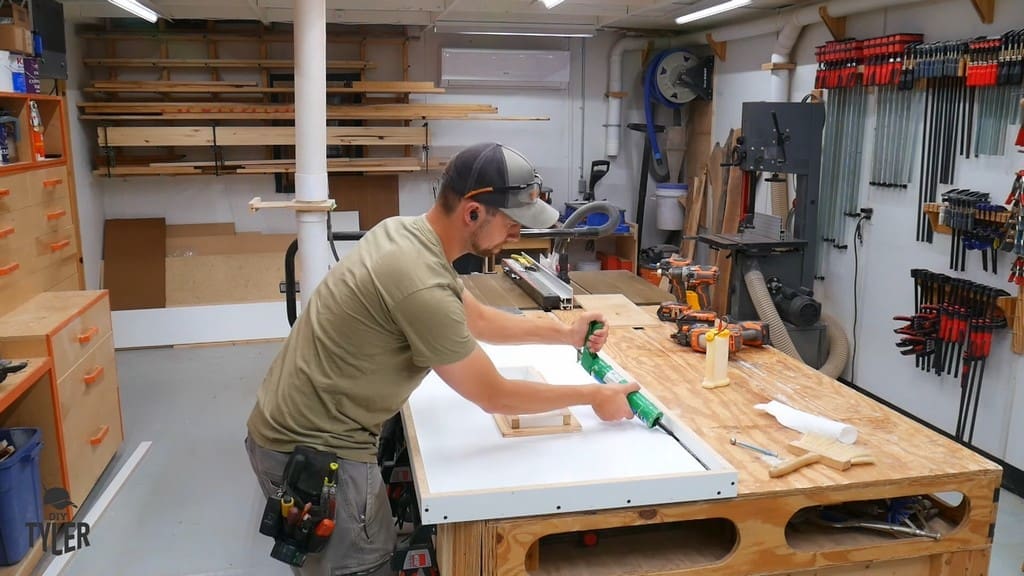
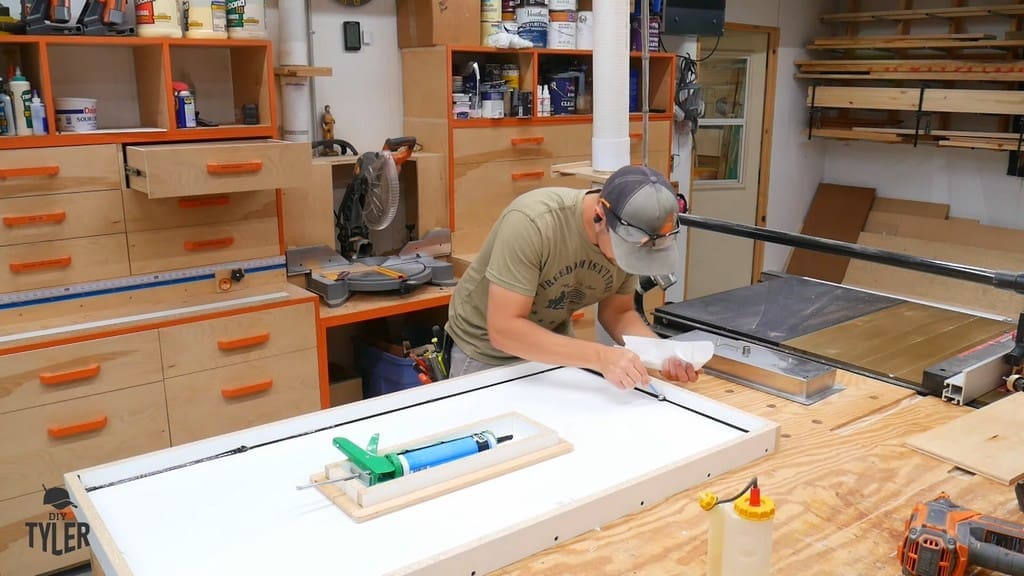
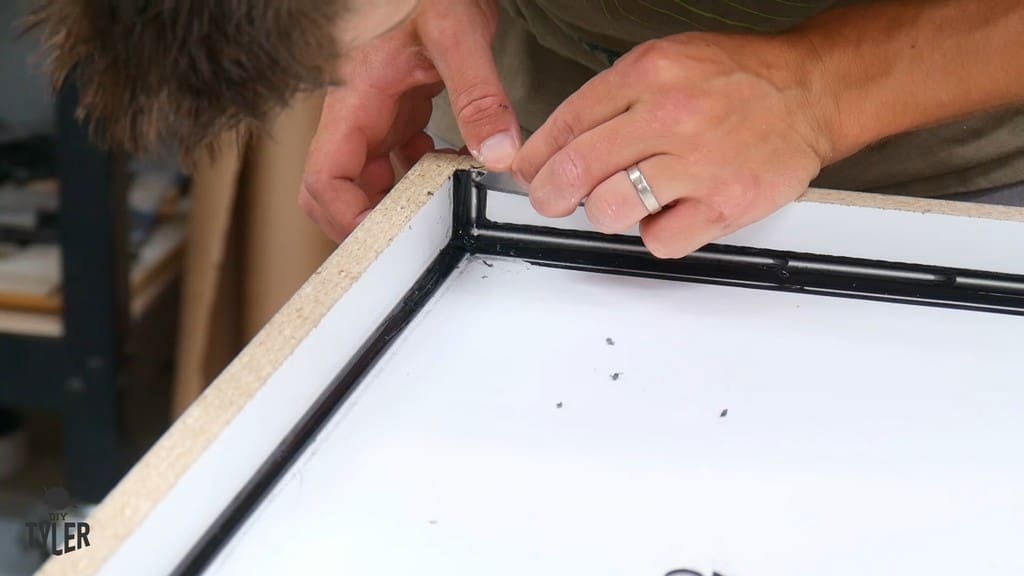
Once the form was completed, I needed to make sure that the edges of the tabletop were caulked. This prevented concrete from going everywhere while pouring and curing.
I used black silicone caulk because it stands out against the white of the melamine material. Following this up with a radial tool created a nice radius for the countertop.
Finally, I went through and cleaned out the excess caulk. I forgot to do so in the initial build, but one helpful step is to wax the corners before applying the silicone caulk. This makes it easier to remove the excess caulk later on.
Pouring the Concrete
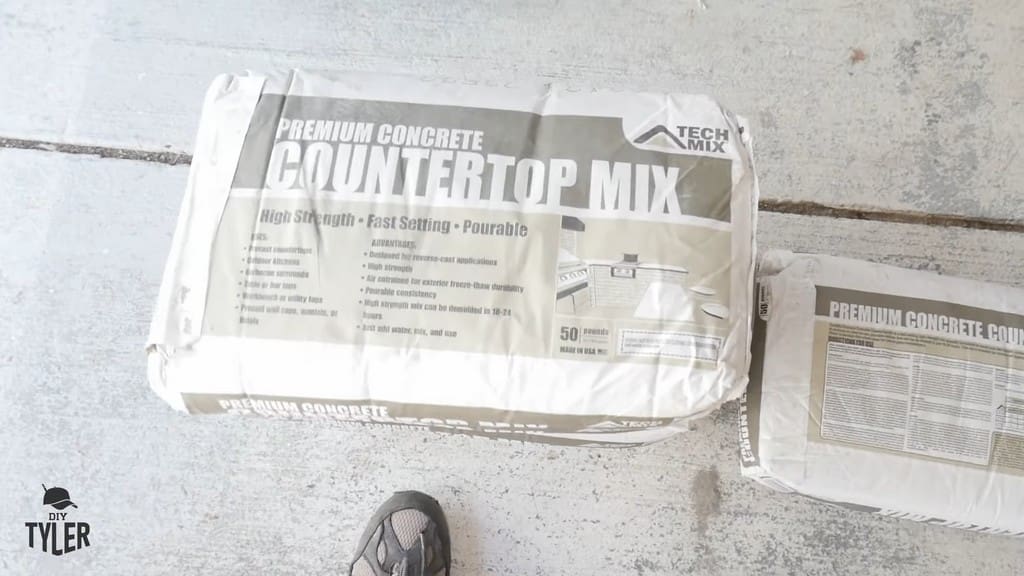
With the DIY deck fire table’s caulking done, I moved on to mixing and adding metal reinforcement. Although I was planning to use a countertop concrete mix from Menards with fiber mixed in for this build, I still wanted extra strength to prevent cracking.
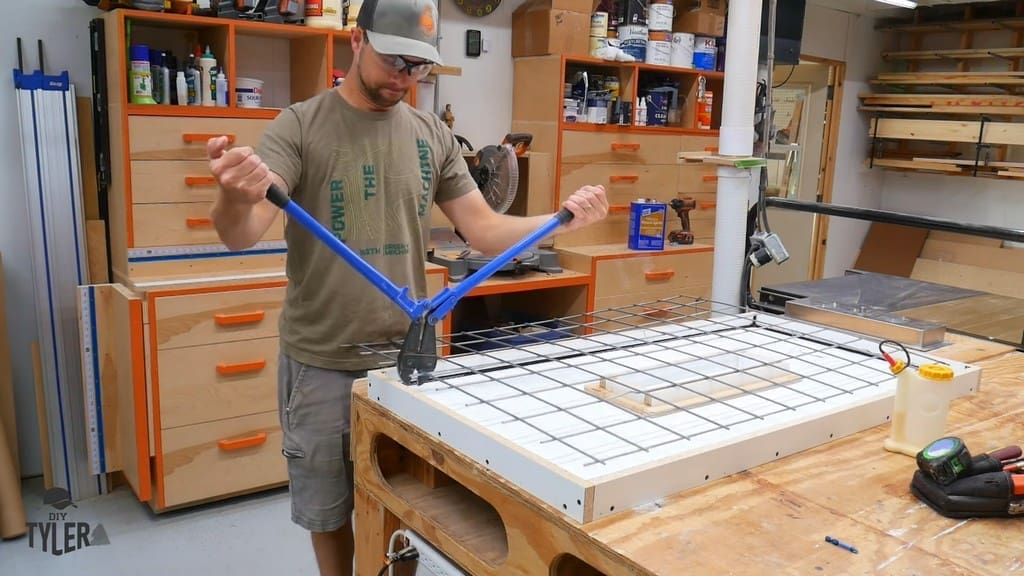
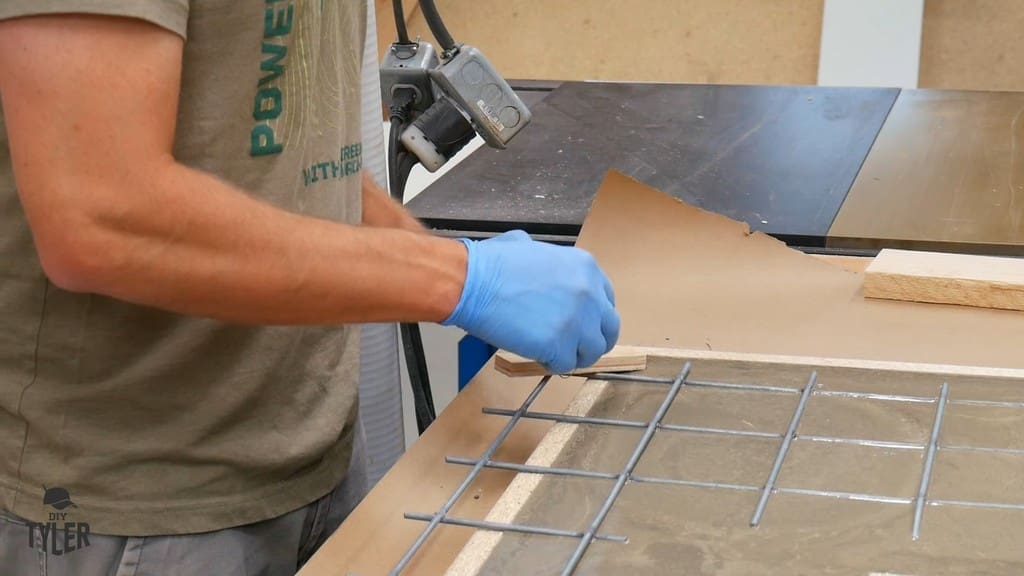
My rebar structure for this purpose came in the form of some galvanized fencing material. I cut a hole out of the center so that the “rebar” would fit around the fire tray section.

Since every imperfection or piece of debris will show up in poured concrete, I used some alcohol wipes to make sure every surface was nice and clean. Spending a few extra minutes cleaning goes a long way toward ending up with a neatly poured countertop.
My particular concrete mix from Menards was a bit more expensive than a Quikrete-type mix, but it certainly poured well. I highly recommend this stuff for this kind of countertop job.
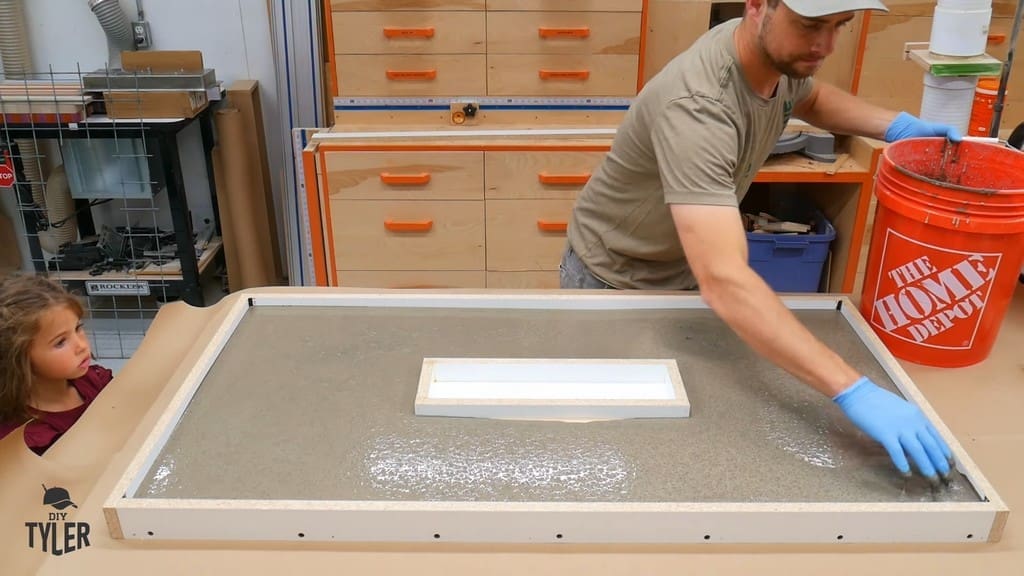
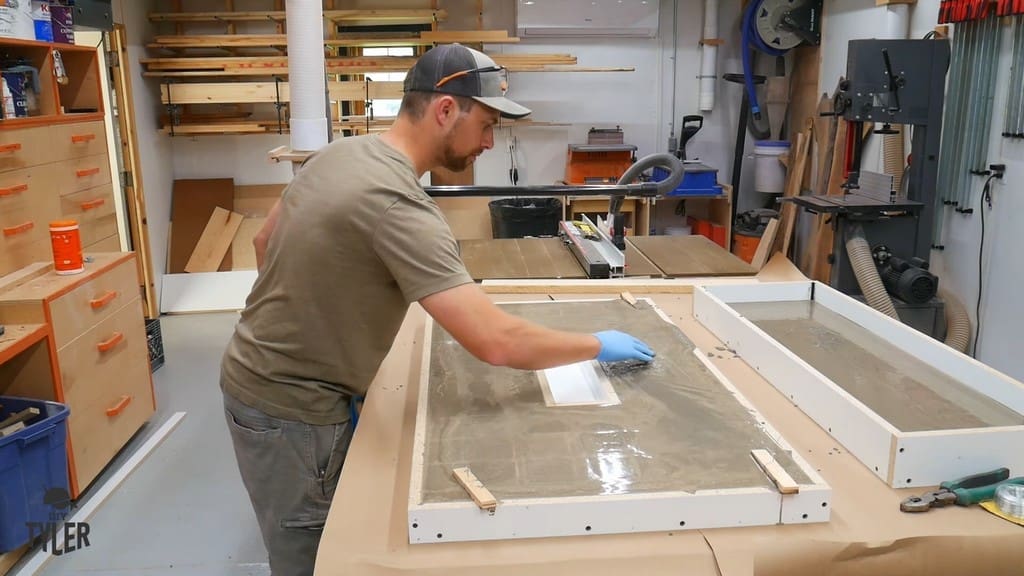
When mixing, you want a fairly liquid-y blend so that it can self-level and get into any nooks and crannies. In our case, that included the mix fitting around the recessed material for the fire pan. Your mix needs to be silky-smooth so that you can end up with a smooth countertop!

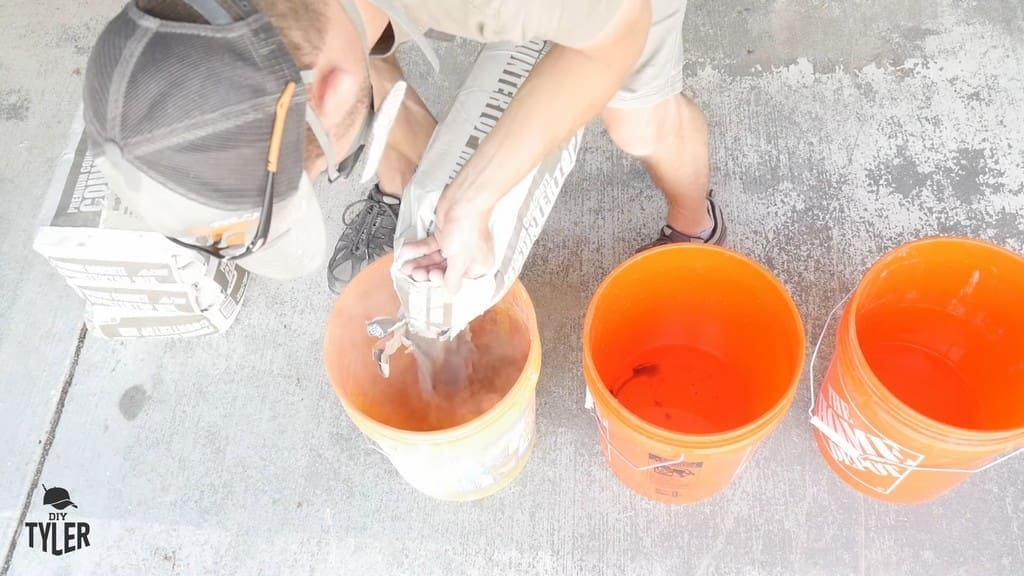
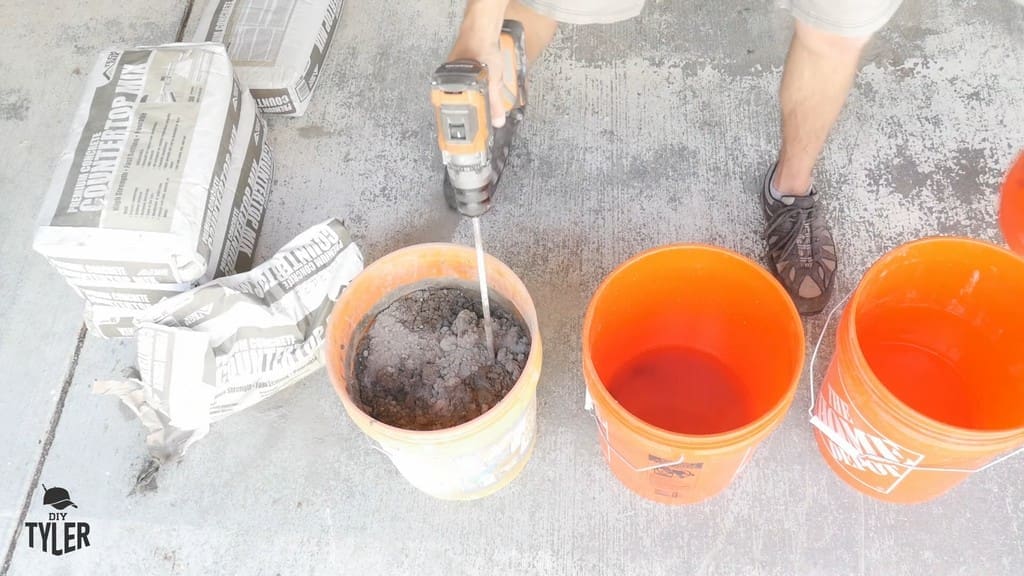
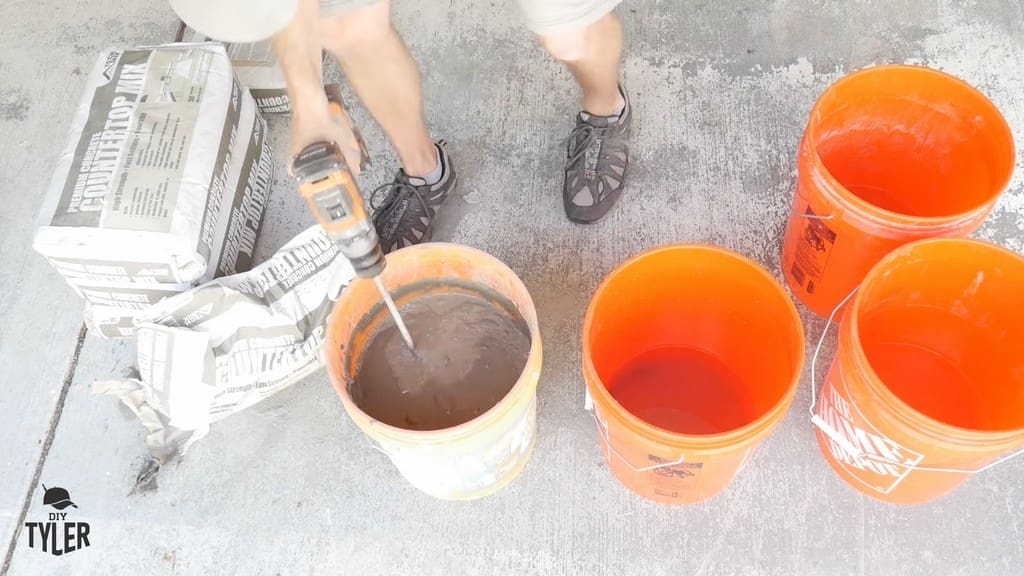
I spent several minutes mixing the three buckets of concrete that I figured I’d need. The result was an easy-to-pour mix that flowed nicely into my mold.
I used a gloved hand to make sure the concrete was smooth on the bottoms and in the corners. Otherwise, the mix did a great job of self-leveling.
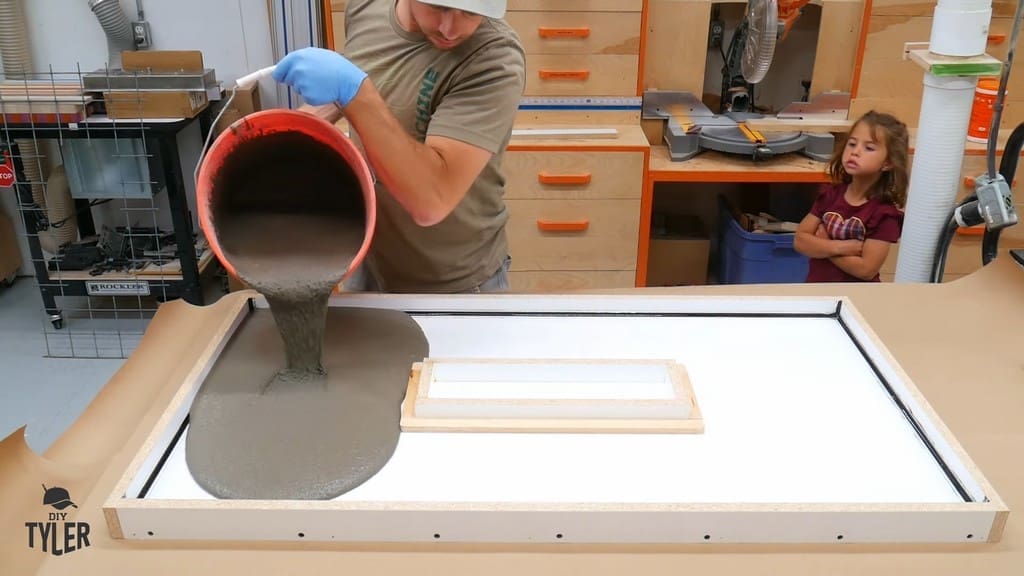
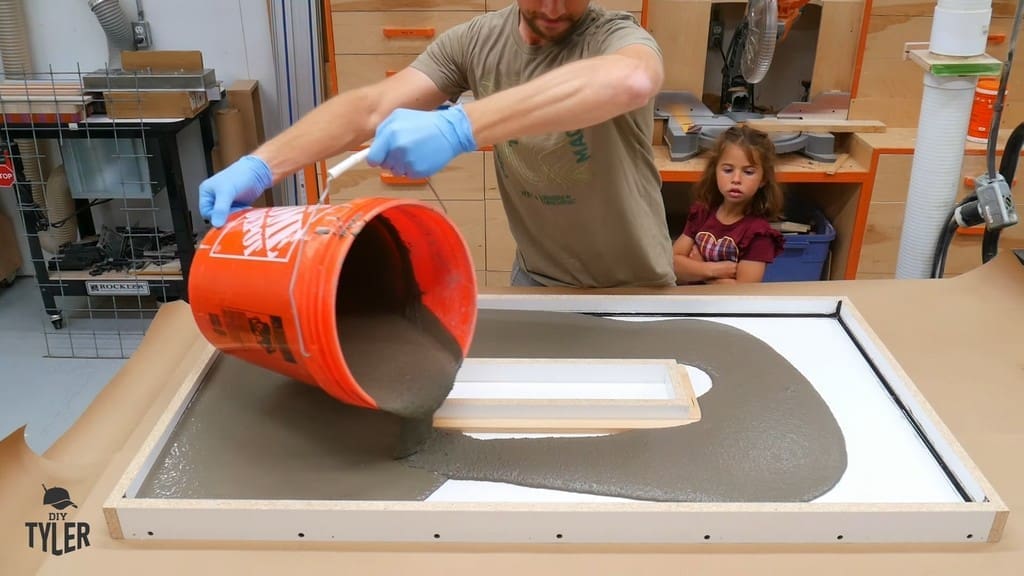
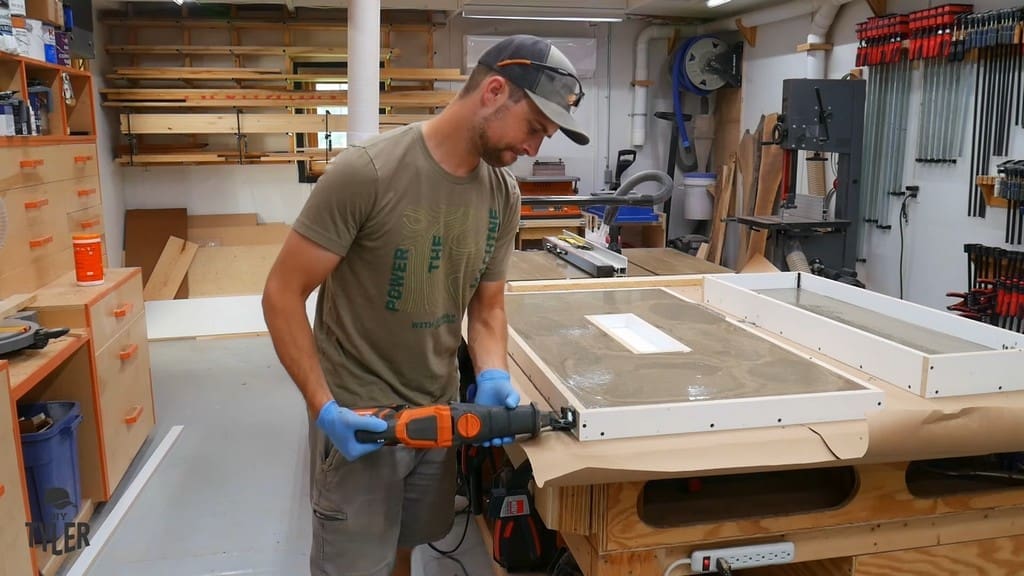
Once the mix was flush with the sides of the mold, I ran my reciprocating saw (WITHOUT the blade installed!) along the sides to get rid of any remaining air bubbles.
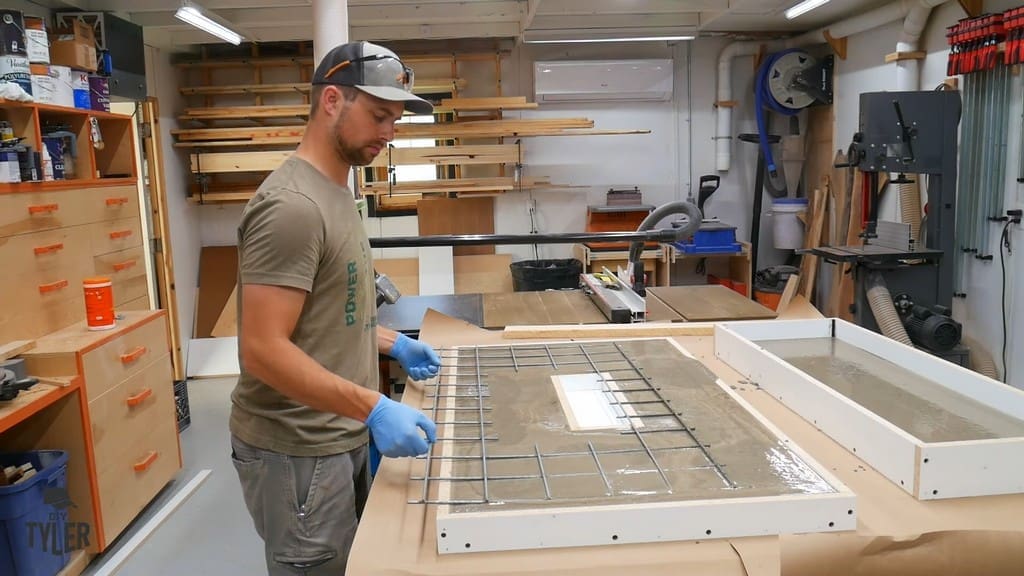
Adding the Metal “Rebar”
I couldn’t just chuck my fencing piece into the mix, or else it would sink “down” and show up at the top of the countertop surface (since my mold was flipped upside-down).
To prevent this, I used some twist ties and scrap pieces of wood to hold the galvanized fencing near the “top” of the mold, which would actually be the bottom of the countertop material.
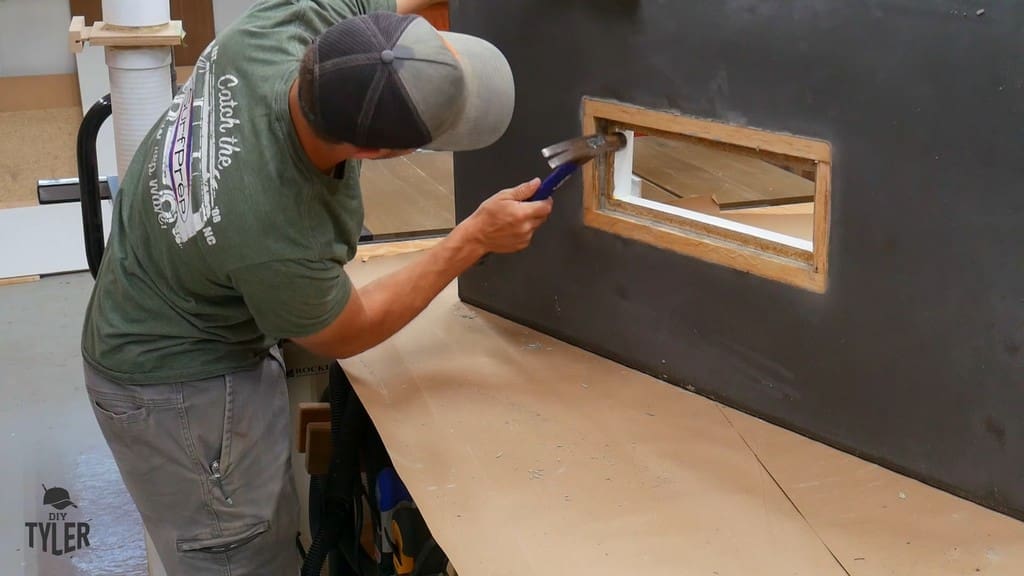
Removing the Concrete Mold
After a couple of days, the DIY deck fire table top had cured enough for me to remove the forms. I then flipped the top over so that the other side could dry up.
The removal process is fairly straightforward. Just be careful not to leverage your tools directly against the smoothly-poured concrete slab! Wedge your tools against the melamine material instead when prying the forms apart.
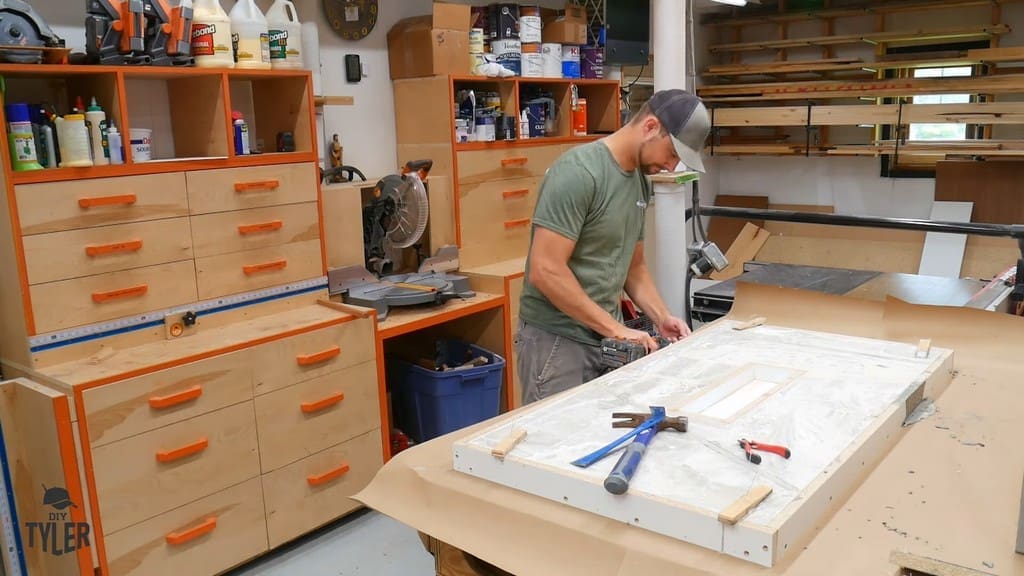
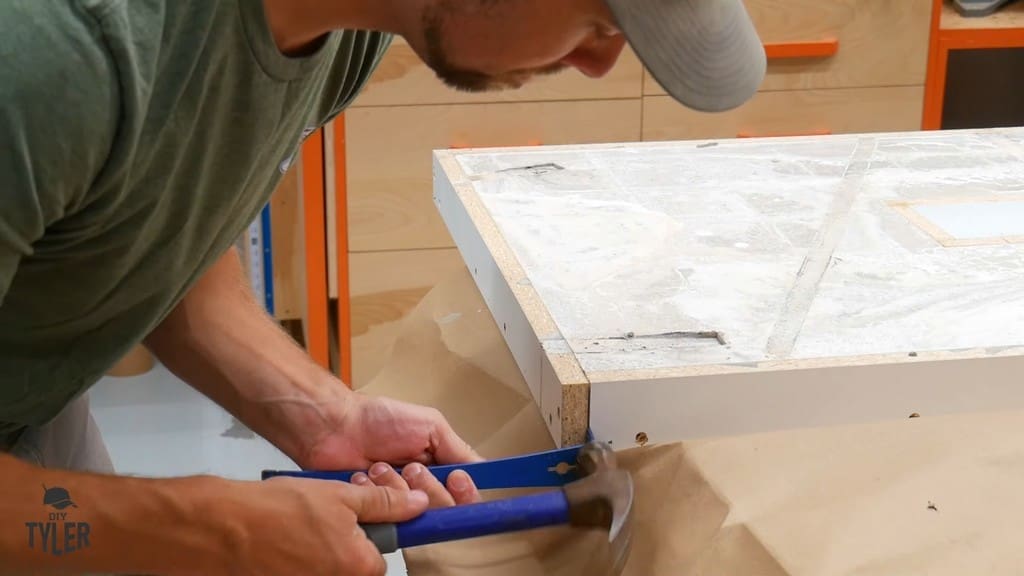
Be careful moving the slab, as it’s obviously not going to be light. I was able to rock my tabletop piece up and pry off the underside form without any issues.
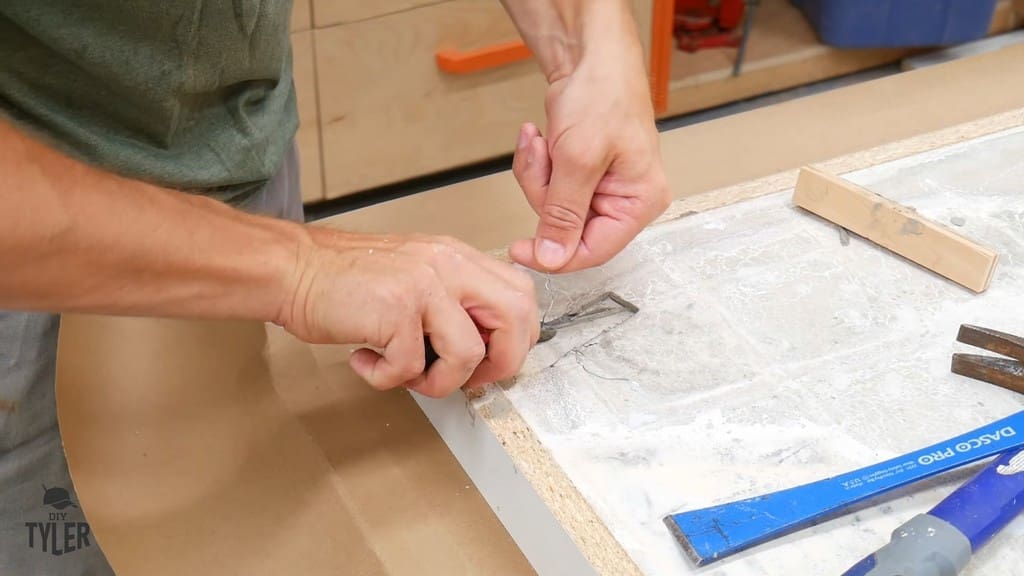
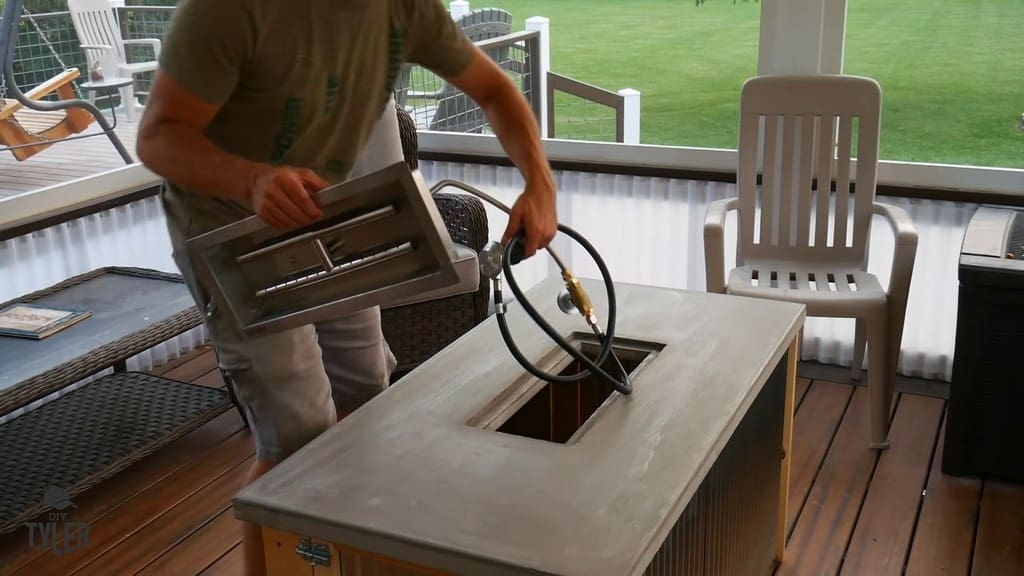
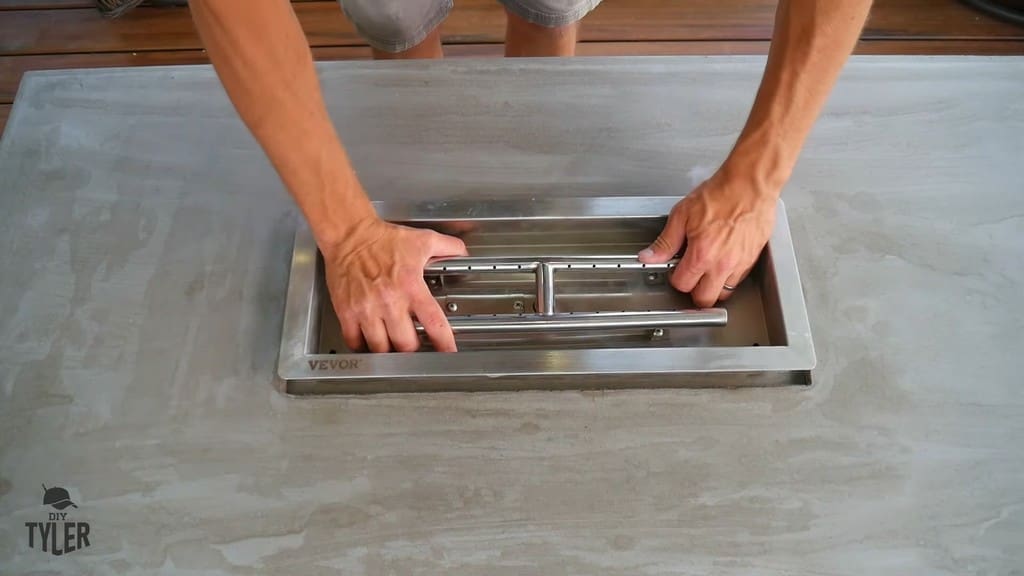
I used a hammer to remove the negative form pieces that had created the recess for the fire pan. The pan, regulator, piping, and other materials fit in perfectly.

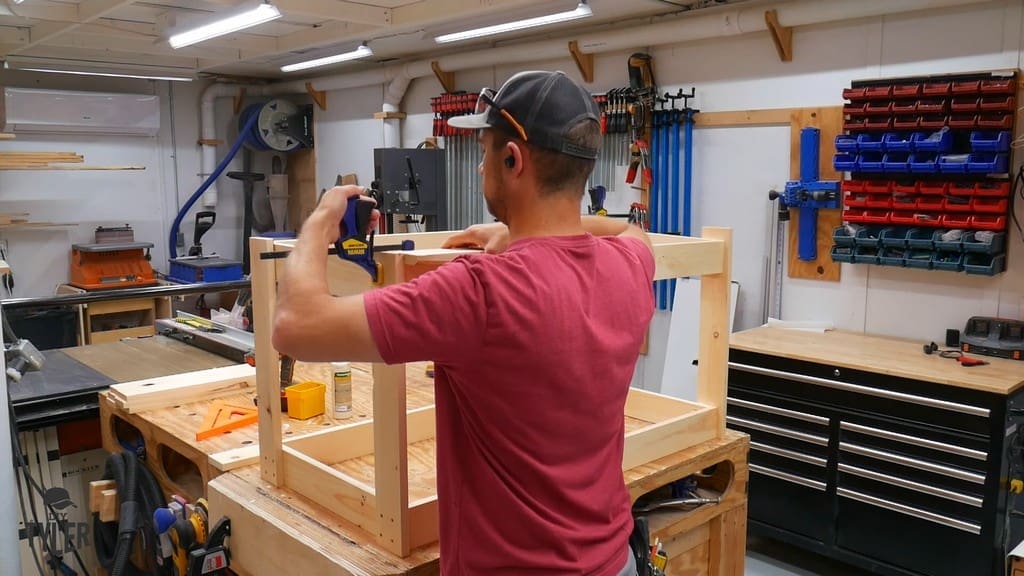
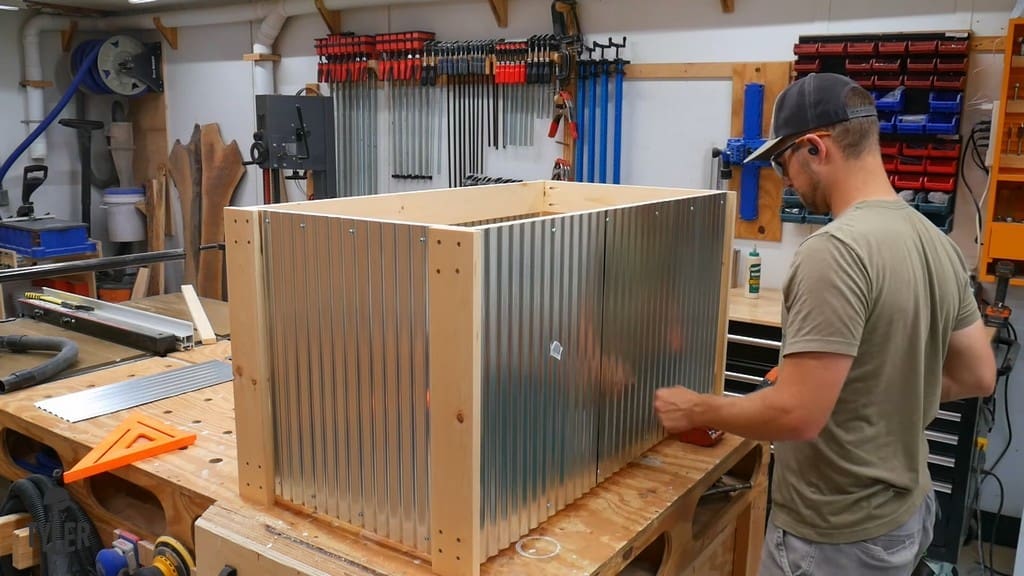
Building the DIY Deck Fire Table Frame
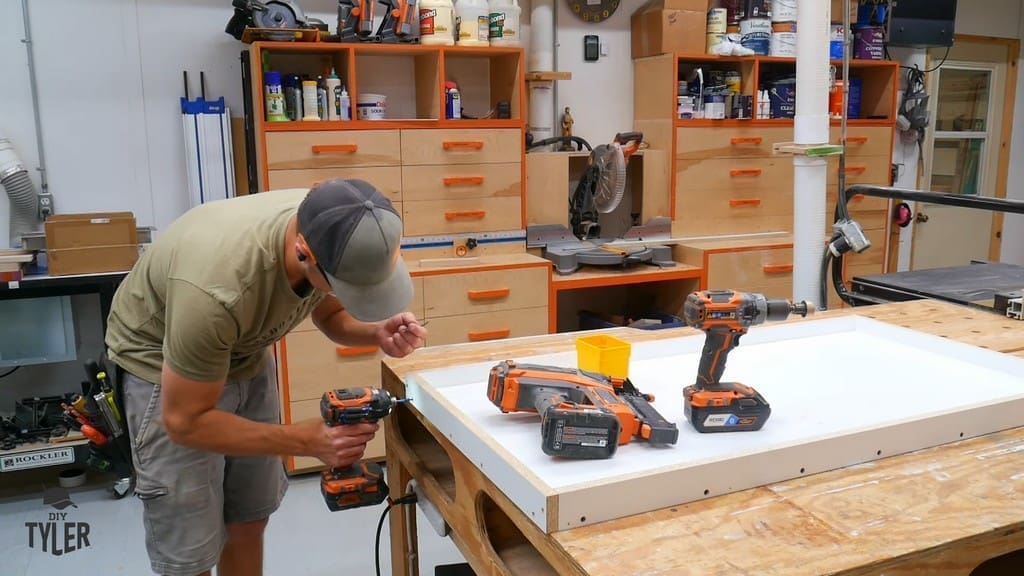
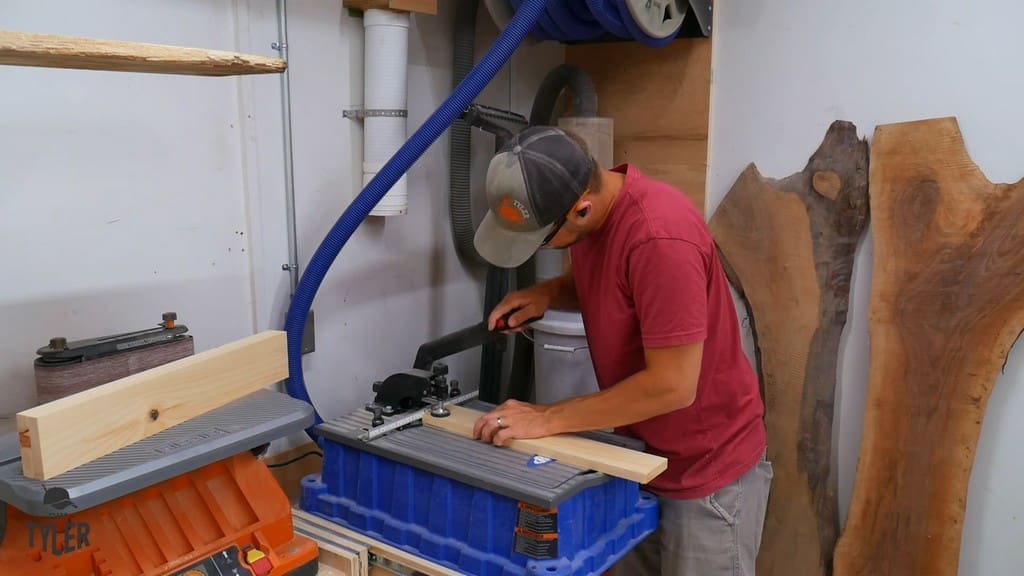
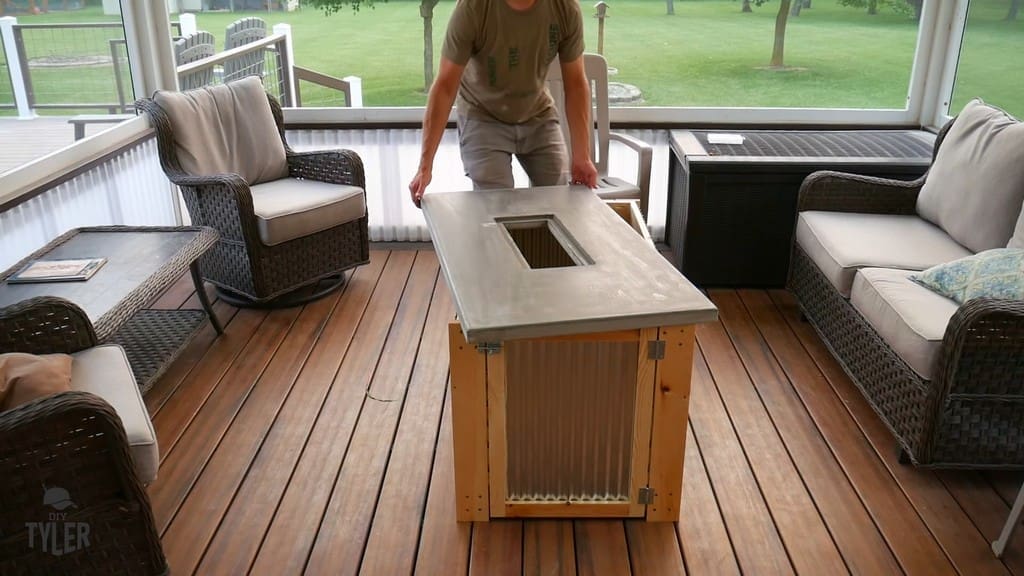
With the DIY deck fire table slab finished and left out to dry for a few more days, I moved on to constructing the frame that would hold the table top up at coffee table height. I used some pine material, cutting out any warped material or undesirable knots.
I broke down the pieces with my miter saw according to the plans for this build (available for purchase here).

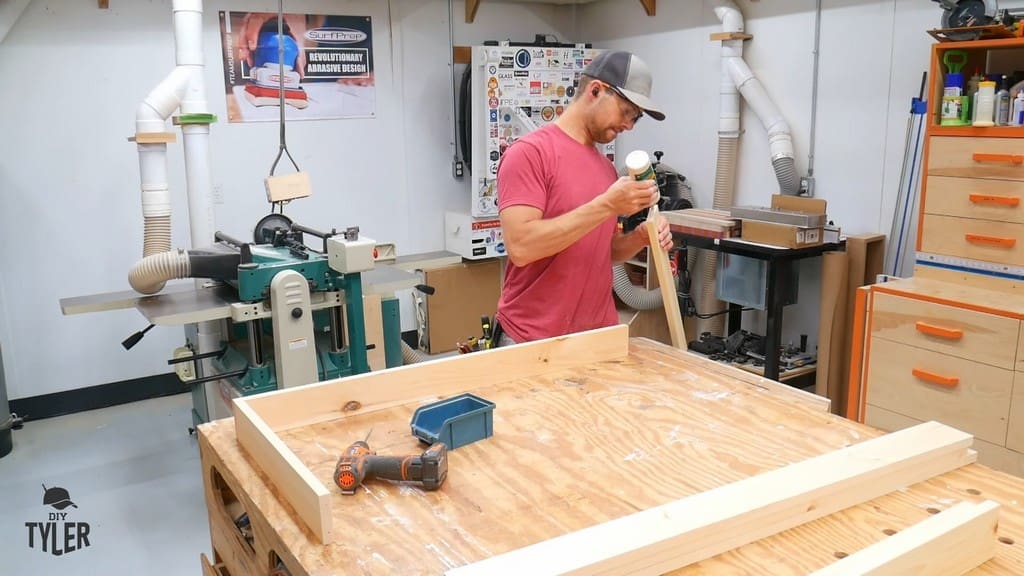
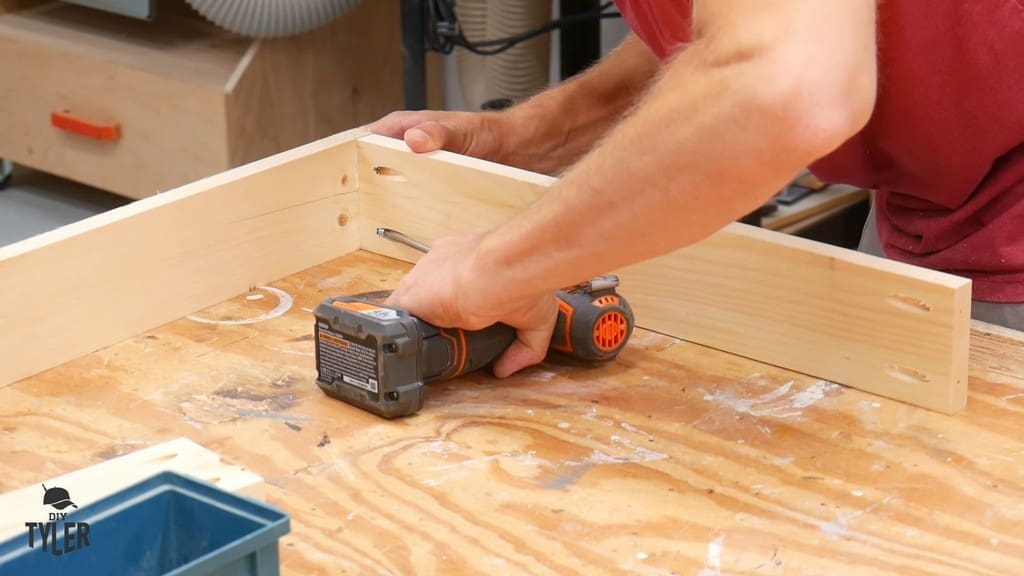
The frame itself was constructed of a lower and an upper section. These parts were held together by Titebond II and some pocket screws (with pocket holes created by my Kreg pocket hole machine).
After constructing both frames, I screwed the legs to the sides to form a sort of double frame. This would be heavy-duty enough to hold up a concrete slab weighing several hundred pounds.
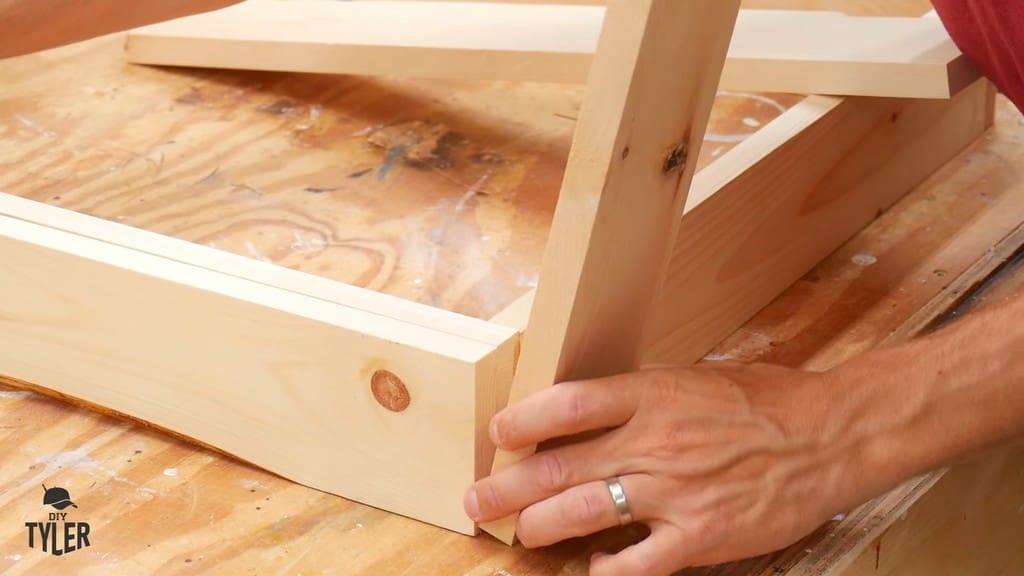
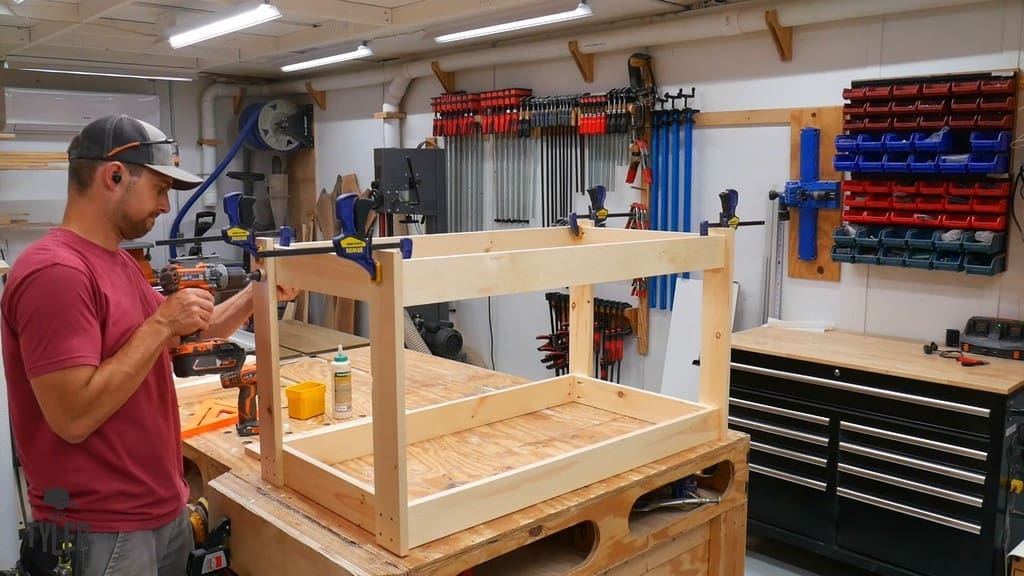
With the upper and lower sections of the frame constructed, it was time to add the legs.
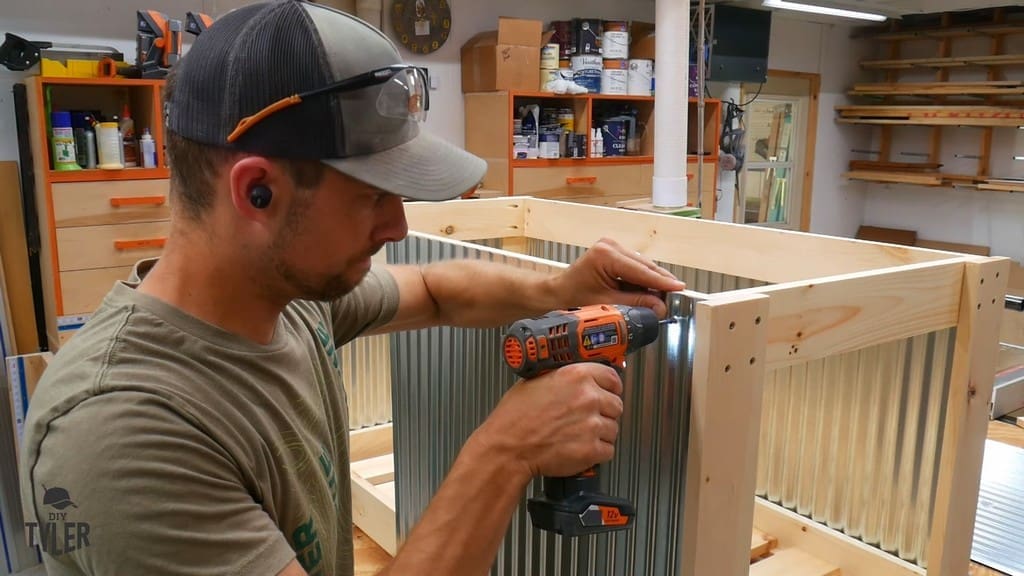
The upright piece needs to be offset in order to install our galvanized material without it poking out in a way that could lead to someone cutting their foot or hand on the metal.
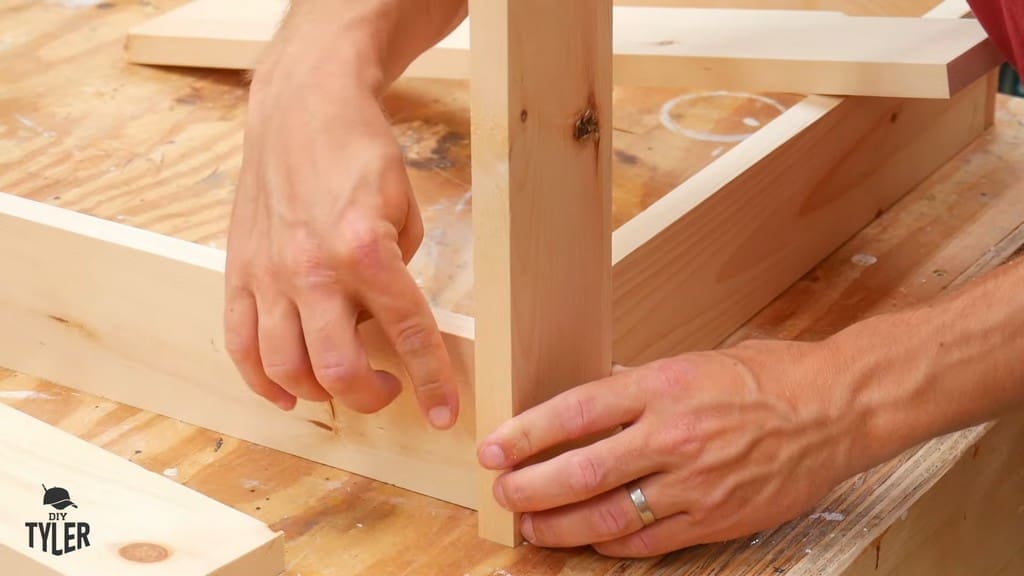
The legs were installed upside-down, meaning I had the top of the table resting face-down on the workbench. I used Titebond III waterproof glue (since this was an outdoor application) and fasteners to hold the leg pieces in place.
With the tops of the legs fastened, I checked to make sure everything was square before I glued and drilled the bottoms into place. The legs had a ¾-inch offset from the ground.
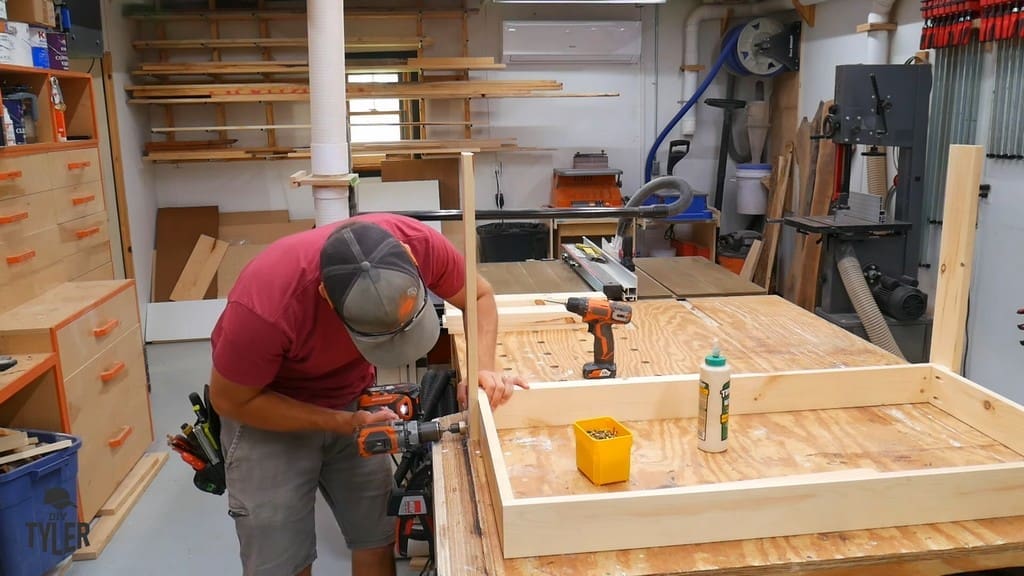
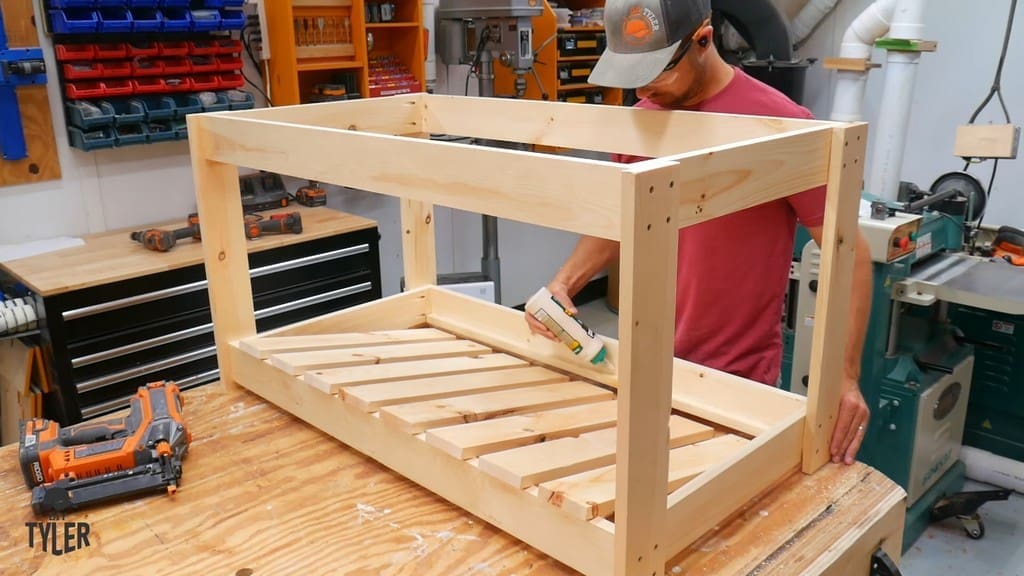
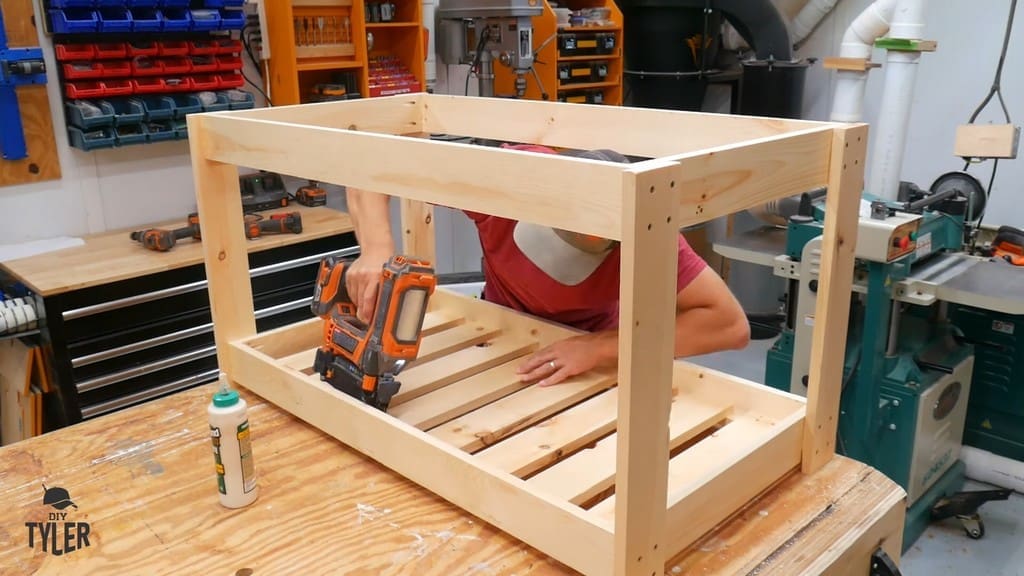
Now that the pine frame was assembled, I flipped it back upright and added bottom slats for the propane tank to rest upon.

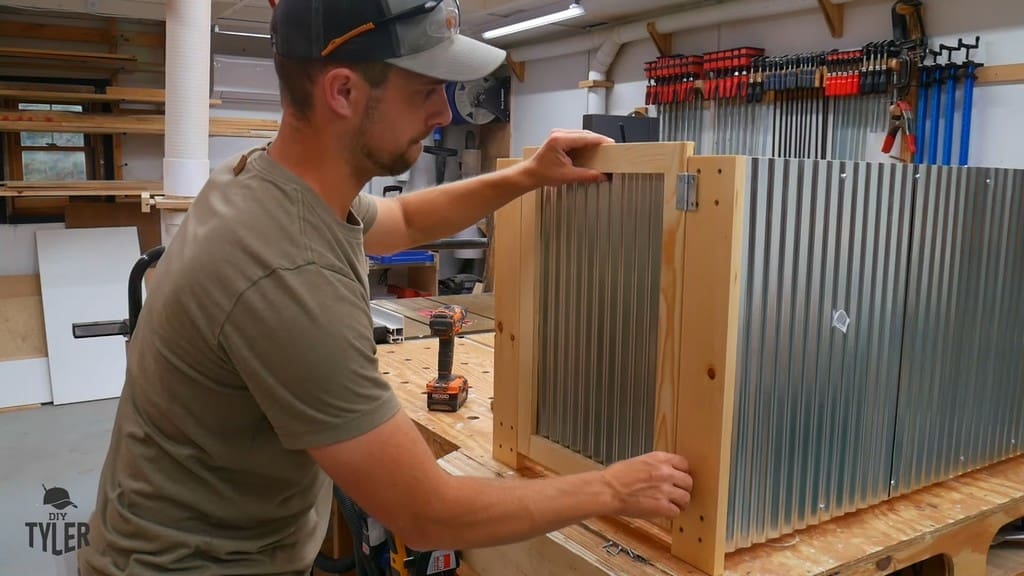
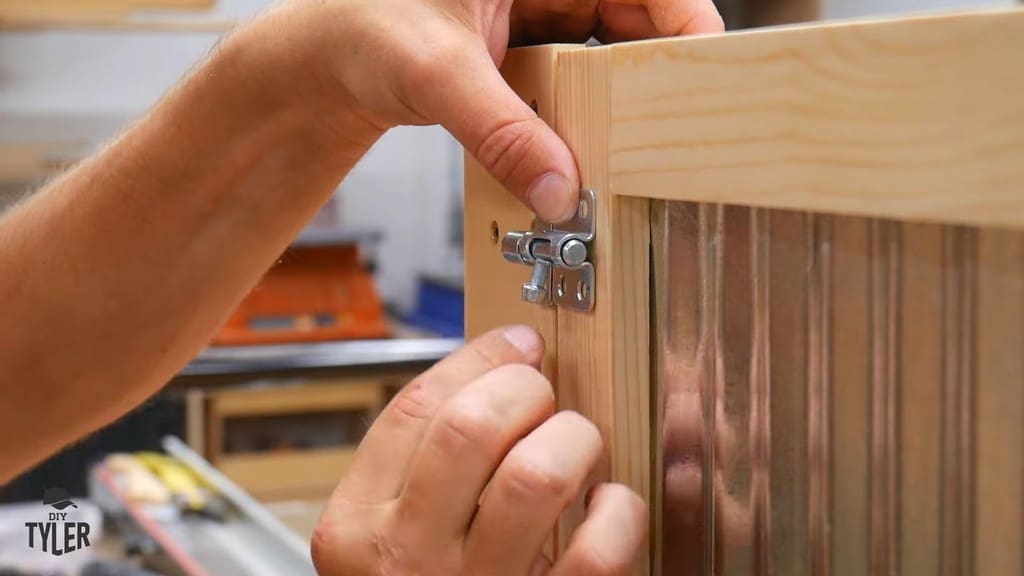
Installing Siding and Doors
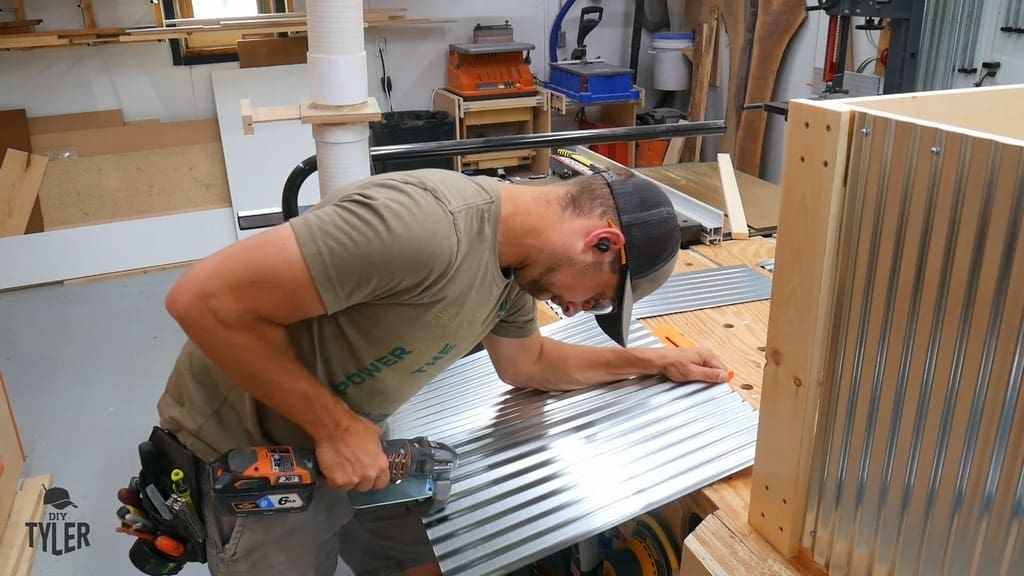
There’s also quite a bit of space for storage under this table, so I wanted to add doors on each side. For the siding, I used the same galvanized material as for my outdoor kitchen project. This allowed for some design symmetry with the outdoor kitchen.
I used my RIDGID tin-cutting tool to make quick work of cutting through the galvanized material. Be mindful that this material is still sharp, so don’t cut yourself on it while using it!
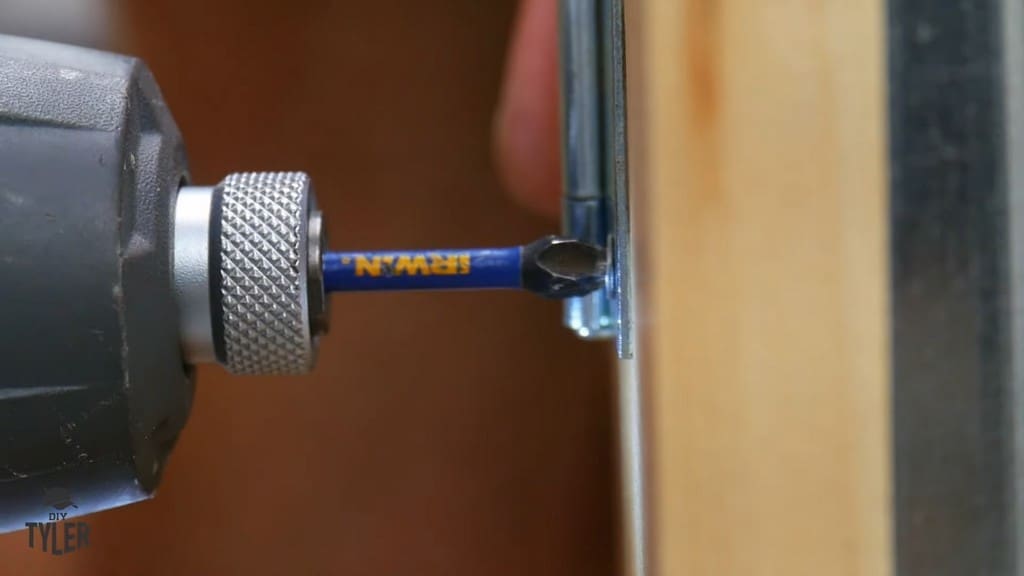
I affixed the paneling onto the frame with some self-tapping screws.
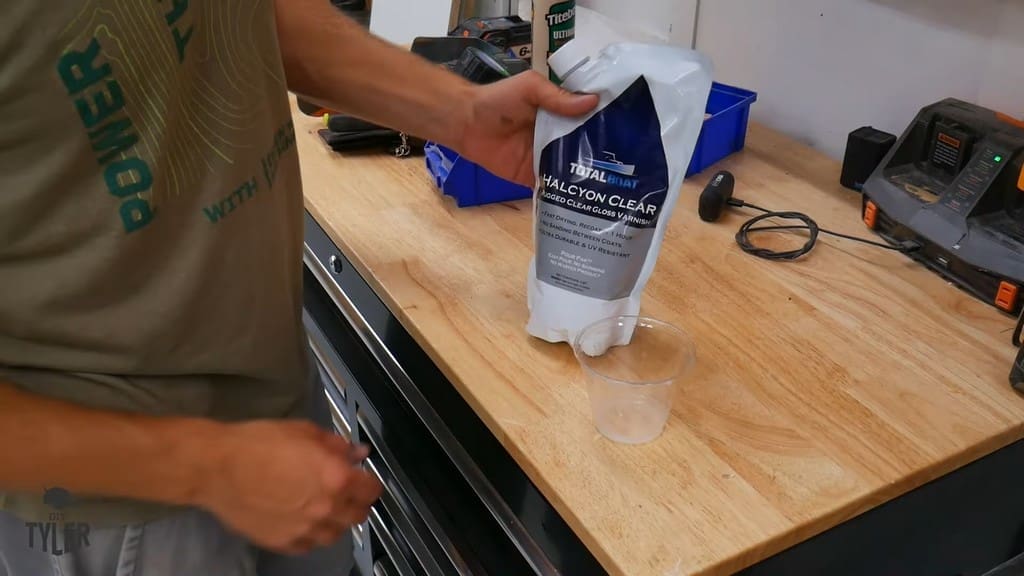
Applying Finish
For the finish, I used some Halcyon Clear that would provide UV protection. This product is great for both brushing and spraying applications.
I added two coats of Halcyon to the pine frame and then installed my doors to each side (no video footage, but these are simple boxes with panels that are installed just like the rest of the material).

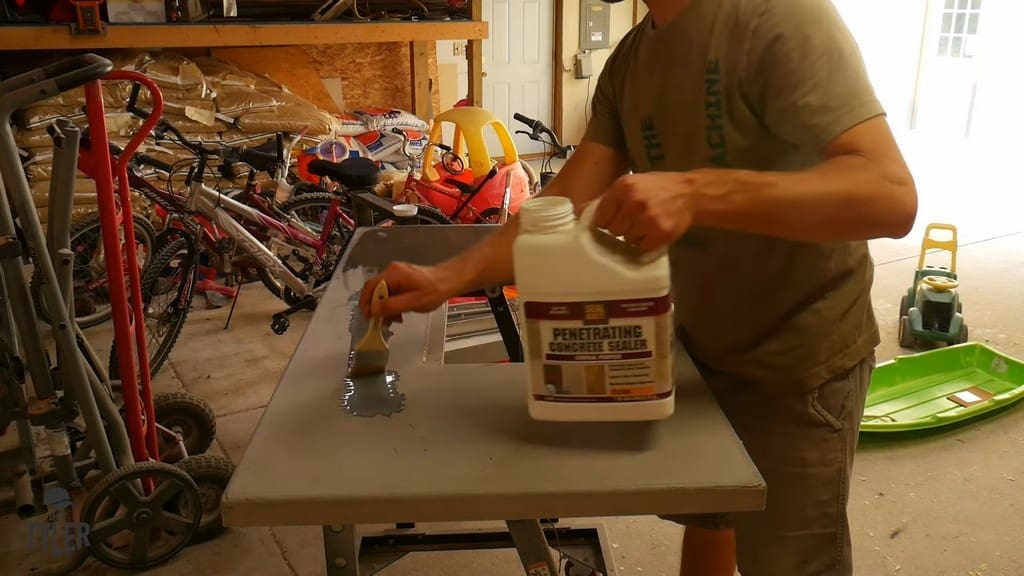
Finishing the DIY Deck Fire Table’s Concrete Slab
At this point, the frame was well and truly finished. So, I returned to my well-cured concrete slab and added some penetrating concrete sealer. I’ve used this Seal-Krete brand for past projects, and it has held up for years in those cases.
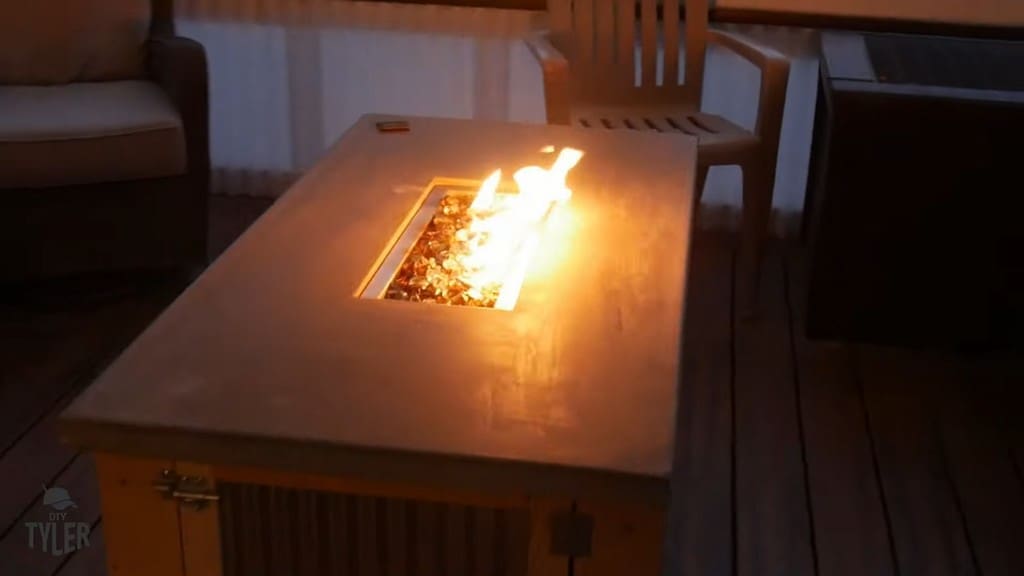
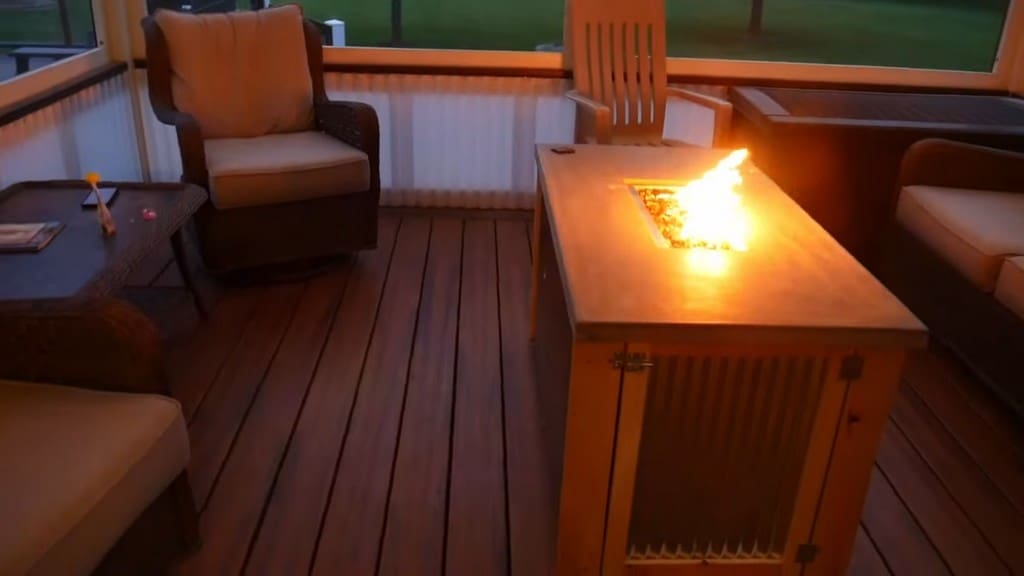
Once the sealer was completely dried, I moved the DIY deck fire table onto the porch. Because the tabletop was heavy enough on its own, I didn’t even need to attach the concrete slab to the frame itself.
Final Thoughts
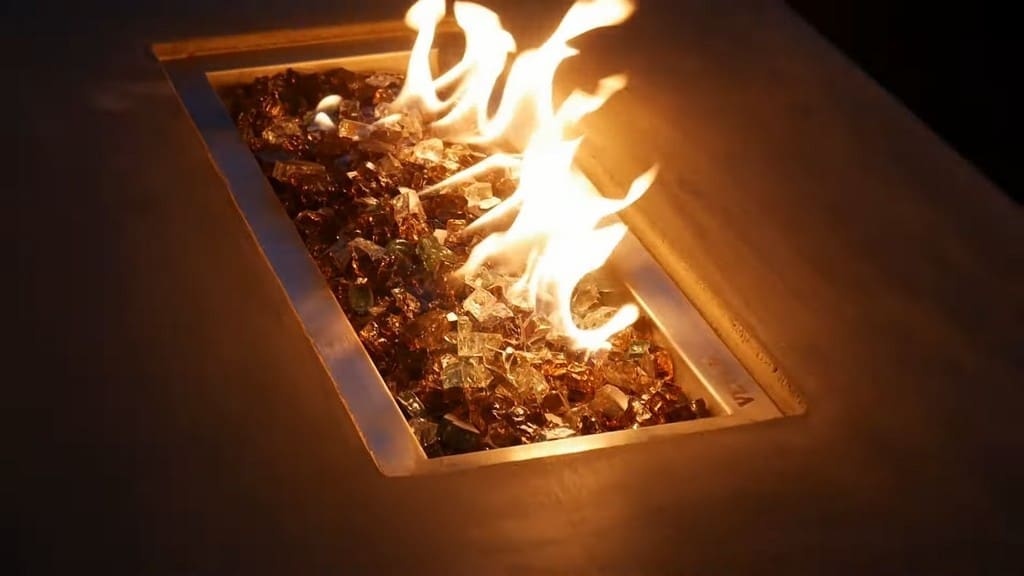
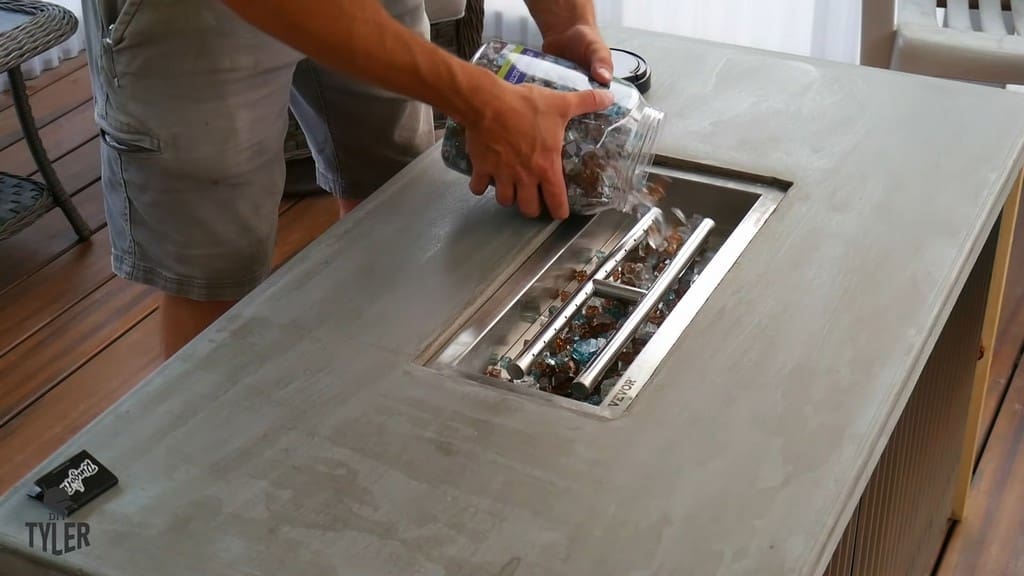
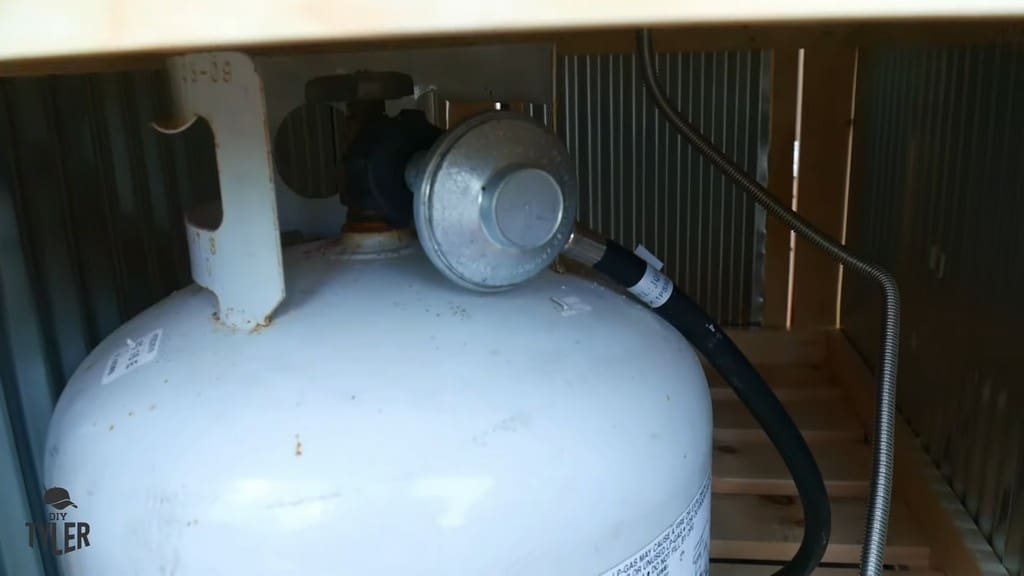
The guts and the fire tray fit right into place. I added some colorful fire glass from Menards to boot. With the propane tank attached, everything was ready to rock and roll.
With the DIY deck fire table assembled, I knew it would provide plenty of enjoyment for the family out on our back porch.
Please follow and like us:
1 thought on “$300 26×48″ DIY Deck Fire Table Build!”
Wow! Thank you for sharing this. Will try to do that with my father. That’s a good project for me.