This beautiful hickory farmhouse table was a gift for our sister and brother-in-law to use as their new kitchen table. While there were one or two bumps in the road, we were more than happy with the final result!
Prepping the Hickory Boards
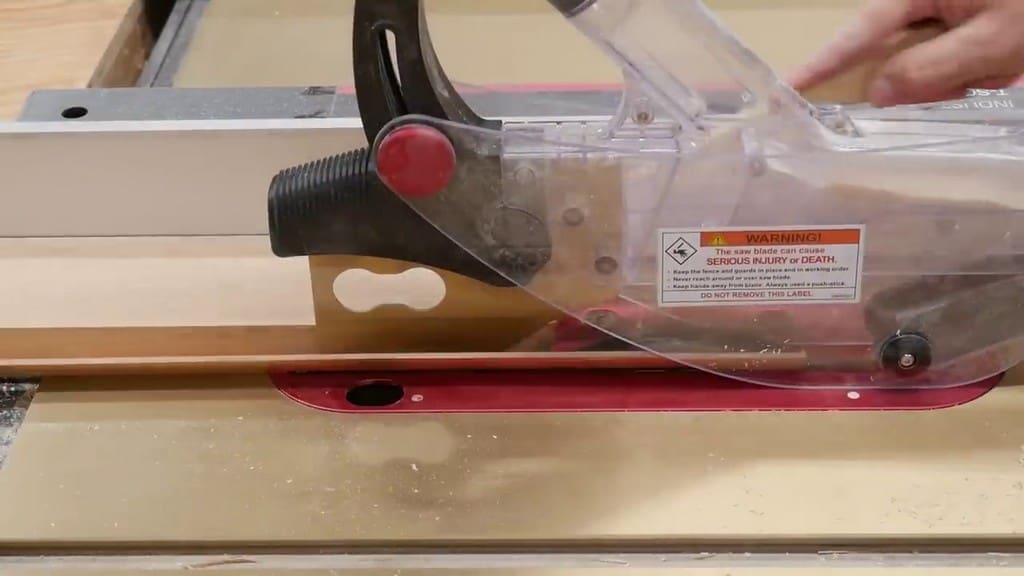
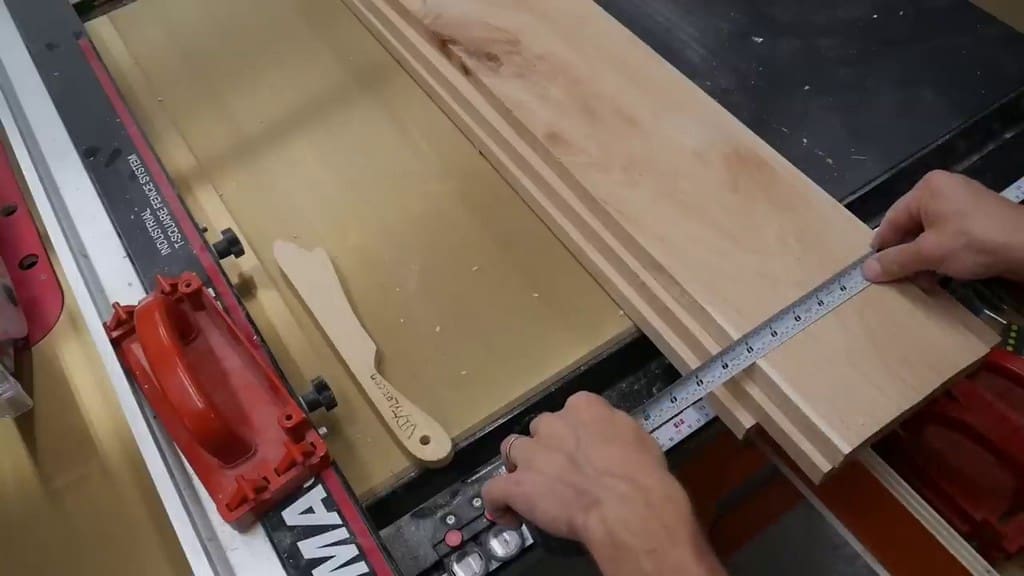
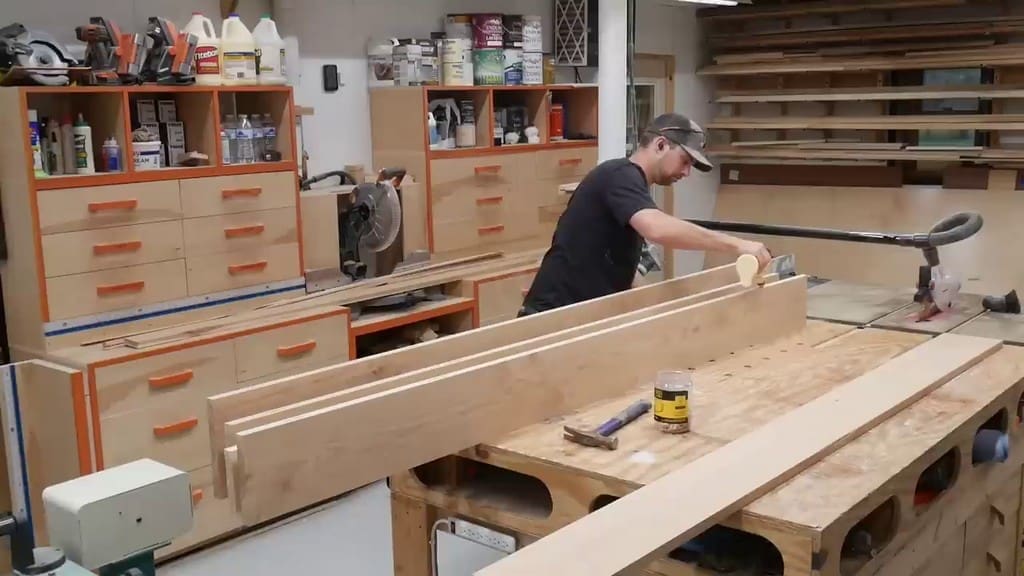
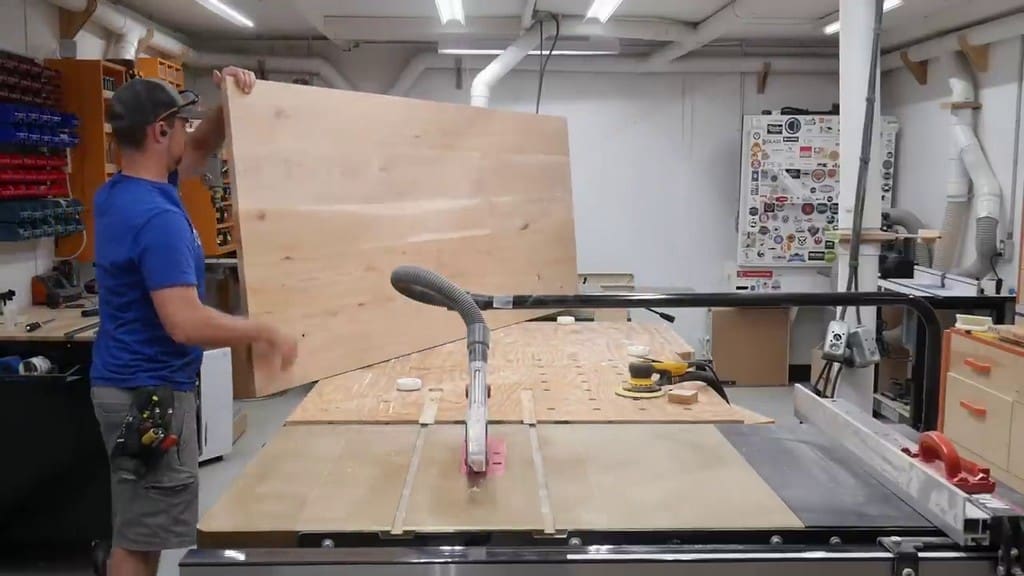
Using our jointer and our planer, we milled the boards (as seen in projects like this one) to get them just the way we wanted. Next, we cut things down to their final width.
The process was a dynamic one, meaning that we had to take measurements for every single piece. We took a measurement from the thinnest spot of the board and adjusted the brand-new, powerful table saw each time.
The 4-horsepower saw chewed through the hickory boards like they were pieces of paper.
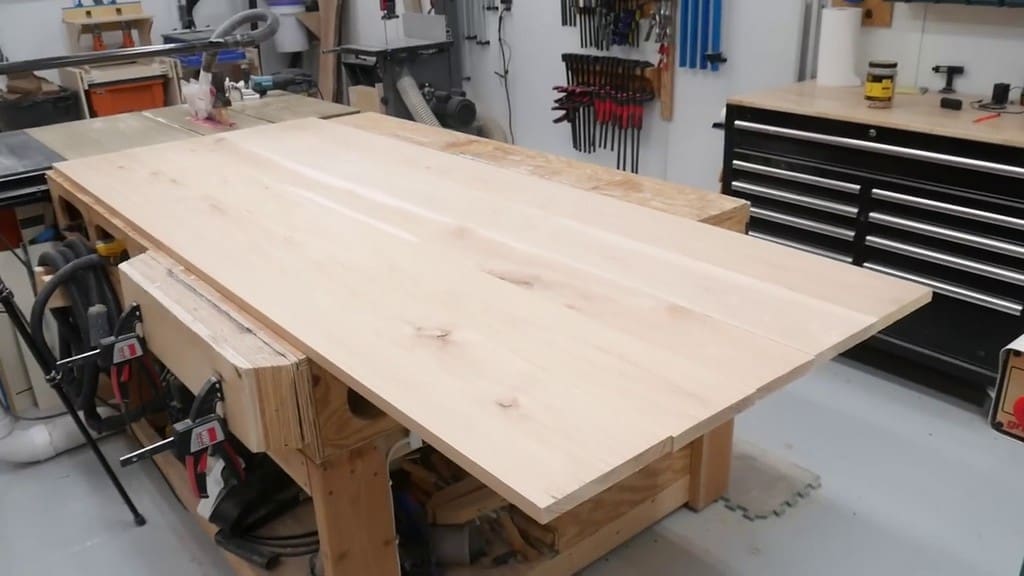
After cutting down the boards, we used the top surface of the workbench to lay out and visualize the final result of the tabletop. The goal was to create a seamless, side-to-side visual with the hickory.
Although hickory is hard to work with, putting in the hard effort at the front end of the project produced a quality piece that looks great and will last for a long time.
Joining the Hickory Boards for the Kitchen Table
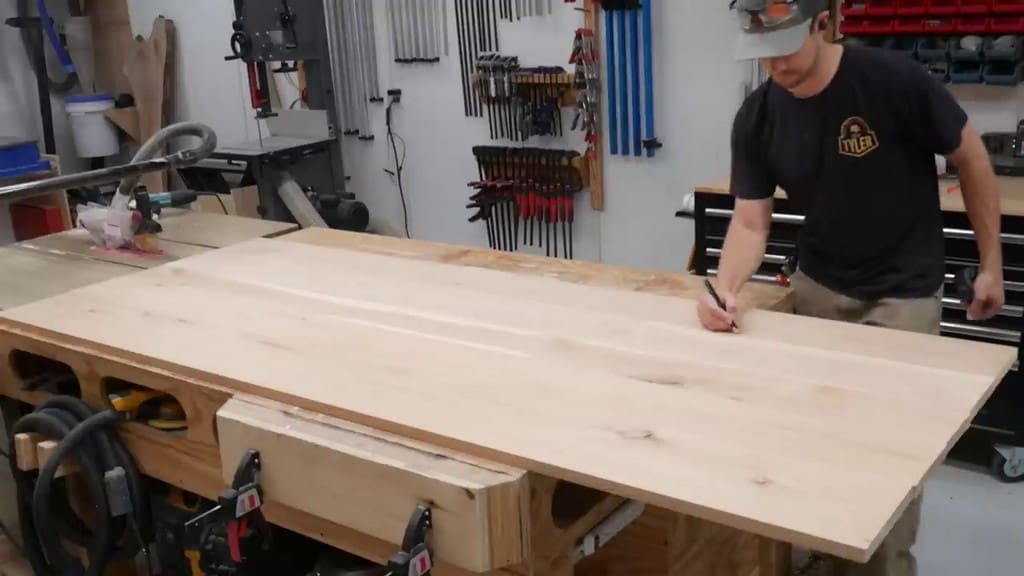
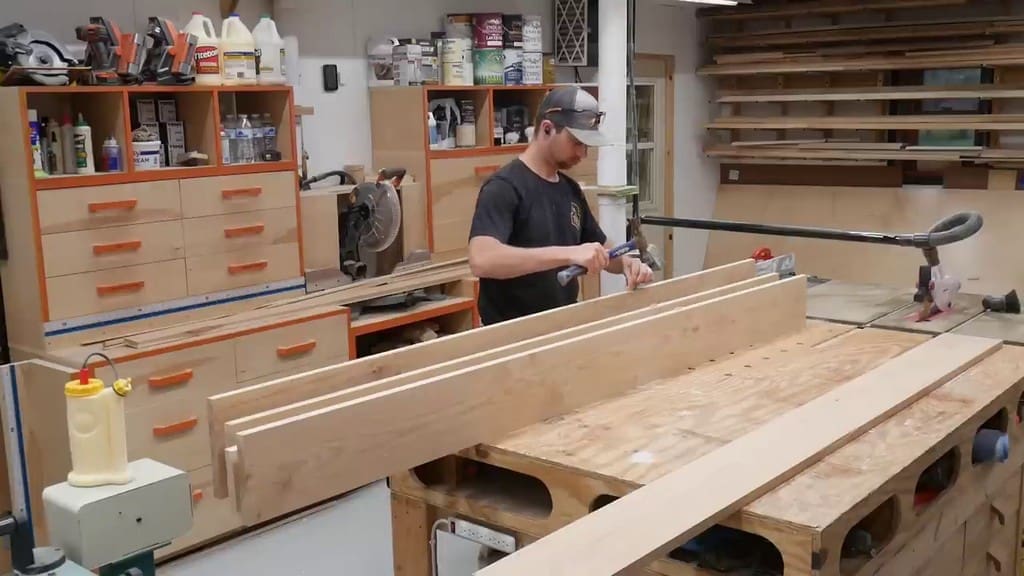
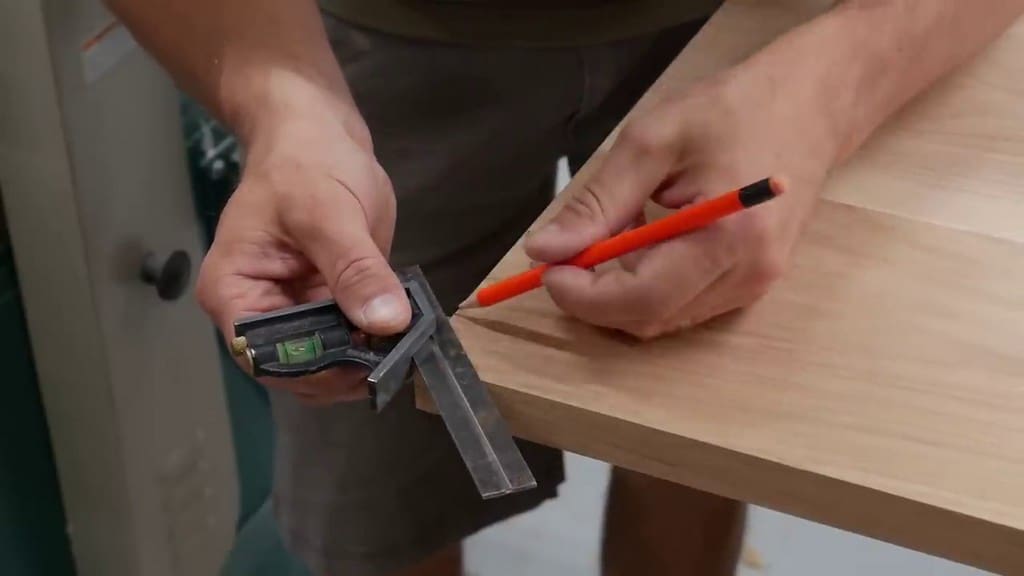
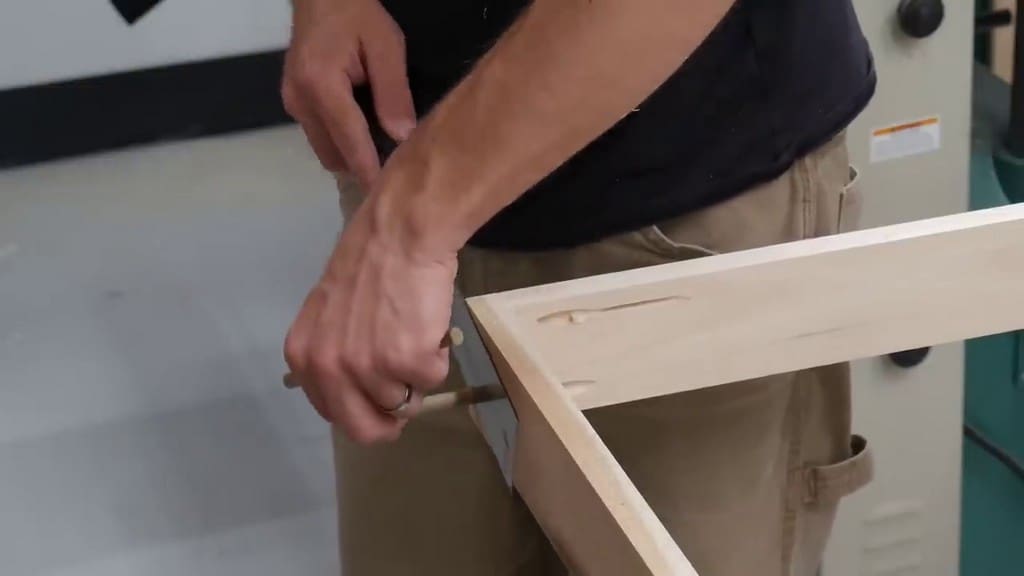
Here, I’m making marks on the boards so that I can cut some biscuit joints.
The biscuit joiner is somewhat of a new tool in the shop. They joints don’t provide additional structural support to the hickory table, but they do help with alignment while clamping.
If we do end up making a side business out of crafting tables, the biscuit joiners will be a good investment to allow us to glue the table top pieces together faster.
After cutting out all the biscuit joints, we made sure to clean them out. Failing to do so in the past has prevented the biscuits from seating all the way down. If that happens, then the pieces don’t align and you can’t actually produce a seamless joint, which defeats the purpose of the biscuits.
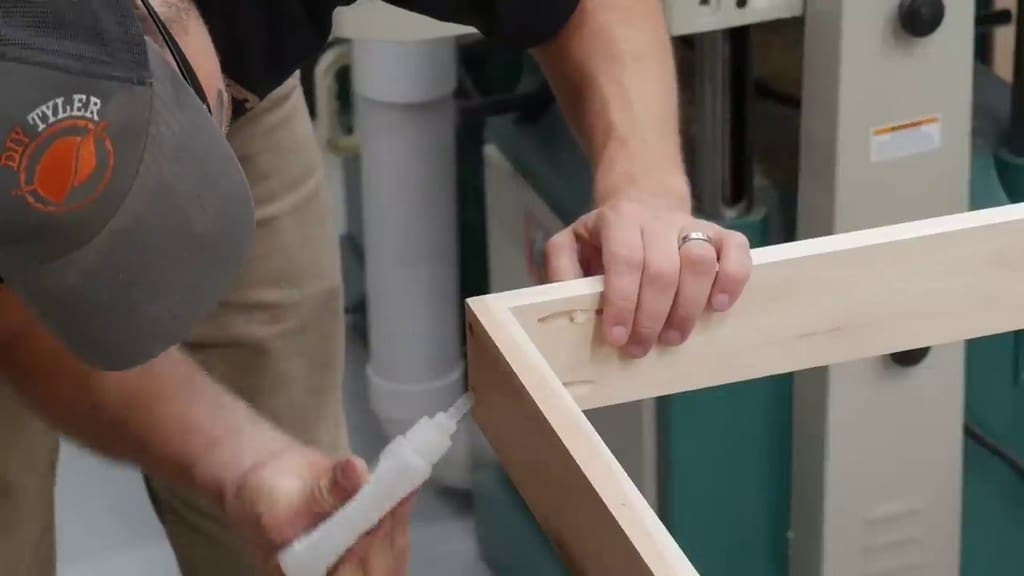
After we cleaned the joints out, we applied plenty of glue. In this case, the glue of choice was Titebond II because it is waterproof, which makes it perfect for table use. In addition, this kind of glue will produce a seamless-looking joint on the hickory tabletop. By contrast, Titebond III would have produced a darker line.
Here I'm installing the biscuits into the joints.
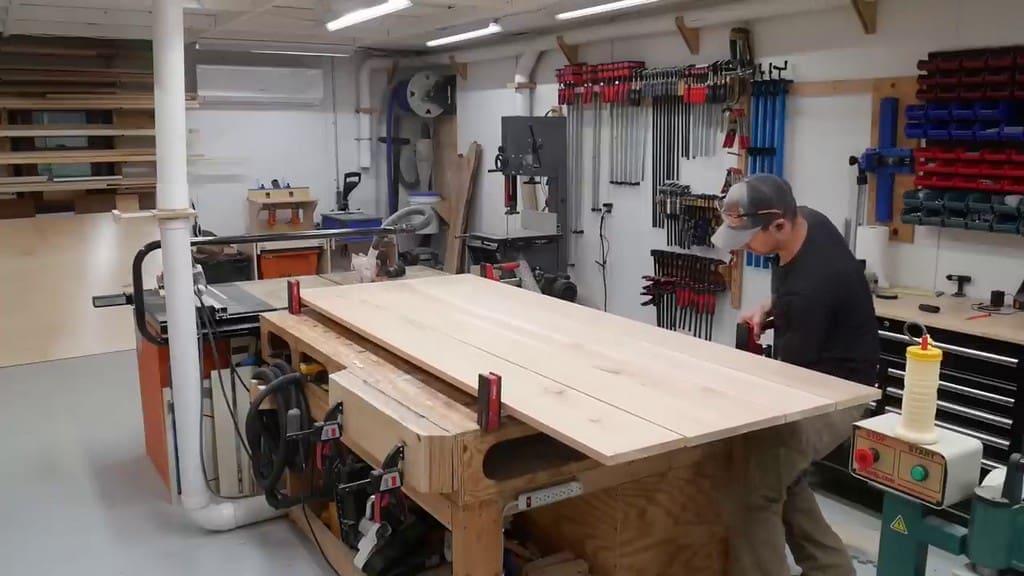
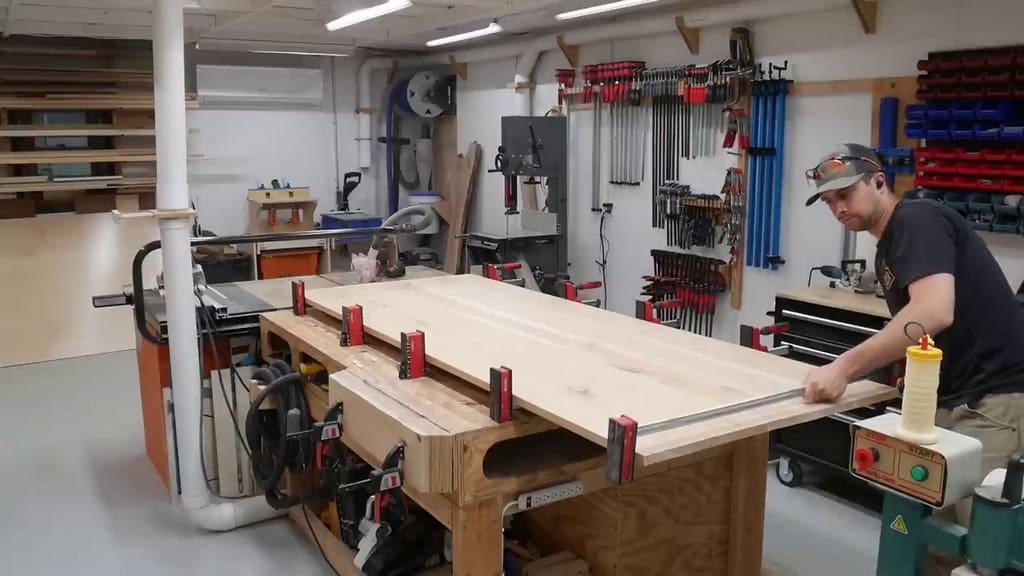
We laid out the boards and applied as much clamping pressure as possible with our biggest set of Bessey clamps. You may need to use clamps with the bar on the top to avoid creating any bowing in the table.
Perfecting the Farmhouse Table Surface
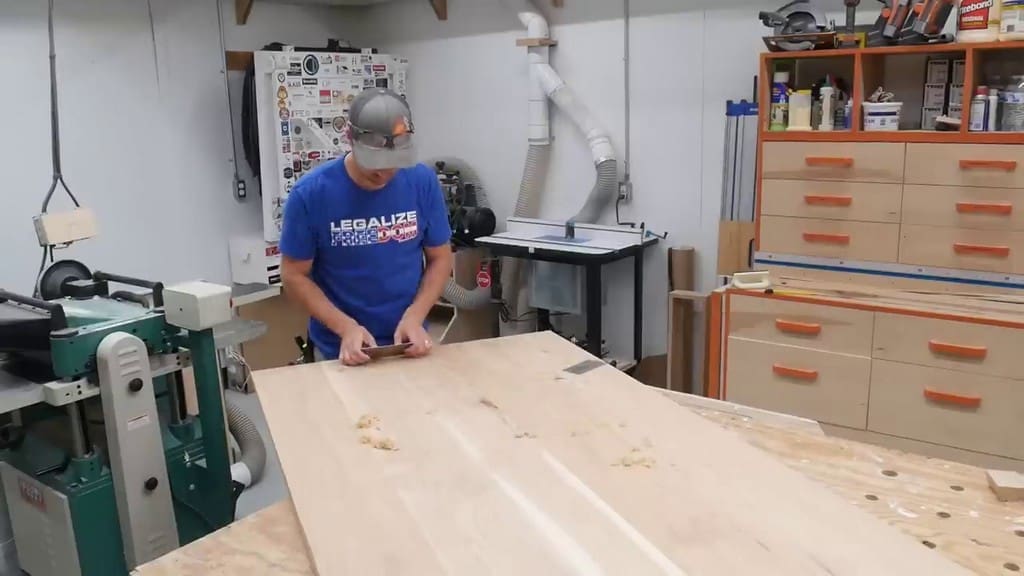
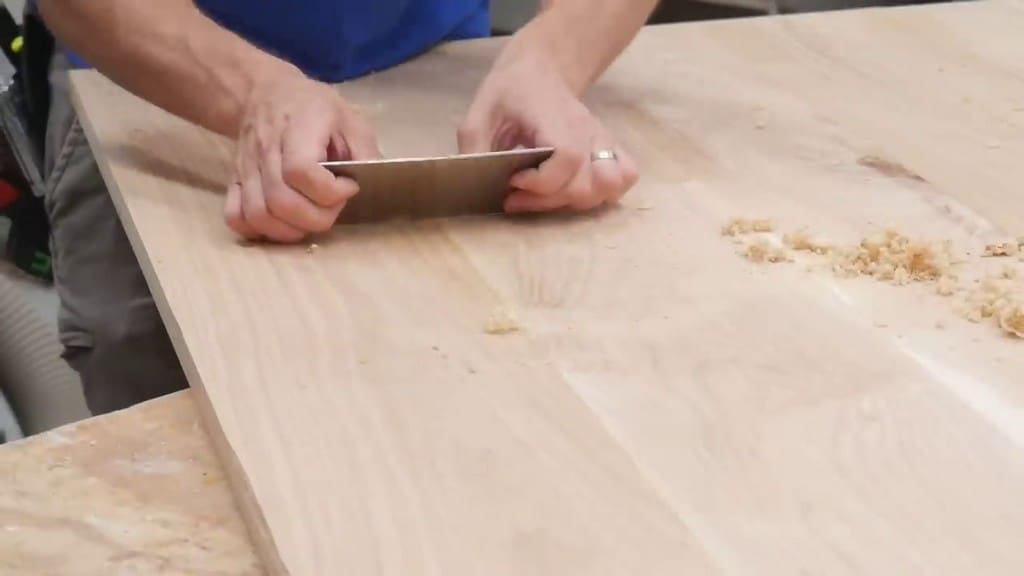
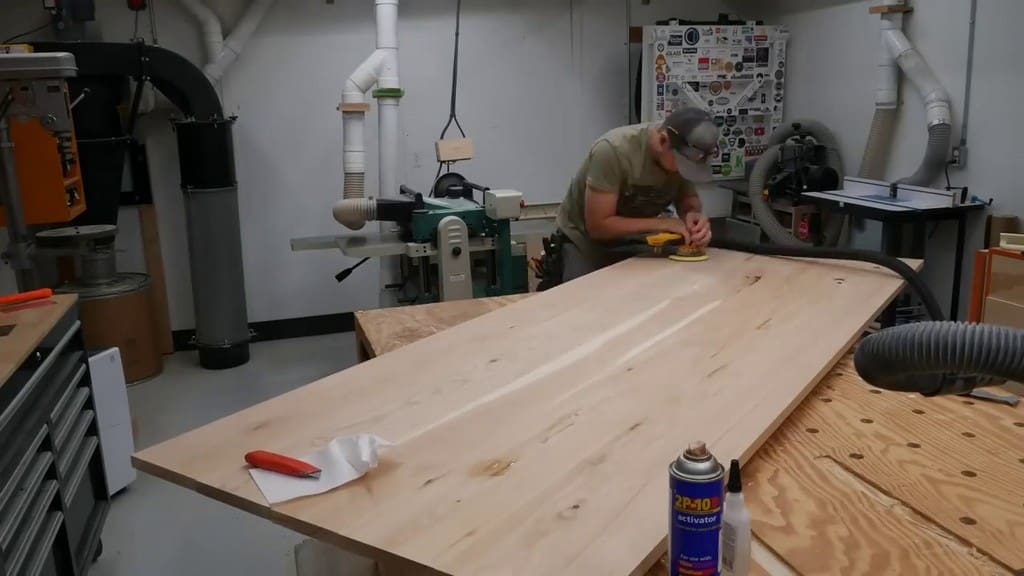
After setting up the table and leaving it overnight, we moved on to prep work for the finish. Instead of using a sander, we used a card scraper to go over all of the joints and smooth them out perfectly.
Using a card scraper isn’t difficult, but is a bit of an acquired skill. You need to make sure that you’re scraping instead of just sliding over the board. Still, it’s much faster than using a sander on the hickory for this part of the project.
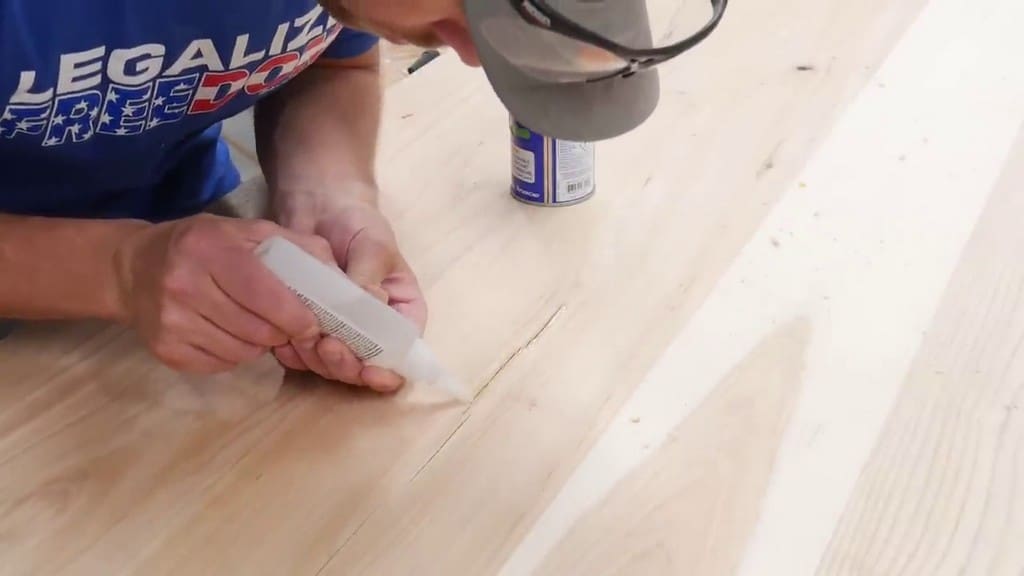
We followed this up with some CA glue and fast-acting activator. This served to fill in any cracks, fissures, or other imperfections in the wood.
Here is the underside of the wood. Note the white piece of sap wood, which does not show through on the topside of the kitchen table. The tabletop instead has a beautiful hickory tan color all across.
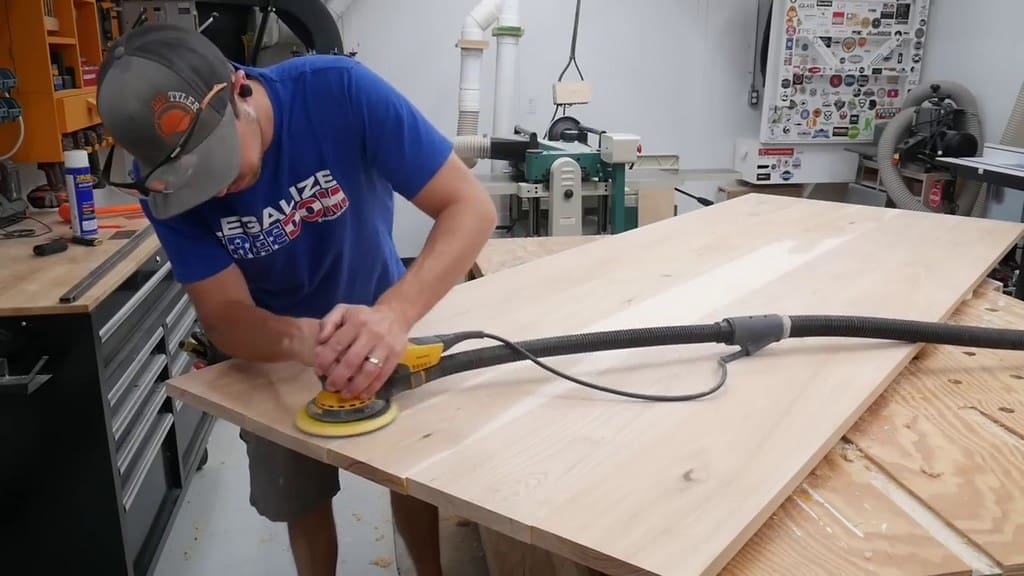
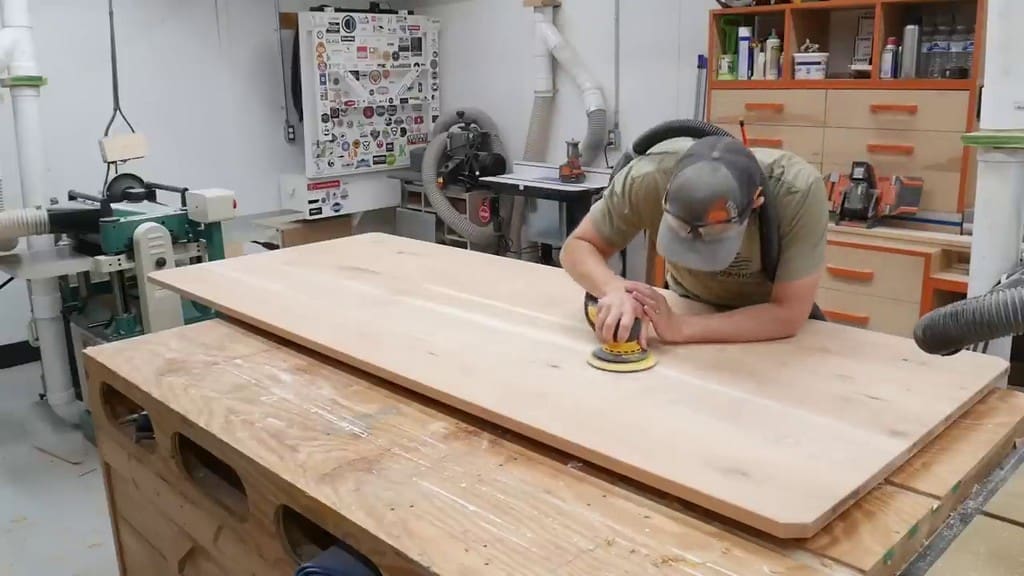
Even with the 6-inch Mirka sander, finishing the hickory took quite some time, but we eventually got it done.
One word of warning: we experienced some de-lamination in the hickory, which we tried to fix by filling with some CA glue. However, the glue did not hold and actually cracked. We sanded it out and redid it with epoxy.
If you need to fill in anything larger than a small crack, use something more robust than the fast-acting CA glue.
Fixing Minor Details
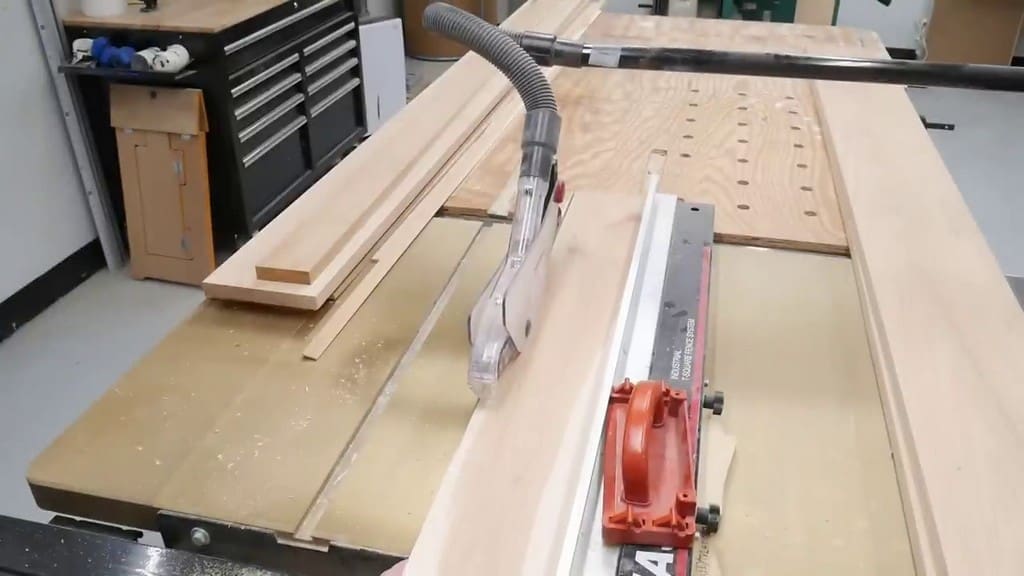
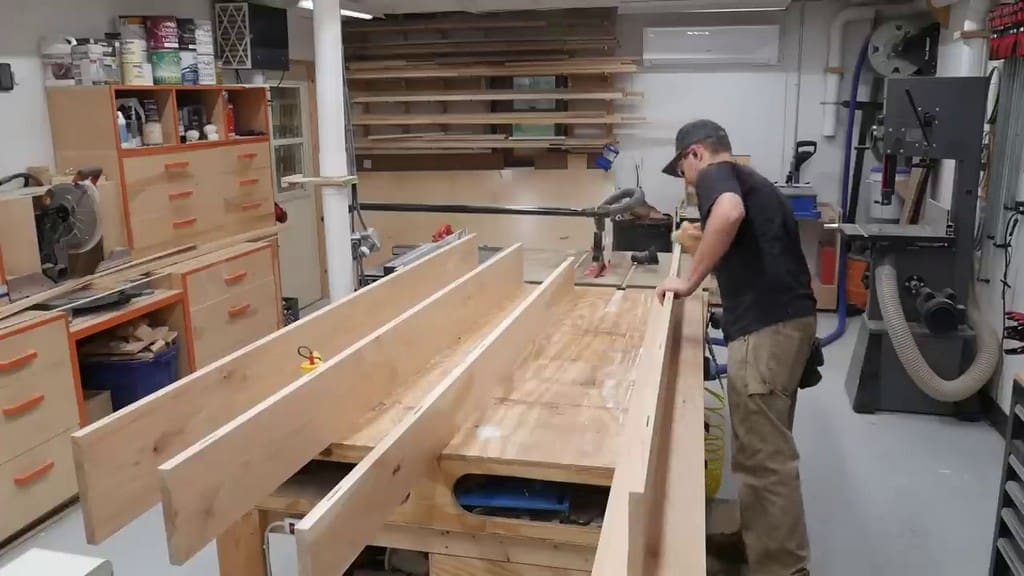
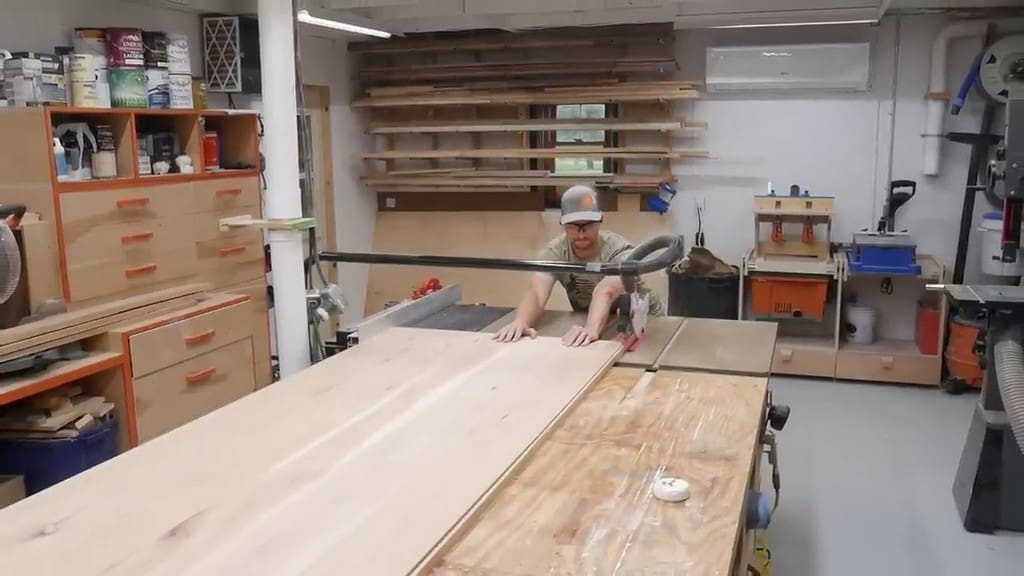
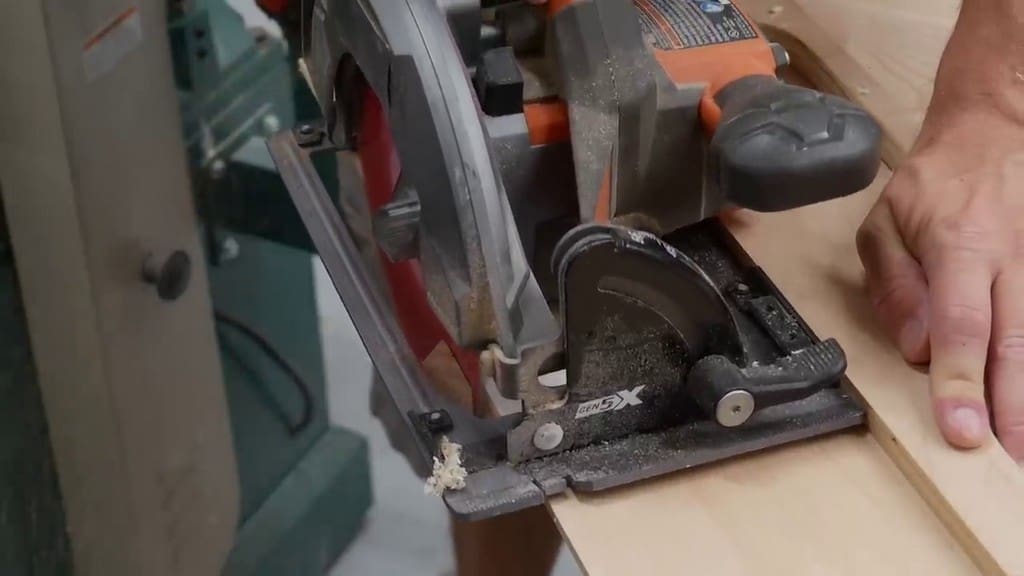
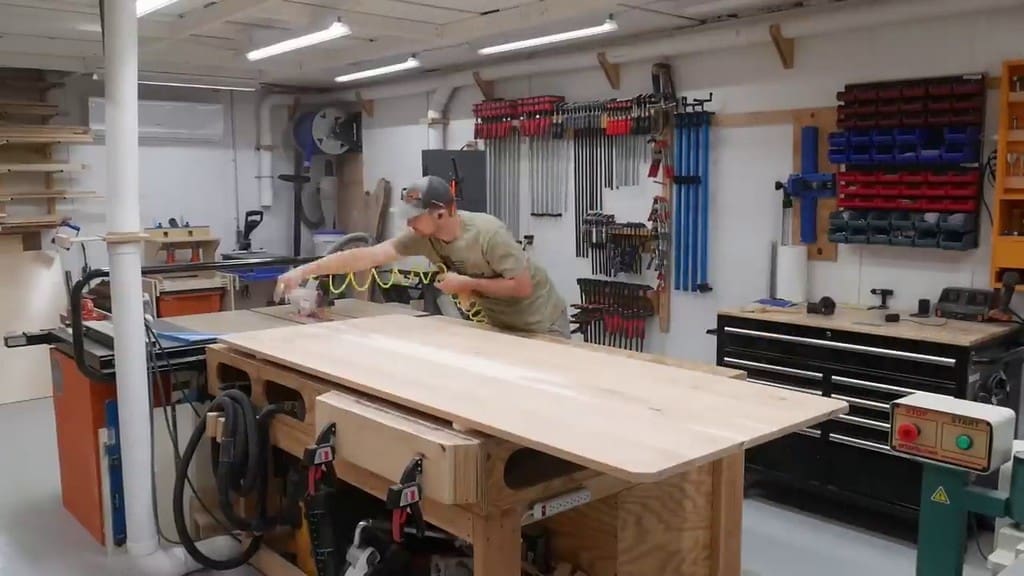
Using my DIY track saw, we squared up the ends of the hickory table and brought it down to the desired length (about 94 inches).
Our new table saw has a 36-inch capacity, so we moved the table back over to it. This gave us a wonderful rip cut and a perfectly smooth edge.
Our nephew is just old enough to run around the house and just small enough for his head to reach the table. To avoid him smacking his temple right into the corners of the new kitchen table, we used our DIY track saw to shave off those corners.
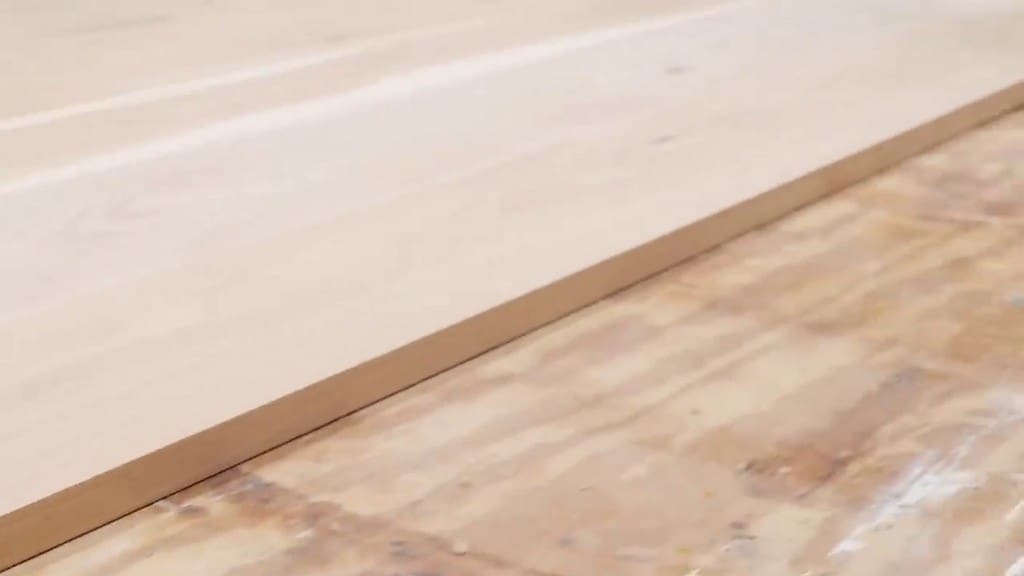
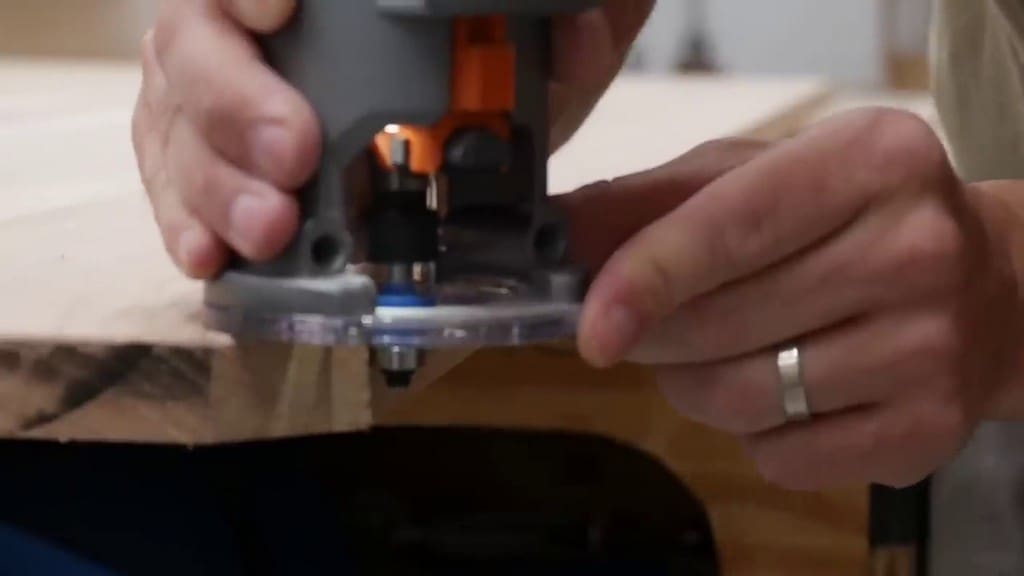
The beveler made the edges look awesome while protecting working hands from splinters! We gave the table a 1/8-inch round-over to give it a nice, smooth look.
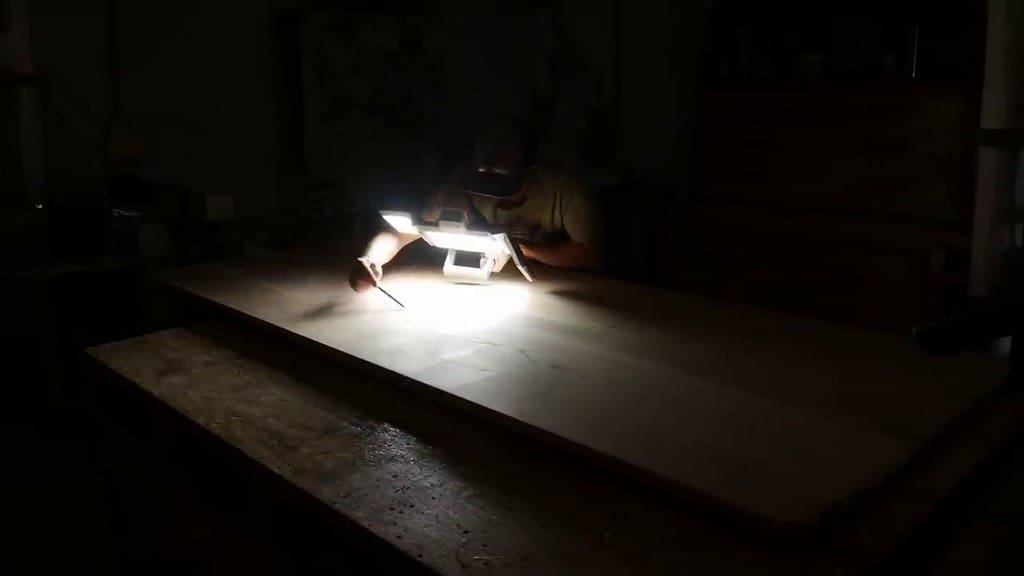
To make this table as professional as can be, we went over it with a light to identify any swirl marks to remove. After marking those with a pencil, we came back to take care of them with the sander.
We certainly didn’t want all of our hard work to be for nothing, so we went over the tabletop with compressed air, a brush, and a tack cloth to clean off any dust particles before applying the finish.
Applying Finish to the Hickory Table
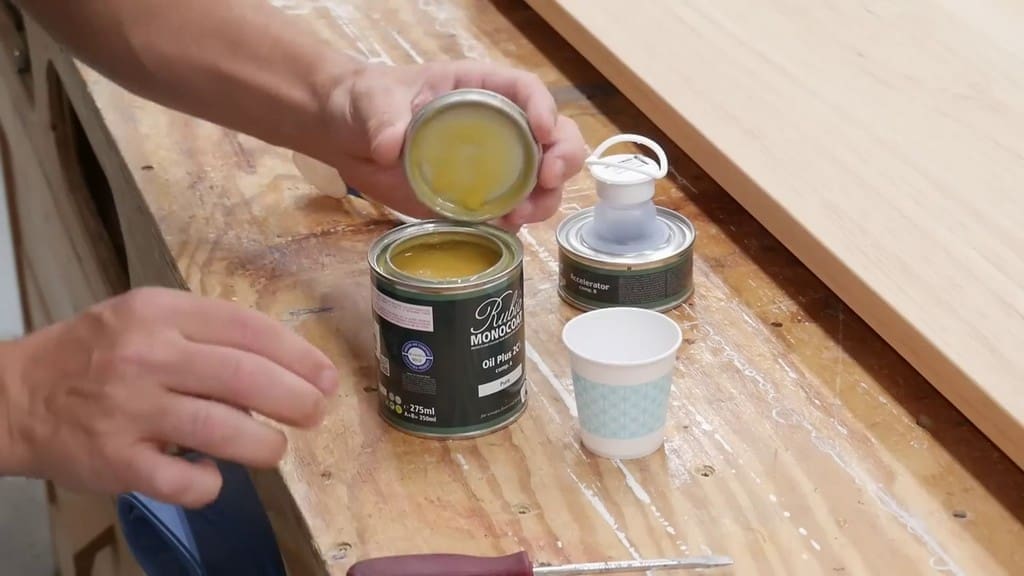
For this table, we used Rubio Monocoat Pure. A small amount of this finish goes a long way. We used about two tablespoons for each side of the farmhouse table. There is a provided ratio for the accelerator-hardener that goes into the finish.
In addition, the finish smells fantastic in the shop and it applies very easily. With the Rubio Monocoat, you apply the finish, buff it, and wipe off any excess.
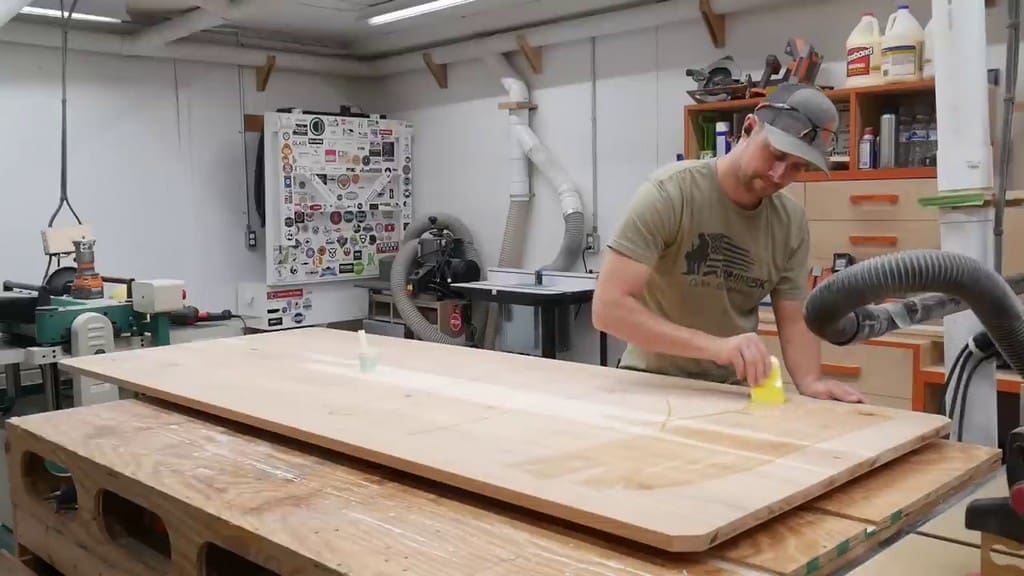
Starting with the bottom of the hickory table, we applied the finish, then flipped the table to apply it on the other side, even before the finish had completed curing. This way, we were able to complete the finish for the entire table (both sides) in a single evening.
Since this was going to be a kitchen table to be used three times a day, we did apply a second coat of finish so that it would be thicker at the end of the project.
Constructing an Apron Frame for the Kitchen Table
At one point, we thought that we’d wasted our hickory material because the pieces ended up being thinner than we’d anticipated. This made the tabletop looked pretty flimsy, and we thought we’d ruined the entire project!
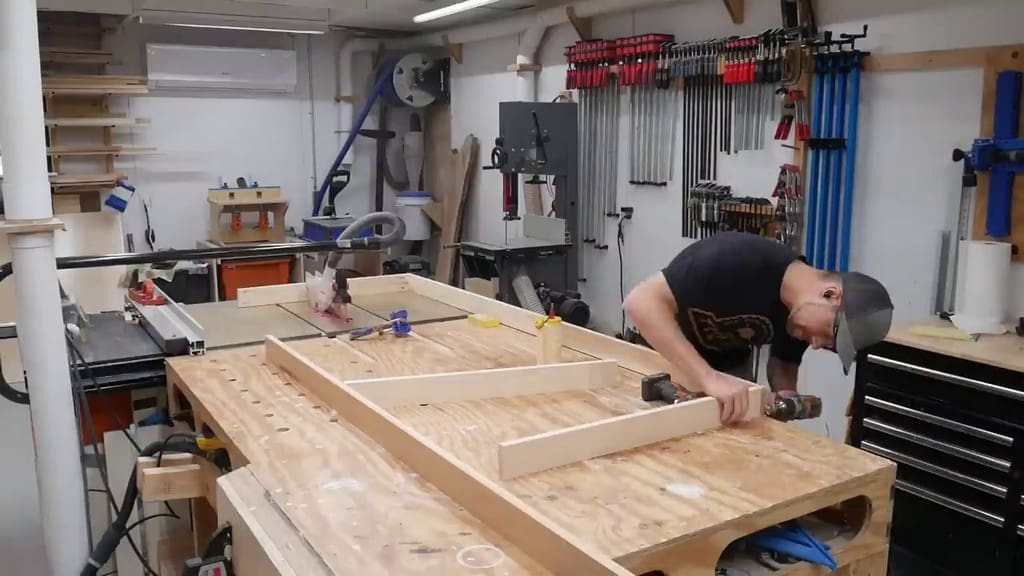
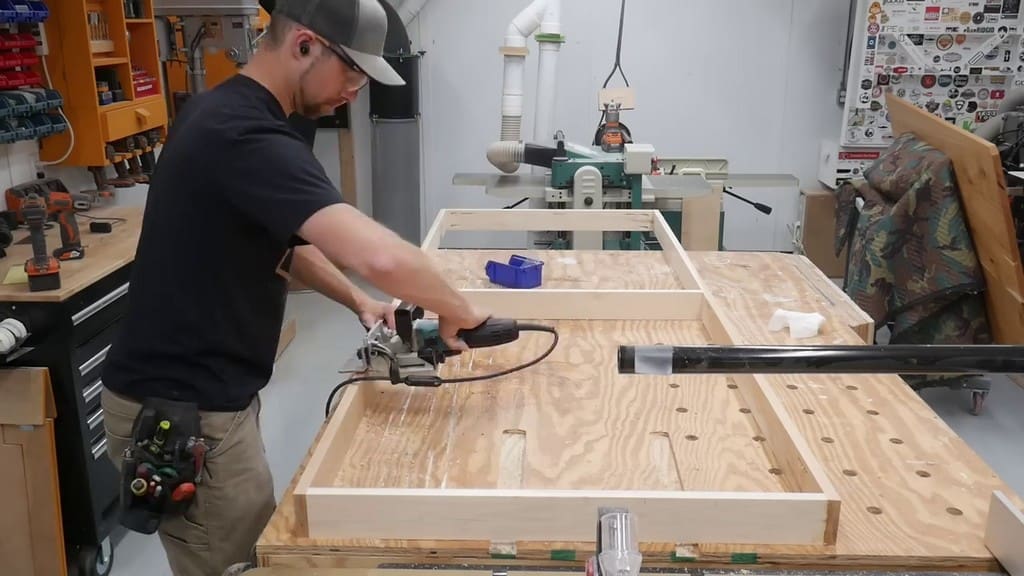
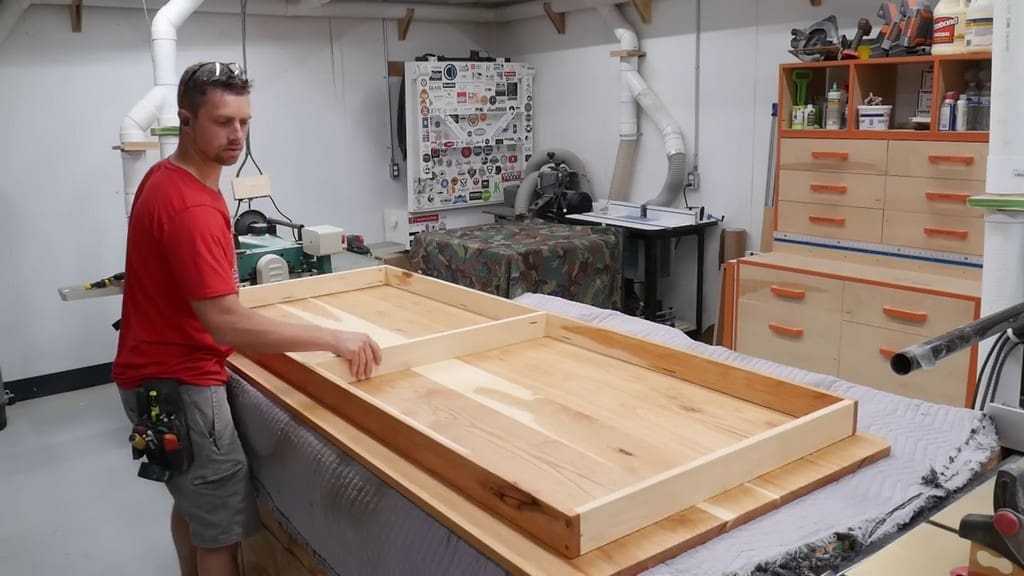
Fortunately, we were able to construct an apron frame to go underneath the table and serve as a kind of torsion box, which would hold the table firmly in place.
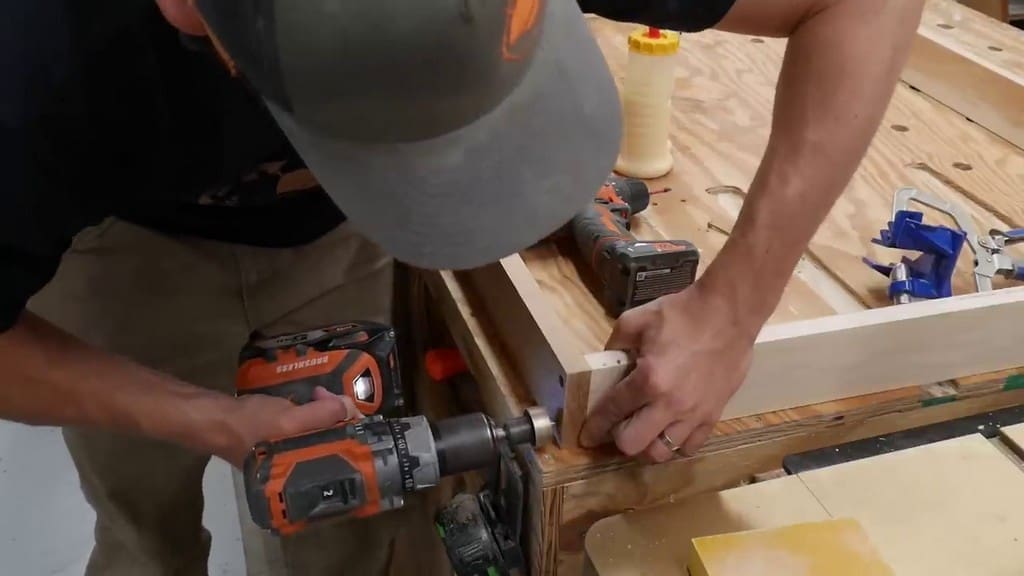
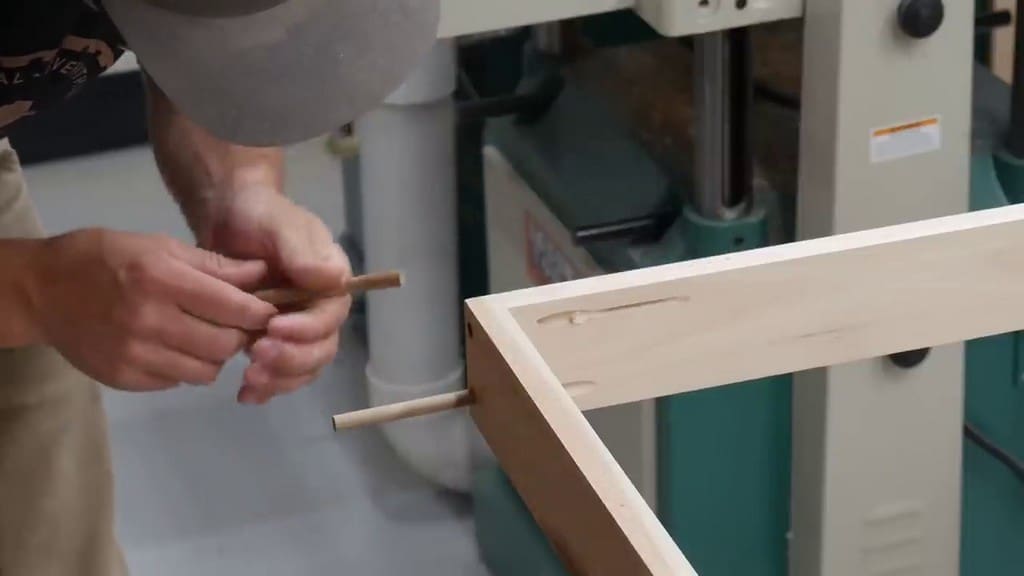
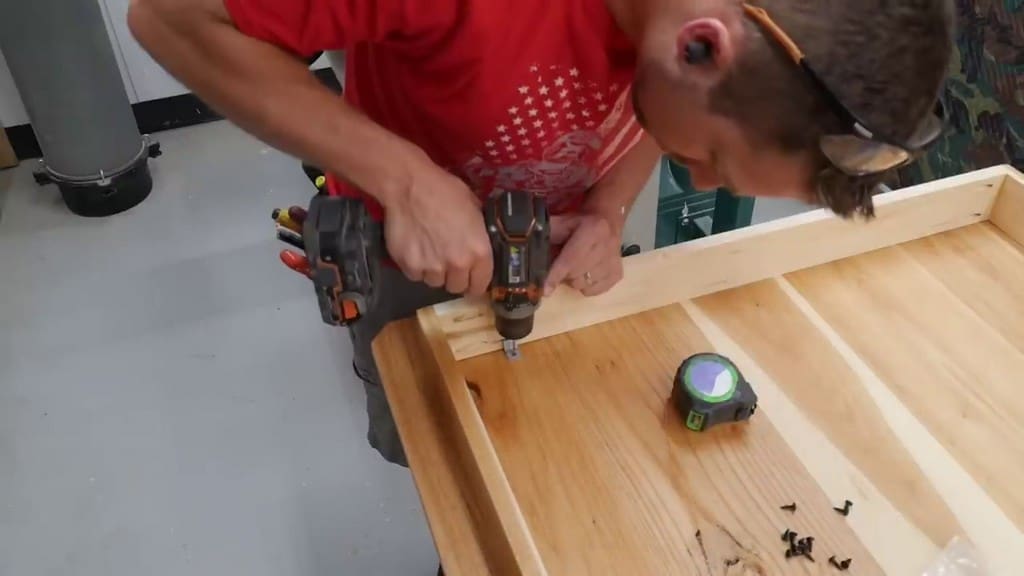
https://amzn.to/3AN4a74We installed the screws and then doweled over them so that they would be out of sight. Between these screws and some woodglue, we were able to assemble a nice torsion box for the table.
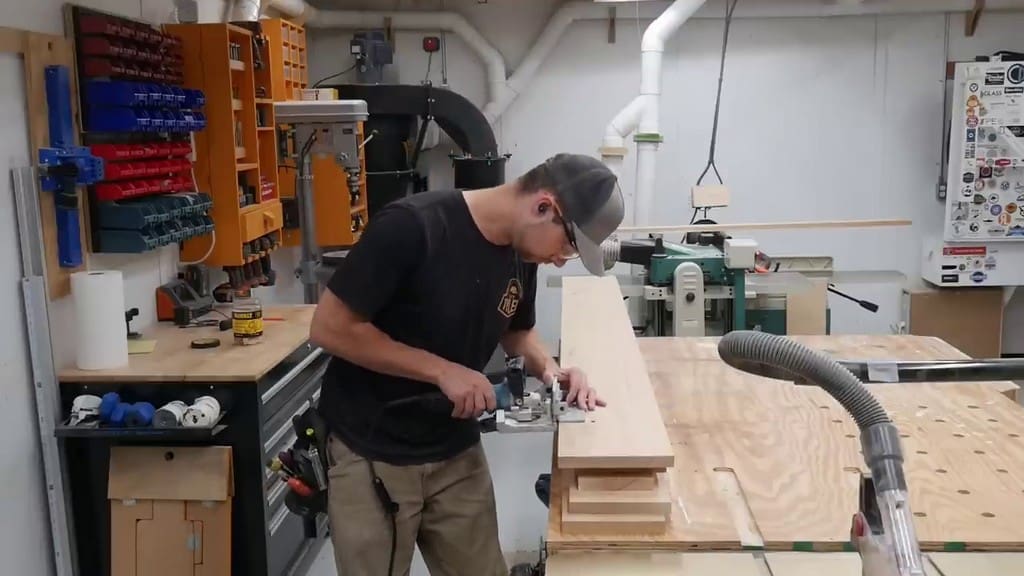
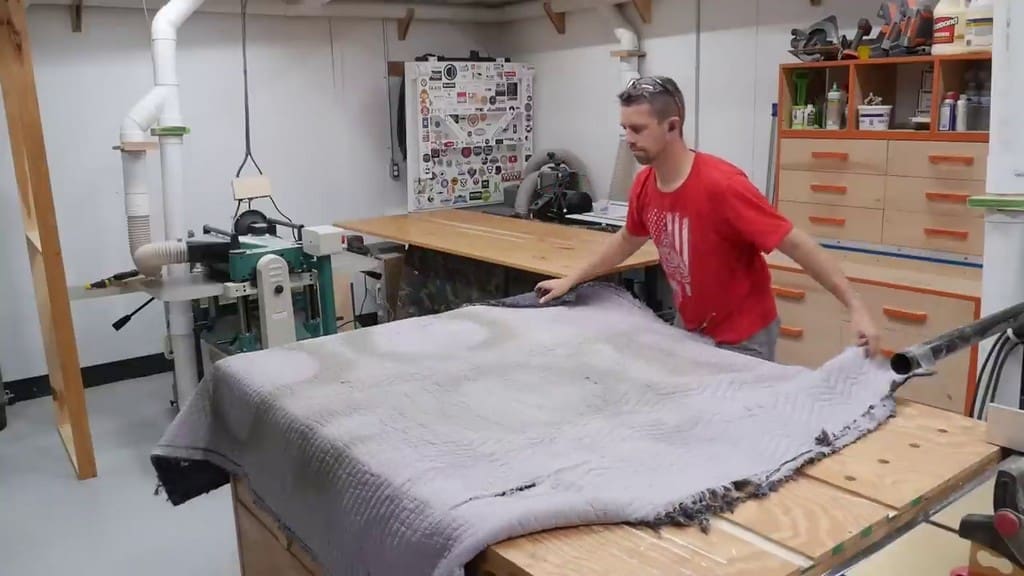
We needed a grooved slot to allow for expansion and contraction in the apron frame. Using the biscuit joiner, we cut out those grooves at the proper depth. Next, we flipped the table on a nice cloth and laid down the torsion box. Finally, we installed the apron frame using some bulk tabletop clips from Amazon.
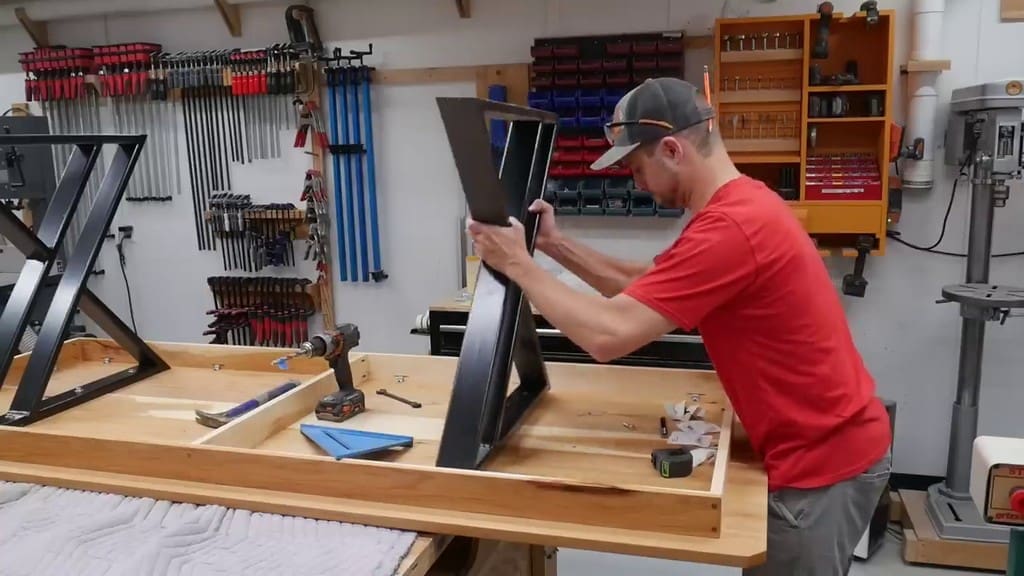
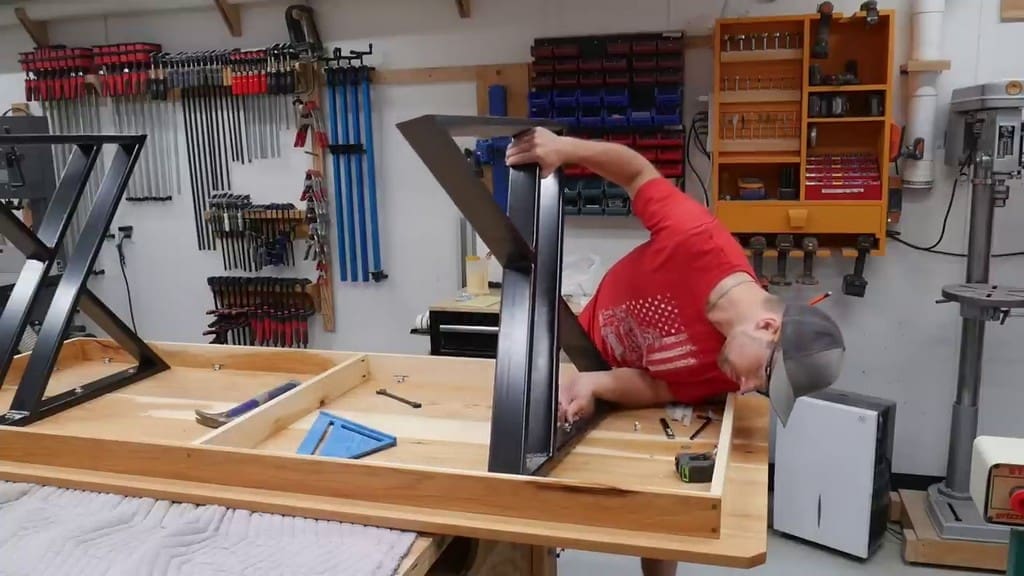
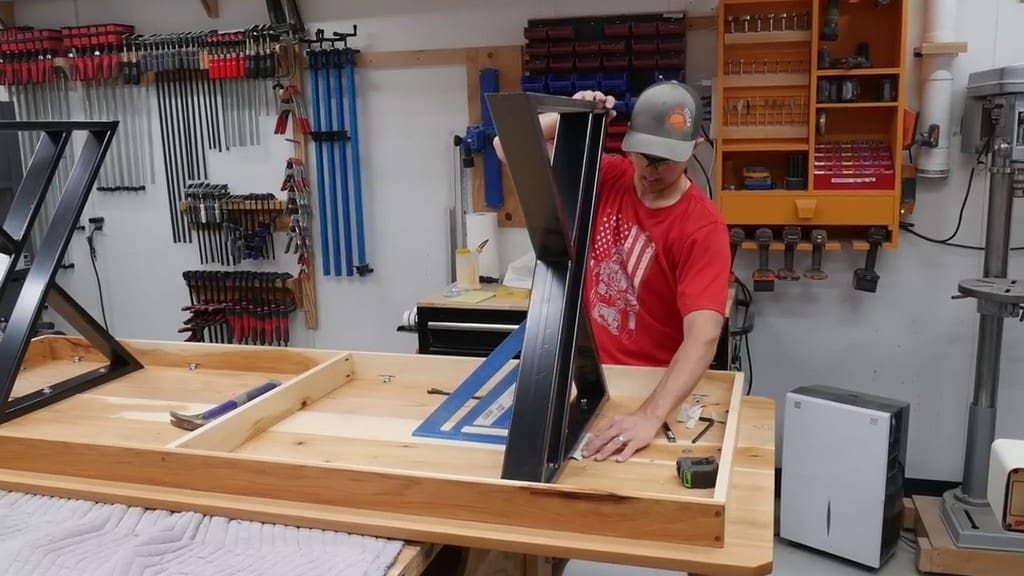
Installing the Farmhouse Table’s Metal X Legs
We will have a separate video about the welding of the metal X legs for the table. The legs are made of one-by-three rectangular tubing.
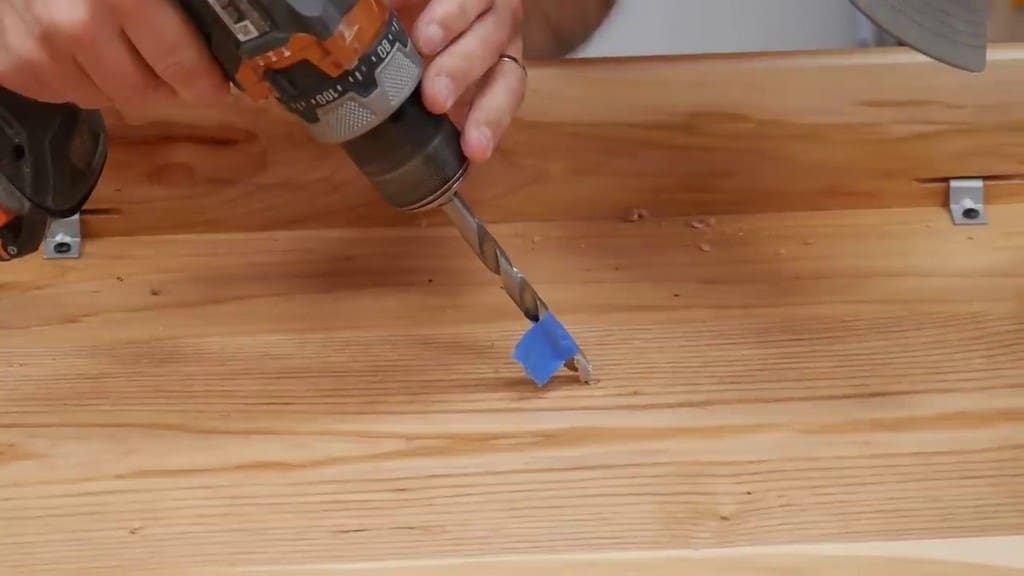
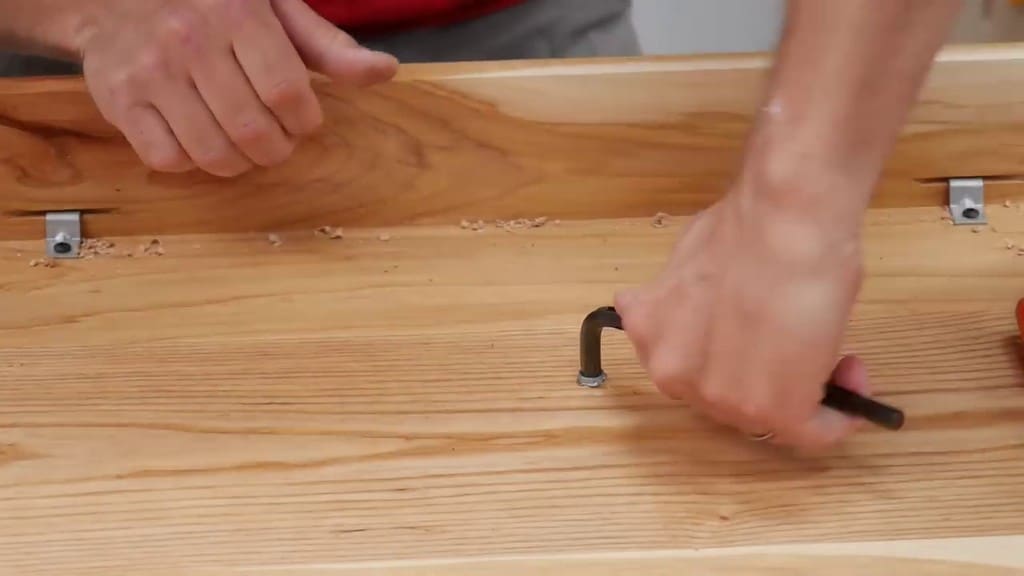
Since we wanted our sister and brother-in-law to be able to transport the table easily, we installed threaded inserts so that the legs could be removed.
Once the inserts were flush, we used bolts to fasten the legs to the underside of the kitchen table. We then used strips of sandpaper like shims to make sure that the legs were completely square with the tabletop.
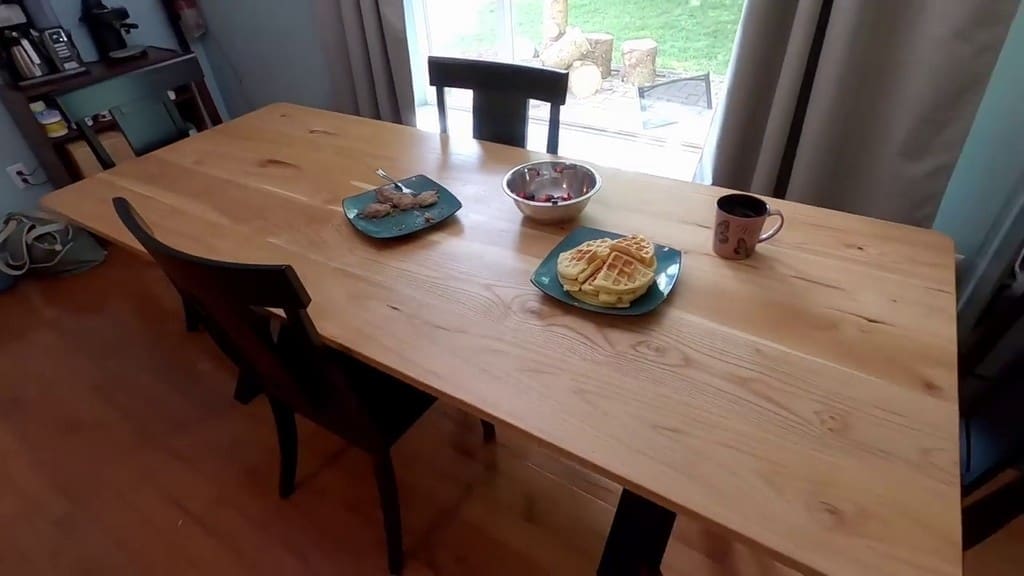
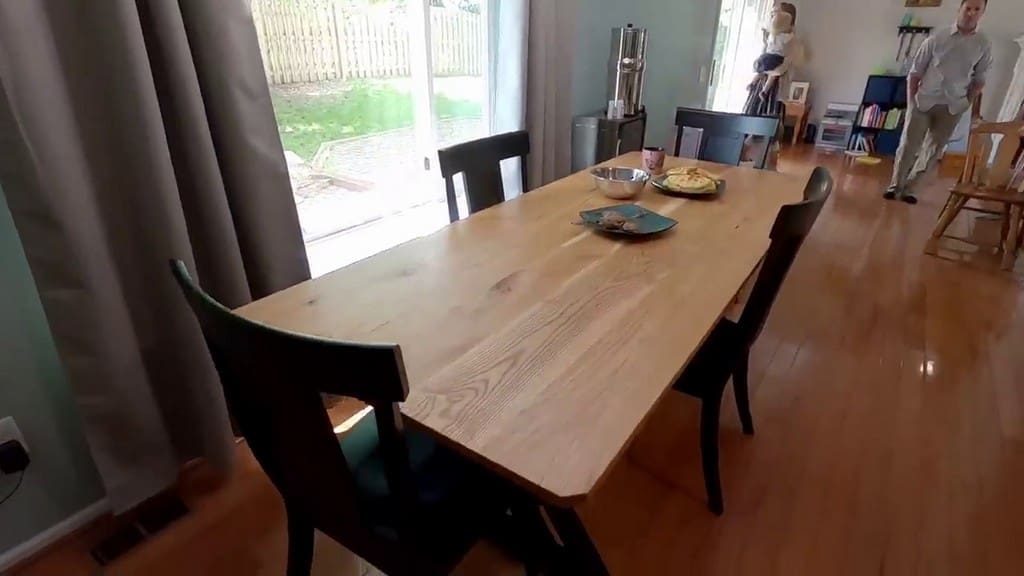
Final Thoughts
After the table was completed, we removed the legs and moved it into their house. Lastly, we reattached the legs, and the kitchen table was all ready for Sunday brunch.
We’re pretty sure that the food tasted better when served on this table!