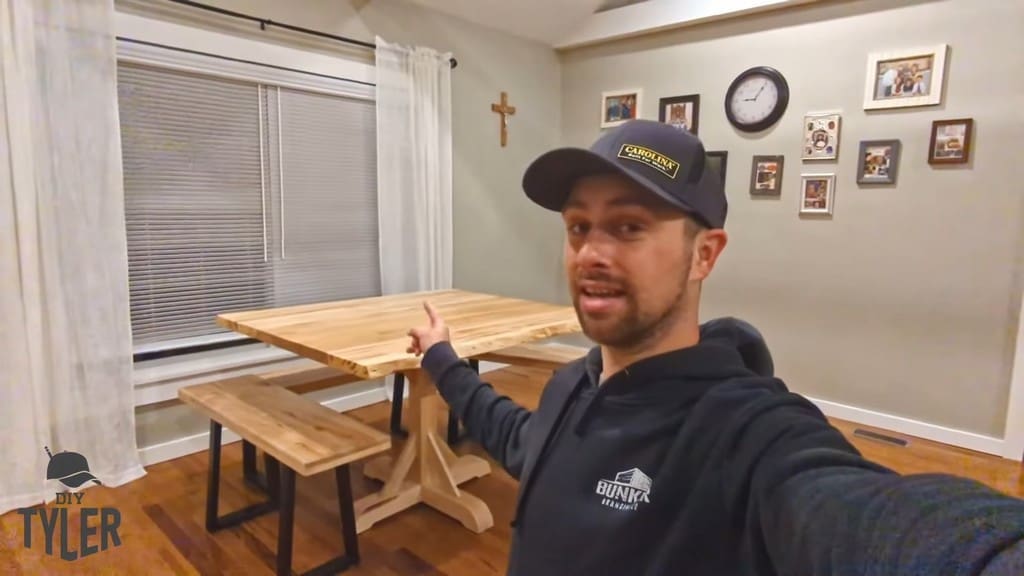
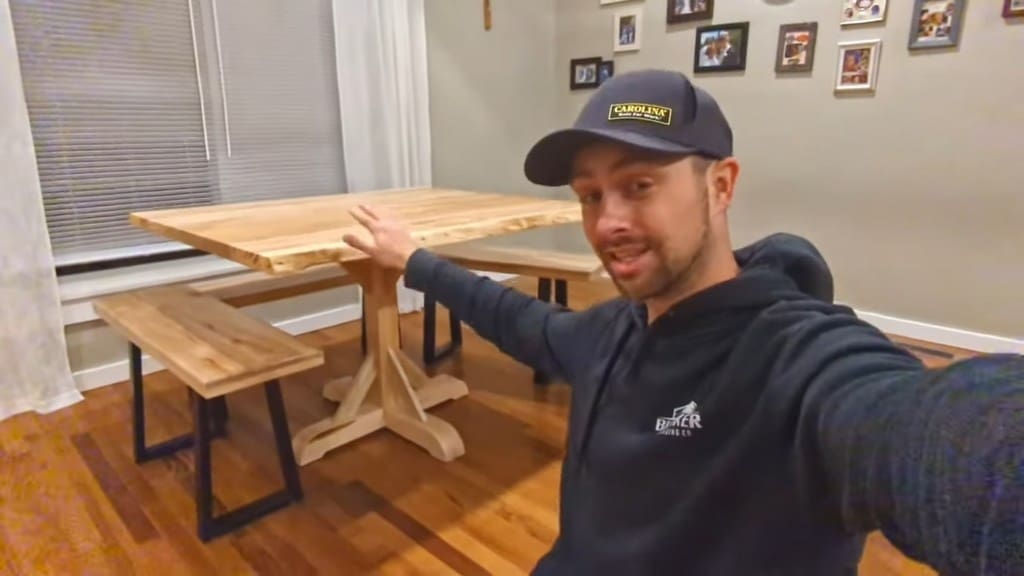
DIY Pedestal Game Table with a Removable Table Top
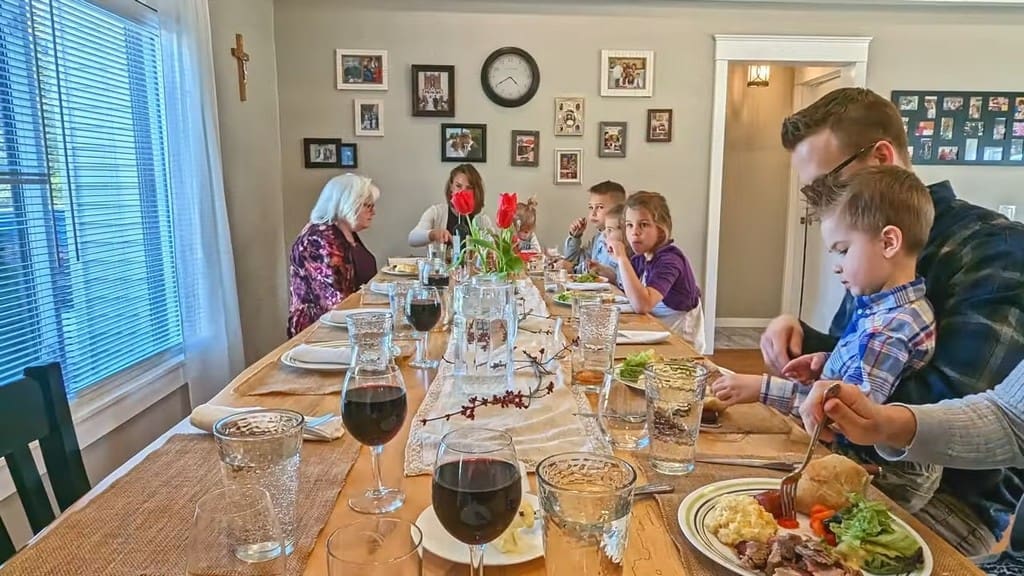
Today, we’re making a beautiful pedestal game table. Plus, this piece butts up against the kitchen table for when we need a 12.5-foot-long dining table experience!
Constructing the Game Table's Slab Top
Cutting, Jointing, and Milling the Slab Pieces
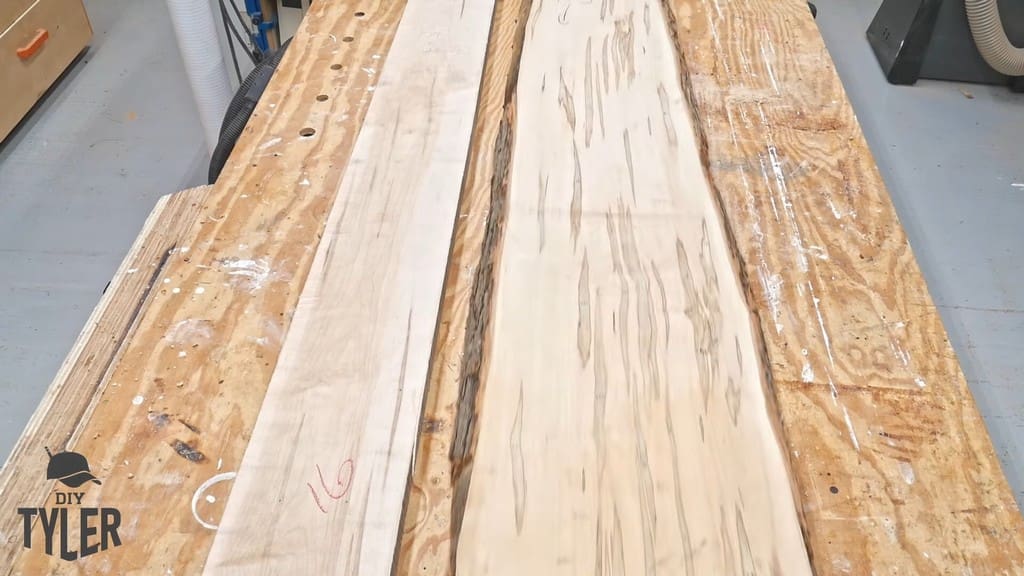
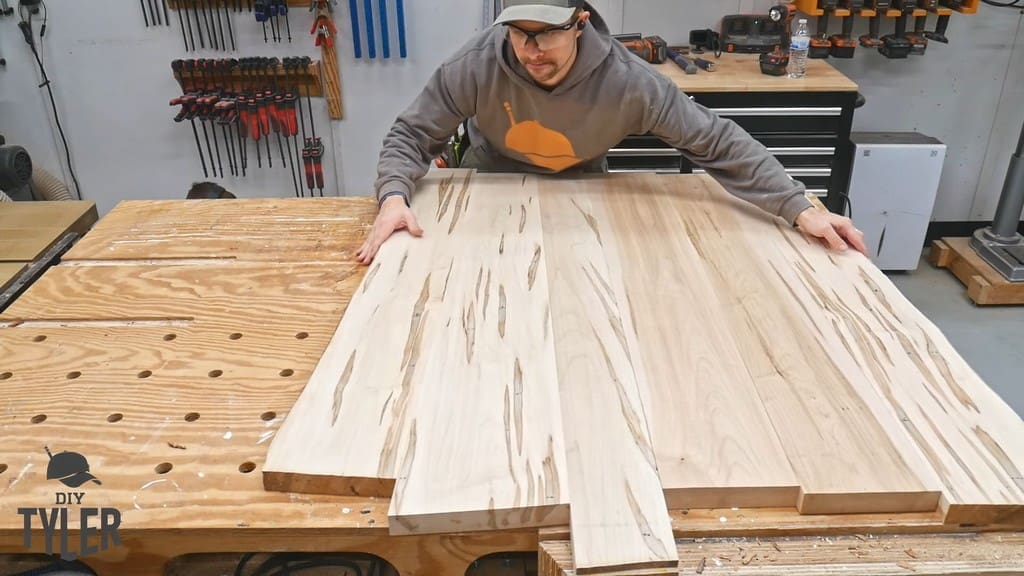
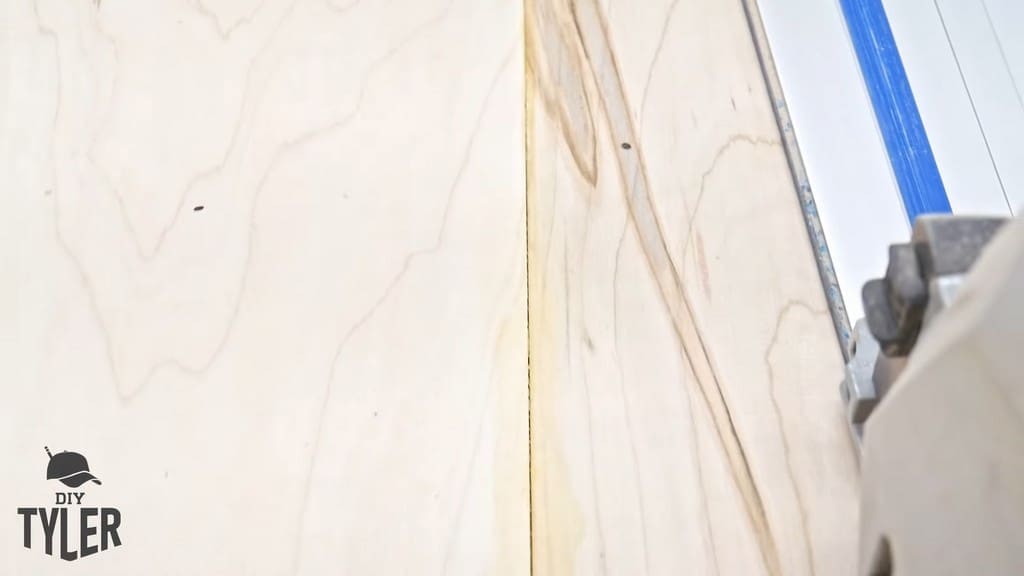
As you may have guessed from the intro pictures, this table is made out of maple. This matches the species of wood that our kitchen table is made of. Since the two tables butt up together, it was important that the wood species of the two pieces matches.
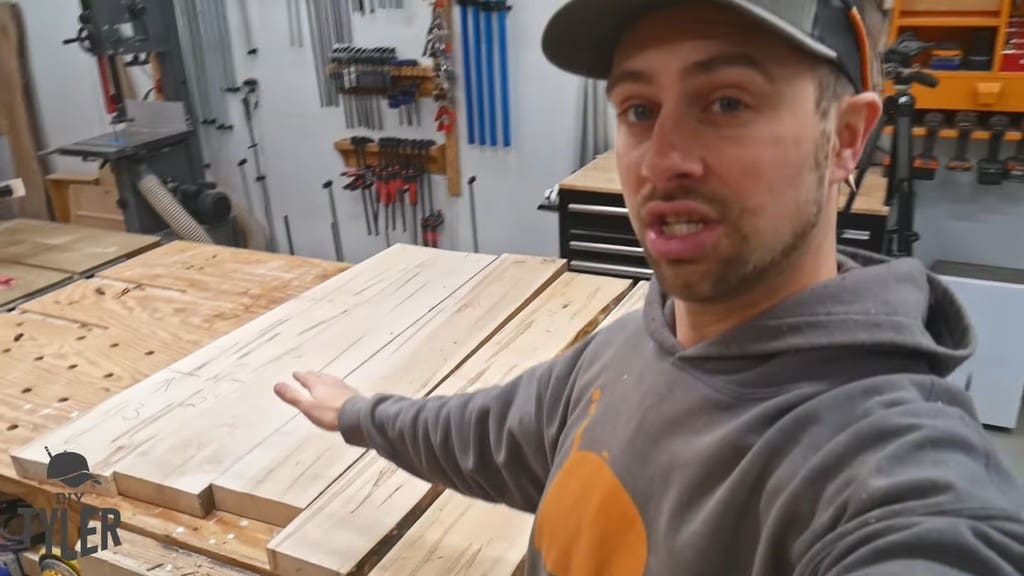
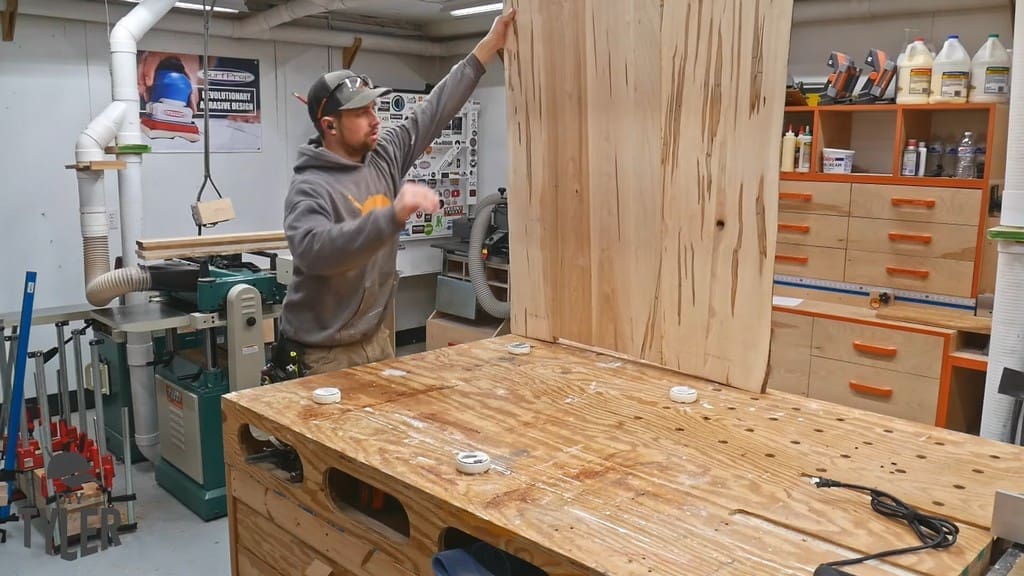
These were some gnarly slabs, so I had to get creative to harvest enough wood for the table with pedestal base.
For instance, I cut square pieces out of certain gnarly sections. There was a twisted board that I had to cut the necessary piece out of and then laminate together because the milled piece was going to be too thin.
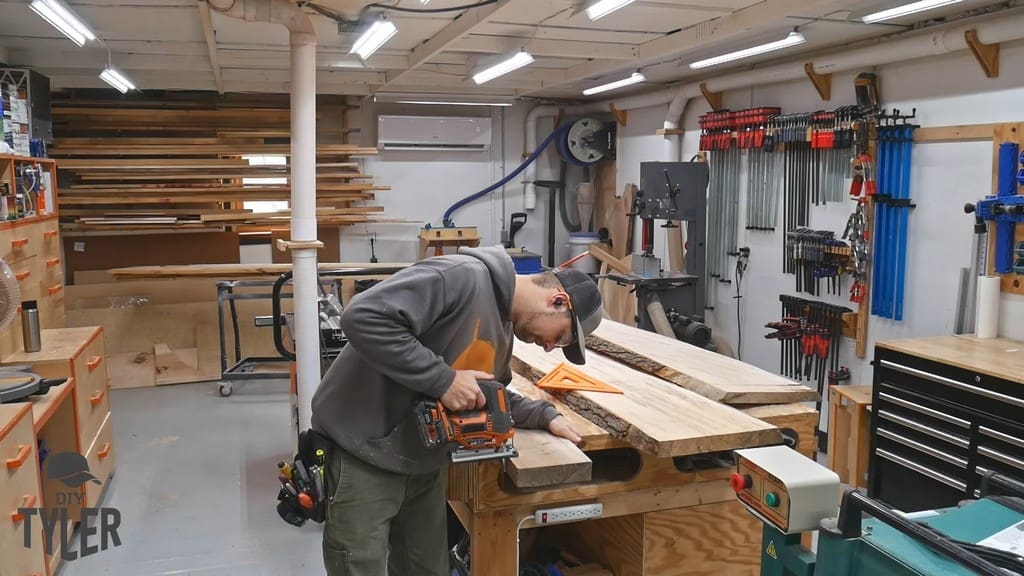
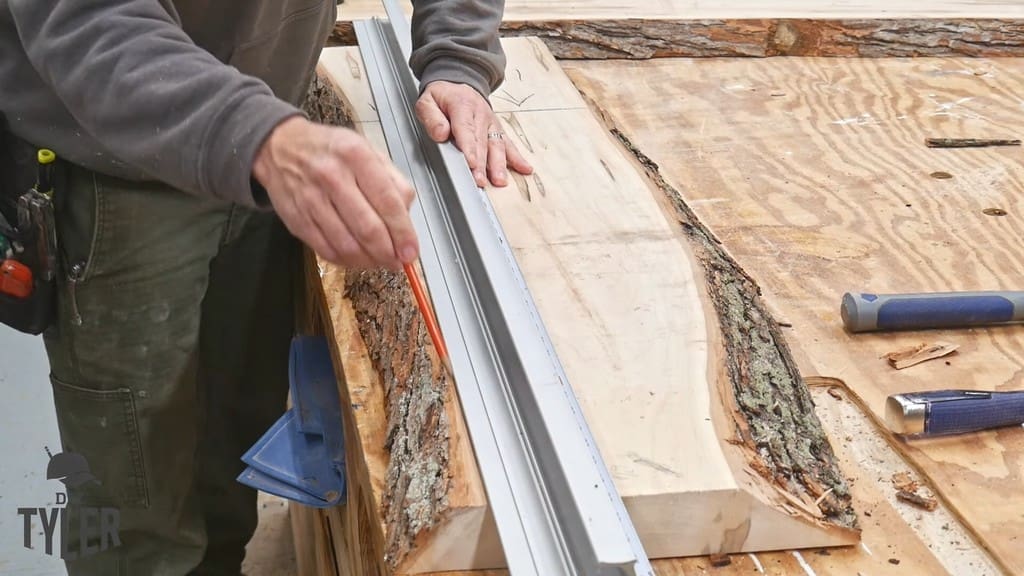
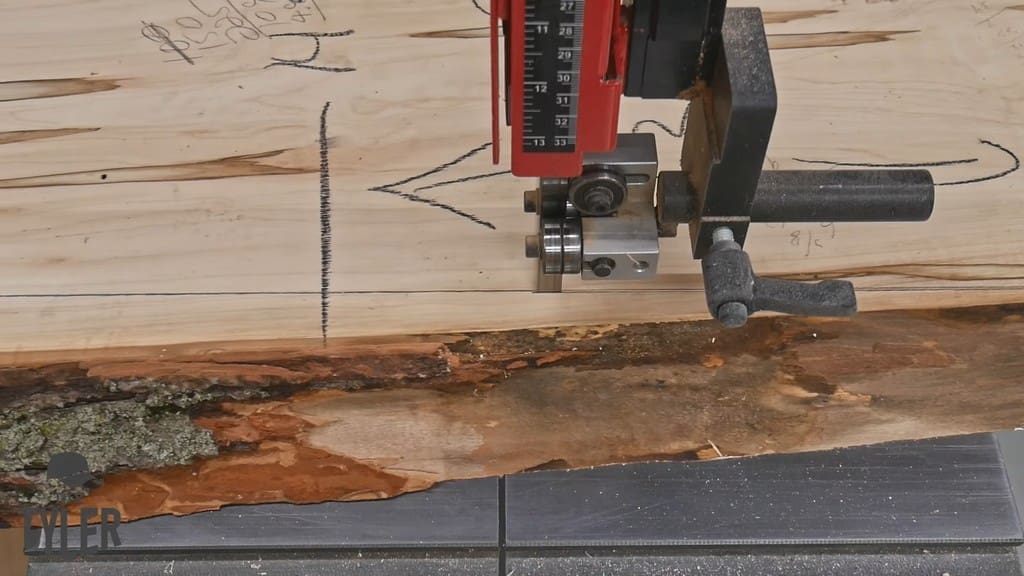
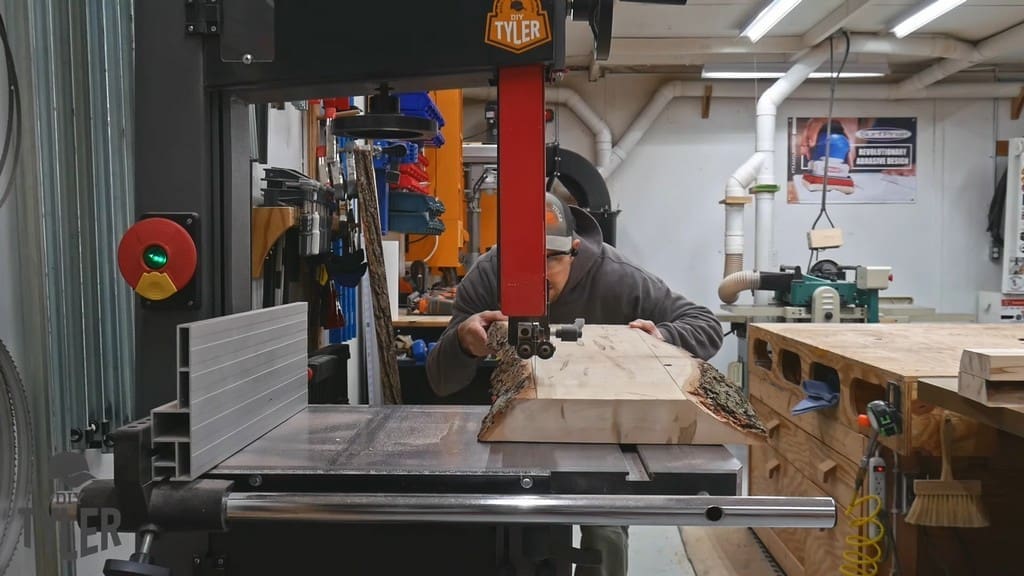
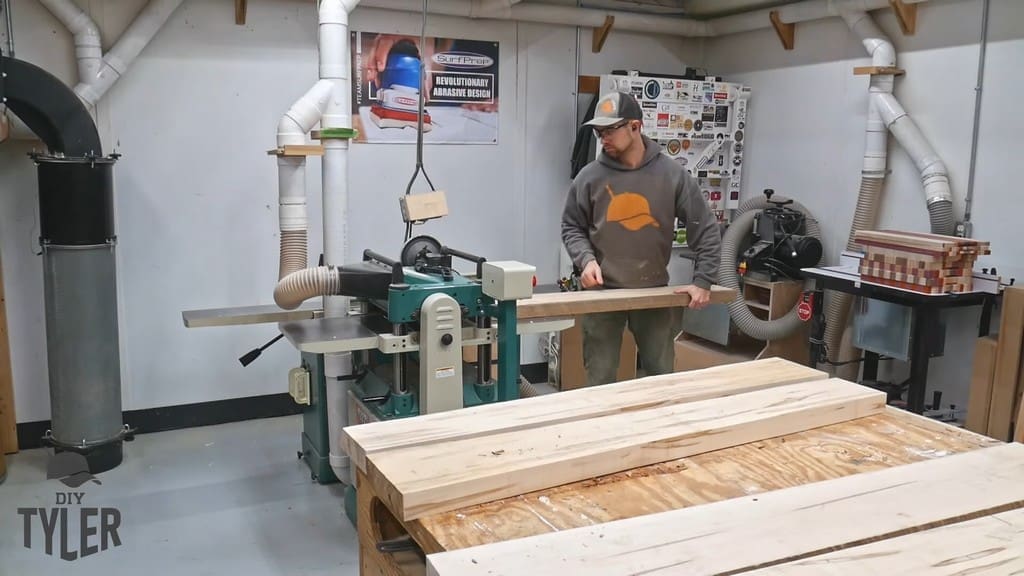
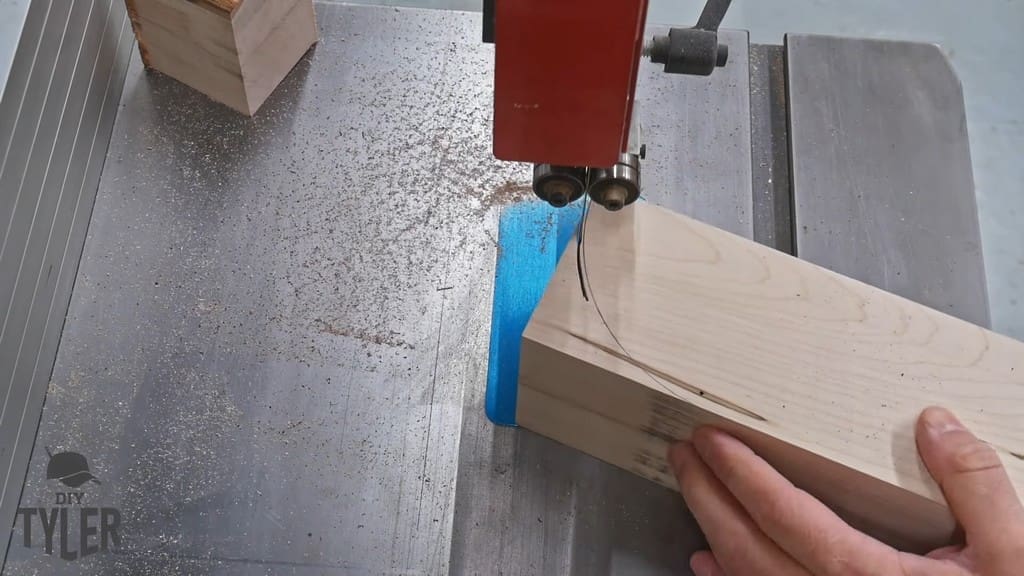
With everything marked out, I went over to the band saw to make my rough cuts out of the slab. This gave me slightly more manageable pieces to work with.
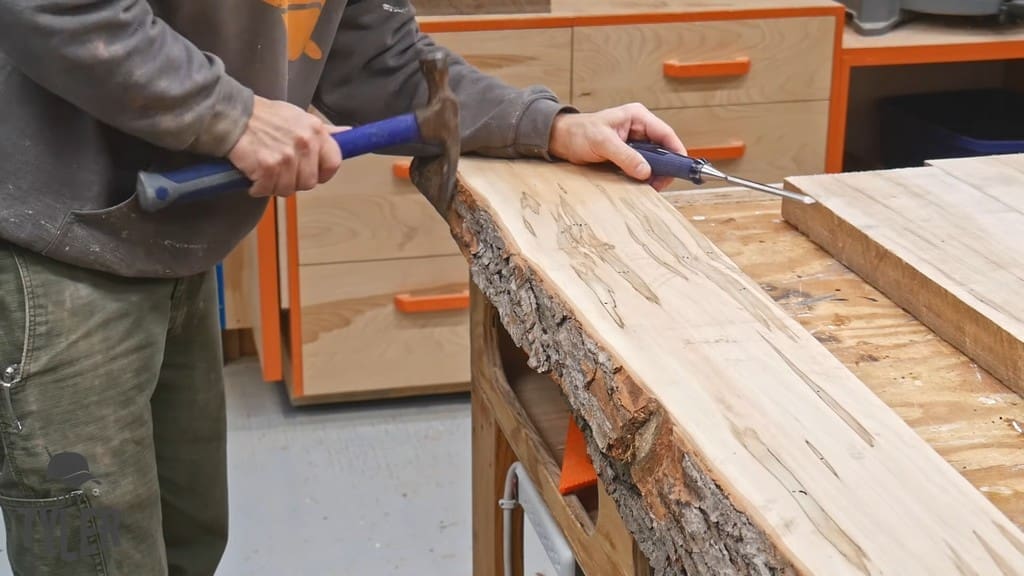
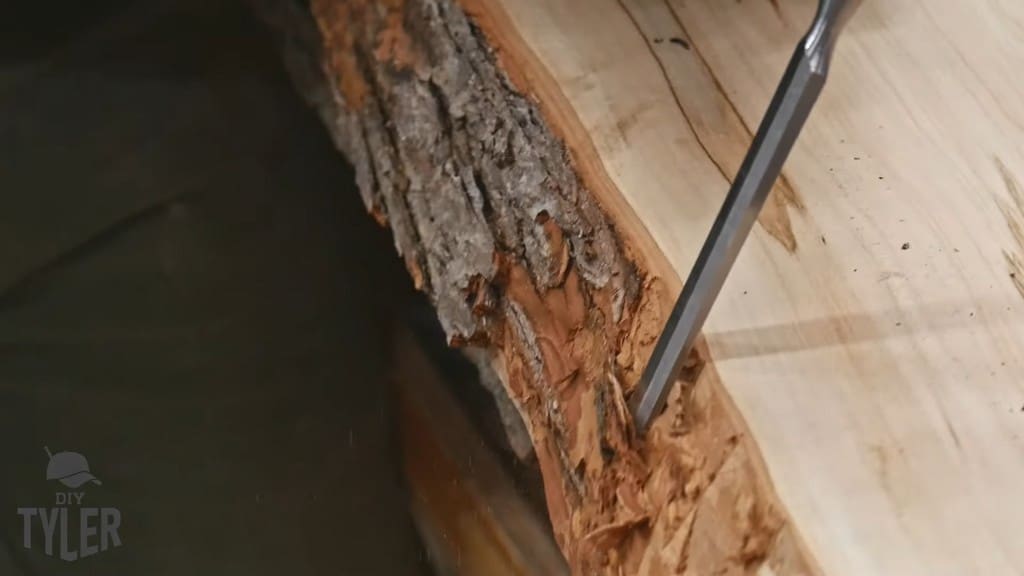
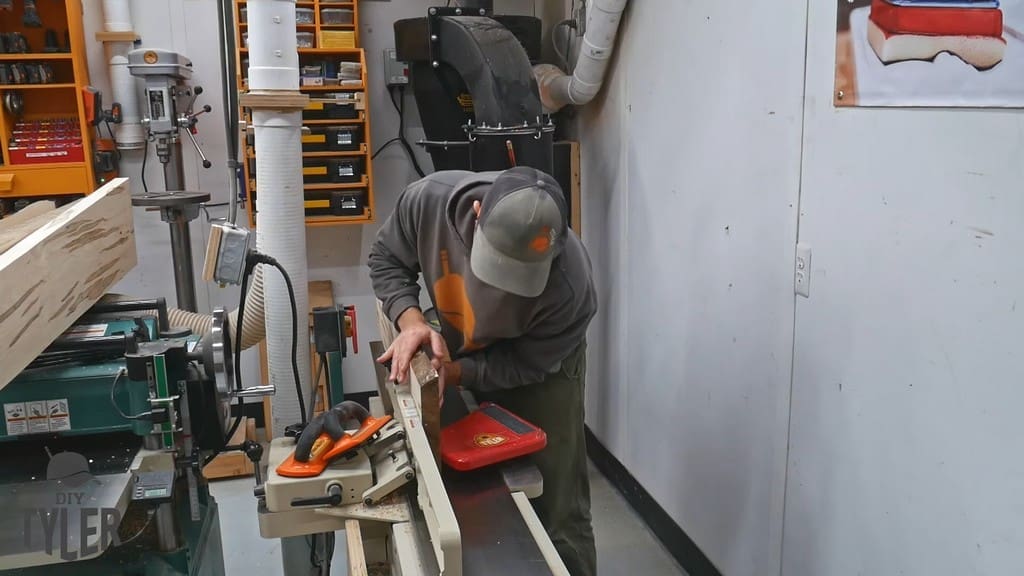
To match the kitchen table, this pedestal game table needed to have a live edge. It was quite a removal process to knock off the excess bark, which was too healthy to just pop off.
In other words, it took a bit of work to remove the extra bark from the edge of the slab.
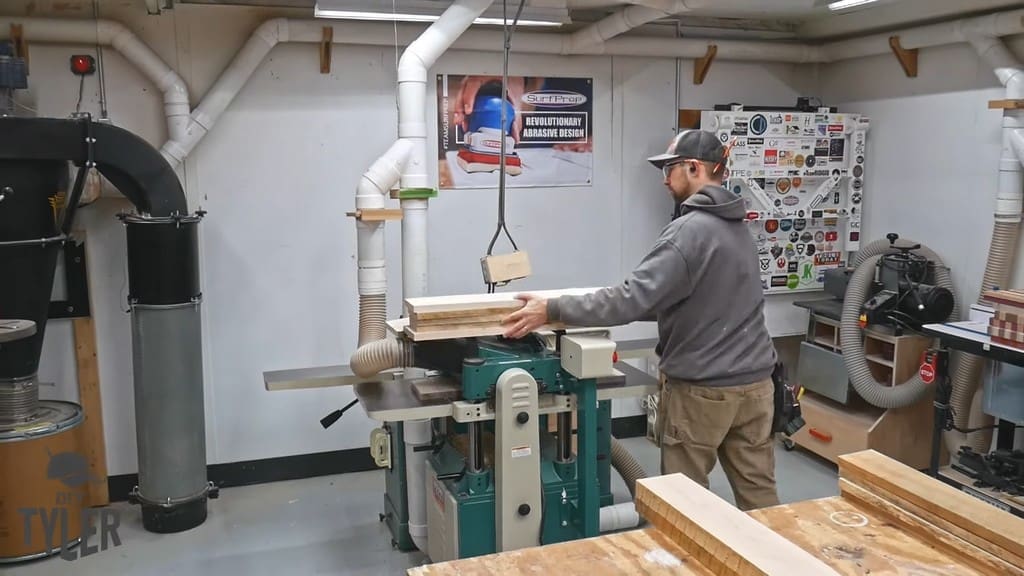
Since my cut slabs were in good shape, I didn’t need to joint a face. I ran them through the planer prior to jointing an edge.
It took a lot of work with the planer to get them from 2 inches to about 1.5 inches.
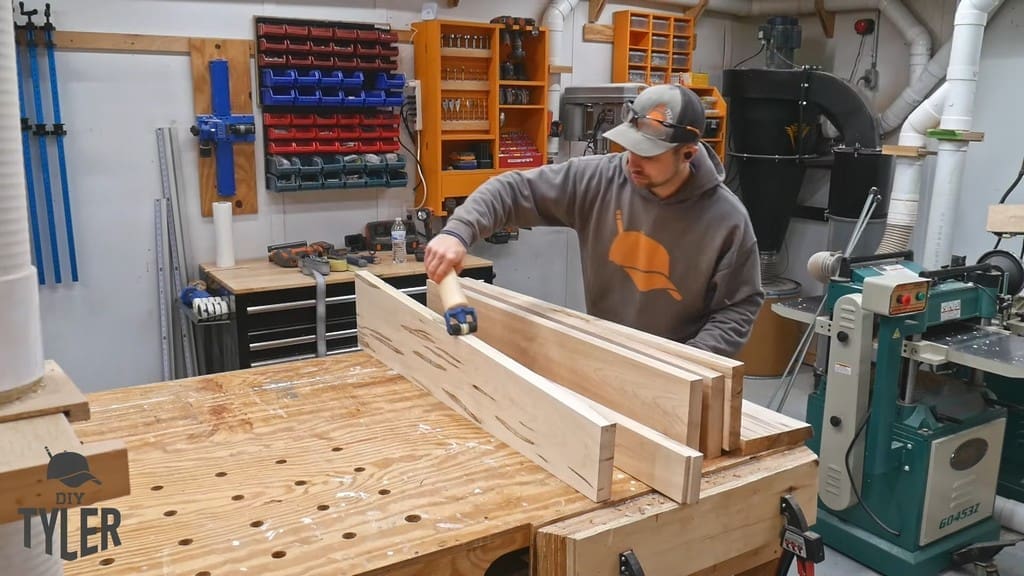
Once the suitable boards were run through the planer, I took them over to the jointer to square up the one edge that would be butted together for my glue-up.
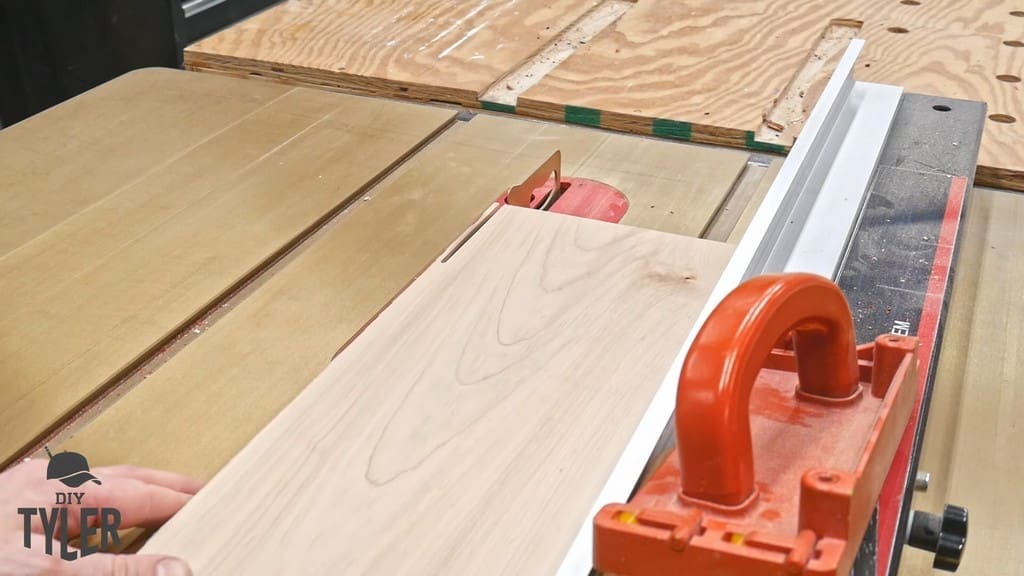
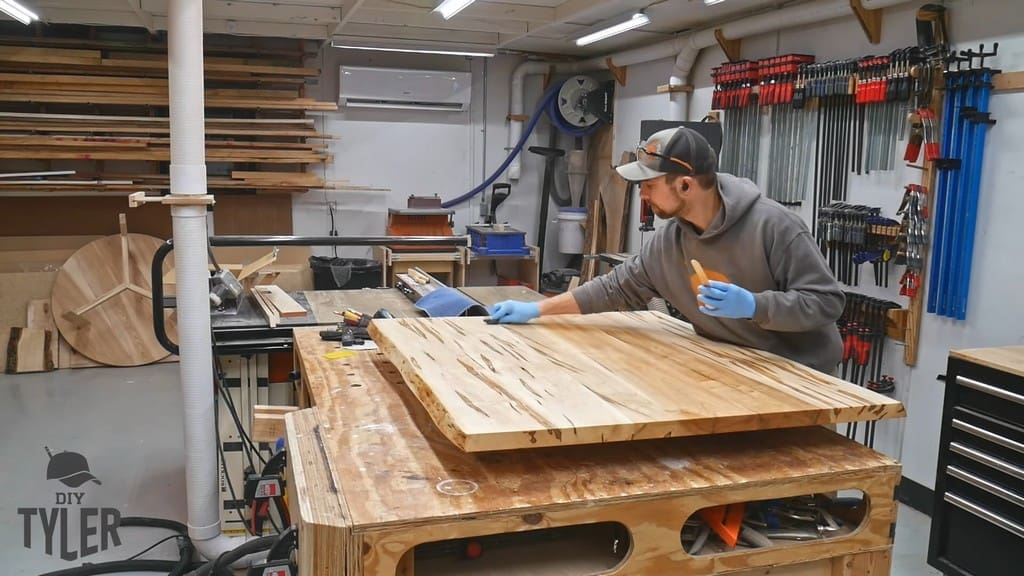
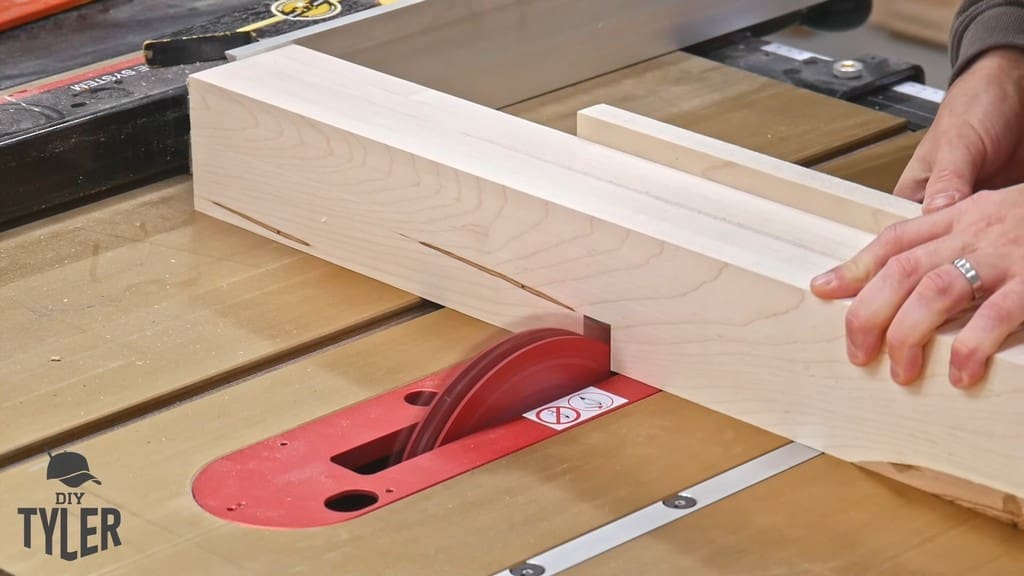
Next, it was over to our monster 4-horsepower Harvey table saw to square up the opposite sides. This table saw chewed up maple wood like candy. The saw also left a beautiful edge that’s ready for the glue-up.
Gluing Tabletop Slab Pieces Together
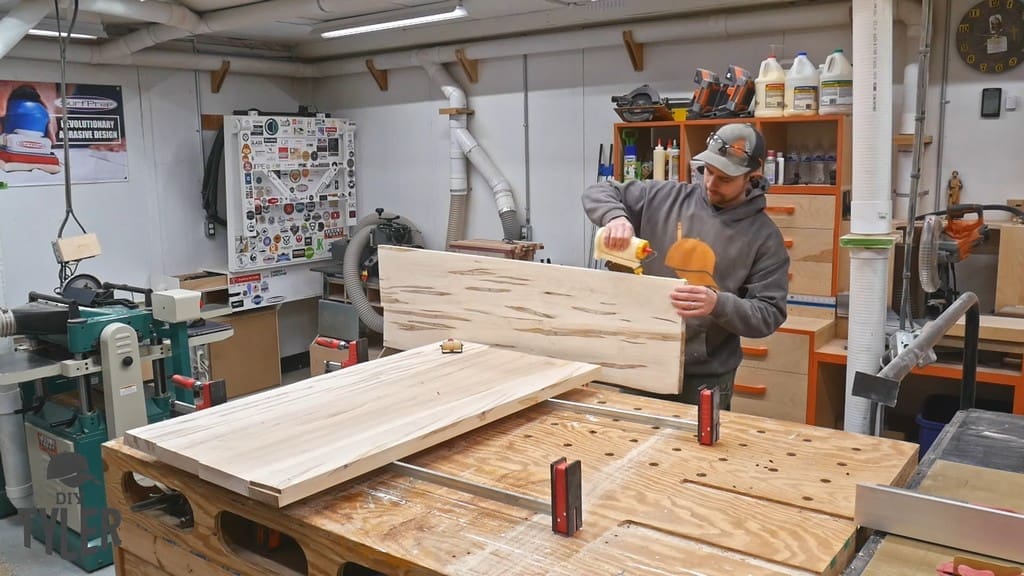
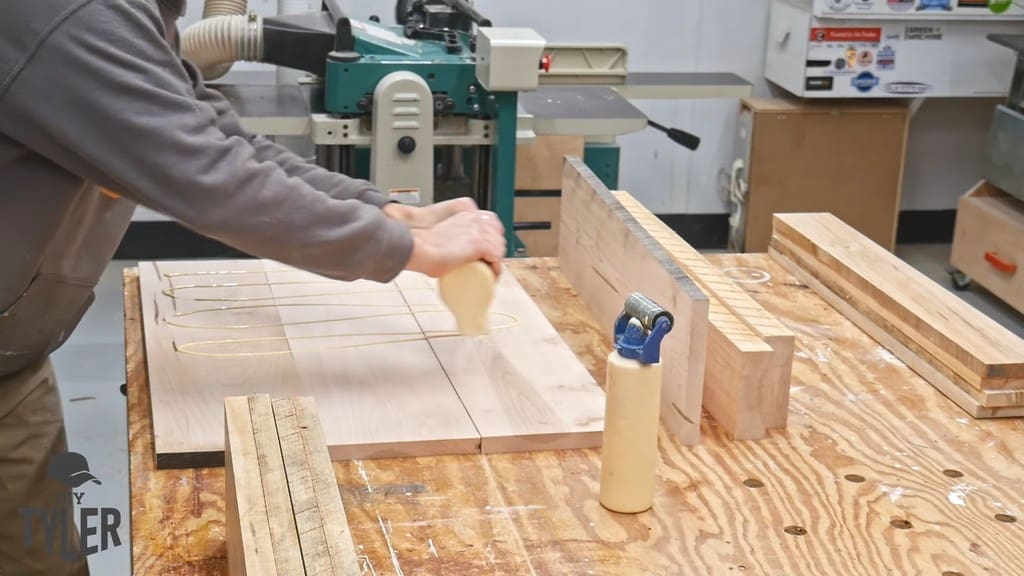
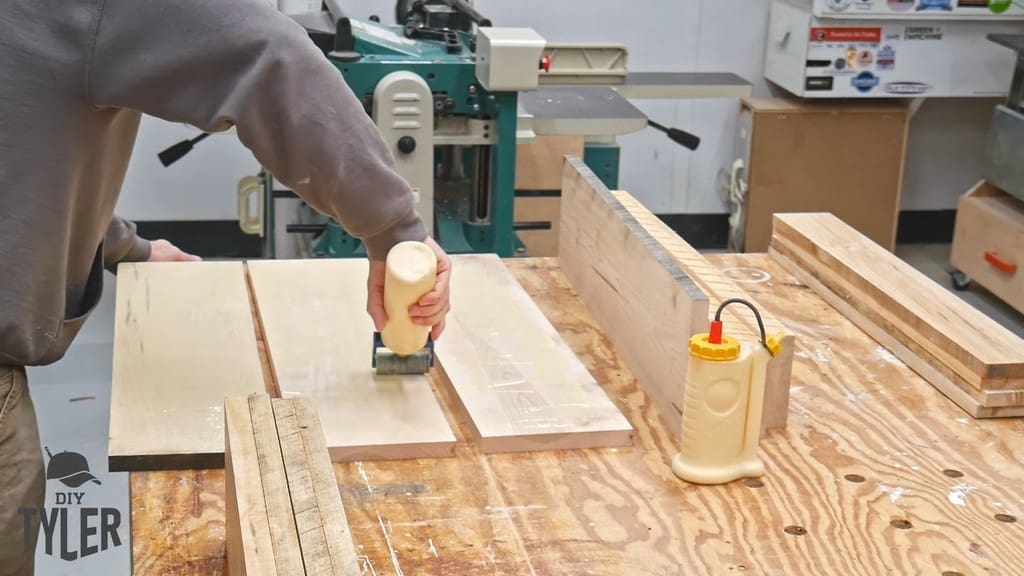
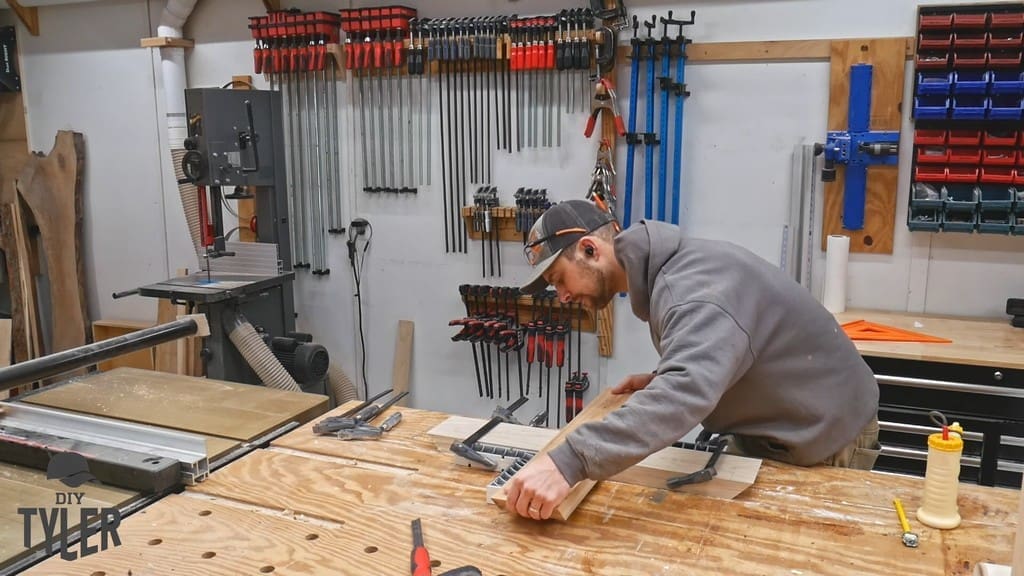
With everything squared up, I took a moment to align everything in the way that looked most visually appealing. After creating a nice, symmetrical look, I used Titebond to glue everything in place.
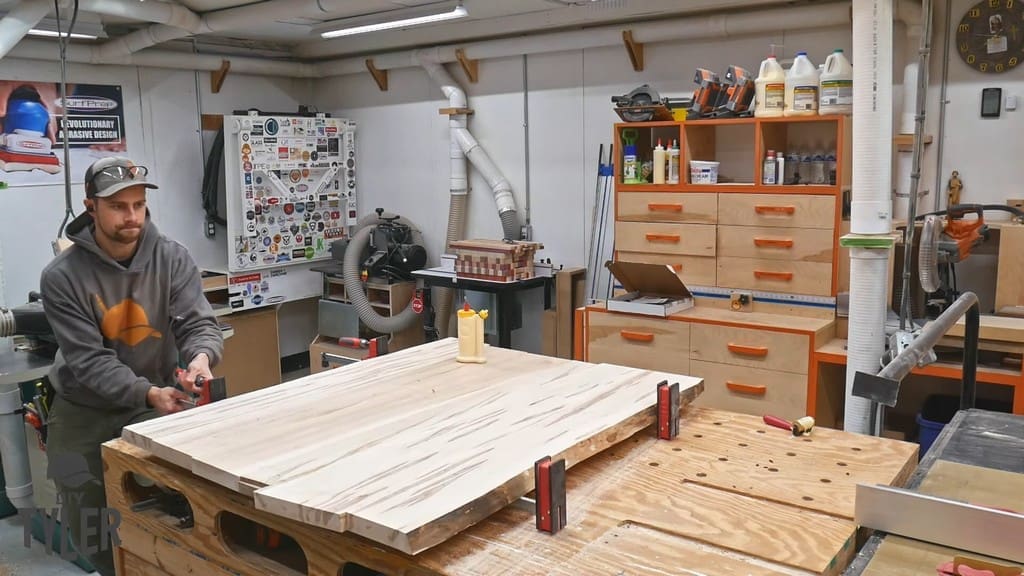
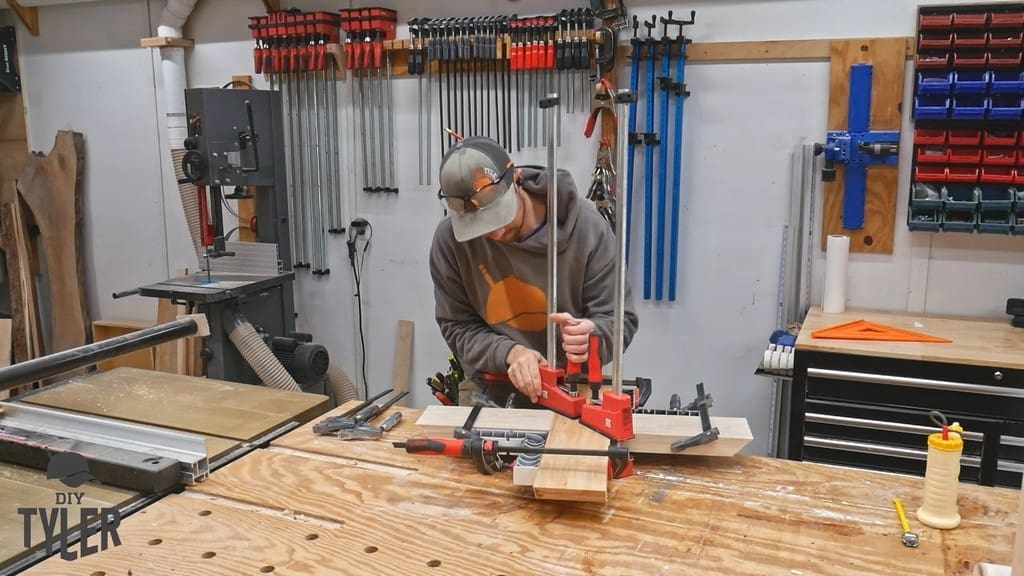
Now I had the pieces flat and clamped together, but I soon realized this project had more in store for me.
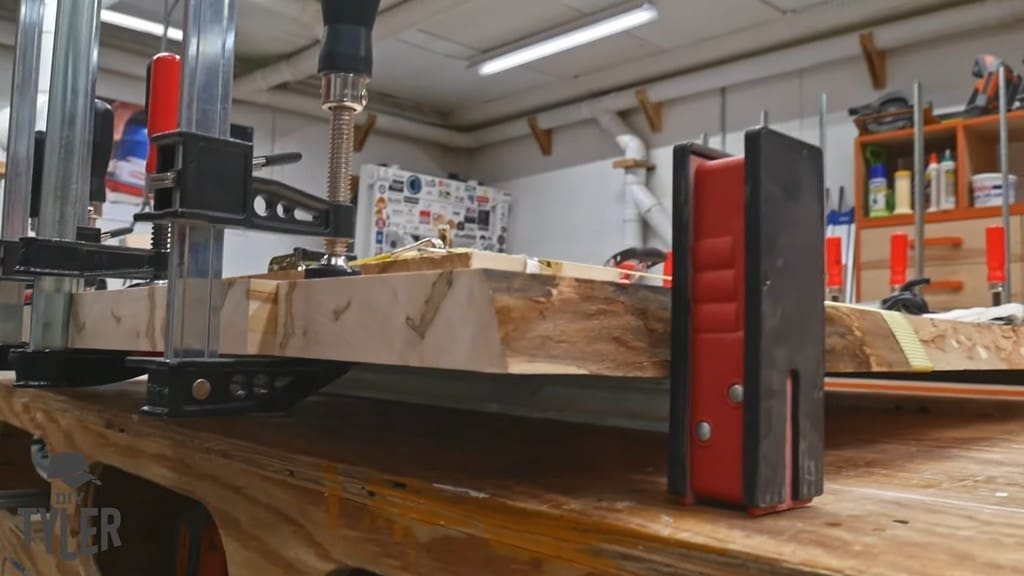
I noticed there was a small gap in one of the seams I had glued. What’s more, this seam moved slightly when I wiggled the table. Not wanting to risk this part snapping under tension, I decided to cut the pieces apart and re-glue them.
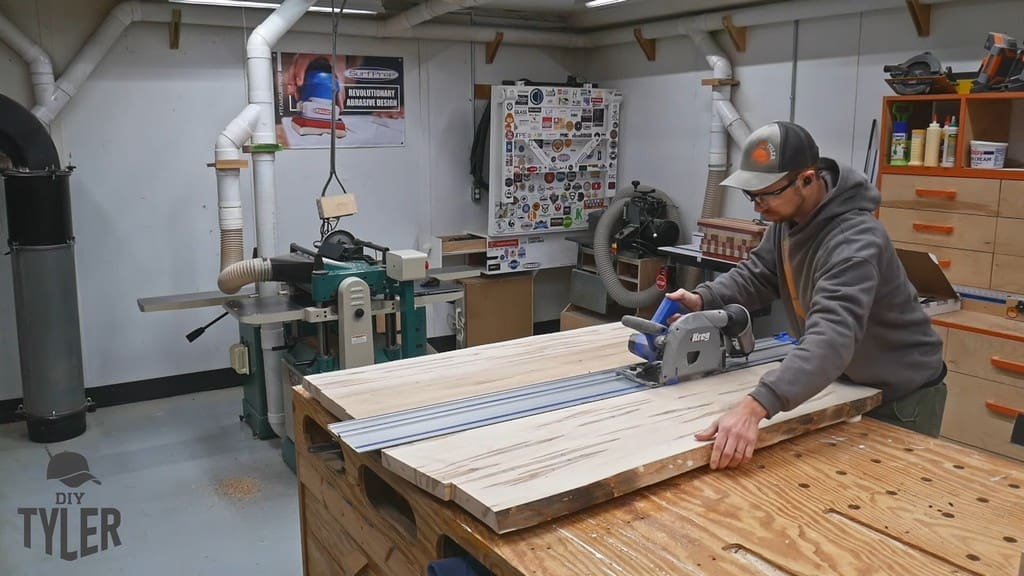
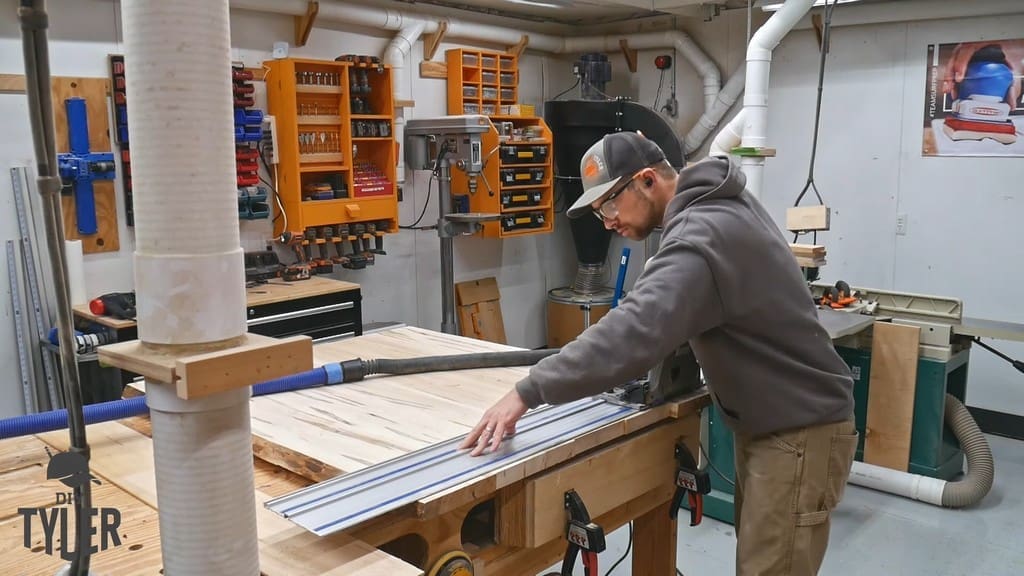
To do this, I ran the Kreg Track Saw right through the glue line.
Applying more glue, I re-clamped the pieces and was glad to see everything pop right together.
Finishing Touches for the Slab Tabletop
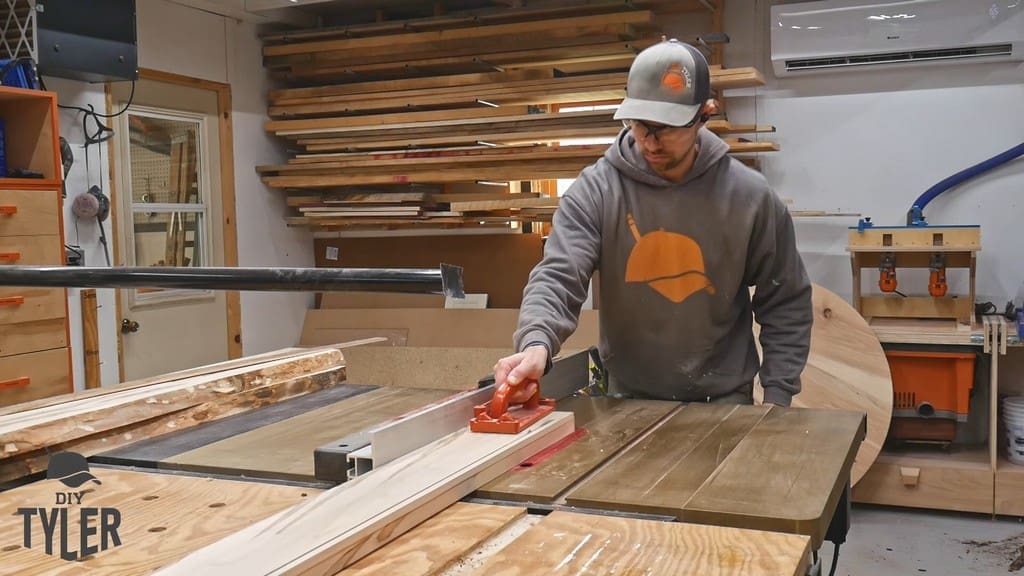
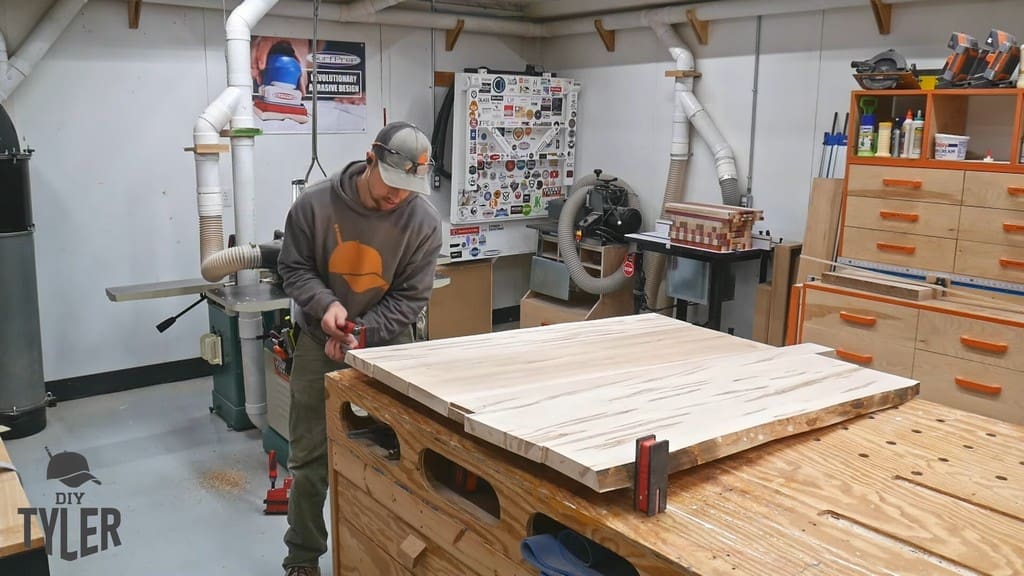
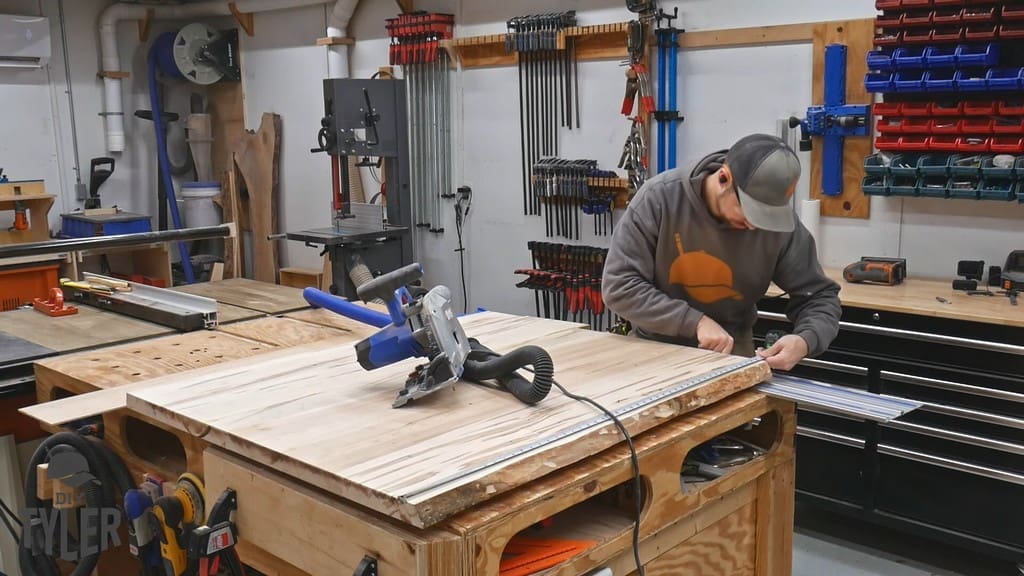
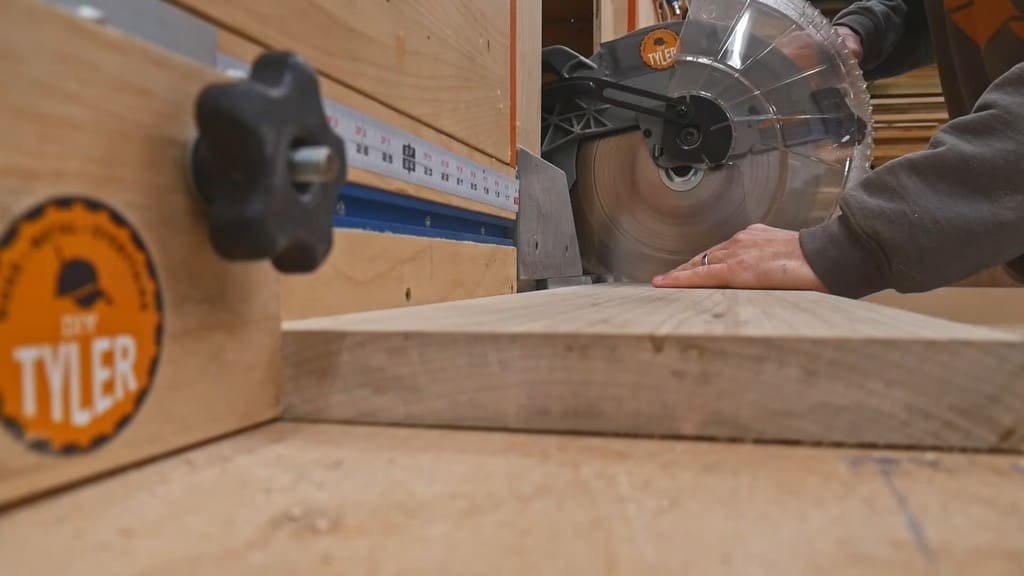
With the table glued back together and that one problem joint repaired, I knew it was time to square up the ends.
Once again, I used my Kreg Track Saw to make quick work of the edges. After cutting one side as square as could be, I measured across to the other side to square up that edge.
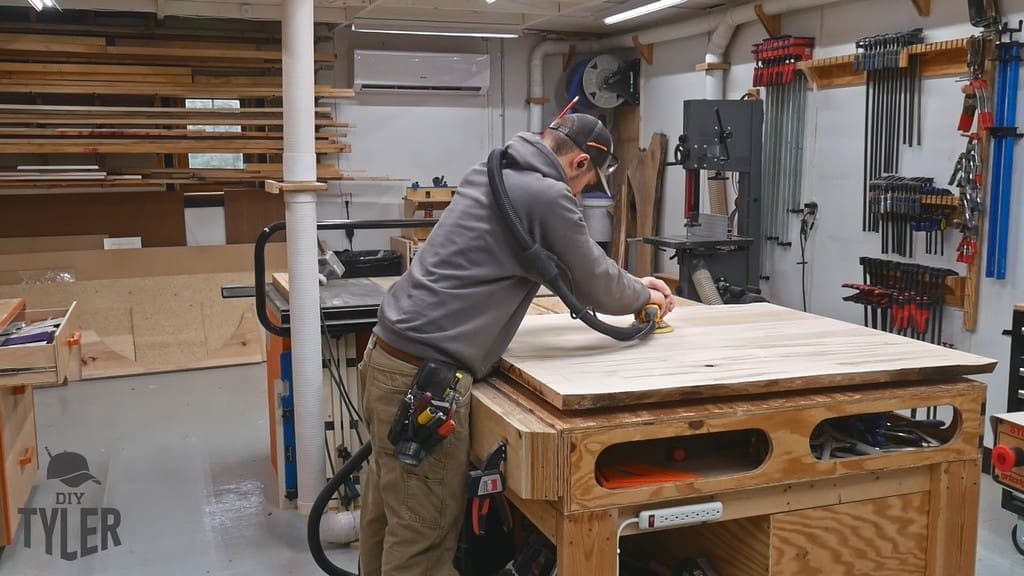
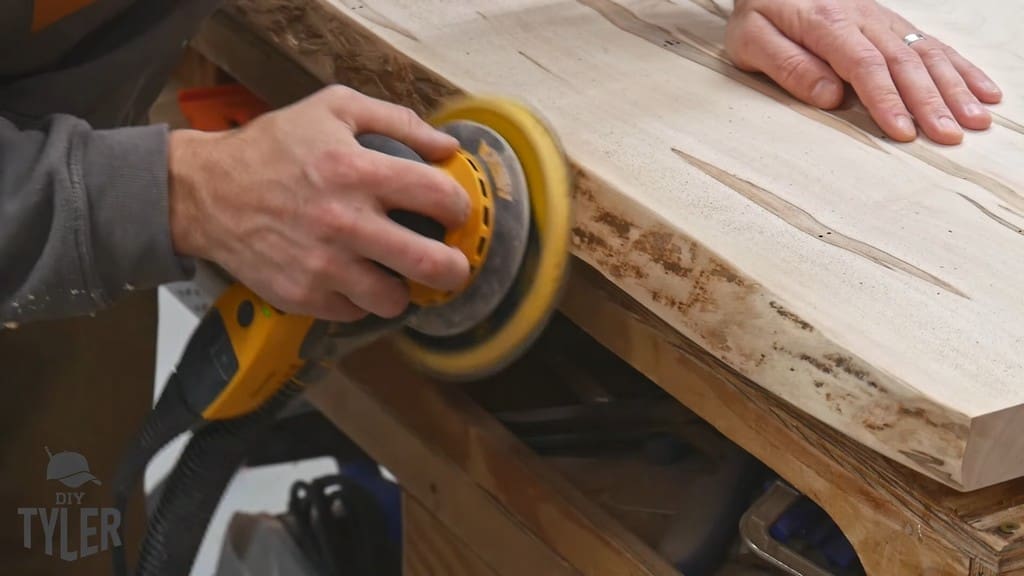
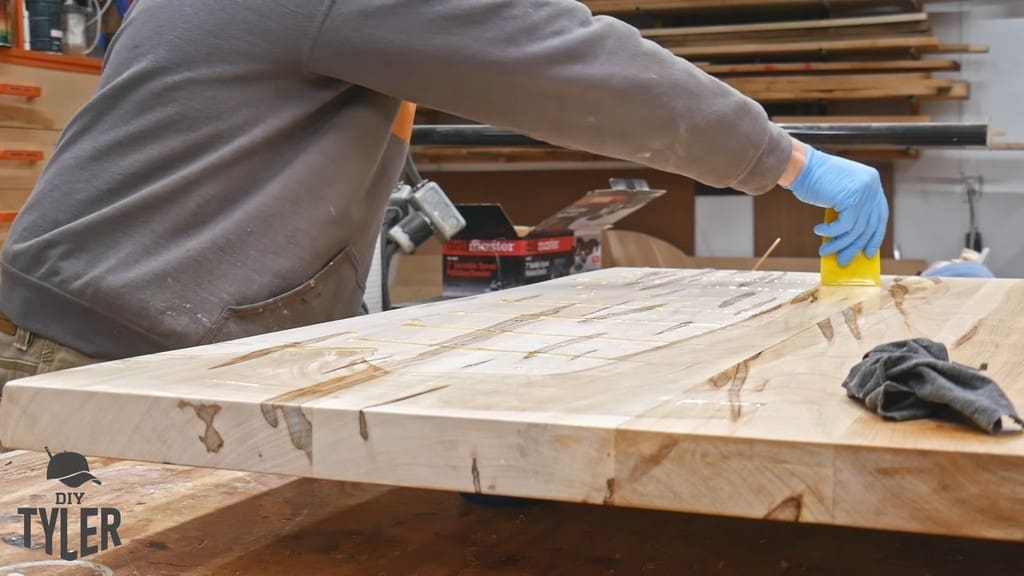
With that out of the way, I’d reached the stage that required spending a lot of time with the sander. I cleaned up the edges and removed any swirl marks from the top.
In the end, I worked the table up from roughly 80-grit to about 240-grit.
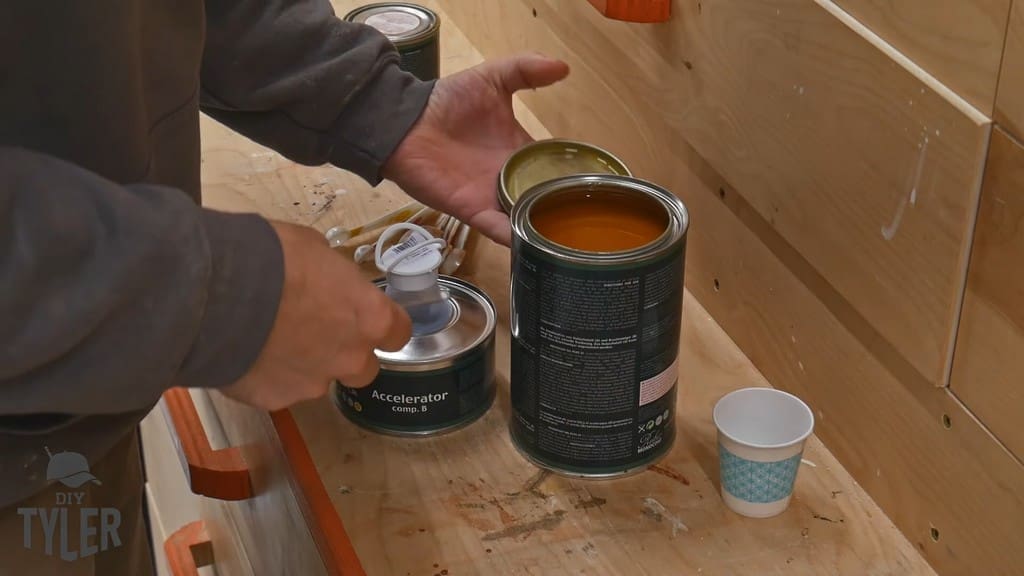
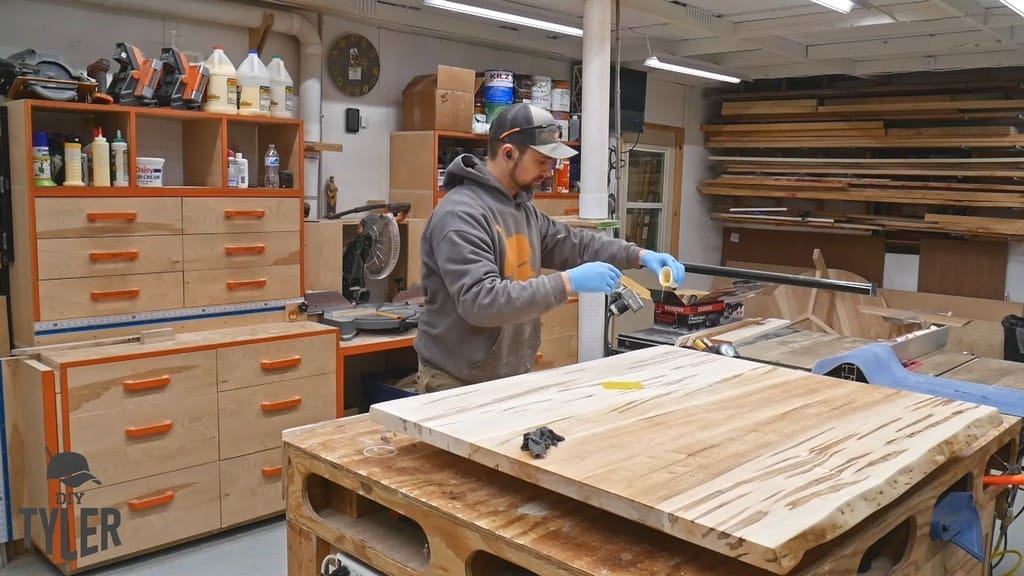
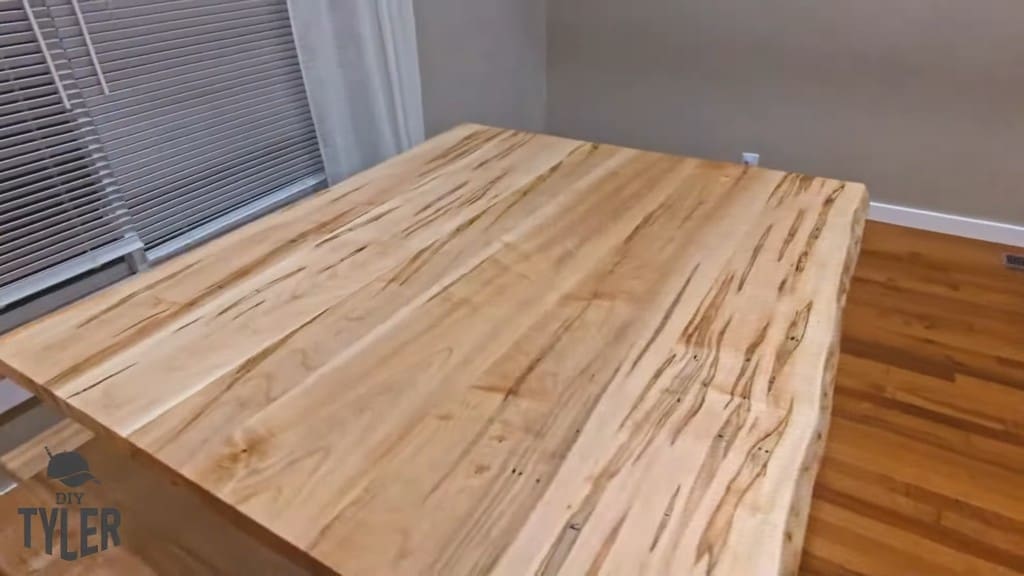
For the tabletop, I used Rubio Monocoat Pure Finish. This is my new favorite for flat surfaces, including tables. One reason is that you can be done after only one coat, though I typically use two coats for added durability.
Pour the Rubio Monocoat on, spatula it around, wipe it off, and you’re ready to go.
Sponsor Segment: Carolina Footwear
Before we go any further, I wanted to give a quick shoutout to my sponsor for the original pedestal game table video, Carolina Footwear.
My Cardinal series boots from Carolina are comfortable to wear, even with either a steel or composite aluminum toe and heavy tread. If you want a pair like this or any of Carolina’s other great items, use “DIYTyler15” for 15% off your order.
Constructing the Pedestal Game Table Base
With the game table’s top finished and out of the way, it was time to work on the pedestal base. I viewed this as both the more complicated and more fun portion of this build.
Prepping and Gluing the Base Pieces
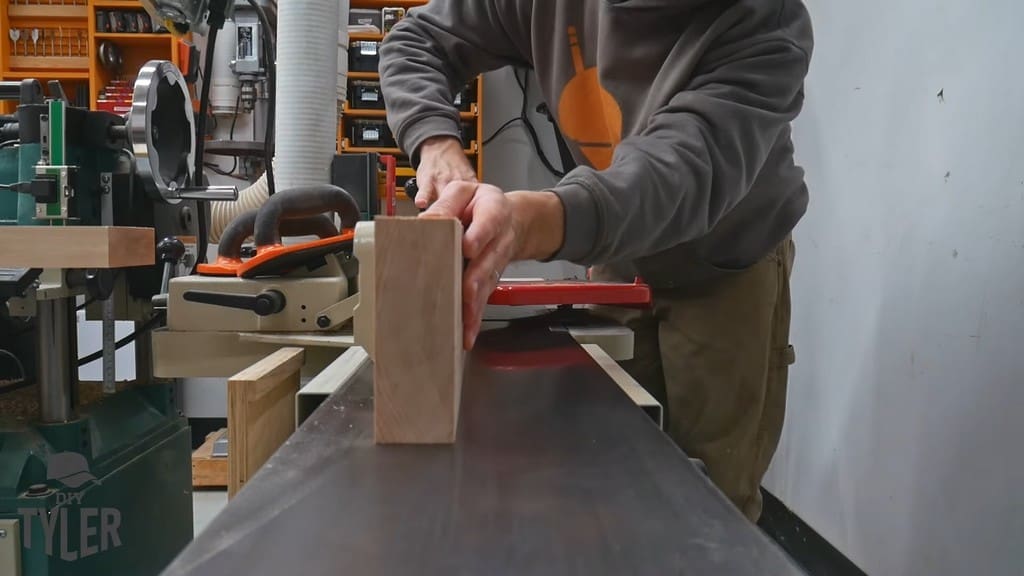
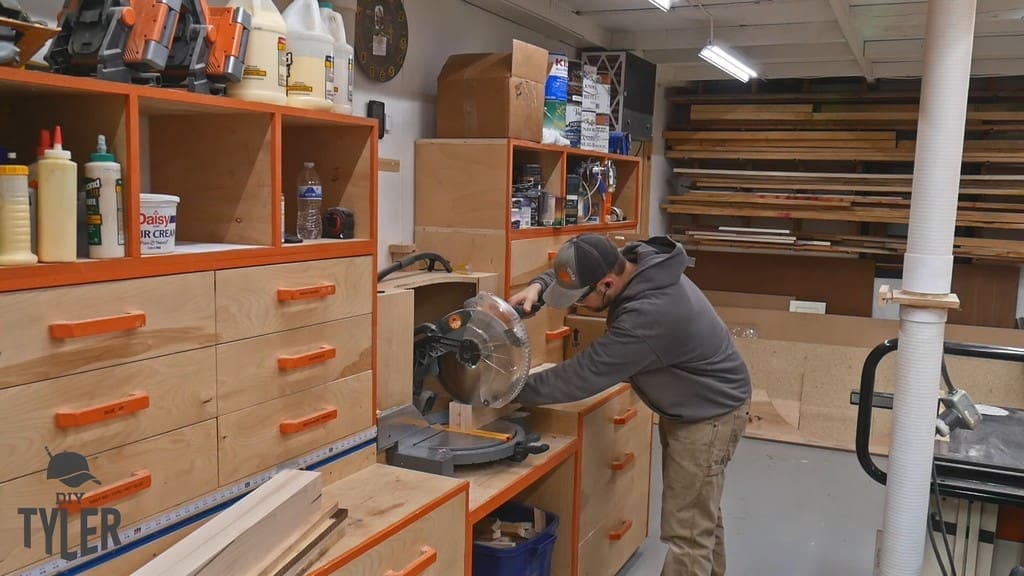
I started at the miter saw, squared up the boards at the jointer, and flattened everything out at the planer.
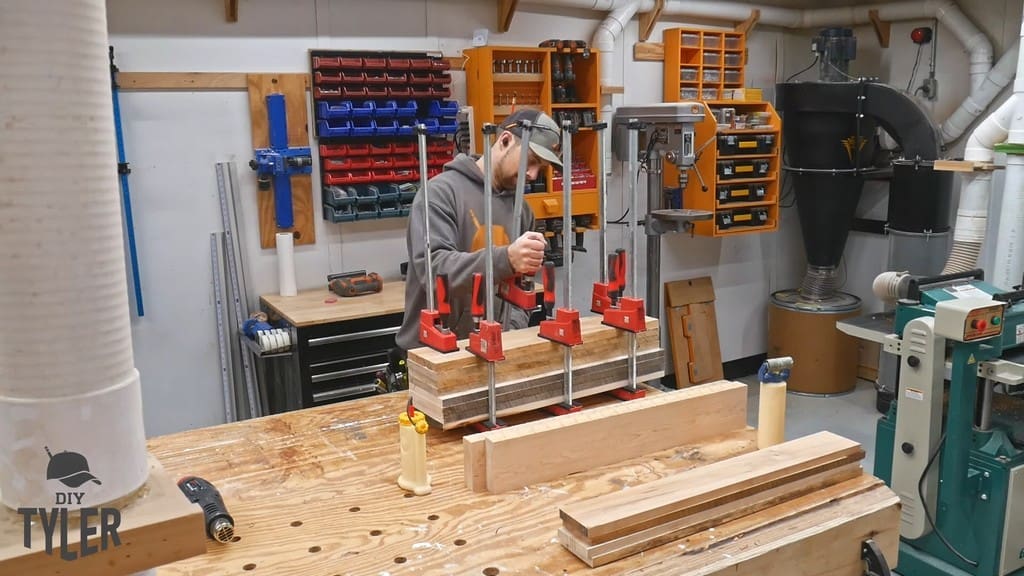
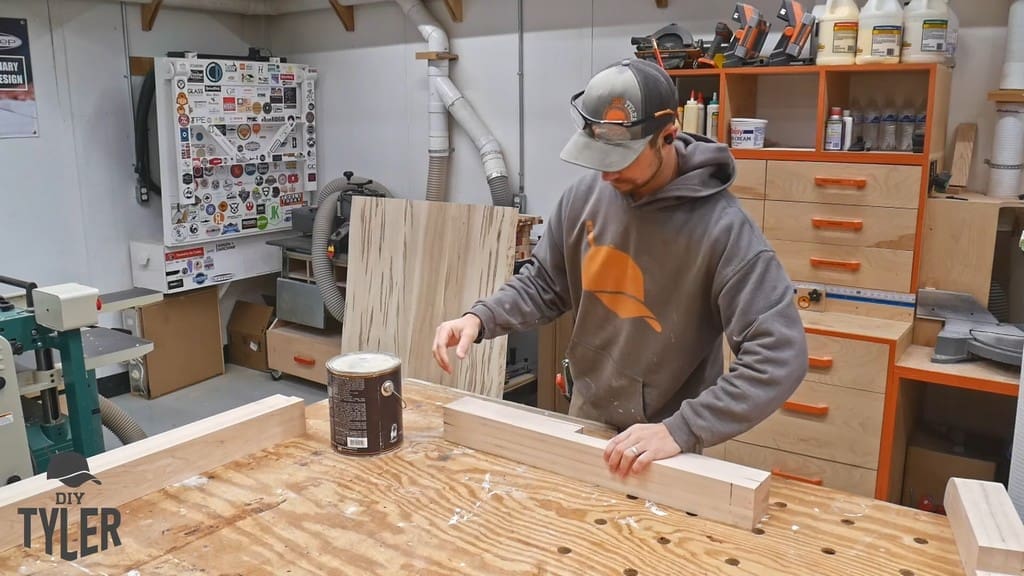
To produce thicker wood, I needed to glue several pieces together because that’s what I had to work with. I fastened everything together with Titebond II glue and a bunch of clamps.
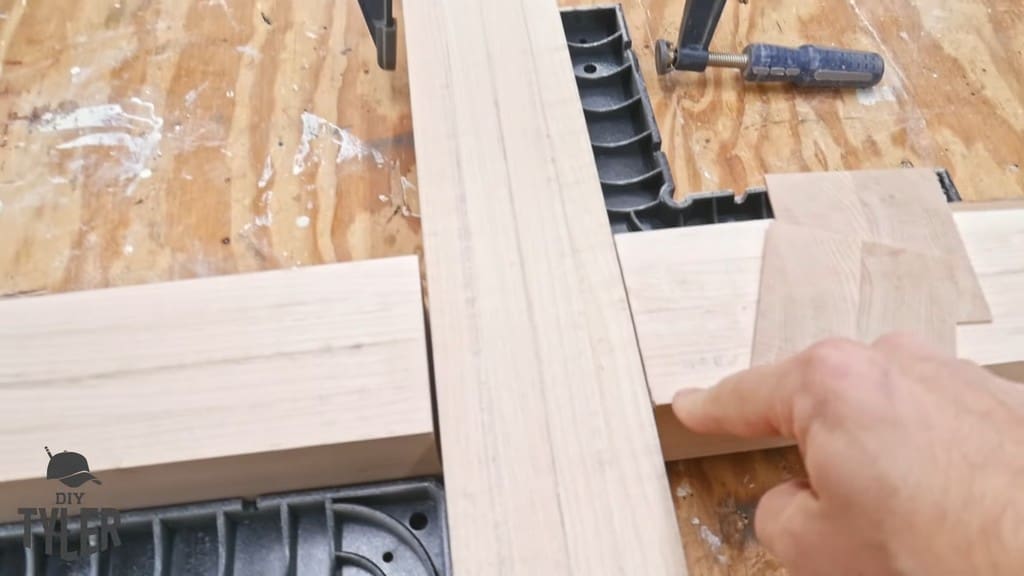
Shaping the Pedestal Game Table Base
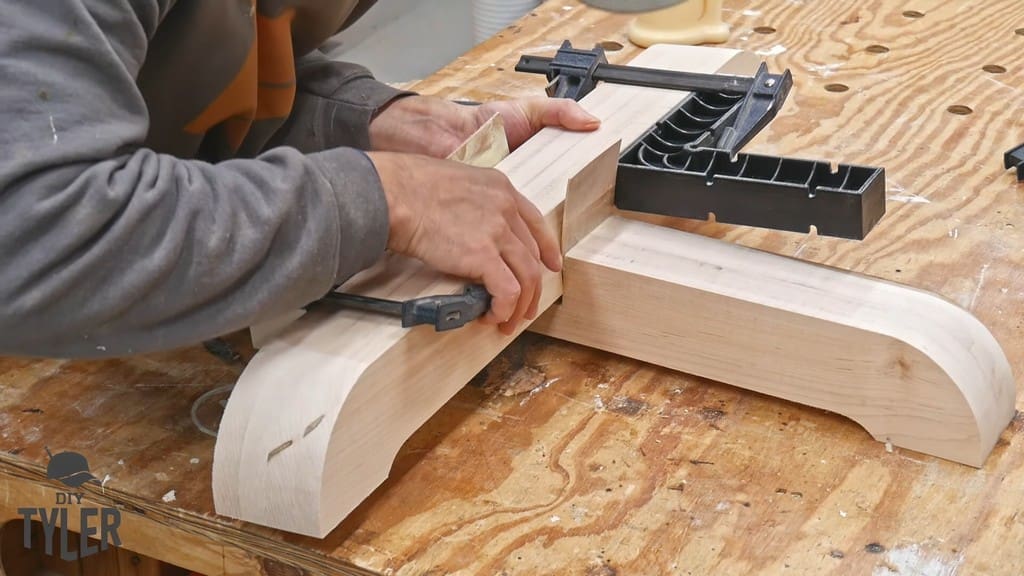
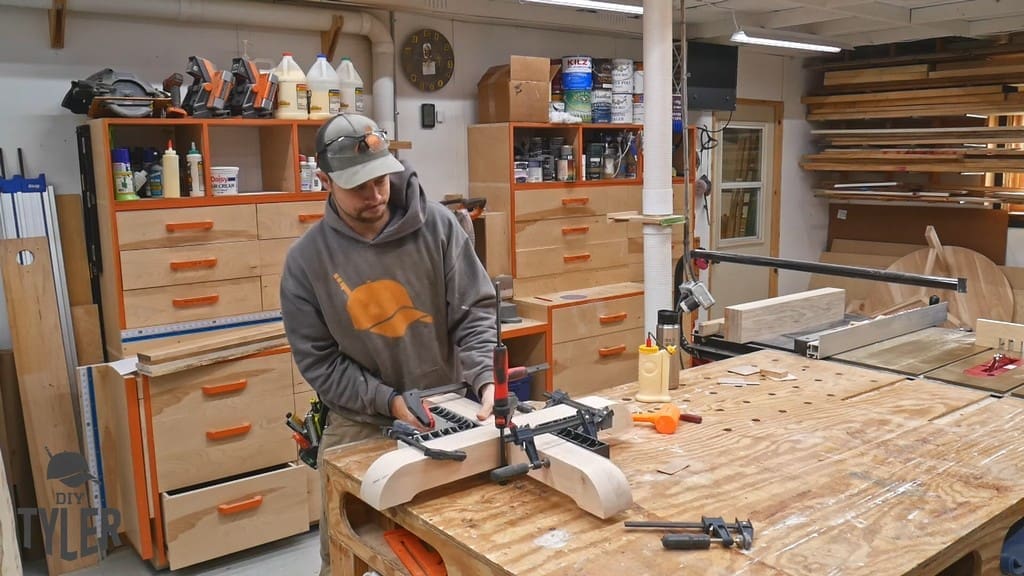
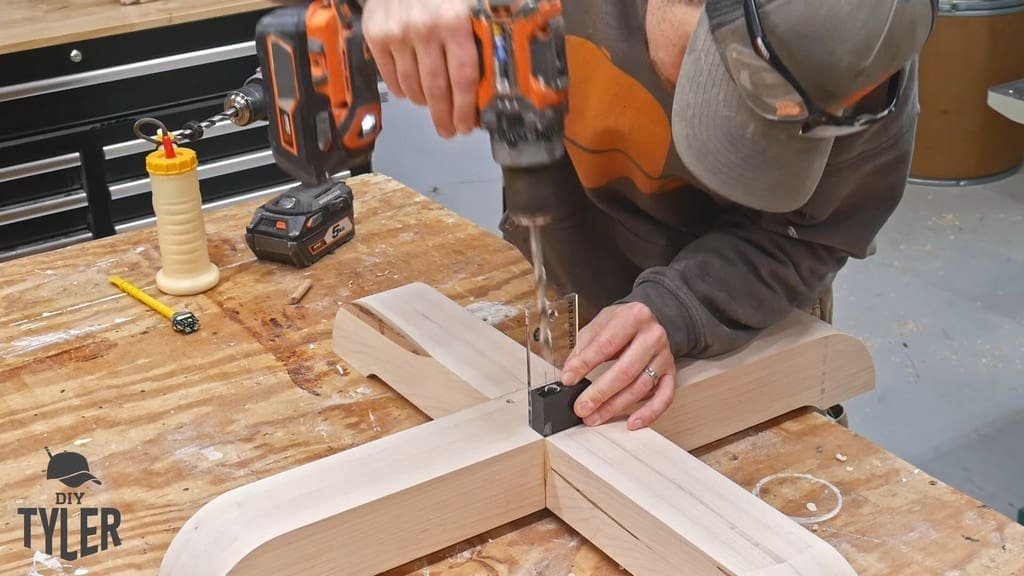
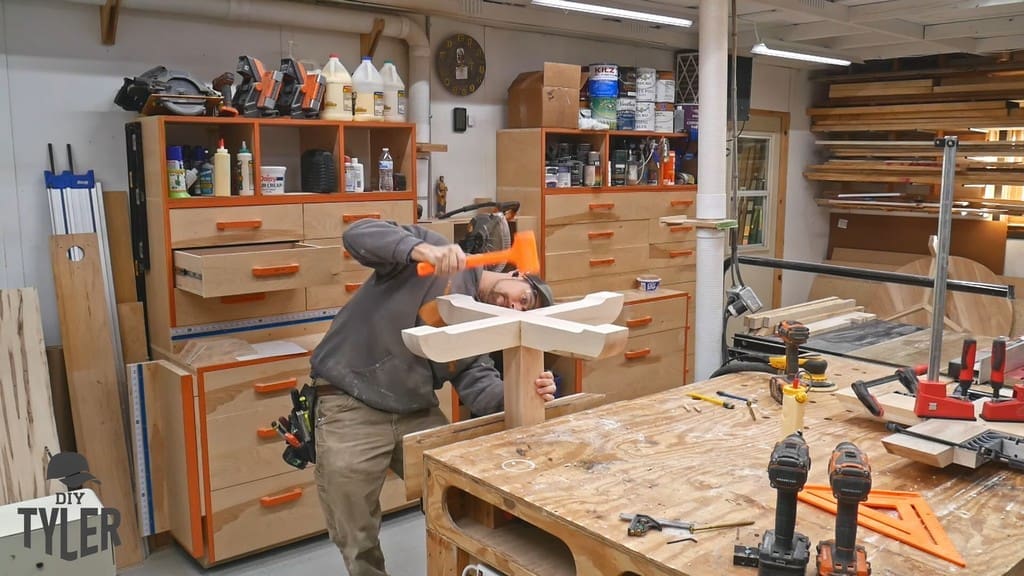
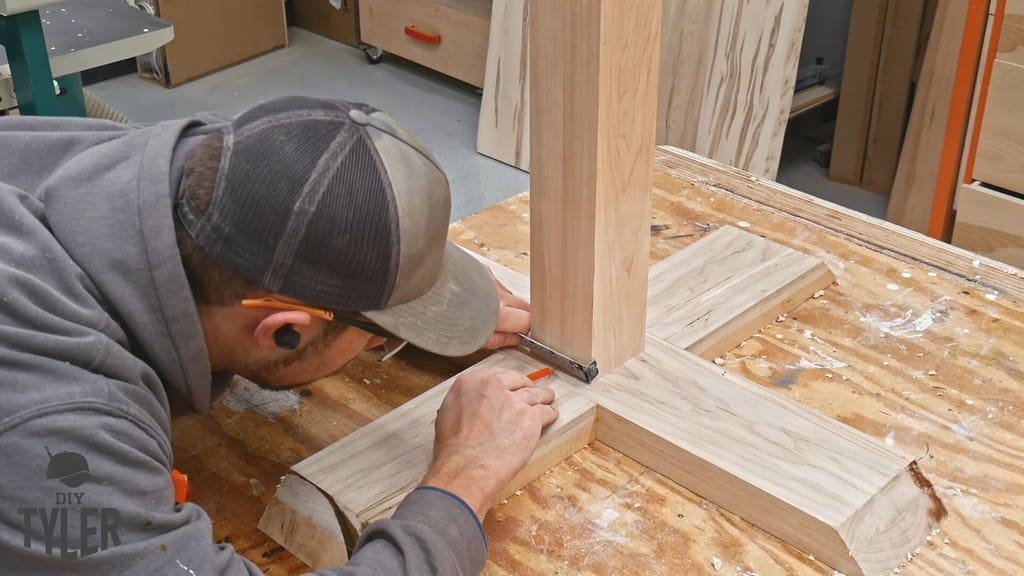
Once the glue had cured, it was back over to the miter station to square up some sides. Next, I needed to use some accurate dados to create our half-lap cross-joints.
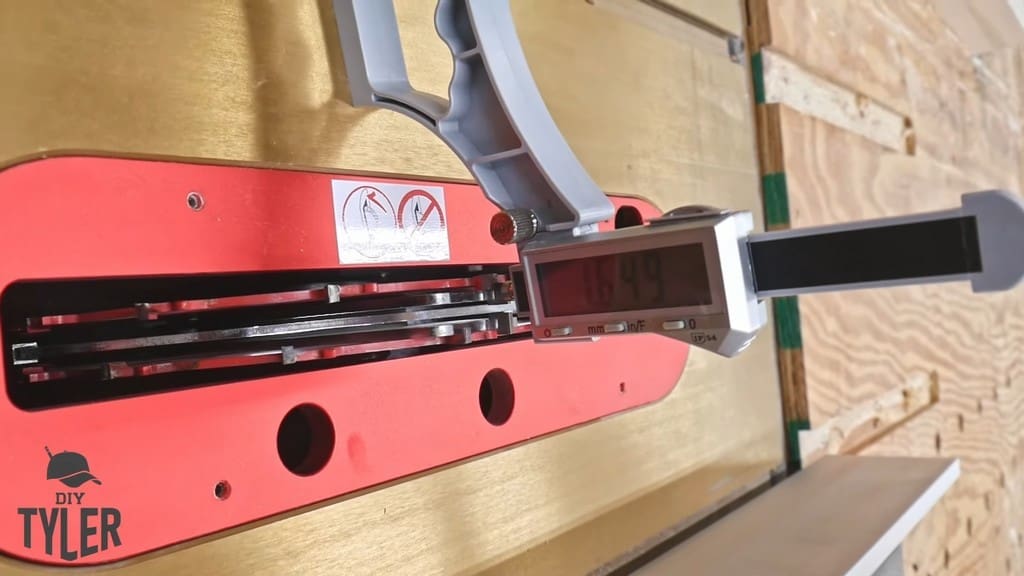
I used an iGaging measuring tool to determine blade and router depth. It was an awesome tool that appeals to my engineering spirit.
I made deep dados and did several quick passes to produce the joint I needed.
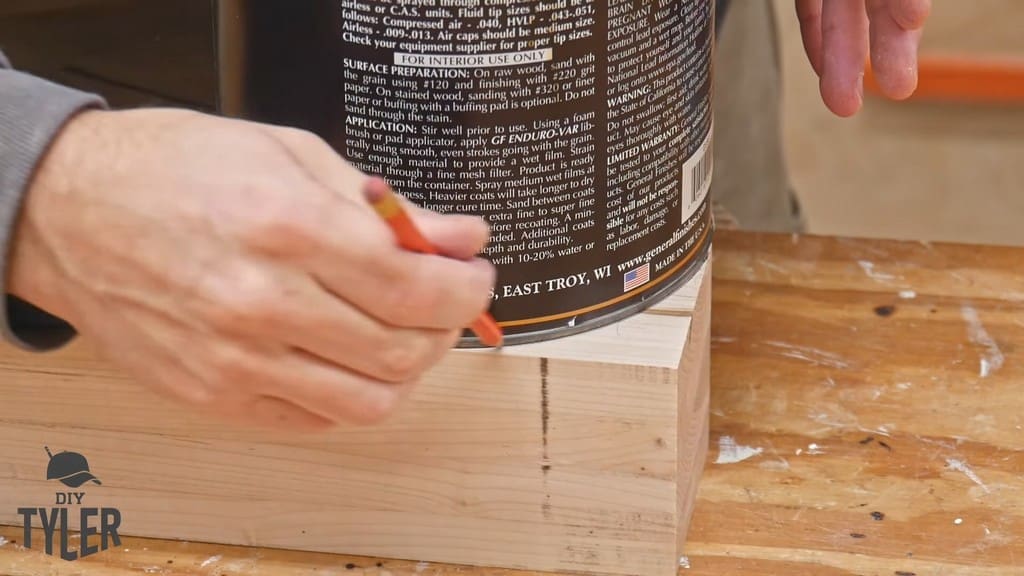
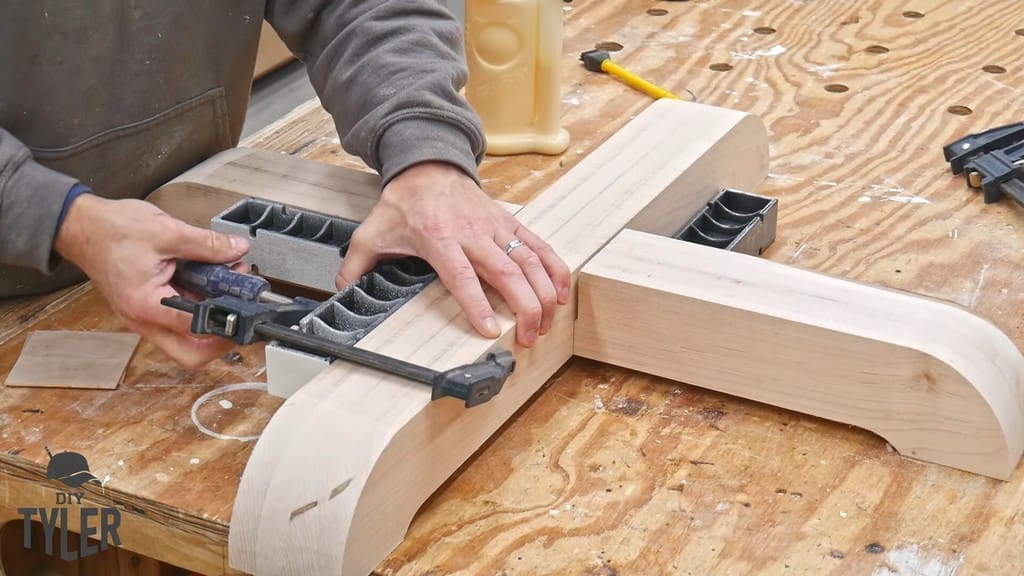
Using a General Finishes paint can I had in the shop, I marked out the desired curves I wanted on all sides of this pedestal base.
I cut those curves with the band saw before smoothing everything out with my RIDGID belt sander. By the way, my belt sander is housed on a double-flip table setup that you can find the plans for here and the build article for here.
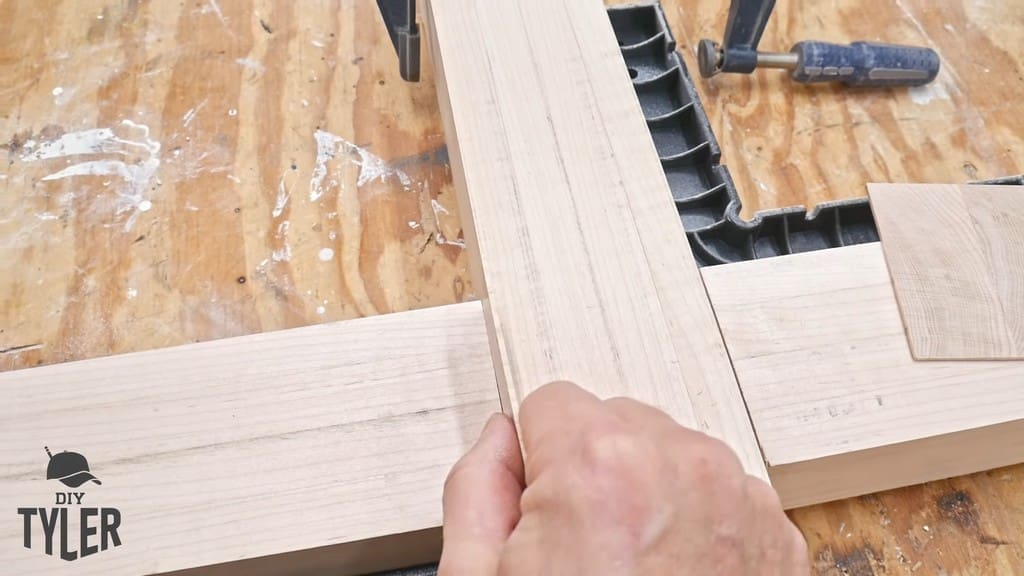
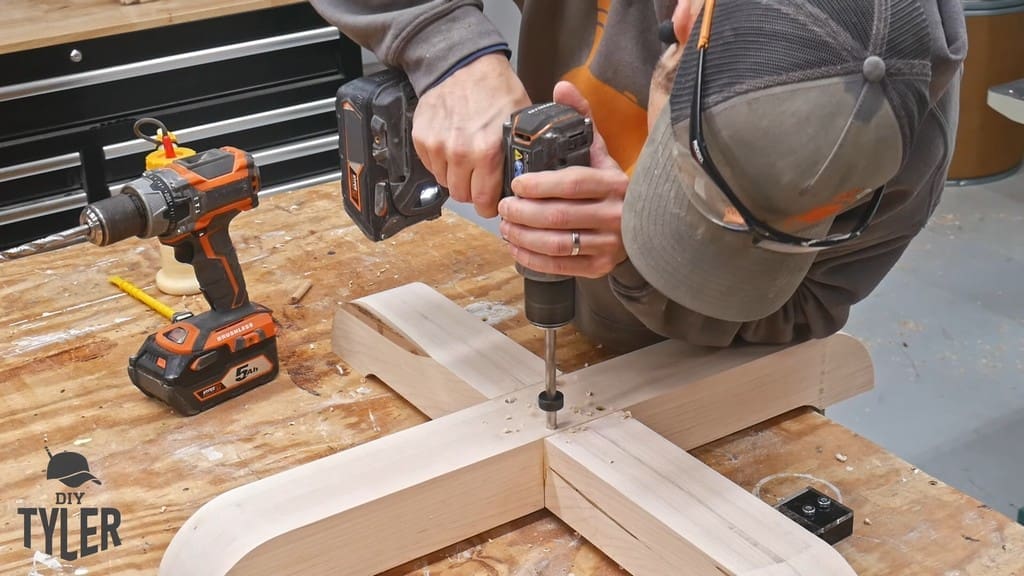
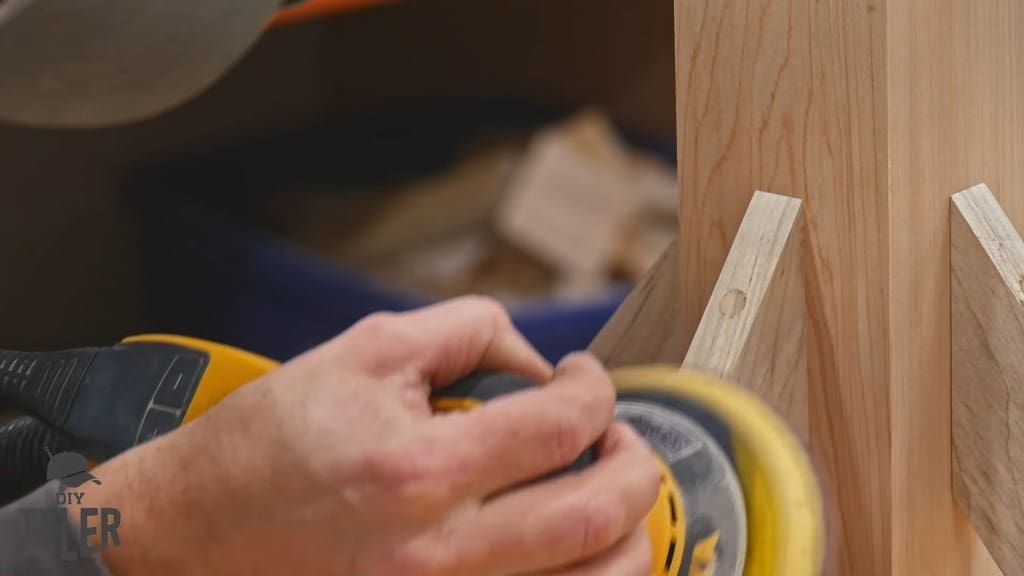
The first of the two dados I made with the table saw didn’t come out so well. So, I used my miter saw to shave off two thin pieces for insertion on either side of the joint to keep it snug.
The post will come down on top of it, and it shouldn’t be visible after staining.
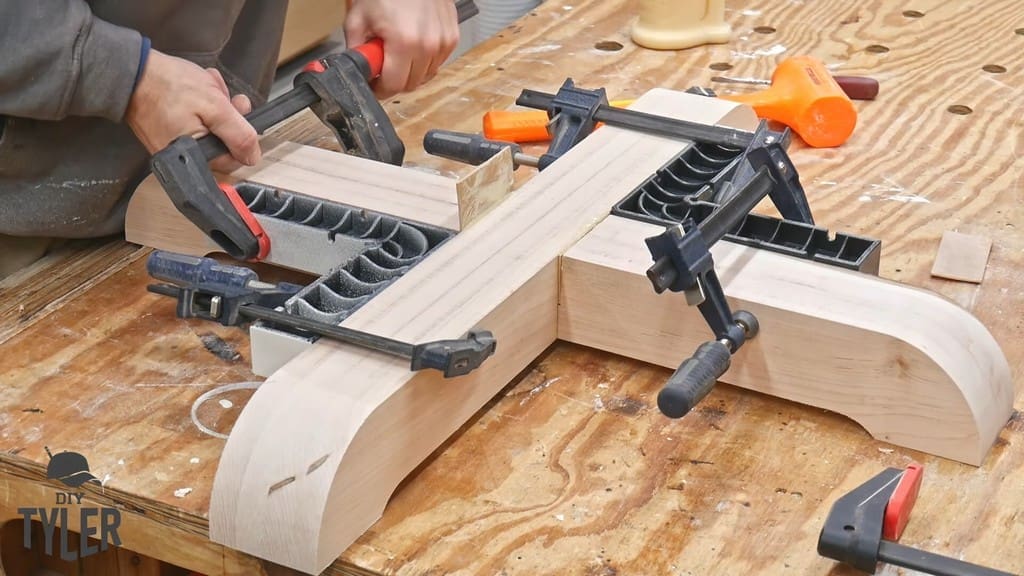
I clamped on a couple of 90-degree guides to ensure that everything was perfectly square. I clamped fastened one piece of the cross base, added glue, assembled the pieces, added my spacers, and used the other clamps to make sure everything was square.
Finally, I also put a big clamp across the middle to make sure everything was nice and tight.
Attaching the Pedestal and Base Pieces
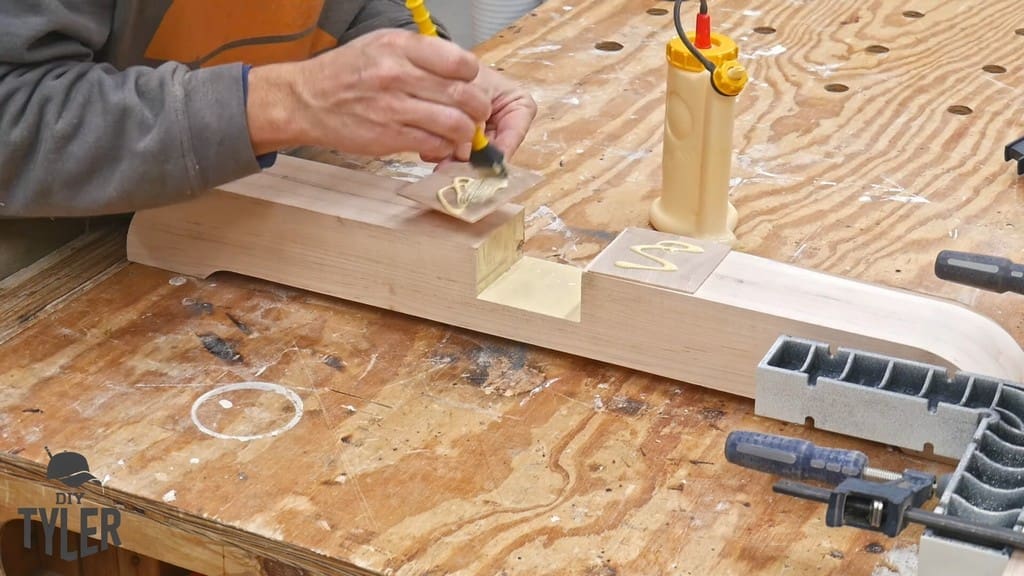
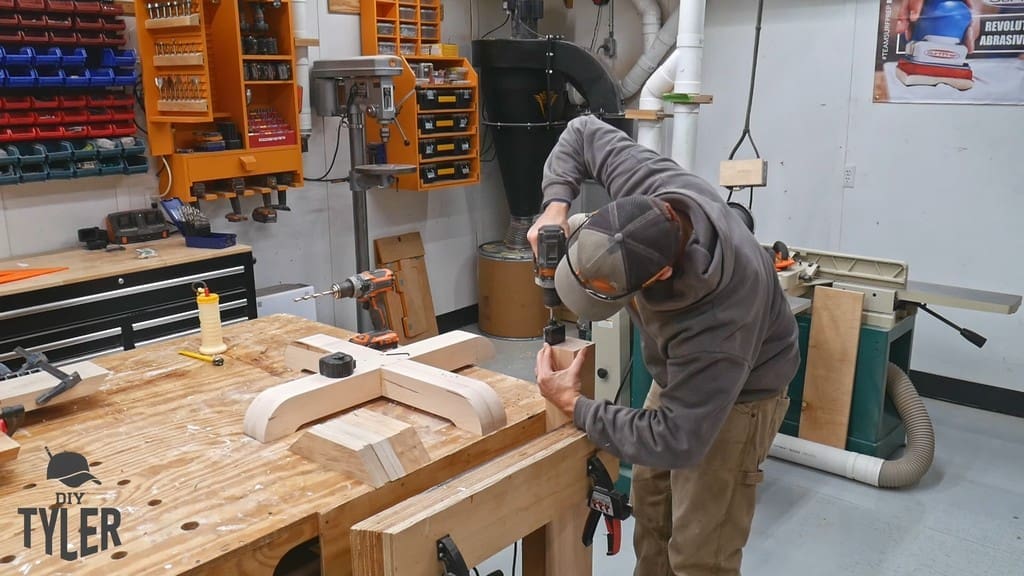
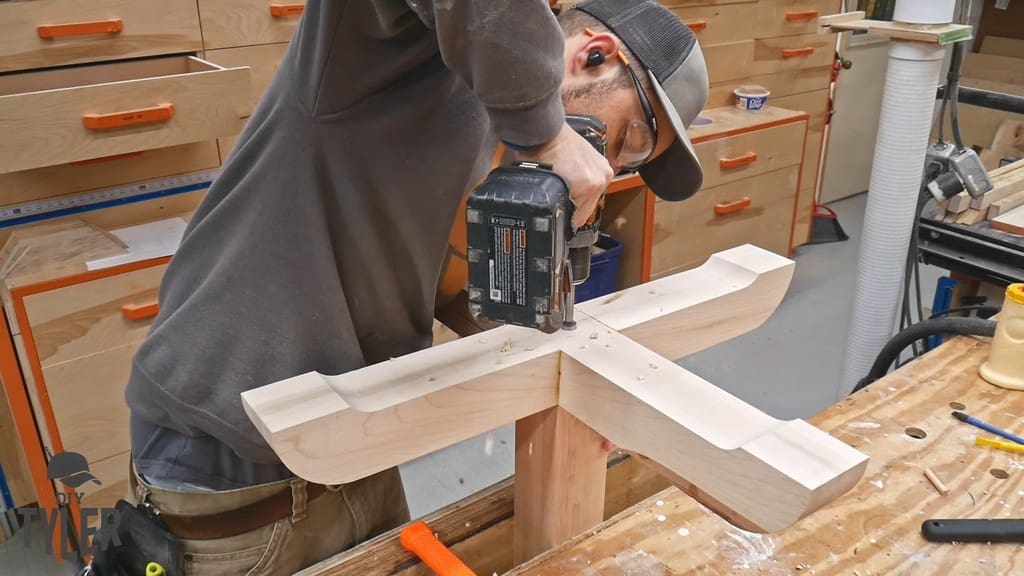
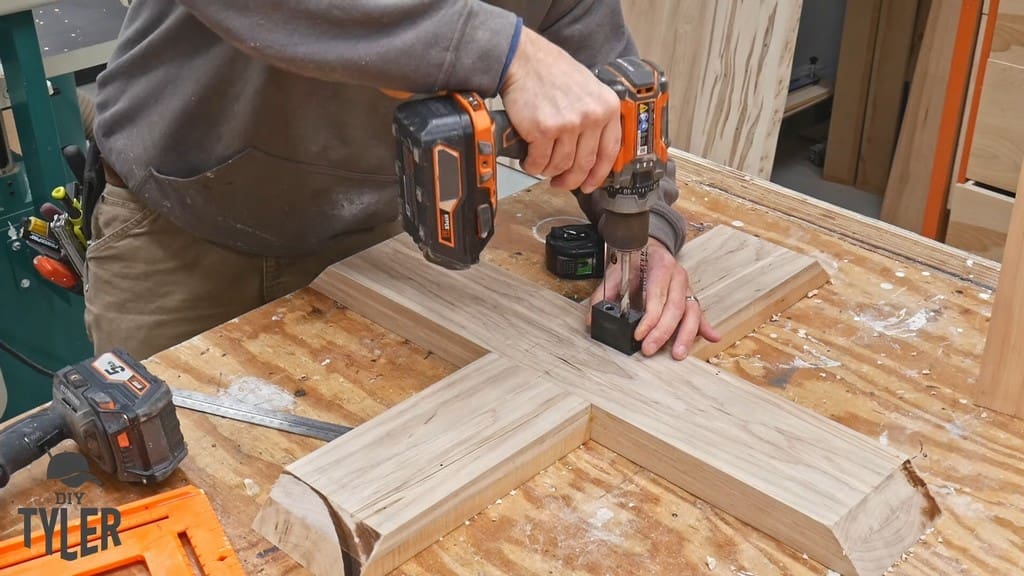
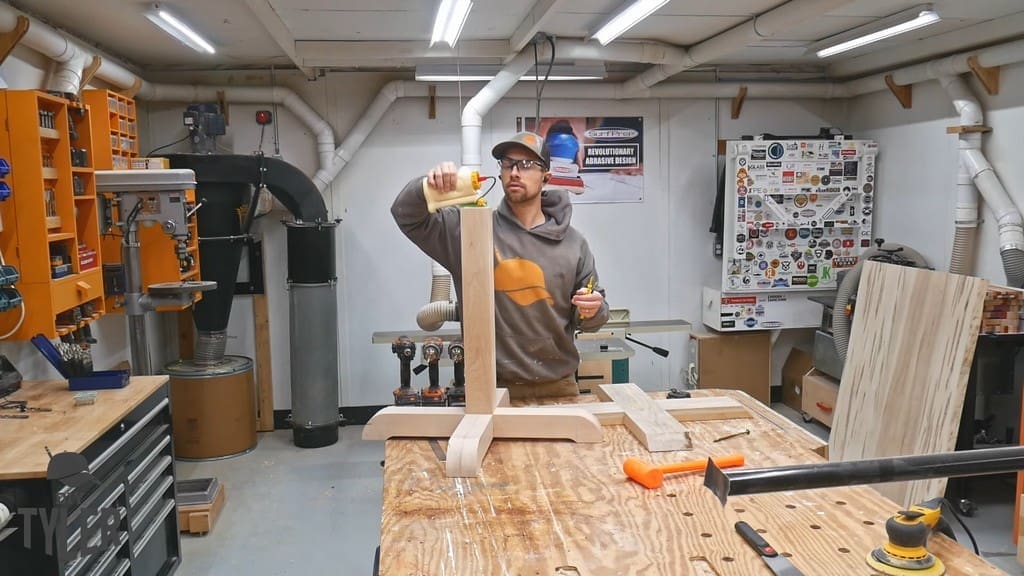
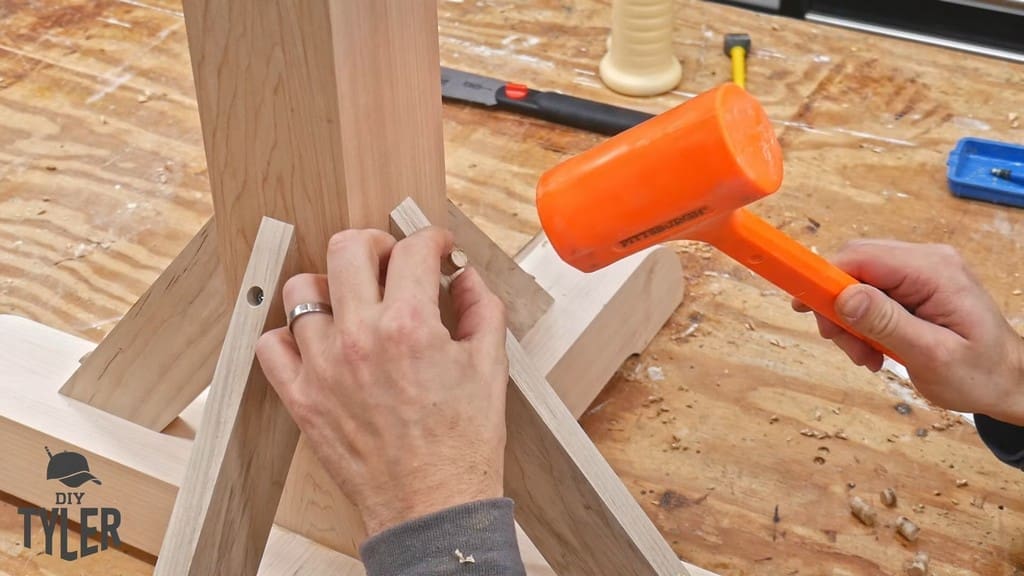
To attach the top and bottom cross-members to the middle pedestal portion of the game table, I utilized four dowels.
To make this possible, I used a Rockler dowel gauge to drill holes in the base. Next, I transferred those over to the vertical portion to drill holes there as well.
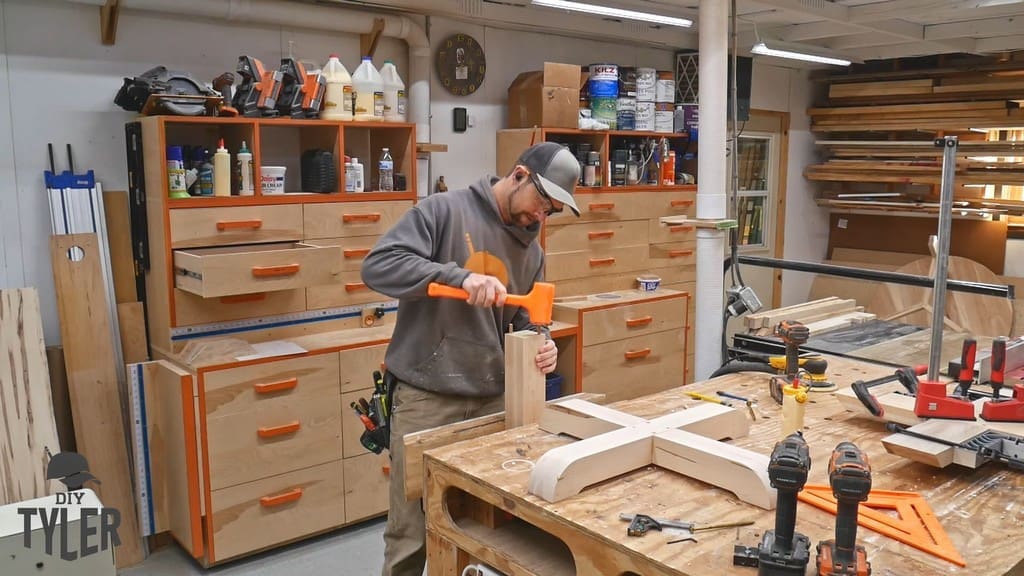
I used a set of four dowels (measured at 3/8ths), one in each corner. Applying plenty of Titebond II, I assembled the pieces and smacked them together.
Lastly, I added a gigantic 6-inch Spax screw to make sure everything was tight and guarantee that the glue-up joint was perfect.
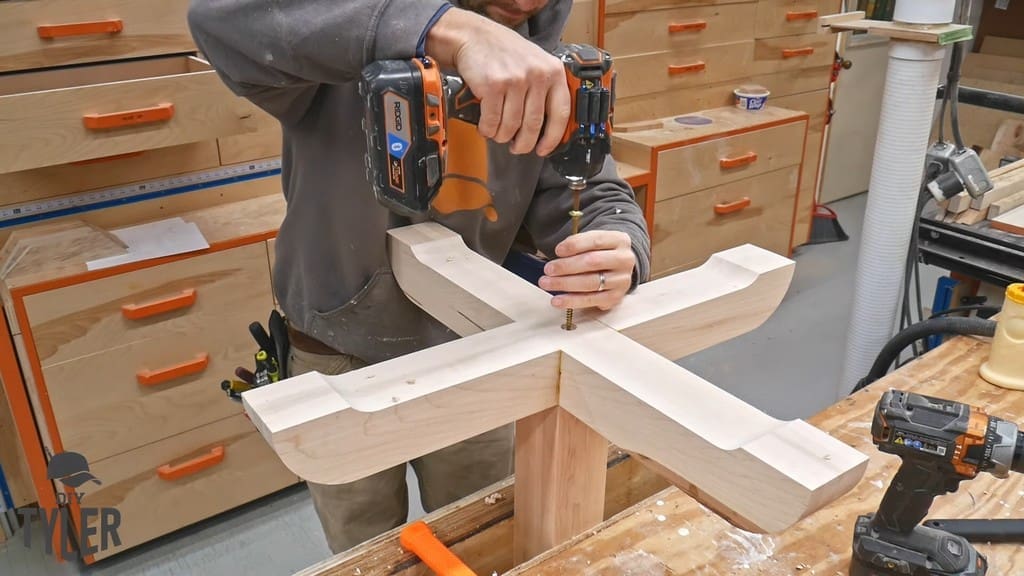
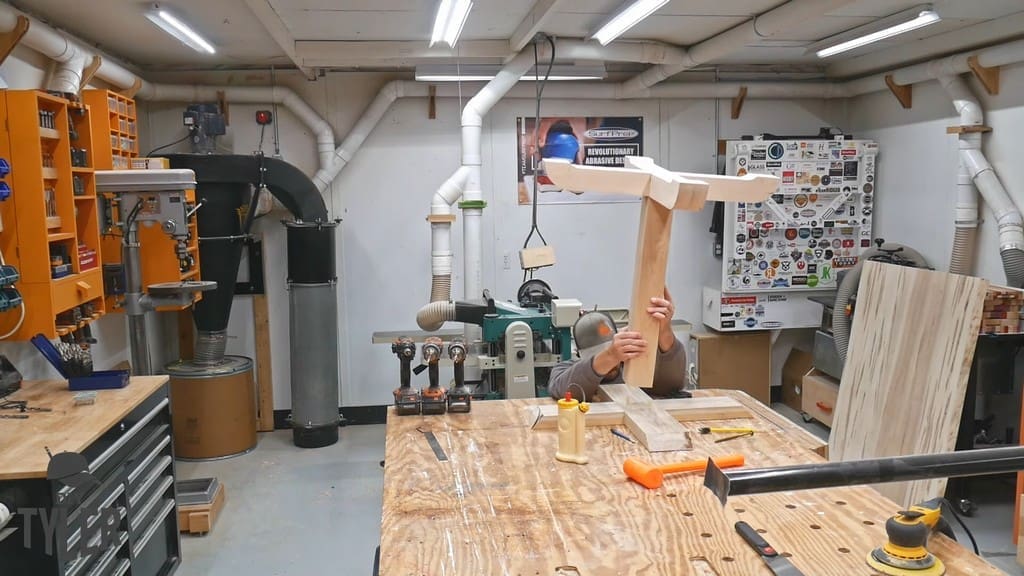
It was pretty much the same operation for the crossbeam that goes on top of the pedestal game table. The piece was a little flatter and wider to keep people from hitting their knees on it while seated.
Again, I used lots of clamps. I transferred the location of the vertical portion onto this cross-member. Just like before, I marked the spots out and drilled one hole per corner with the help of the Rockler drill gauge.
With the help of some glue, I fastened everything into place. Then, I flipped the whole thing over so I could drill some holes that would countersink with the help of a big Spax screw.
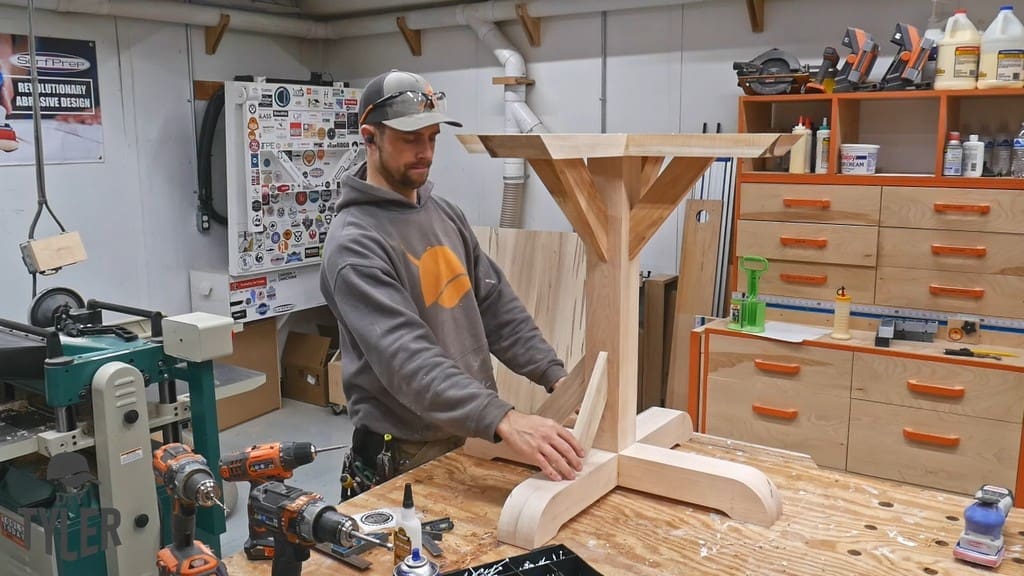
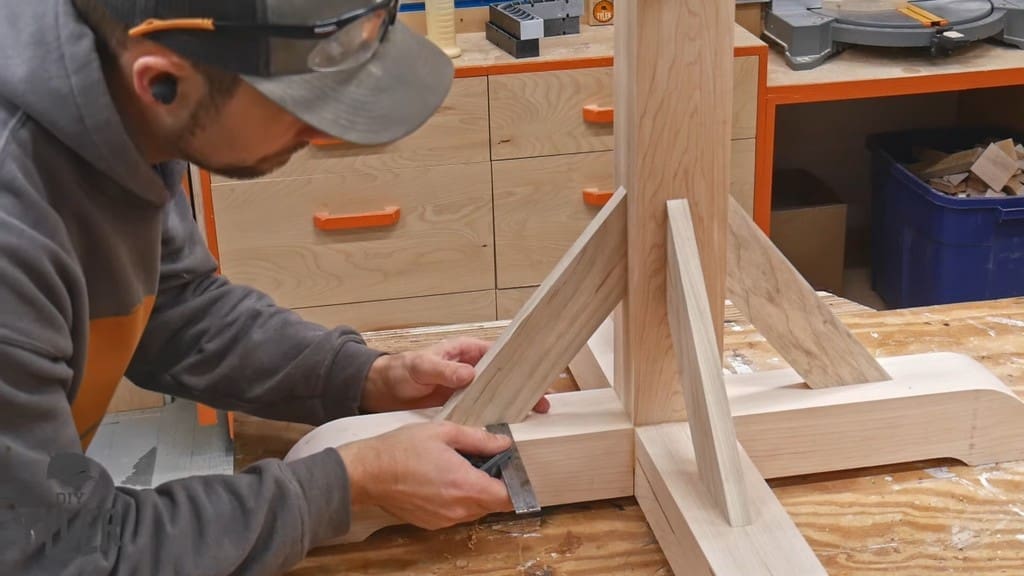
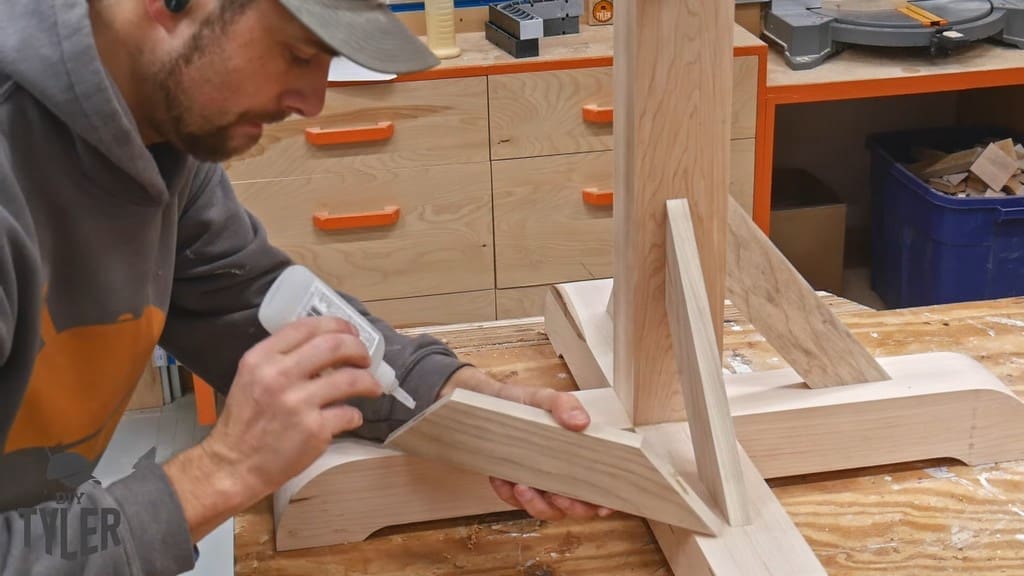
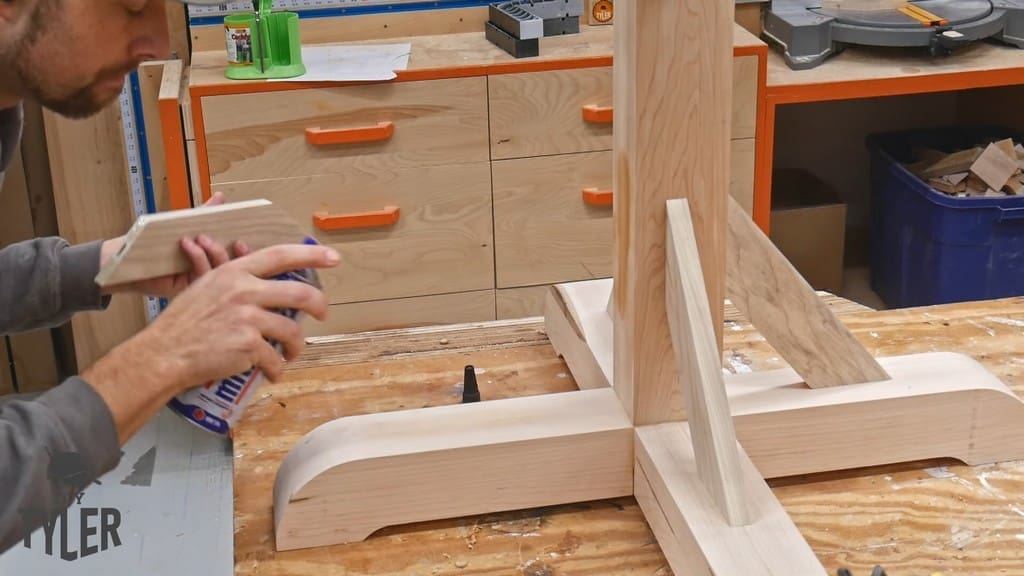
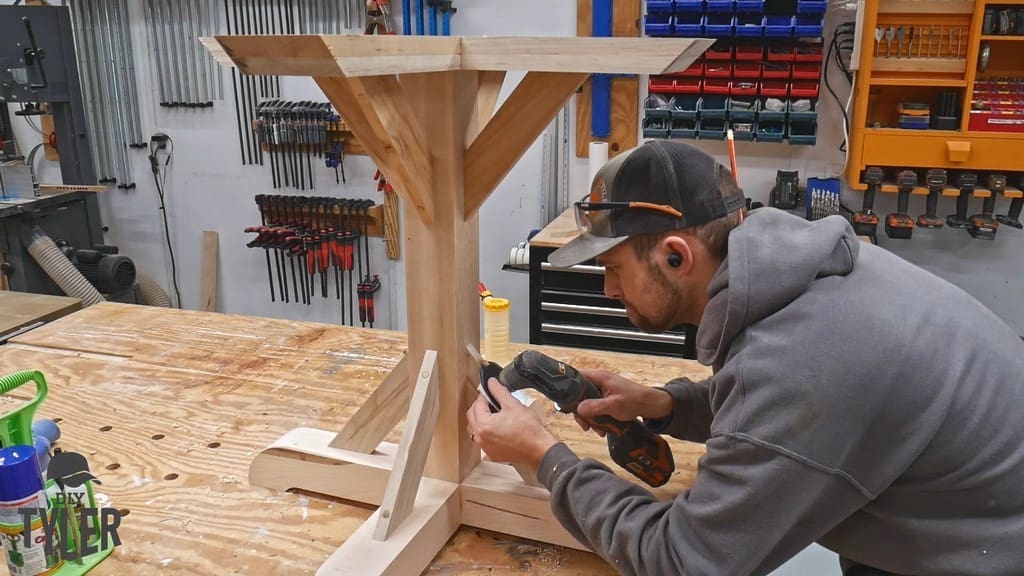
Adding Brace Pieces
This is a table that people are going to lean on and sit against on all four sides. So, I wanted to be sure it had some good support. I added these diagonal support pieces (also made of maple), double-checking the spacing and checking for square.
I fastened these pieces by adding Titebond quick-activating CA glue, which would help the Titebond II cure over time. The quick-activator allowed me to push the pieces into place and then held the pieces, preventing them from wiggling around during drilling.
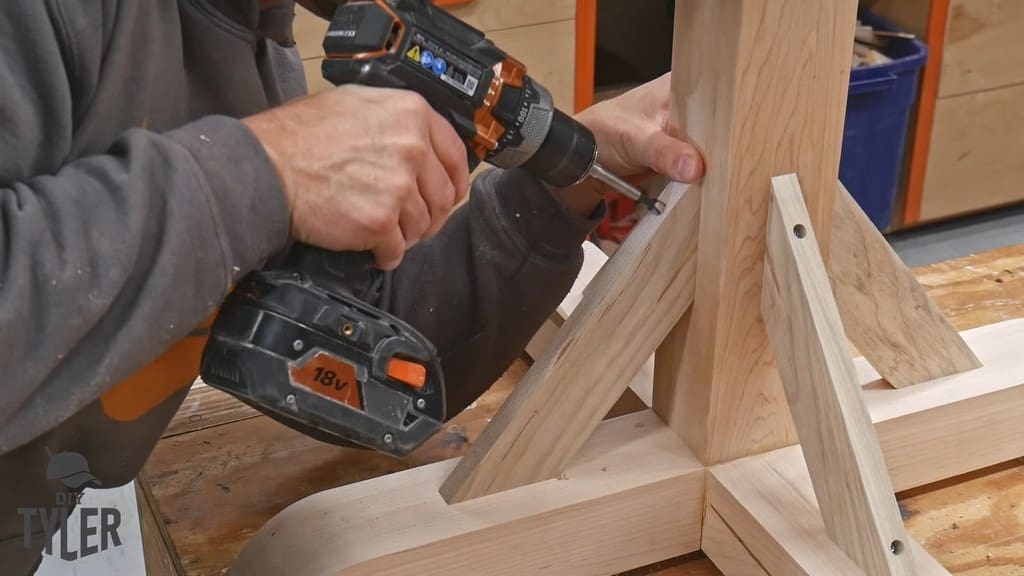
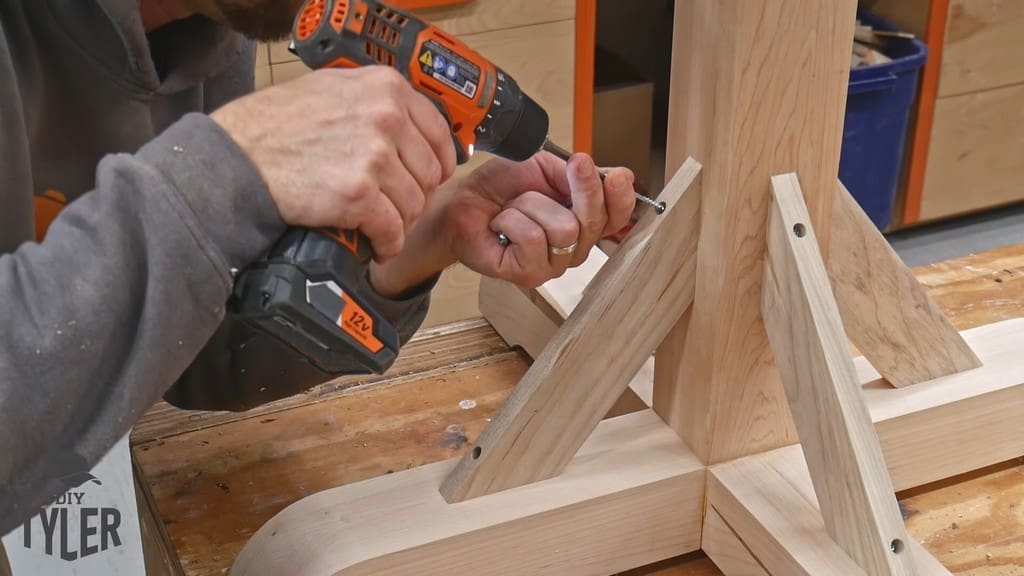
I tightened the brace pieces using a 2-inch Kreg pinhead screw capped off with a maple plug.
Assembling the Tabletop and Pedestal Pieces
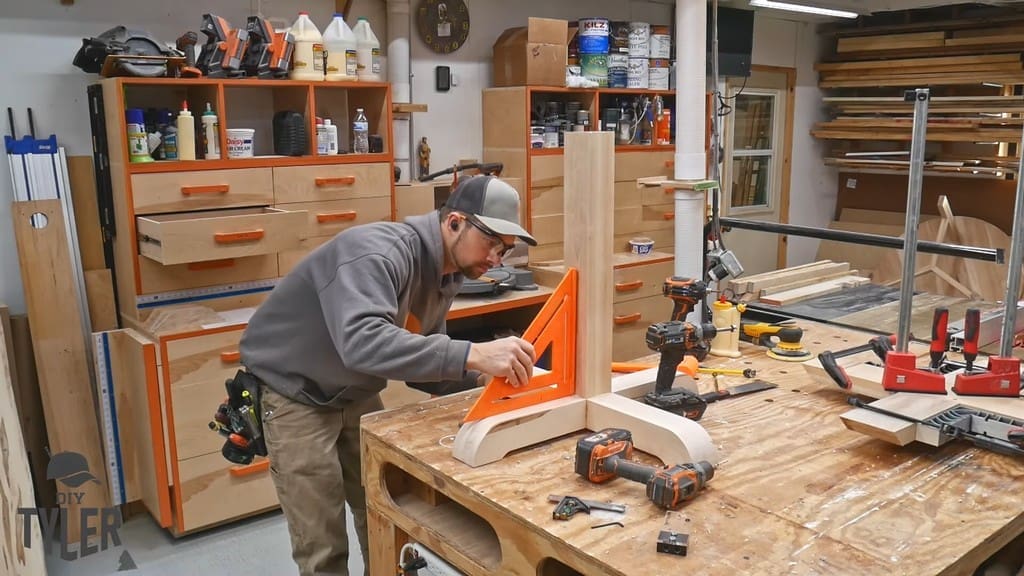
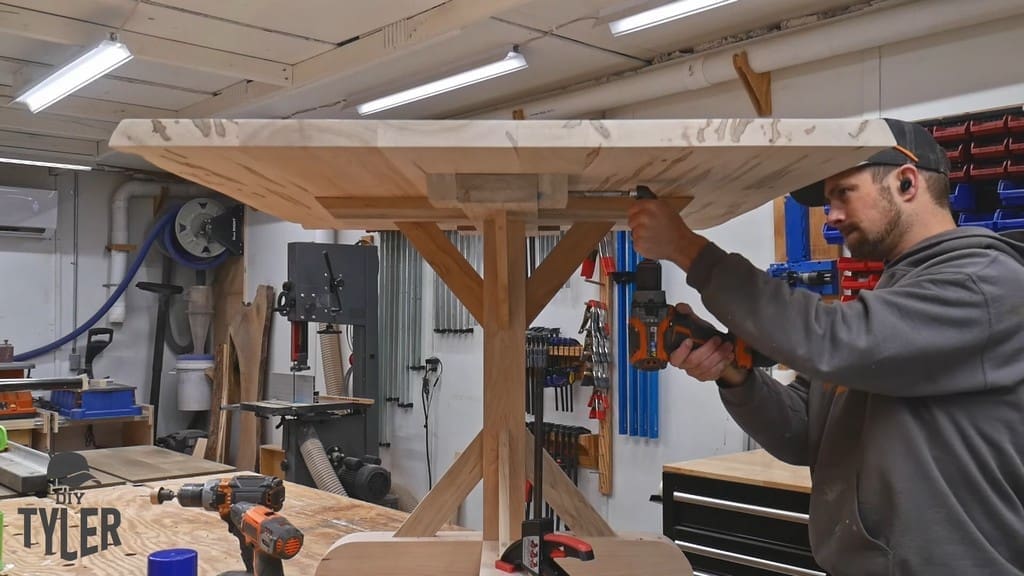
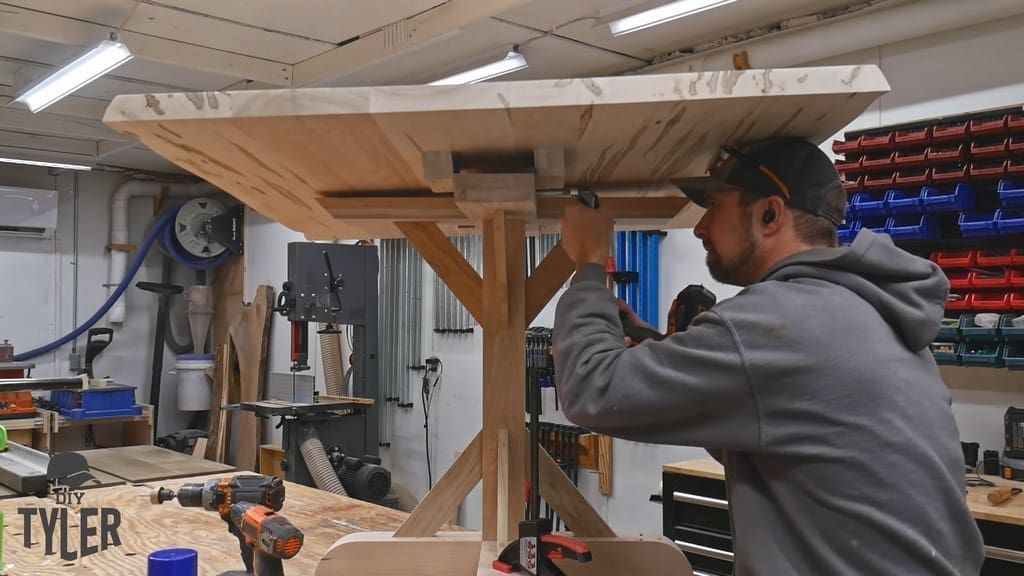
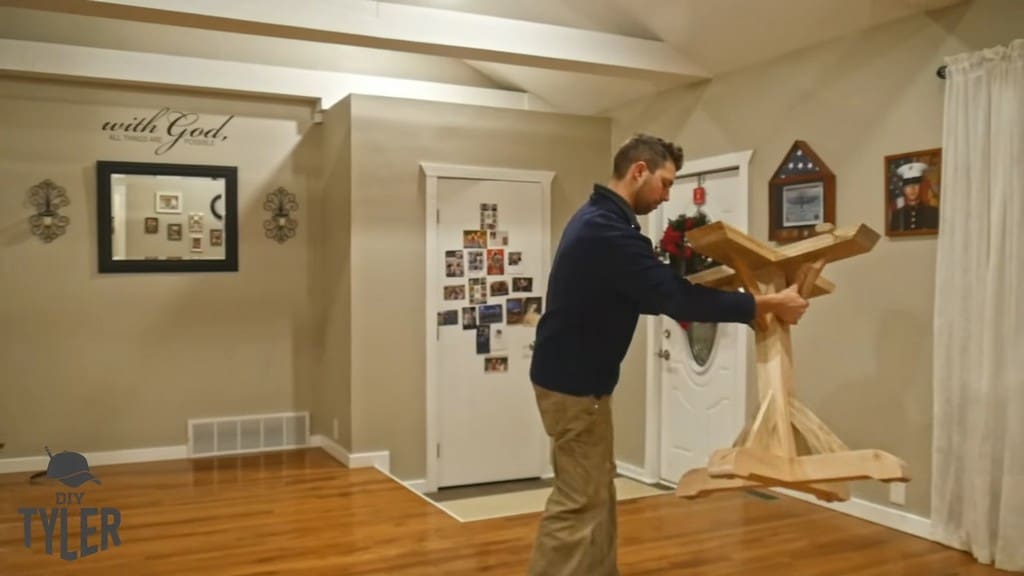
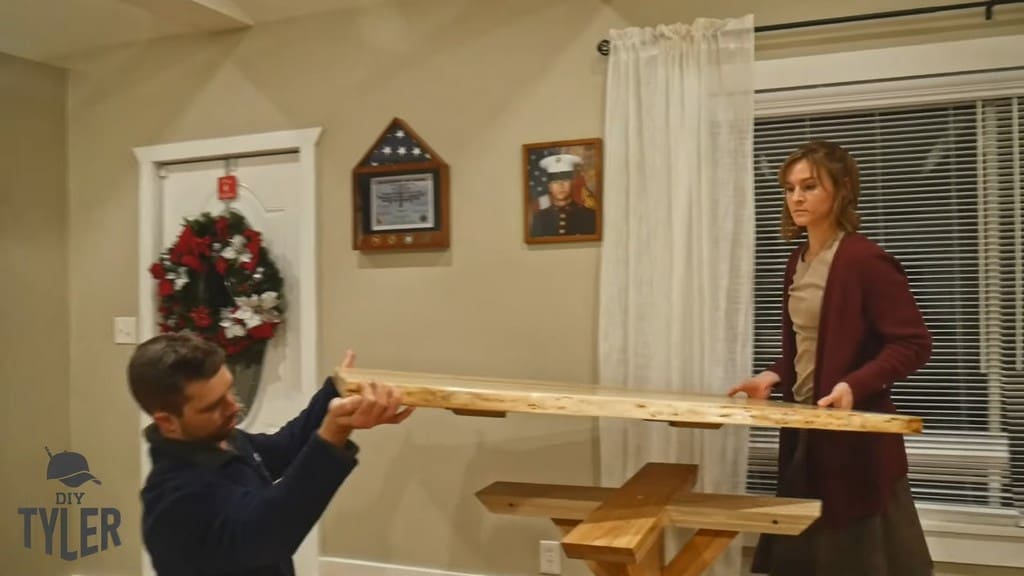
Aligning the top portion of the pedestal game table proved to be tricky because the top wasn’t perfectly straight, whereas the base was. I set it on my work table and eyeballed it as best as I could.
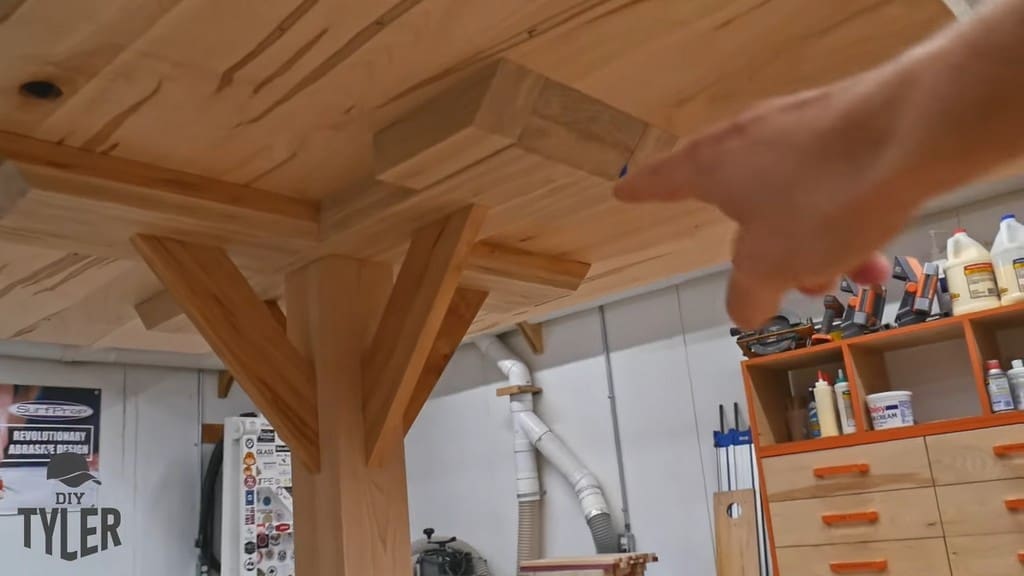
Plus, I wanted the tabletop to be removable, which I accomplished by drilling a hole for a dowel. This would hold the slab top in place while allowing it to be removed.
I fastened the support blocks in place before using a Kreg 90-degree drill bit to create a hole.
Originally, I thought pins on only one side would be sufficient. However, a couple of weeks later, I returned to the table and drilled an additional hole so that pins on the opposite side would keep the table from pivoting.
Finishing Touches
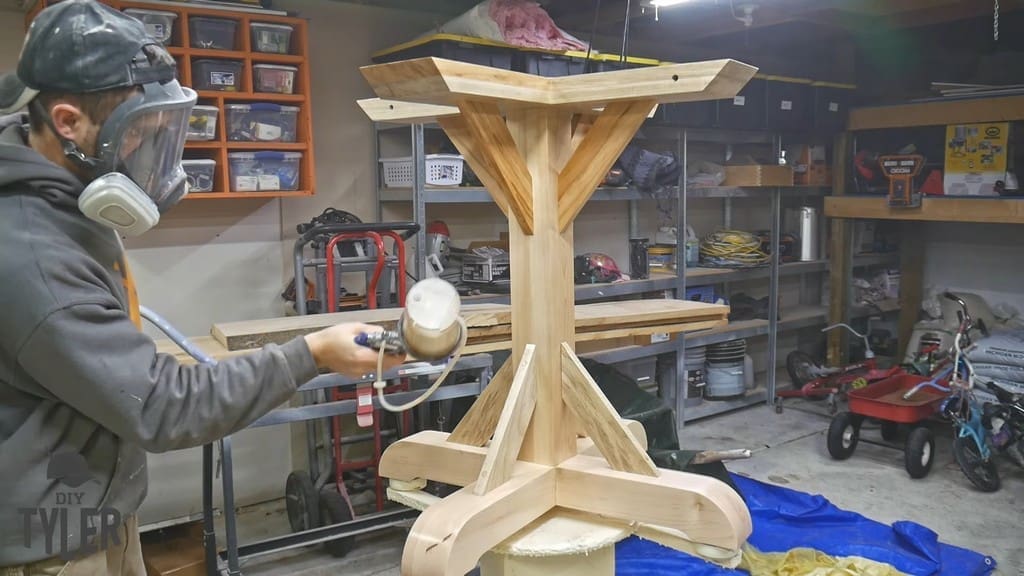
Confident that the table was solid, I used my tried and true General Finishes sanding sealer with Enduro clear poly. I did two coats of clear poly with the Fuji spray system. This produced a beautiful finish.
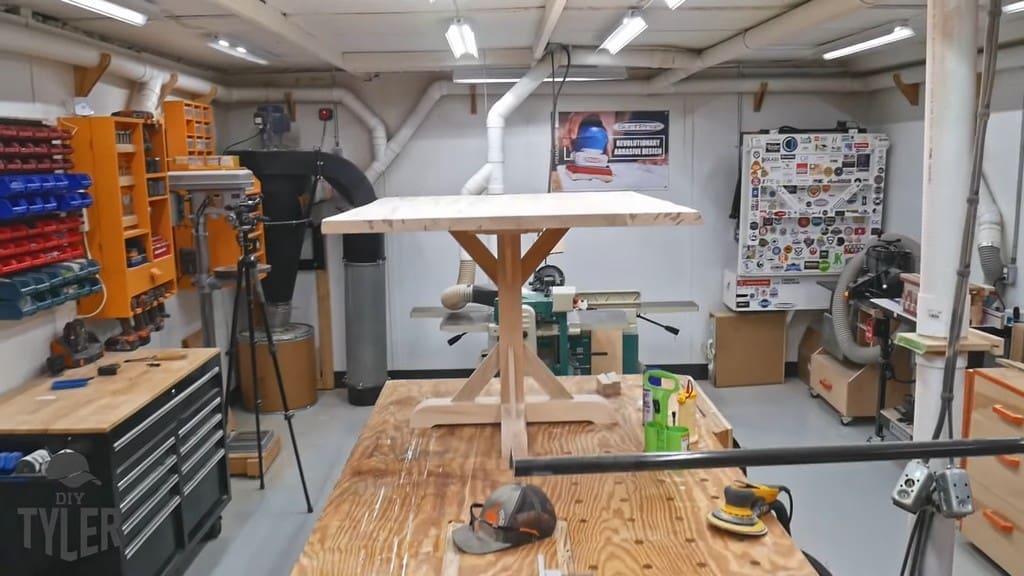
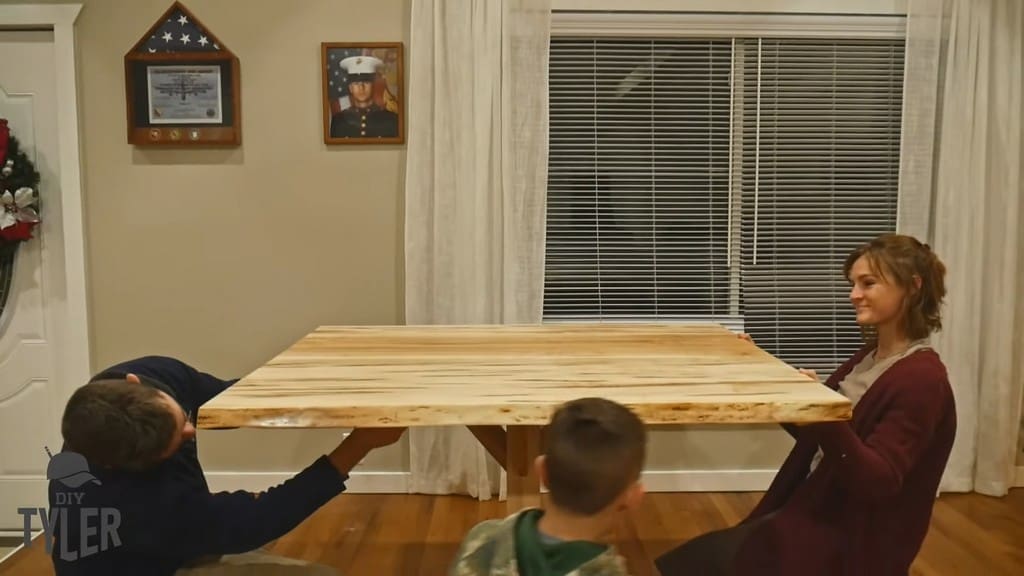
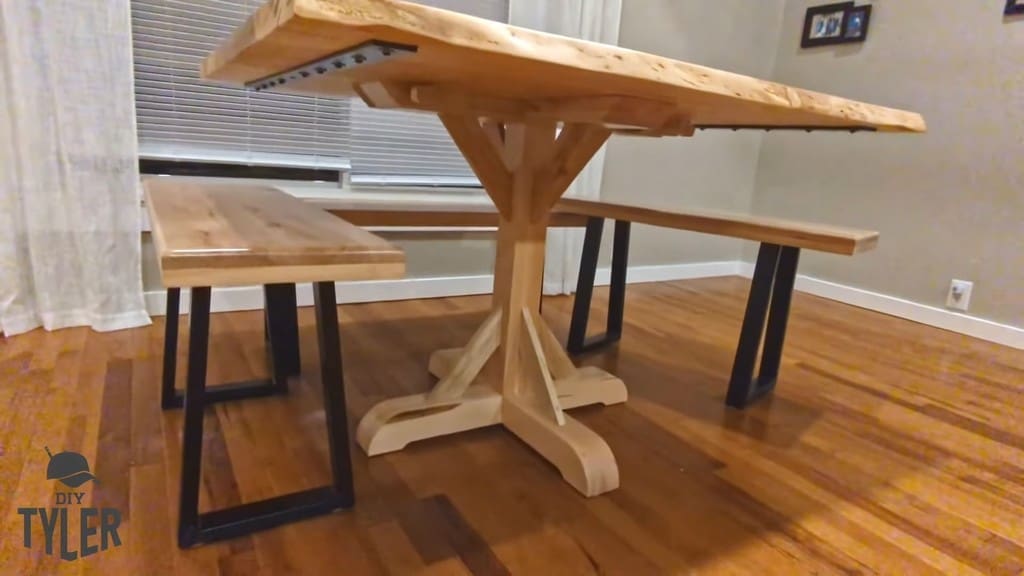
For transferring inside, the pedestal base was relatively easy to maneuver around. With some help from the Wife, I dropped the tabletop into place, and it looks beautiful!
Final Thoughts
We’ve used this awesome table for games and large dining occasions. From big family events to epic games of Settlers of Catan and Memoir ’44, the kids and the Wife love it!
Please follow and like us:
3 thoughts on “DIY Pedestal Game Table with a Removable Table Top”


3 thoughts on “DIY Pedestal Game Table with a Removable Table Top”
Another spectacular feat accomplished, Tyler.
Pingback: Building a Square Picture Frame for a Round Painting - DIYTyler
Pingback: Epic DIY D&D Game Table Build - Custom Hard Maple!