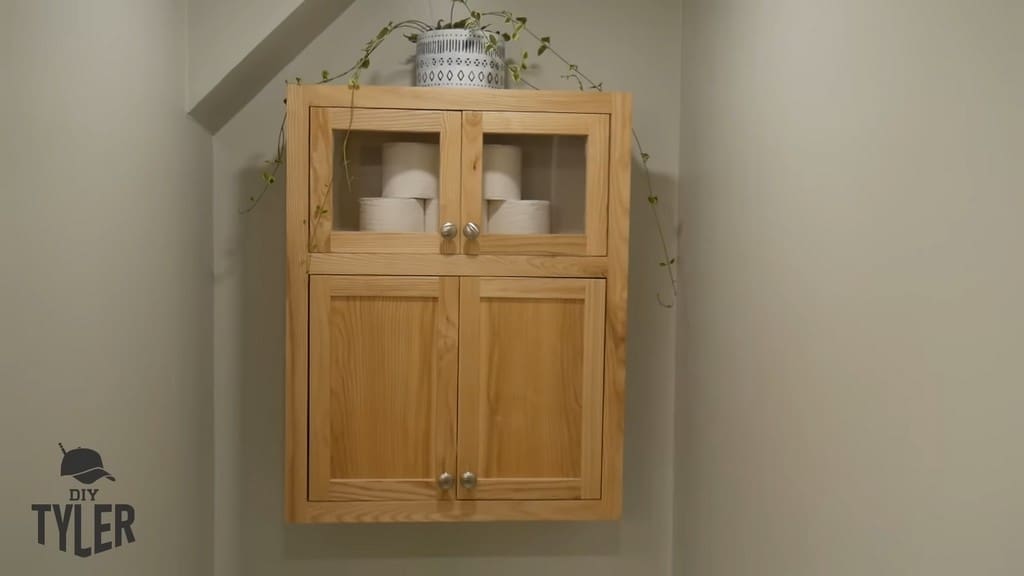
DIY Functional Bathroom Shelf Saves Space Behind Toilet!
Our project today is to create a beautiful ash wood DIY functional bathroom shelf with some glass doors at the top. This will make good use of the space behind the toilet, which is wasted in many bathrooms.
This way, you can store all your “goodies” within easy reach right behind the toilet! If you want my in-depth plans for the project, go ahead and click here to find out more!
Initial Cuts
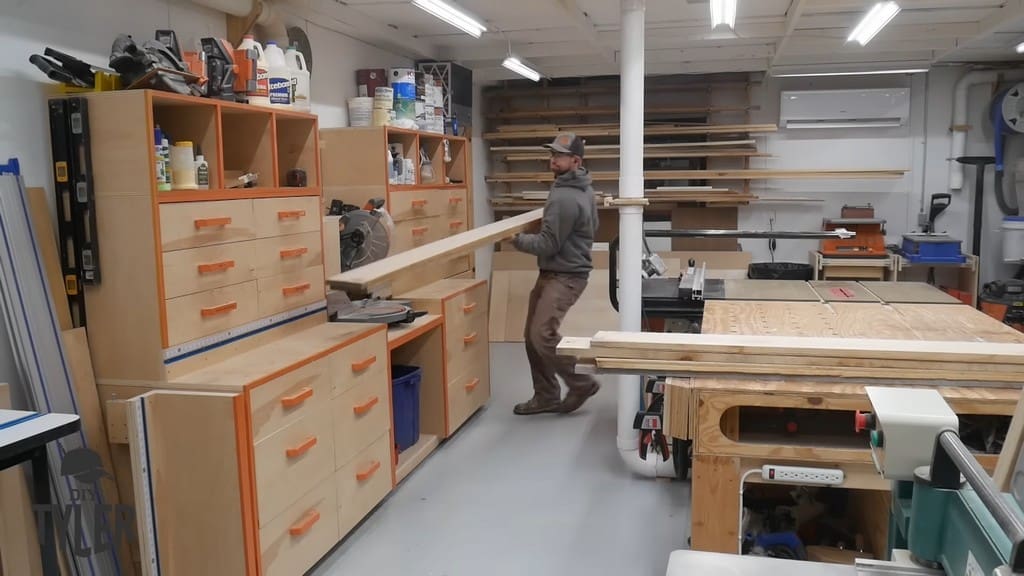
Although ash wood is getting harder to come by, I got my hands on some beautiful 12-foot boards. And at less than 8 inches, they fit with all of my tools.
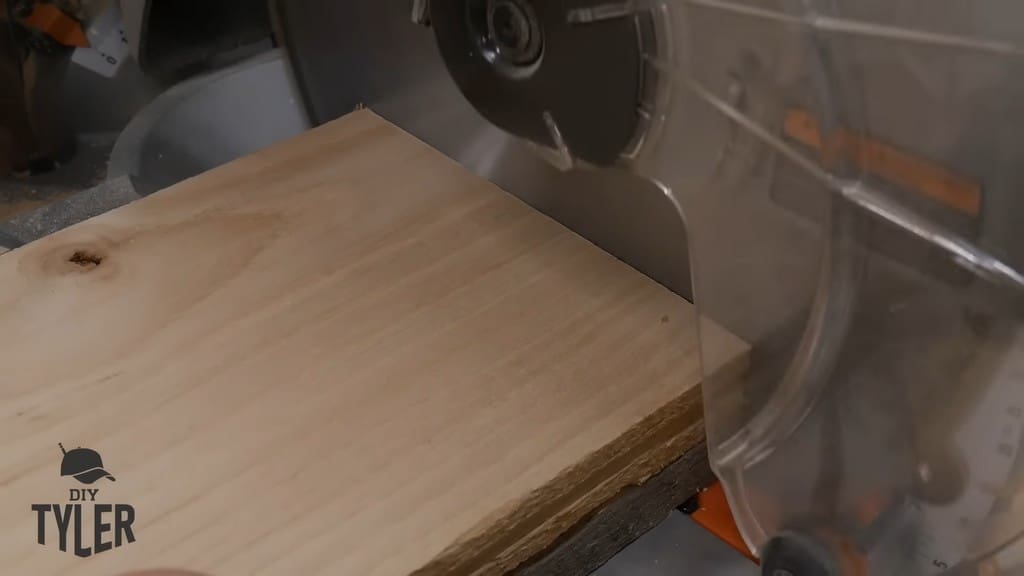
With the help of my handy miter saw, I broke the boards down to their approximate lengths. This made them easier to manage on the milling machines.
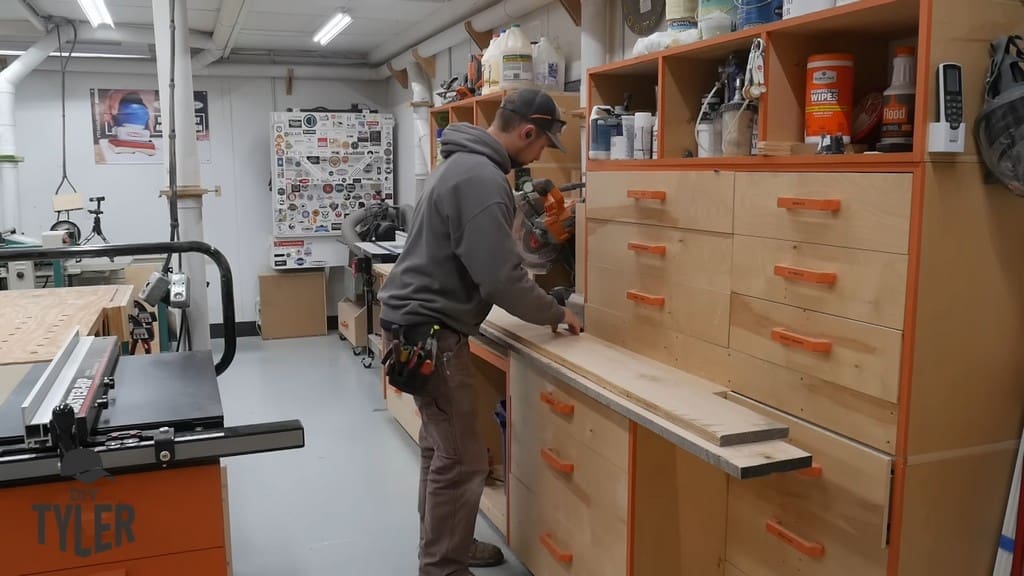
I bunched my cut boards together so I could work left to right and know where each piece was. This was handy because I was building a total of three cabinets at the same time, though this article focuses on only one.
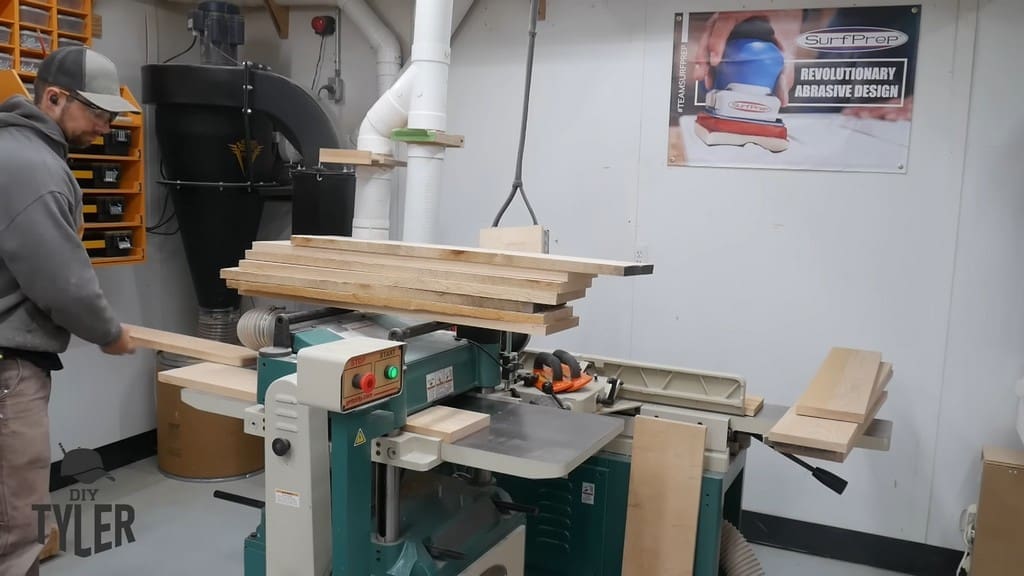
Cutting and Prepping the Boards
After cutting and organizing the boards, I moved them to the jointer to service two sides of the boards. First, I serviced one wide, flat plane, then I tipped that flat plane up against the jointer fence and squared up the other side.
At the planer, I worked on the opposite wide side of each board, making everything nice and square.
One of my favorite parts of woodworking is putting a dirty piece of wood into the planer and having a beautiful board come out the other side of the machine.
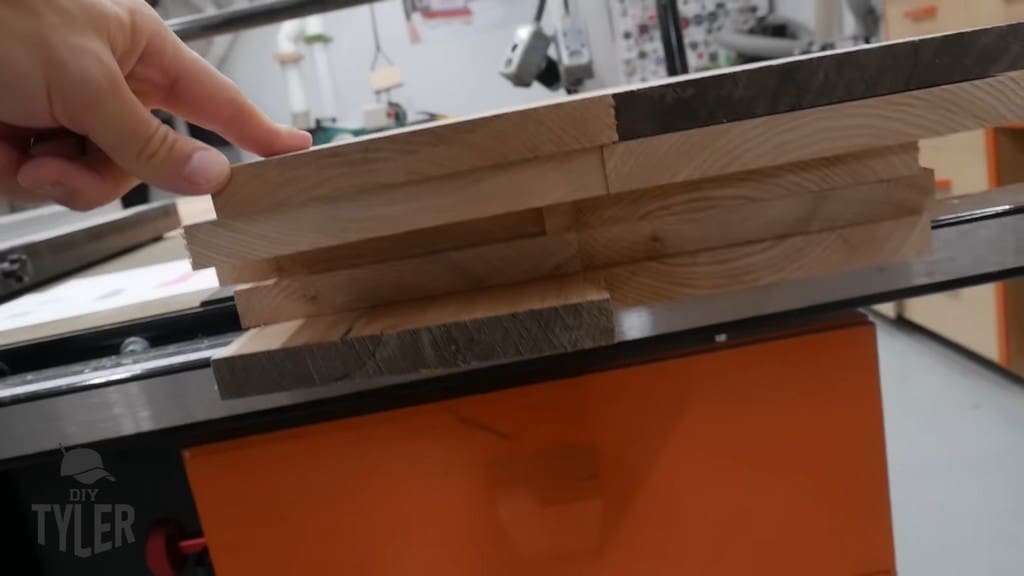
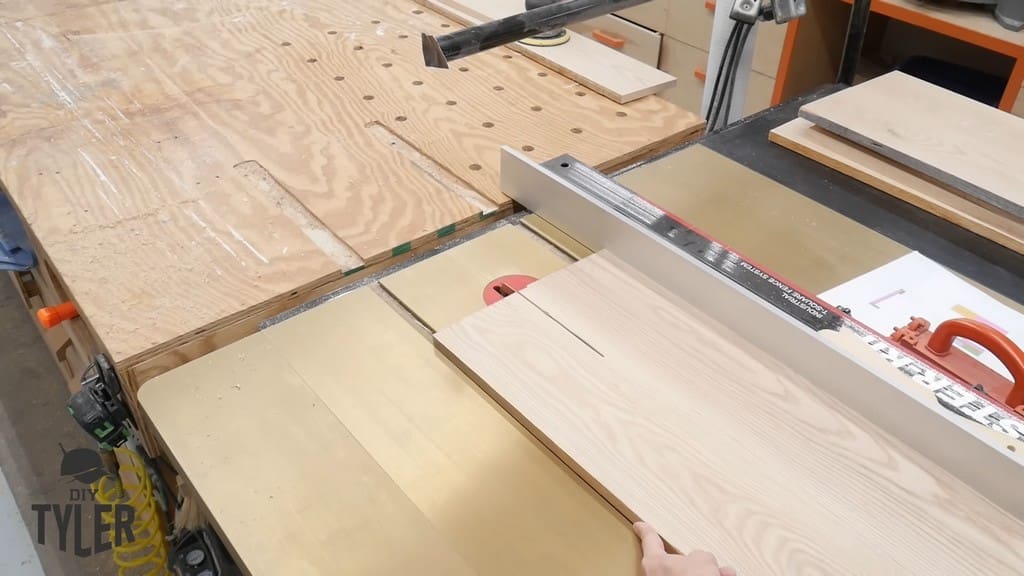
Now, with three sides squared, it was time for the table saw to cut things to their final dimensions. Doing this squares up that fourth and final side.
Here, I used a Harvey Alpha table saw, whose 4-horsepower engine gobbled up my ash boards. It was a real joy to use this fairly new-to-me tool!
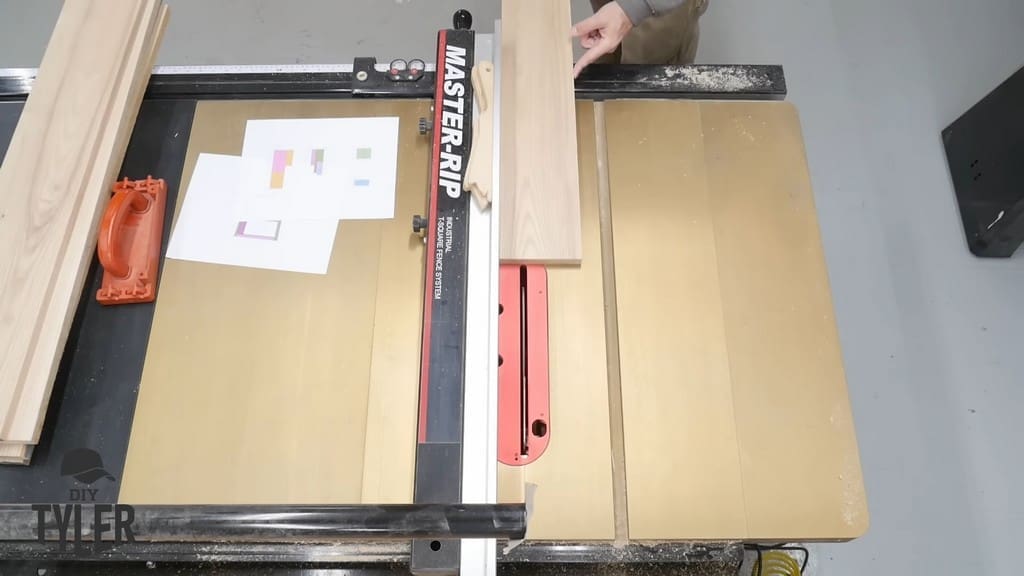
First, I broke down the box parts of the cabinet, followed by the rails, face frames, and other parts.
Having finished breaking down the pieces to the right width, I adjusted the stop block for my miter saw. I used this to get repeatable cuts and break everything down to the right length.
I like to square up one side, then flip everything over to make sure the cattails aren’t stuck in the corners. Finally, I cut the other side so that the final piece is at the correct length.
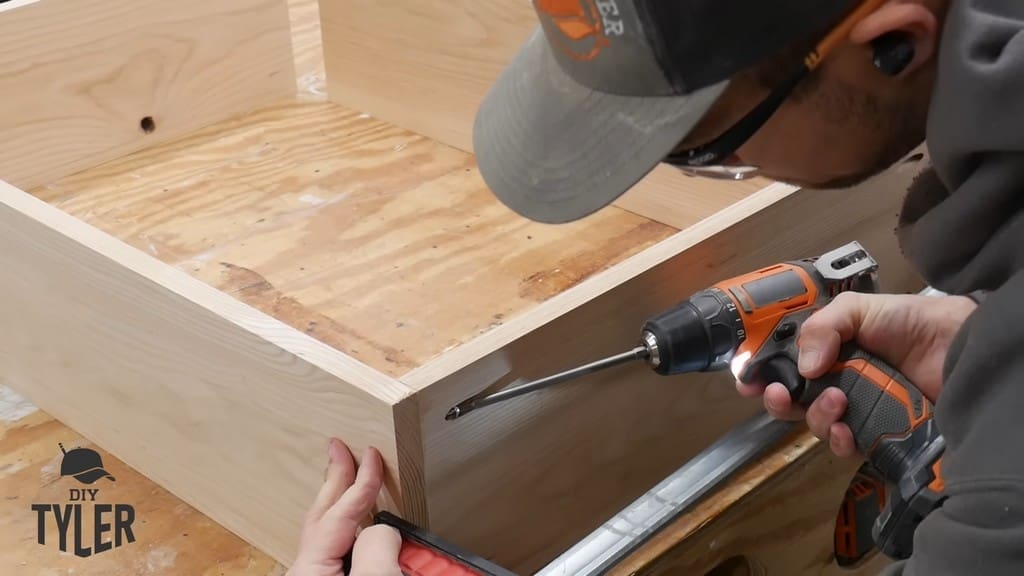
Adding Pocket Holes
After breaking every piece (including the box pieces) down to length, I moved to my Kreg pocket hole machine.
You may be wondering why I would use pocket holes in this beautiful ash wood. The reasons are simple: pocket holes are quick, easy, and they work spectacularly.
Otherwise, you could use a half-rabbit or a dado, but that takes a bit of time. Plus, I don’t really know how much added strength those options really offer for this application.
Put your pocket holes on the top of the cabinet, where they won’t be visible. Also do so on the shelves that will be covered with materials. In any event, you can always fill those pocket holes in later if you want to.
One word of warning about the face frames for this cabinet: because they’re only an inch-and-a-half, you’re only going to be able to get one hole in them. Consequently, I offset those holes in order to allow those pocket holes to keep everything from twisting. This isn’t really necessary because you’ll have glue holding everything together, but it’s still a nice trick to do.
As I said earlier, I put the pocket holes on the top side of the cabinet so that they would remain out of sight. I also put them on the lower side, where they would fall below a person’s sight line.
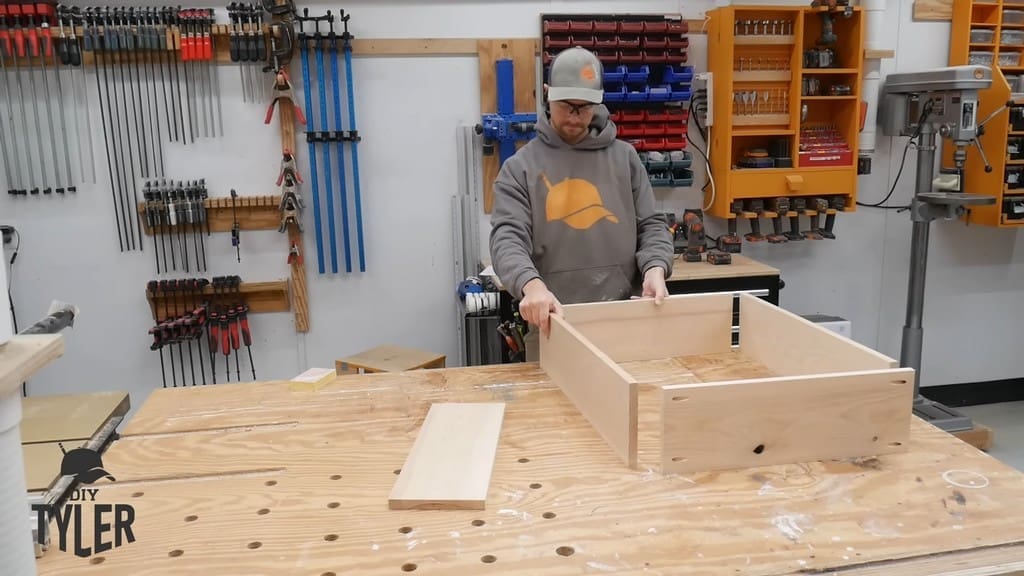
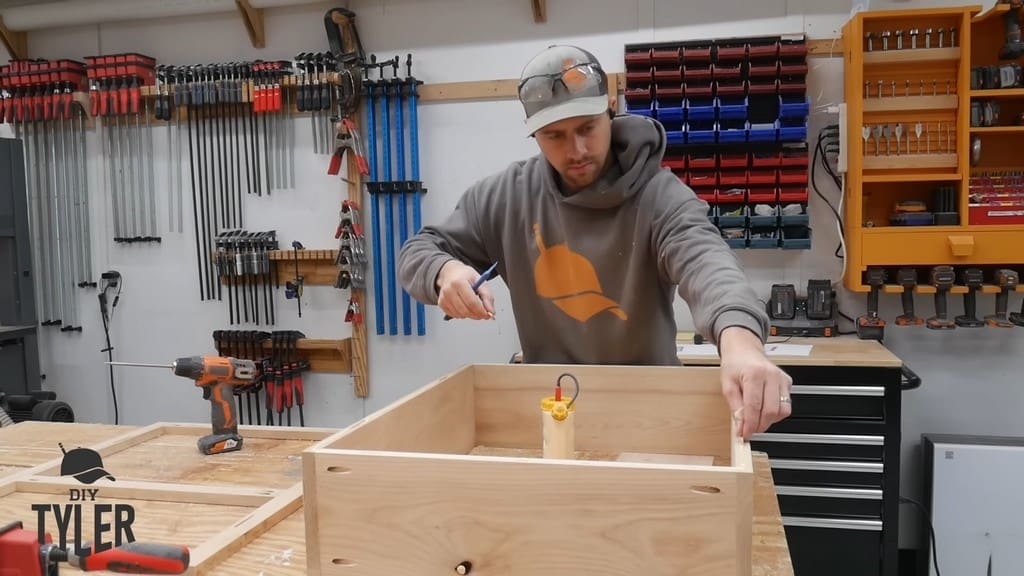
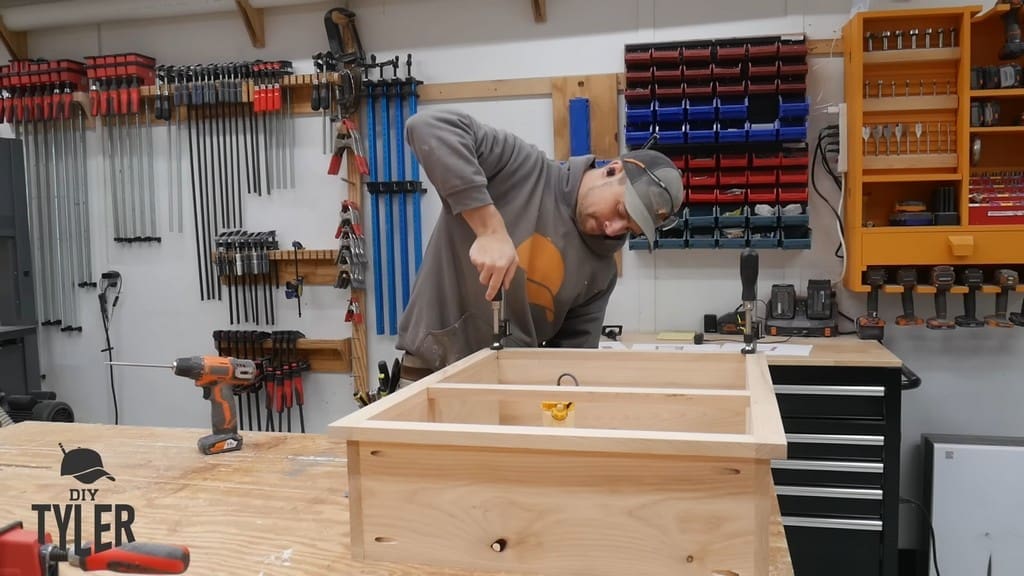
Assembling the Box and Frame
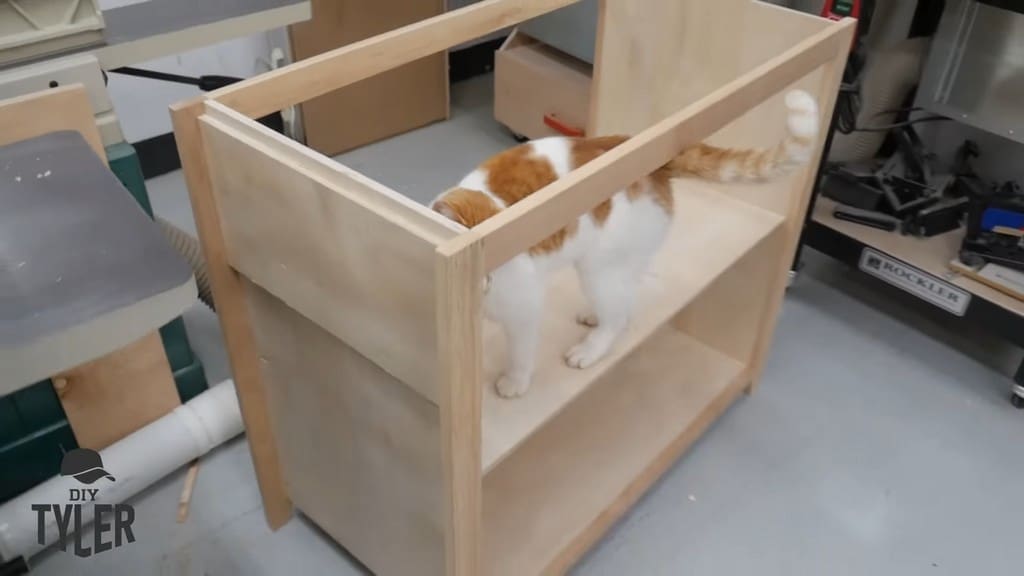
With the wood smooth and broken down, the next order of business for construction was to assemble the box.
Next, the face frame was a quick assembly thanks to some pocket holes and glue. I used biscuits to fasten this face frame, which I had never done before. I added the biscuit joints on the frame and on the box itself. Then, I applied some glue and clamped the face frame into place.
As a matter of fact, this method worked quite well and left no visible pocket holes.
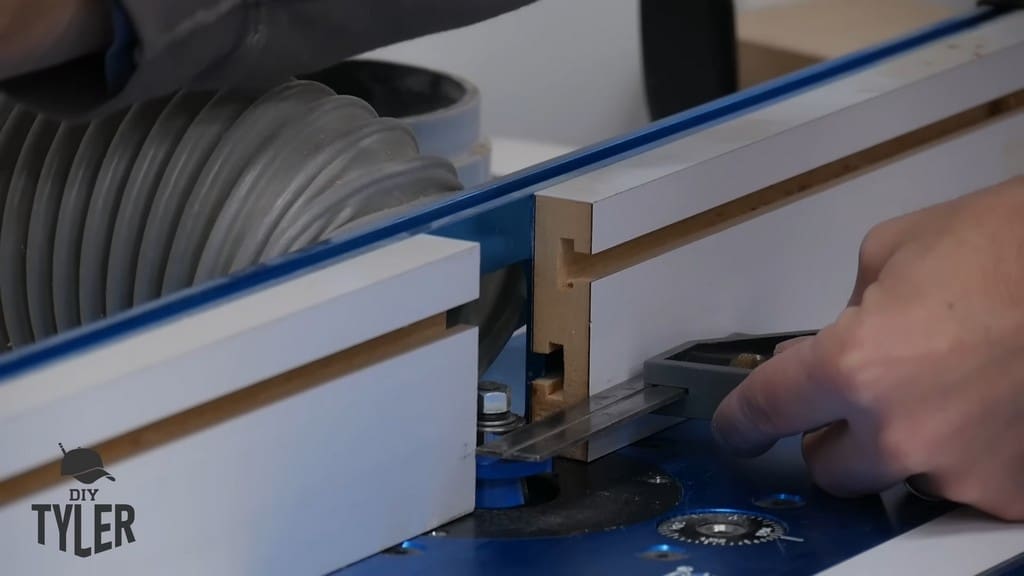
For this build, I ran my rail and style pieces through a rail and styling bit on my router. The second picture is a close-up of the styling bit, which allows you to fashion different profiles depending on your styling.
All of the smaller pieces, whether rail (i.e. horizontal) pieces or style (i.e. vertical) pieces went through this router bit.
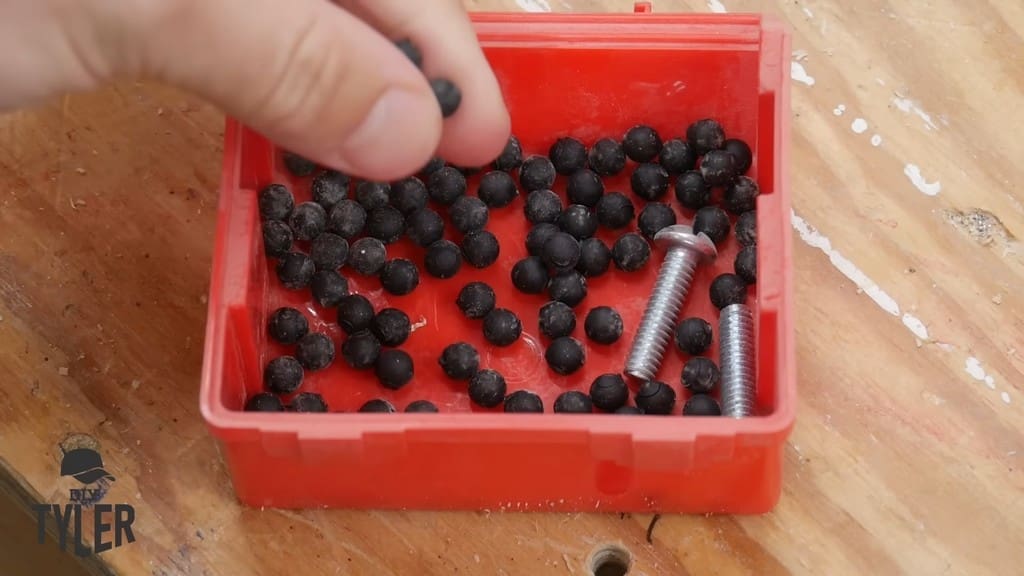
Afterward, I added a product called space balls (don’t laugh, they’re a real thing), which go into the grooves to prevent the panel from shaking around over time as the wood expands and contracts with the weather.
After applying glue, I assembled the panel frames and clamped everything together, making sure all of the pieces were square.
Sanding and Applying Finish
Sanding
With all of the doors glued up, I used my Surf Prep with a 3mm orbit to sand the face frame to a fine finish. I also sanded up the doors right before moving into the finish.
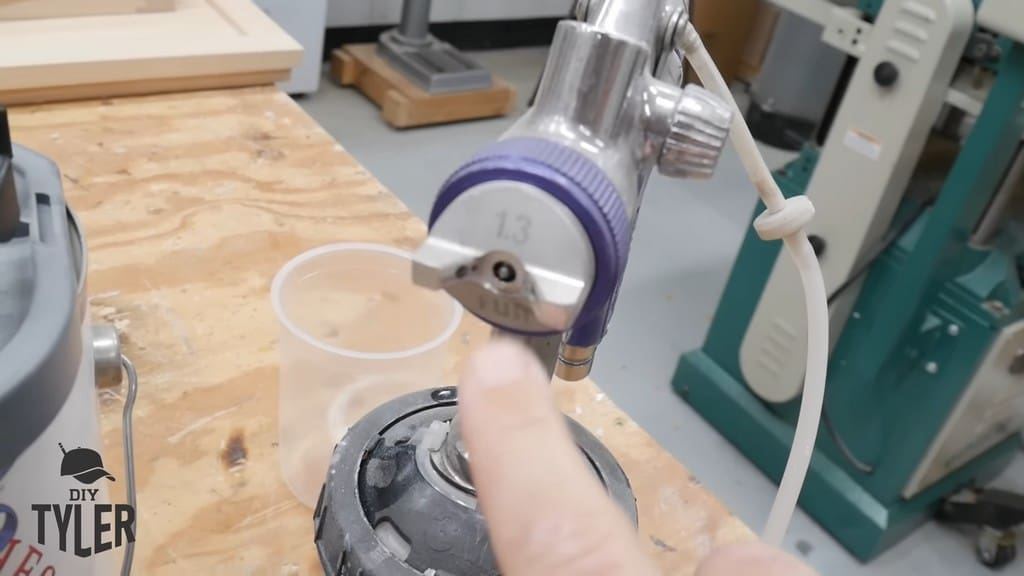
For this project, I used my favorite finishes from General Finishes, sprayed on through my Fuji Spray system.
Disclaimer: Fuji Spray sponsored my original video for this build. I’ve been using Fuji Spray System’s top-of-the-line Q5 Platinum sprayer for years and am genuinely happy with the product. I’ve probably put nearly 100 gallons of finish through this machine, including dozens of gallons of various types of finish through my two spray guns (T75G and T70 models).
Fuji Spray has systems ranging from the semi-hobbyist to the professional level. The spray turbine system is quiet and works great. Feel free to check out Fuji Spray’s great line of products here.
Spraying
Basically, I started with a General Finishes sanding sealer in a 1.3mm Fuji tip. I like to use the T70 gun for the stuff with a heavier viscosity.
After some sanding, I followed up with two full-strength coats of General Finishes enduro clear polyurethane semi-gloss. This was sprayed with the T75G spray gun with a 1.0mm Fuji tip. This is a great combination because it goes on very glassy.
By the way, I didn’t always use to use the mixing lids. However, once I narrowed down which finishes I really like, I staring using them all the time. In any case, these mixing lids are awesome!
If you’re like me, who doesn’t like to apply finish unless you can spray it, then this system is perfect.
Of course, my plans didn’t account for my furry visitor!
My Spraying Assembly Line Process
Alright, cuteness aside, it’s back to the build: I sprayed the door pieces down on top of a rotating cart in a section of my shop that was 43 degrees. Then, I set them on my cart next to the door so that I could grab the next piece.
After that, I moved the pieces into the other part of my shop, where the temp was around 55 degrees, and gave the finish time to set up.
Next, I sanded the pieces before hitting them with another coat. I repeated this process for all of the pieces until I had added my desired number of coats.
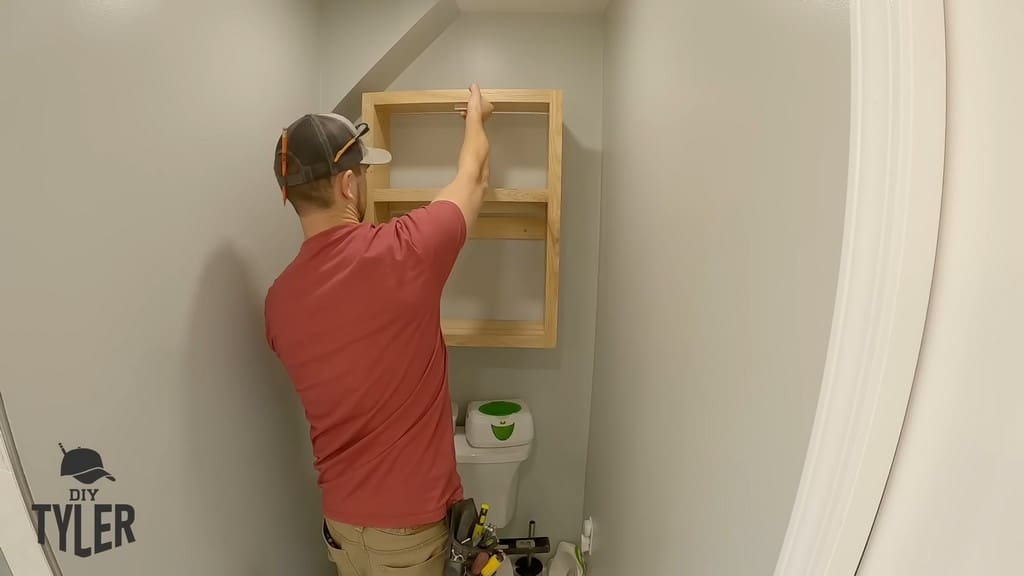
Installing the DIY Cabinet
With the cabinet fully constructed, sanded, and finished, it was time to install it in the bathroom. I used the French cleat system, with a 30-degree cleat. Next, I measured where to place this board based on where on the cabinet I wanted it to provide support.
Finally, with the cleat board installed, I rested the cabinet on it and tested it for sturdiness.
Final Thoughts on the DIY Functional Bathroom Shelf
The end result of this project was a beautiful piece of work that maximizes our bathroom storage space!
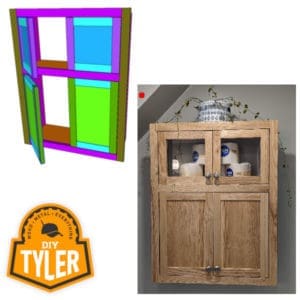
Over Toilet Shelf Plans (Click Image!)
Please follow and like us:
1 thought on “DIY Functional Bathroom Shelf Saves Space Behind Toilet!”


1 thought on “DIY Functional Bathroom Shelf Saves Space Behind Toilet!”
Pingback: First-Time DIY Tiling 101 | Step by Step to Installing Tile - DIYTyler