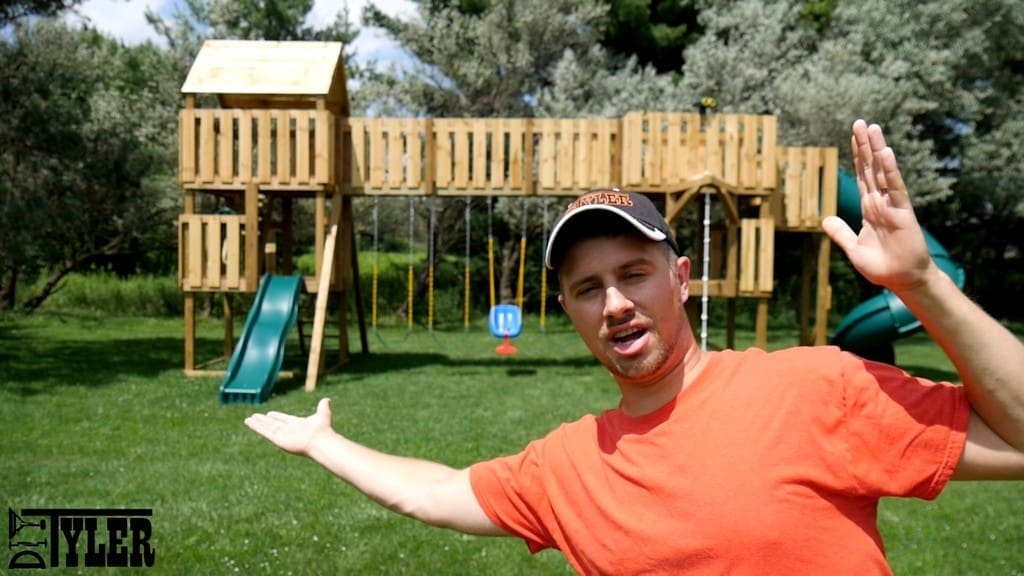
Building the World’s Greatest DIY Swing Set | Part 2
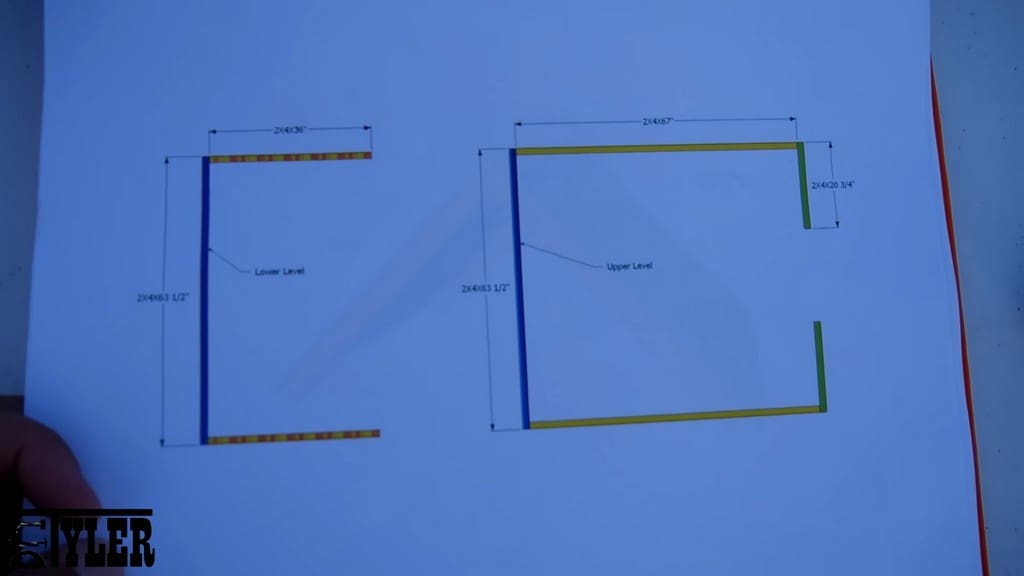
Welcome to Part 2 of our build for the world’s greatest DIY swing set! If you missed it, check out the article and YouTube video for Part 1. And if you’re ready to get started on your own build, check out our plans for the set (available for purchase here)!
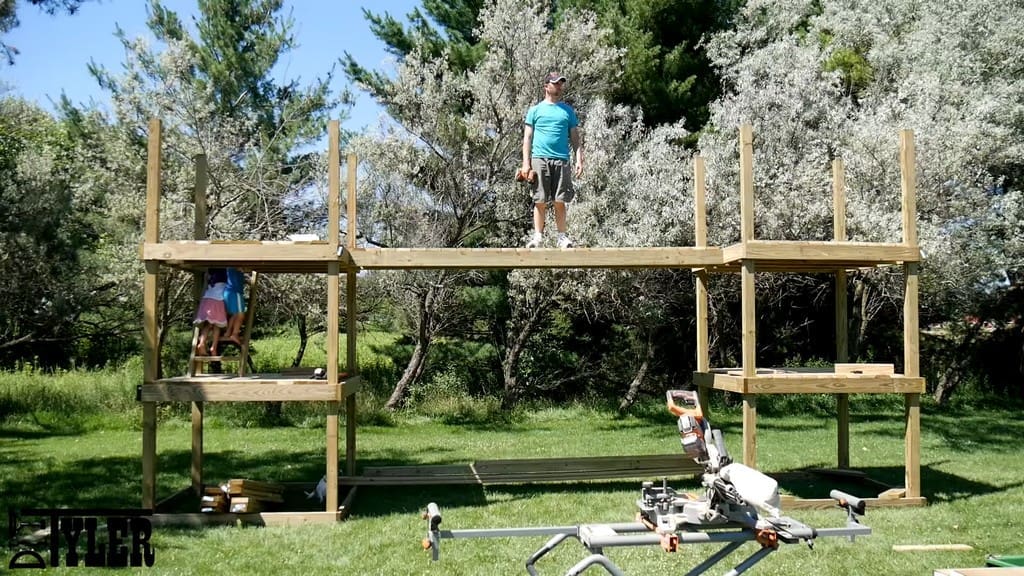
The first part covered our construction of the main structure. This second and final part will explore how we installed the decking, railings, accessories, and roof for the DIY swing set.
Installing the Decking
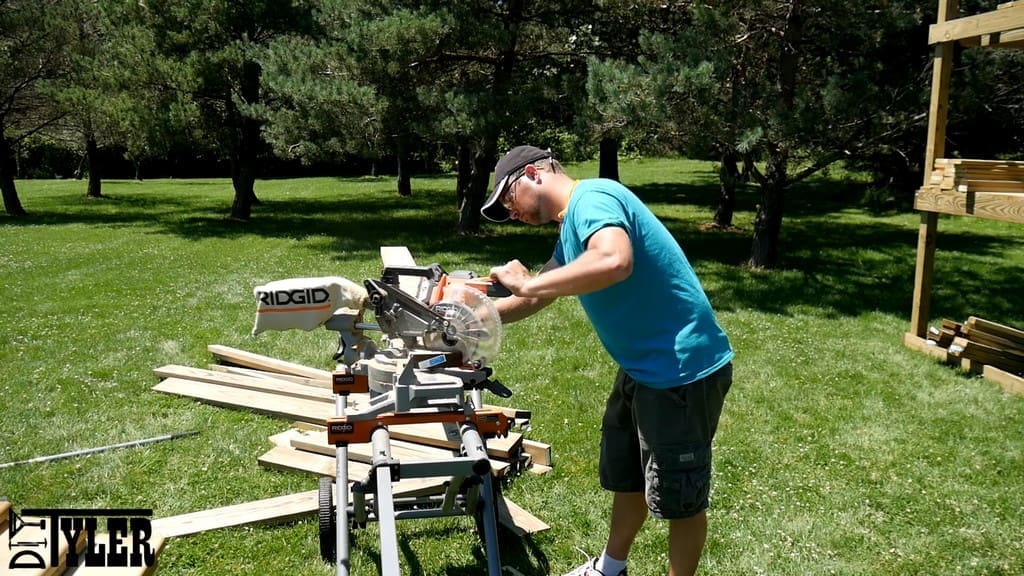
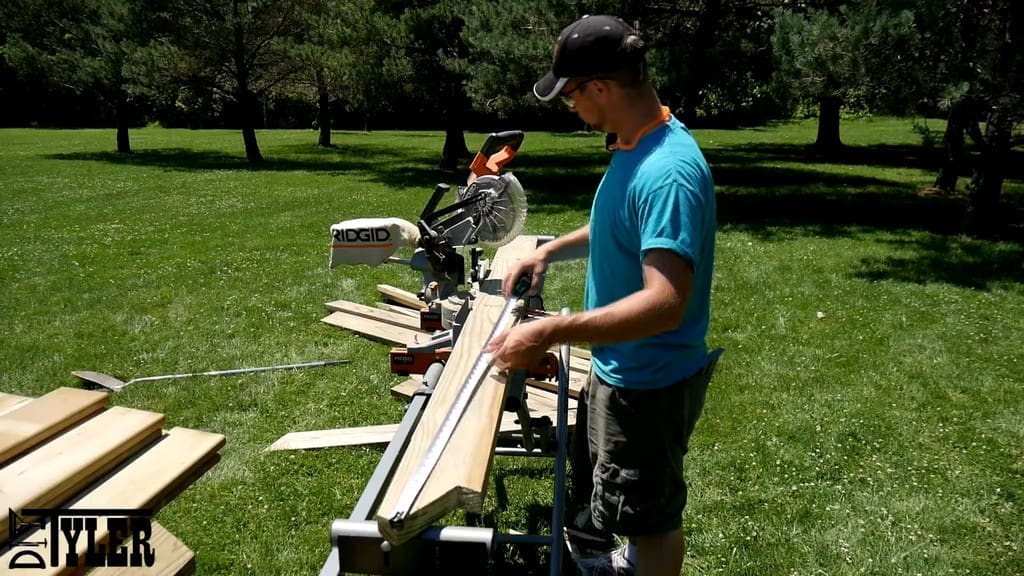
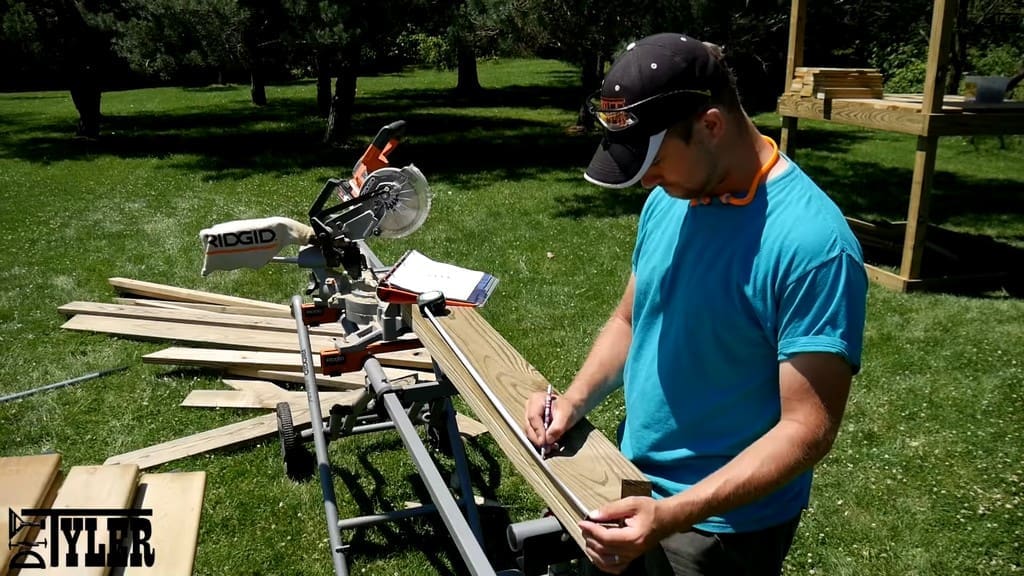
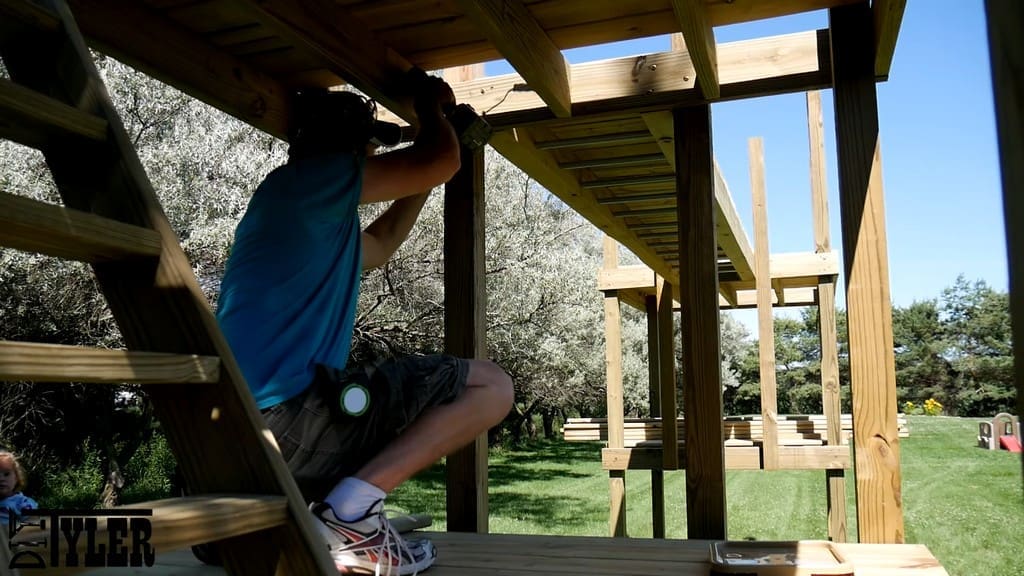
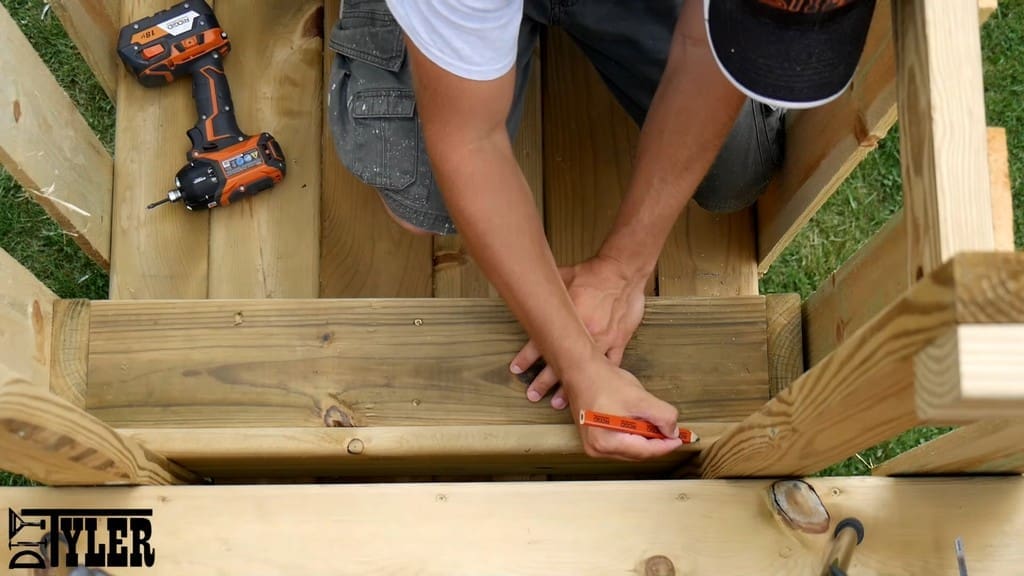
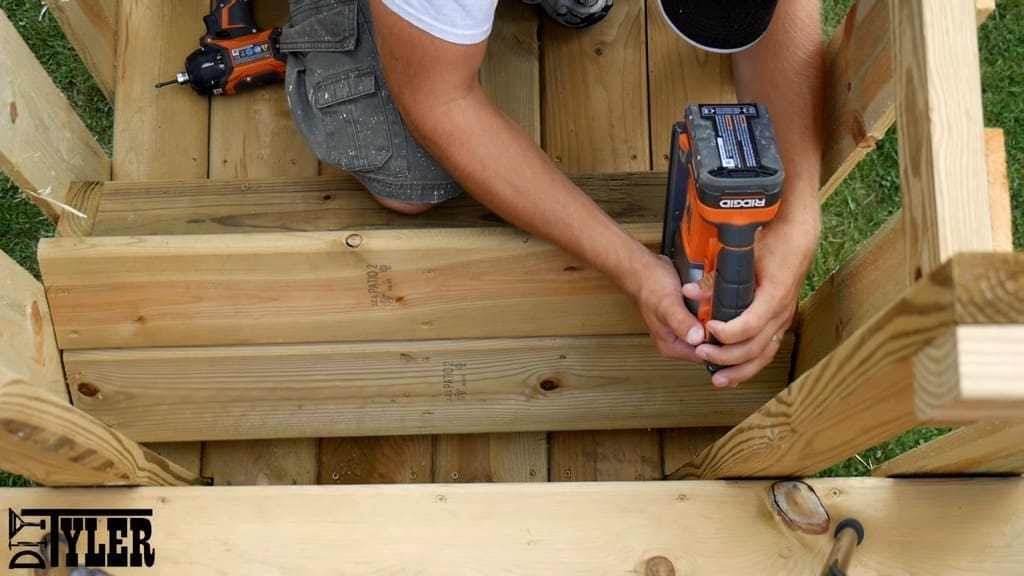
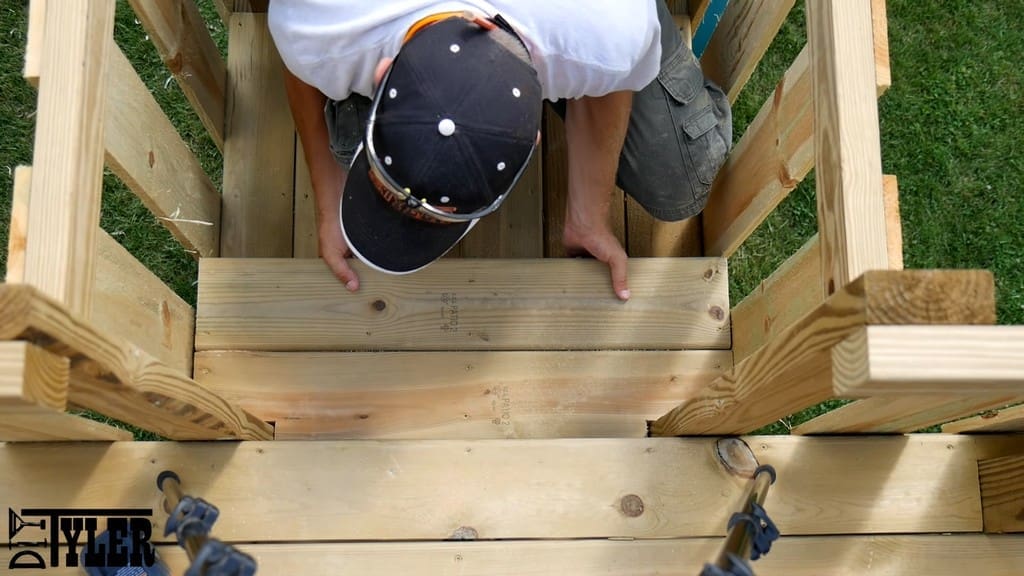
After installing our remaining joists on the upper level of both towers (see Part 1), we cut our decking boards to length and fastened all of them in place.
(By the way, most of the cutting done in this build was accomplished using blades from SawBlades.com.)
We added two screws for every joist beneath a deck board, so the longest boards had ten screws per plank.
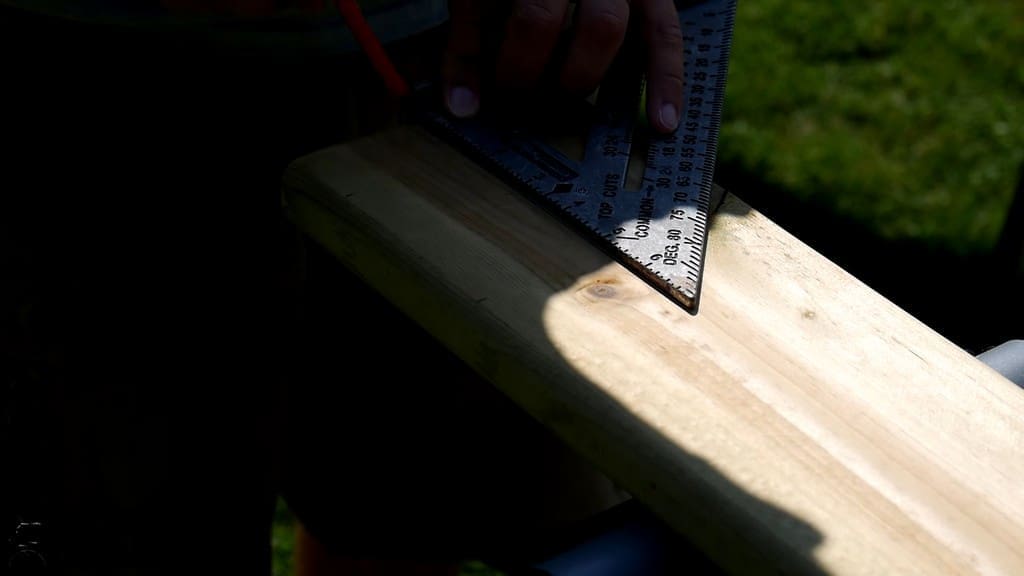
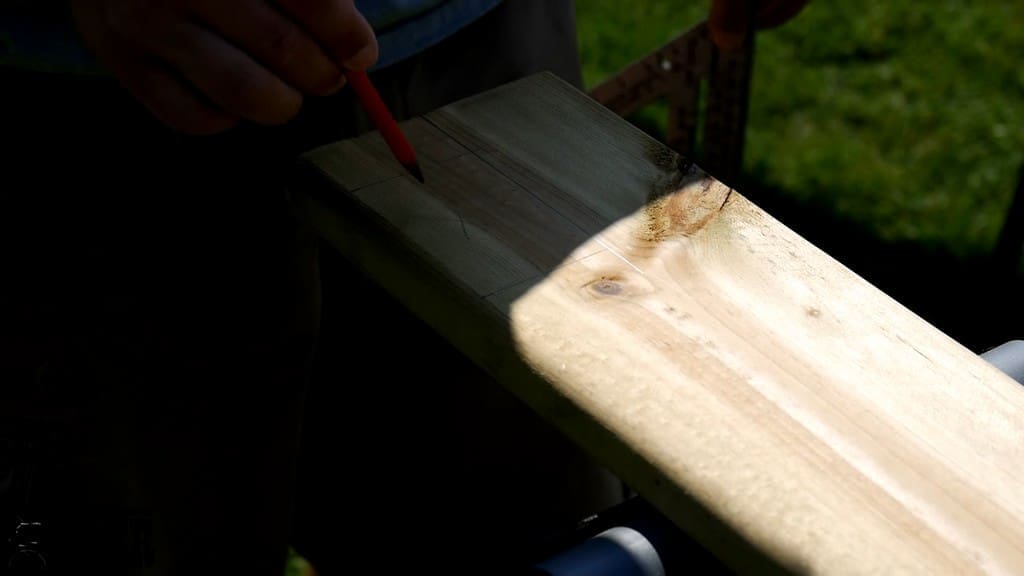
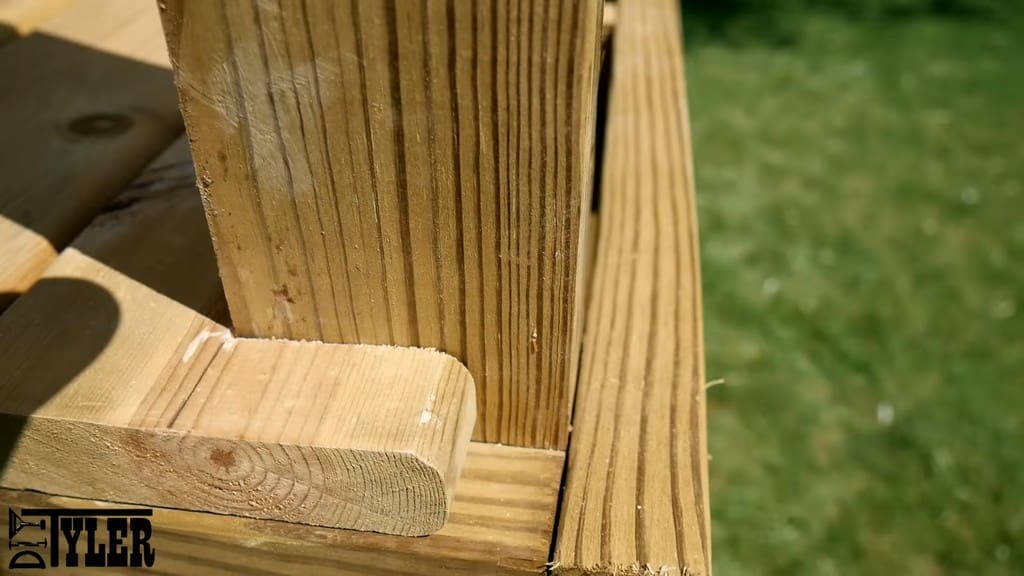
For the boards at the corners, we informally measured notches by lining the boards up with the posts on either side, marking the ends of the boards relative to the posts, and using a square as a straight edge.
With the space for the notch marked out, we were able to cut the notches on either side out with our saws.
The notched board slid into place with just a little bit of encouragement!
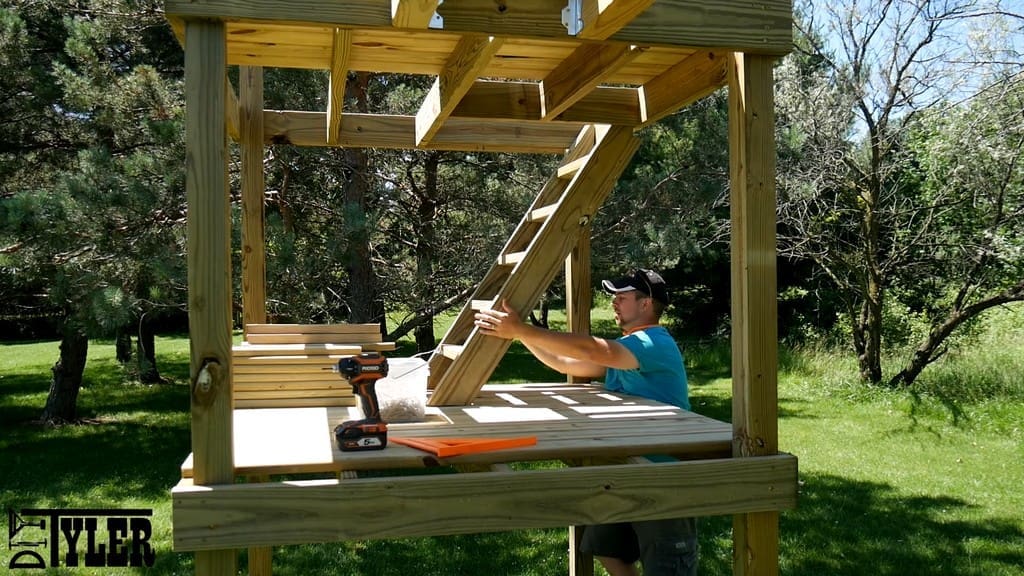
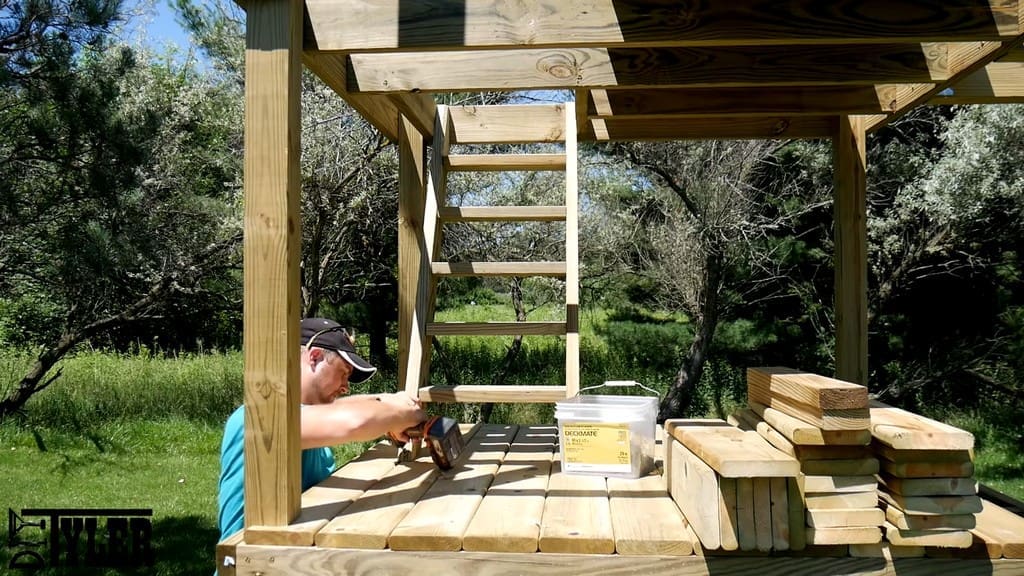
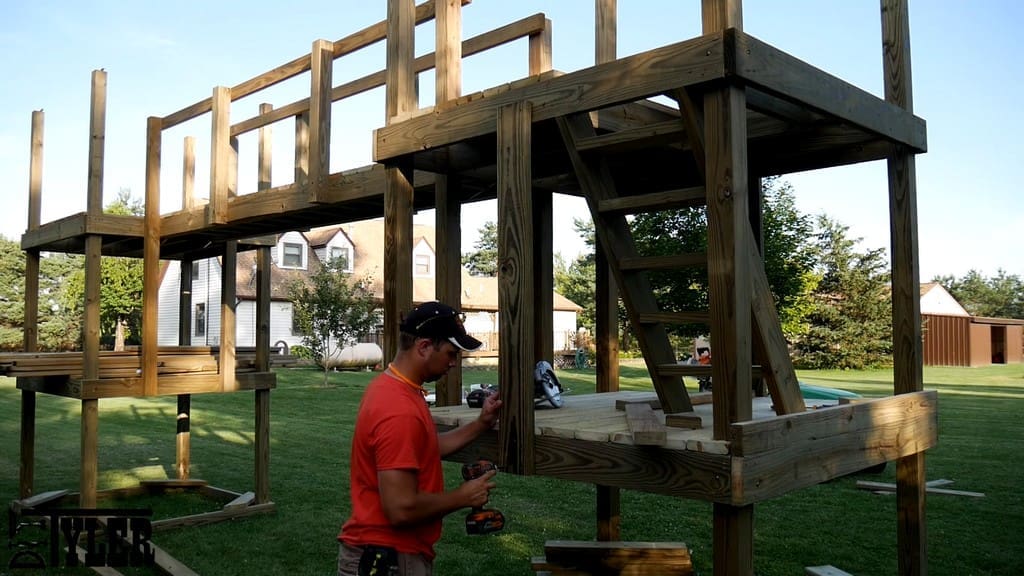
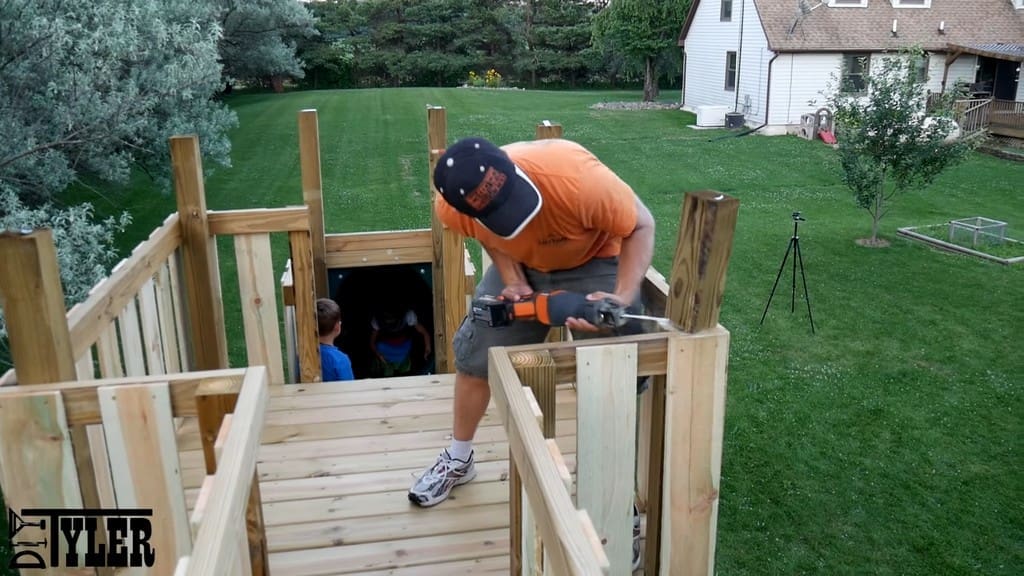
Constructing the Staircase
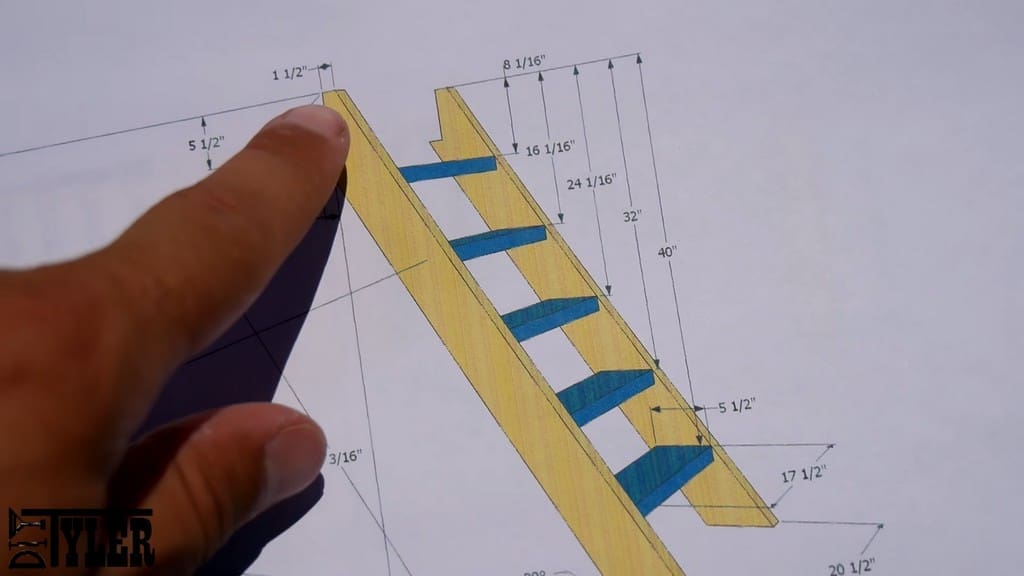
With most of the decking completed, we turned to constructing the stairs for the “house” tower. Note that you may have to vary the measurements from the build plans for your own staircase, depending on the measurements of your own tower that you’ve built.
First, we cut a 30-degree angle into the top of the board that will be the stringer for the stairs. We then measured out from the notch, cut the stringer to the correct length, and marked out even spacing for the treader placements.
With the stringers on a flat surface (i.e. the completed lower level of the “house” tower), we pre-screwed our screws into place. Next, we fastened the treaders into place, using the pre-screwed fasteners as guides to hold everything at the correct angle.
Since these screws were going into end grain, we included details for angle brackets in the build plans. We added these brackets off-camera.
We mounted the stairs and fastened them at the top and bottom of the stringers.
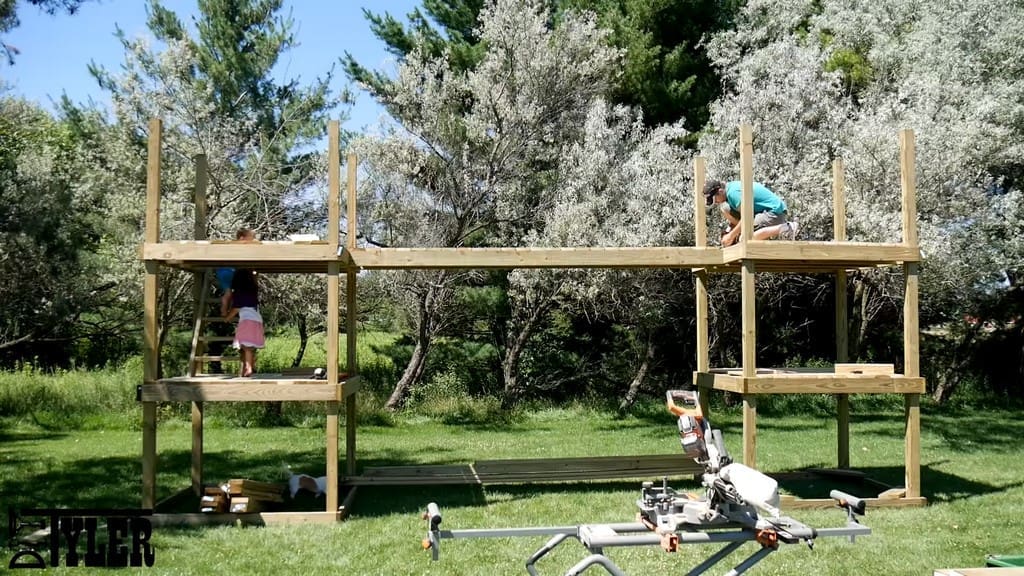
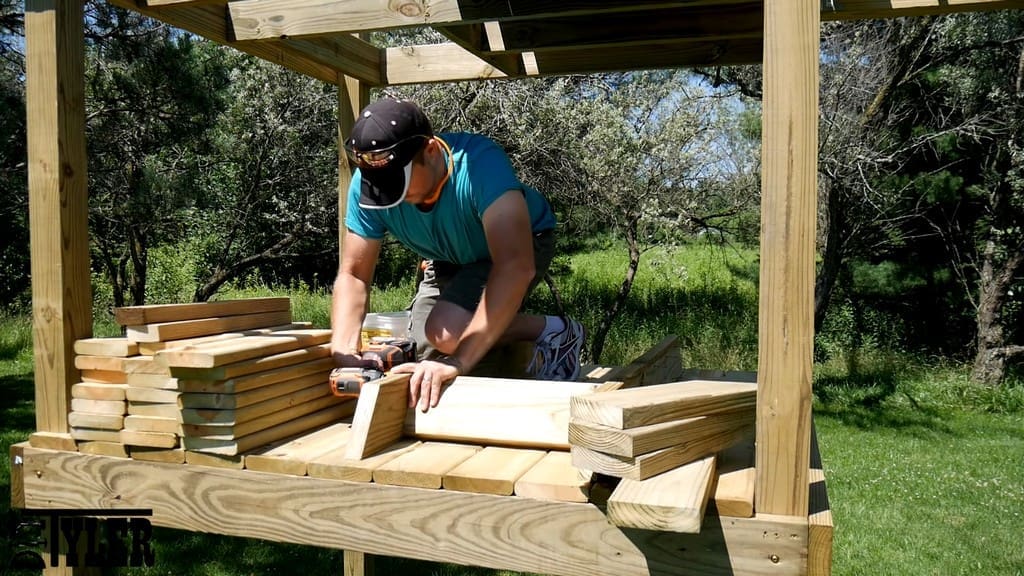
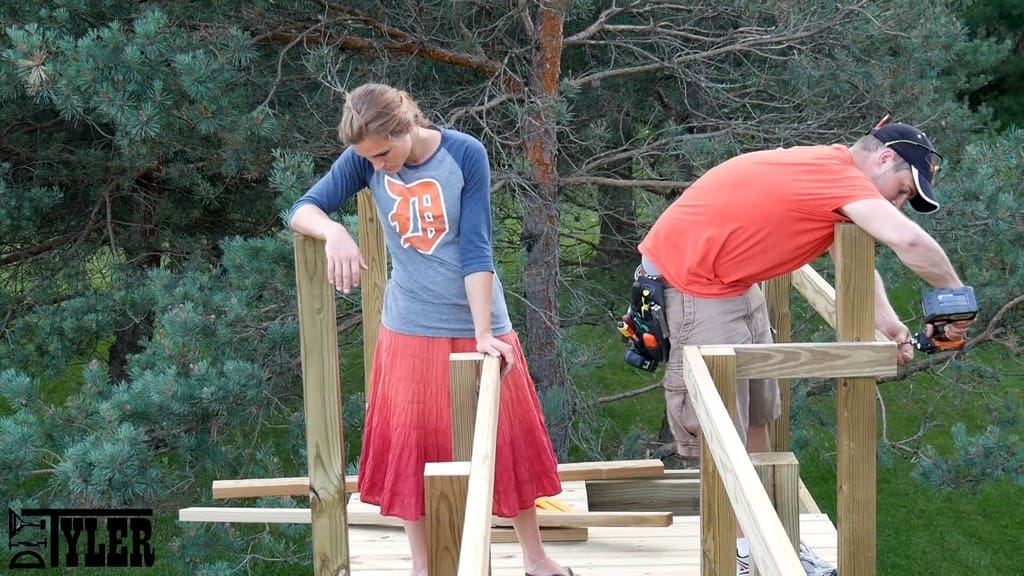
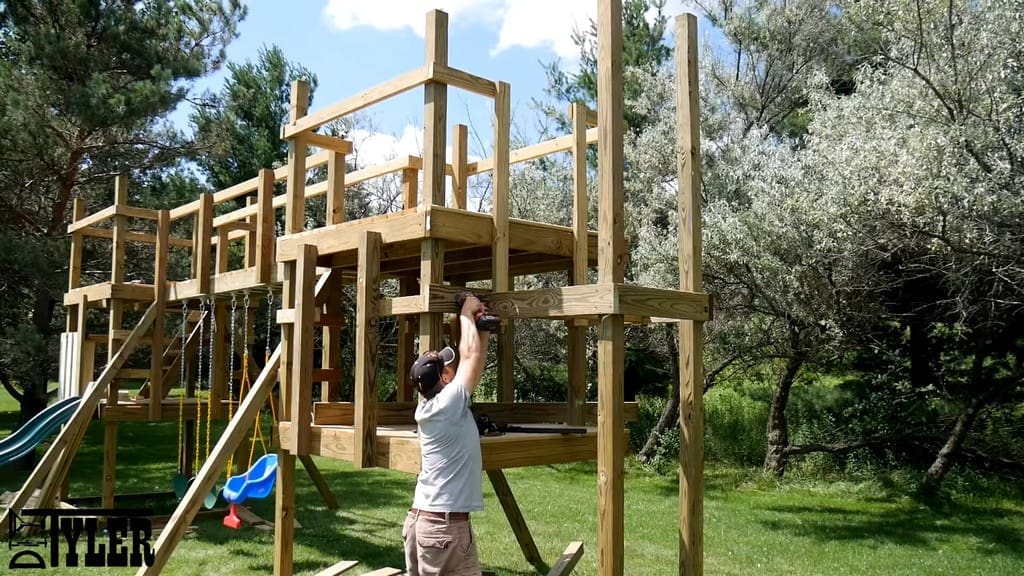
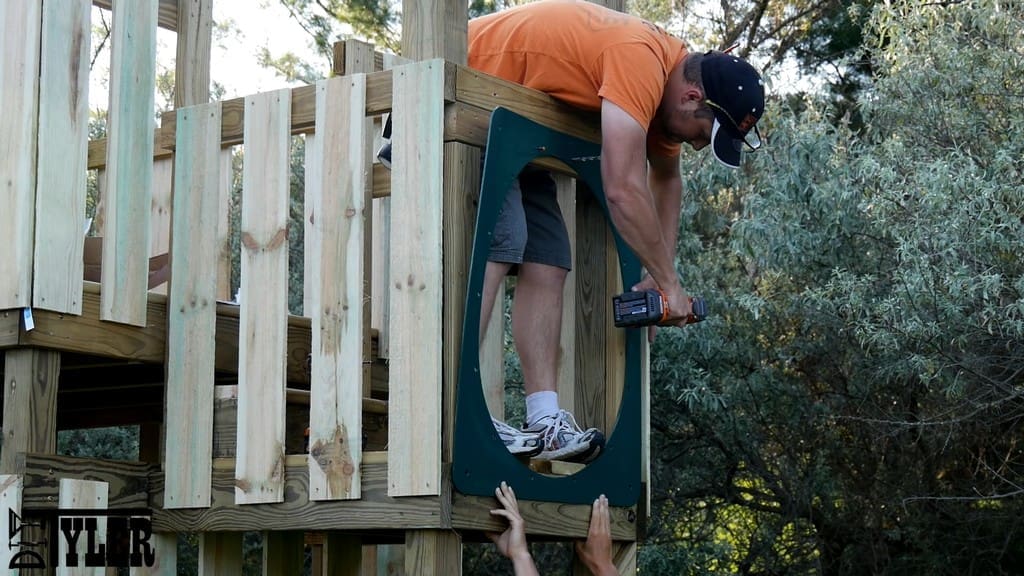
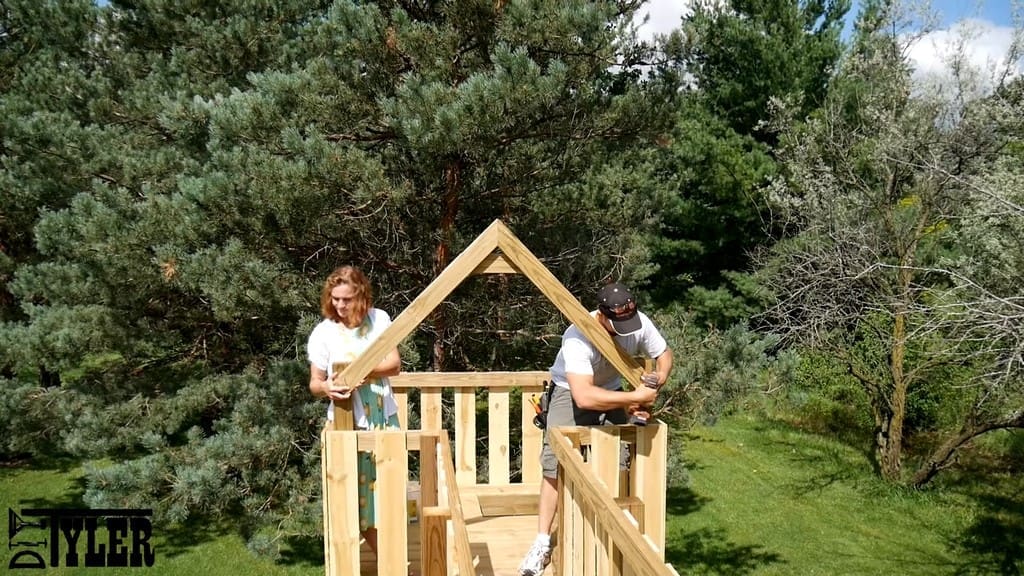
Installing the Railing
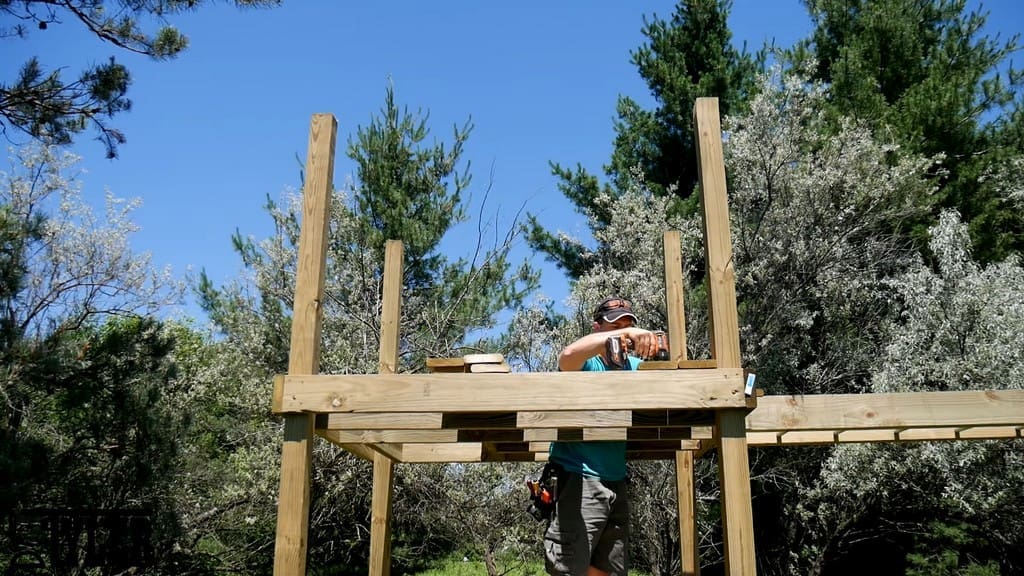
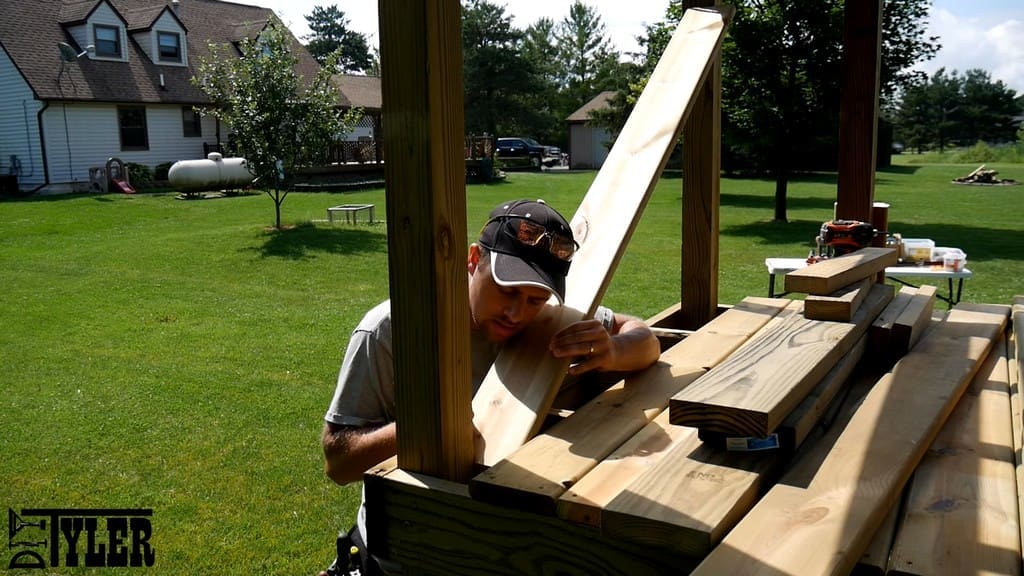
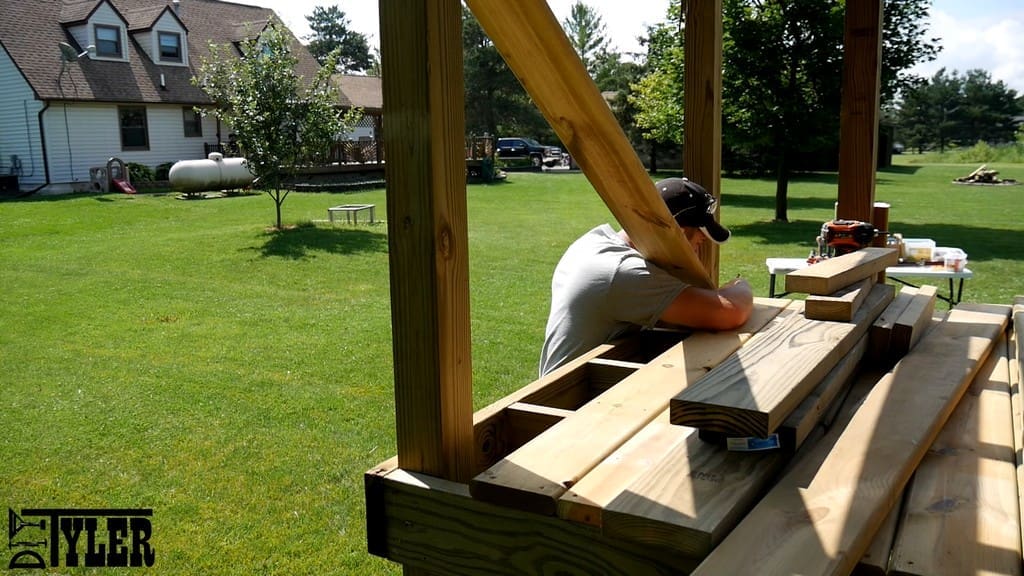
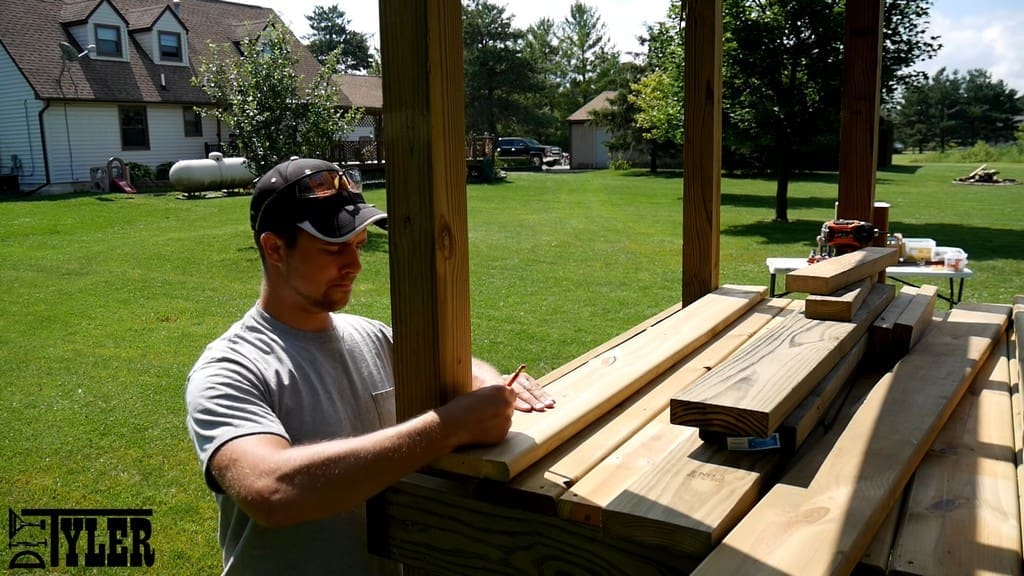
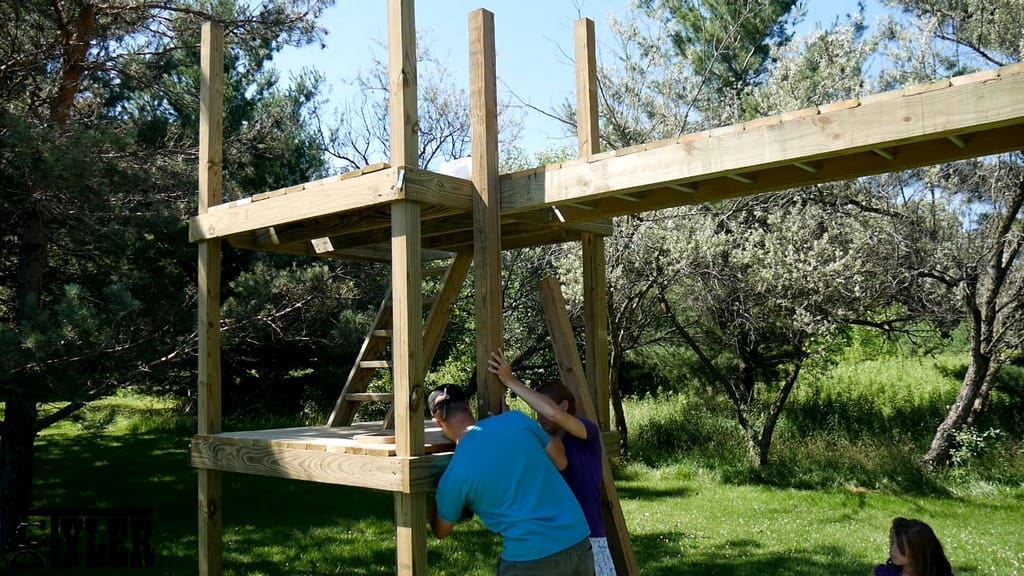
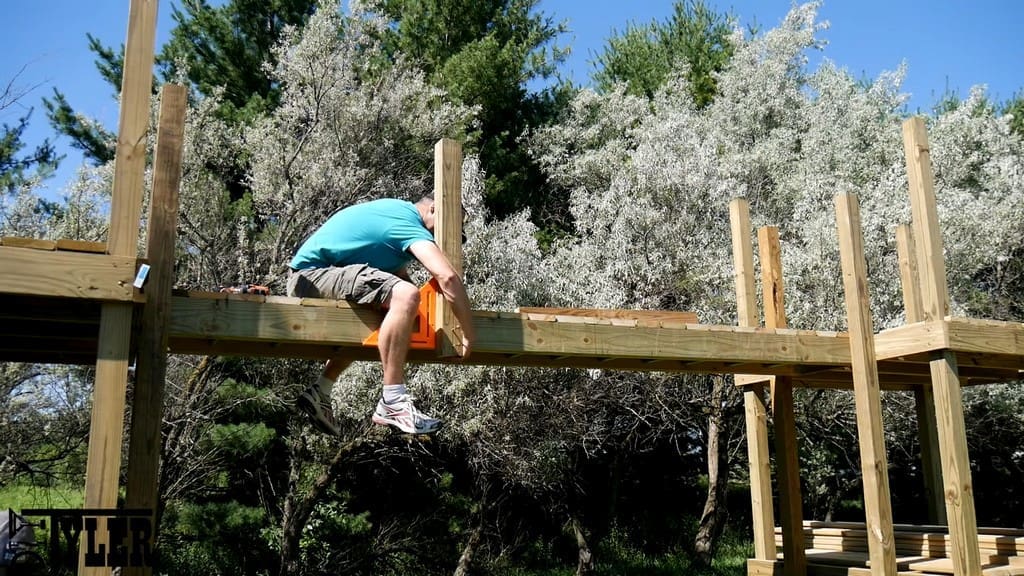
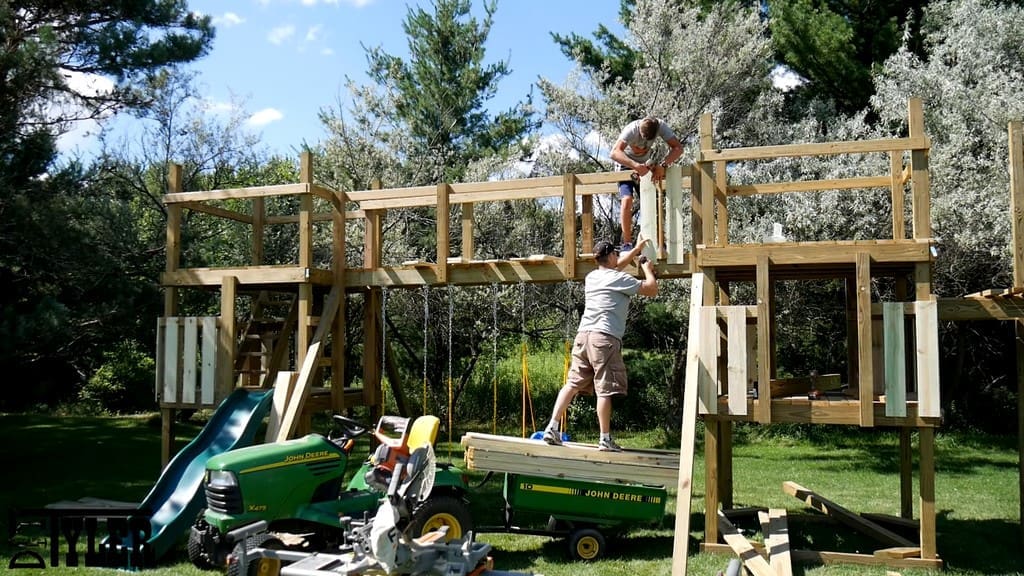
Having installed the remaining deck boards for the upper levels, we moved on to the railing. We started this stage of the process with longer 4×4 boards.
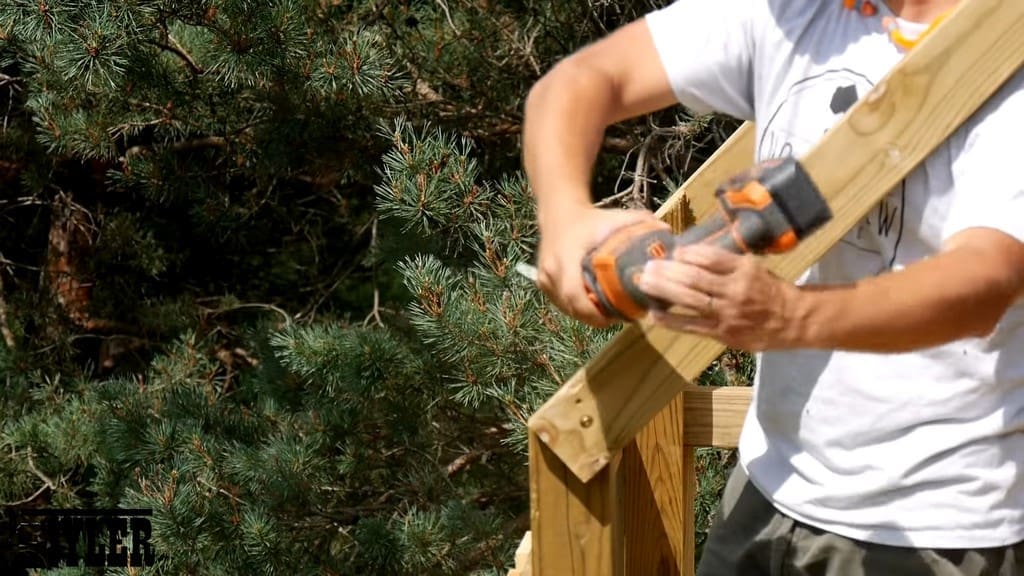
We cut the 4x4s to size, then we fastened these railing sections into place using 2.5-inch screws. Once the boards were fastened, we secured them further with structural screws.
For a 2×6 to 4×4 joint, you would use a 4-inch structural screw. A 4×6 to 4×4 joint would require a 6-inch structural screw.
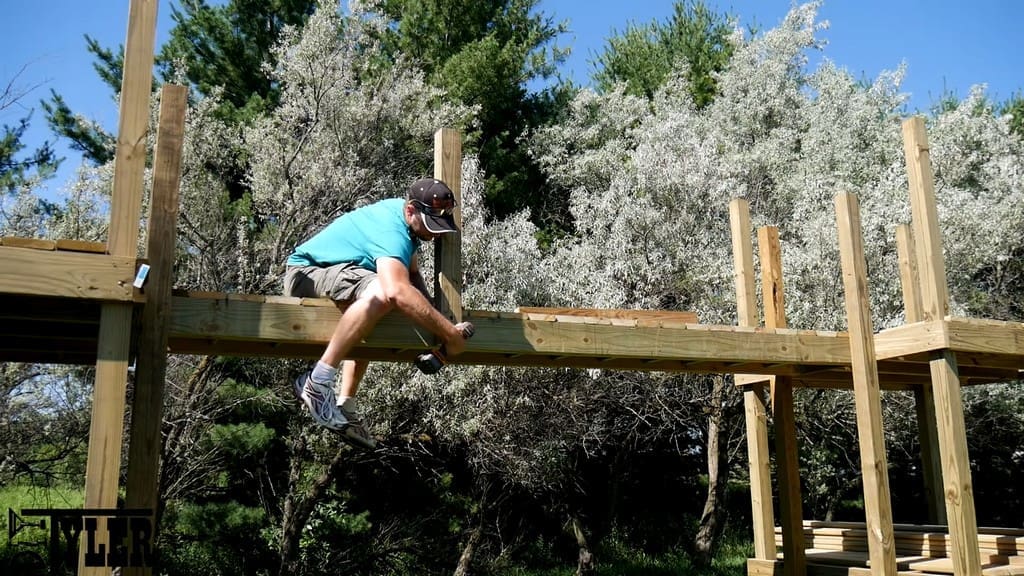
To mount the middle posts onto the bridge itself, we measured and pre-drilled our 6-inch structural screws. Next, we used our largest speed square in order to line the posts up so that they were approximately square.
With everything lined up, we drove in our first screw, checked everything for squareness, and drove in the remaining fasteners. This ensured that everything was squared away as well as nice and tight.
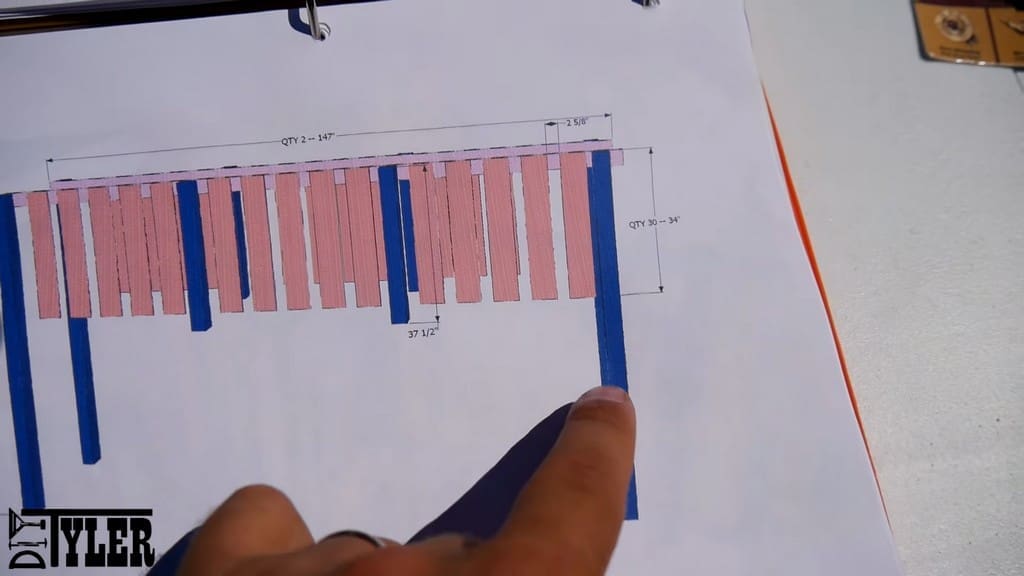
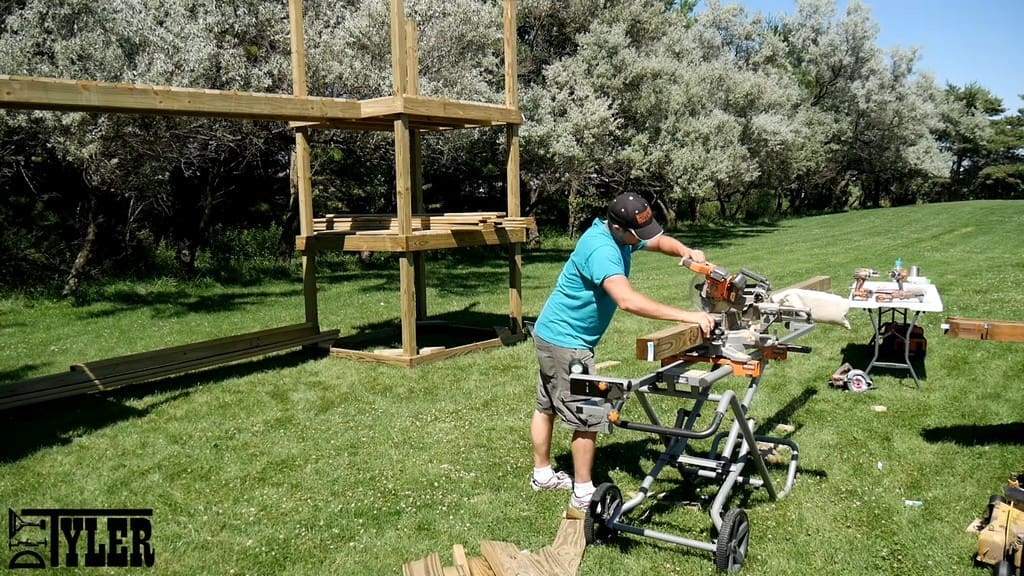
You will need two 14-foot 2x4s for each side of the railing on the bridge. These boards need to be just over 12 feet long, so we cut our 14-foot boards down to 147 inches.
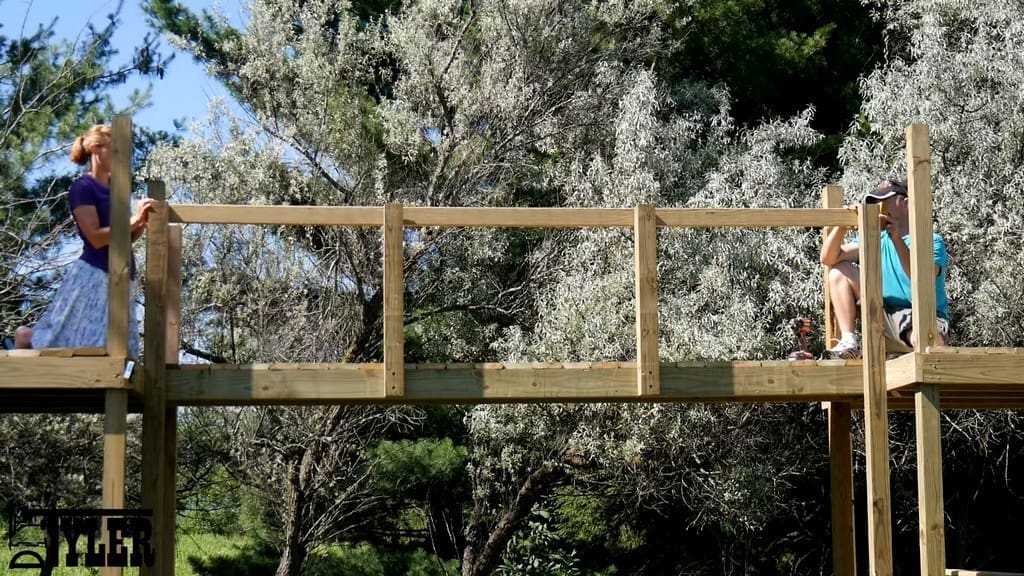
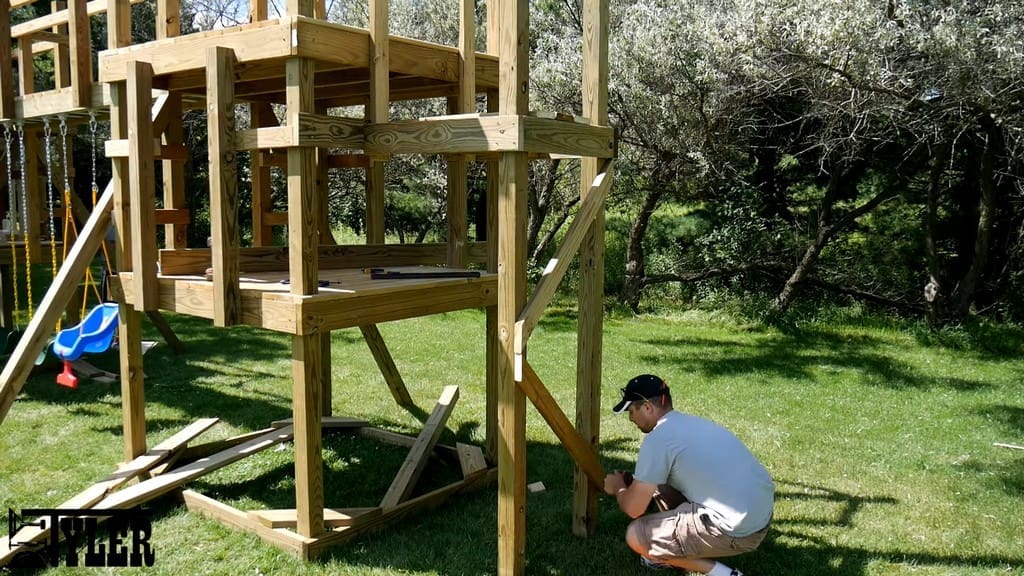
Installing the Remaining Railings
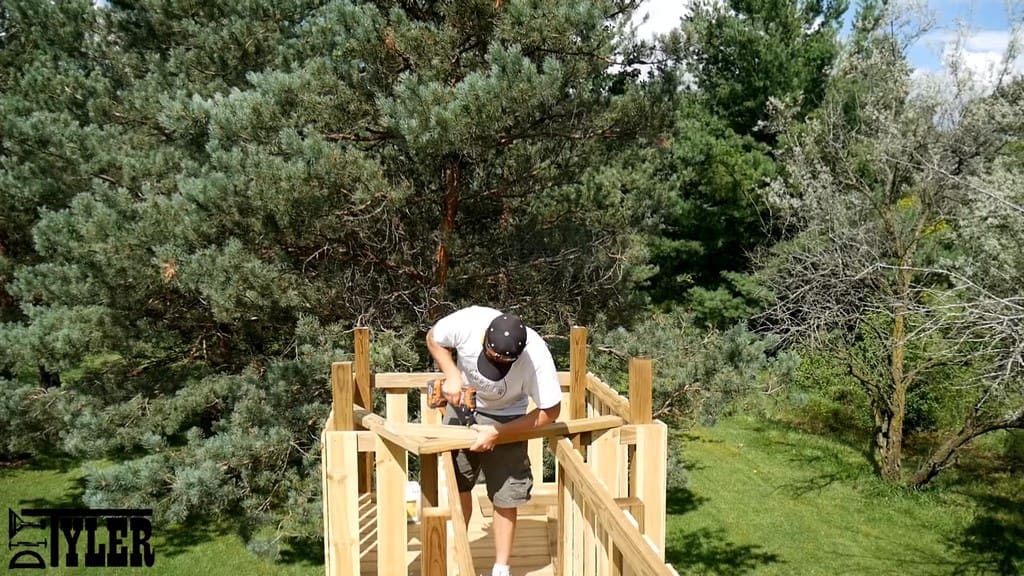
Next, we turned to completing the railings for the upper and lower levels of the “house” tower. We cut our boards to length and measured for the placement of the railings. Then, we fastened the pieces using 2-inch deck screws.
After your first measurement, you can actually use the boards you’ve already installed as guides for assembling everything else.
The railing pieces serve two purposes. First, they hold the fencing in place. Second, they act as a support for the swinging diagonal sections.
We followed the same steps for the “fort” tower, except that we also used 4×4 diagonal support struts. This was to help the structure handle the stress of the swinging accessories (including the fireman’s pole) on that side of the swing set.
We fastened the diagonal 4x4s with 6-inch structural screws. To fasten the diagonal support beams into the railing 2x4s, we used 4-inch screws.
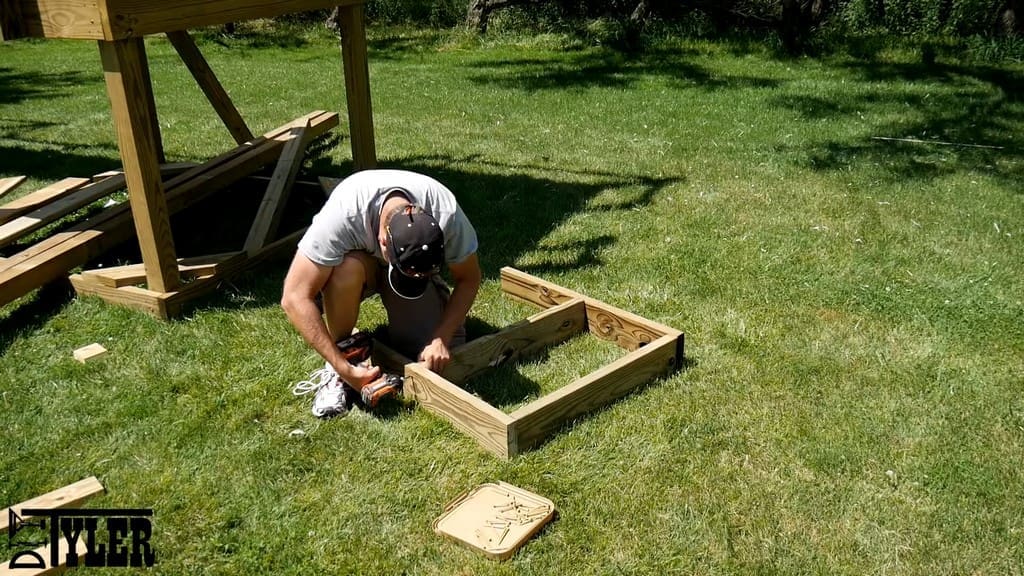
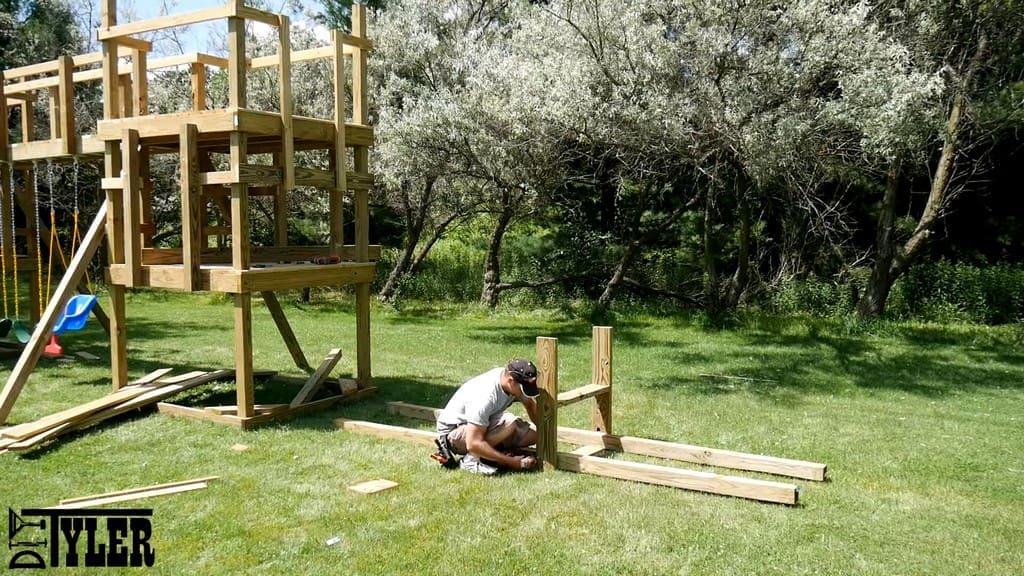
Constructing a Platform for the Tube Slide
The tube slide had a deck height of seven feet, which was lower than the completed tower. To accommodate this, we needed to build a three-foot platform that went two steps down.
We followed the same steps as for previous frames, using joists, decking, and 4x4s.
First, we assembled the rim joists. Then, we measured out the appropriate position on the 4x4s and bolted the rim joists in place.
After that, we hoisted the platform frame into place, leveled everything out, and bolted it against the railing section of the “fort” tower.
Some off-cut 2x4s offered additional diagonal support to the platform.
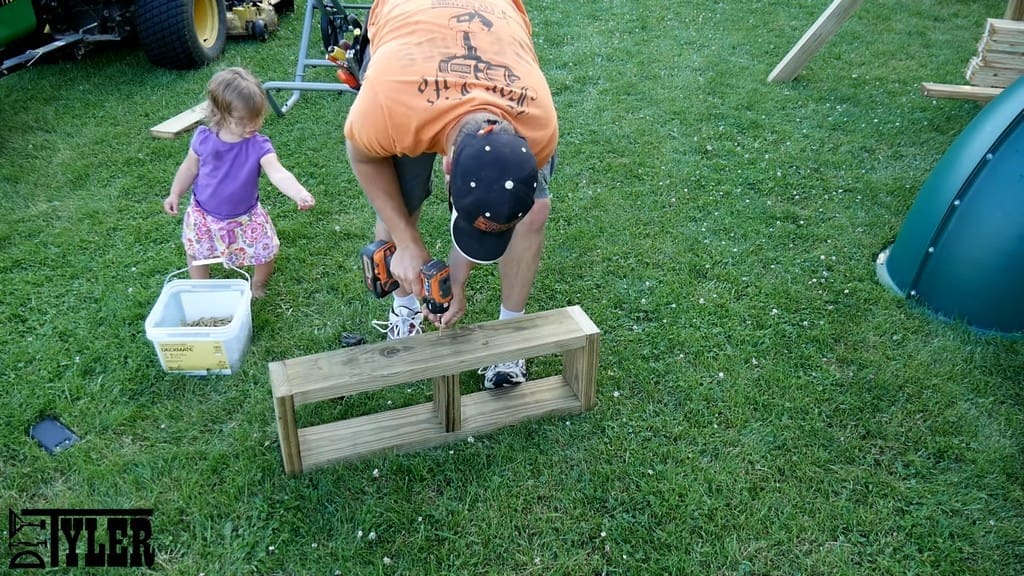
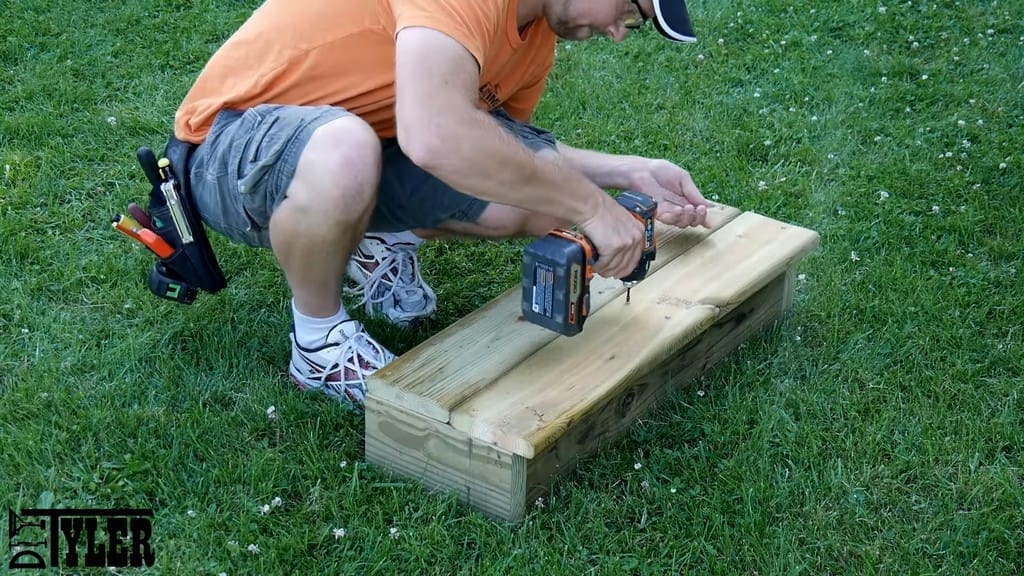
To make up for the significant step down from the platform to the tube slide attachment, we built a simple box made of 2x6s and deck boards.
Finally, we cut a couple of notches into the boards so that the step would slide nicely into place.
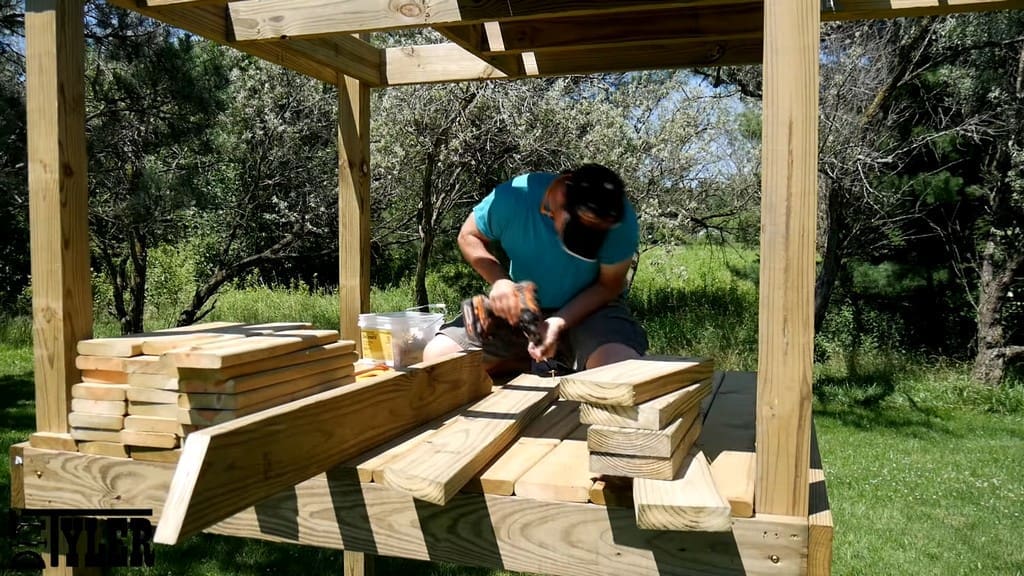
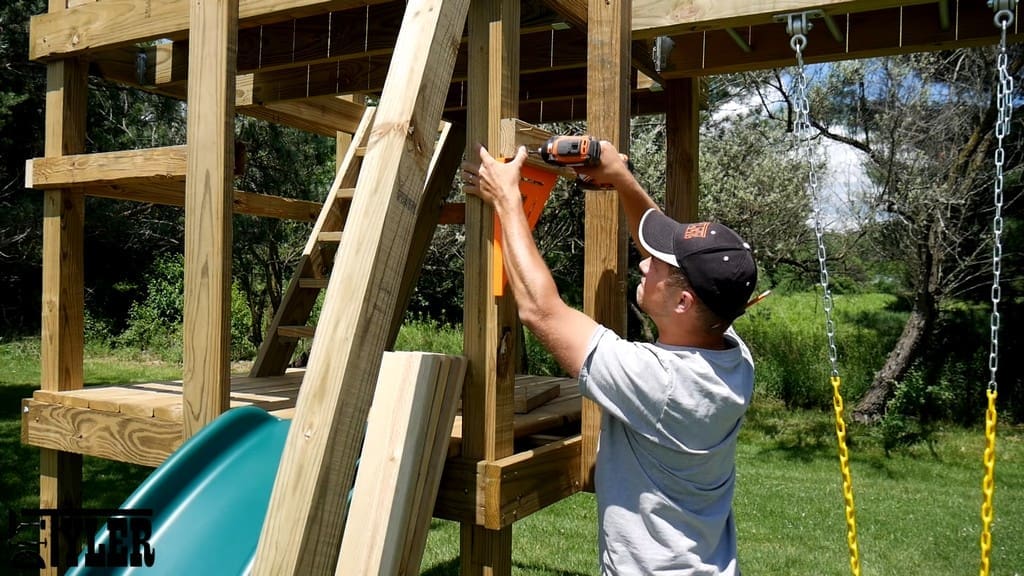
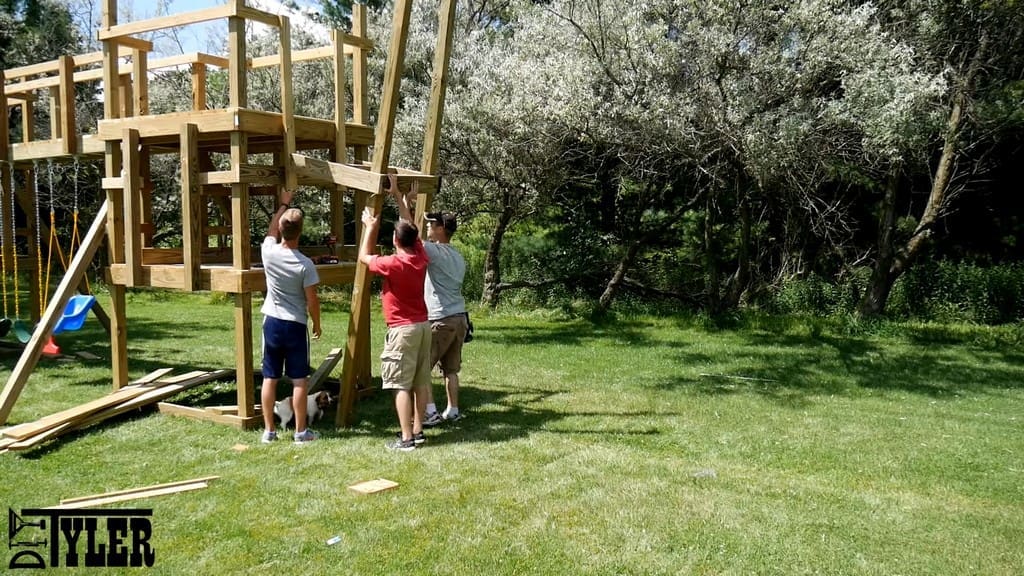
Installing the Accessories
Next, we moved on to installing some of the accessories.
Installing the Wavy Slide
Here, we installed the wavy slide, which was as simple as driving in three screws.
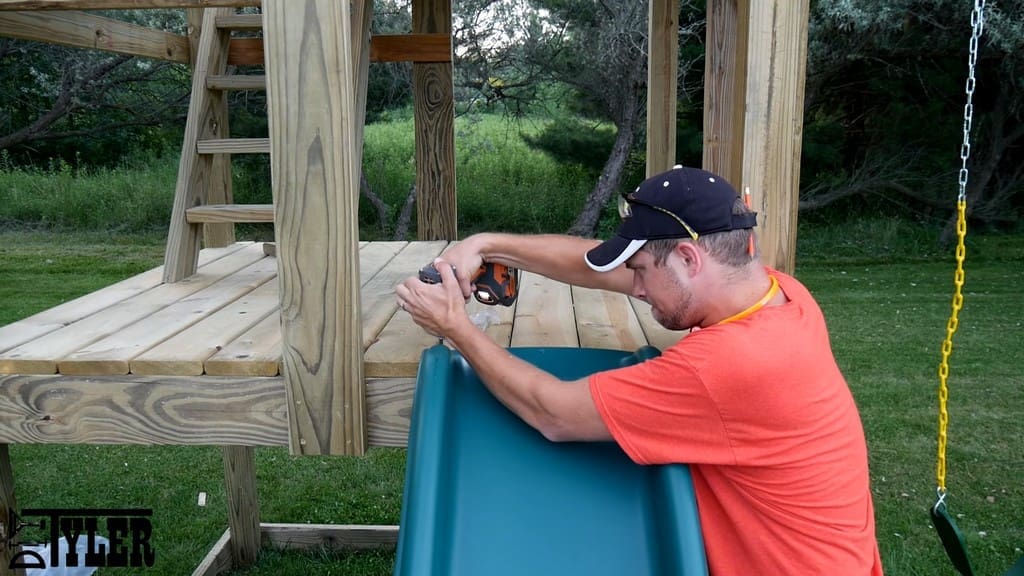
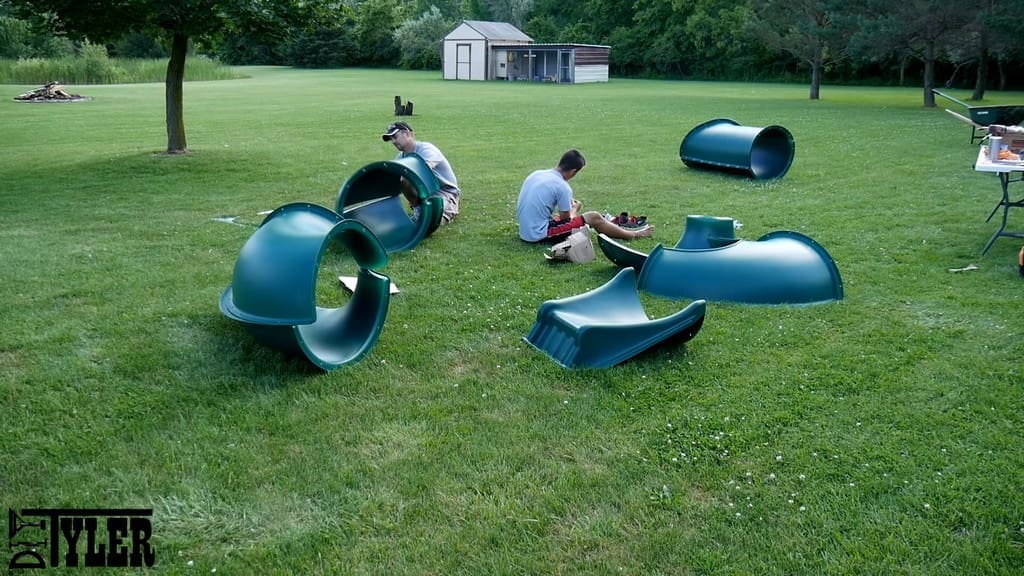
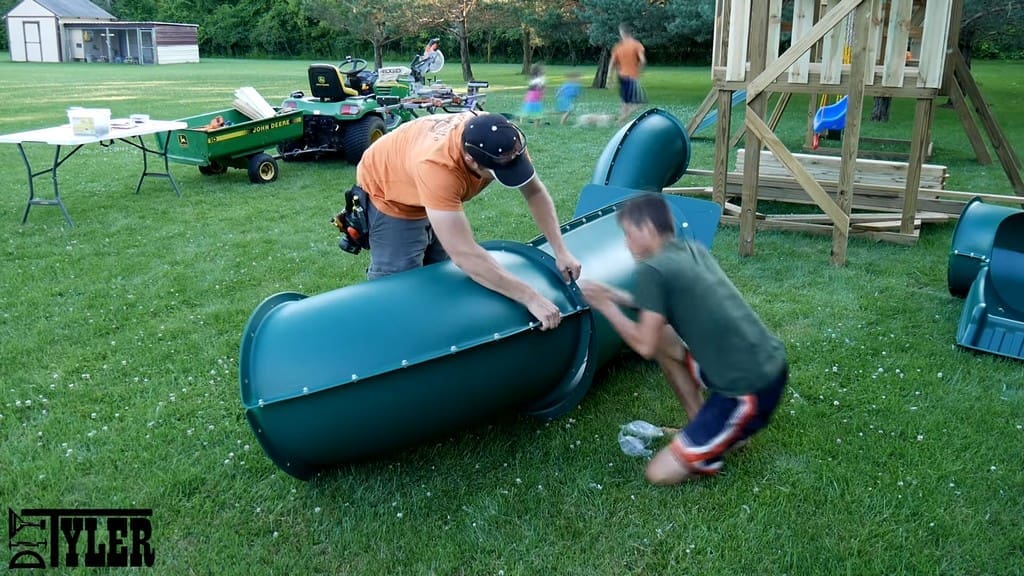
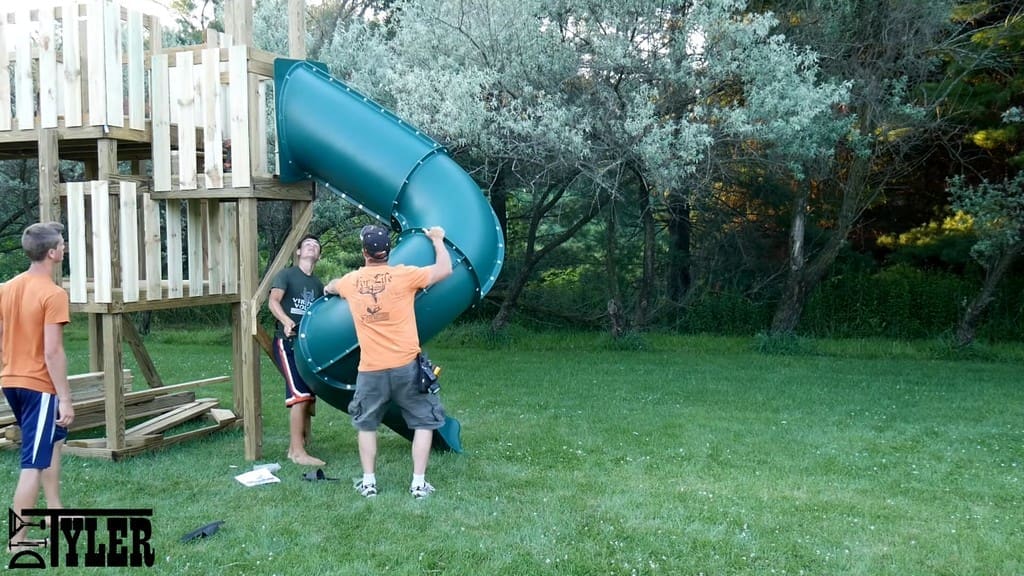
Installing the Tube Slide
The tube slide was somewhat more complicated. Installing it required lots of screws and some extra hands. Despite its awkwardness and large size, it’s doable.
We chose to pre-drill everything, holding everything square with drill bits at the top before drilling the remaining holes.
Next, we assembled the entire tube slide on the ground before lifting it up and into place. It wasn’t too difficult, but you’ll definitely need a partner or two to help you out with the assembly.
The tube slide lined up quite well with the mounting post, so the bracket attachment bolted on easily.
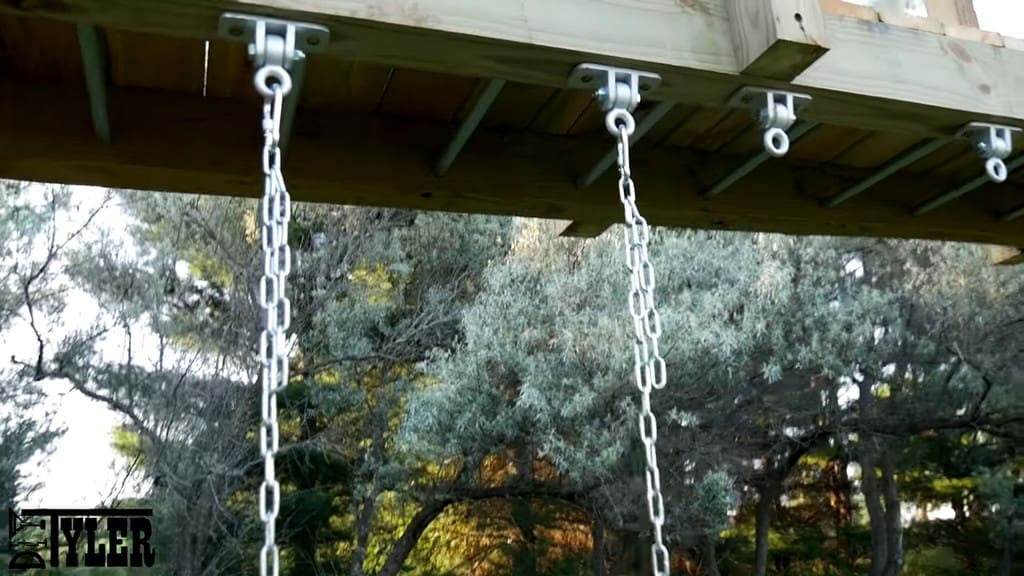
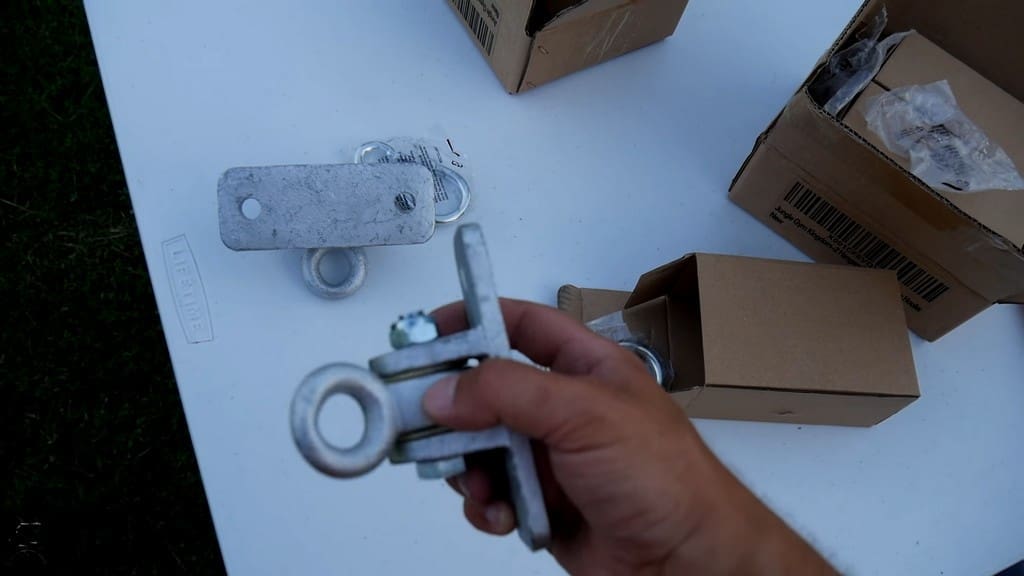
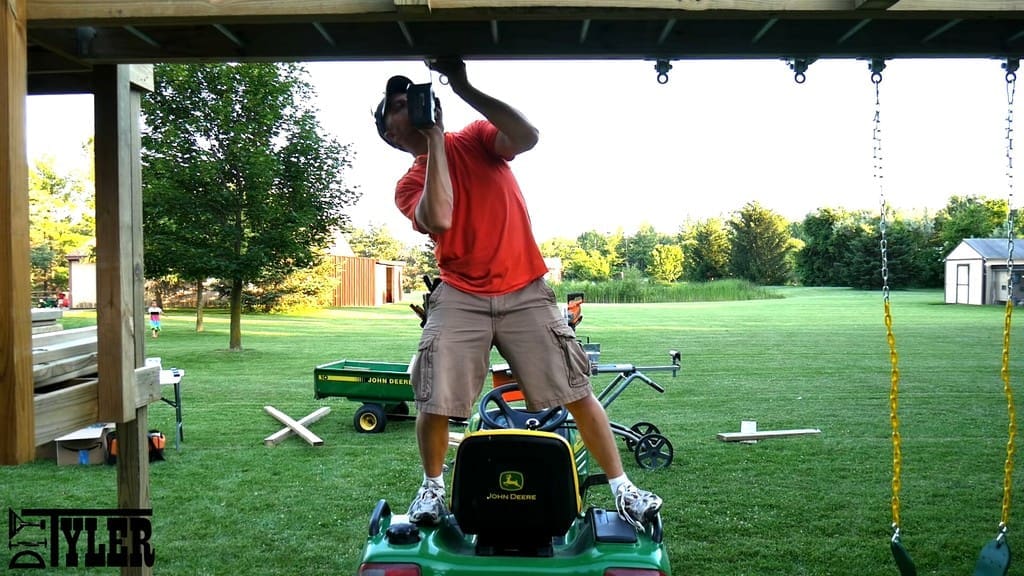
Assembling the Swings
For the swings, we used heavy-duty swing brackets fastened with 4-inch structural screws.
In addition to the links in this article, the paid build plans also include Amazon.com links for all of the relevant accessories for the DIY swing set.
Measuring the distance between swings was tricky, but fortunately, those measurements are included in the plans! Of course, if you alter the number of swings or the distance between swings for your own DIY setup, you’ll need to figure those measurements out on your own.
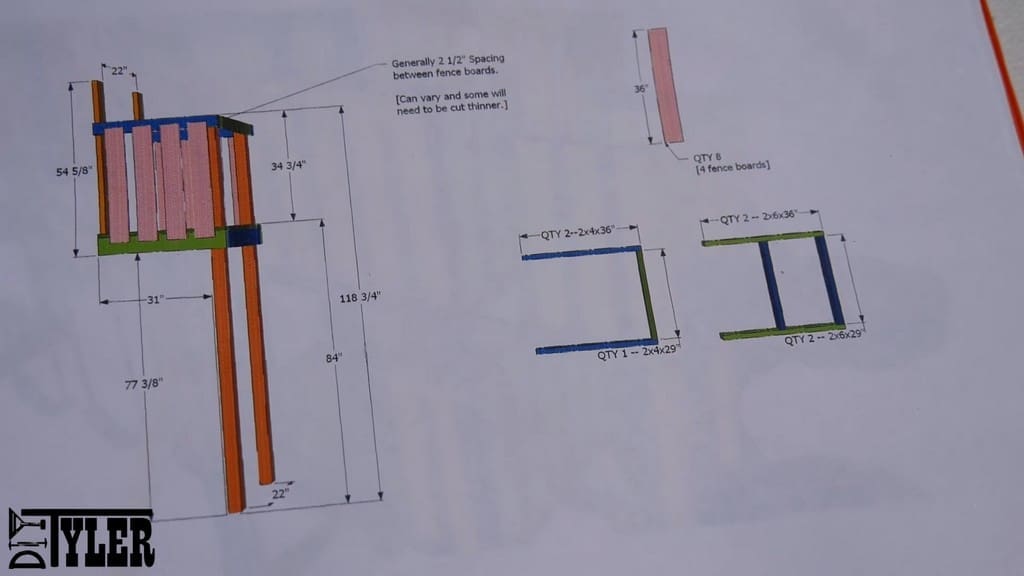
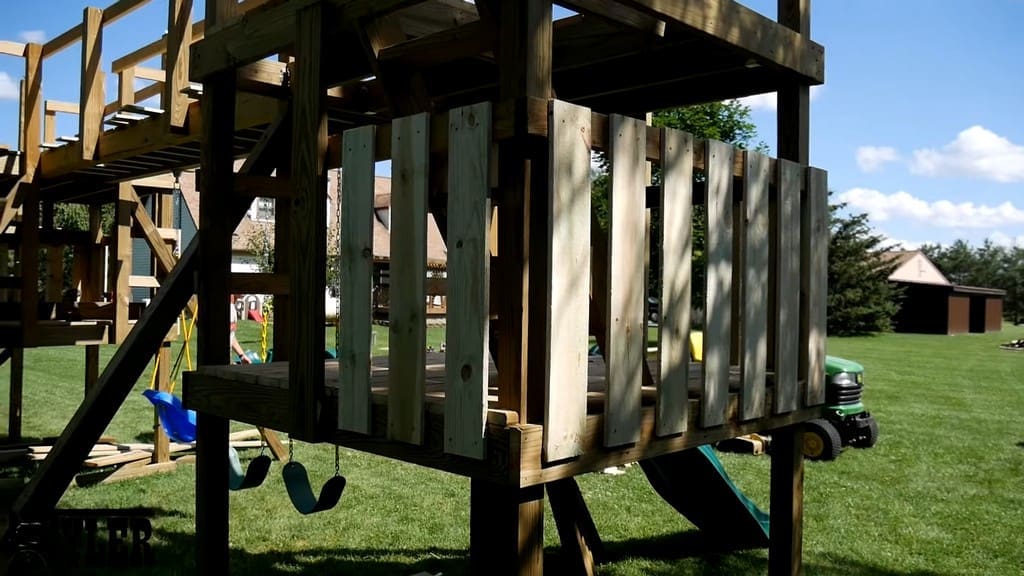
Building the DIY Swing Set's Fencing
We cut down 72-inch fence boards to use as material in order to enclose the sides of the swing set.
Regarding the fence boards, there may be some variance between what the plans say and what you end up doing for your own build.
Regardless of specific dimensions, you should start at the front corners of each tower and move along the outer edges of the bridge. You may have to cut some of the boards down.
Note the spacer that we are using. We made this ourselves and pinched it into place between each board as we were fastening it.
This marks the completion of the “fort” tower, so go ahead and use a Sawzall to cut off the surplus extensions of the 4x4s posts!
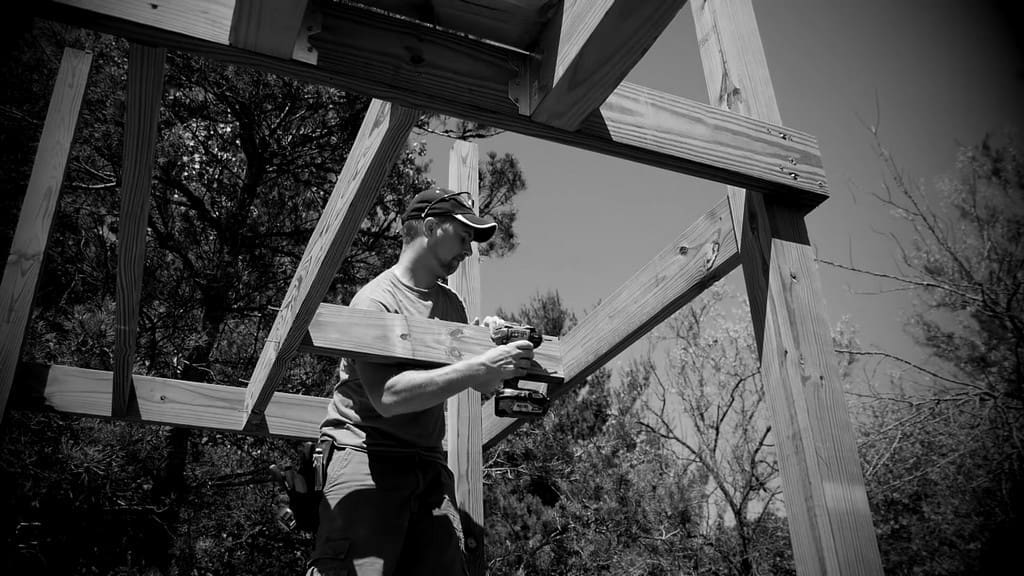
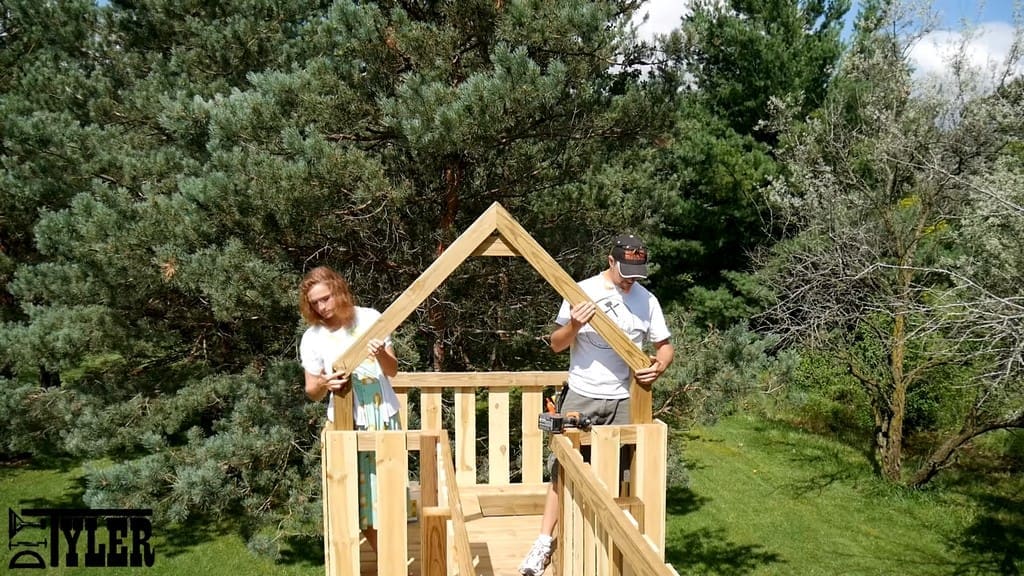
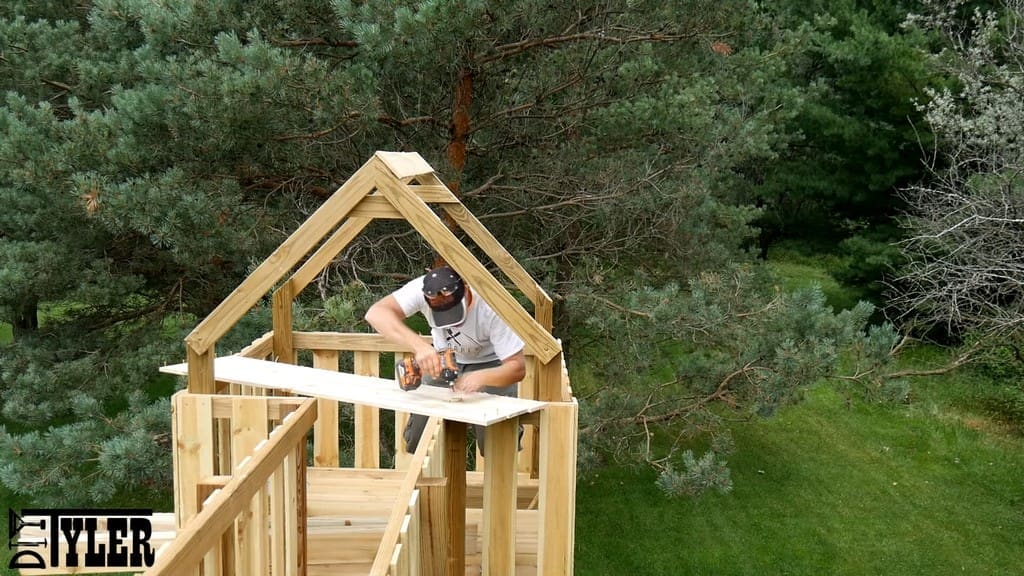
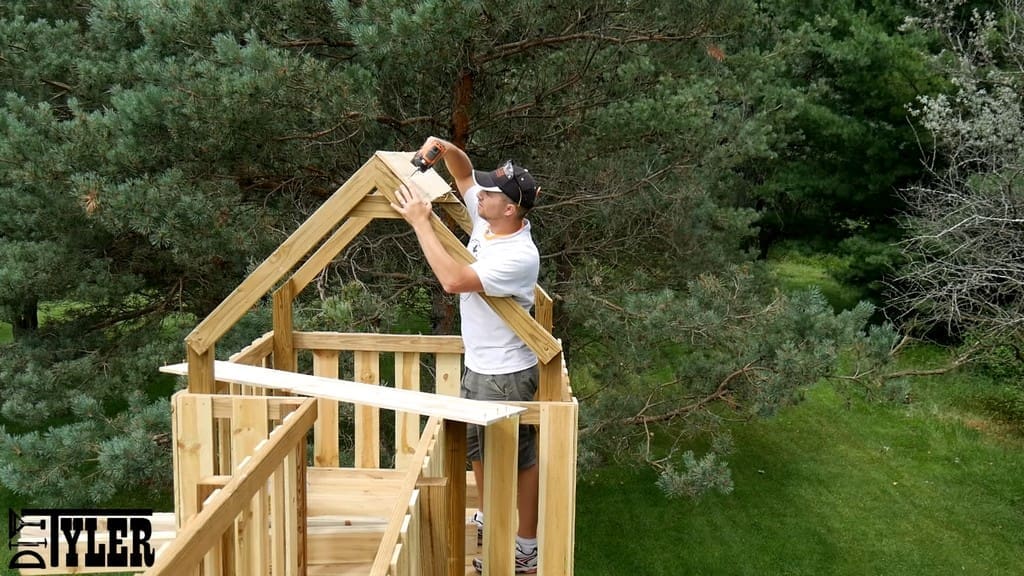
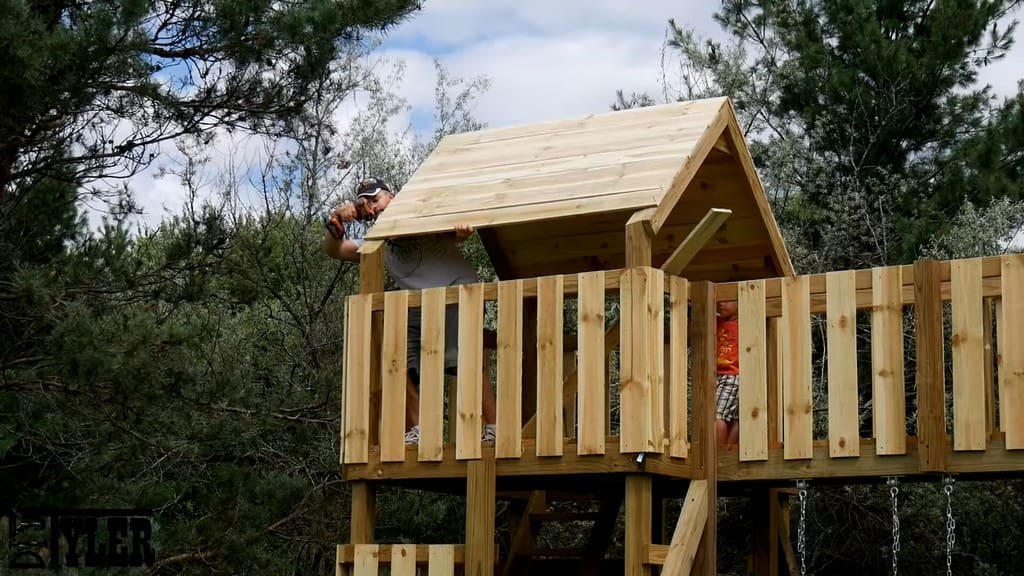
Building the "House" Tower's Roof
At the beginning of the roofing process, cut the roof trusses at the appropriate length and angle. Then, move everything to the upper level of the “house” tower, screw the trusses together (we used 2.5-inch screws), and get a partner to help you mount it into place.
After installing, we returned with a 4-inch structural screw to make sure that everything was firmly fastened and secure.
With the trusses in place, we used a Sawzall to cut off the excess pieces of the 4x4s.
We cut our roofing boards (also fence boards) to the right length, then pre-drilled some screws to avoid needing another helping hand.
With the roofing boards ready, we used four screws each to install the roof pieces.
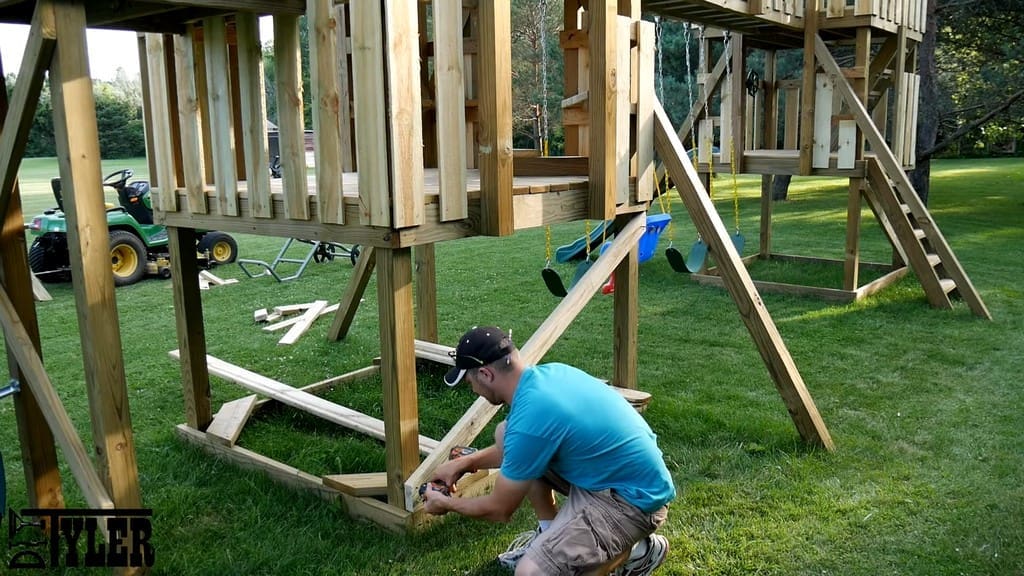
Finishing Touches on the DIY Swing Set
Having completed the roof, we added extra support to both towers with some diagonal beams on the bottom level.
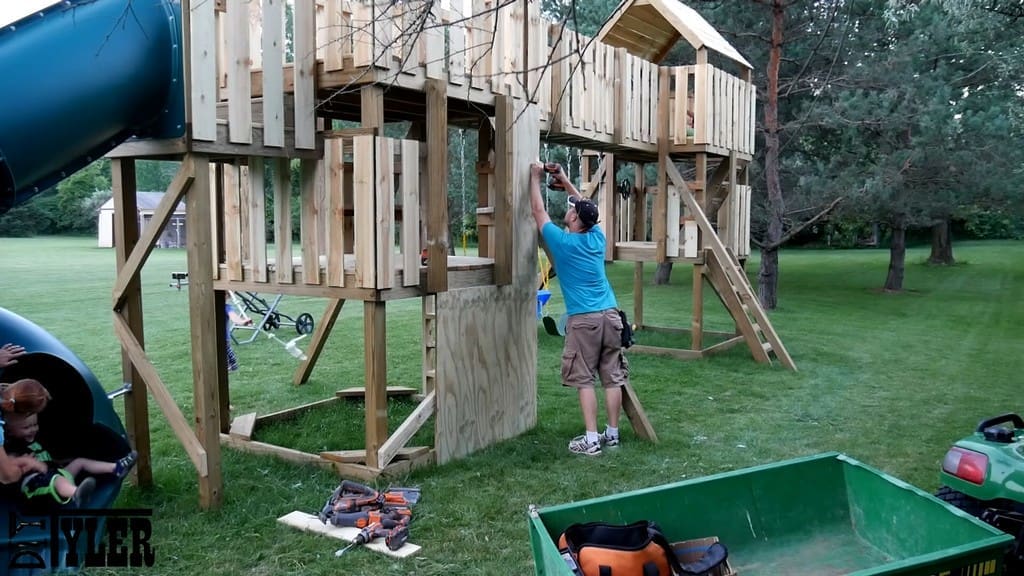
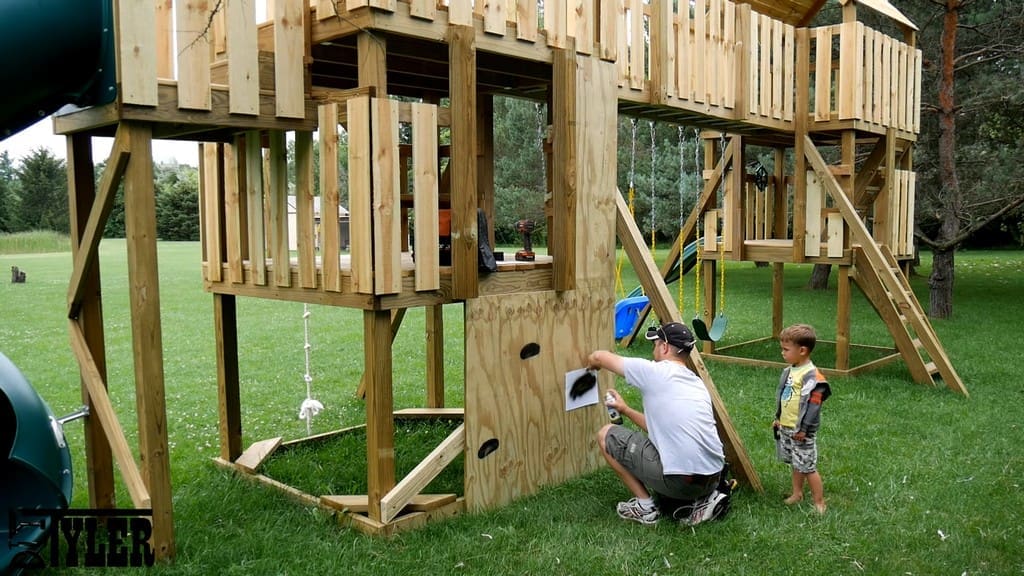
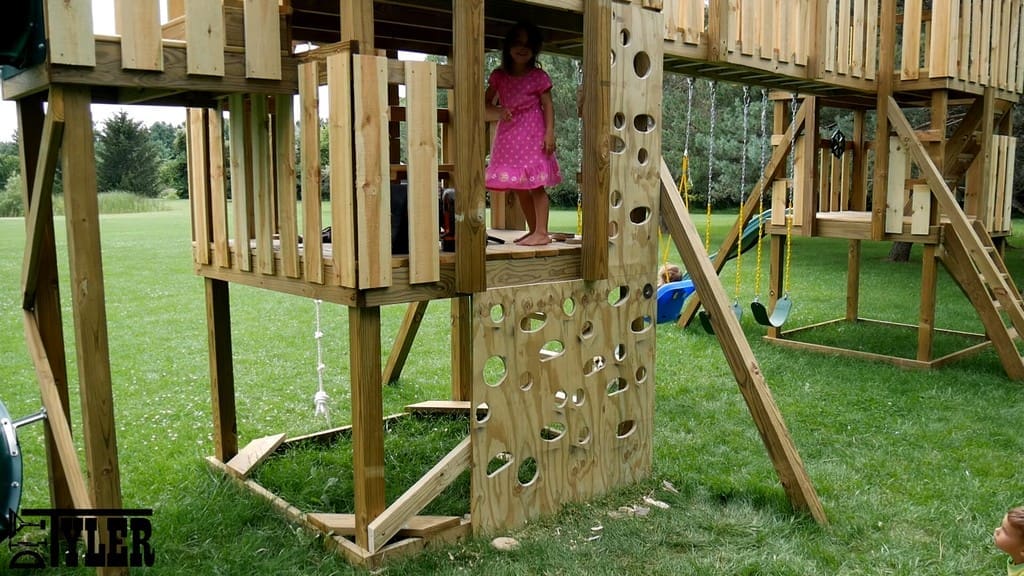
Next, we built and installed the climbing wall. We chose to go with a climbing wall instead of a typical rock wall in order to go easier on the children’s feet and give us more options for a fun pattern on the DIY swing set.
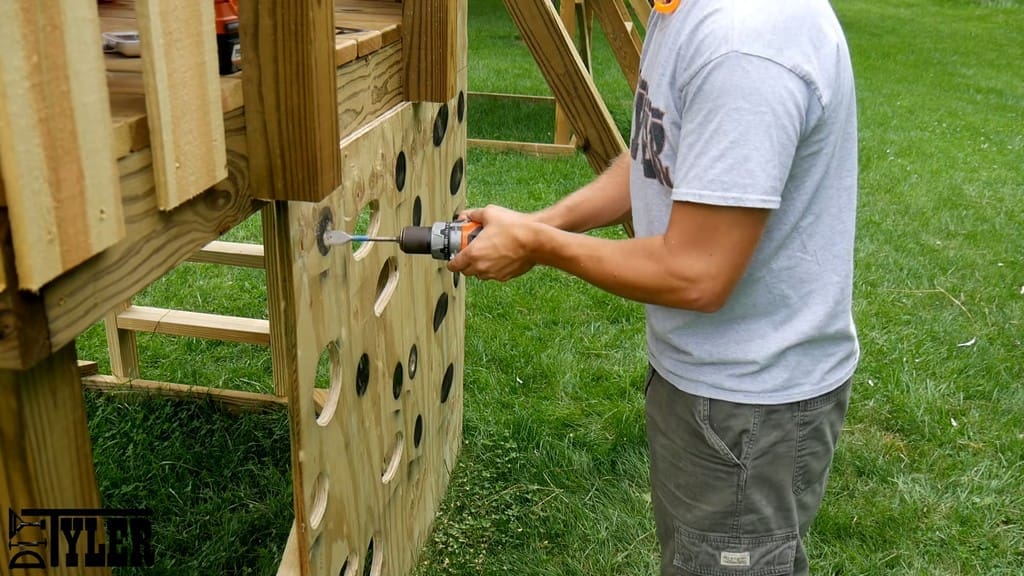
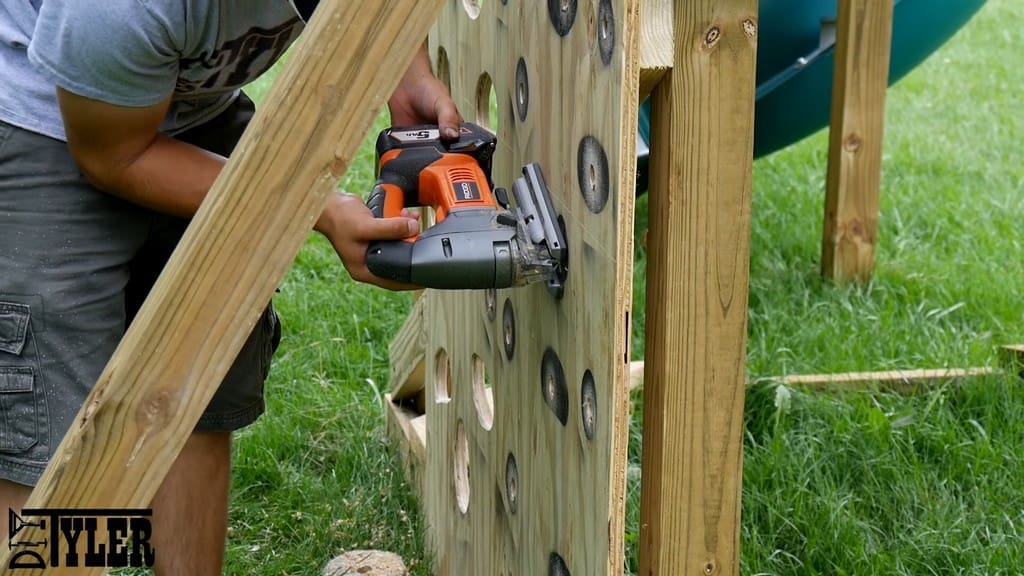
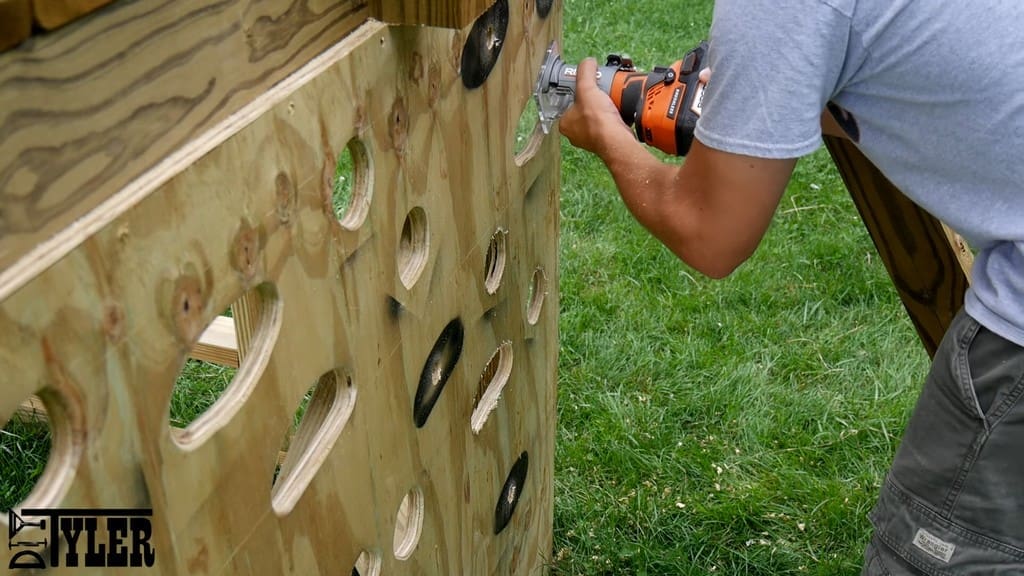
The appendix to the plans includes a set of four shapes that you can cut out to make a stencil. We used spray paint to mark the shapes onto the wall quickly, followed by pre-drilling and then cutting the holes out with a jigsaw.
To soften the edges and avoid splinters, we used a quarter-inch roundover on a router and routed both the inside and outside of each shape.
Here is the finished climbing wall, complete with a happy climber!
Final Thoughts
And that’s it! That’s how we built the world’s greatest DIY swing set.
The kids absolutely love it, their friends love it, and it’s actually been hard to get them to off of it ever since we built it!
Again, if you’d like to build this for yourself, check out our highly detailed, color set of plans at this link.