Building the World’s Greatest DIY Swing Set | Part 1
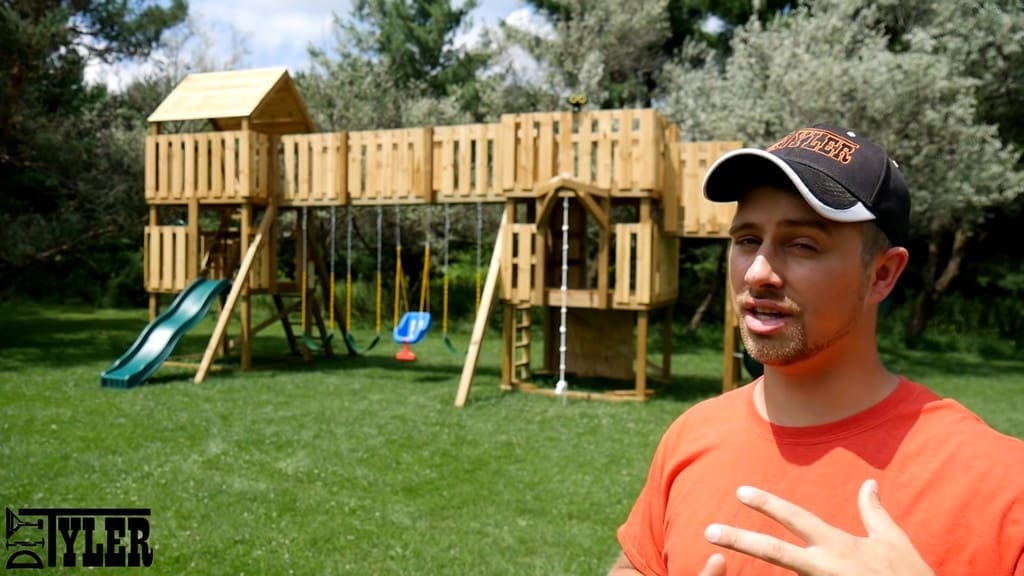
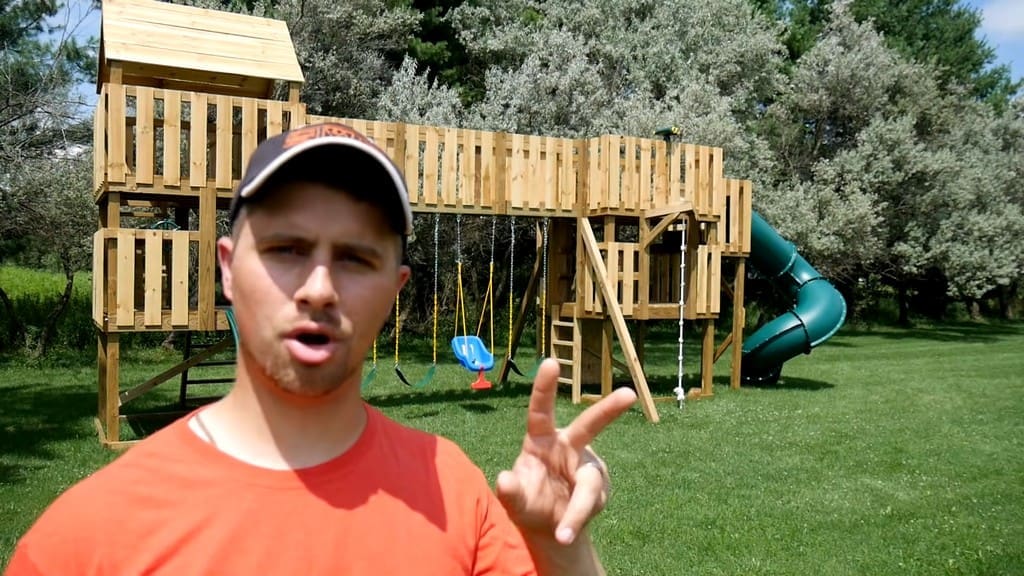
Even if you don’t think this DIY swing set is the absolute greatest in the world, it’s still pretty rad!
It's got everything, including...
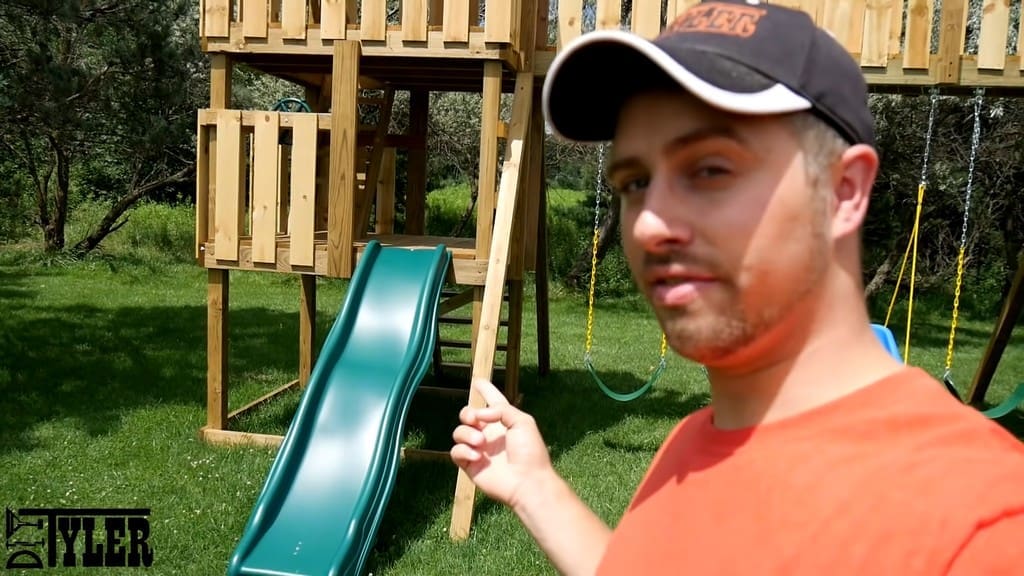
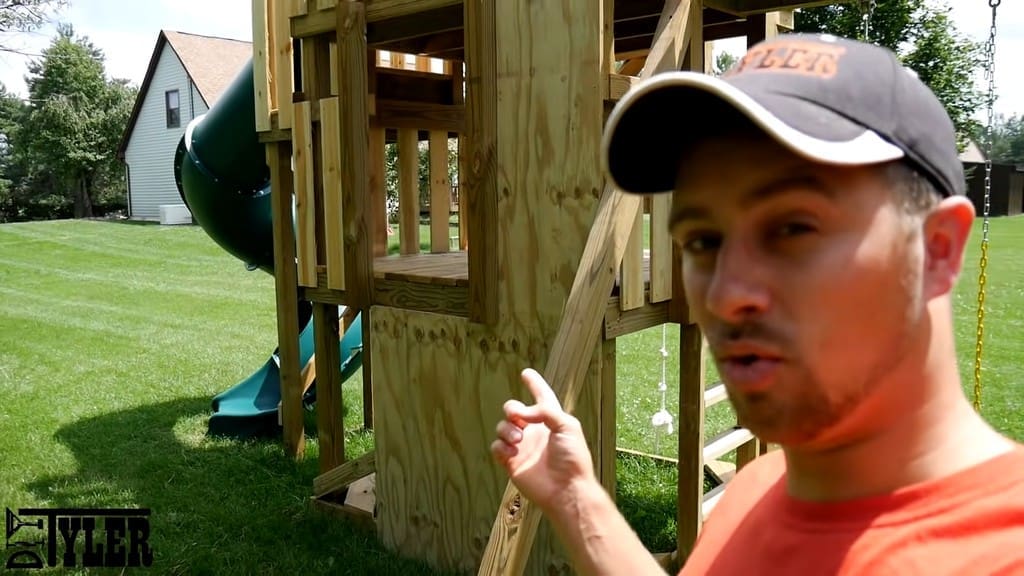
A wavy slide...
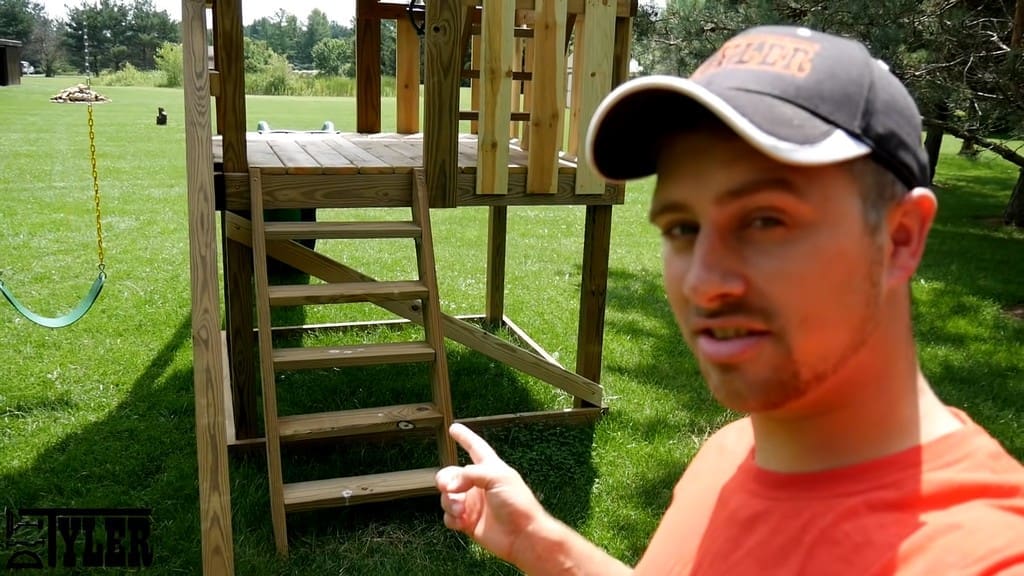
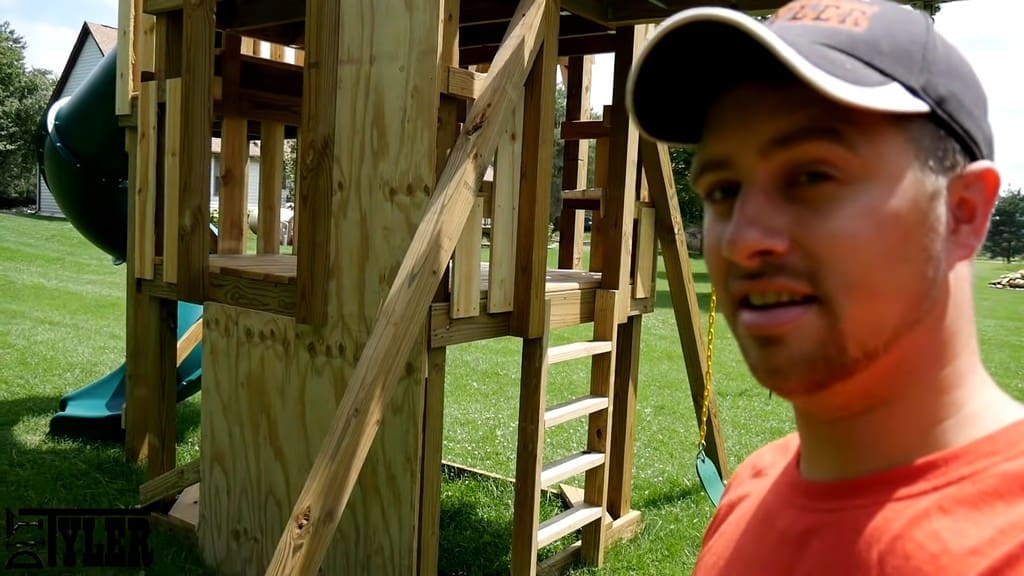
Stairs to climb...
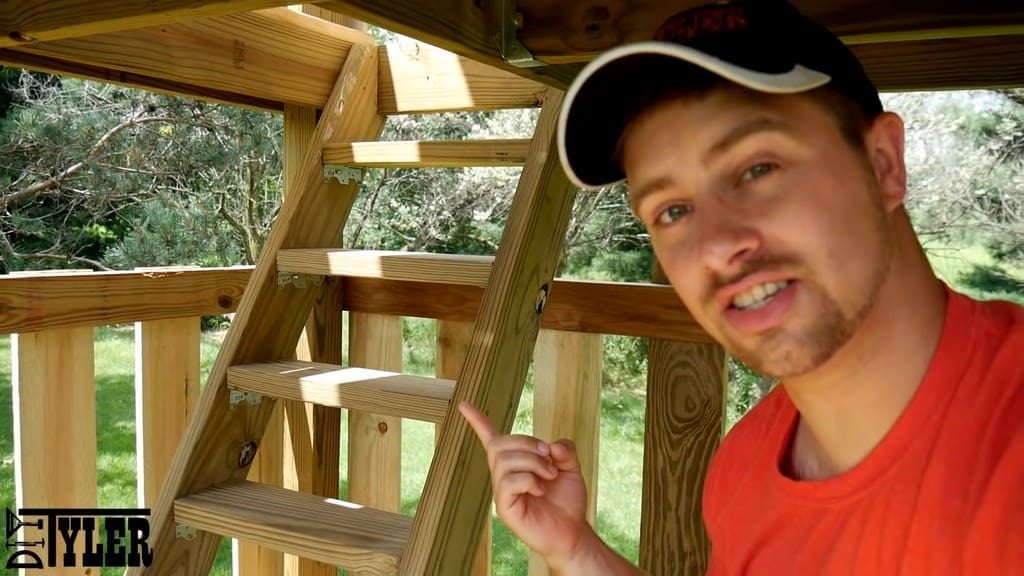
A little ladder...
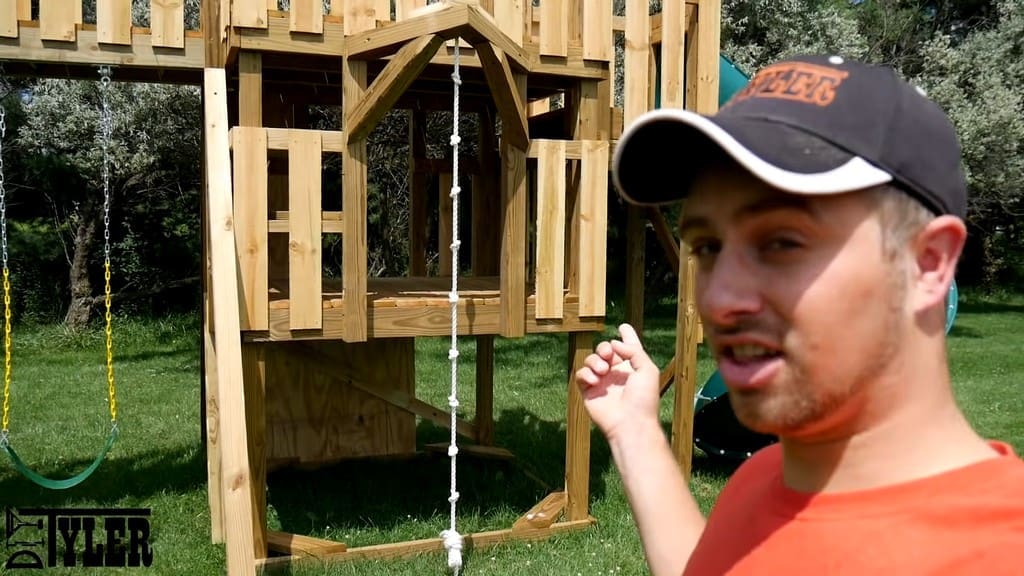
A climbing wall...
A climbing rope...
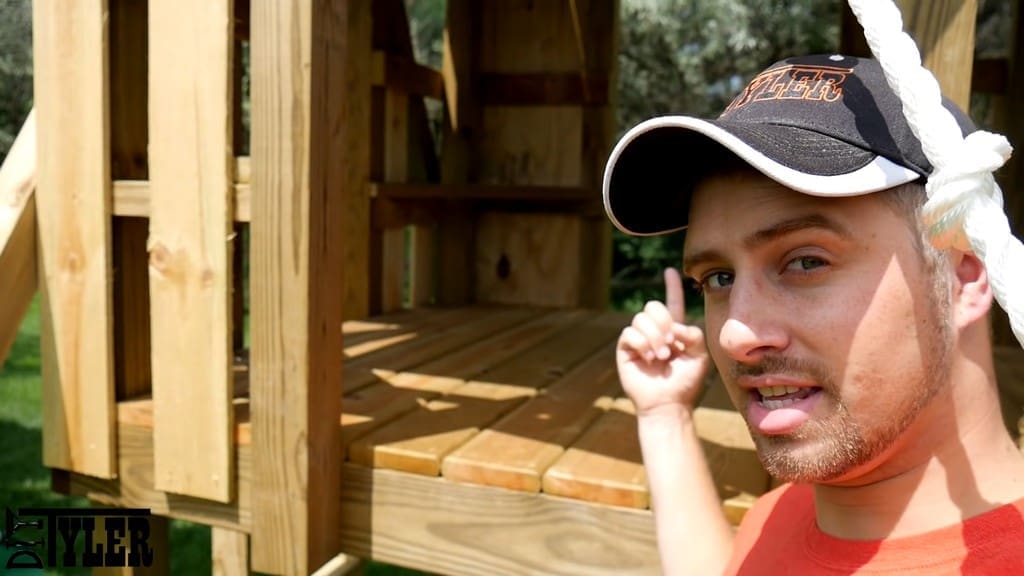
Interior benches...
An interior staircase...
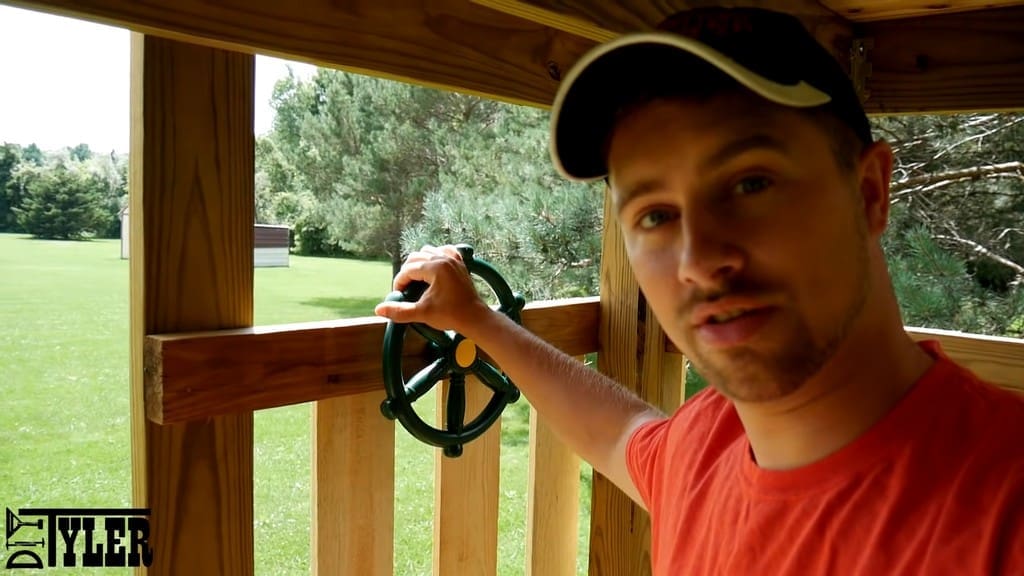
A cute little steering wheel...
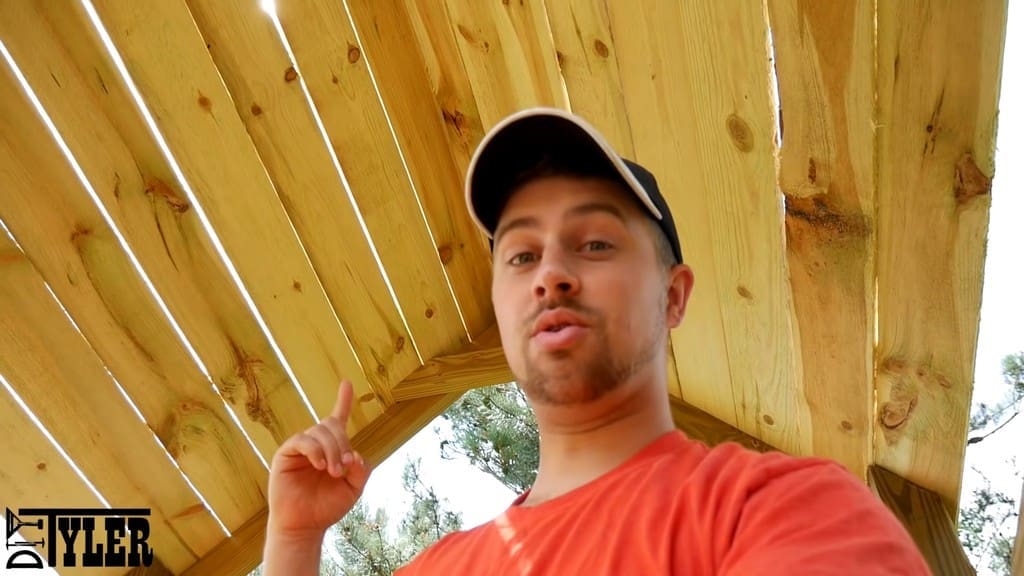
A sweet roof...
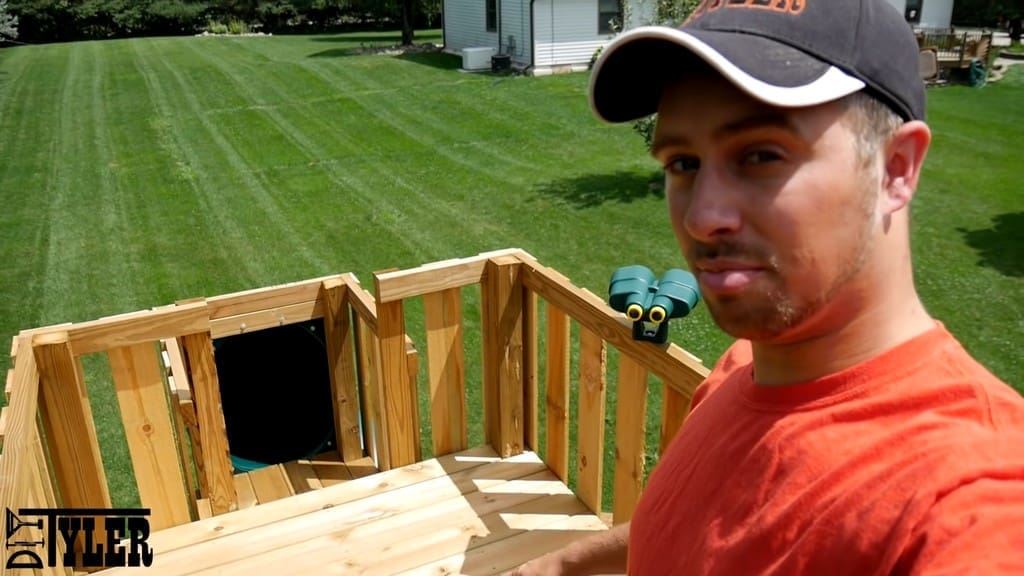
A gorgeous view of the backyard...
A second tower with another sweet view...
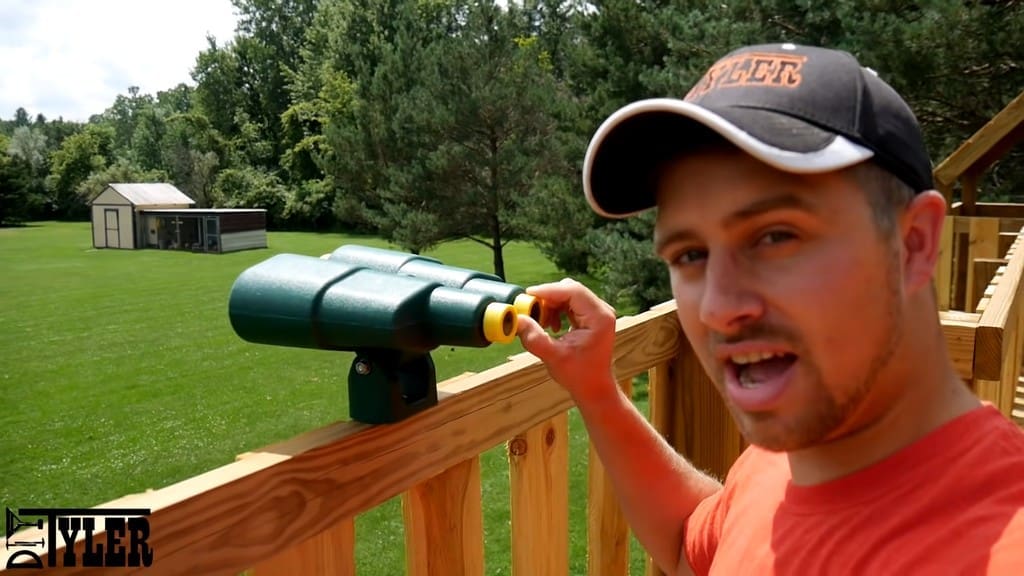
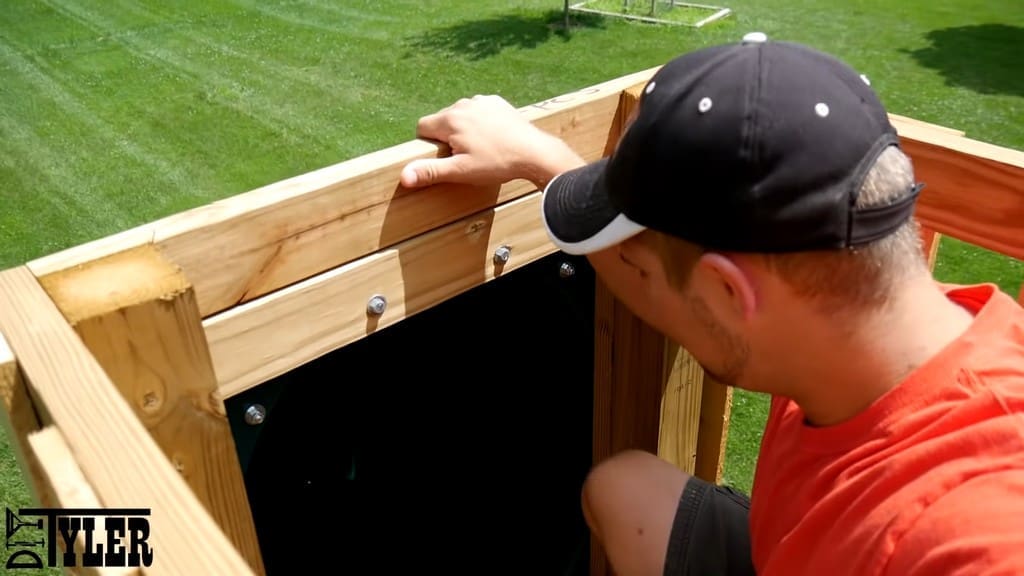
A set of mounted binoculars...
A spinning tube slide (which isn't quite Dad-sized)...
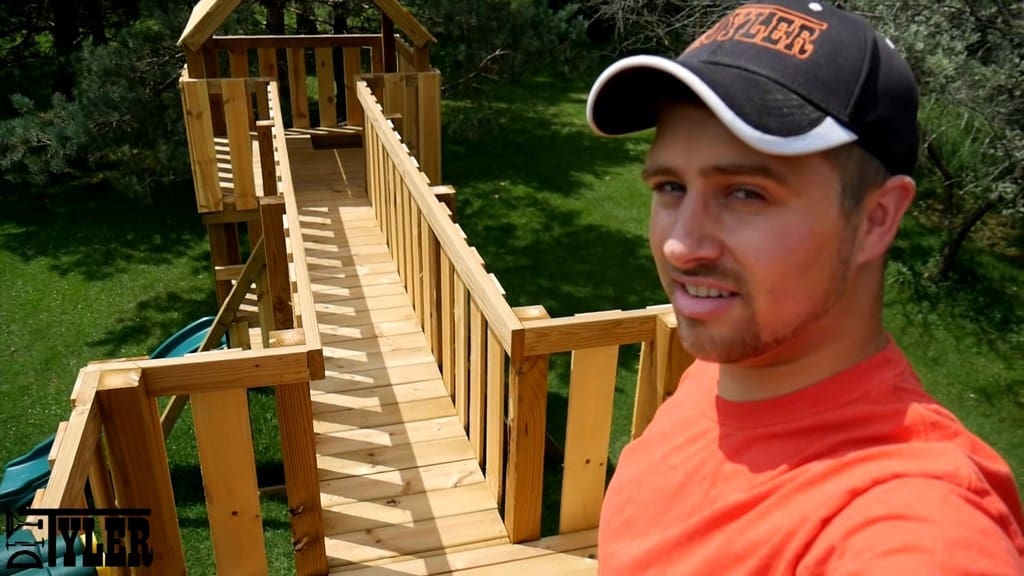
A bridge connecting both towers...
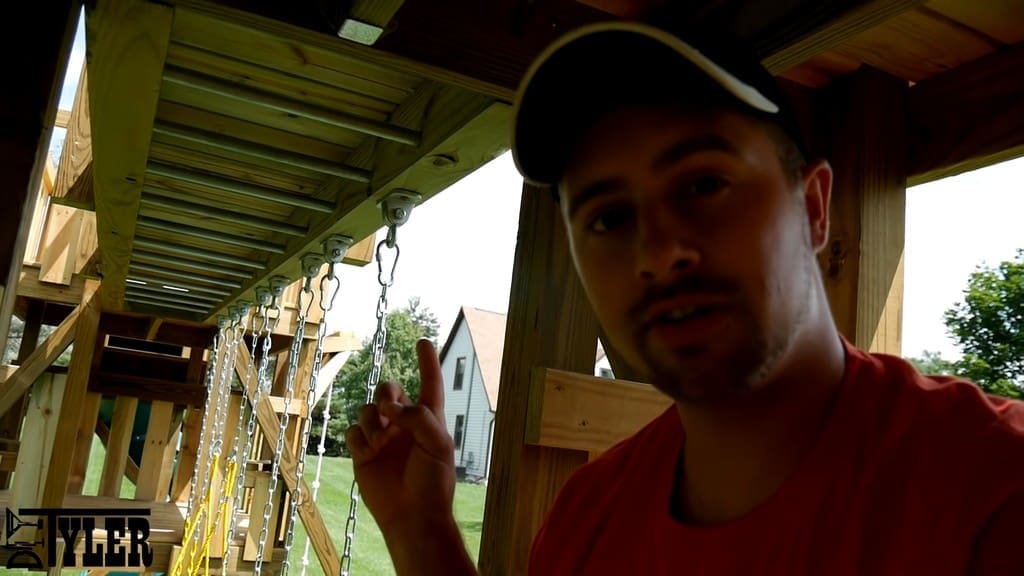
Monkey bars on the underside of the bridge...
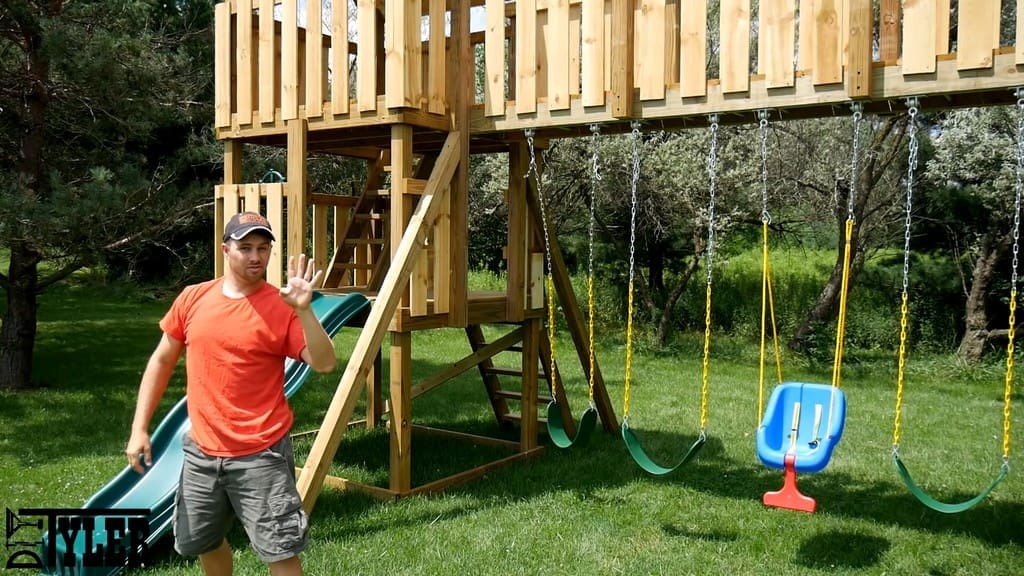
And four, count 'em, four swings!
Needless to say, this DIY swing set is awesome. The kids and their friends have been playing on it non-stop.
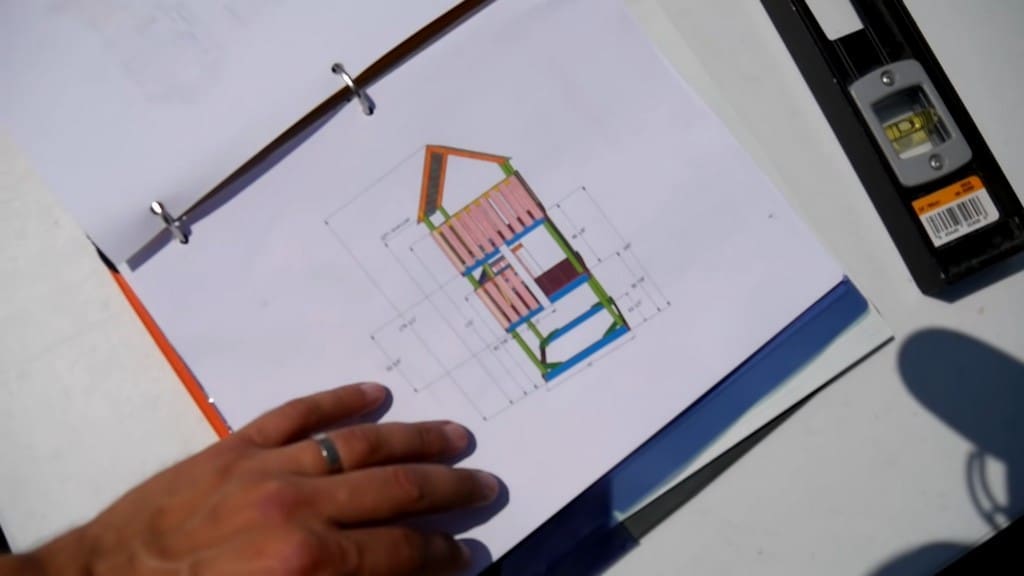
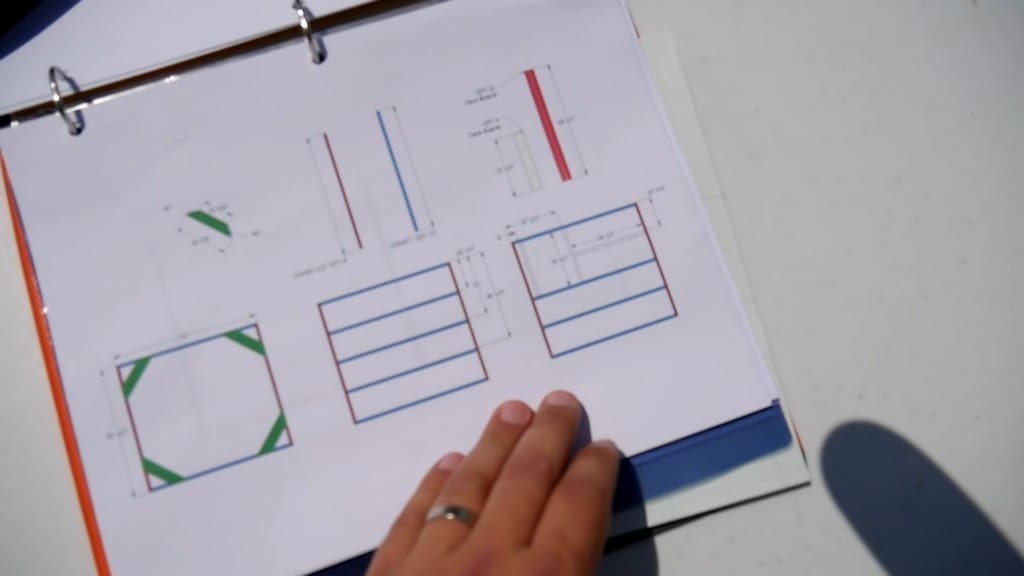
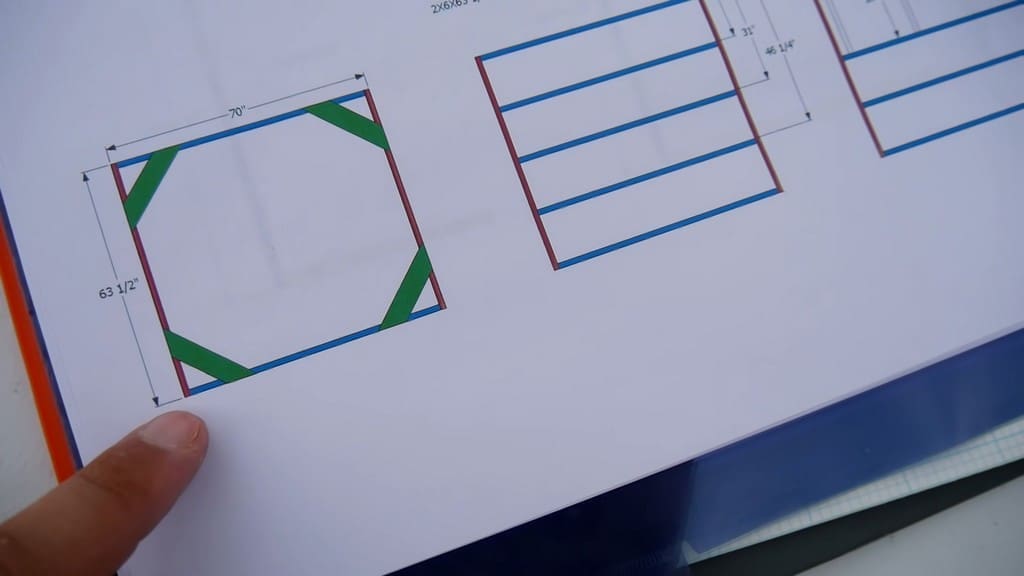
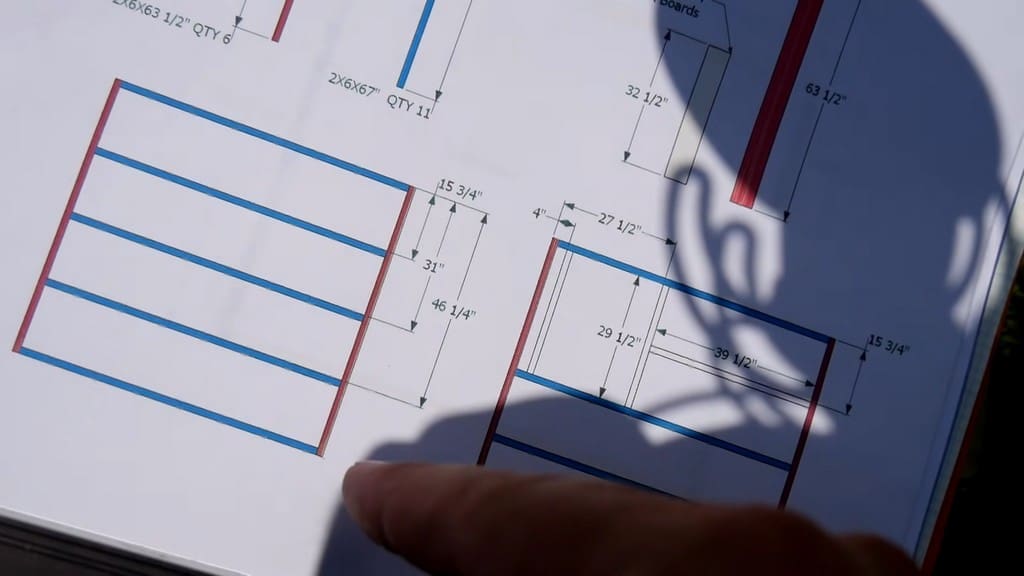
On top of everything else, the build isn’t very complicated, though there are a lot of different parts. The highly detailed, color-coded plans (available for purchase here) took us about it 30 hours to build.
Any hiccups we ran into during this build have since been ironed out for the plans that are available on the website. Since that is the case, the plans in the video above and the pictures below won’t exactly line up with the plans currently available, so rely on the plans for any measurements.
The entire set, including the slides, swings, and binoculars, cost a total of $2,300 to build. This pricing will vary somewhat based on the cost of lumber in your area. The plans contain links for all of these supplies, as well as QR codes that jump to relevant sections of the build video above.
This epic video is the first of two parts for the DIY swing set, so be on the lookout for that upcoming article, or check out the Part 2 video here.
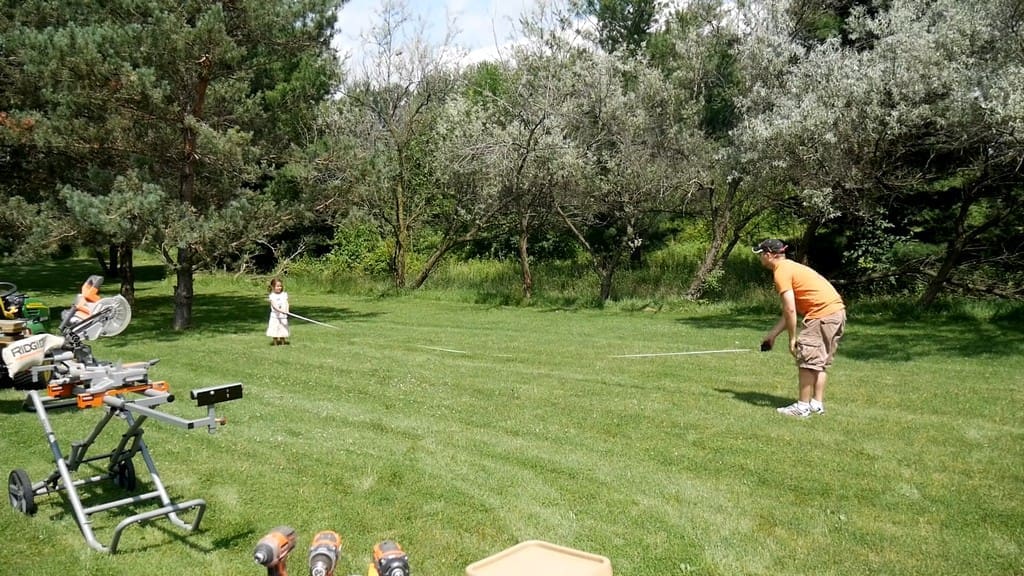
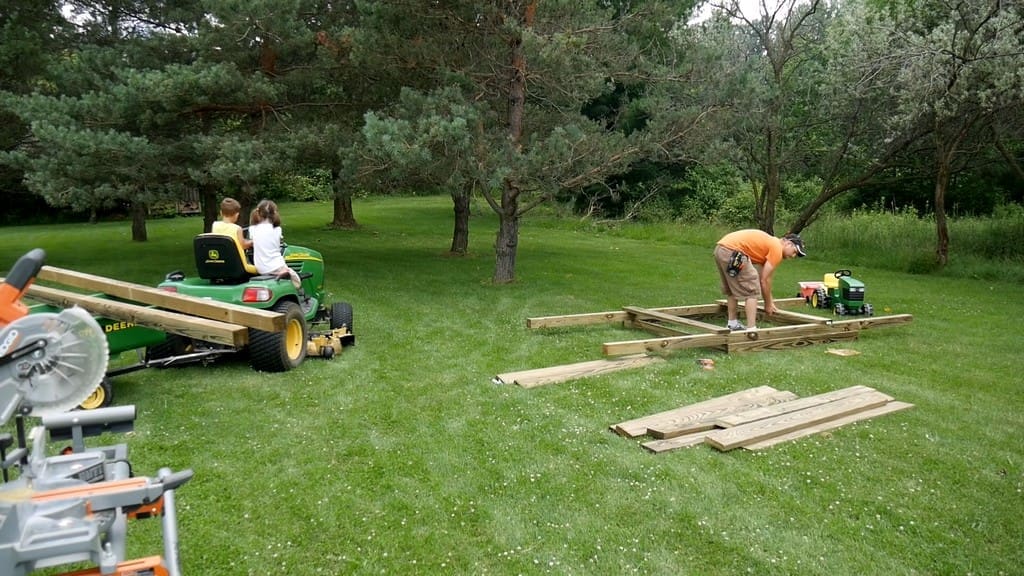
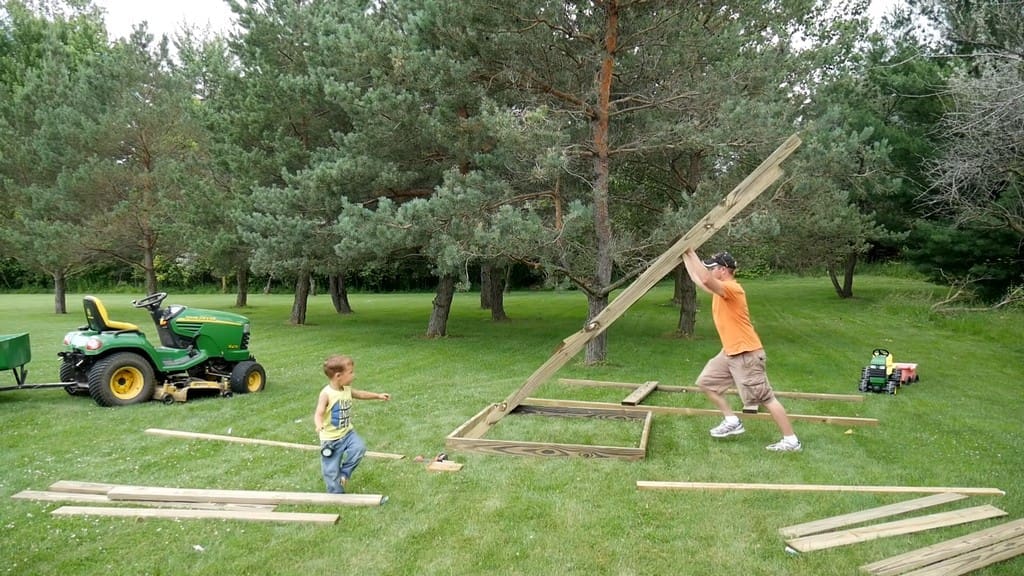
Assembling the DIY Swing Set's Base Frame
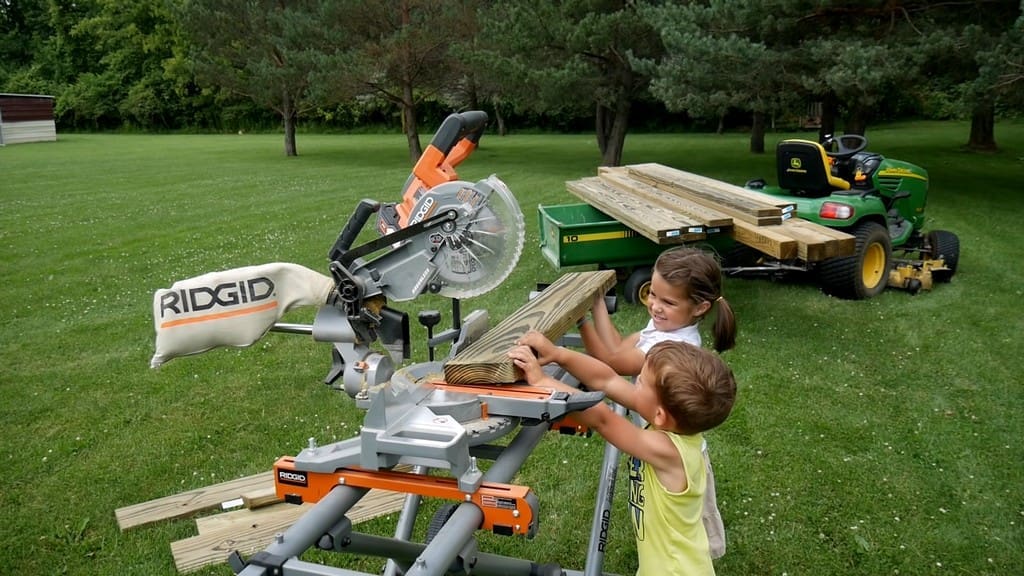
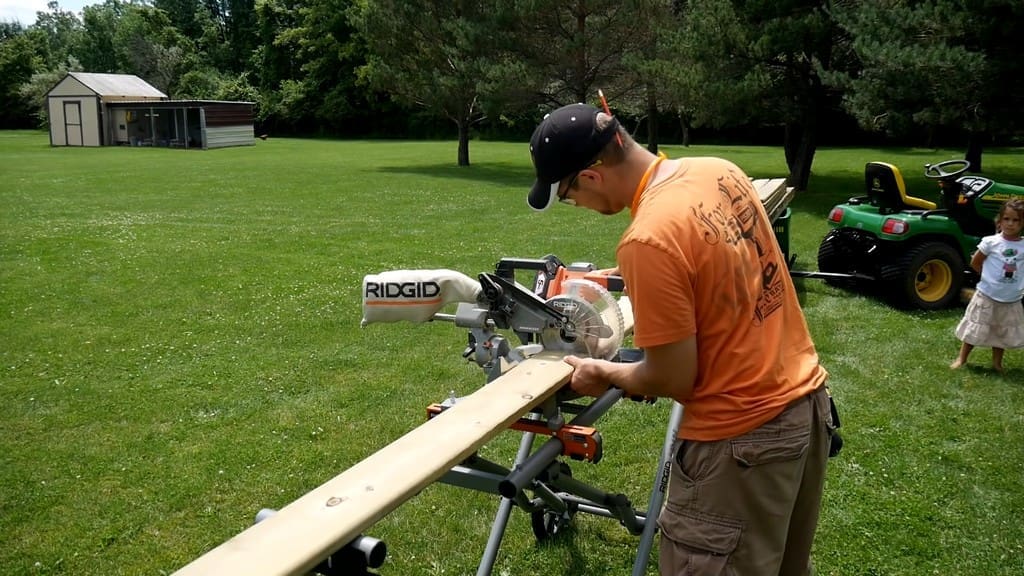
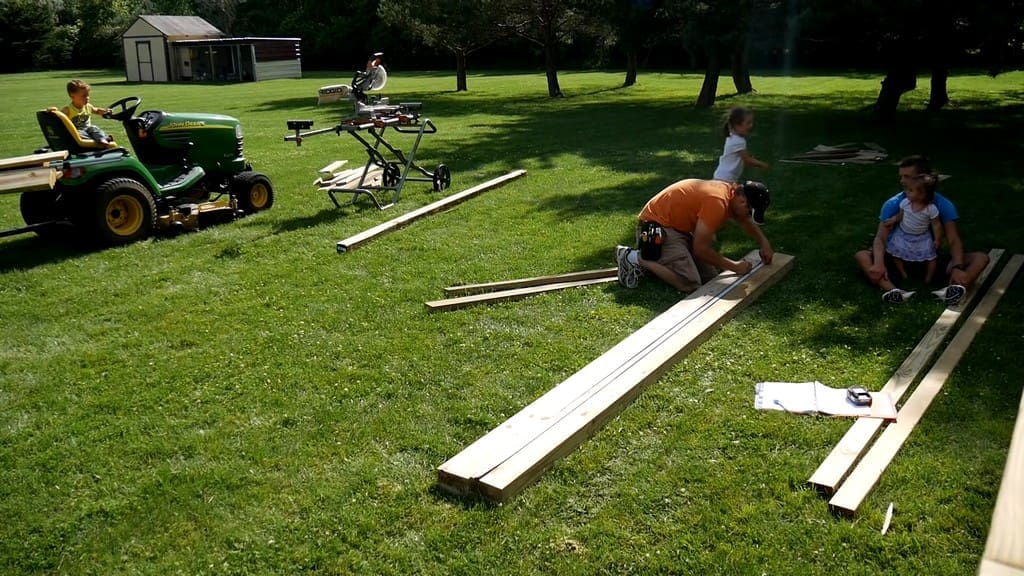
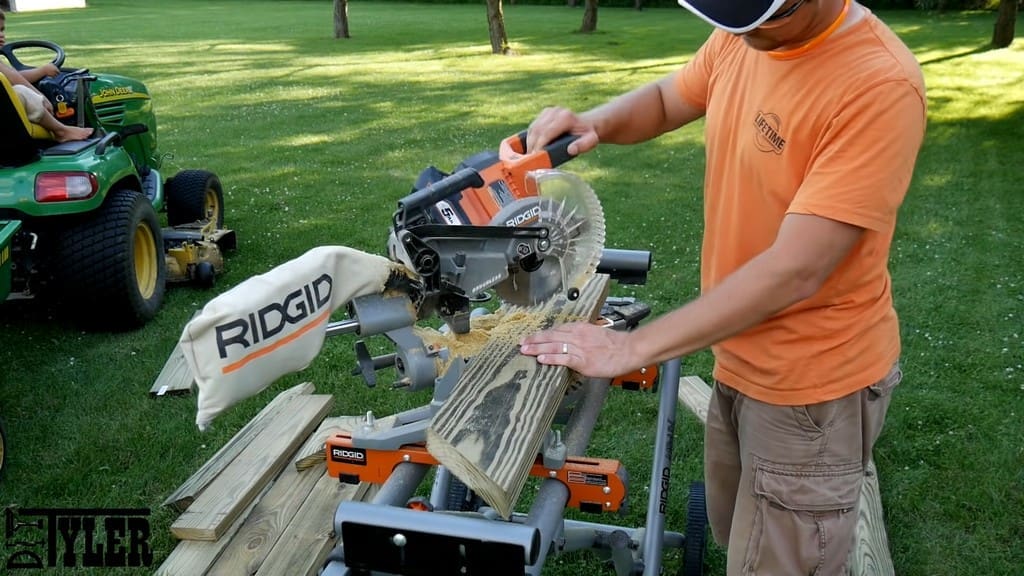
After measuring the space in the yard for our build, we got to work on the frame.
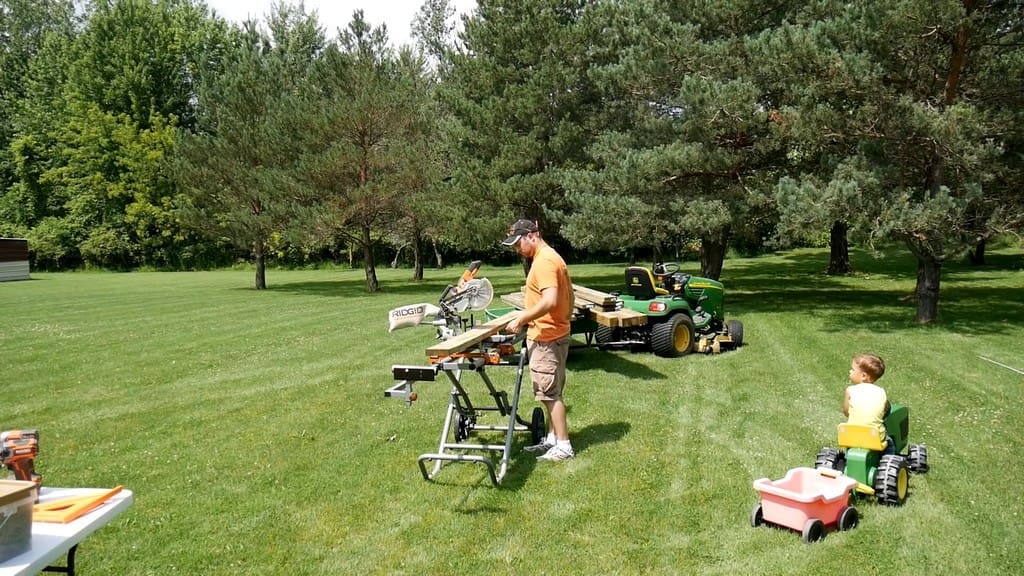
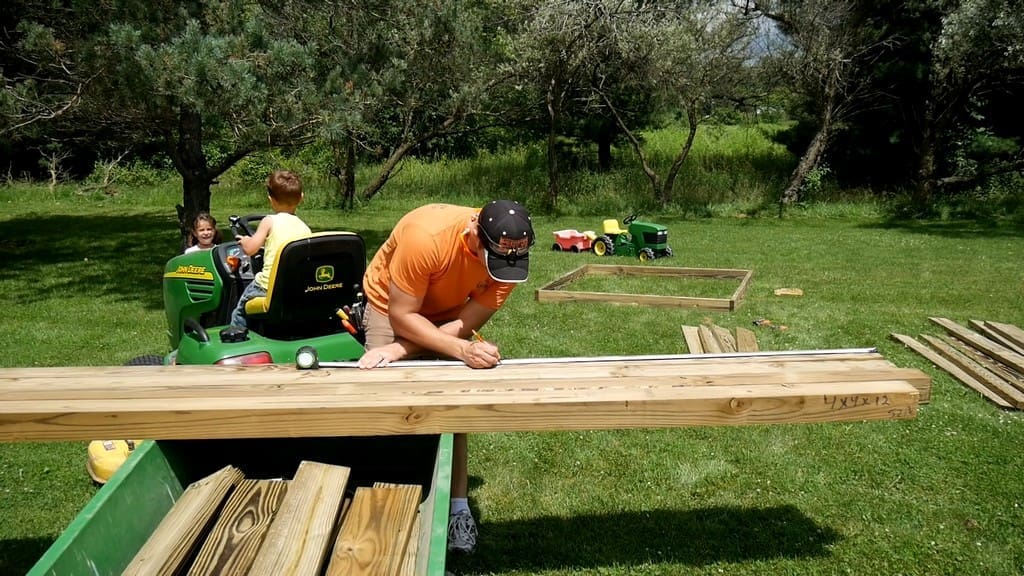
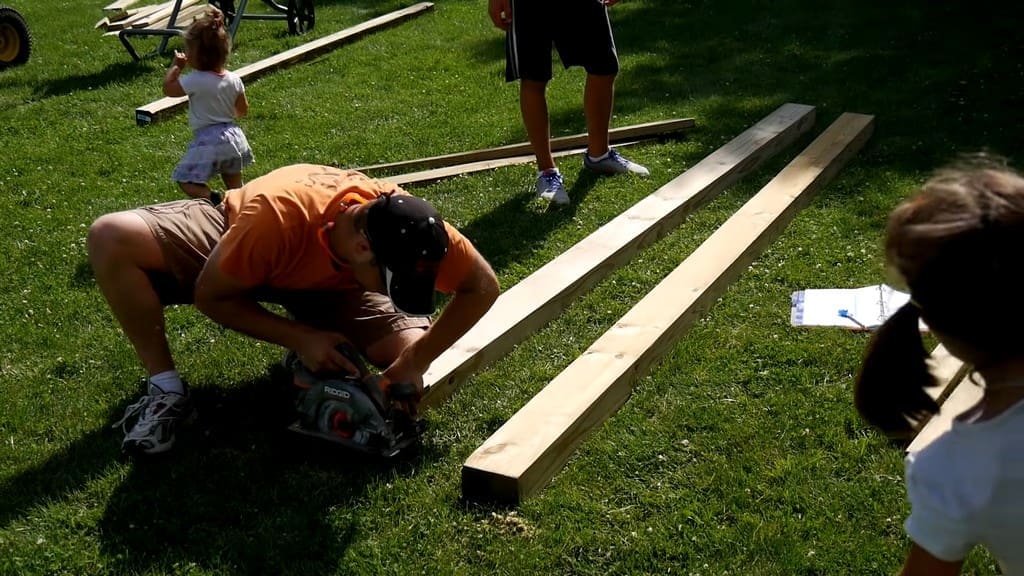
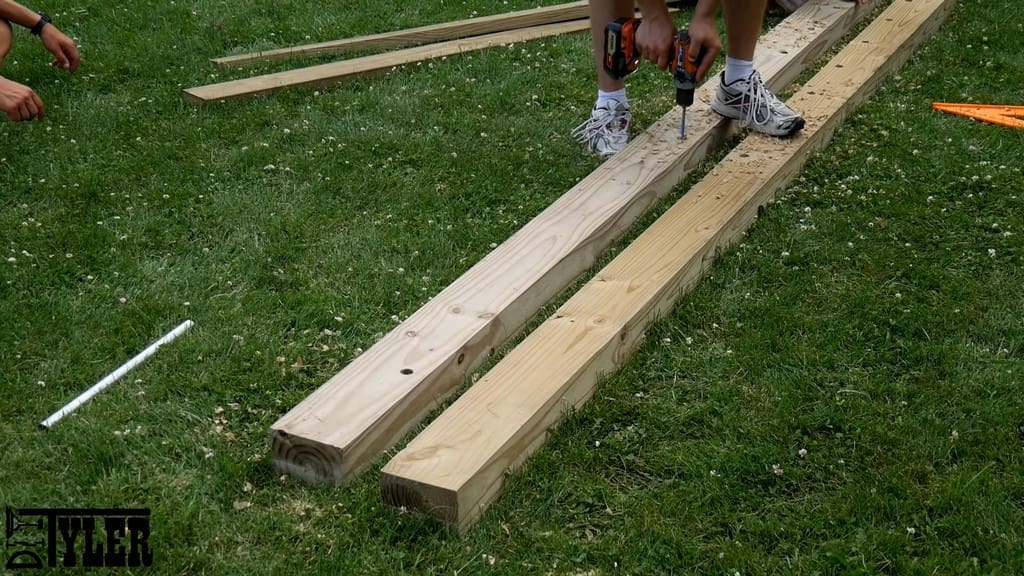
We started by cutting lumber with our miter saw. It is essential to make sure that the boards are correctly cut for the outside of the frame, otherwise, the rest of the boards won’t line up.
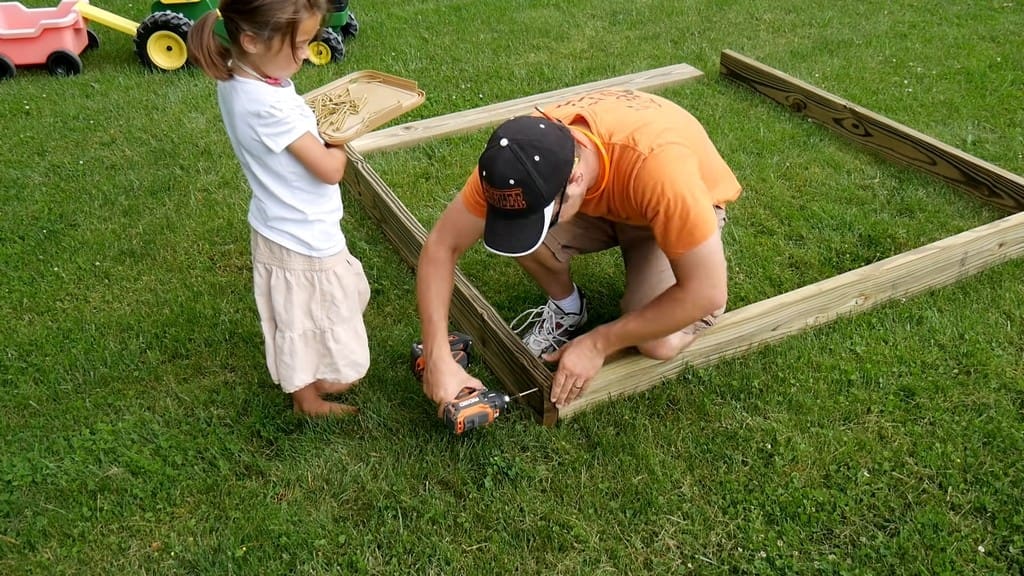
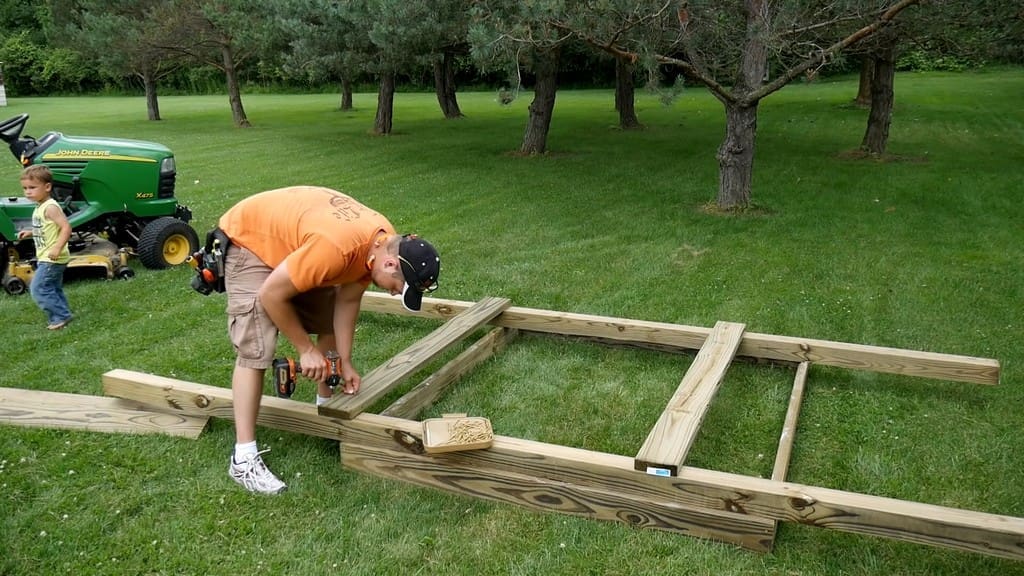
After cutting the frame boards, which only took a few minutes, we assembled the outside of the bottom frame.
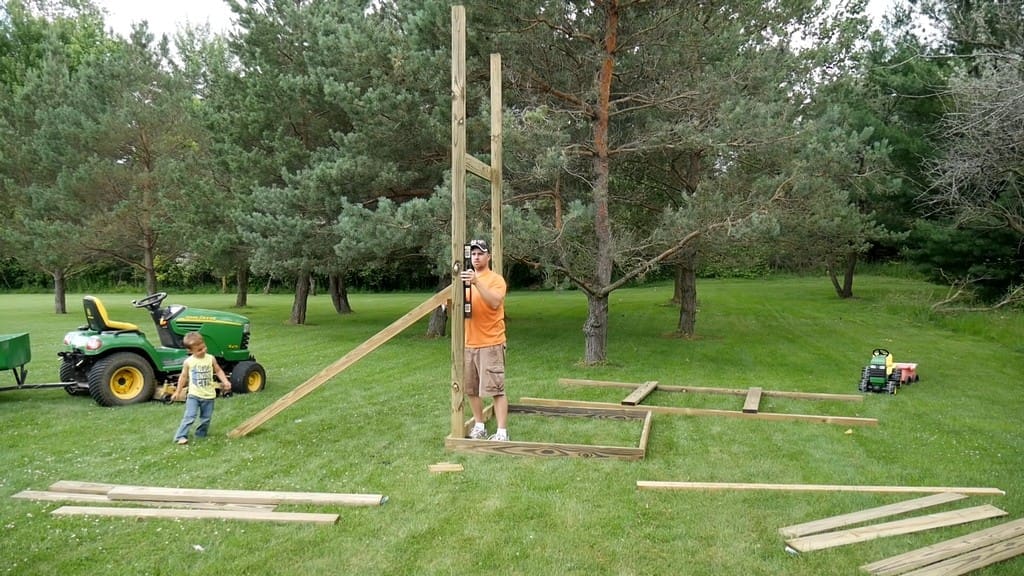
Don’t forget to measure the base frame to make sure it’s in square by measuring diagonally across from each corner. Use a level measure to check that the frame is as level on the ground as possible.
You want as strong and precise a base as you can manage to build up from for the rest of the project.
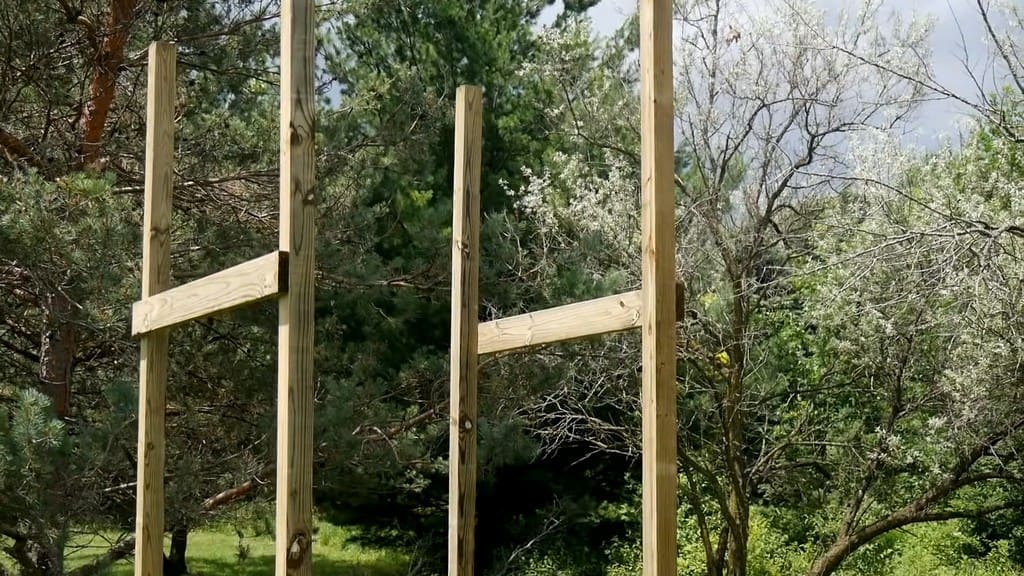
We next made two marks on each of the four 4×4 boards. These marks were for the bottom of the rim joists to be installed to hold the floors in place.
Building the Wall Sections of the Towers
Measuring the Individual Sections
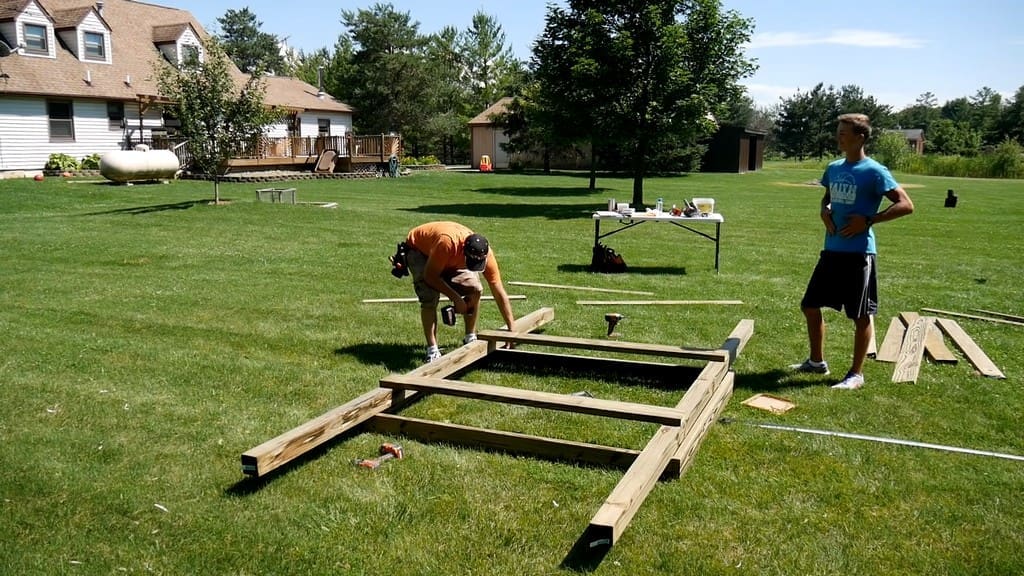
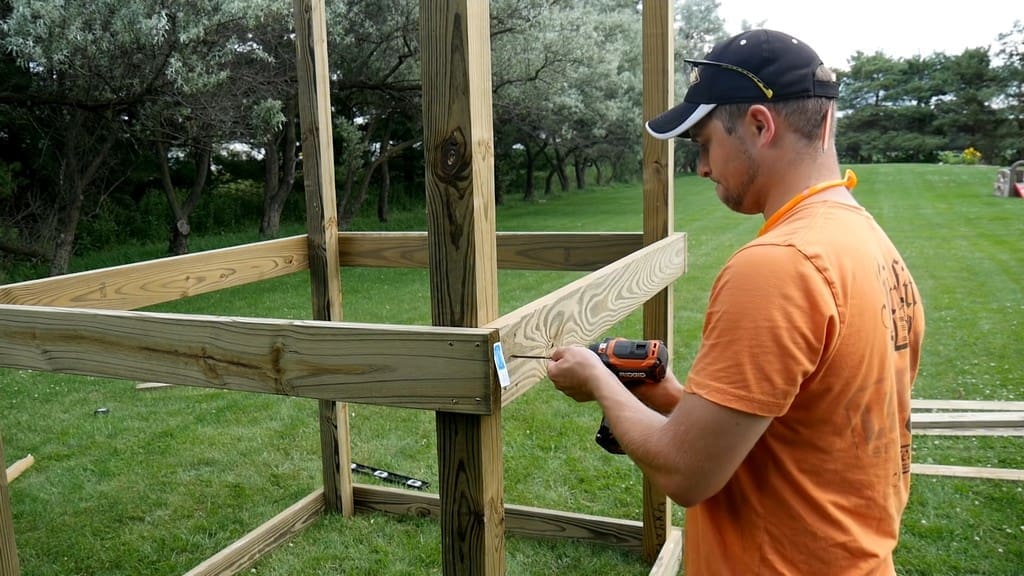
We laid out the lumber for each new section of the “house” for assembly on the ground, like what you might do with a wall. We used the base section and the marked lines as measurement references.
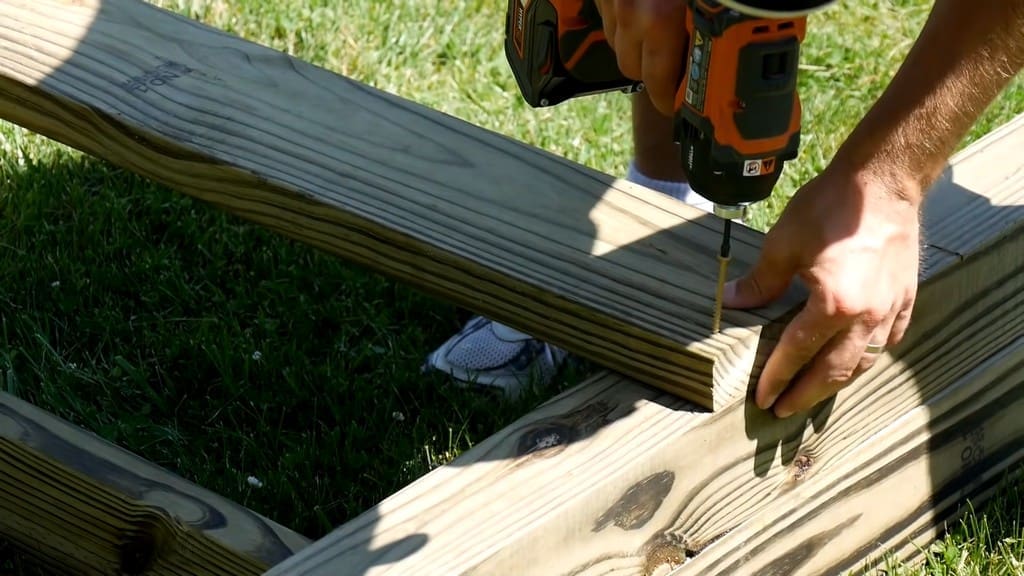
After drilling one screw into each corner of the rim joists with our RIDGID driver, we made sure that the entire assembly measured up to the base frame, which has already been squared and made level. Certain that the new section is square as well, we were free to add the remaining screws.
To make it easier on our future selves, we added a few screws to the bottom of the base-side of the wall sections, which made them ready to drive into the 4x4s once they were up and level.
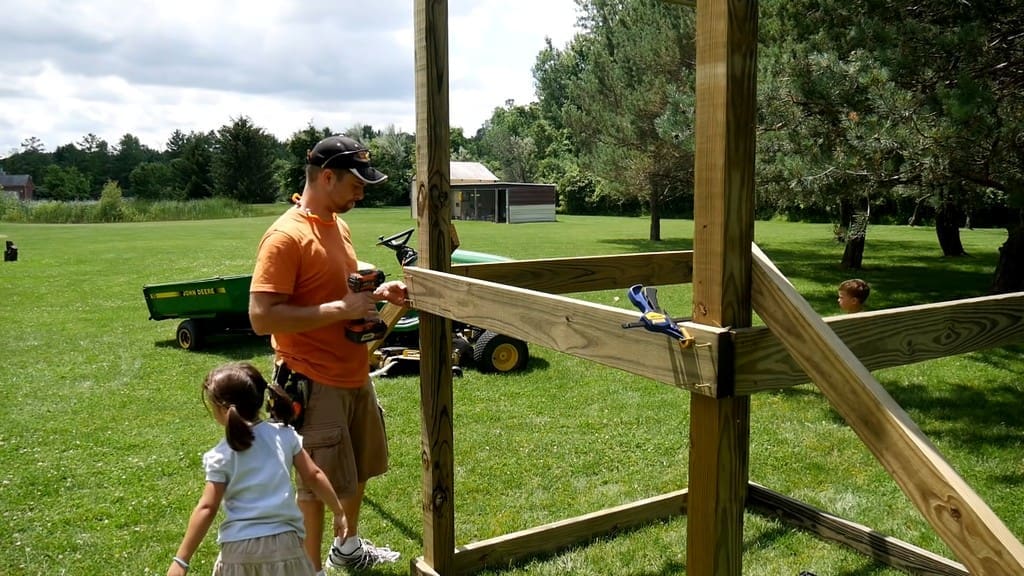
Installing the Rim Joists
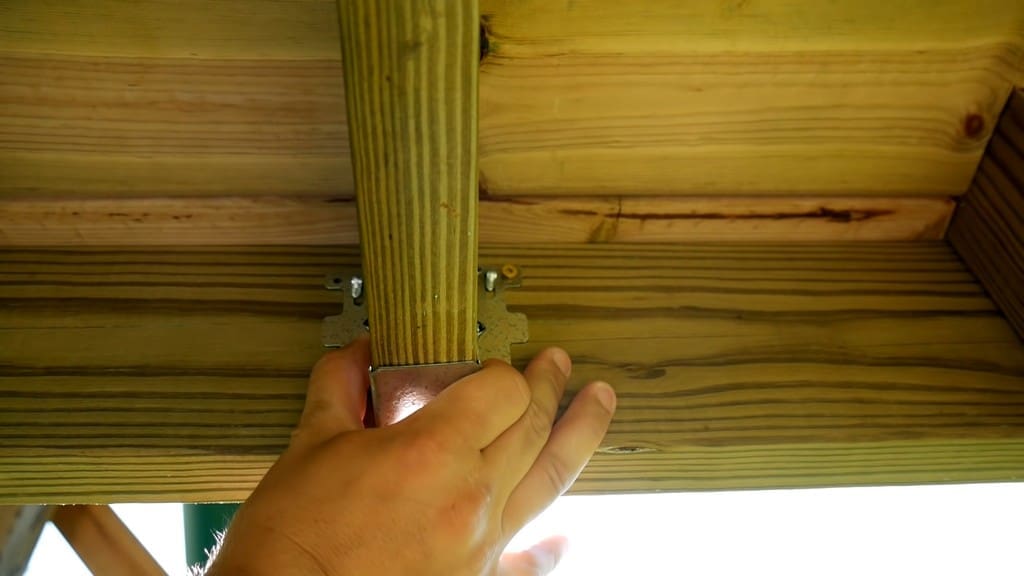
The remaining rim joists were just long enough to give us trouble when installing them. So, we clamped them and drove in a screw on the opposite corner for each one. We drove in the remaining screws after making sure everything was plumb.
We put four 2.5-inch deck screws into each corner of the floor support, plus a 4-inch structural screw (equivalent to a lag bolt) for additional support.
Installing the Floor Joists and Floorboards
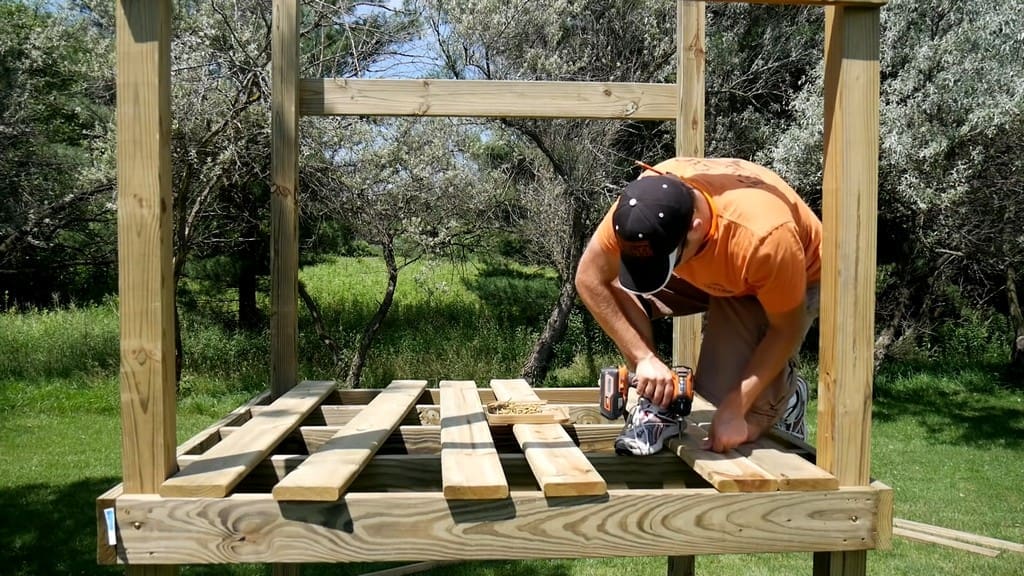
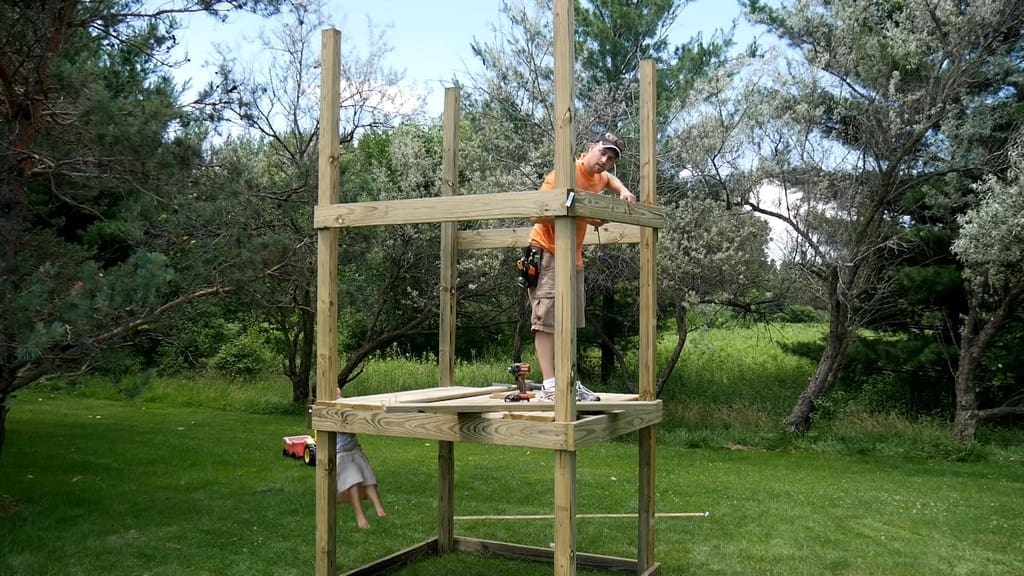
With the main 4x4s assembled, and the bottom level’s frame completed, we measured out and installed the joists for the floor.
We cut out the deck boards, then installed each of them using ten 2.5-inch deck screws, two screws per joist.
Thanks to the completion of the first set of floorboards, we had a solid platform to use when installing the two remaining rim joists for the top level of the tower. We made sure to include appropriate structural screws to secure everything.
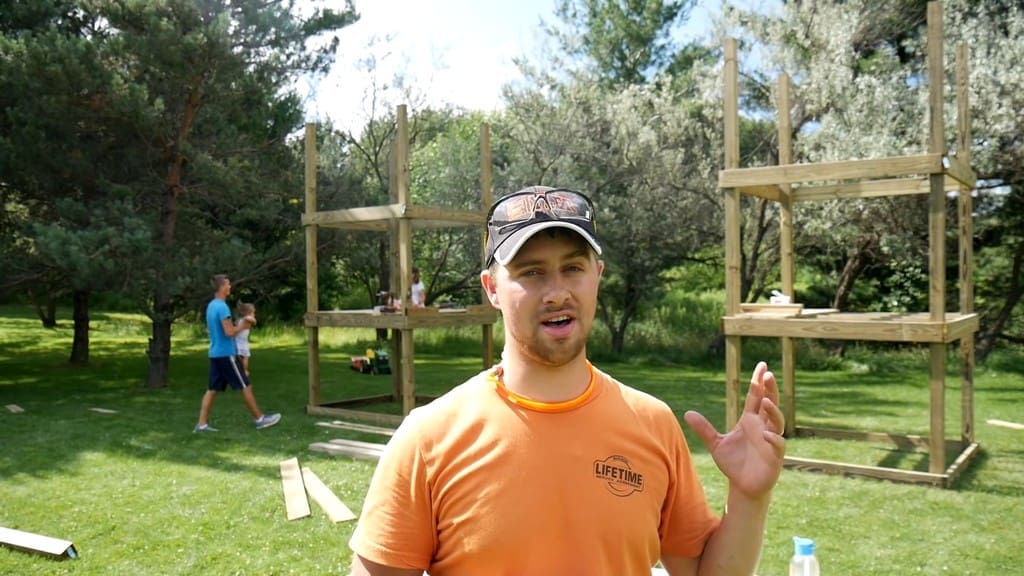
Building the Second DIY Backyard Swing Set Tower
We next turned to building the second tower, aka the “fort tower.” The instructions for that section are largely the same as for the first tower.
Assembling the Bridge with Monkey Bars
Preparing the Bridge Beams
The two towers allowed us to build a bridge to connect everything. But first, we wanted to prepare the monkey bars. The boards for the bridge trusses were 4x6s that we trimmed down slightly so that they were exactly 144 inches long.
After trimming the boards, we made the markings for the monkey bar pilot holes and then drilled them in. We used a spade bit to drill 1.75-inch-deep holes along one side of the bridge boards.
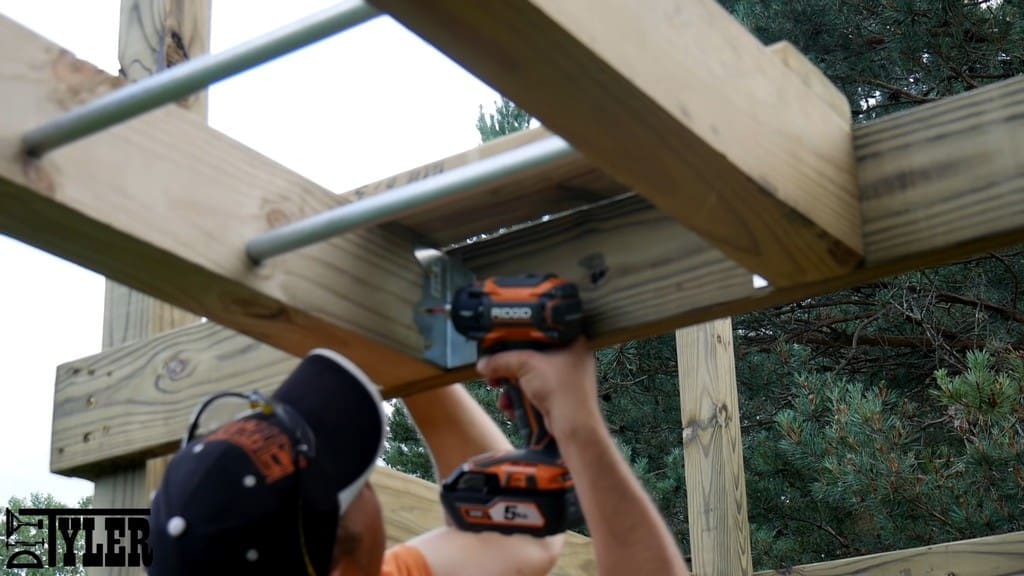
Installing the Monkey Bars
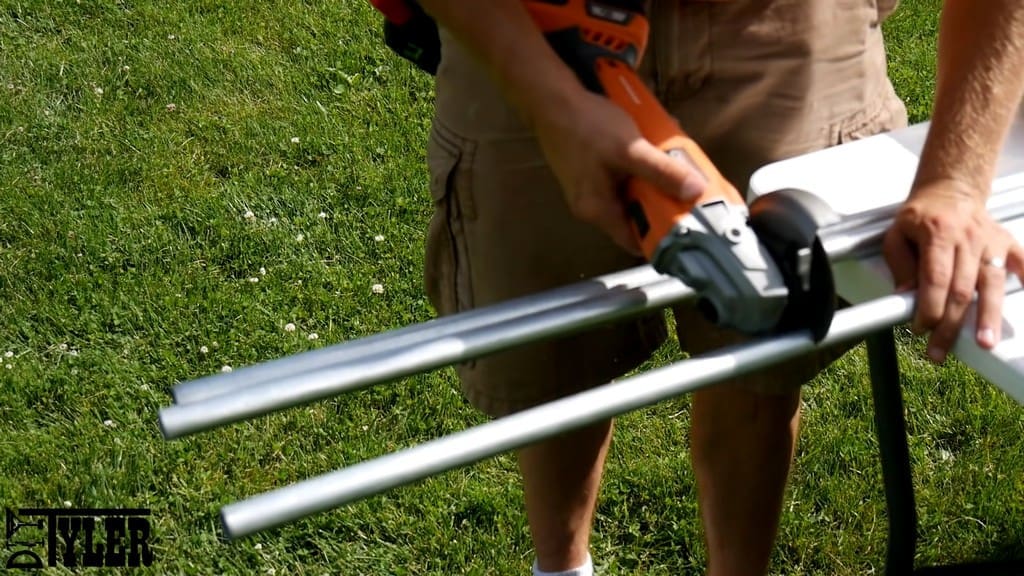
The monkey bars themselves were made from ¾-inch EMT conduit, which we cut with an angle grinder.
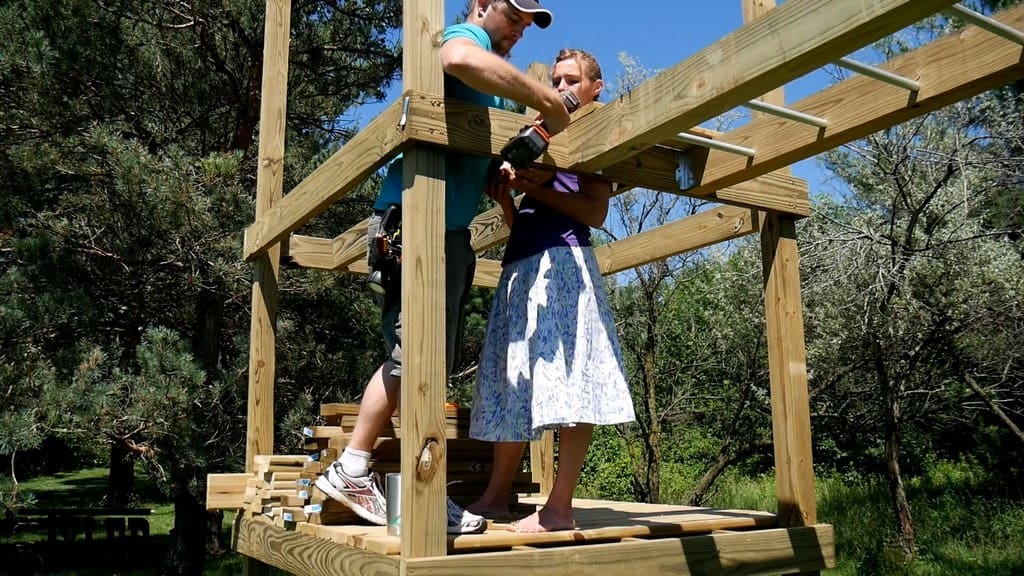
You can certainly assemble the monkey bars by yourself, but it’s a lot easier with some helping hands!
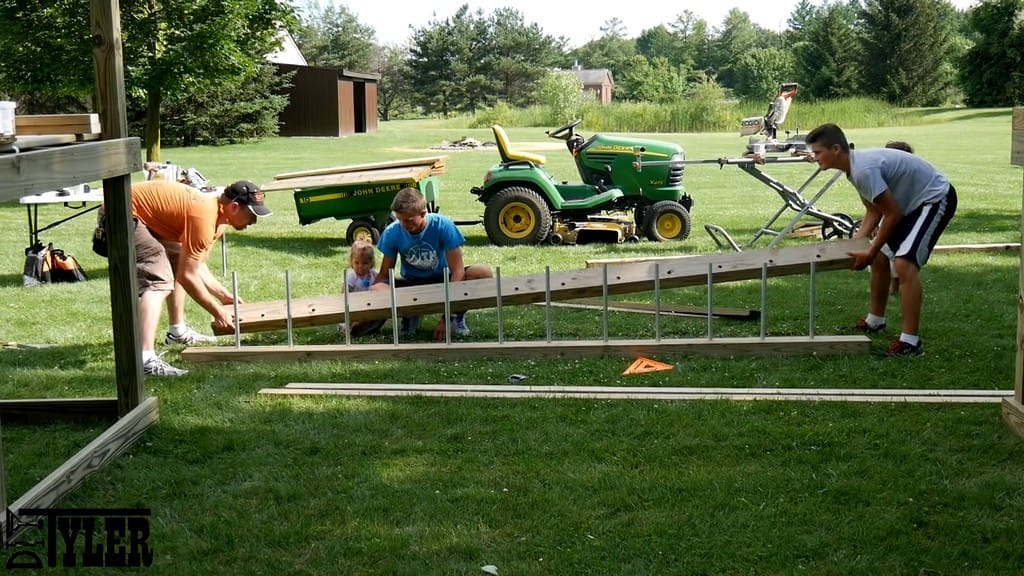
We screwed a piece of wood to the bottom of one side of the tower, which allowed us to raise the bridge beams up overhead and rest them in place. That way, we wouldn’t have to hold it up while maneuvering it into place.
Fortunately, with a few of those helping hands mentioned before, we got the bridge into place in no time!
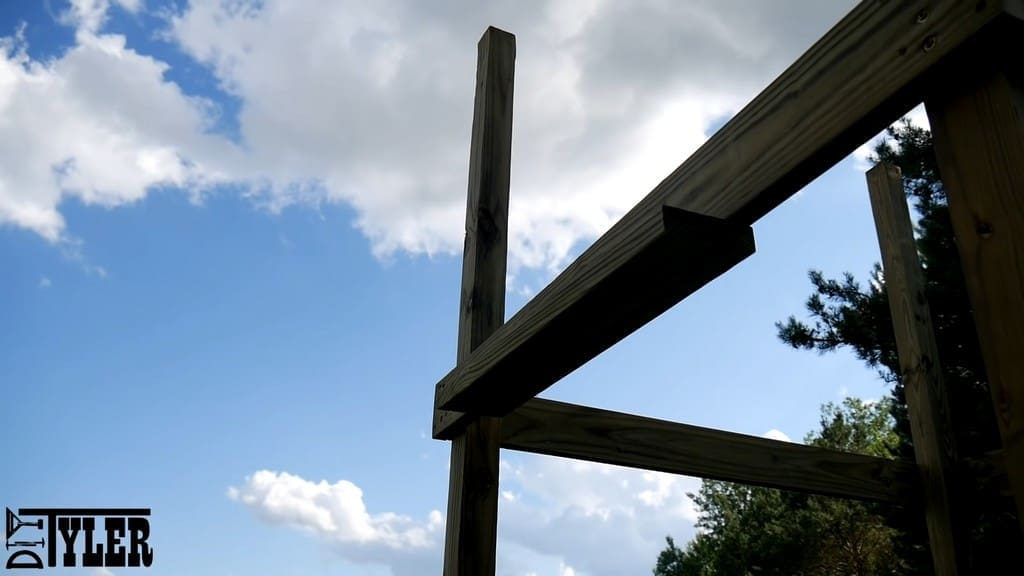
Fastening the DIY Swing Set's Bridge
We fastened the bridge with structural screws and deck screws through the end grain of the board. To further strengthen the bridge, we installed angle brackets in each corner of the side grain.
Finishing Touches
We used offcuts from our previously cut boards to strengthen our base frame on the other tower.
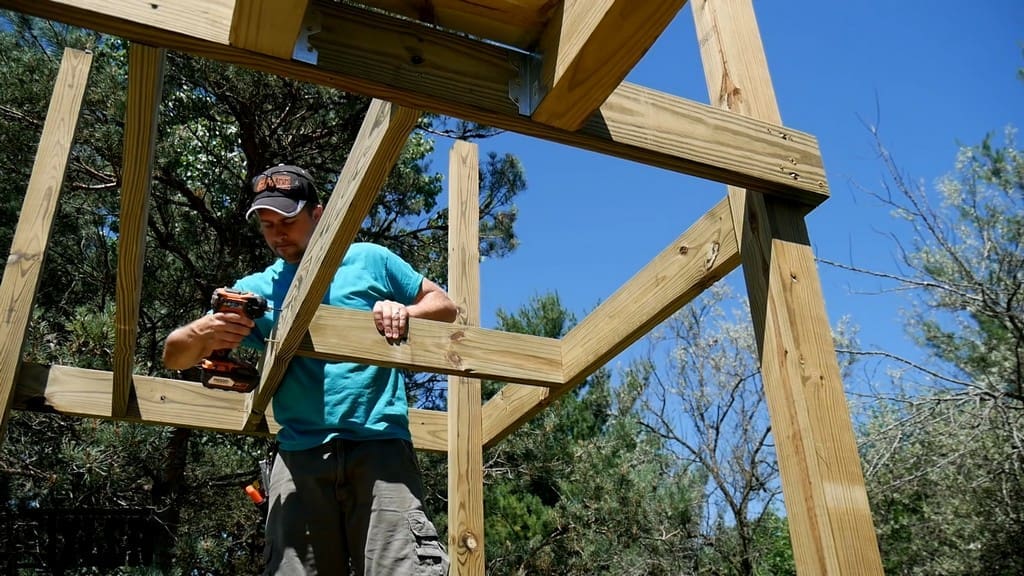
With a solid base on both towers, we installed all of the remaining joists for the upper levels.
The first tower, aka the “house tower,” has a few irregular boards at one end to allow room for the staircase. We installed those after the other joists.
We followed up the joist installation with joist hangers in order to provide additional strength and security.
With that, we’ve reached a good stopping point for the first part of this epic build. The second part of the build includes installing the railings, adding the accessories, and finishing up the remaining decking.
Click the image above to check out the video for Part 2!
Please follow and like us:
4 thoughts on “Building the World’s Greatest DIY Swing Set | Part 1”


4 thoughts on “Building the World’s Greatest DIY Swing Set | Part 1”
Pingback: Mini Obstacle Course / Jungle Gym for your Kids! - DIYTyler
Your playset is fantastic; what are the dimensions? I need to figure out if it will fit in my yard :).
Did you do anything to anchor it to the ground?
Looking for the cost of the swing set as well as how to order