The back story
There is thin line between Order and Chaos, Courage and the Craziness that it takes to run into a fire. All instincts demand us to run the other way.
We often forget about these warriors who stand that thin line, but not today…. because, #makersneverforget.
William Patrick customs, a fellow creator over on Instagram, challenged the Woodworking Community in all 50 states to make a Thin Line Flag honoring their local First Responders, in honor of National First Responders day. I had to step up, as so many others have across our great Country, and participate in this Challenge.

Research and Stripes
In doing research for the creating of these Thin Line Flags (One for our local small-town Police and Fire department), I learned that there is a 1:9 ratio for the for the height to width of the finished Flag, something I never knew before.
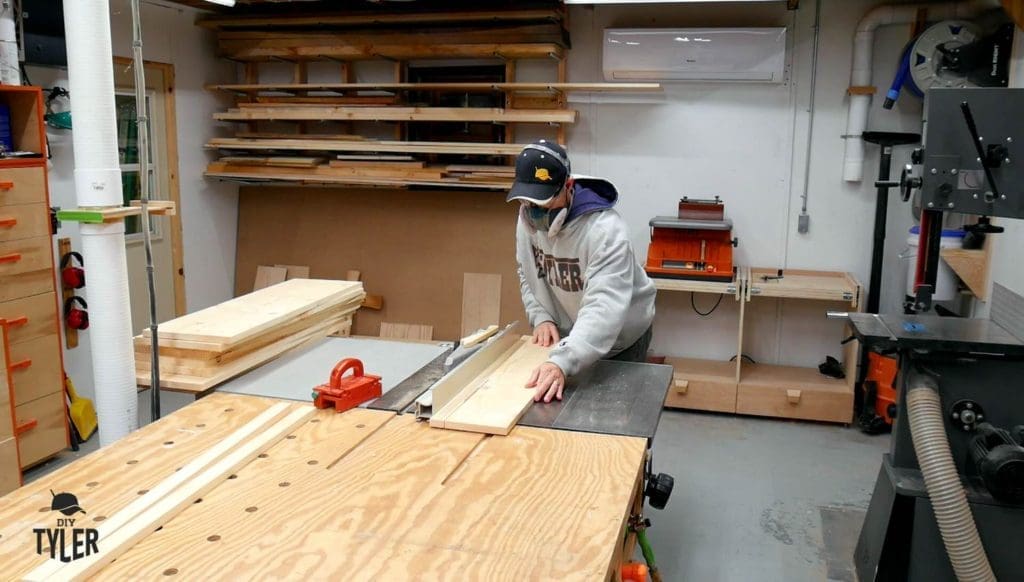
Using a 10 foot board for this project was ideal, as I was able to cut it roughly into thirds to get 3 long “stripes”.

Each of the stripes will be 1 1/2 inches wide, which I cut down on the table saw. The final dimension of the flag will be 37 x 19 1/2 inches.
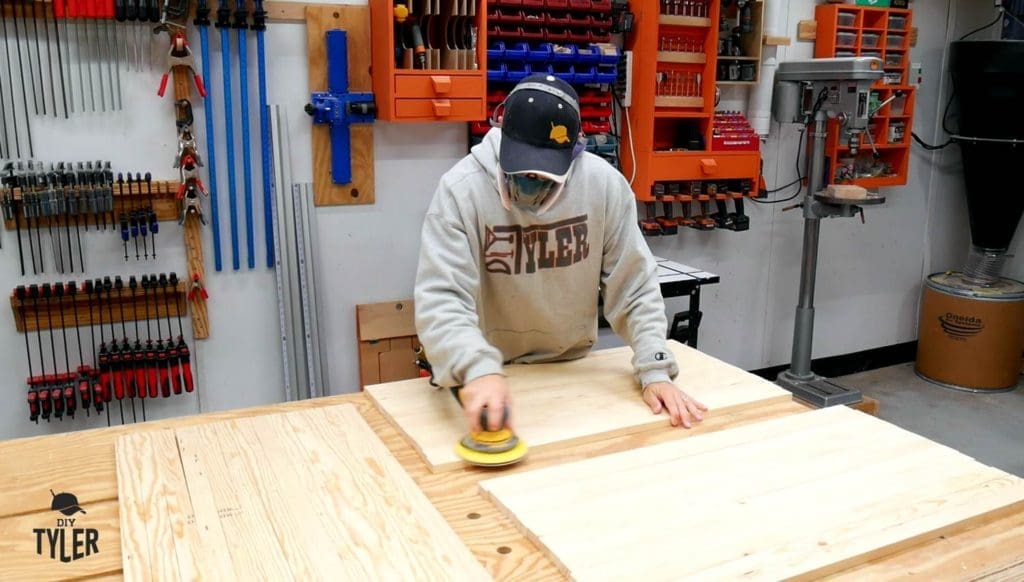
After all the cutting was finished, I sanded everything down to 150 grit with my random orbital sander. I flipped all the pieces around to determine and arrange the best grain pattern for each of the Flags.
Preparing The Union, step 1
To create the Union (star pattern) for these Flags, I am going to be using a cheap stencil I found over on Amazon. Ironically, I found the trick to this step from a long time follower on my channel, JohnBuildsIt, who just crossed a MILLION views on his How To Make A Wooden Flag video. Congratulations to John for this amazing achievement!
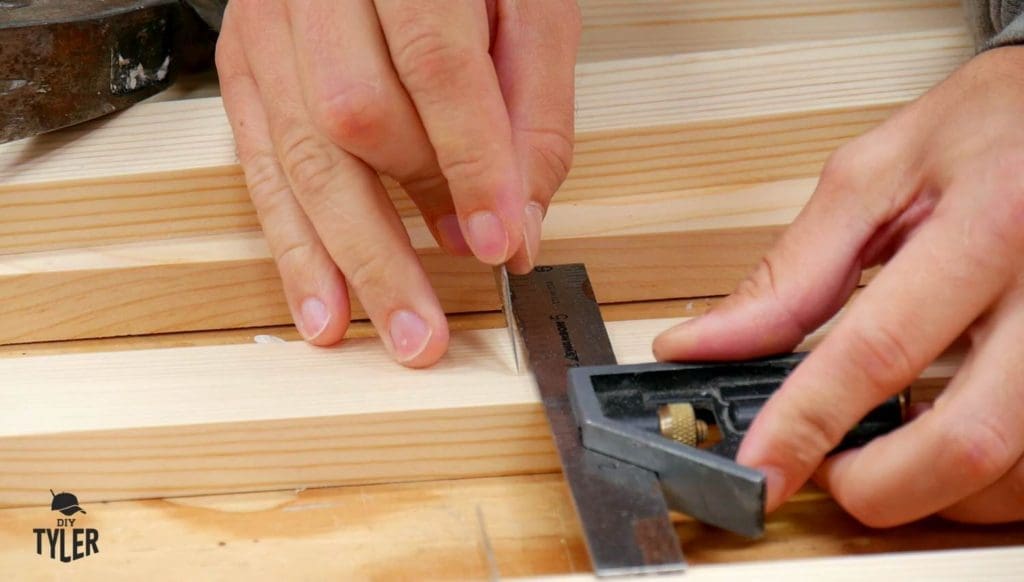
So the trick I learned from him is to use Utility Knife Blades, gently hammered into place, as a sharp stop-block when painting wood in different colors. In my case, the tip worked great as a separation line for the wood I would like to burn and the rest of the piece. All areas of the Union needed to be wood burned, but obviously not each thin line to the right of that Union.
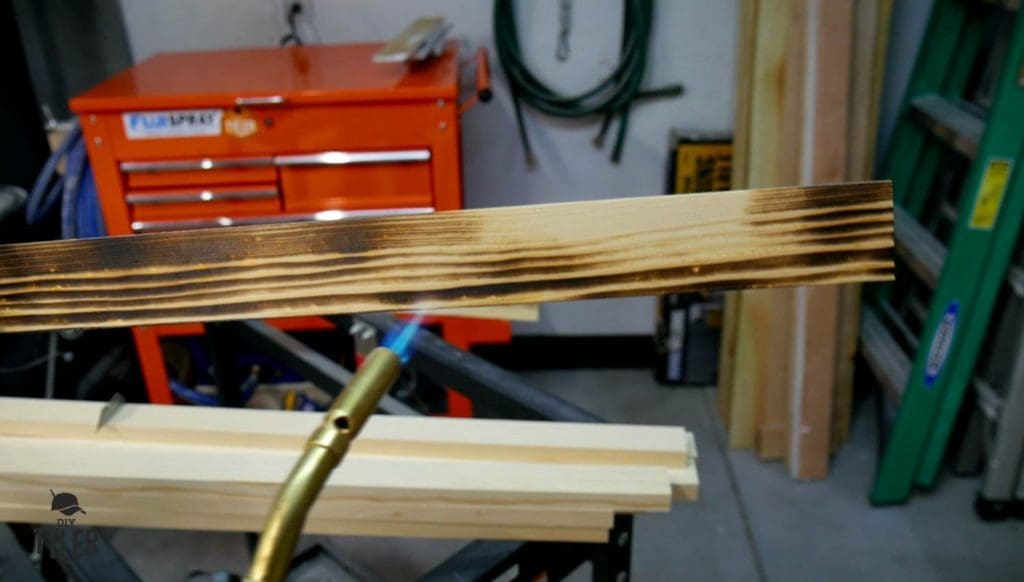
A propane torch made quick work of darkening the Flag to my desired preference. Really popped the grain too, wow!
Making the thin line
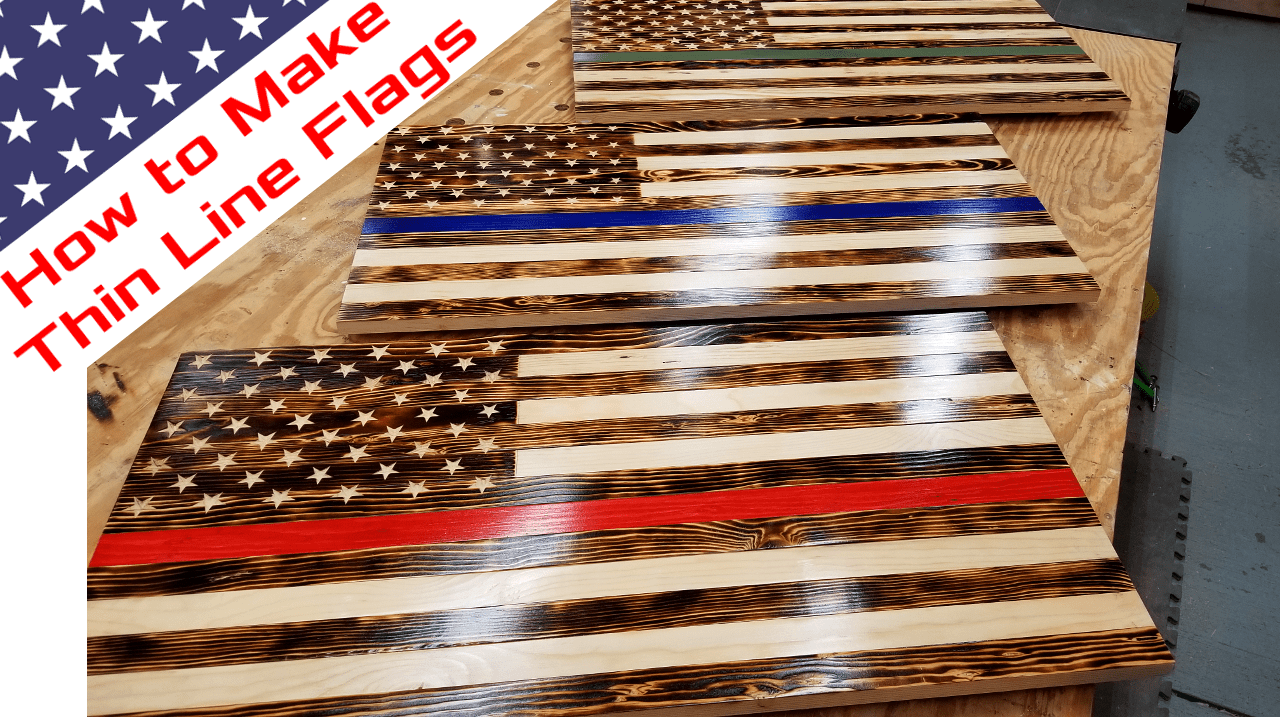
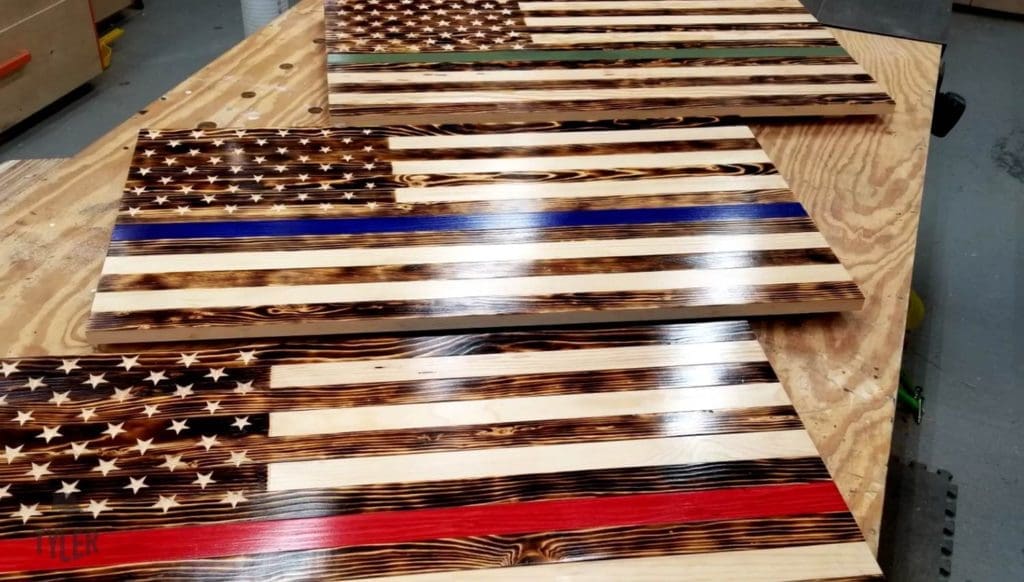
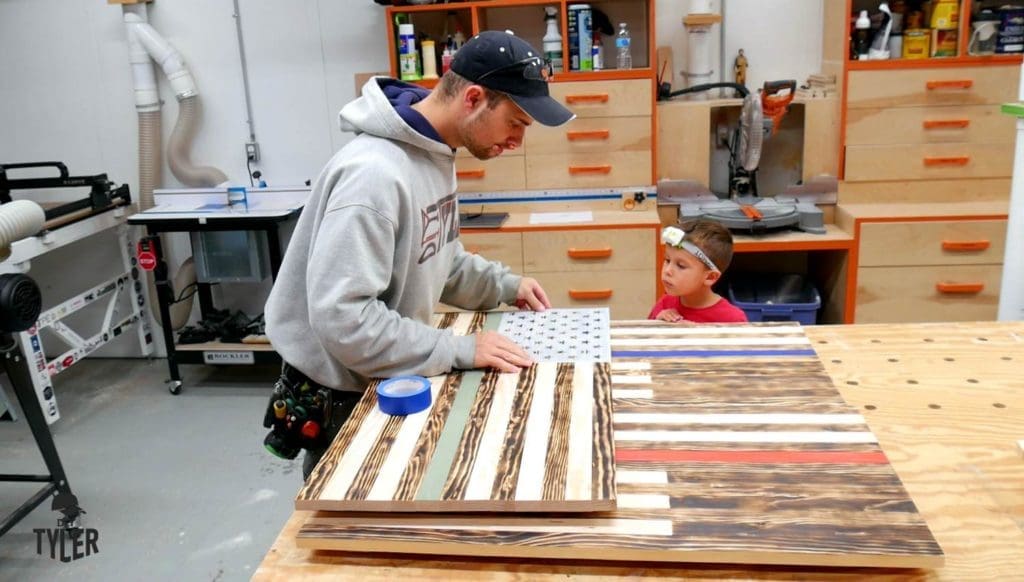
As you know, these are Thin Line flags, so the middle stripe must be removed prior to glue-up for the color that you would like to represent.

I used Minwax tinted wood stain in Crimson and Navy to Honor the Police and And Fire Departments in our small town. It really, really, highlighted the beauty of the wood while adding a solemn contrast to the woodburned effect of the rest.


Gluing and clamping
I laid out the Flag pieces appropriately, stood them on their side, and squeezed on the glue. Most important here is to clamp appropriately, applying even pressure on both sides, so it does not warp and slide out of shape. Remove any glue squeeze-out with a damp cloth while it is still fresh.


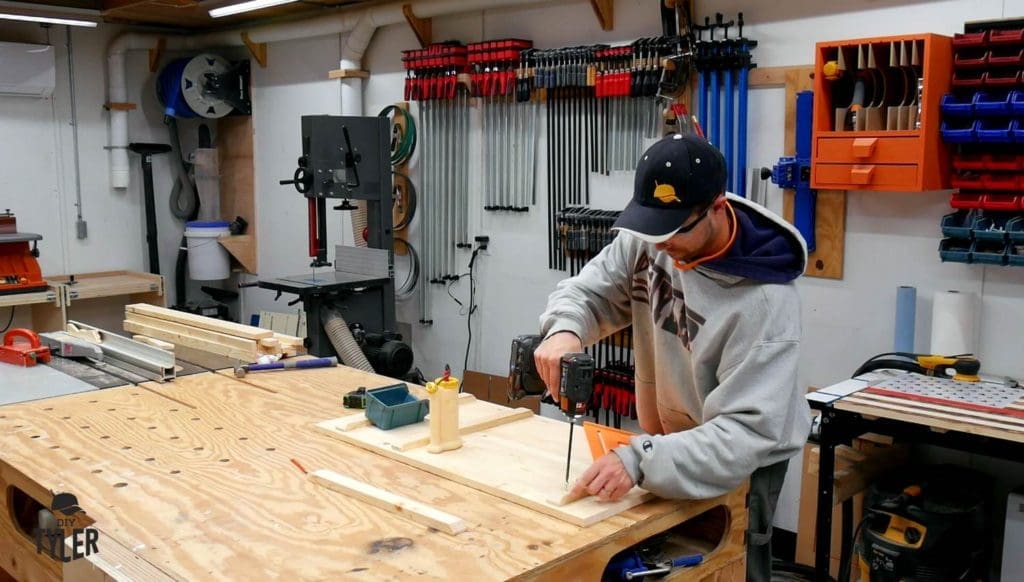
The wood glue will hold these flags together (probably forever!) But just to be sure, I added cross support on the back with 4 vertical braces. These were secured into place with wood glue and screws.
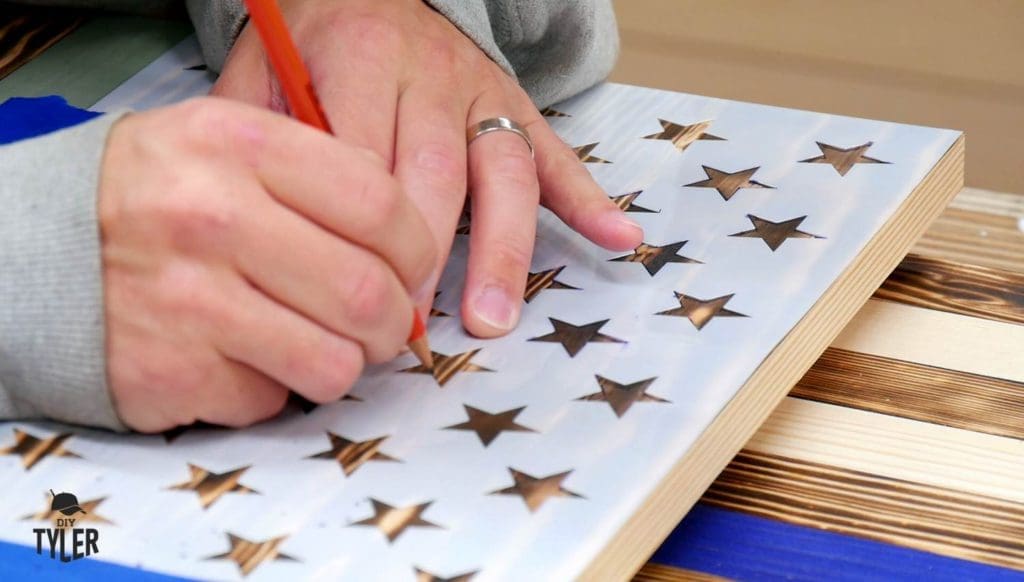
The Union, step 2
Now it is time to transfer our Union stencil onto the Flag. I tried several different things for this process and found a simple #2 pencil to be by far the best method. Markers bled over the line, pen doesn’t always transfer properly. So a pencil it was.
To carve the Stars in, I am going to use my handheld RIDGID multi-tool with the Rotary Attachment. I made sure to orient the flag in such a way that I was carving across the star, allowing me to have more control of the tool.

It was not a difficult step, just a little time consuming.
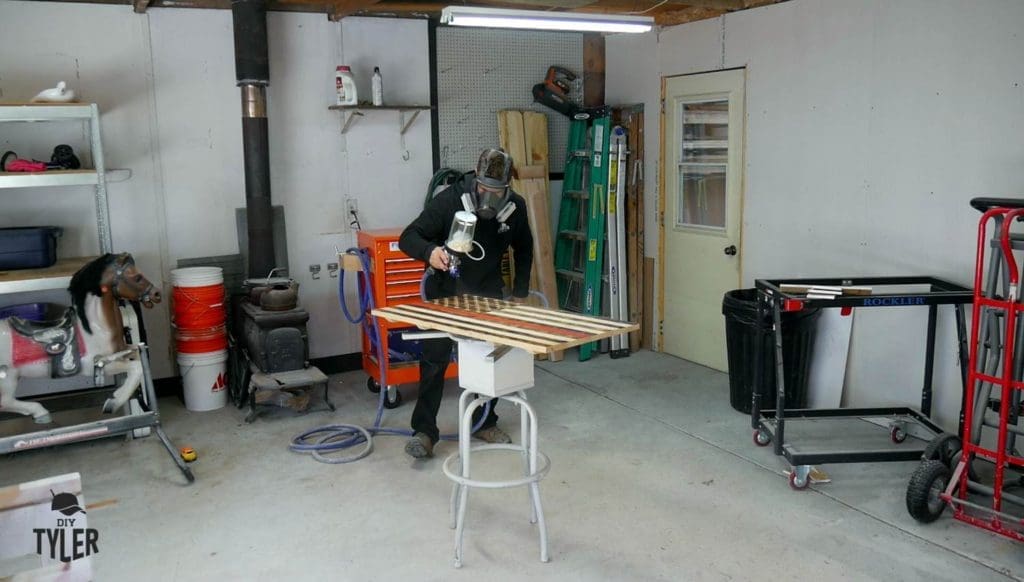
Finishing
Every project leaving the shop must have a finish on it. I am personally very fond of my Fuji Spray setup, (SEE VIDEO HERE) and laid the Flag(s) out on my Finishing turntable (VIDEO HERE) for Three coats of General Finishes Enduro Clear Poly. This was my first time using the 1.0 mm tip, and It laid down absolute glass!
Obviously you don’t need this whole system to finish these Flags, there are many rattle can or sponge application methods out there to choose from, Like this:

Installation
I had the Honor of presenting these flags at our Local Firehouse, hanging them up for the guys while there. They loved it! Actually a few of them asked for a Flag for themselves, to hang in their own home. Which means, I will be making more of these very soon……

Thank you to WilliamPatrickCustoms for challenging the Woodworking Community to make these Thin Line Flags. Thank You, especially, to all First Responders for their Dedication and Sacrifice, and for keeping us safe.


You are all appreciated.
Please follow and like us:
3 thoughts on “Wood Burned Thin Line Flag”
My first time at your site. Looking at your out feed table. But I couldn’t help but notice you flags. Nice job. But I see that you put the stars on some of them upside down. Was that intentional?
Not at all intentional, had the CNC file 180 degrees off before I realized what was wrong.
What were the dimensions of the boards you used?