Have you ever had one of those inspirational moments as a parent, that left you resolute you were going to raise your children Unplugged? After a few hours, or days, you realized the house gets really loud, really fast. There are toys everywhere, books under the sofa, blankets in the corner of the room that were used as a tent for all of five minutes, and the kids are onto the next thing. What you need, is a basement. Or an attic. Send those hooligans someplace they can get crazy and have fun, without driving YOU crazy.
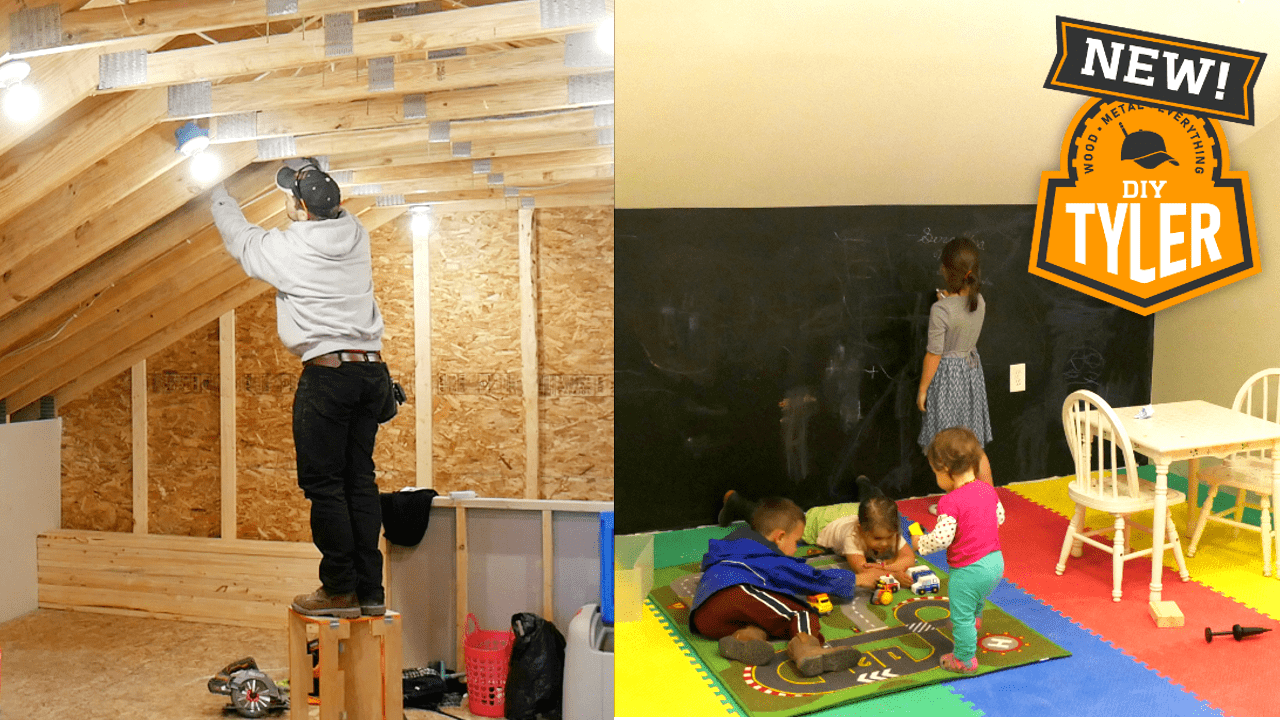
That is exactly what is going on here today, turning an Attic into a sweet playroom for our kids, using the generous space above our new garage.
We built our home Addition with this area in mind, the thought being a generous storage room for The Wife on one side, and a 14×20 foot playroom for the kids on the other. If you haven’t checked out the rest of this monumental project, check out this addition playlist we made and see what we’ve been up to.
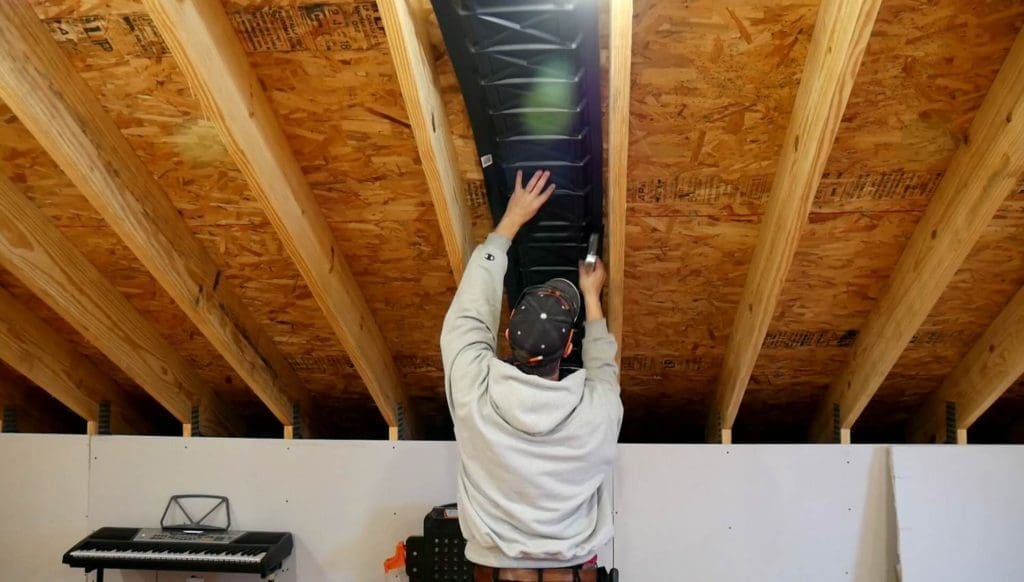
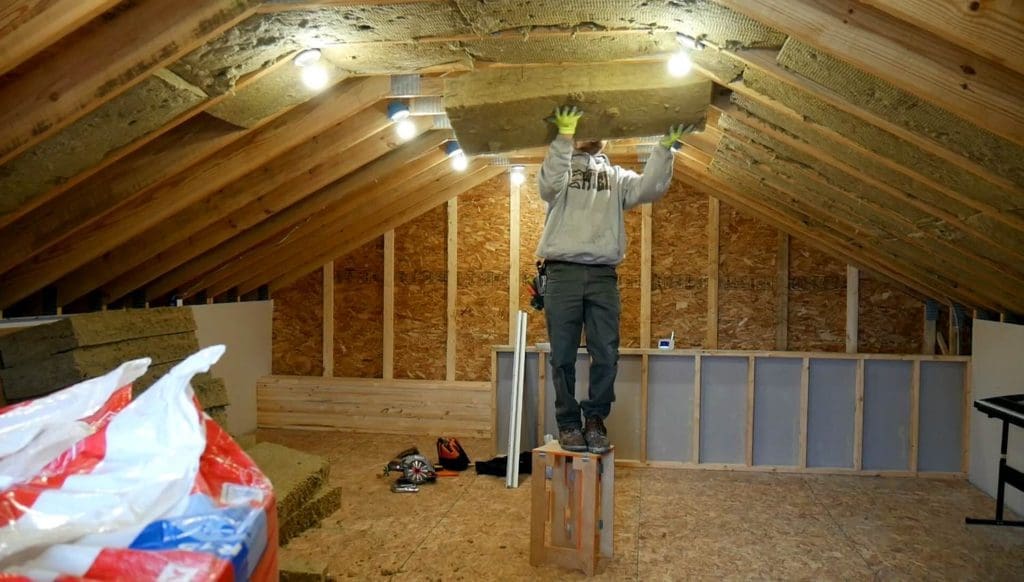
Step 1: Insulation and walls
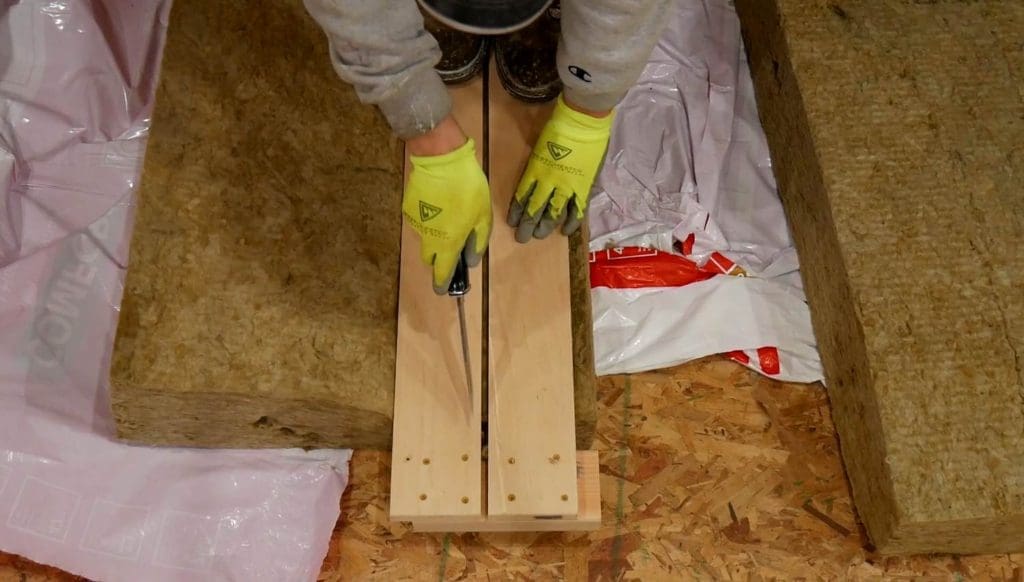
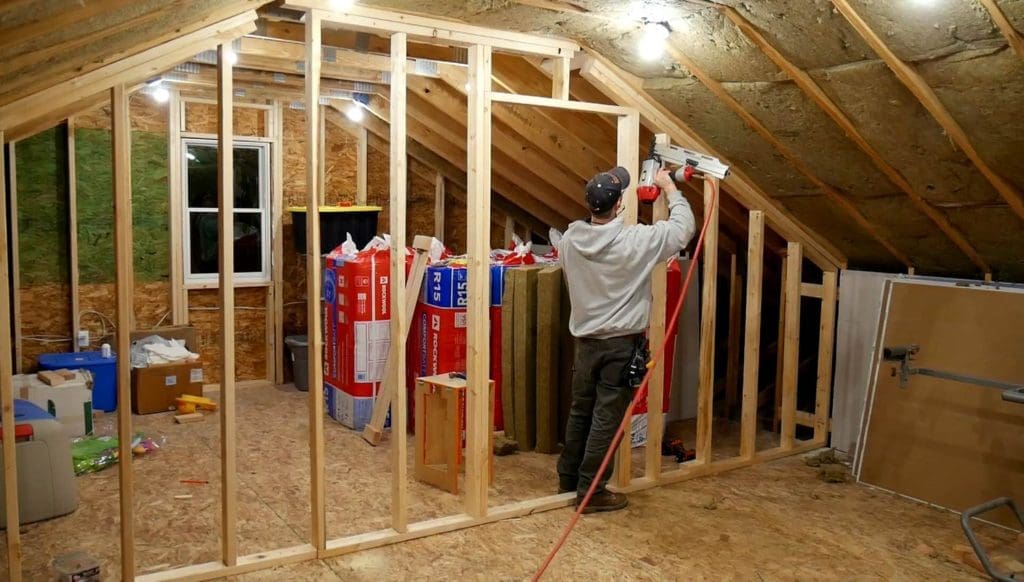
To get started, we needed to vent and insulate the truss ceiling of the garage, using R30 Rockwool insulation. I had to cut each brick down to accommodate our 19 inch centers, so I quickly whipped up a cutting jig that allowed me to stand on it as I cut with a 6 inch buck knife. I have heard since then that an electric kitchen knife works well for the job too, but didn’t get to try it personally.
After the ceiling was insulated, I moved down to the walls and cut out the temporary sheet rock that we needed to pass inspection, and started making a knee wall of sorts to properly bolt a new wall against.

I also needed to build two complete walls to enclose the space, both which needed a door, and both that needed to factor in the pitch of the attic ceiling. The first wall I built on the ground and raised it up ….I had to move the entire thing no less than 3 times to get it right!
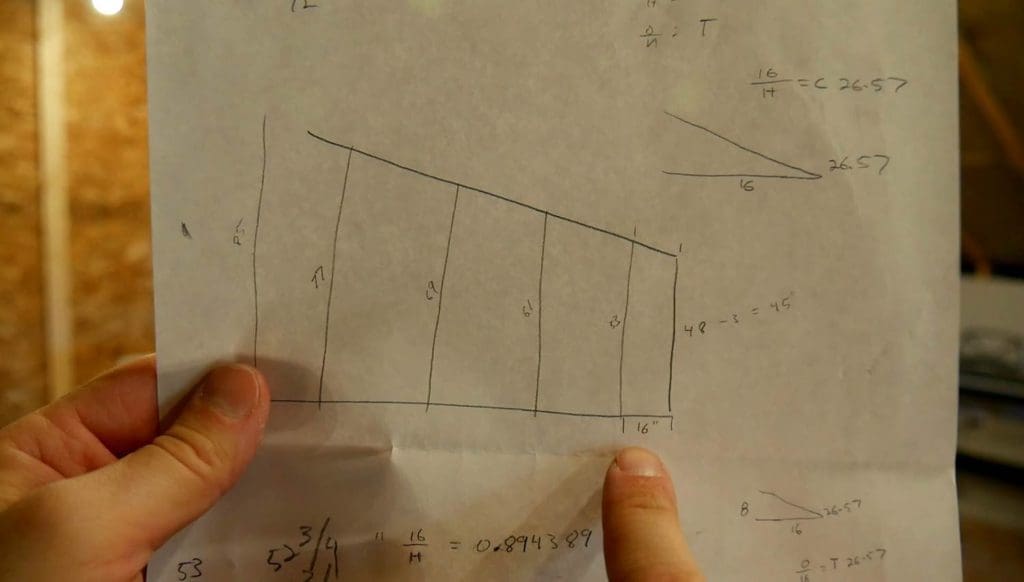
The second wall I used some trig from my college days to figure out all the cut lengths and and built it right in place. It went up without a hitch.
The floor was already well insulated, being the ceiling of the garage below.
Step 2: Drywall
My brother and I hung the sheetrock , 1/2 inch on the walls and 5/8 inch on the ceiling, using construction adhesive and this amazing collated screw driver.
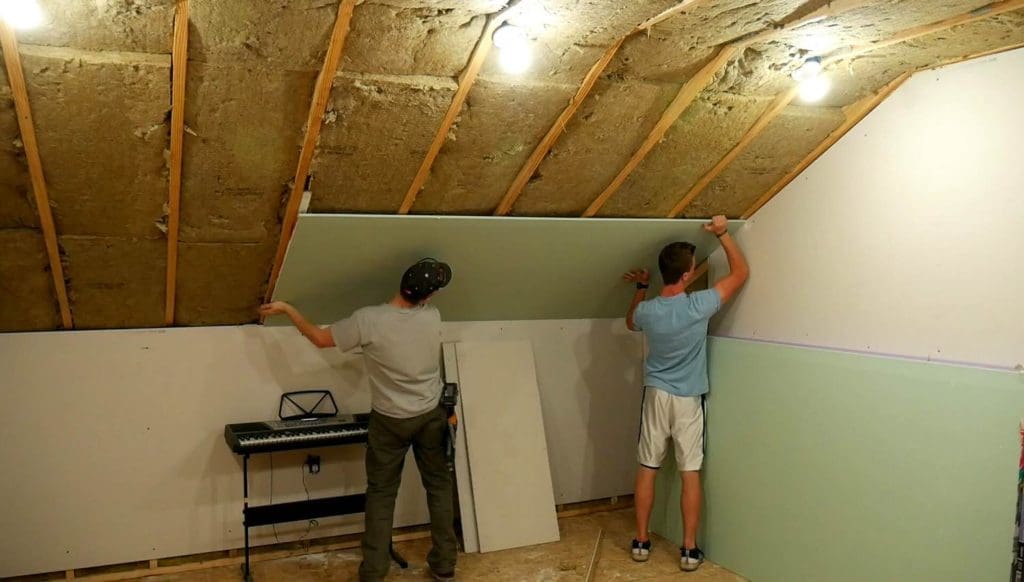
I know you’re supposed to do the ceiling first, but guys, I was Tired and all that sheet rock was brought in the attic with the half inch more accessible. Rather than move it all out of the way, we just put it up first.
Then, I did a VERY un-DIYTyler thing and hired out the taping and mudding to the pros. Those guys are just so FAST…and their work is admittedly much better than mine in this area. It was worth every penny.
Step 3: Paint, Fixtures, and Finishing touches
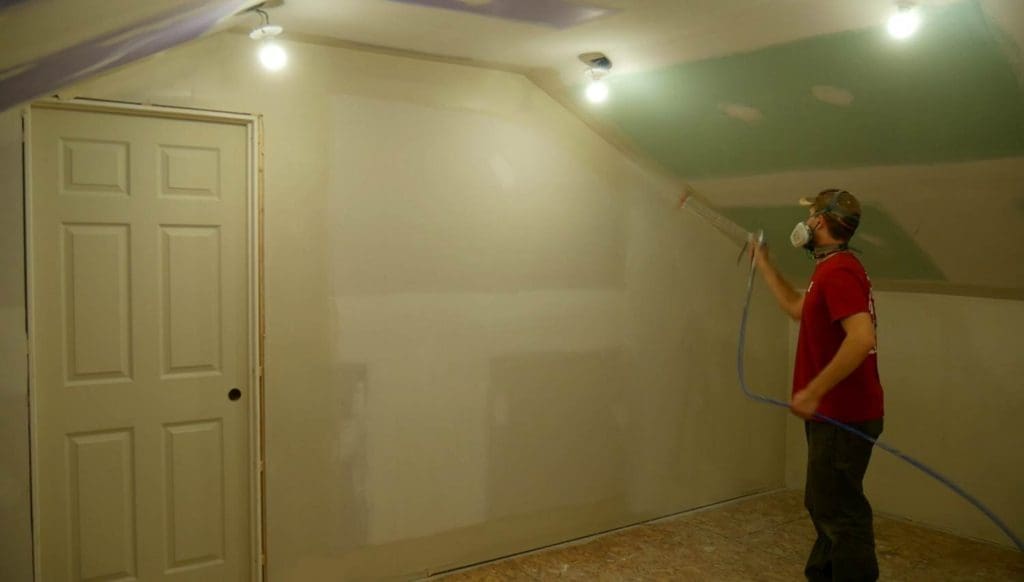
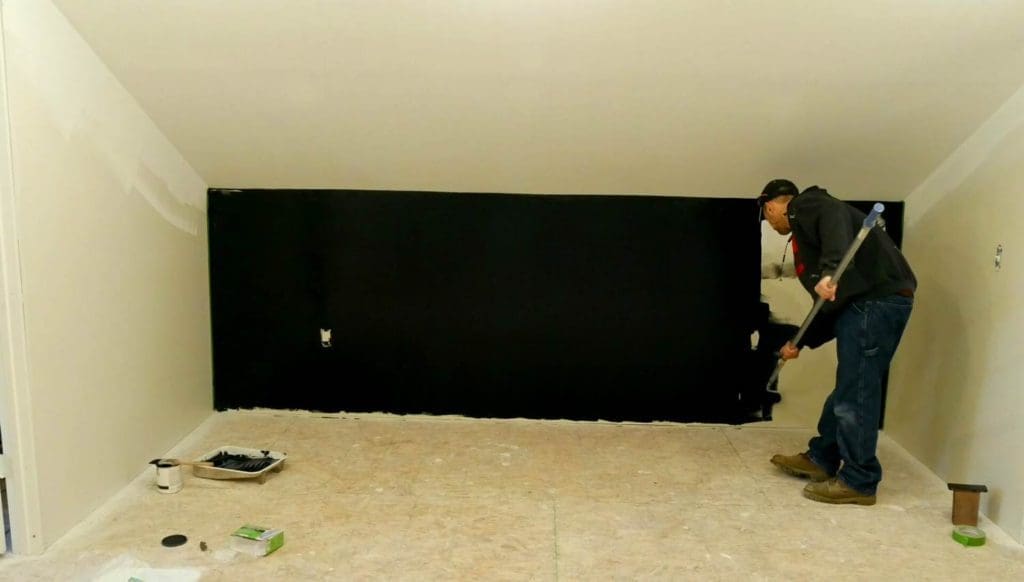
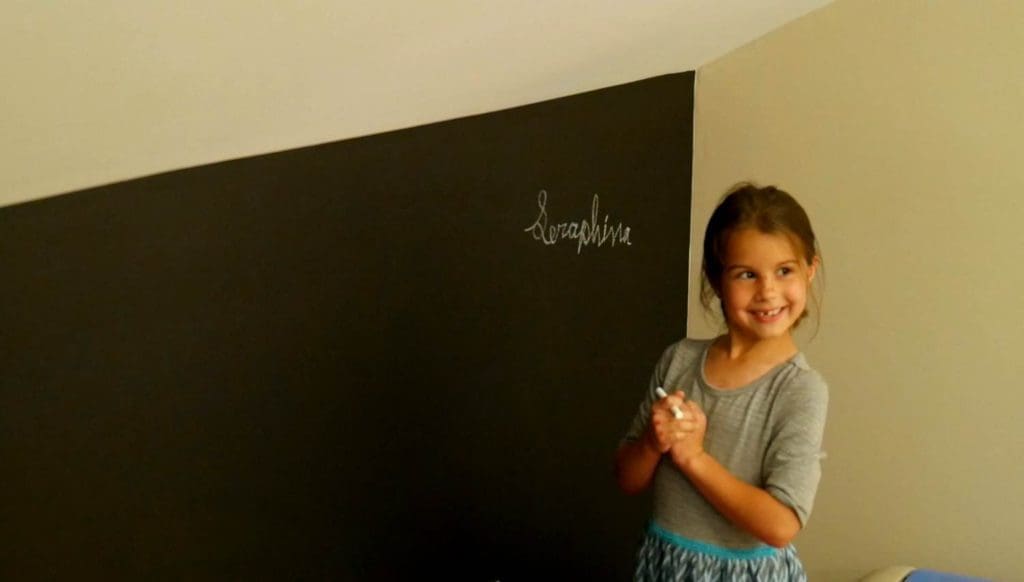
We finished the mudroom with primer, then paint, using my Graco airless sprayer. We also tried some Rustoleum Chalkboard paint on one wall for the kids to have a GIANT chalkboard, and it’s been a really big hit with them!
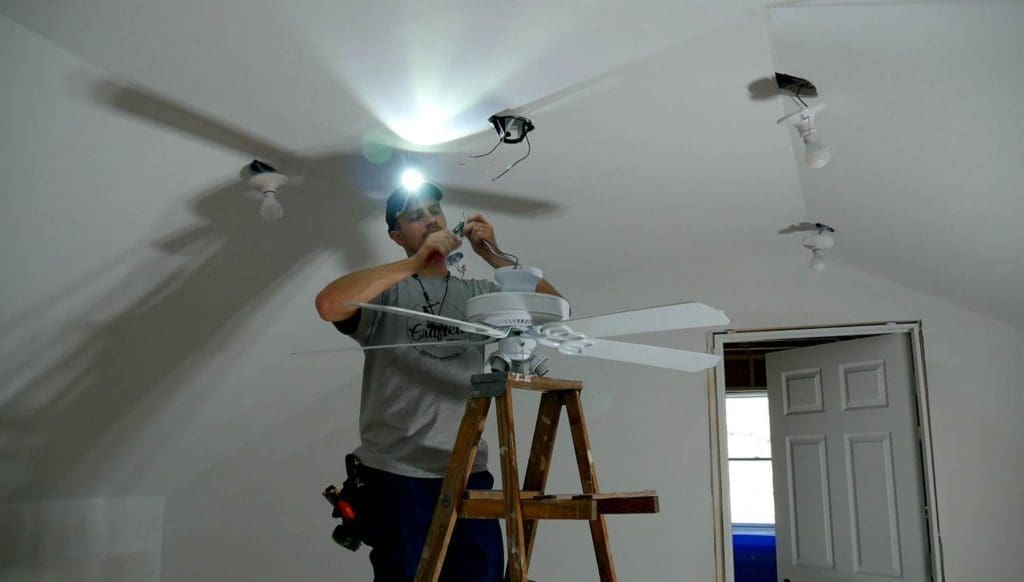
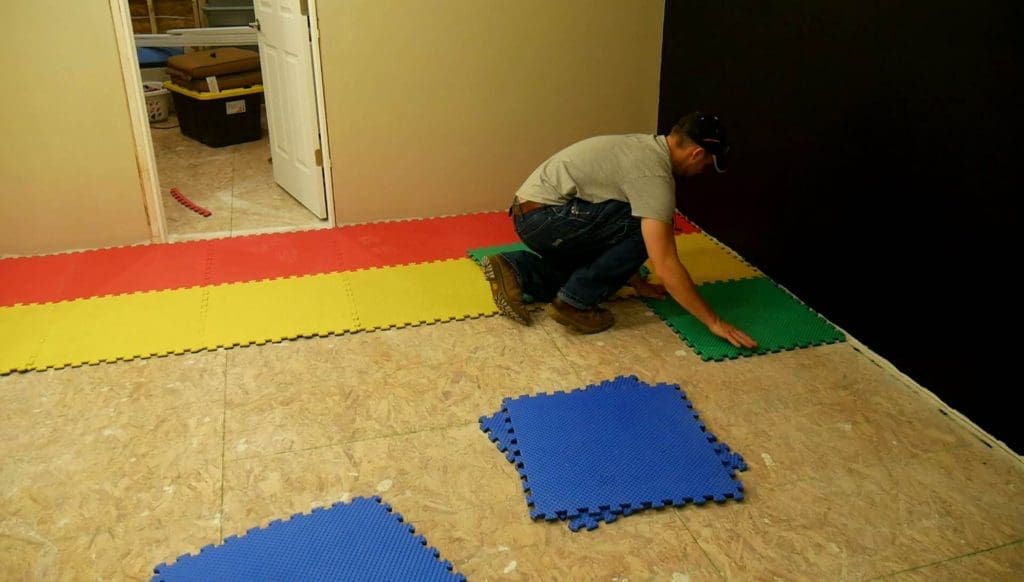
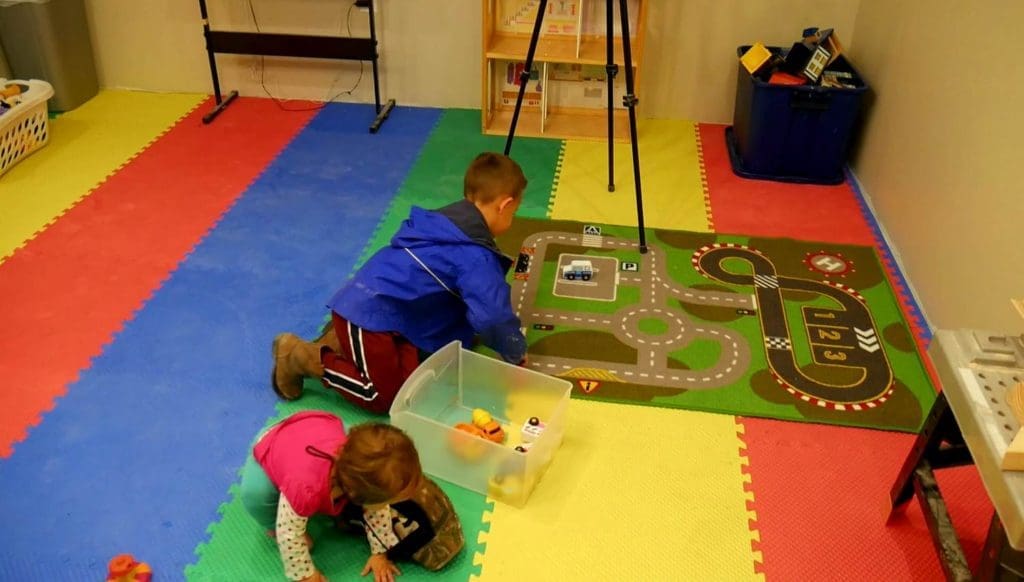
Added a couple doors, outlet covers, a ceiling fan for air circulation and foam mats on the floor, and this room was ready for the big tryout.
Our kids just love it! This is their rainy day home, and will get even more use during the long Michigan winters.

Concluding Thoughts
We have have been very impressed with how cool it has stayed up there despite summer temperatures making their arrival. All that insulation has paid off already! I am certain that it will act accordingly when it’s cold outside as well, though we’re pretty sure a ceramic or other flameless heat source will eventually be in order.
We keep a designated baby monitor up there to keep an eye (and ear) on what’s going on, but otherwise this area is for our kids. No policing necessary for the inevitable mess.
Volume down, mess out of sight.
Happy kids, Happy parents.
Please follow and like us: