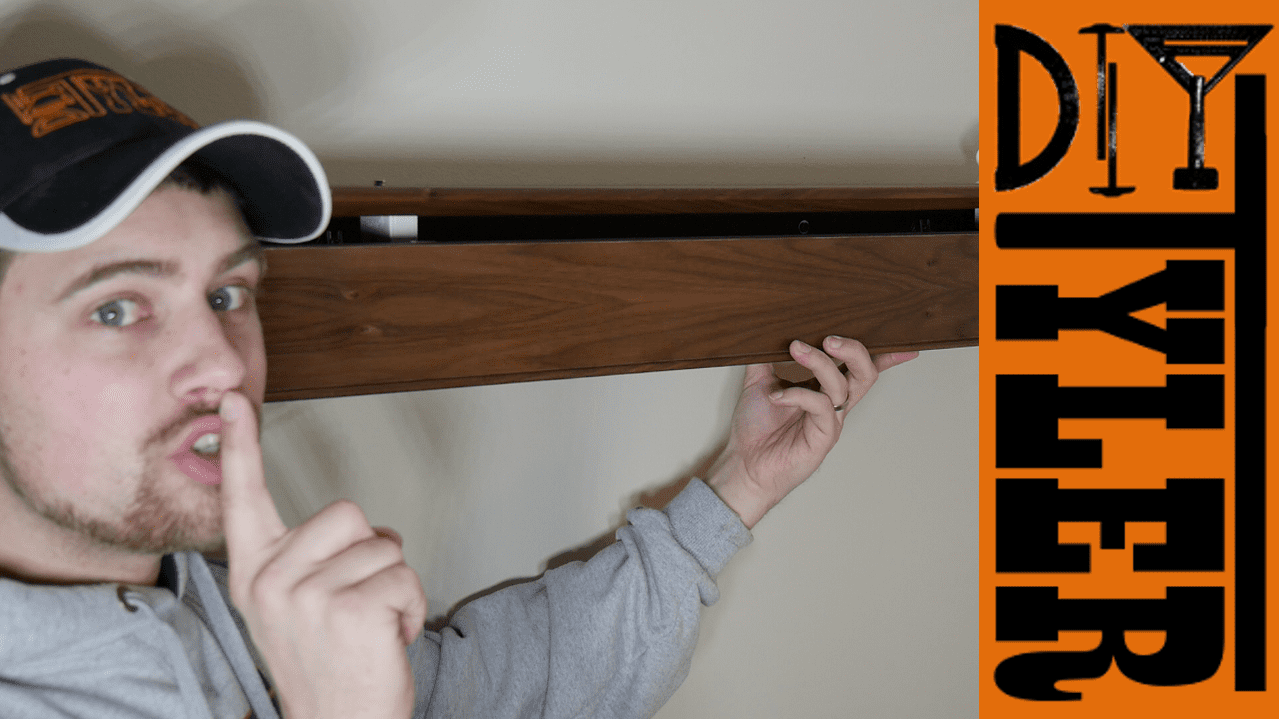
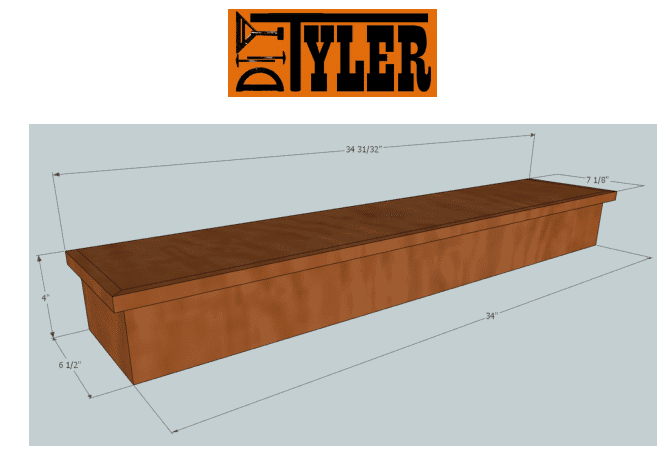
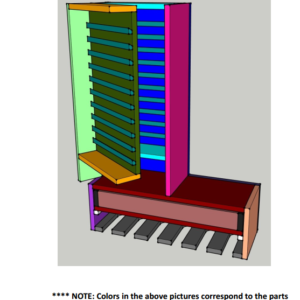
I have always been fascinated with the simple look of a floating shelf and now is the time to add one to our home but we wanted to take it a step further! This build is for a floating shelf with secret compartment made from walnut plywood featuring continuous grain around the shelf and custom solid walnut trim.
Add the FREE plans to your cart, enter your email and download!
5 reviews for Hidden Compartment Floating Shelf
Related products
This project is built from PureBond plywood, if you aren’t familiar with PureBond hardwood plywood it is made in the USA and Canada, formaldehyde free, and available exclusively at The Home Depot.

Floating Shelf Stock Prep
Did you know you can get plywood in the mail!? Neither did I up to this point but you can get PureBond project panels shipped directly to your house for very little shipping cost. One 2’x4′ walnut project panel is needed to make this floating shelf.

As with most projects, I started at the table saw to break the sheet down to it’s proper dimensions. Miters
 Miters
Besides the hidden compartment one feature I really wanted on this shelf was a continuous grain pattern wrapped all around the shelf. I was able to make this happen by cutting the sides and front of the shelf from the same strip and carefully making the cuts using the miter saw.

A little bit of painters tape on the deck of the miter saw will really help prevent tear-out. You can wrap your piece of wood but this method allows you several cuts before you need to replace the tape.

You will need to have a beveling miter saw to make these cuts the way I am doing it. If you don’t have a bevel saw you can make the cuts using several other tools.
I used a digital angle finder, typically used for the table saw to make sure the miter saw was exactly 45 degrees.
I also added a stop block to make sure I could cut both sides exactly the same.
Shelf Assembly
The shelf is assembled using wood glue and some pin nails to hold everything together while the glue dries. Some painters tape on the outside corners allows you to get a really tight miter joint.

Be sure to get wood glue on all surfaces.
Add glue to the base of the shelf and wrap the sides around making sure everything stays square.
At first I tried to use clamps, lots of them but I had to resort to pin nails to hold the miters together while the glue dried.
Adding the back / Mounting bracket.
The back of the shelf also acts as the mounting bracket and has “arms” that extend from the wall to support the top of the shelf. I used a small section of wood to space the arm away from the side of the shelf to prevent any friction. These parts were assembled with wood glue and brad nails.

Be sure to keep a close on on glue squeeze out as it will effect the clear finish you will want to apply to the walnut plywood.

Adding hinges for the Secret Compartment
The hinging motion is added to the shelf using a pair of concealed euro hinges that allow the shelf to swing away from the wall as it opens.
I used a handy little jig from Rockler to help me guide the bit for countersinking the hinges. Be careful as the hole is almost completely through the 1/2″ plywood.
And mound the hinges to the mounting bracket as you would any other hinge application.
Once the frame of the shelf is together you can add the top, this is assembled using only wood glue and some clamps.
And the edges that will be visible when the shelf is opened are edge banded with iron on walnut edge banding.
Trimming out the Shelf
I detest buying trim and I am not even sure where to get walnut trim so my solution was to make my own! Since it really doesn’t have anything to do with the shelf build you can watch a video about making that trim (Here). I installed the trim using only wood glue and held it in place to dry using painters tape and bandy clamps.

The bead trim on the bottom of the shelf was installed using wood glue and pin nails.

Adding Locks
The hinges have no problem holding the shelf closed but I wanted to add a lock to prevent anyone from opening it to easily. These are child safety locks that are opened using a magnet. Link here

And a chain to capture the shelf when it is open and prevent it from slamming up against the wall.
Finish and Mounting
A quick sand with the ROS and 220 grit sandpaper to prep for finish. For finish I used general finishes Arm-R-Seal in a satin sheen.
Mounting to the wall is completed using 2, 2 1/2″ deck screws with a washer through the back bracket in the studs of the wall. Not going anywhere!
Be sure to check out the Build video on our YouTube channel to get more detail.
Please follow and like us:
Jerry W Peel (verified owner) –
Great project!
Dave horn (verified owner) –
Awesome projects, thanks for sharing
Carl (verified owner) –
What I’ve been looking for, simple instructions
Valentina M Fuller (verified owner) –
I am so excited to make this for my son. Thank you!
Trace J –
Very good. I’ll use this when I get the chance.