
In this build I tackle another shop storage project where I resolve a time wasting issue of moving to multiple locations in the shop to complete one task. This modular nail gun storage cabinet locates all the nail guns, nails and tables in on spot so I can quickly see what gun I need and grab the appropriate nails while I am right there.
Add the FREE plans to your cart, enter your email and download!
Reviews
There are no reviews yet.
Related products
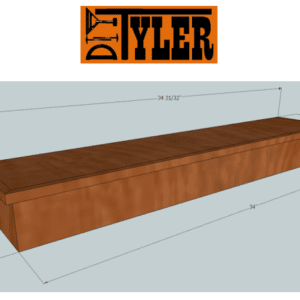
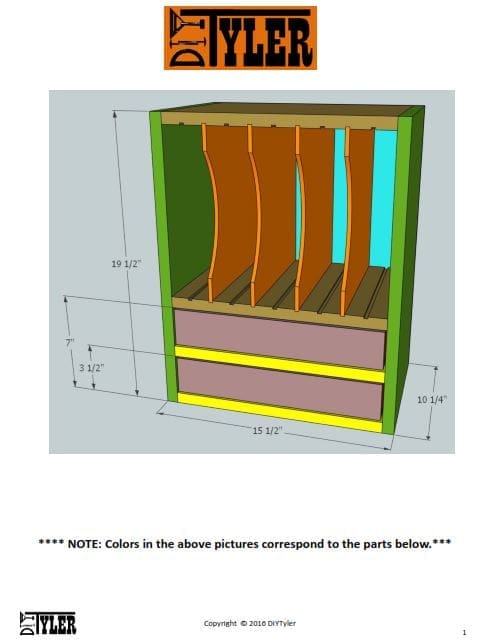
Modular Nail Gun Storage Sheet Prep
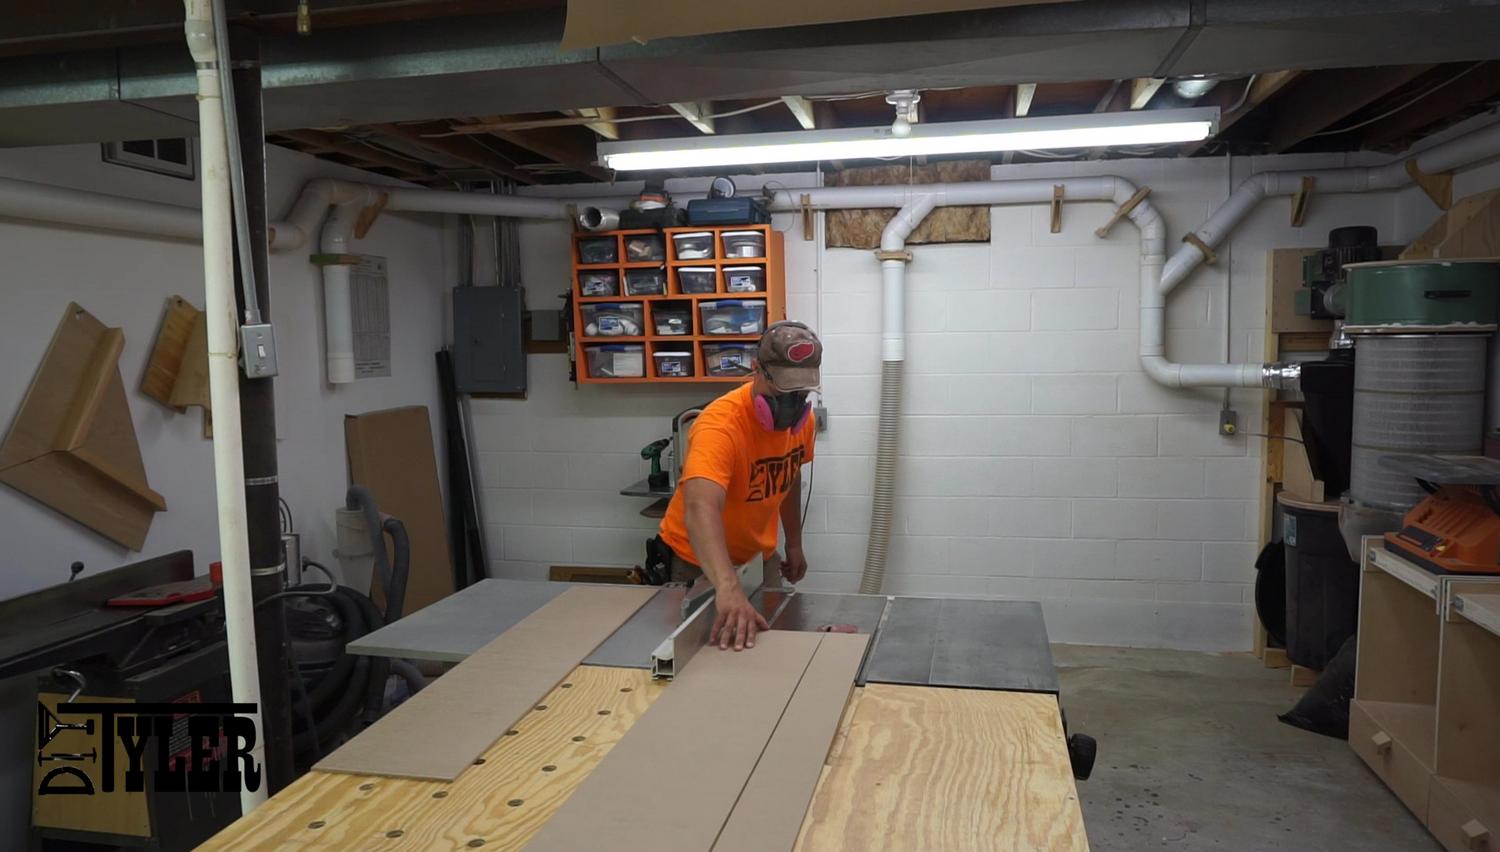
This build can be completed with a 1/4 sheet of 3/4″ plywood and a 1/4 sheet of 1/4″ hardboard and a few scraps. To begin I used my cordless circular saw to cut of a swatch of a full sheet of plywood that I have had in the shop. Be sure to cut this a bit bigger than you actually need so you can square it up at the table saw and also have enough excess to remove any tear out.

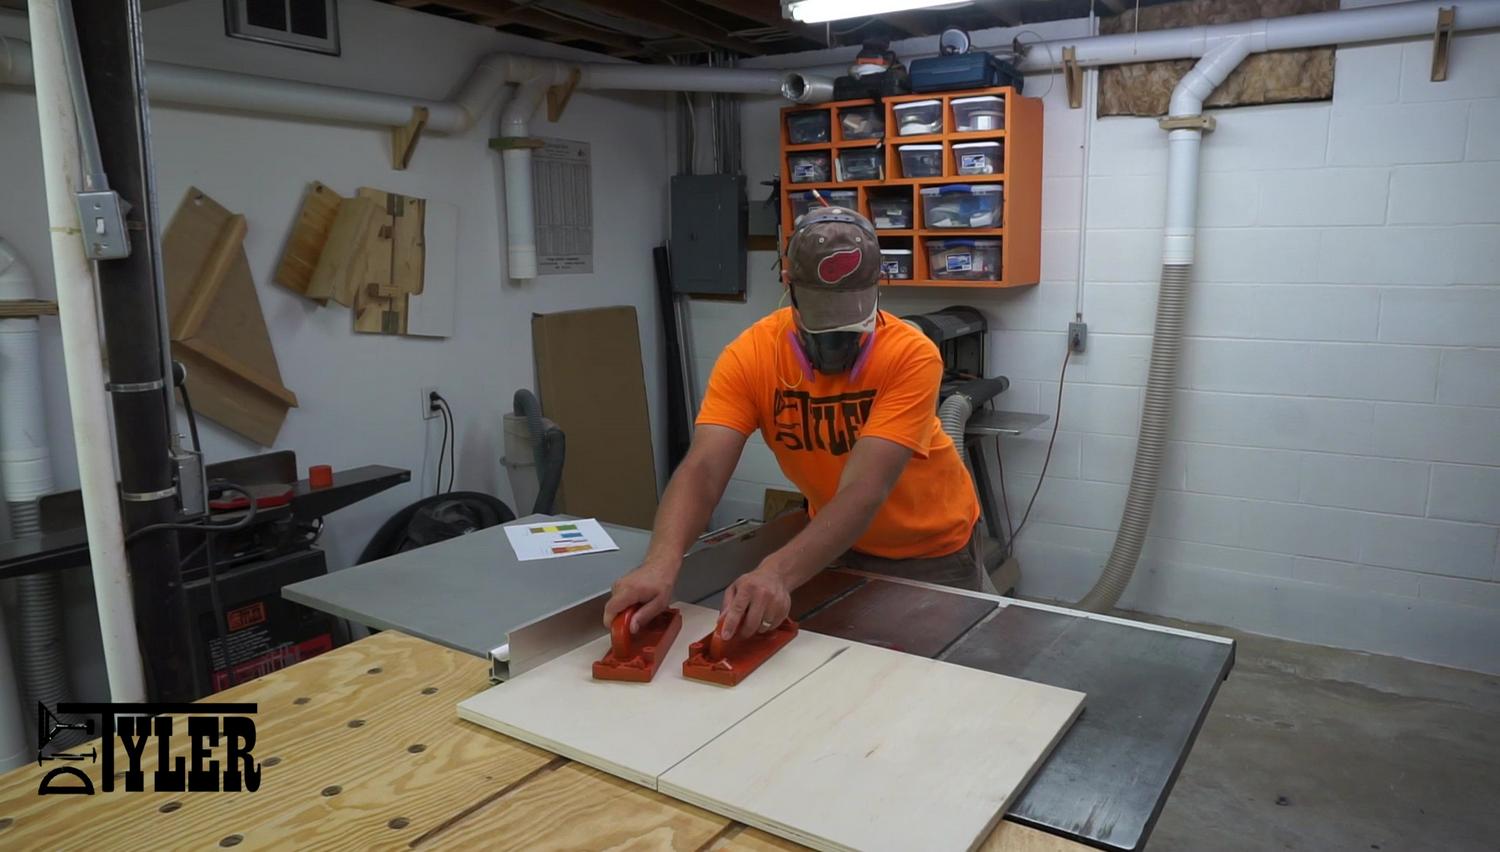
Once the plywood (if you got a full sheet) is broken down to a more manageable size square it up on the table saw and then cut all the parts using the plans as a guide.
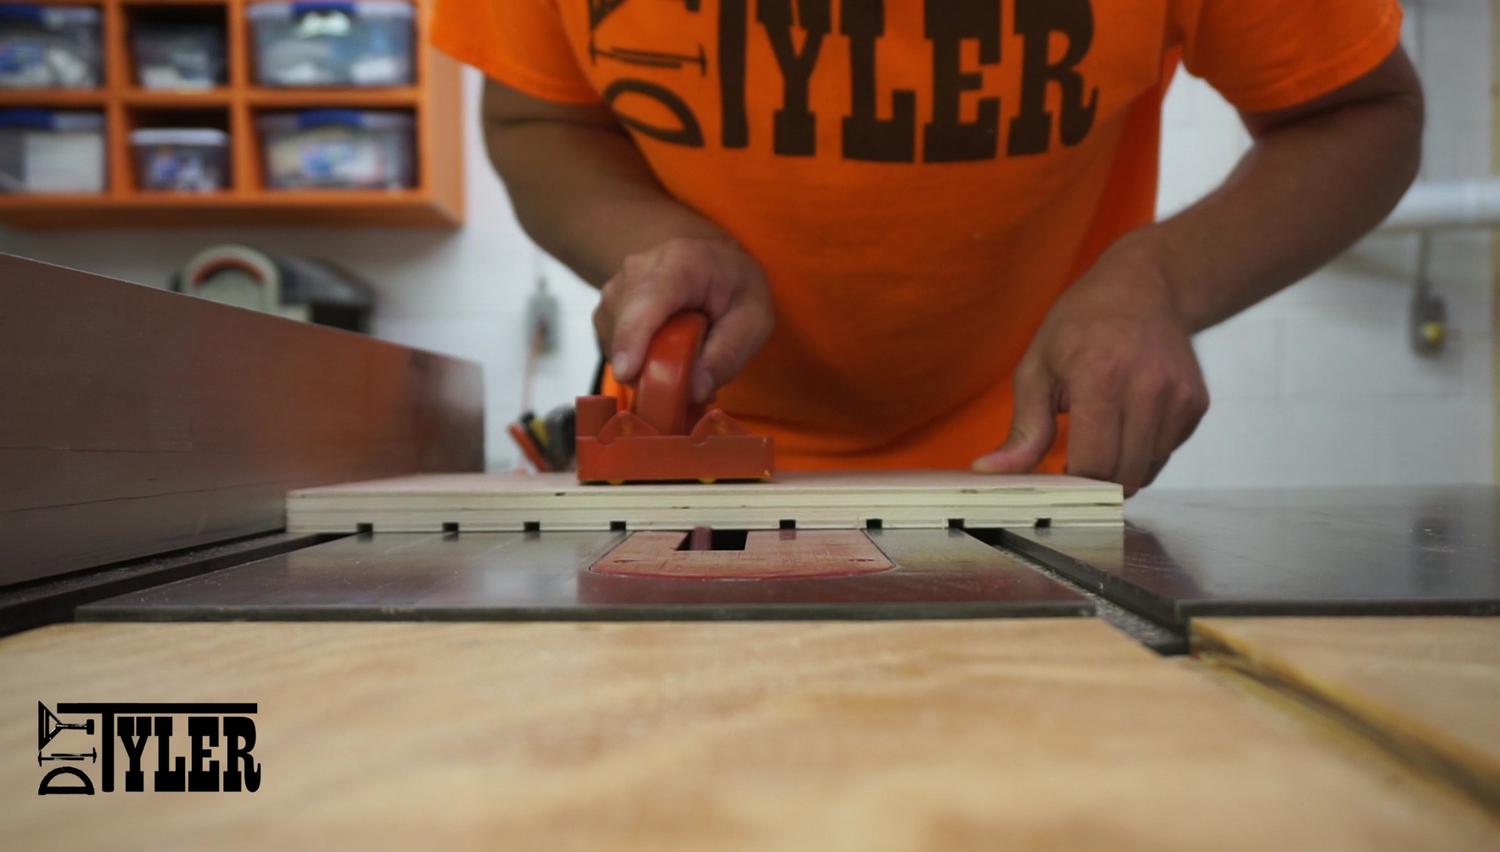
There are two parts that need a series of dados cut to accept the dividing boards. Once all your parts are cut, switch to a dado blade with a width a little over 1/4″. Cut the dados by setting the fence, cut the first dado, turn the board 180° and cut the second dado. Repeat these steps on the second board and then set your fence for the next dado cut and repeat until finished.
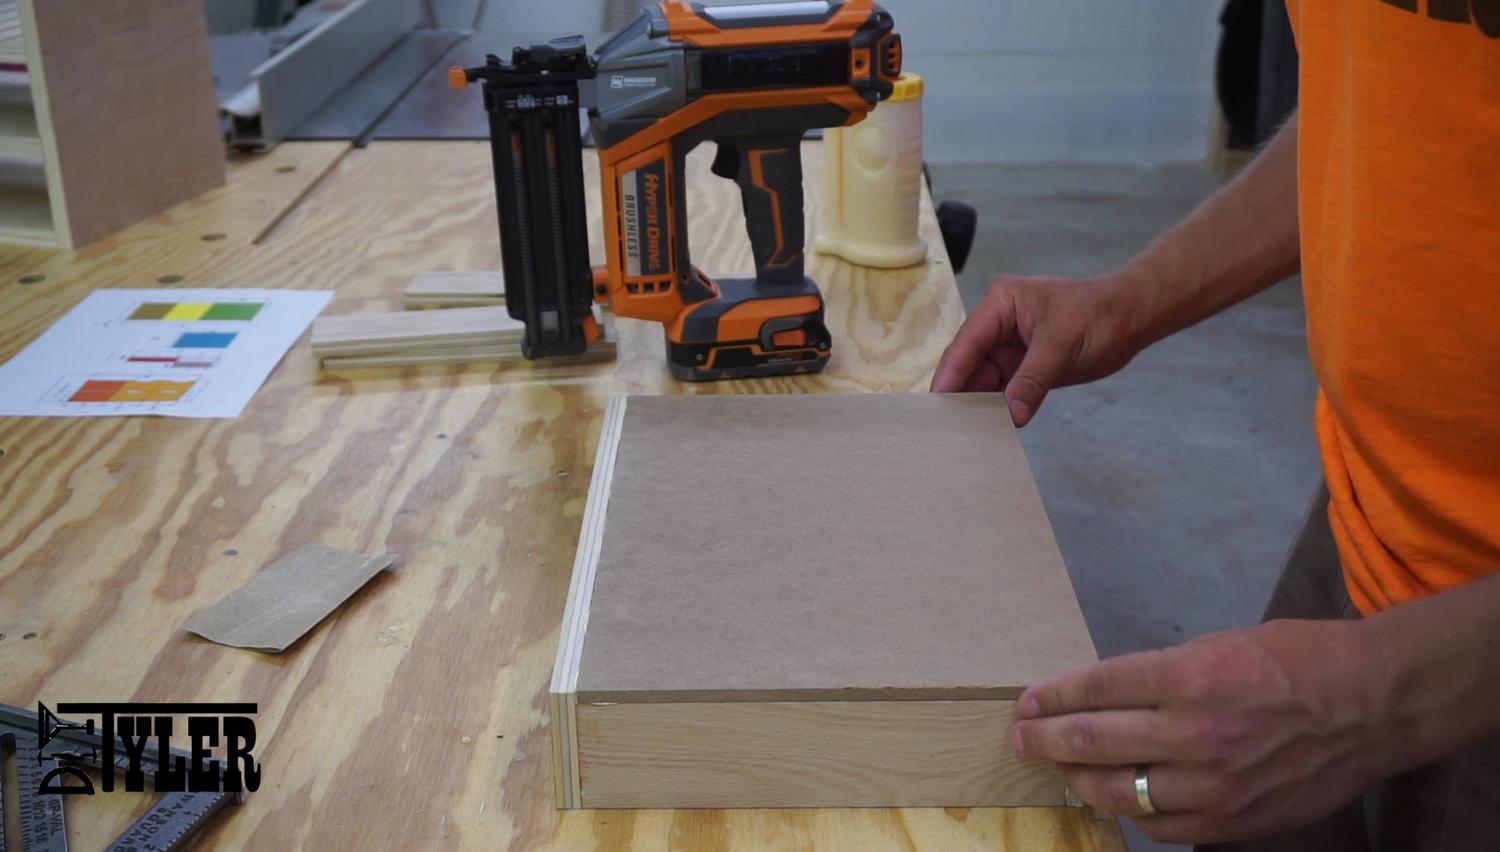
Storage Frame Assembly
Assemble the frame using wood glue and brad nails.
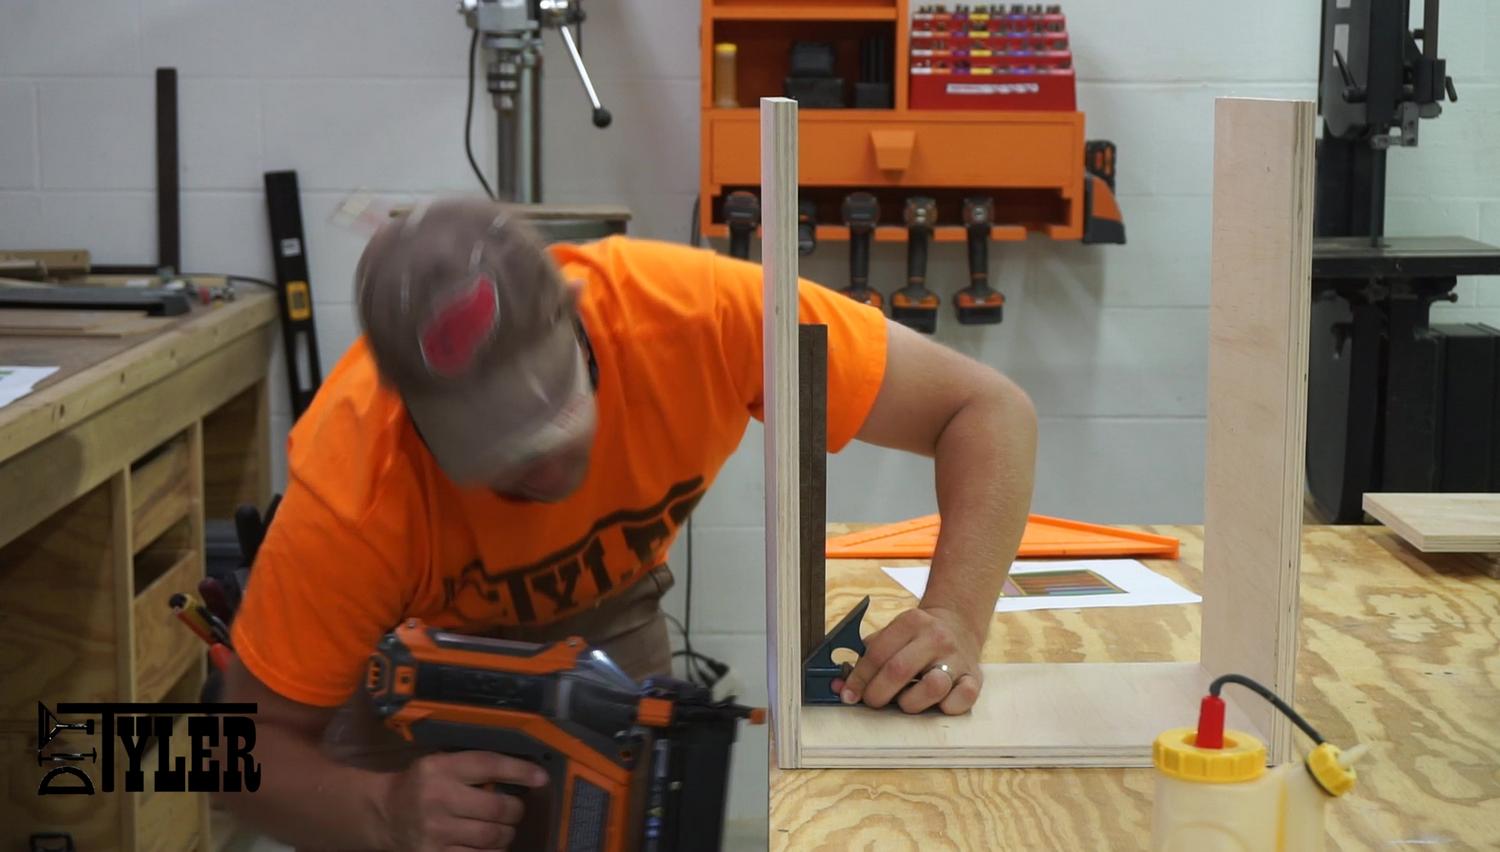
Really helps to cut a few spacers to help you set the shelves evenly.
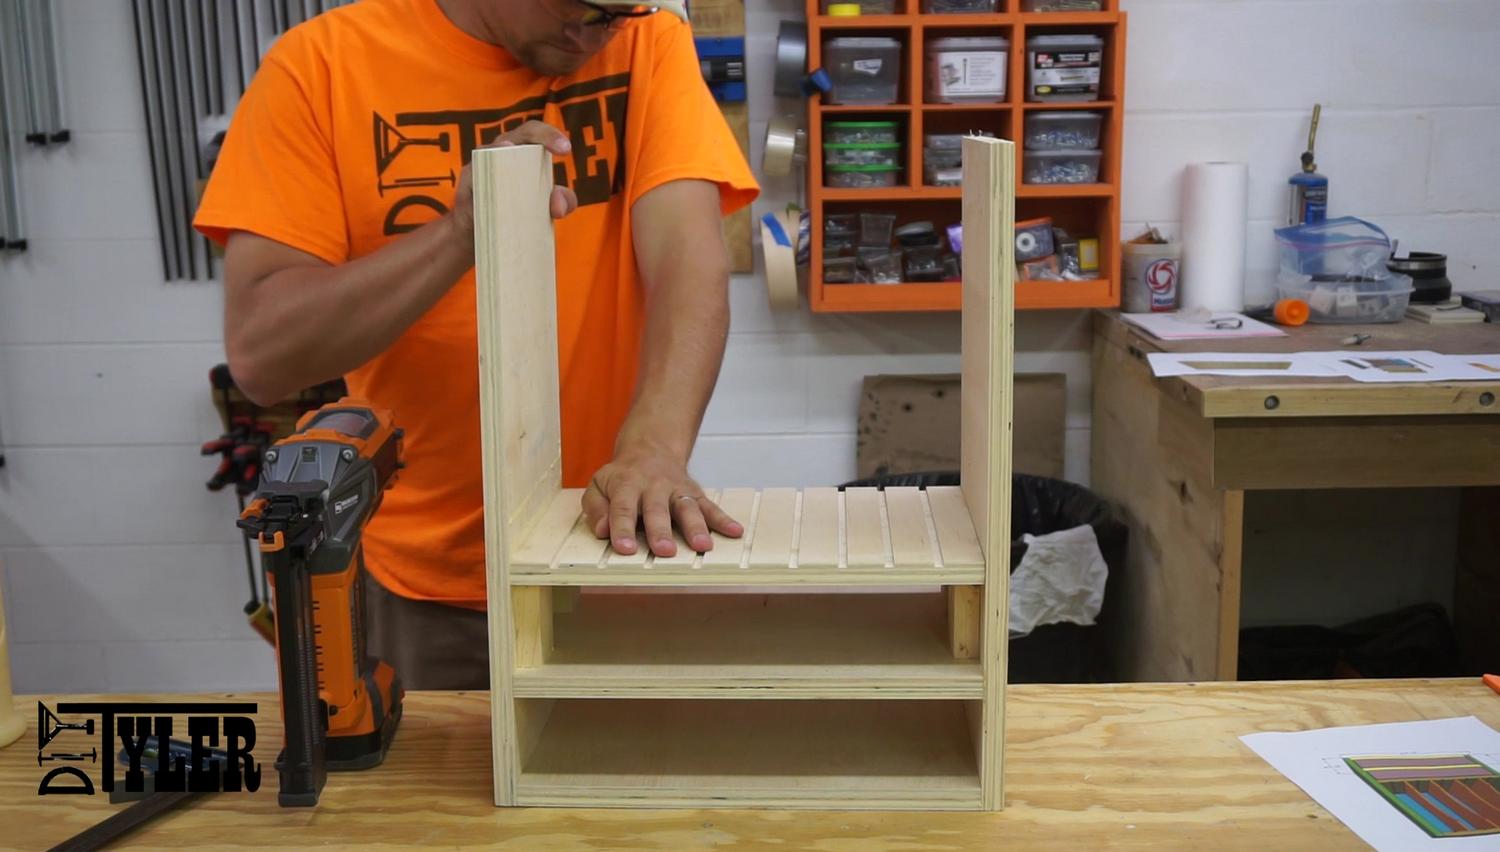
Once the main frame is assembled add the back using some glue and brads. I cut up a piece of scrap hardboard for the back but you can use plywood or anything else.
I am going to be hanging this organizer using a french cleat. If that is your desired hanging method now is a good time to add that.
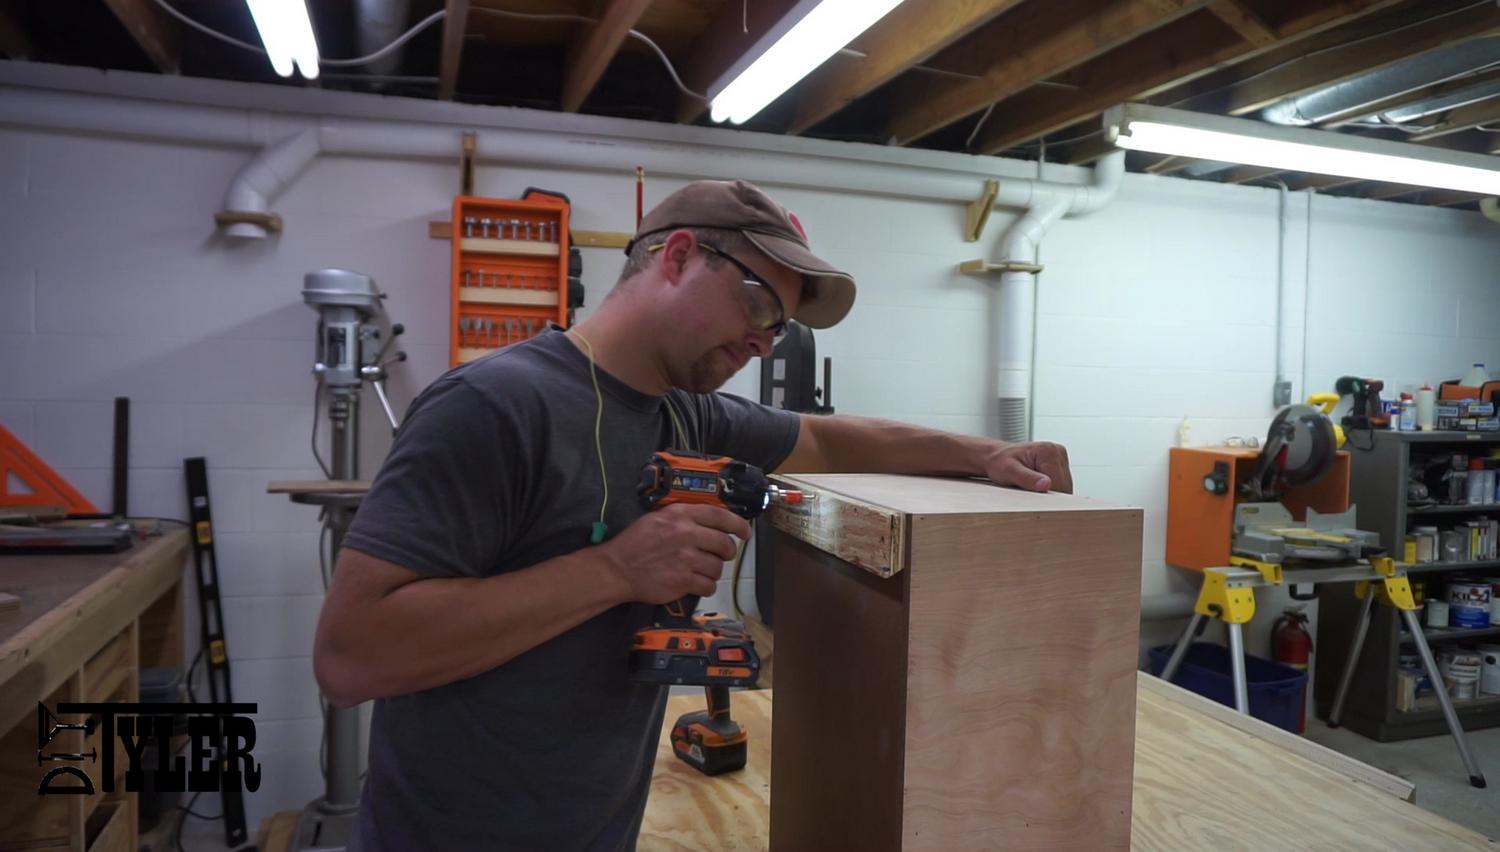
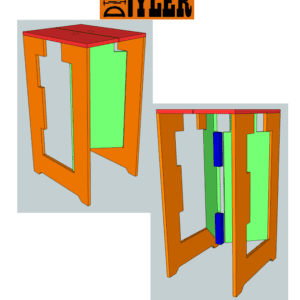
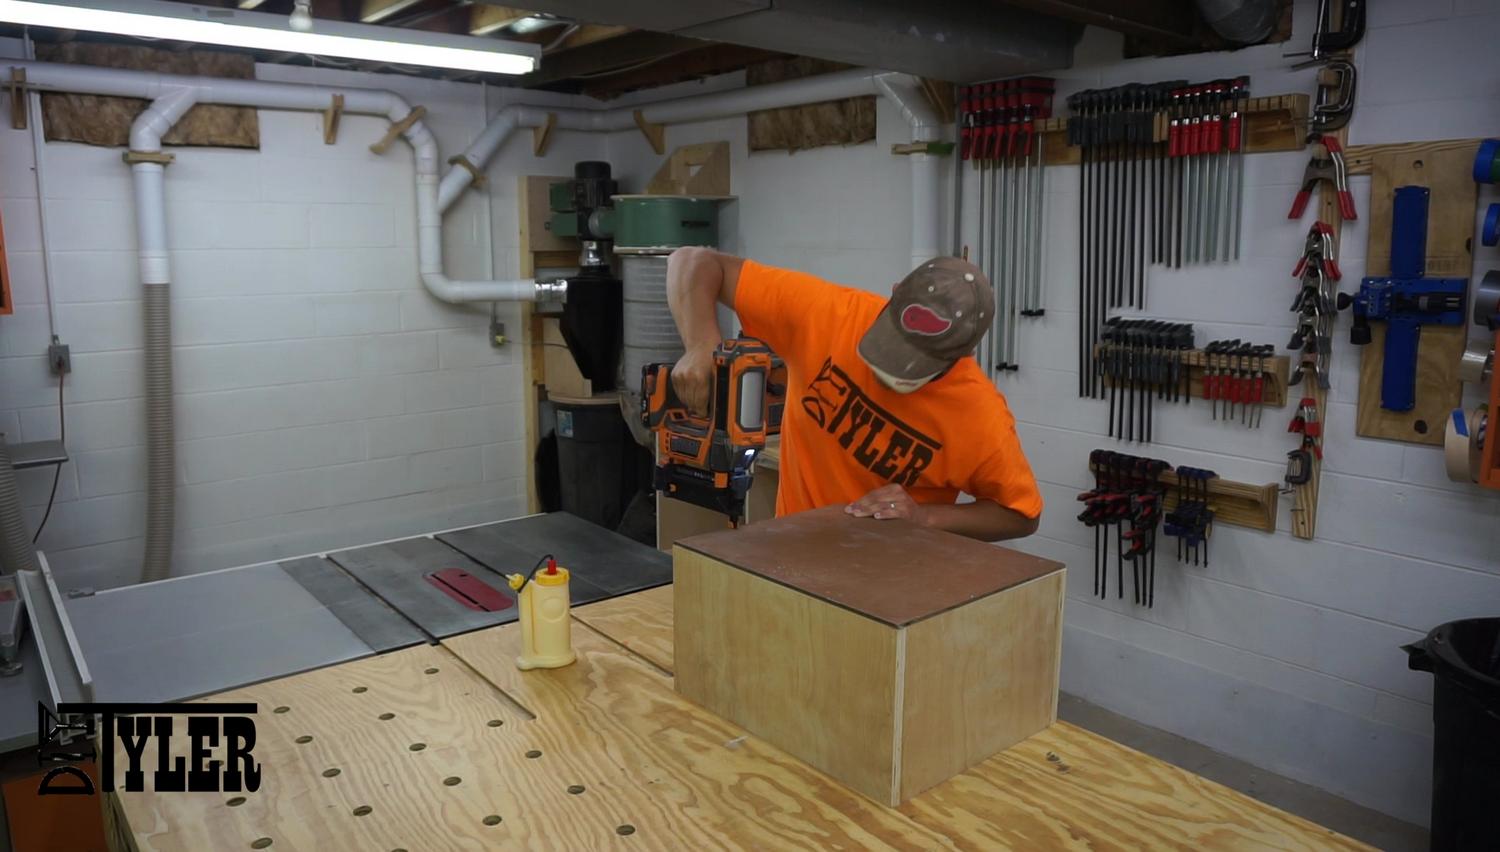
Drawer Assembly
The drawers are a simple butt joint design and are assembled like the rest of this organizer, using wood glue and brads.
Do take note that the drawer face is a bit taller than the rest of the drawer and this is so it covers the hardboard base from showing when the drawer is closed. Once the sides are assembled add the base of the drawer.
I am using some of my DIY drawer pulls for these drawers. If you would like to make some of these pulls you can find a video (HERE), they are made using only the table saw.

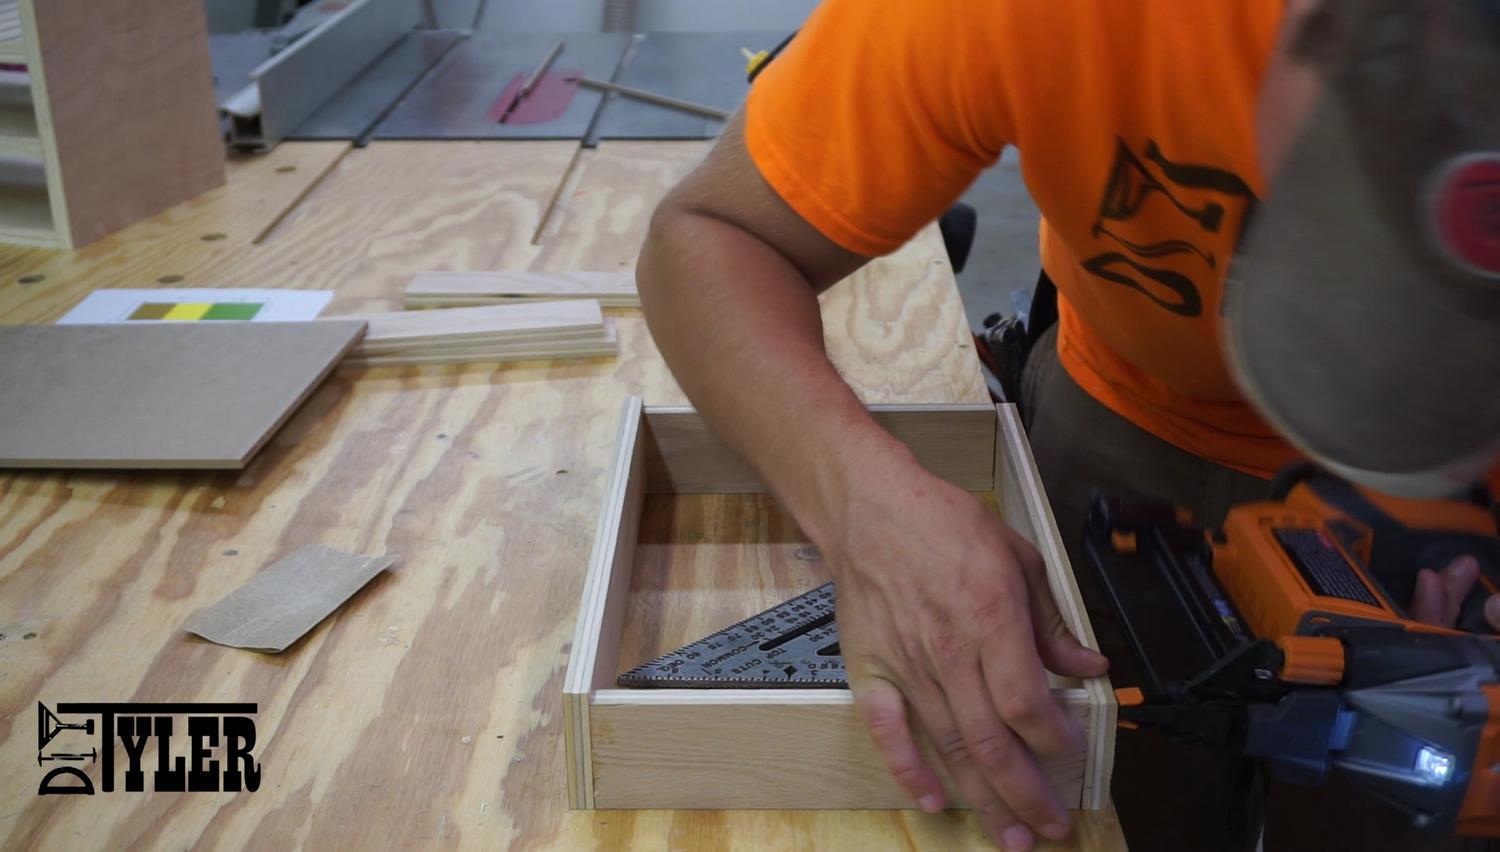
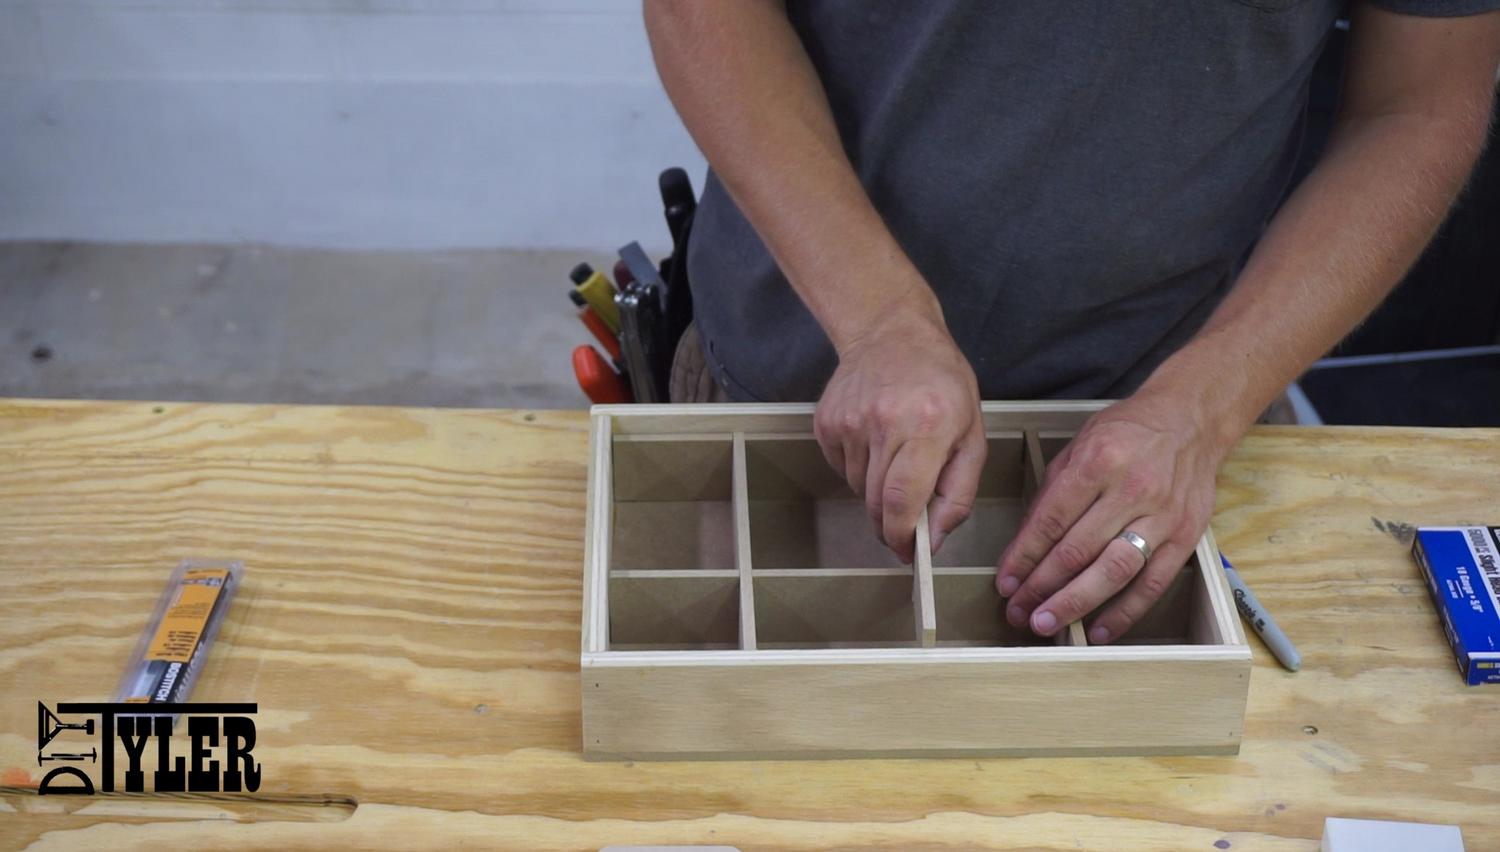
Drawer Organizer
I chose to add little separators in the drawers so I can dump boxes of brad nails our of their boxes and have easy accessibility and visibility.
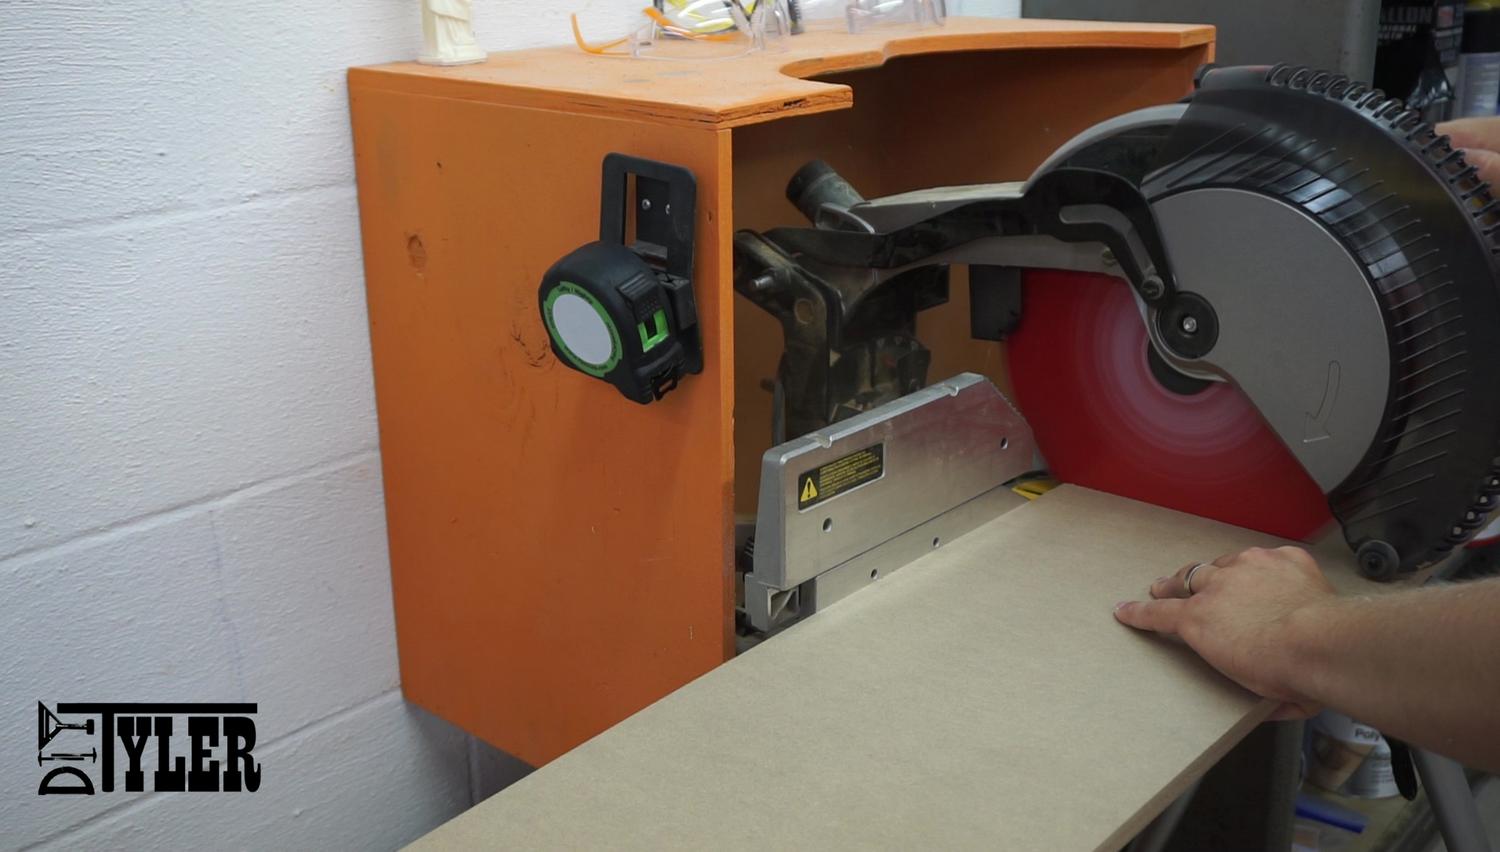
These dividers are made from the leftover scraps of hardboard that was for the nail gun separators. I cut these to length on the miter saw and used the table saw to make “click together” groves.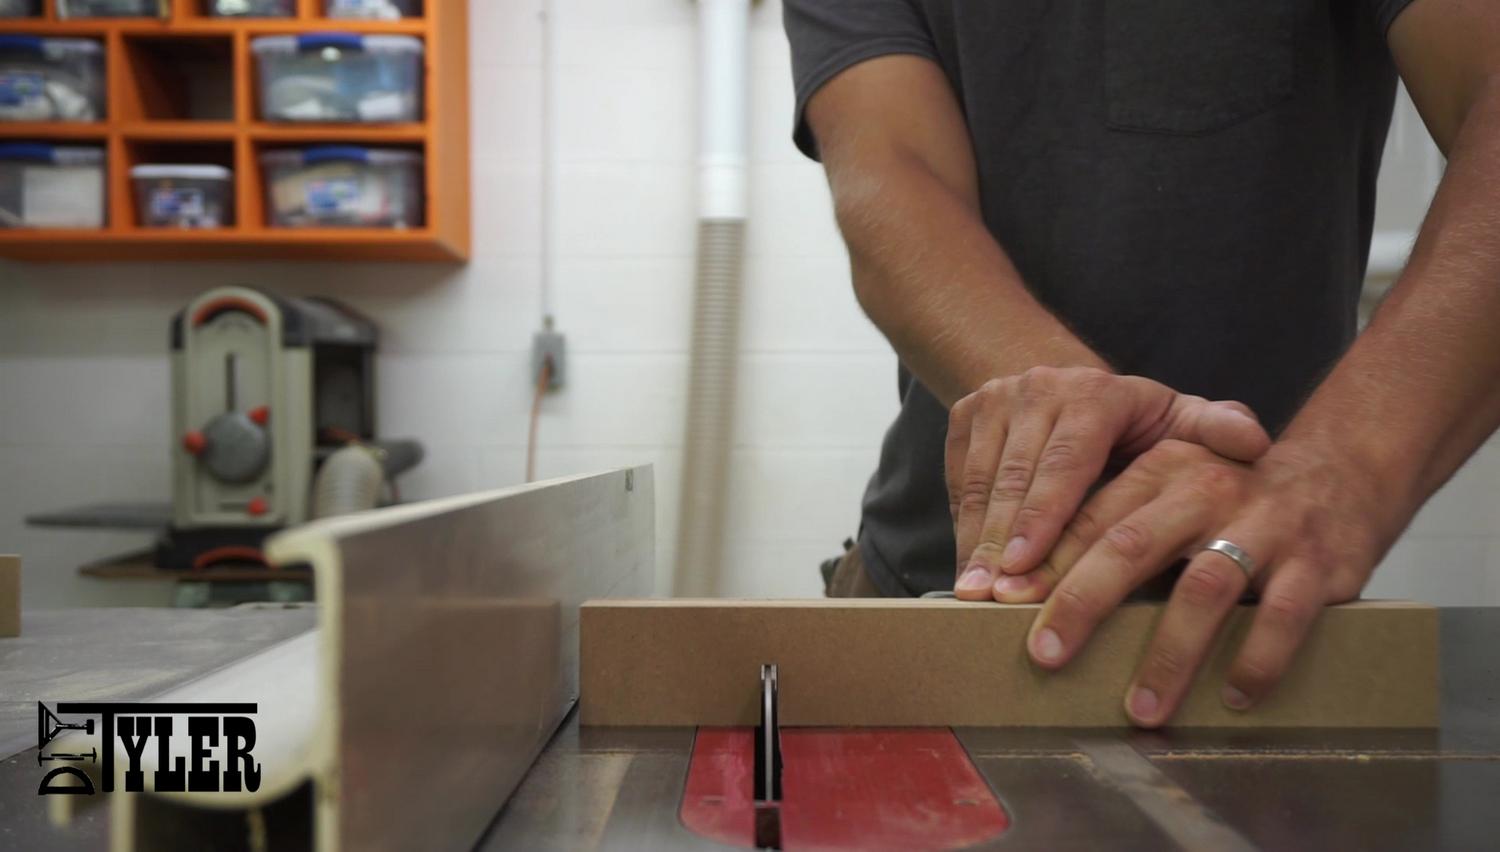
Added some labeling. (need something better then this at some point!)
And clipped everything together.
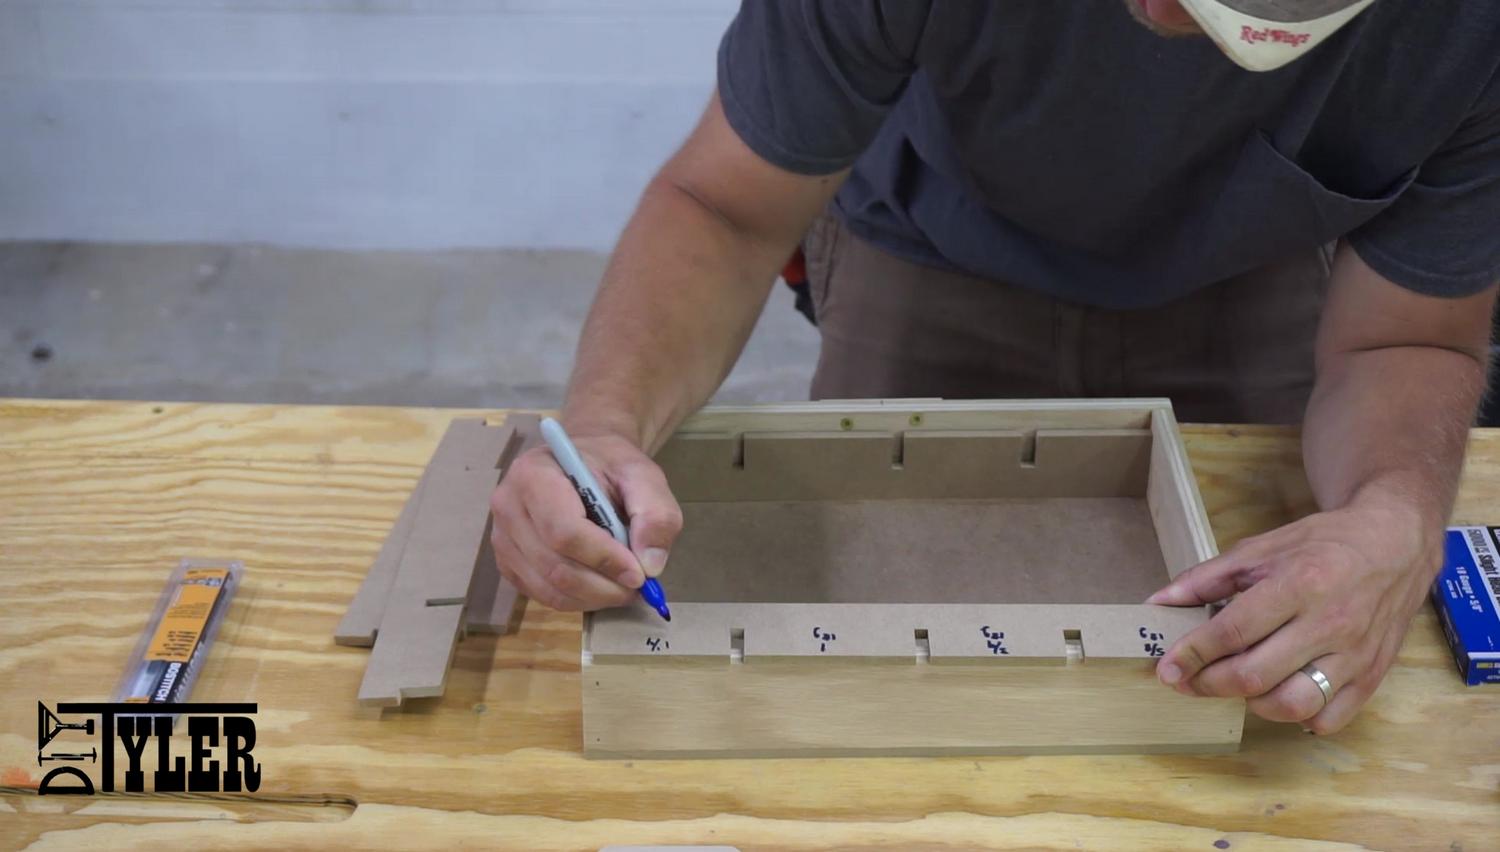
Nail Gun Dividers
To make the dividers that separate the nail guns I cut some 1/4″ hardboard to width on the table saw.
And to length on the miter saw. Had to make a cut, flip the board and make another cut since the board is wide and I don’t have a slider.
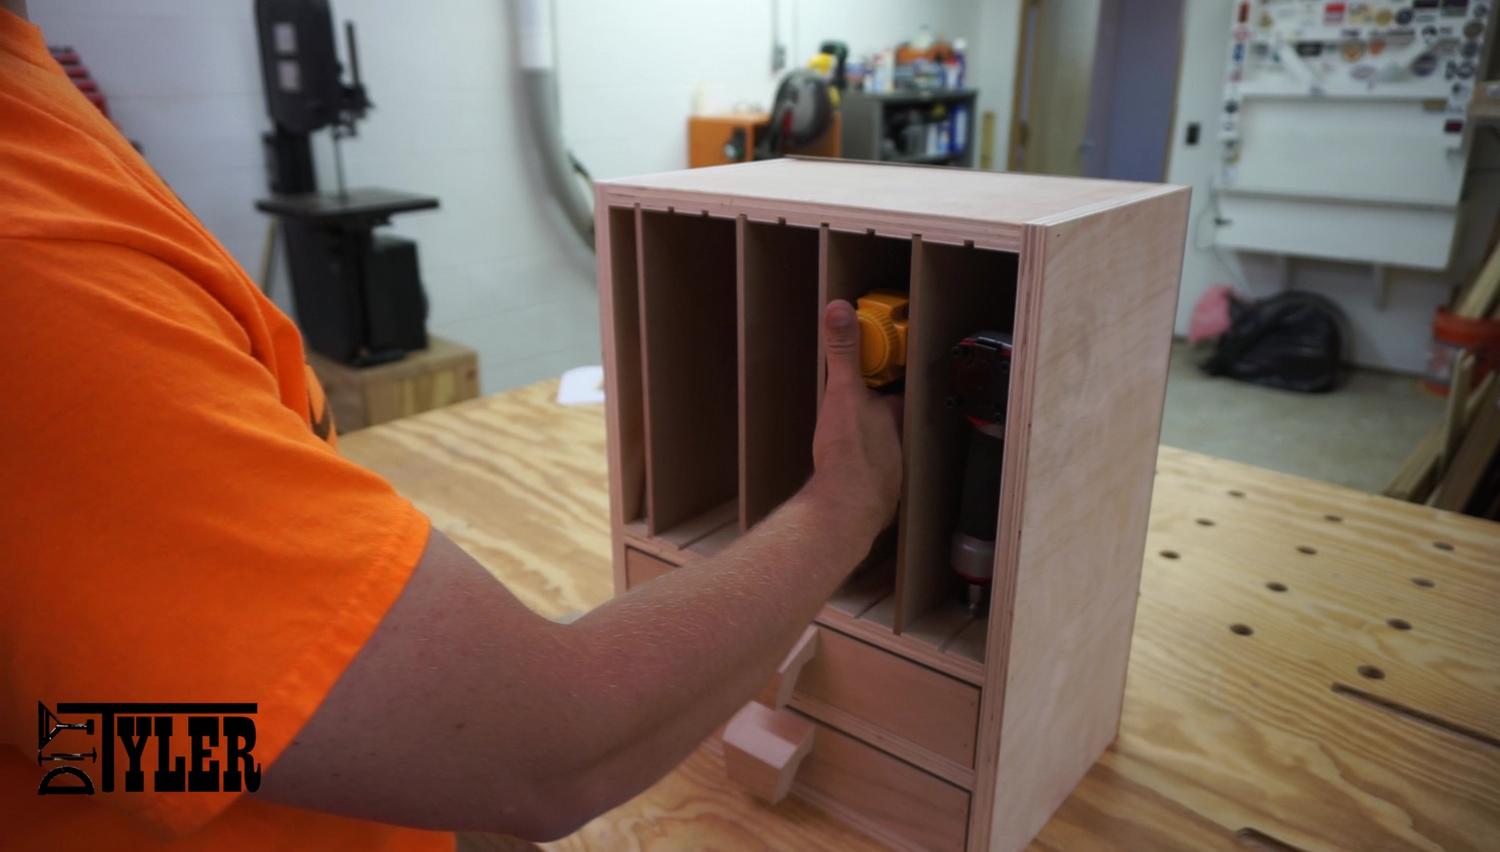
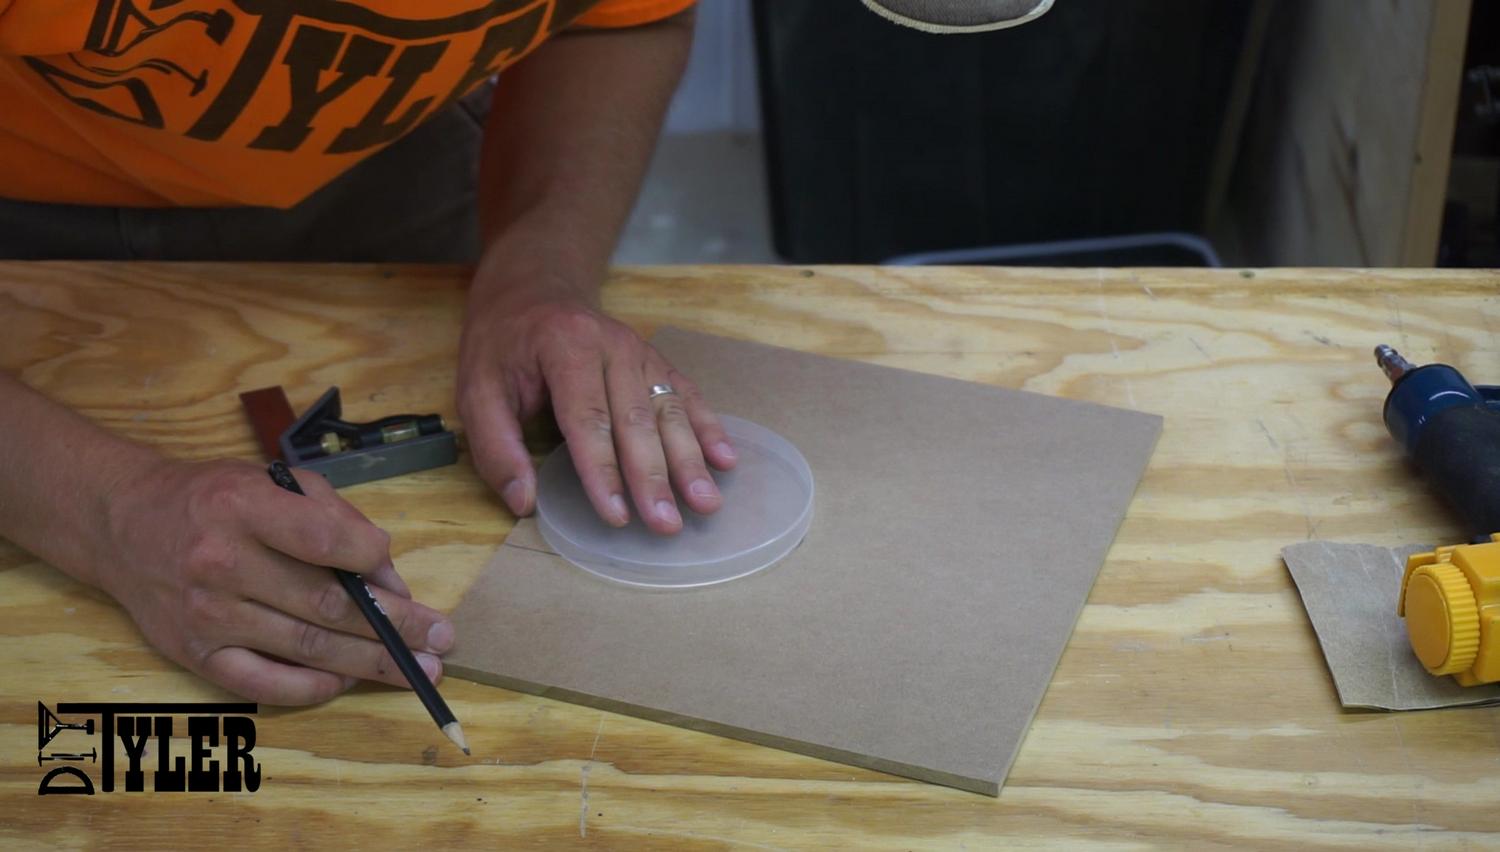
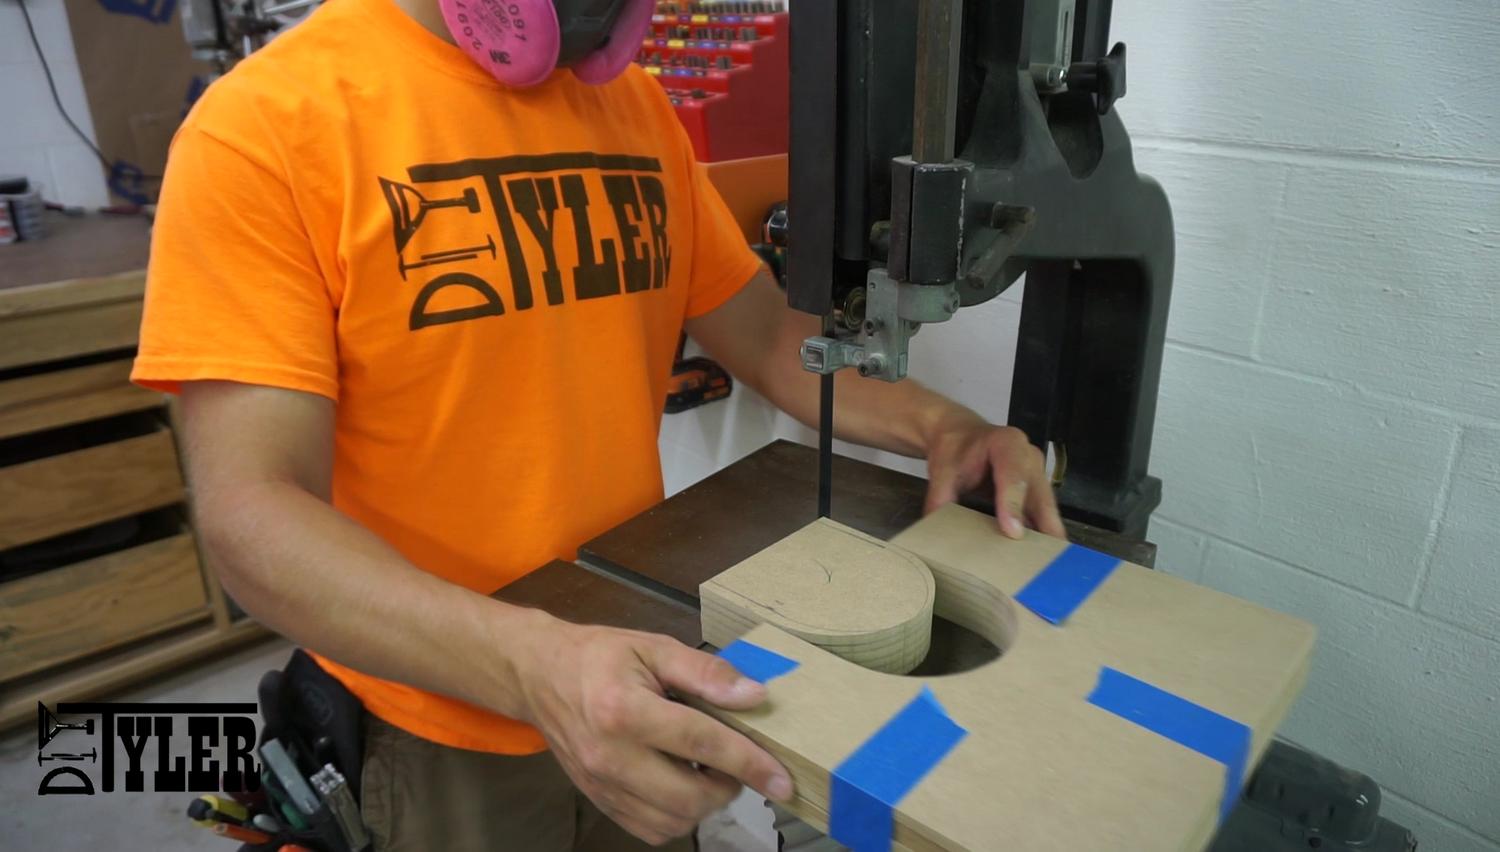
Then, with the dividers in place, I used my hand to decide the proper place to locate some cutouts so I can easily grab the nail guns.
 Made some proper lines using some random lid that was laying around.
 And made the cutouts on the band saw.
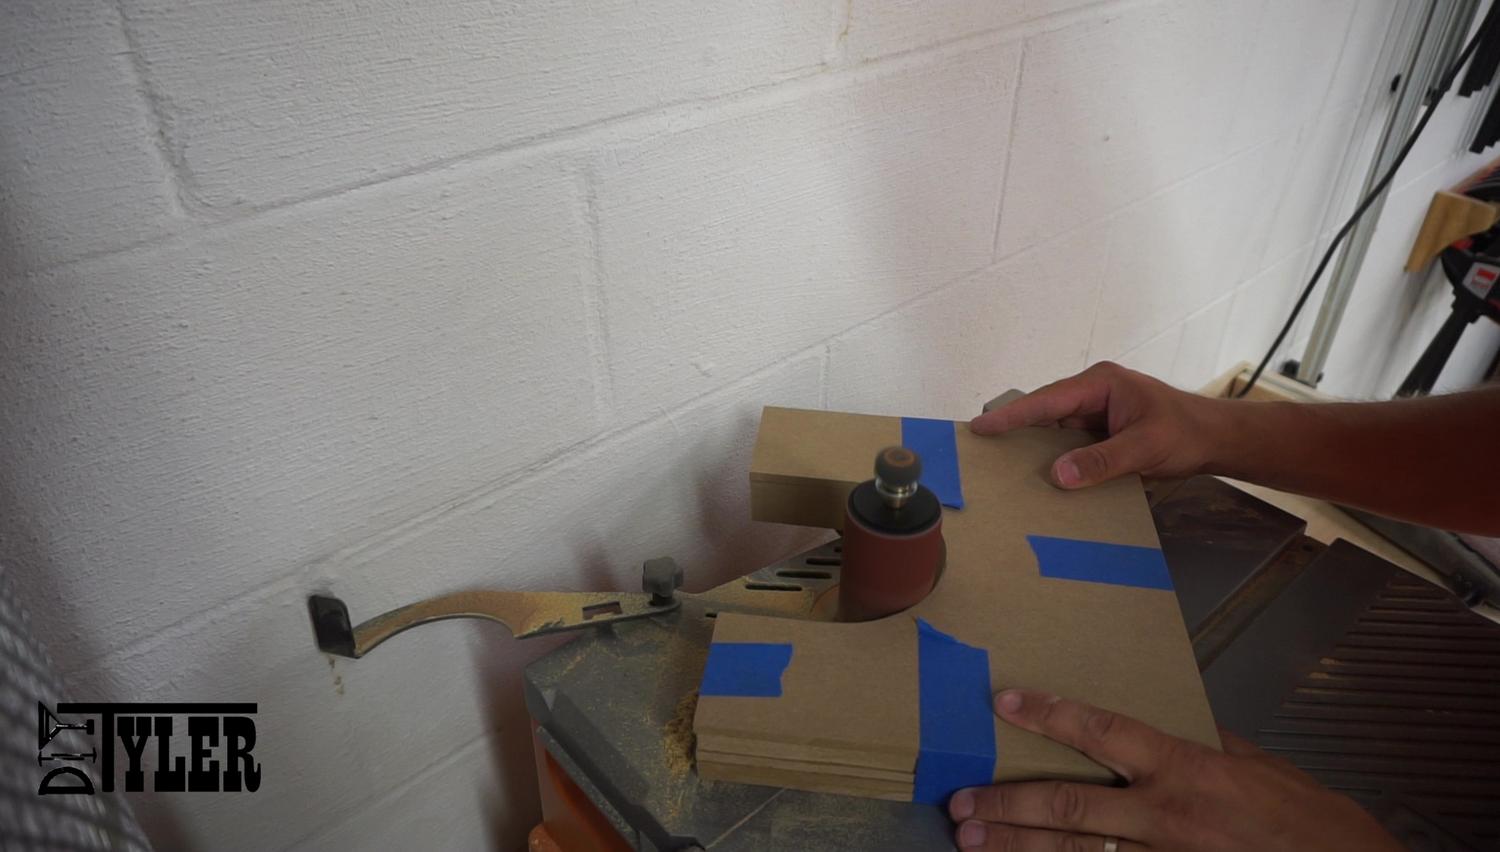
 And used the spindle sander to soften the marks.
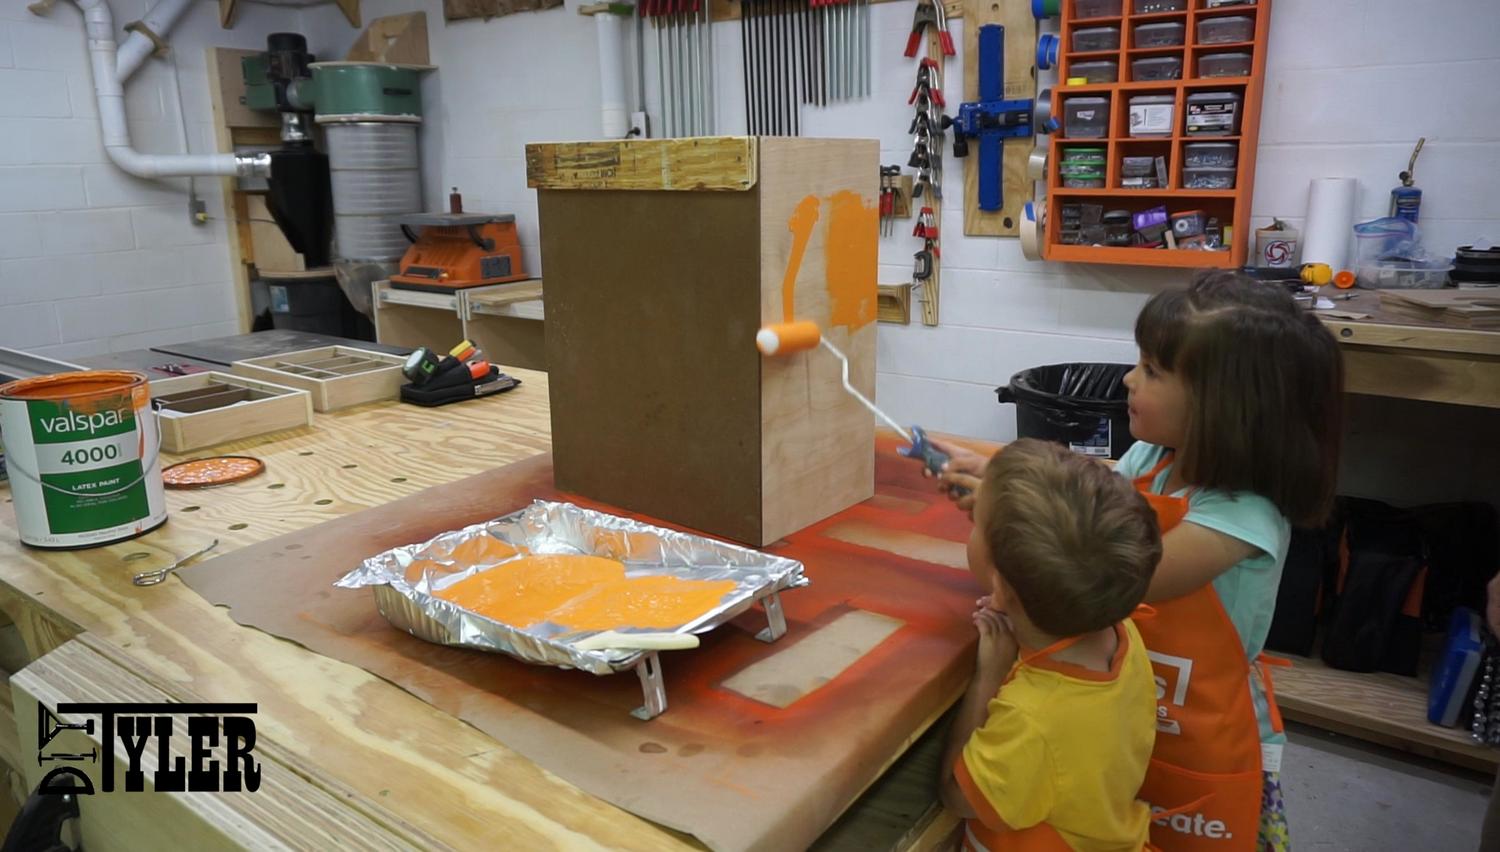
With all the assembly and cutting done it was time to paint the cabinet our signature DIY Tyler orange. The kids love to help for paint.
 Once it was dry it was time to hang it and fill it!
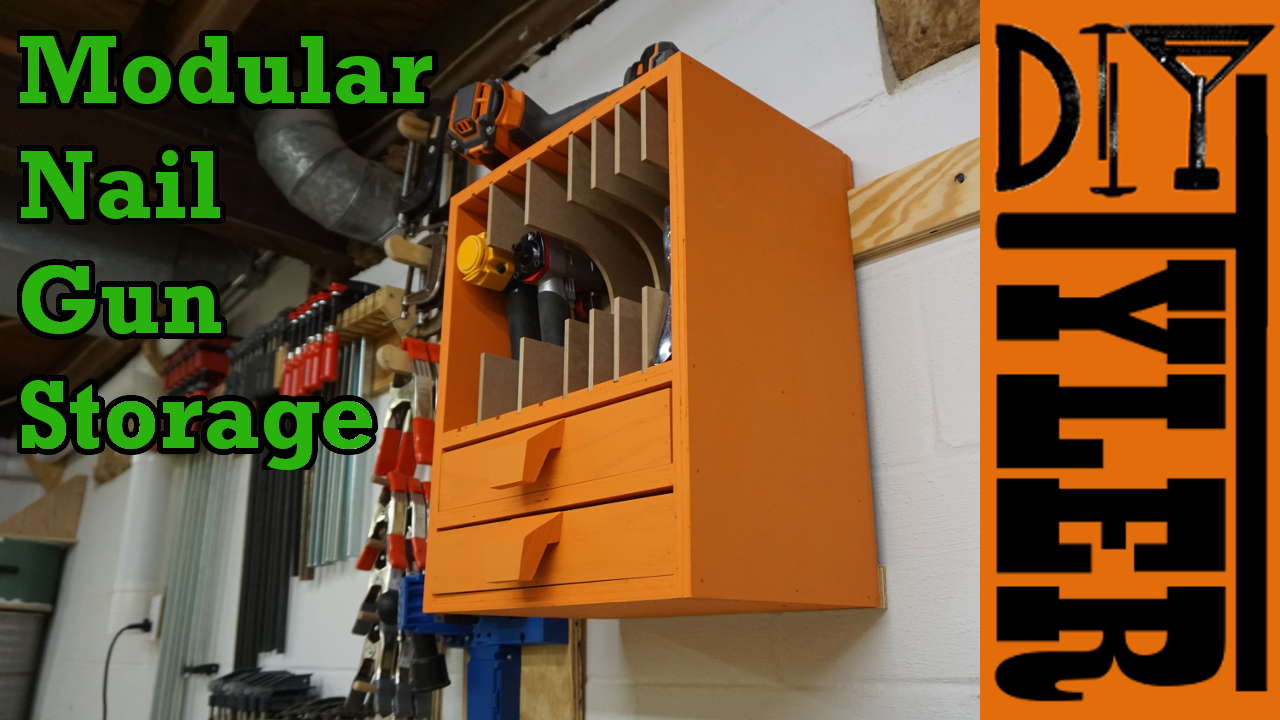
Conclusion
I am pretty happy with how this organizer turned out but if I was to do it again I would like to use different drawer pulls. These ones look a little too big for the drawer they are on but they do match the rest of the pulls in the shop!
Thanks for checking out our stuff and if you build one be sure to send me a picture!
Please follow and like us:
4 thoughts on “Modular Nail Gun Storage”
Thanks for sharing, Tyler. I look forward to all your video releasesand enjoy them a lot.
I notice that you are getting into the special effects & theatrics…PLEASE DON’T.
I have stopped watching some of the other You Tube vids, because I don’t really want to be entertained, I really want to be instructed. The kids did a great job with the paint, didn’t look like there was a major spill anywhere.
This is so awesome! Thanks for another great idea. I’m putting up a french cleat system in my basement this week, and this will be one of my projects. I can’t wait to see how it turns out.
Great nail gun storage cabinet
I really like this idea