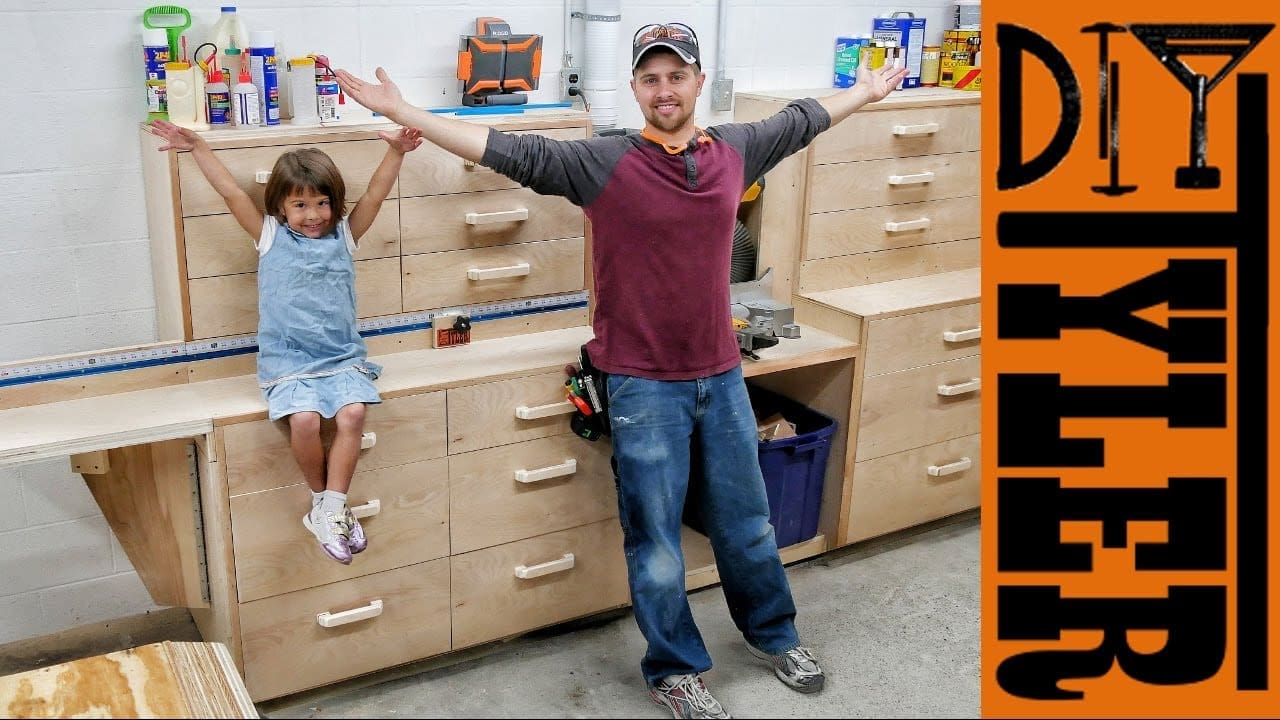
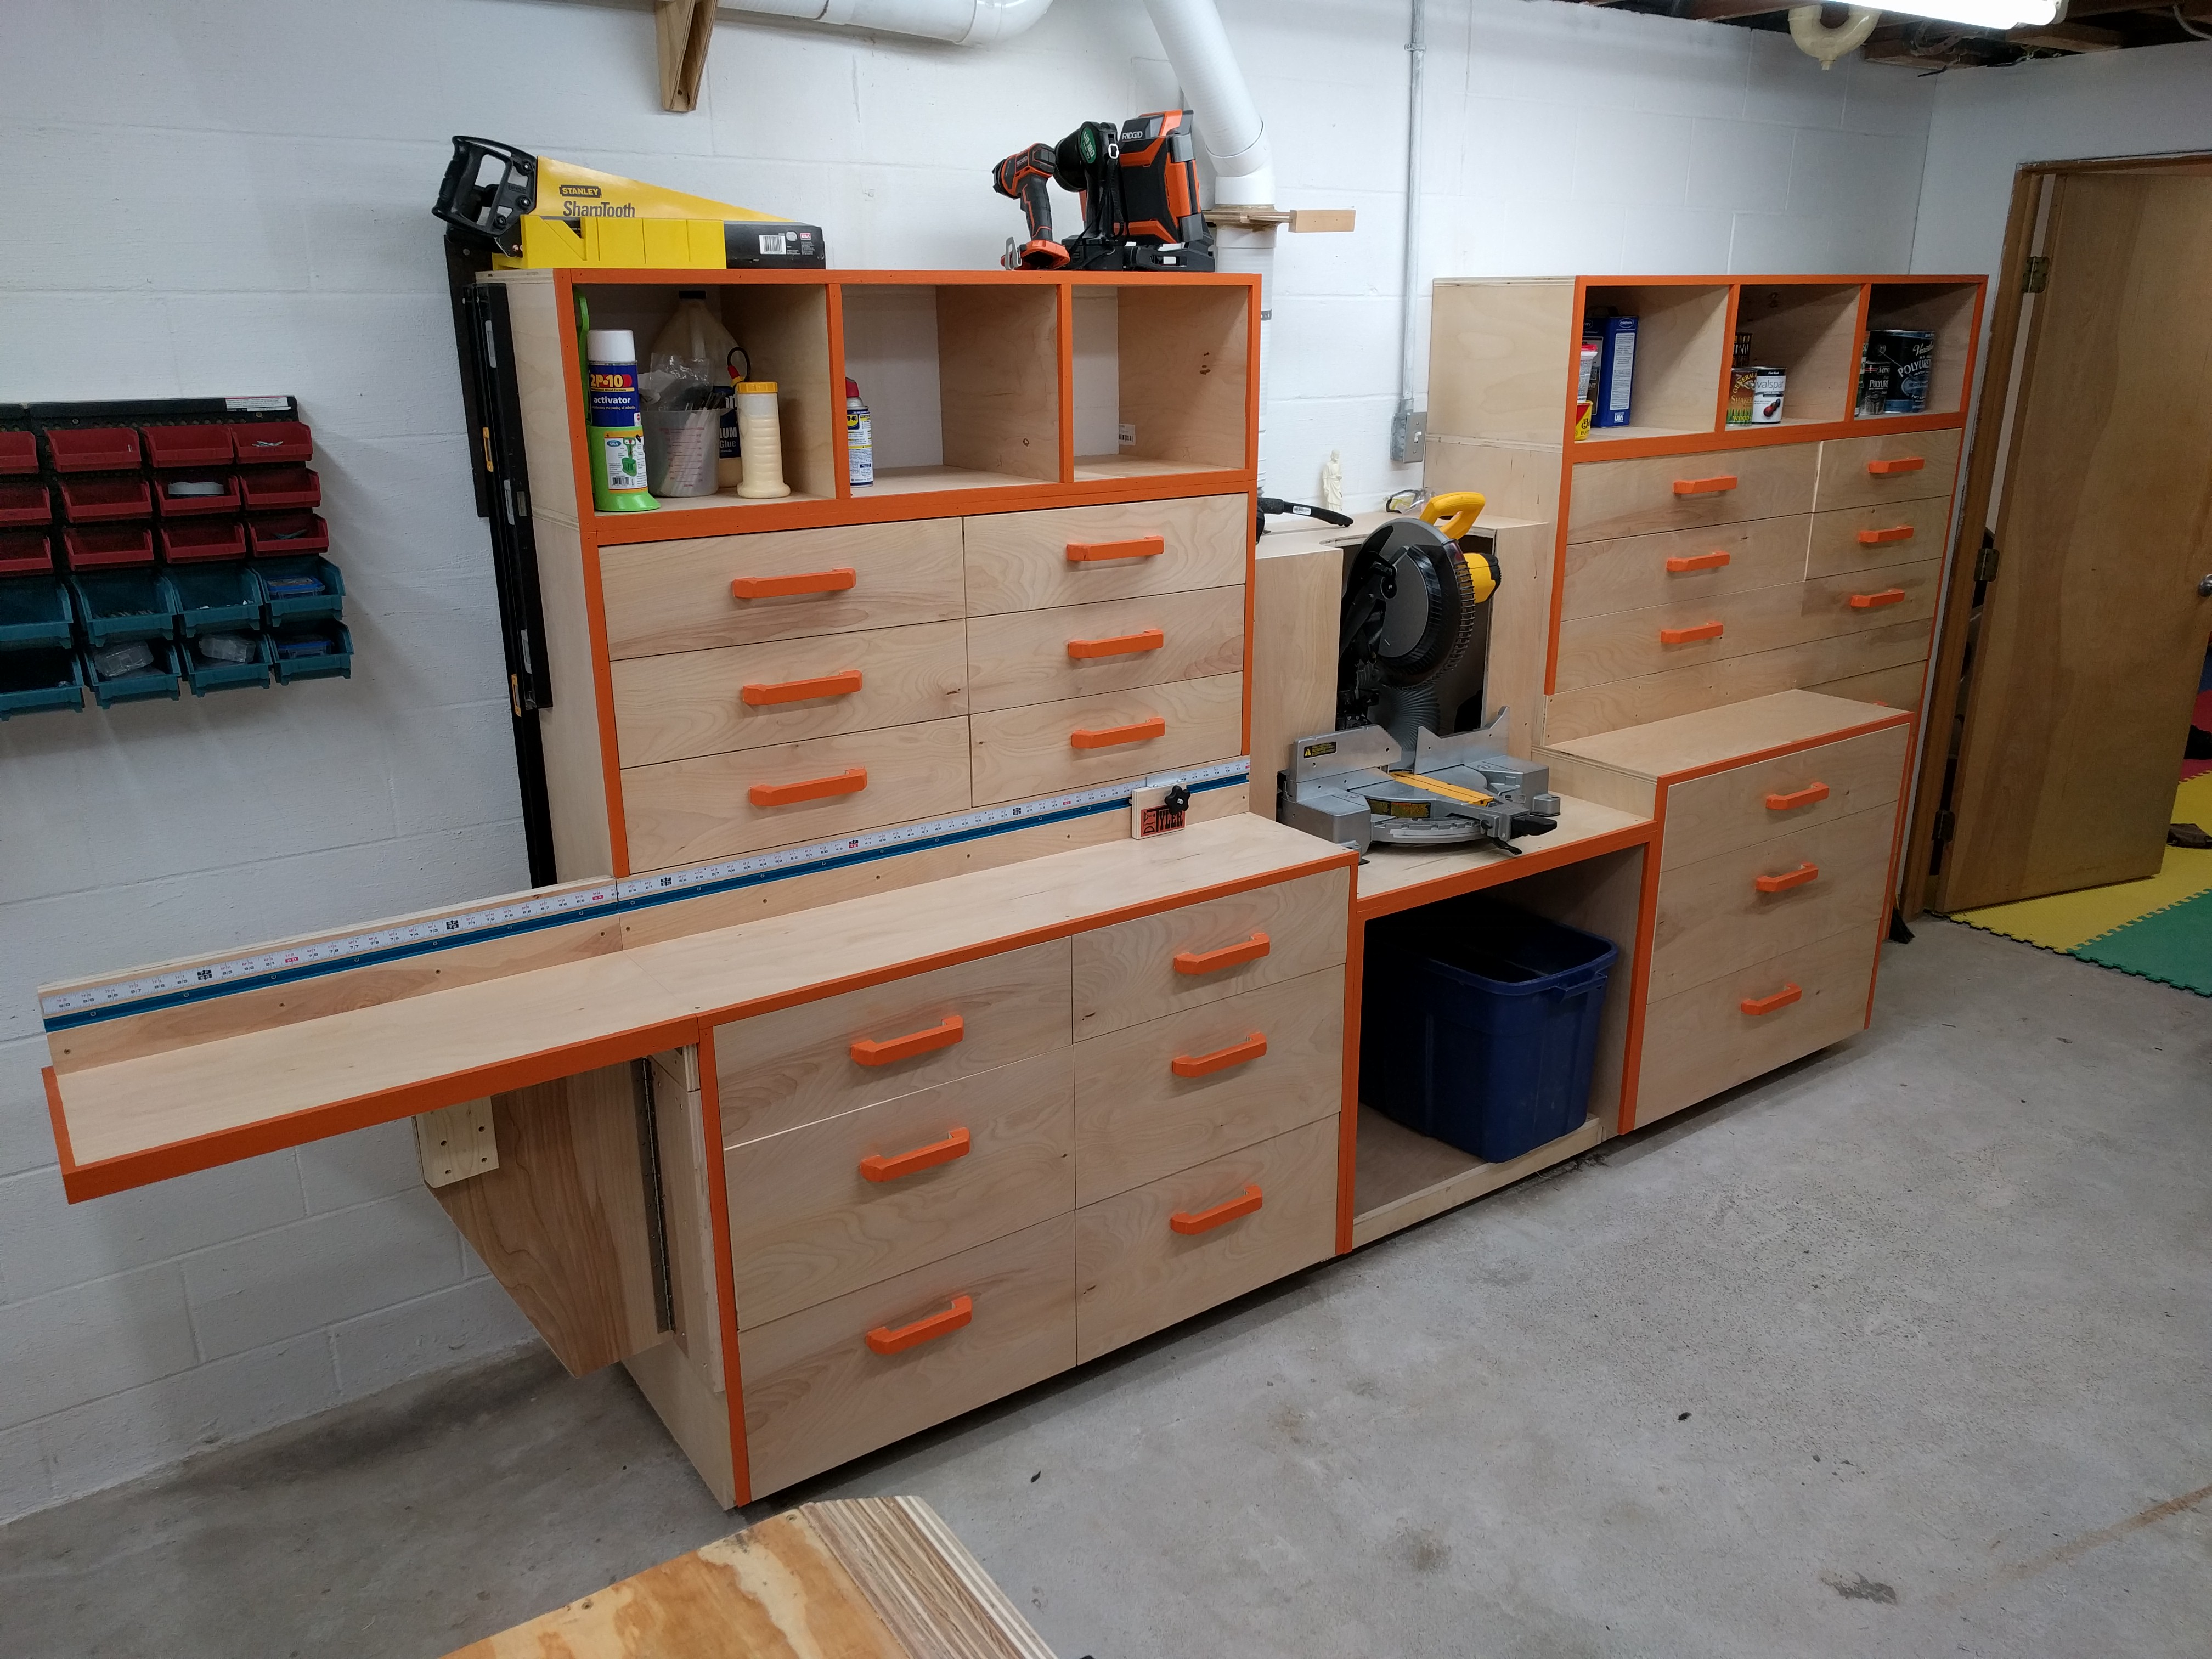
I know you guys have been eagerly waiting for this! The Miter Saw Station is finally complete and it looks AMAZING! I was debating if I should put a coat of polyurethane on it so I took to Instagram (you guys should head over there and follow me if you don’t already) and asked you guys what you though. The popular result was OVERWHELMING that I needed to coat it and add some signature DIYTyler orange somewhere. This is what it looks like now. Love it!
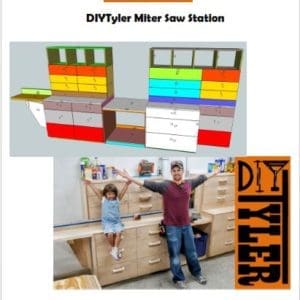
If you would care to get the plans so you can build your own you can find them here. Thanks for the support and if you build one shoot me a picture so I can see your creation!
This station is build from PureBond plywood, if you aren’t familiar with PureBond hardwood plywood it is made in the USA and Canada, formaldehyde free, and available exclusively at The Home Depot.

Miter Saw Station Drawer | Sheet Breakdown
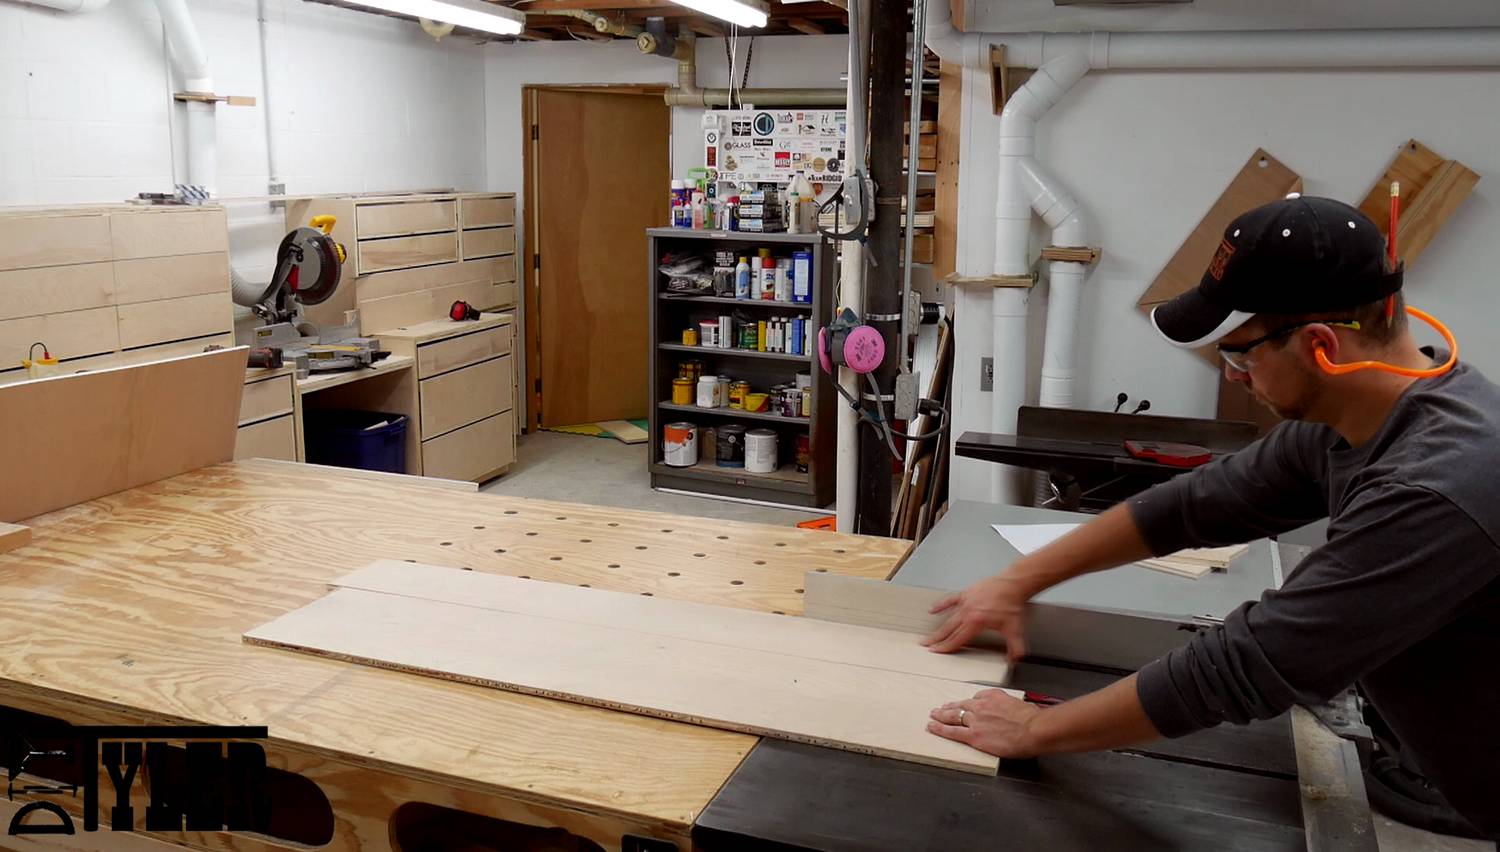
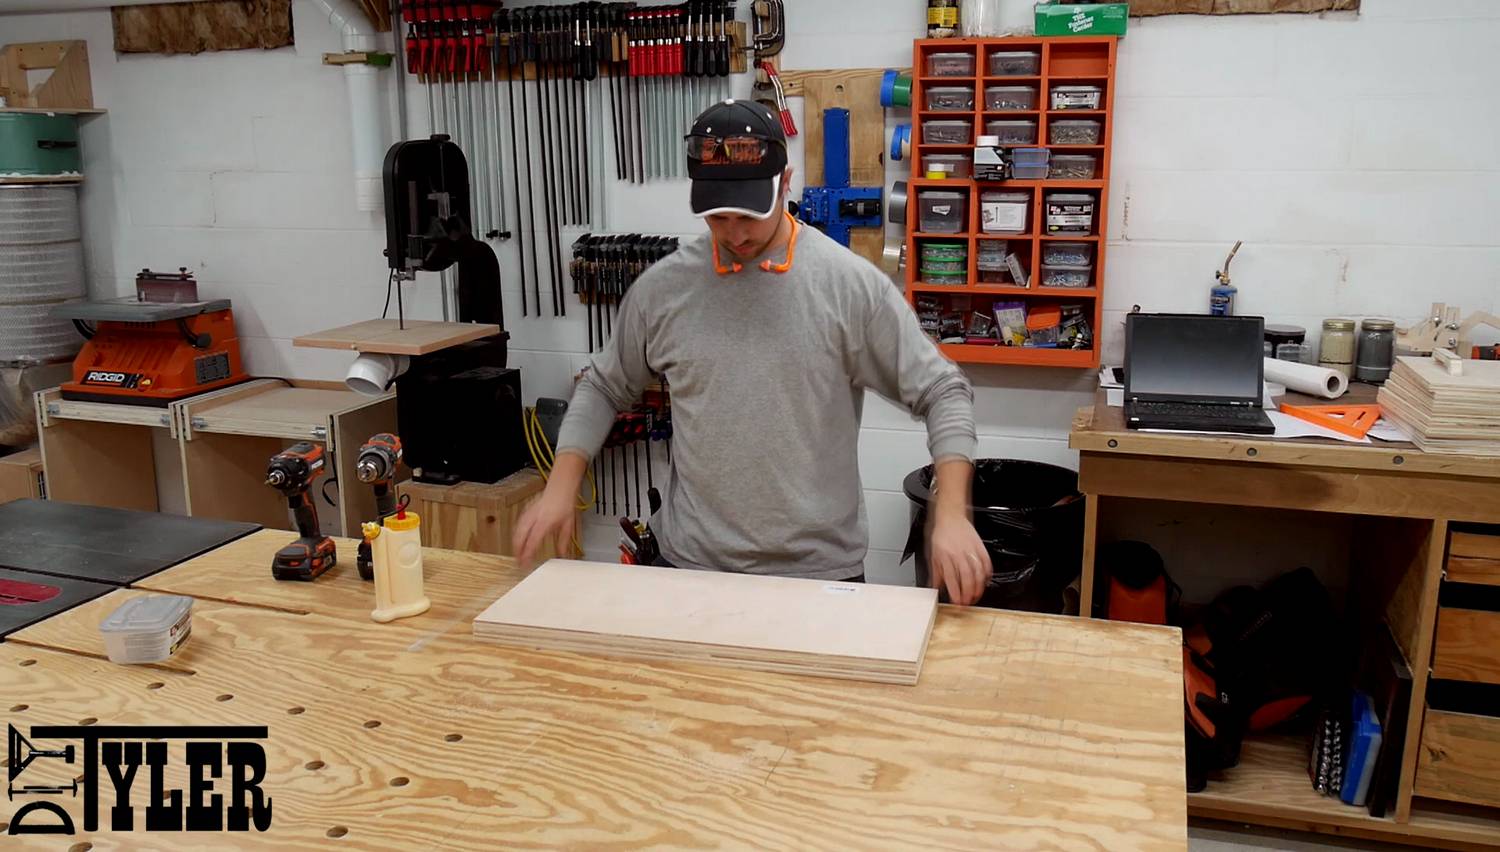
Just like with part one of the miter station I started by breaking down all the sheet goods to make the drawers. The plans show how to break down each sheet for maximum efficiency and the numbering of each part so you don’t loose track, there are a lot of parts.
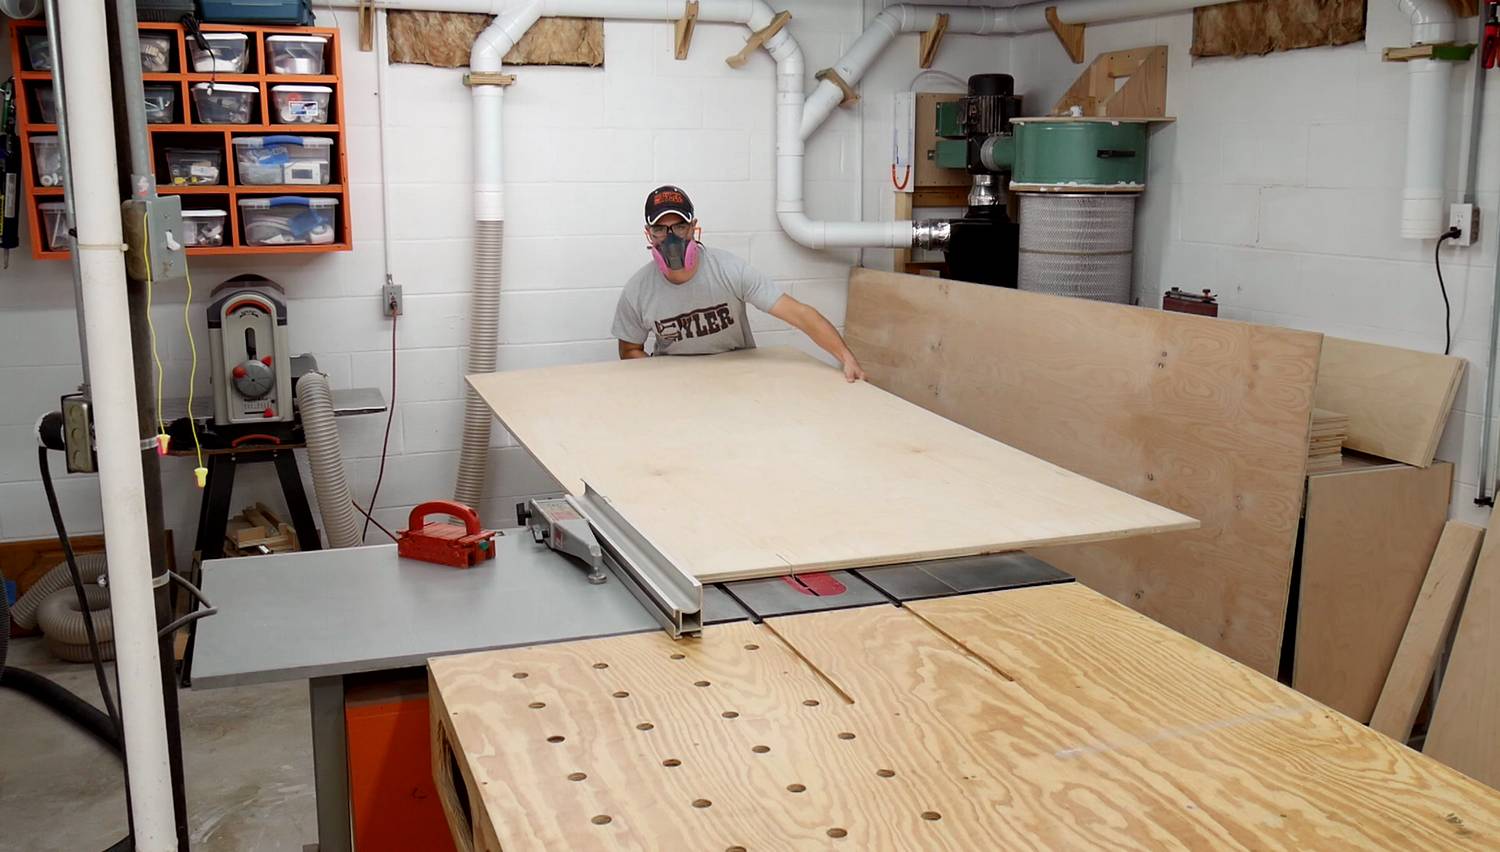
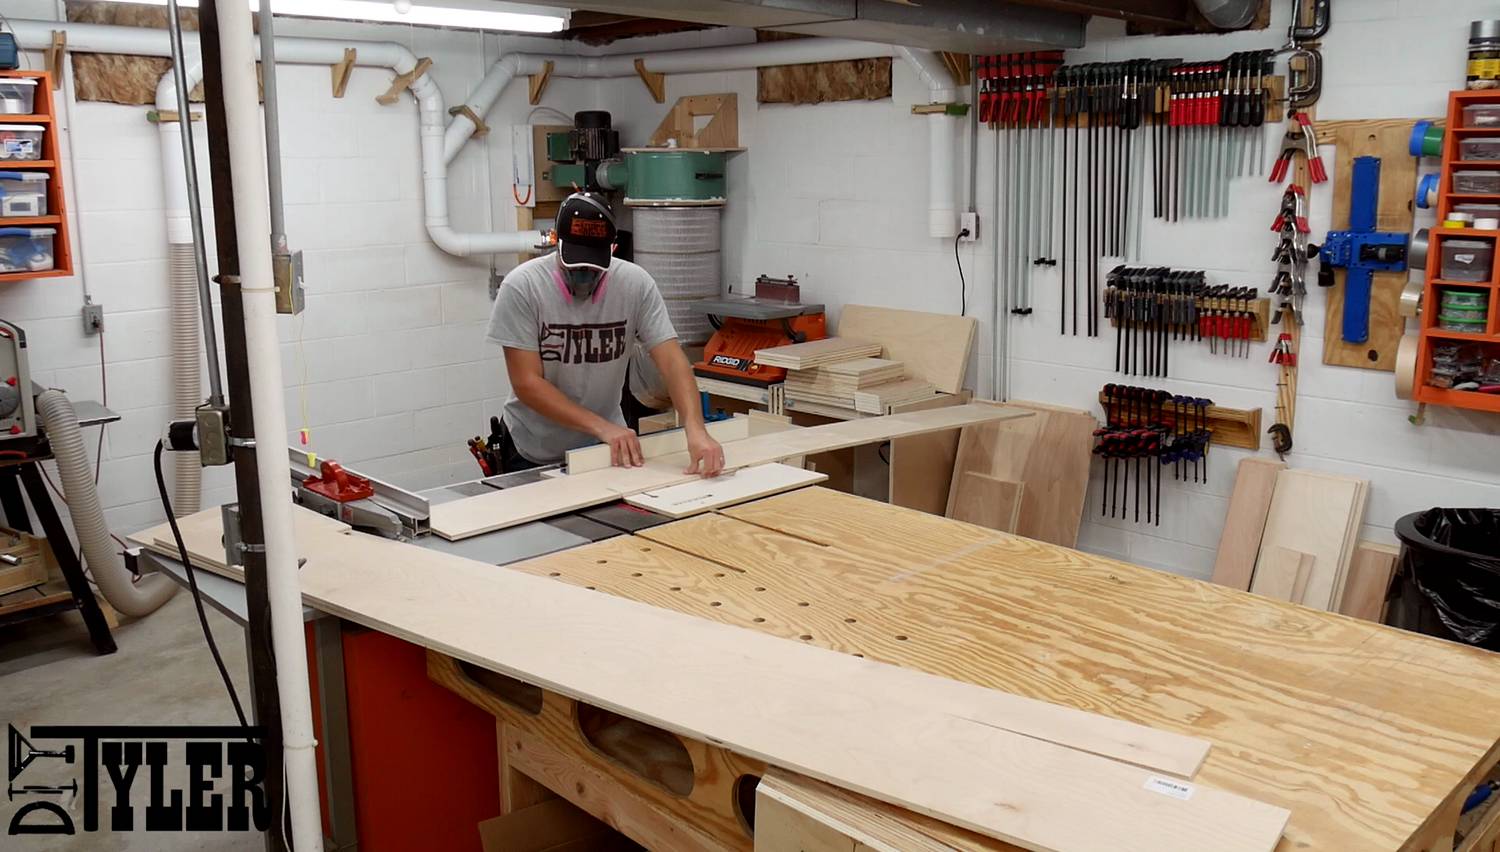
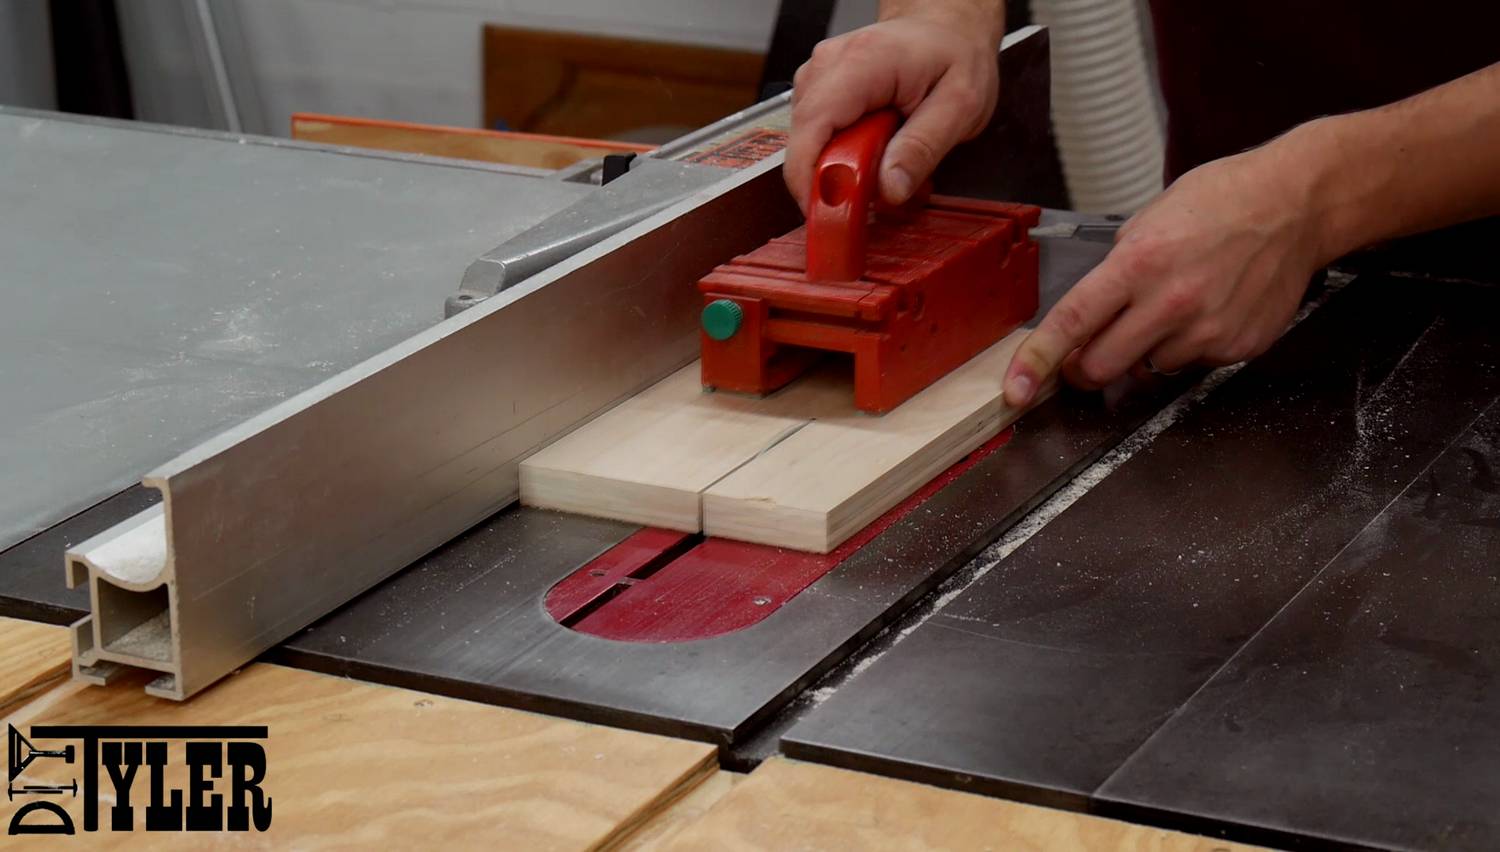
I used a combination of the miter saw….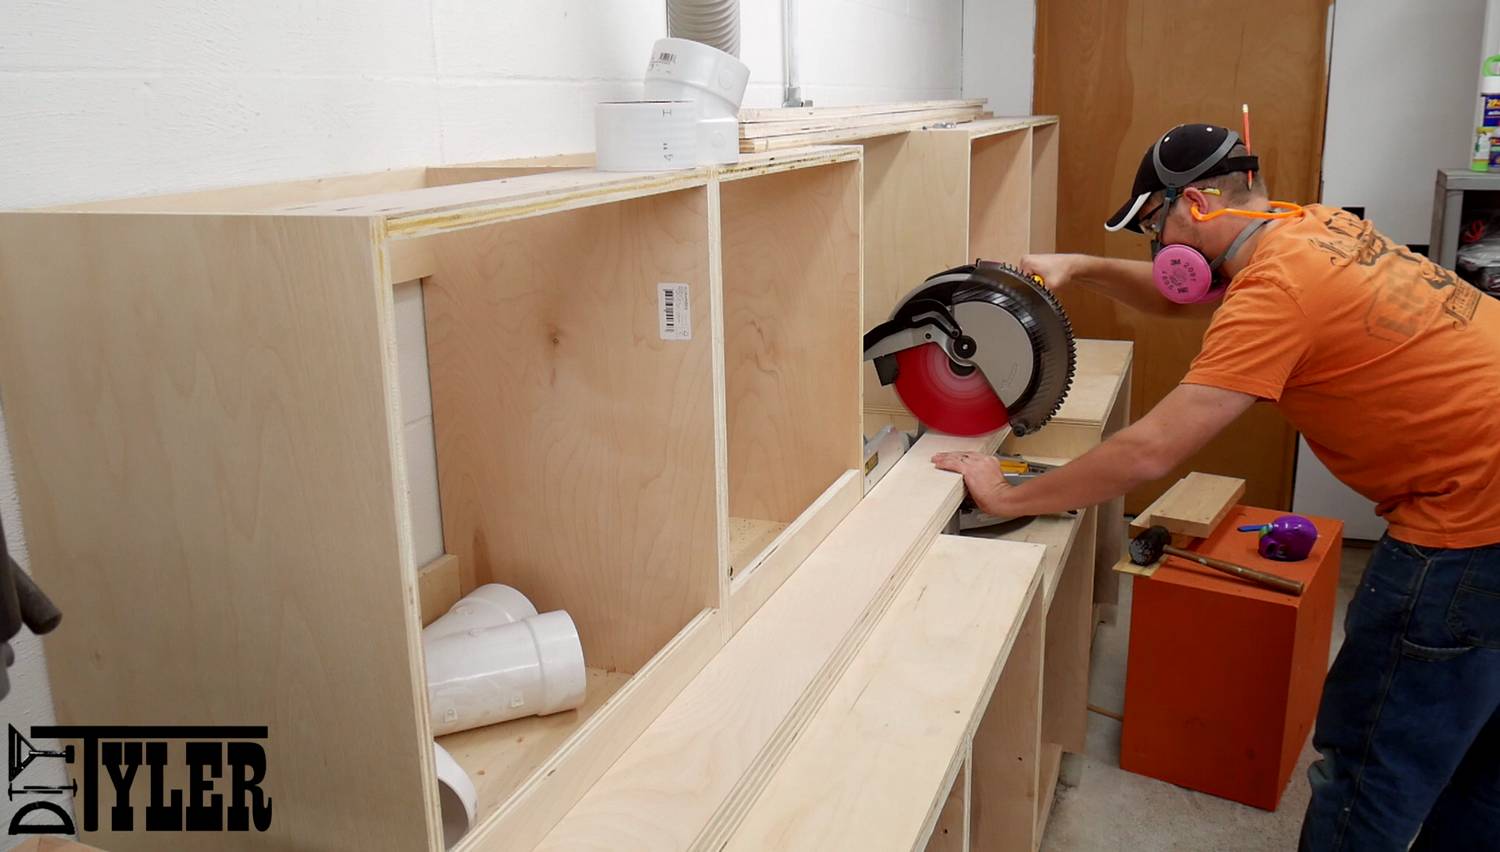
table saw and cross cut sled to safely break down all the sheets.
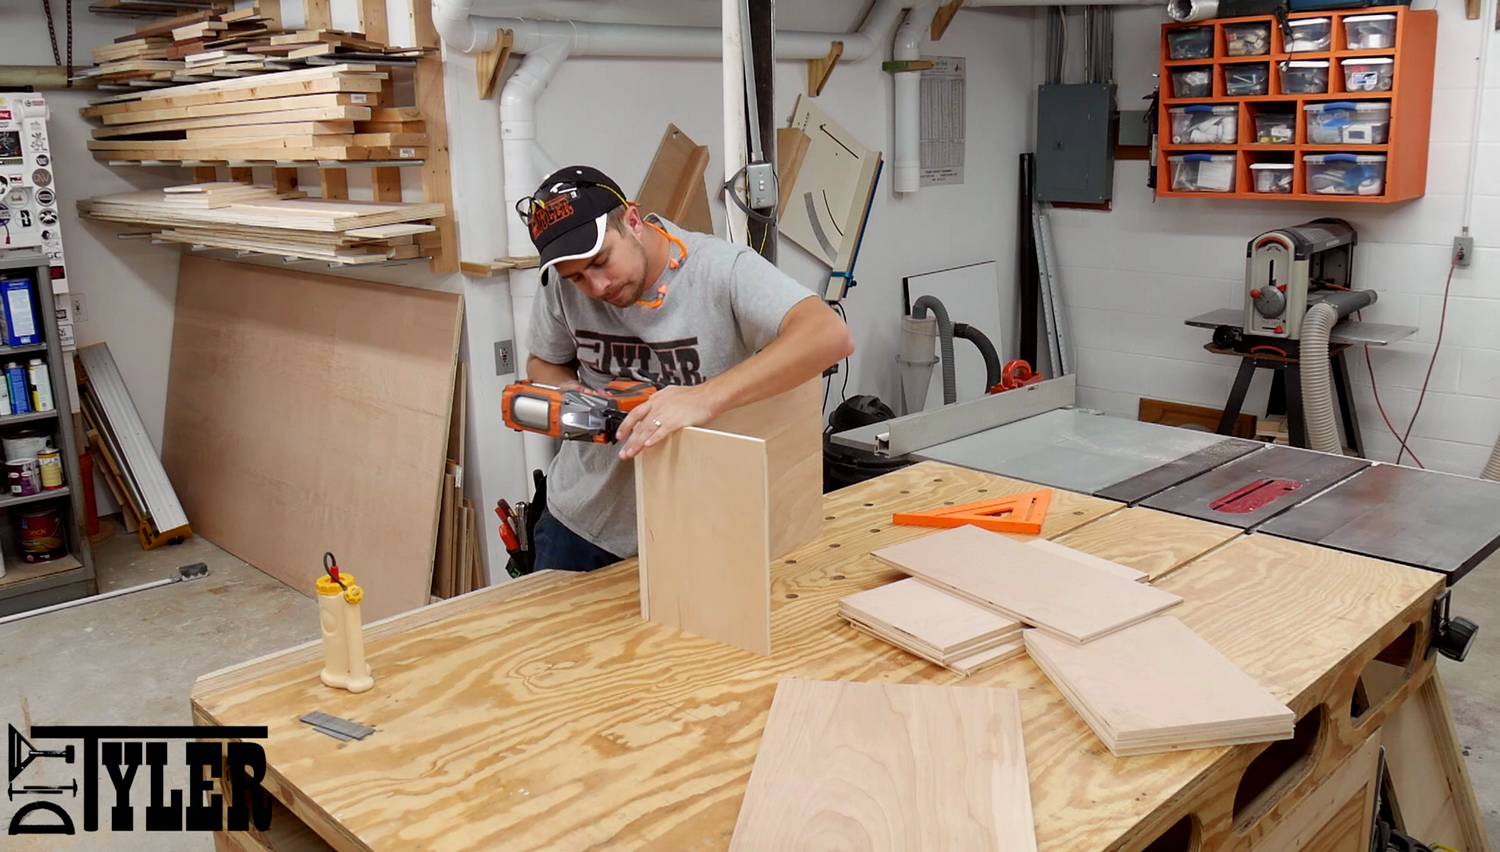
Drawer Assembly
There are lots of ways to assemble drawers and because I had so many to put together the time spent on each was important for me. Also, Matthias Wandel produced a great video showing off the strengths of different drawer styles and simple wood glue and brad nails held it’s own….that was the fasted so that is what I did. All drawers assembled with wood glue and 1 1/4″ brad nails.
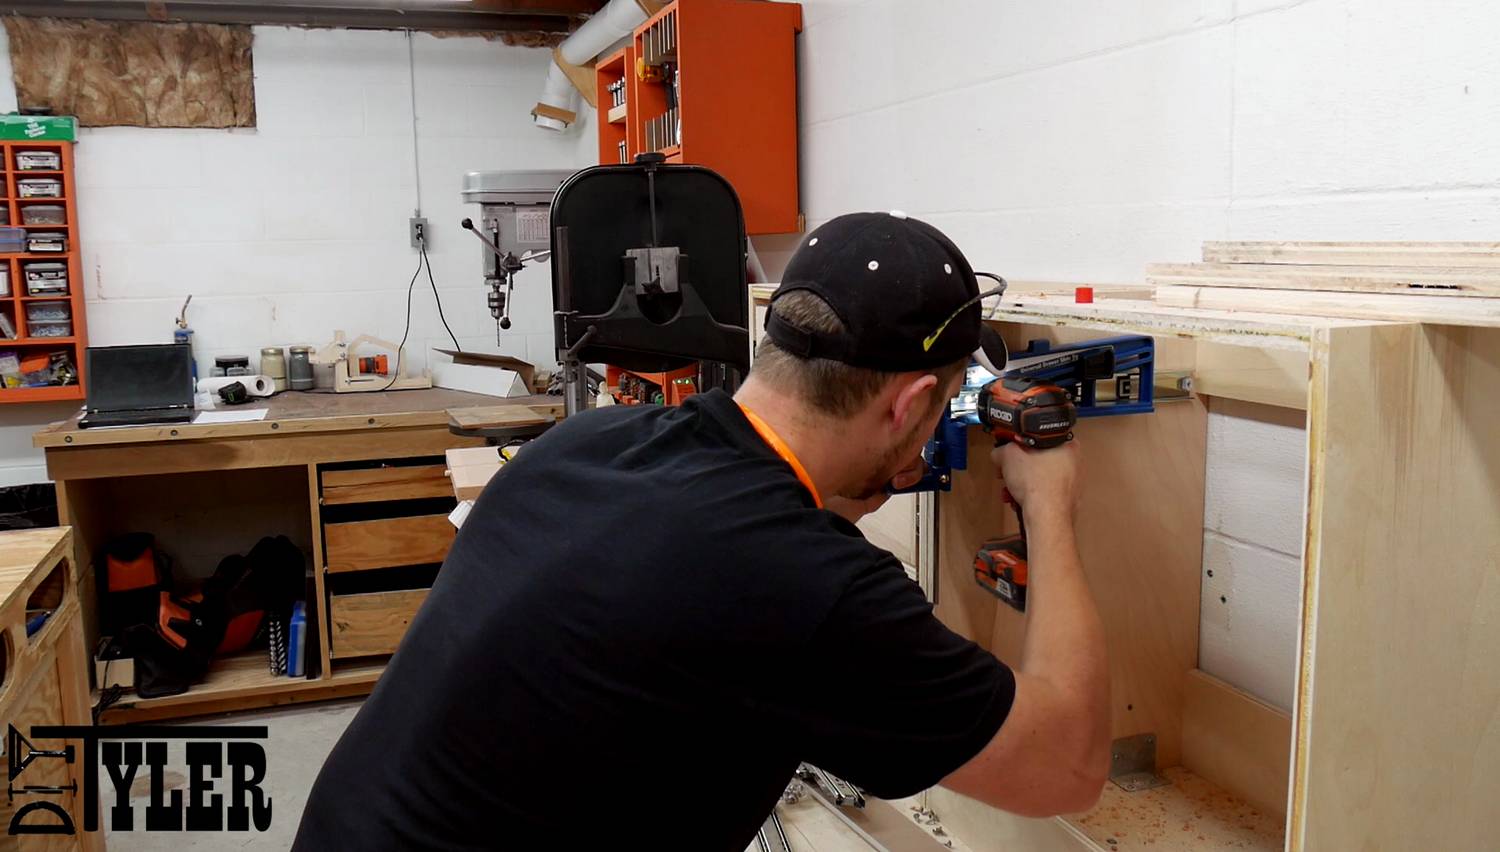
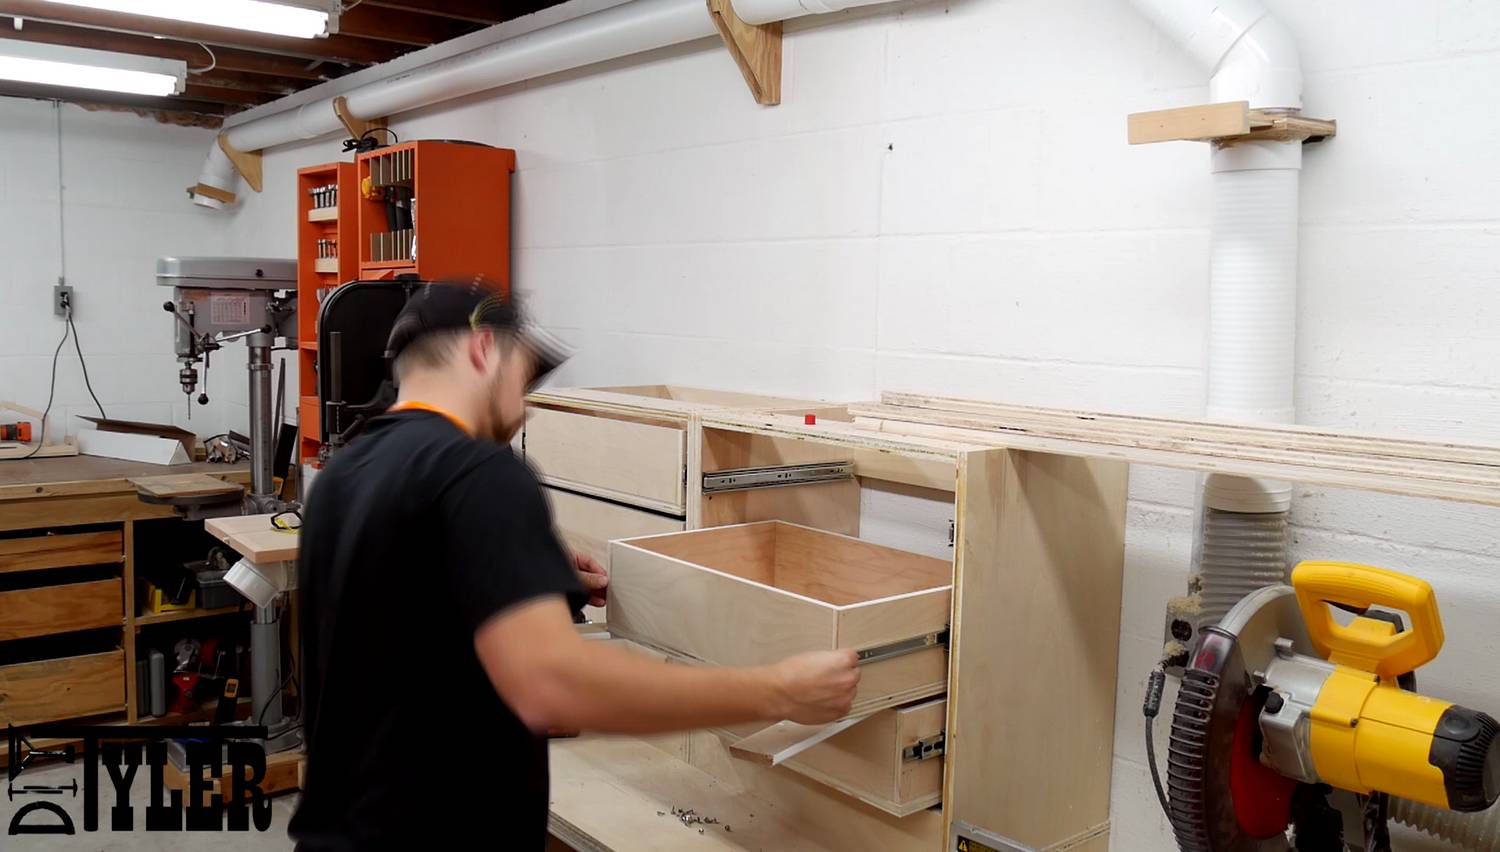
Drawer Installation
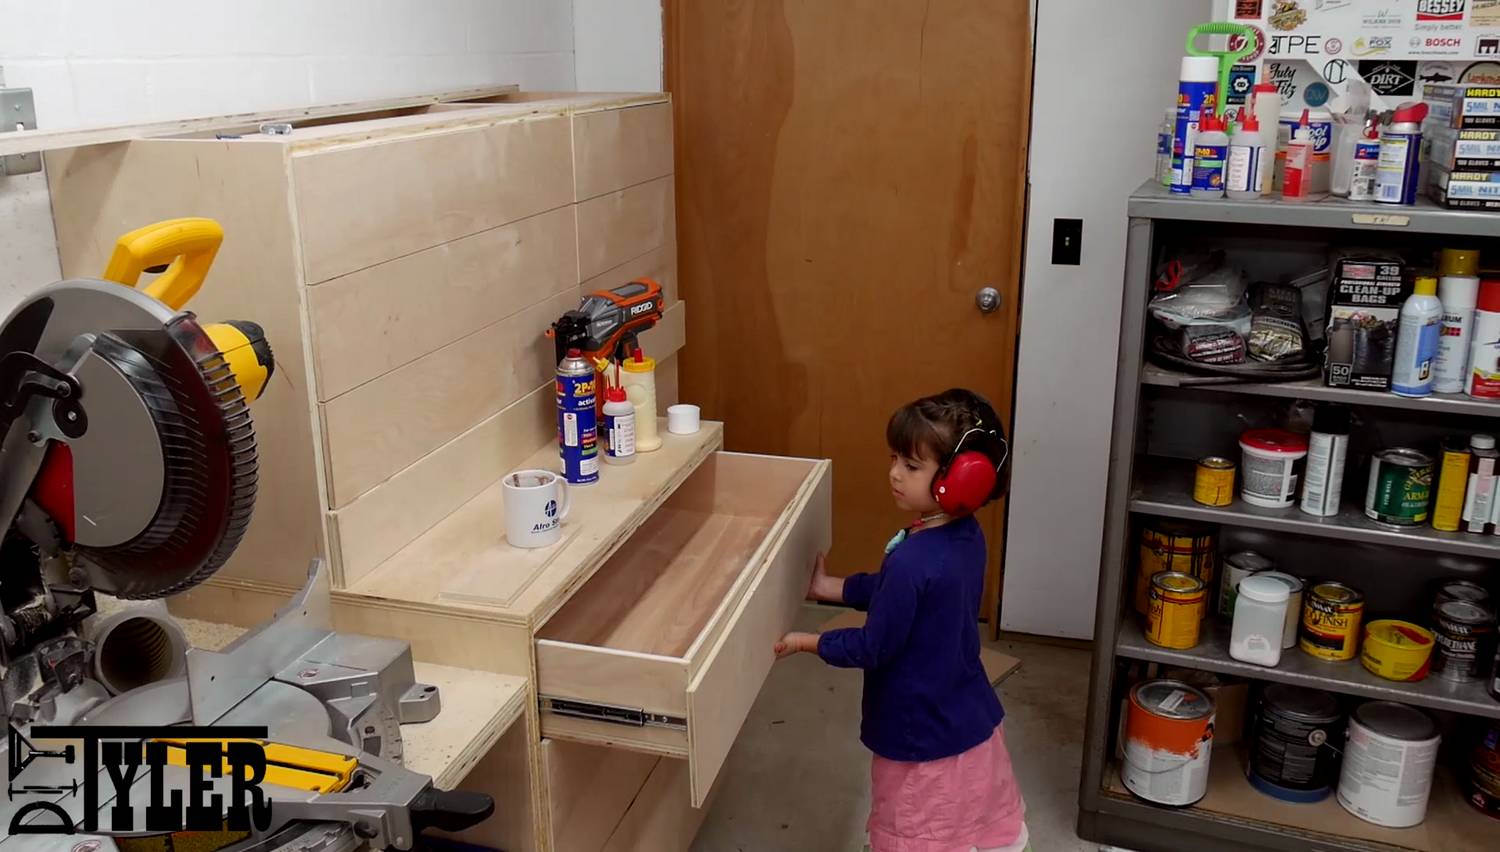
All the drawers are installed using full extension drawer slides, they don’t have to be full extension as they are not cheap but they sure are nice! Lots of people as where I get the drawer slides, these particular ones were given to me by Rockler Woodworking and Hardware (and they are great) but I have had great success with bulk slides from Ebay and Amazon. (aff link; https://goo.gl/KtF1sg)
I installed all the slides using a handy drawer slide installer jig from Rockler.
I designed the drawer with a 1/2″ space between each one. For the first drawer I added a temporary ledge in the back of the frame, added two 1/2″ spacers…..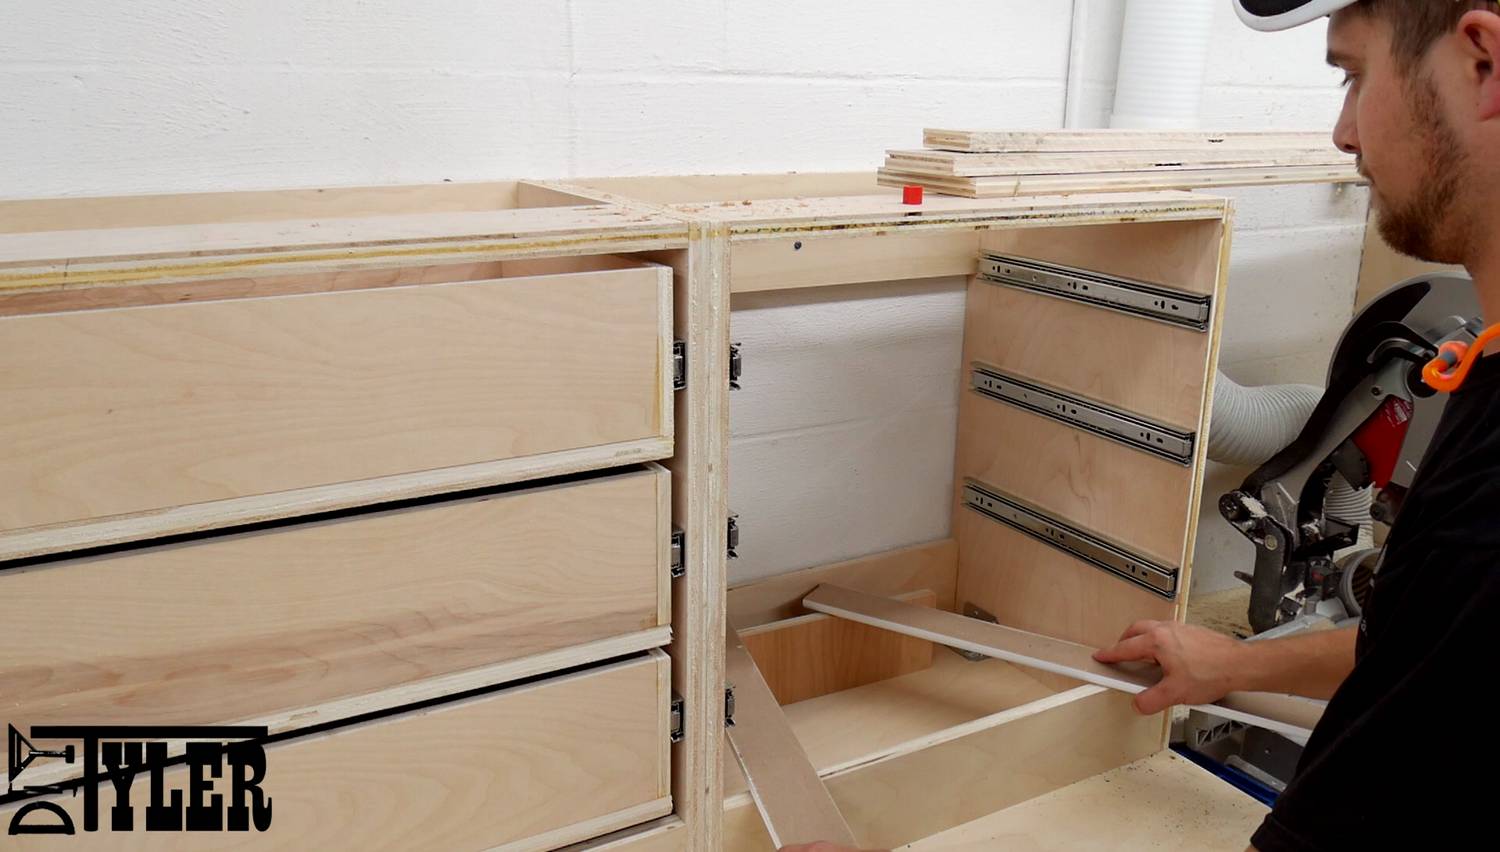
And installed the drawer using the supplied screws.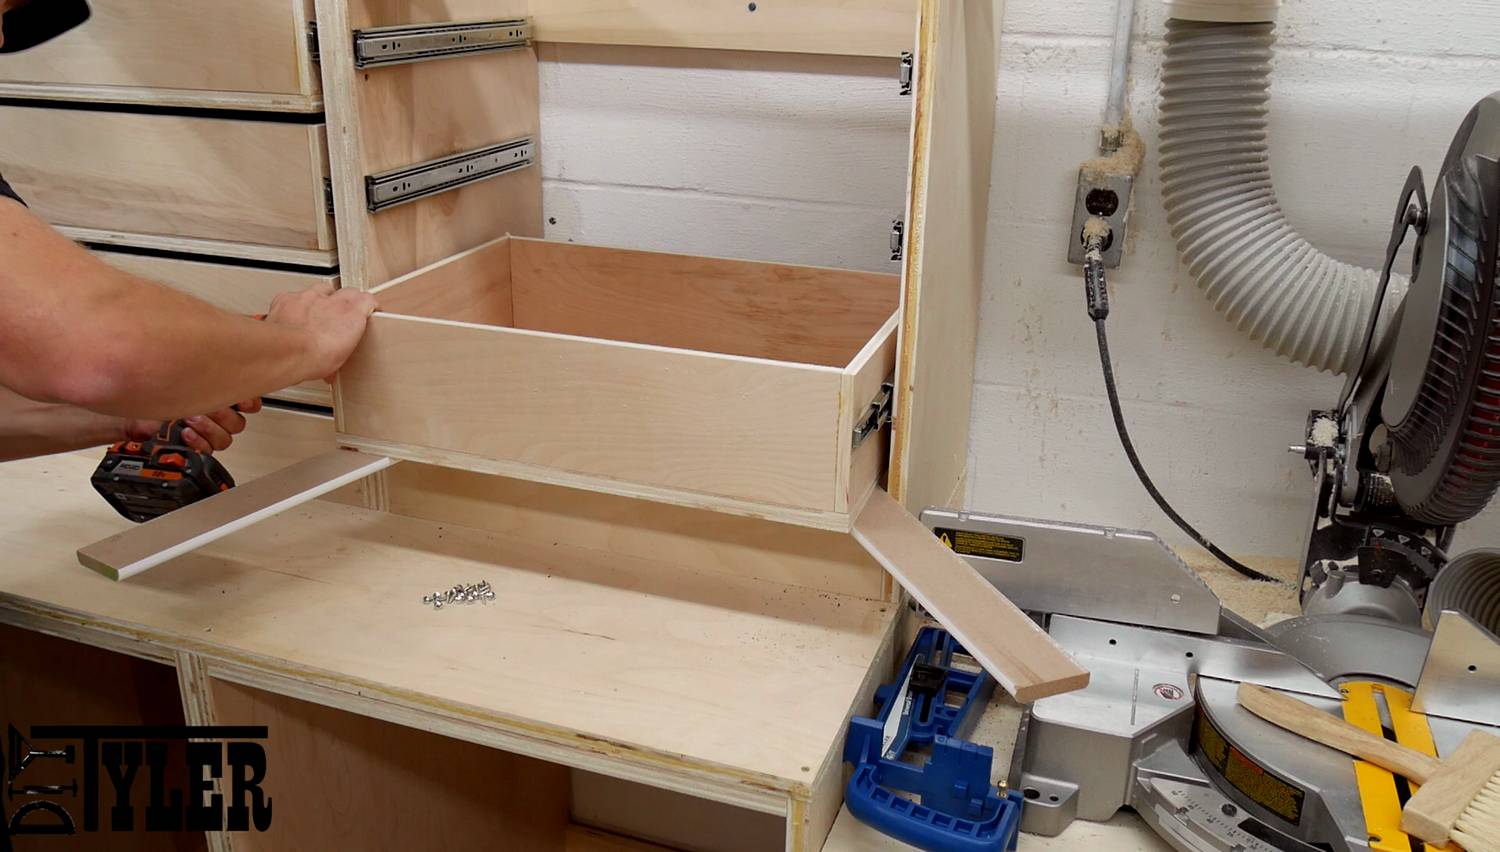
For the rest of the drawers I simply put the spacer on top of the first drawer and repeated.
Drawer Fronts
For the drawer fronts I wanted to try and get continuous grain across the front at much as I could so I took measurements, even though these are in the plans I would still check just in case this move around a bit, making sure to take account for the kerf of the table saw blade.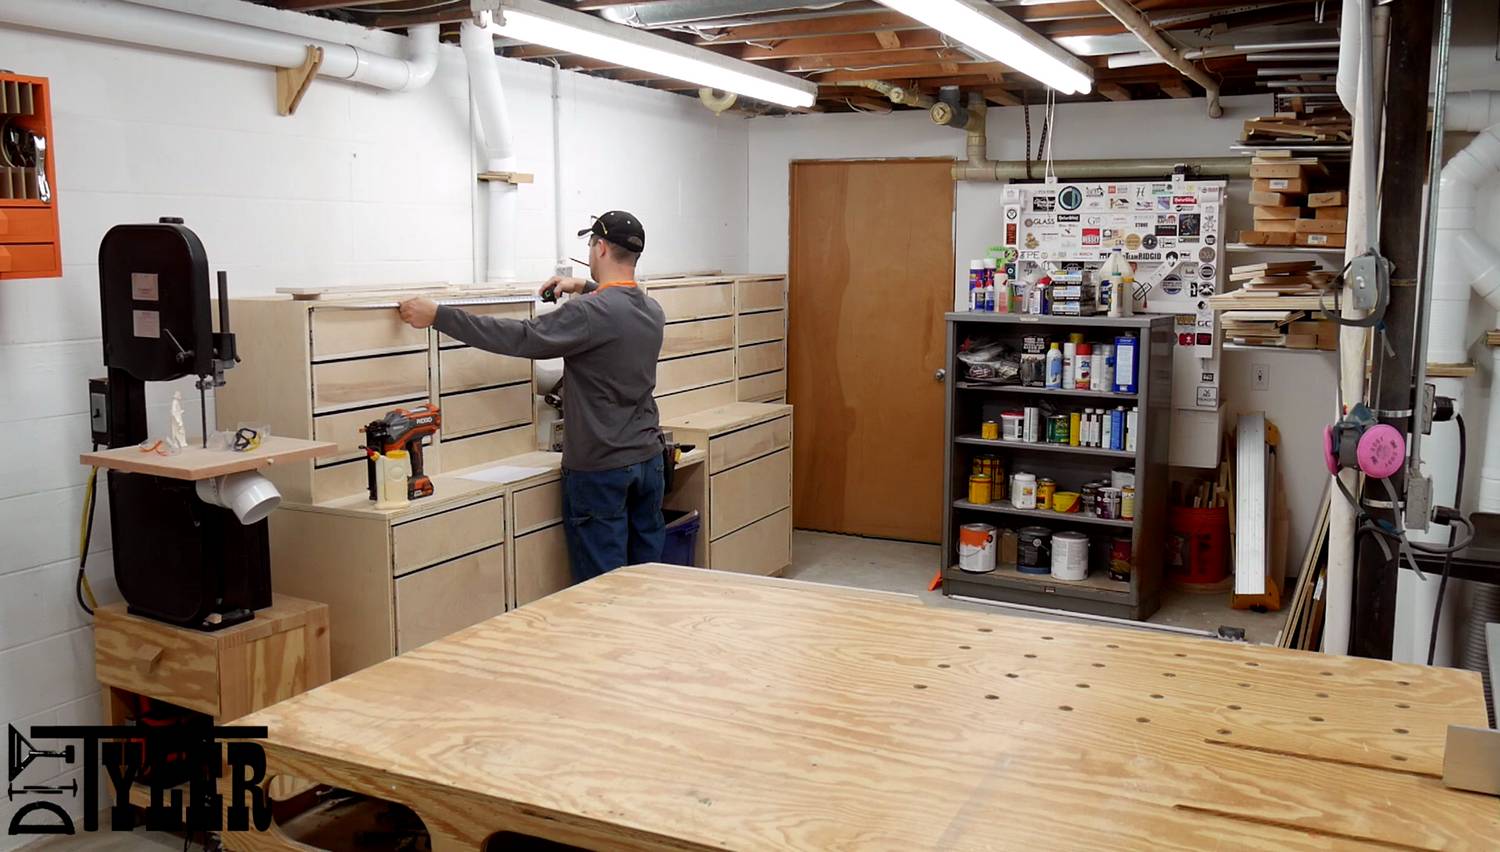
Cut them out on the table saw making sure to keep track of which piece was for which drawer and what it’s orientation needed to be to keep the grain pattern.
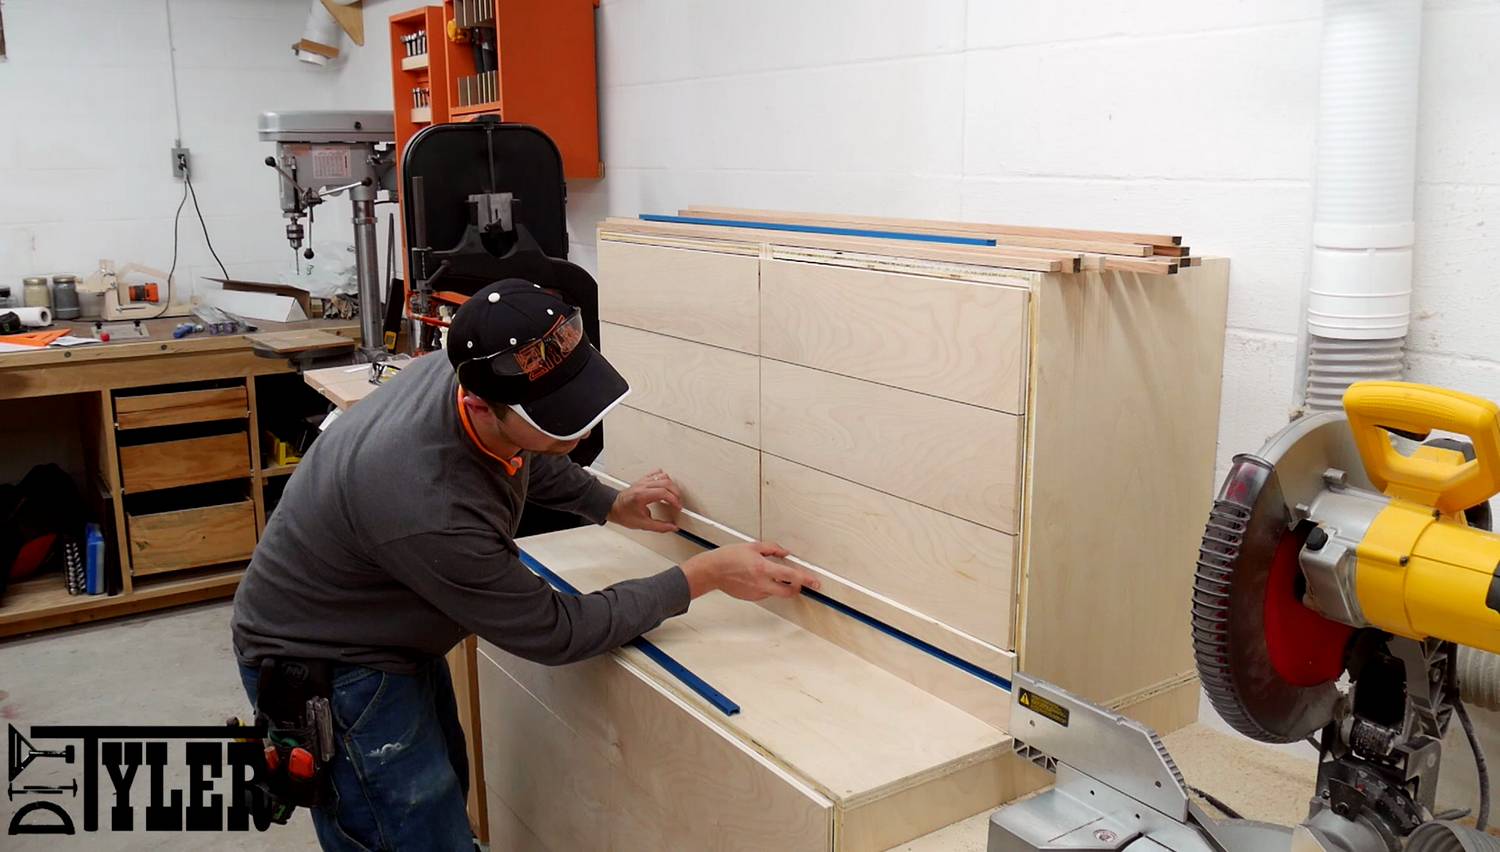
To mount the fronts I used wood glue and brad nails of various lengths depending on the drawer I was mounting. Be sure to space the fronts so that they do not hit each other, I used a metal ruler to get this spacing consistent.
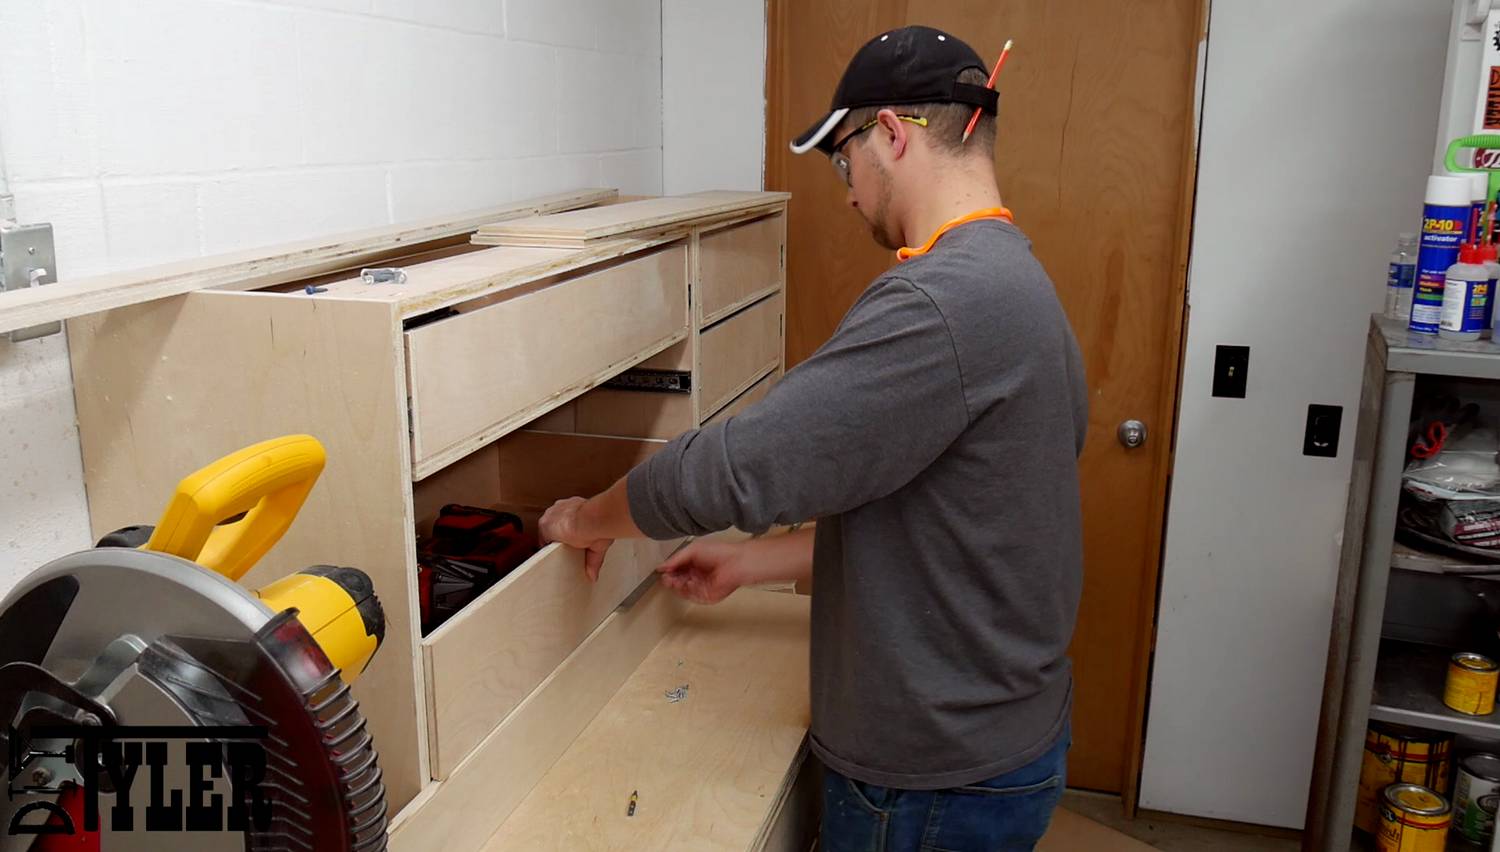
Sera lend a hand for some of the fronts.
Drawer Handles
To mount the drawer handles I used this handy centering jig from Rockler to center the two handle holes on the drawer.
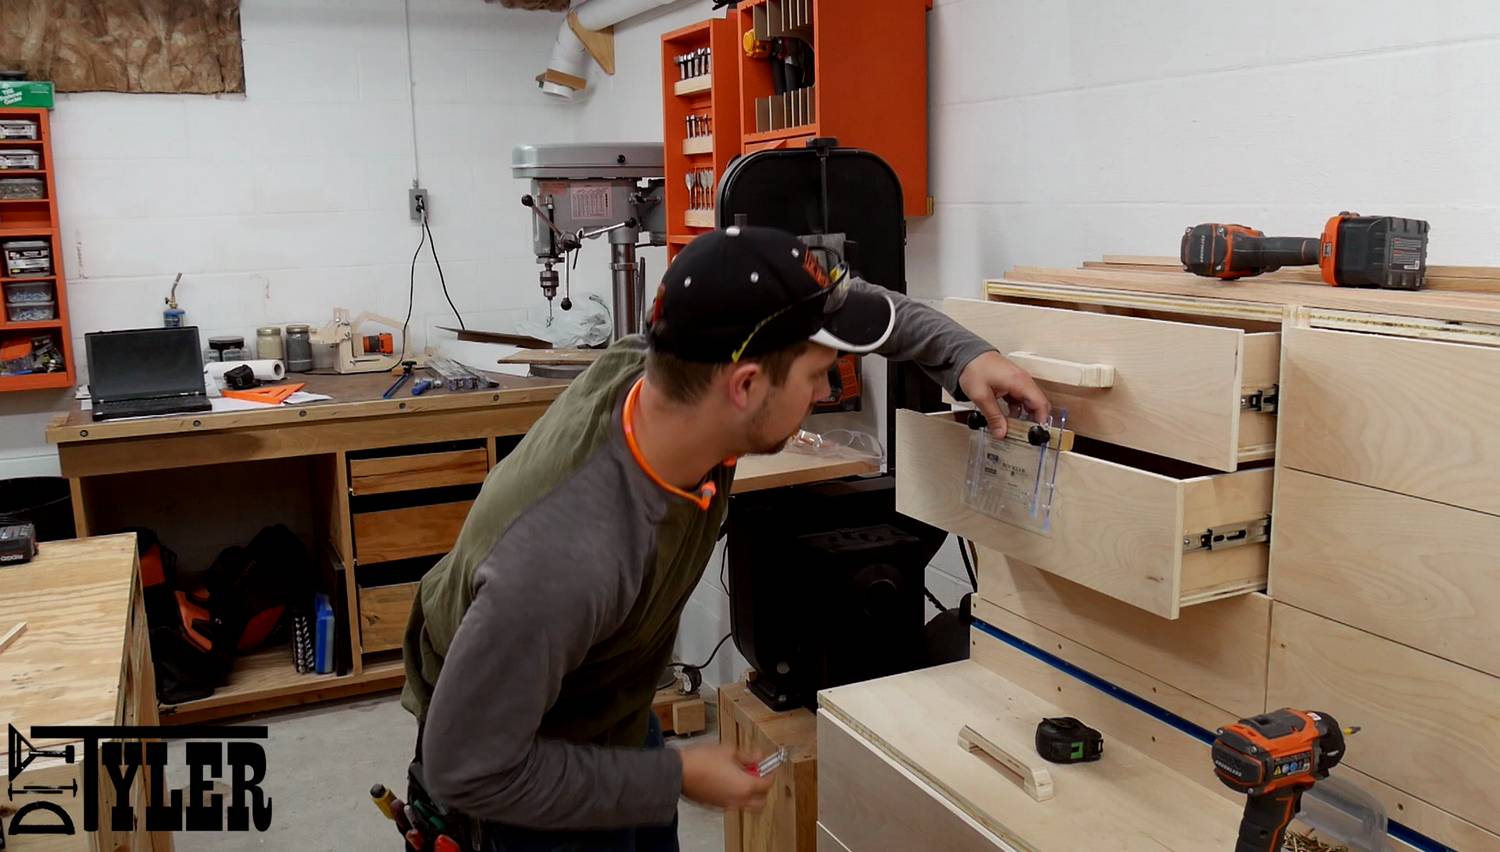
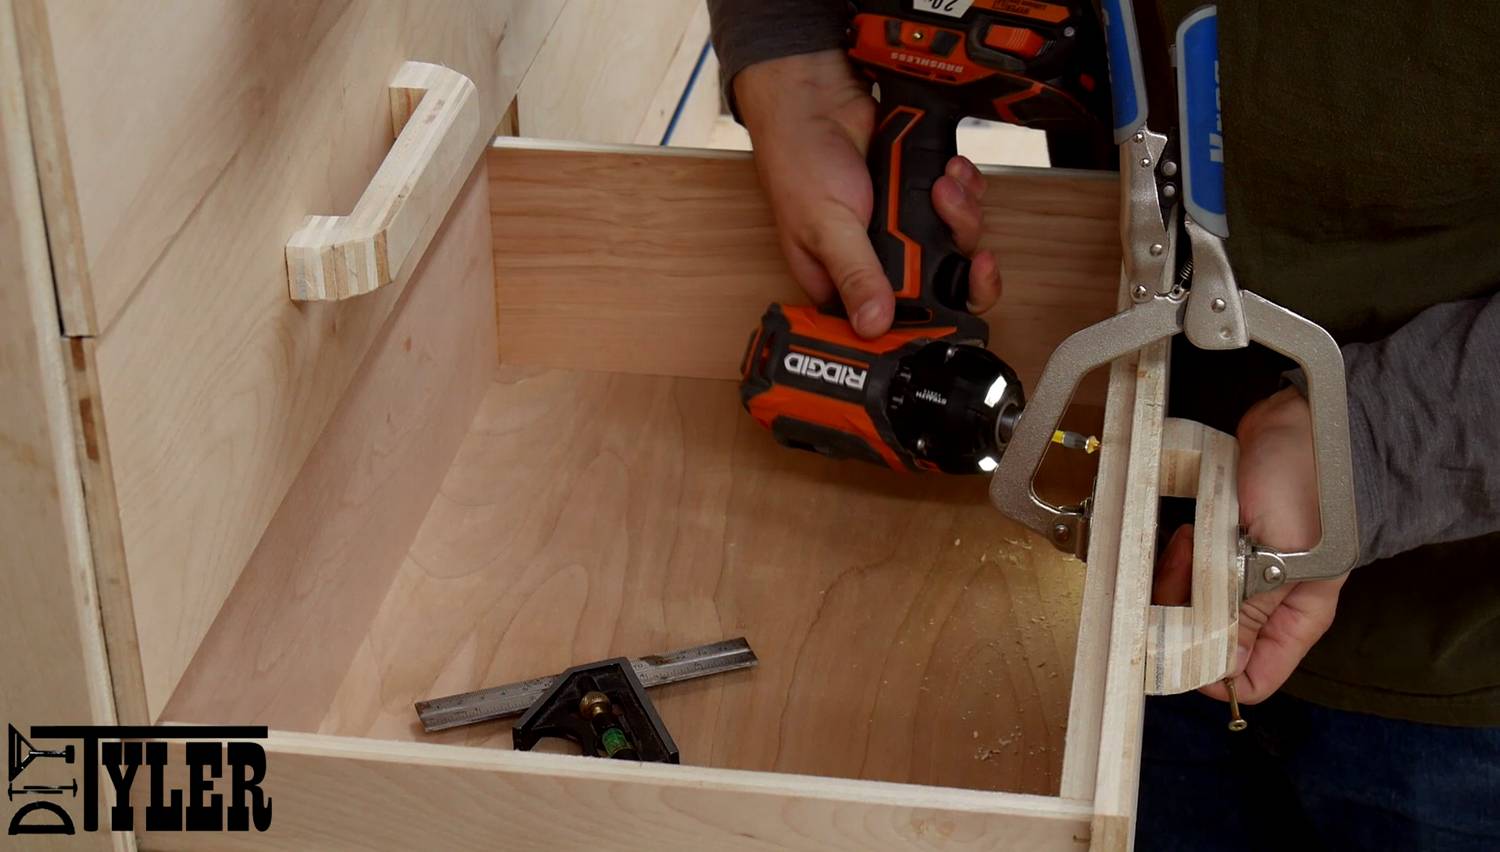
Then using the handle (which are made using Jeremy Schmidt’s design) to establish the proper angle I drilled a pilot hole from the front.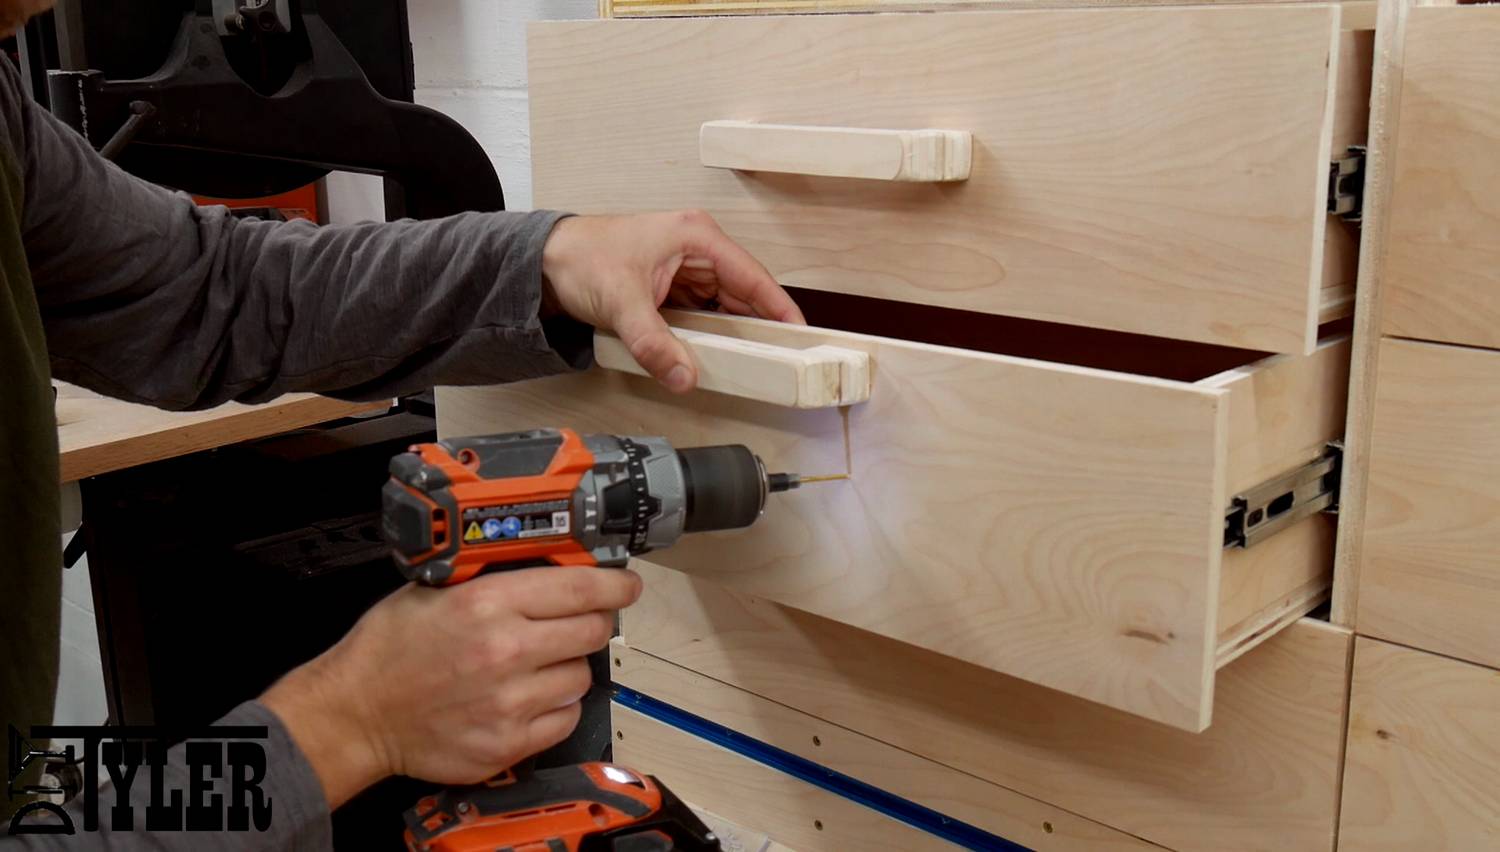
Then clamp the handle in it’s correct location and drill through the pilot hole you just drilled and into the handle.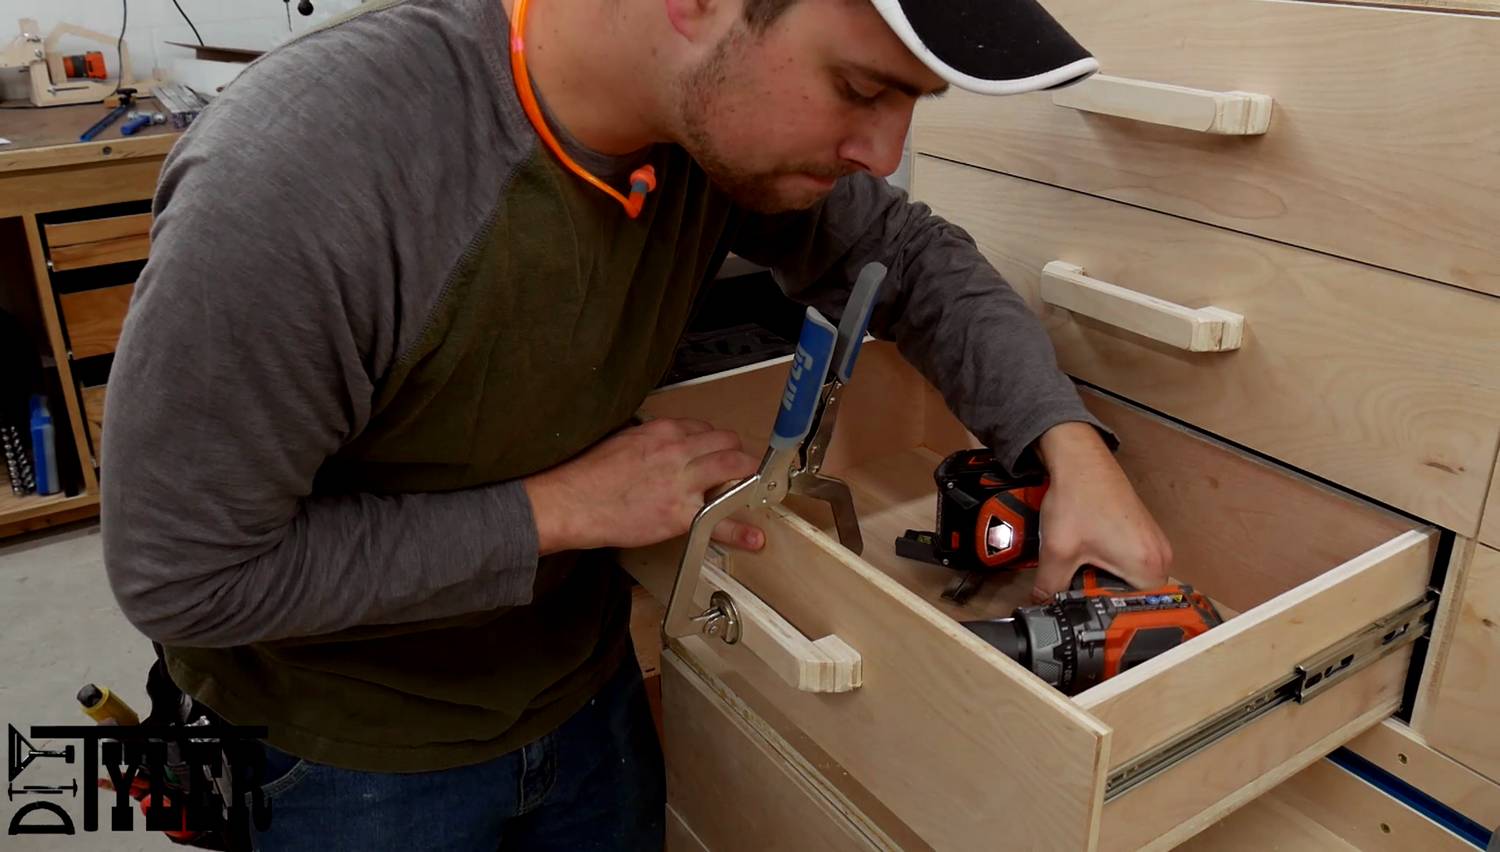 Fasten in place with screws of appropriate length depending on the drawer construction. I chose not to glue the handles just in case I need to repair or remove them.
Miter Fence
The miter saw station fence is made of three different parts; A bottom plywood rail, a Rockler Universal T-Track section and a top plywood rail. Check and make sure that your cabinets are perfectly flush before installing the rail, mine were not and I neede
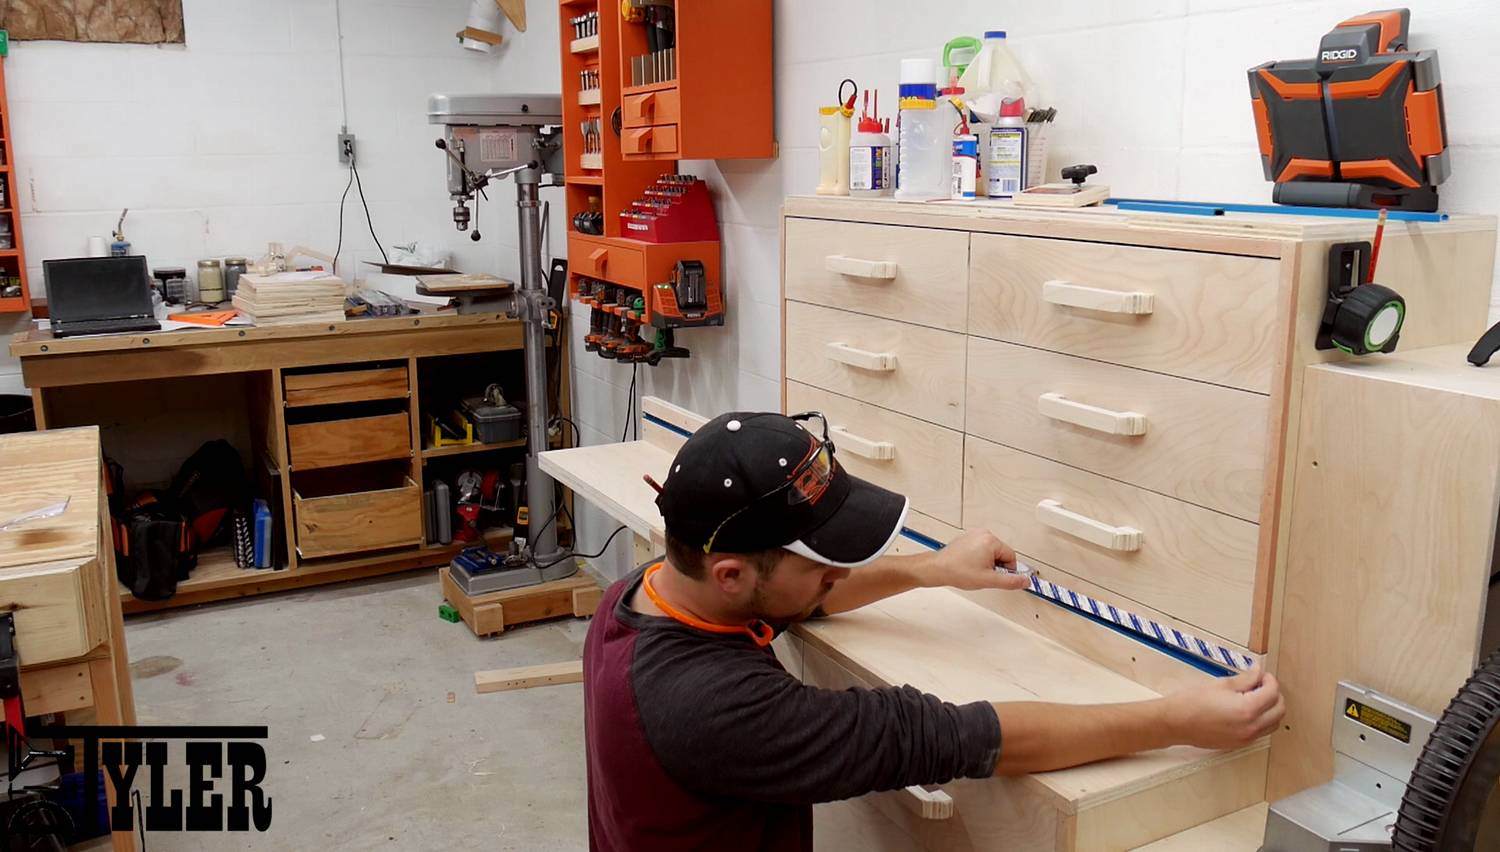
I chose not to glue the fence in place just in case it gets damaged and I need to replace it at some point. I drilled pilot holes and screwed into place using 1 1/4″ wood screws.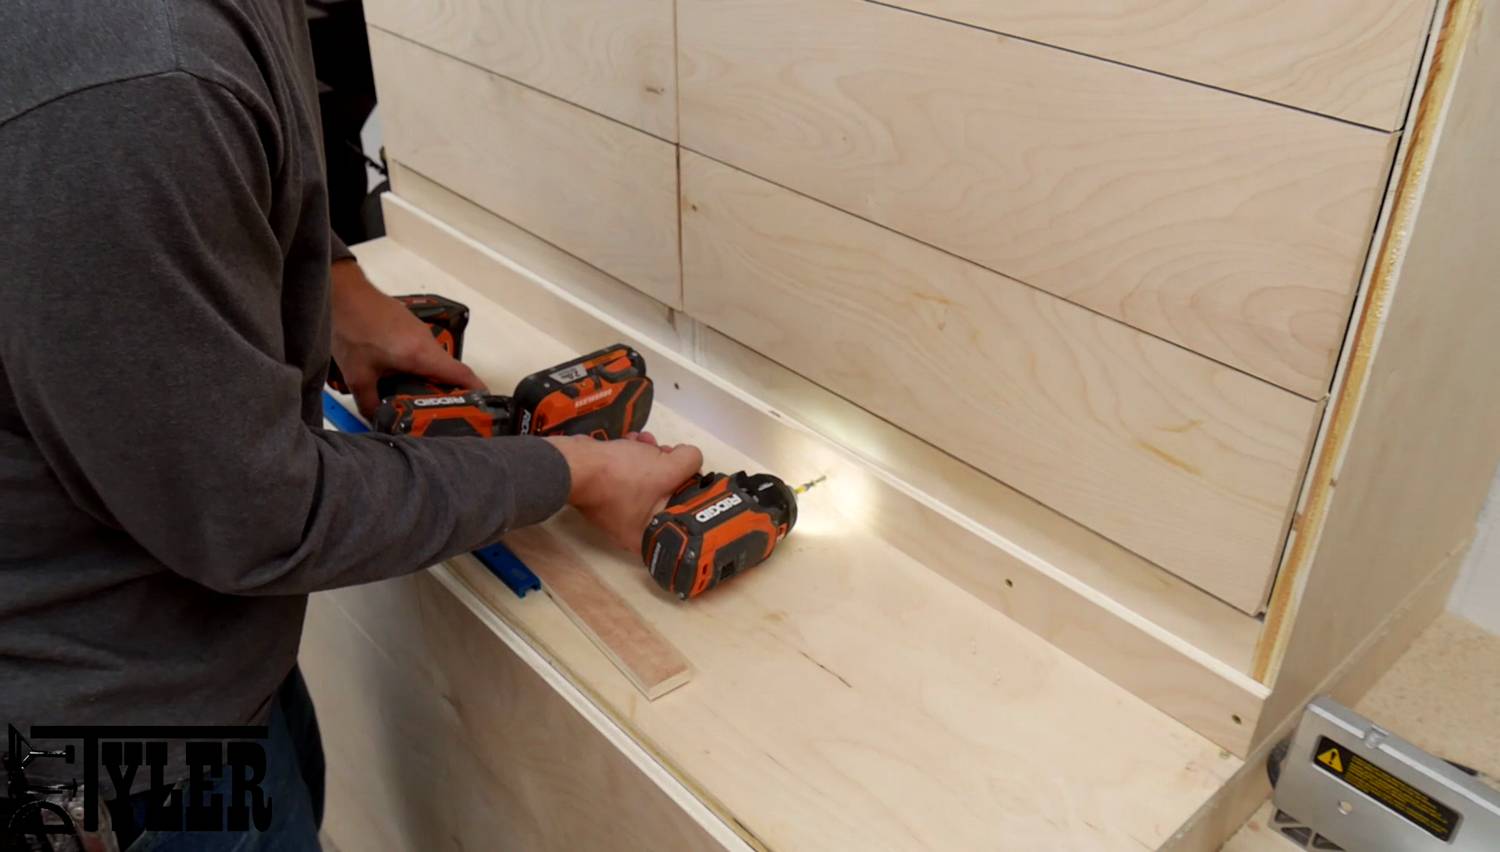
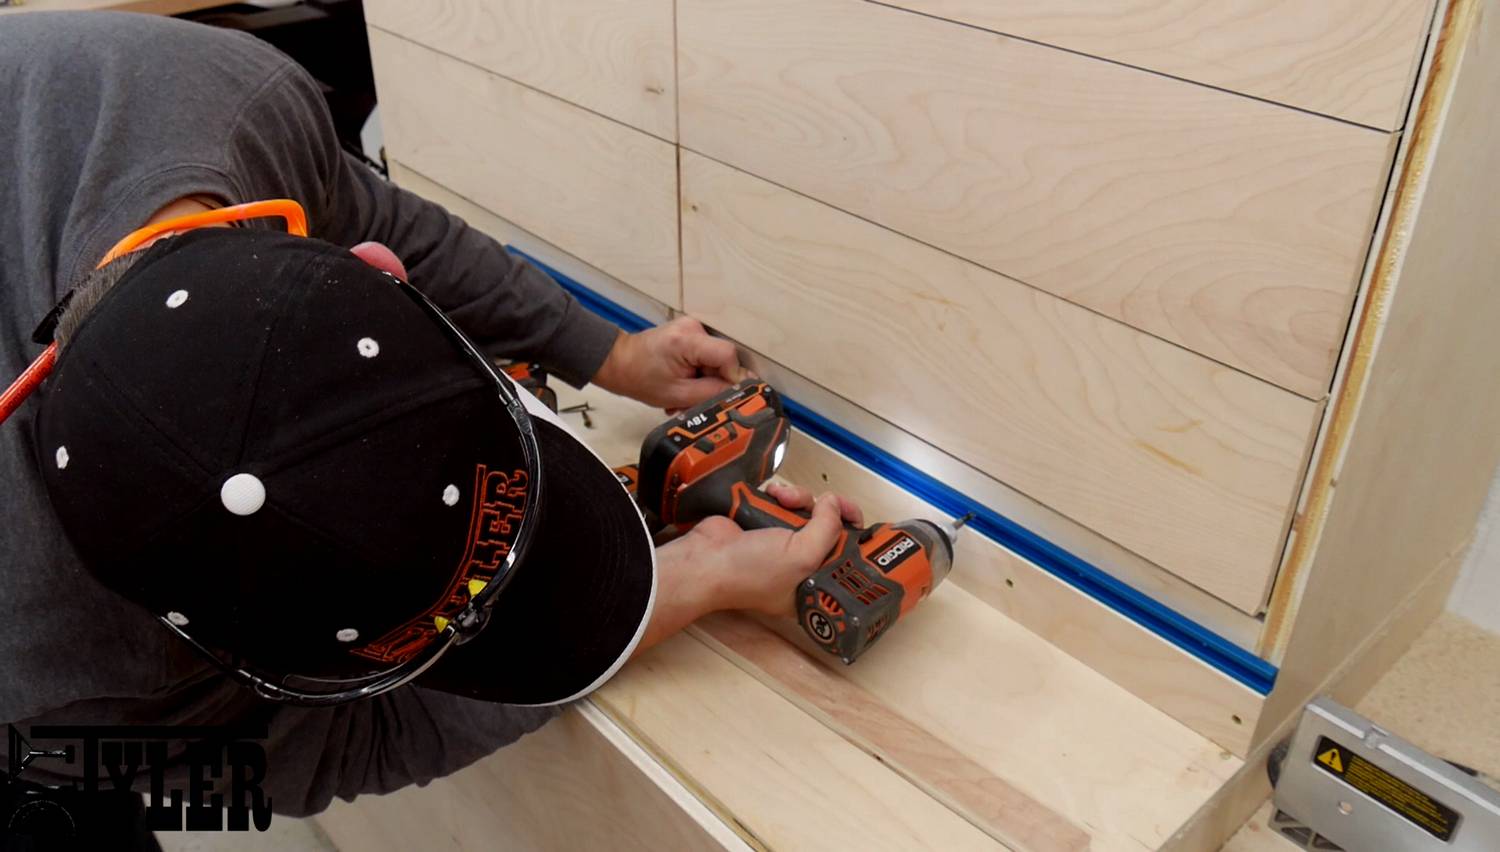
Fasten the T-Track in place using wood screws.
I needed one small section towards the end so I marked it out…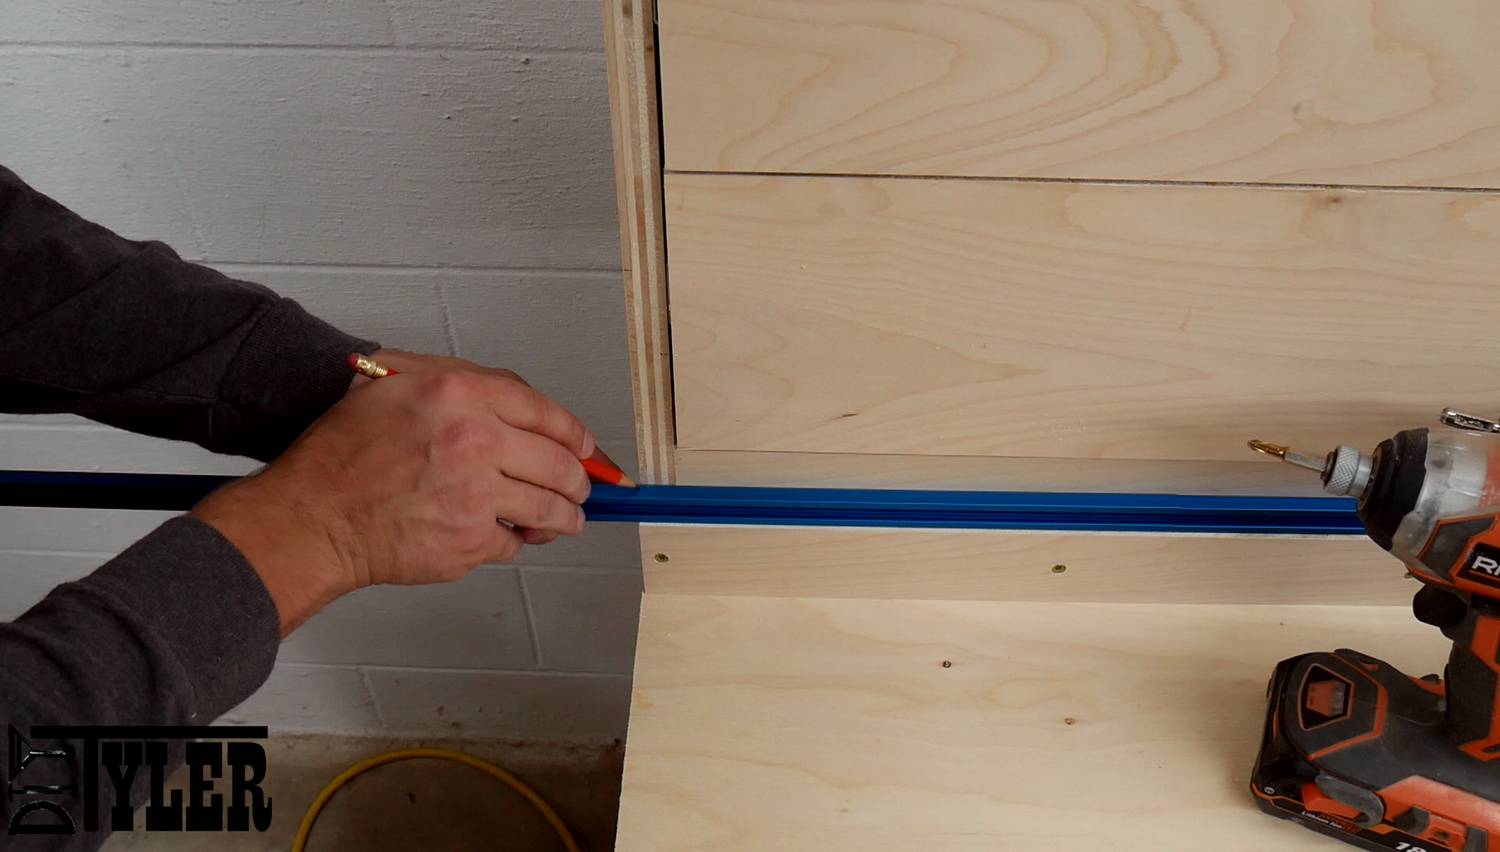
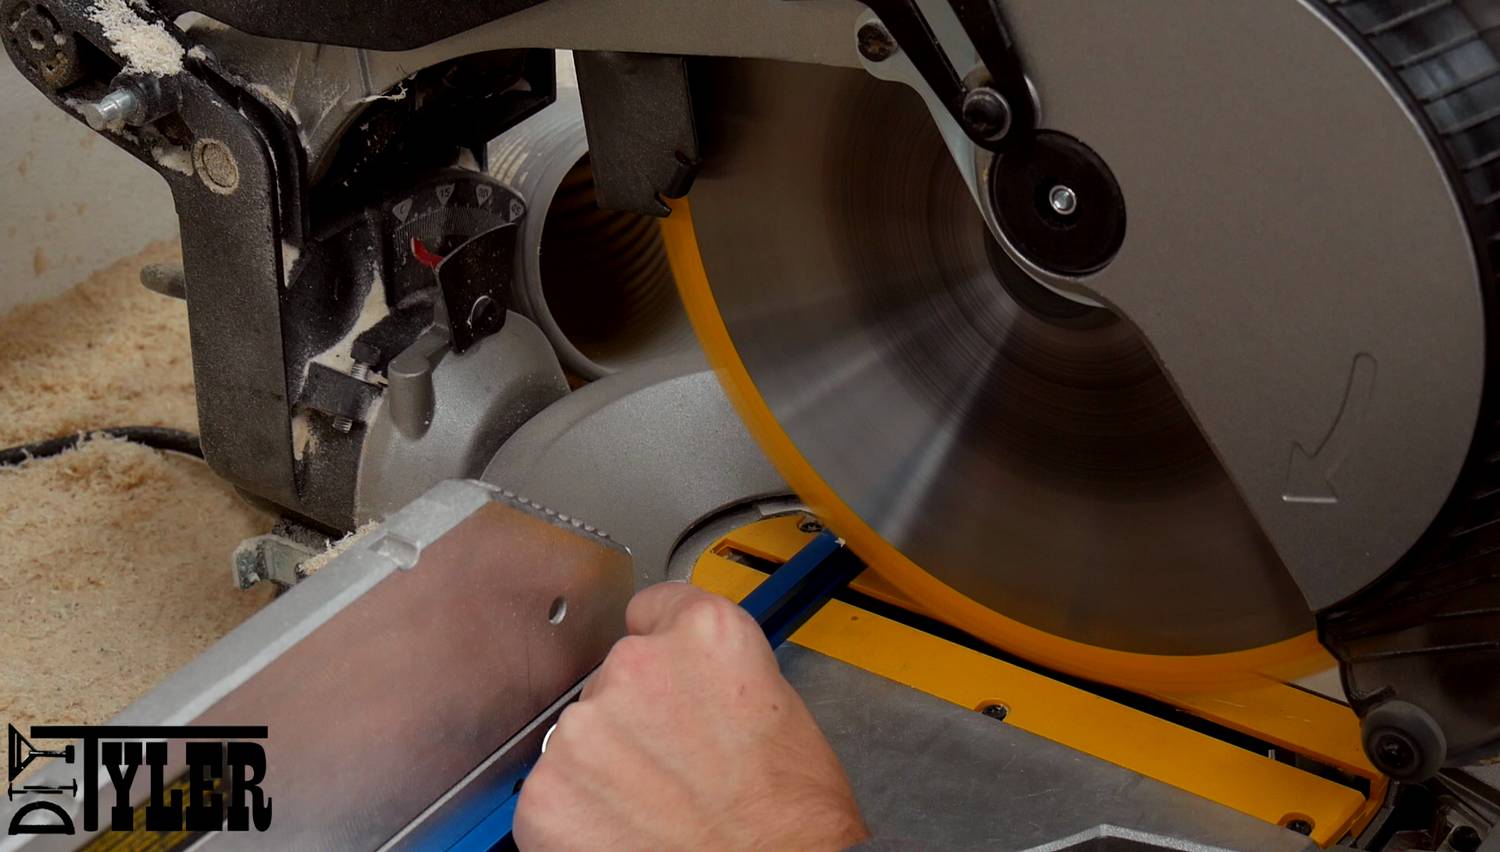
And since the track is made from aluminum I cut it using the miter saw.
And fastened it into place using the same method as before.
The fence to the right of the saw is one piece, at least on my station. If you wanted to have a stop block on the right side of the blade you can easily add one using the same methods.
Edge Banding
To protect the edge of the plywood and provide some aesthetic appeal I wanted to wrap the edges of the miter station in oak edge banding. I jointed and planted a section of oak and cut it to half an inch think on the table saw.
And secured it in place using wood glue and 1″ brad nails.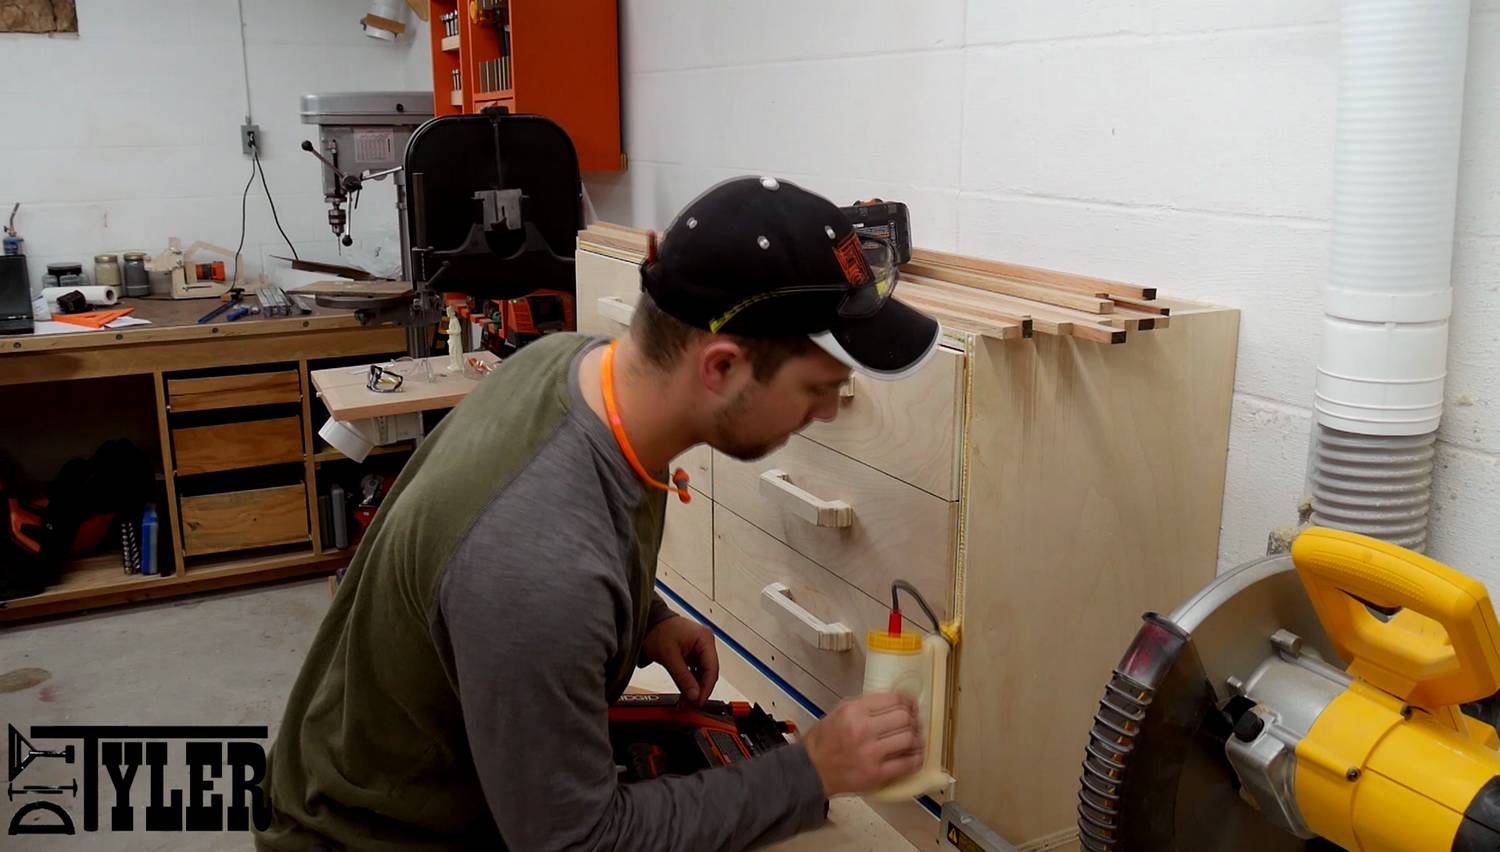
I installed the vertical strips first and the horizontal between them so that no end grain would be showing at eye level.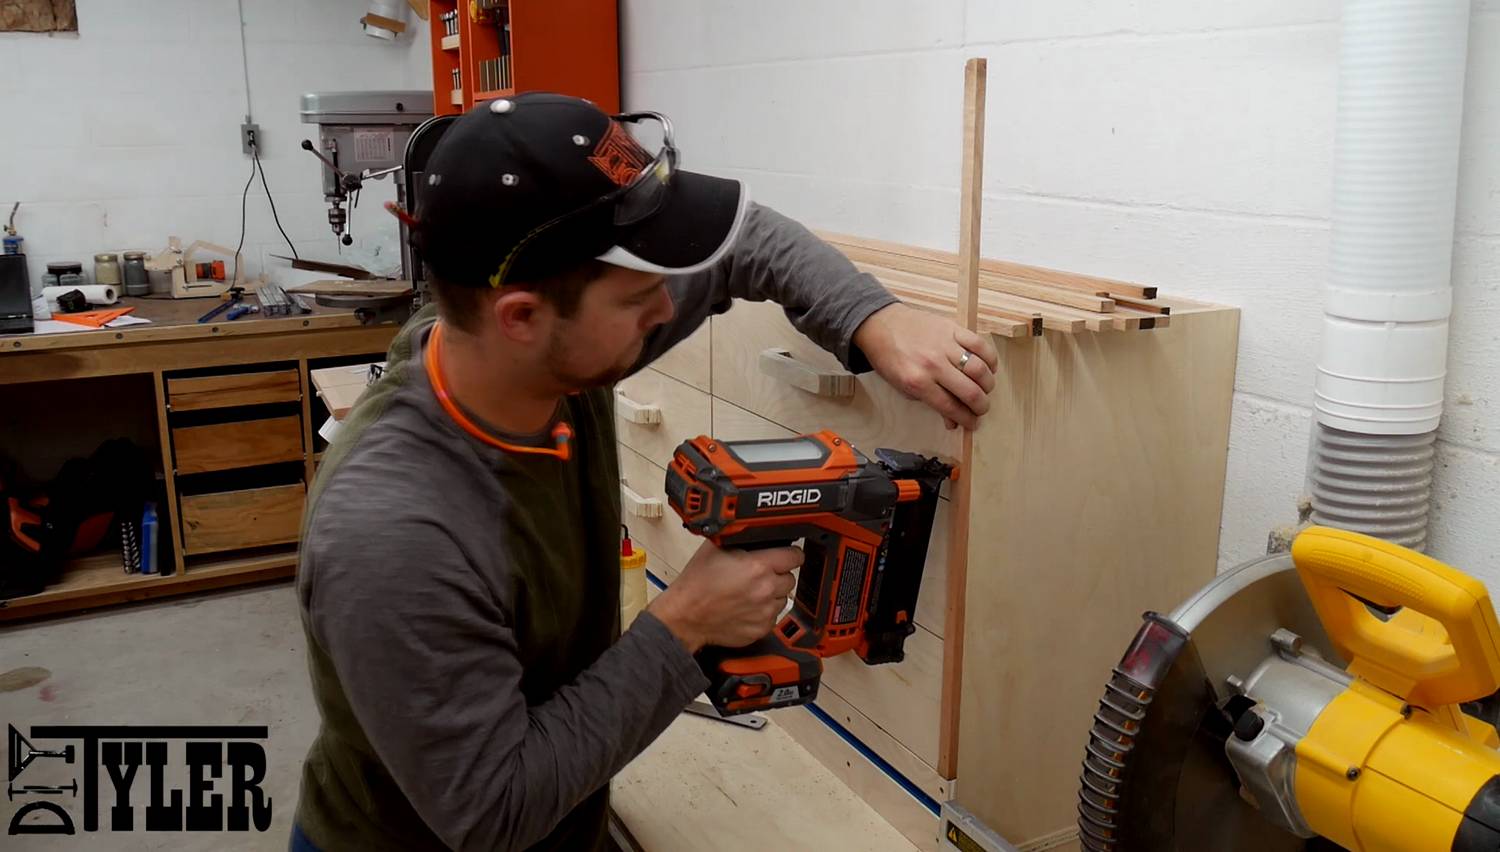
Saw Alignment
Use a straight edge pushed up against the miter fence and pull your miter saw up against it to register the saw in line with the fence.
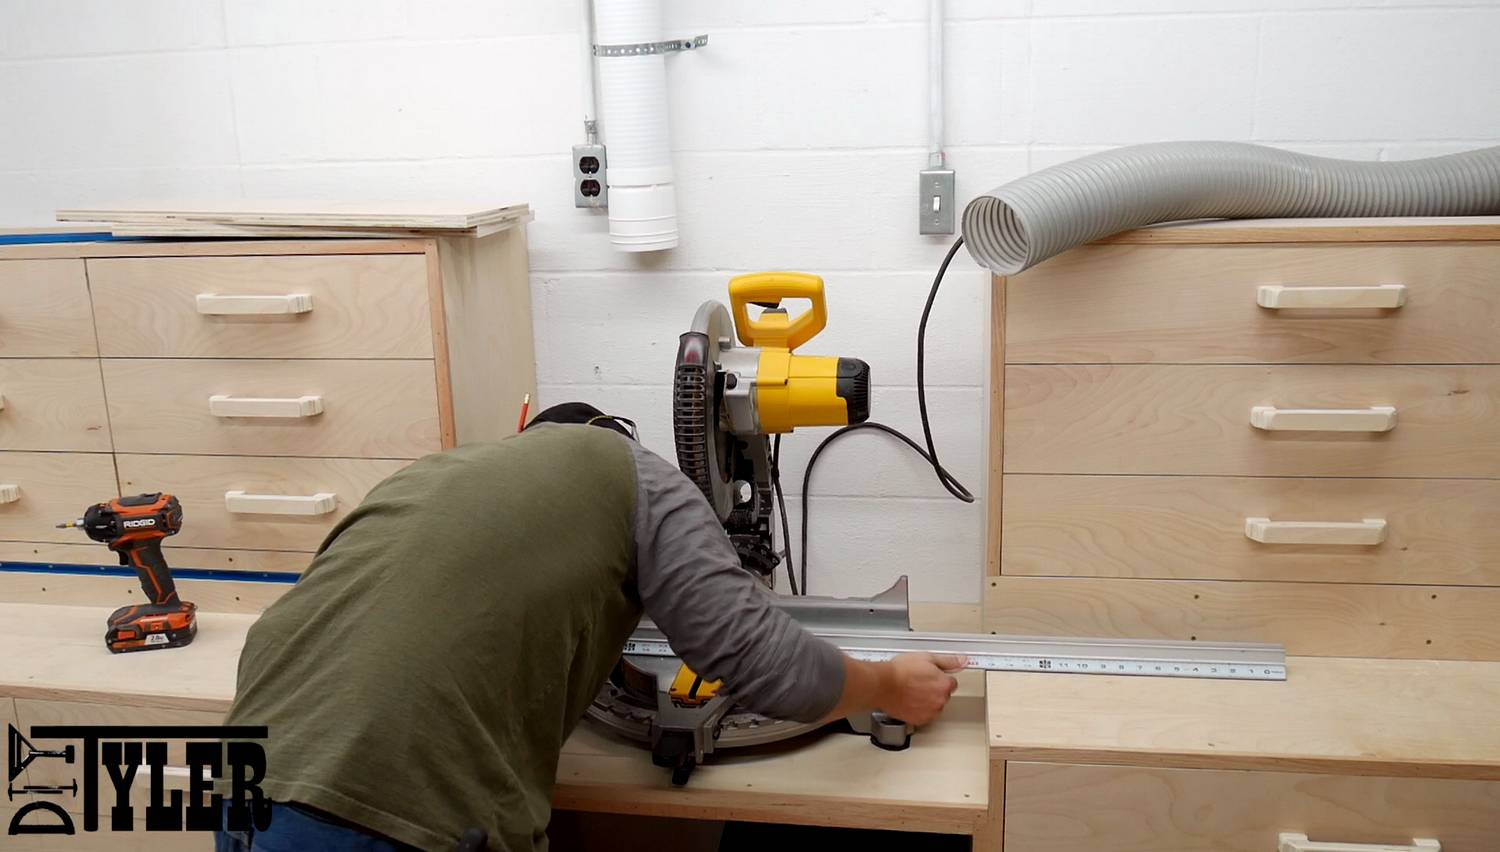
And bolt it down using a few screws and washers.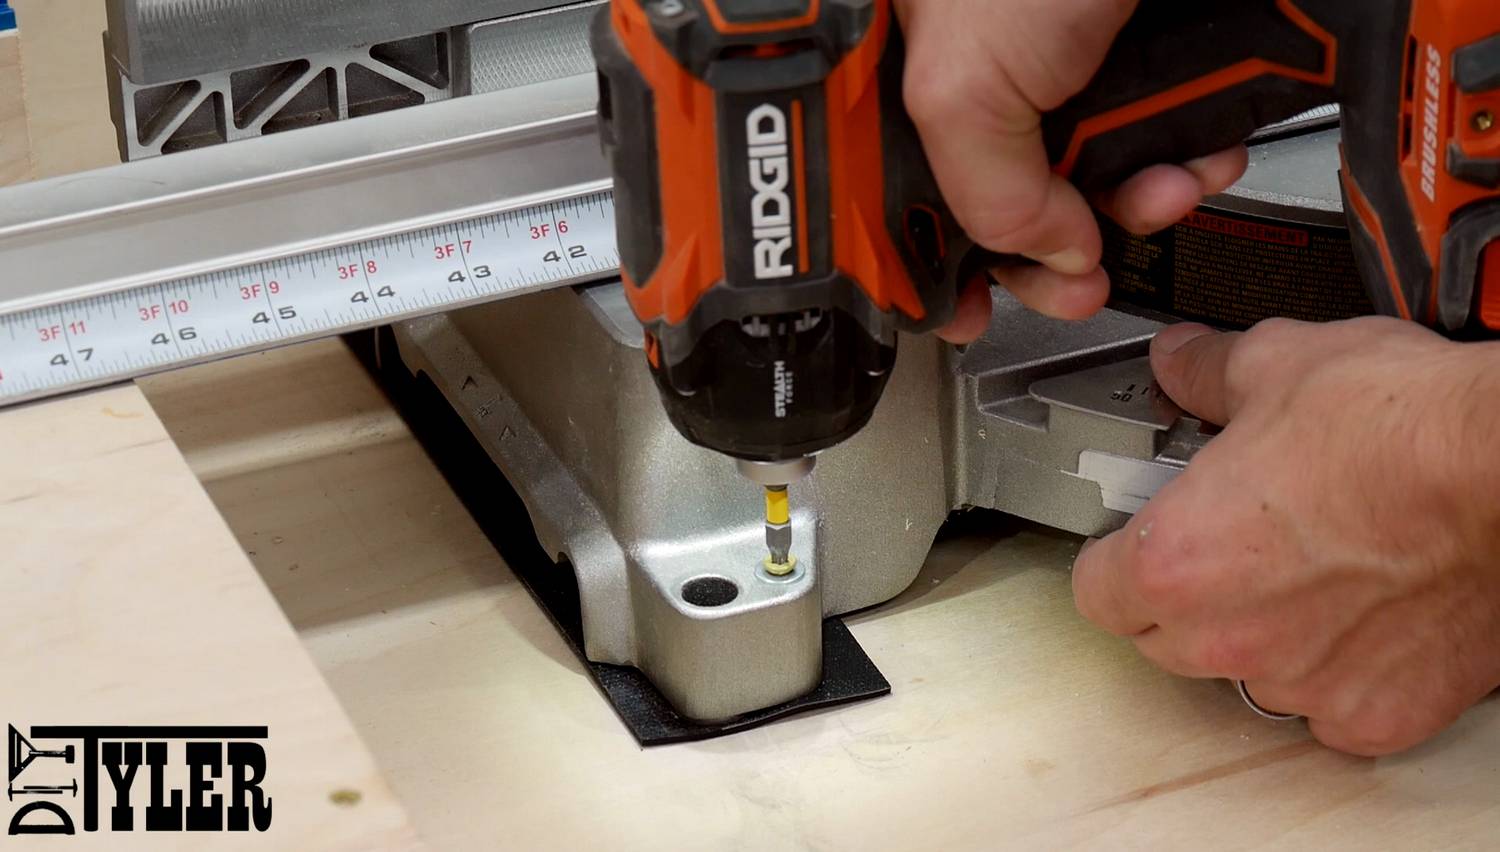
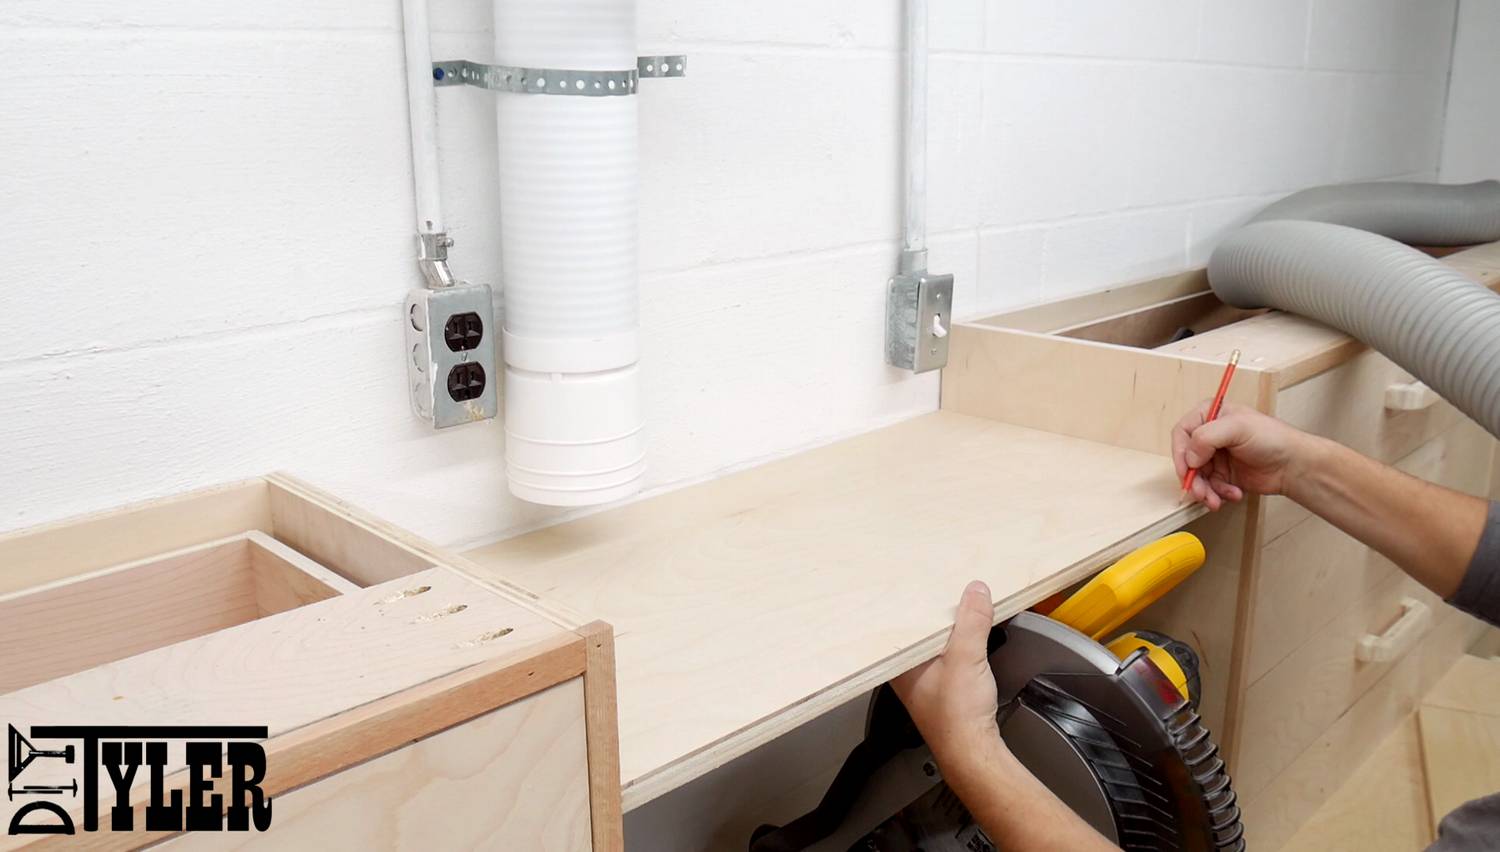
Dust Hood
Chop saws are TERRIBLE for throwing dust all over the shop and a dust hood is really a must, especially for a shop that is in the basement line mine. To make the hood I simple traced out a section that would allow the top to sit lower than the top of the saw.
And cut it out using the jig saw.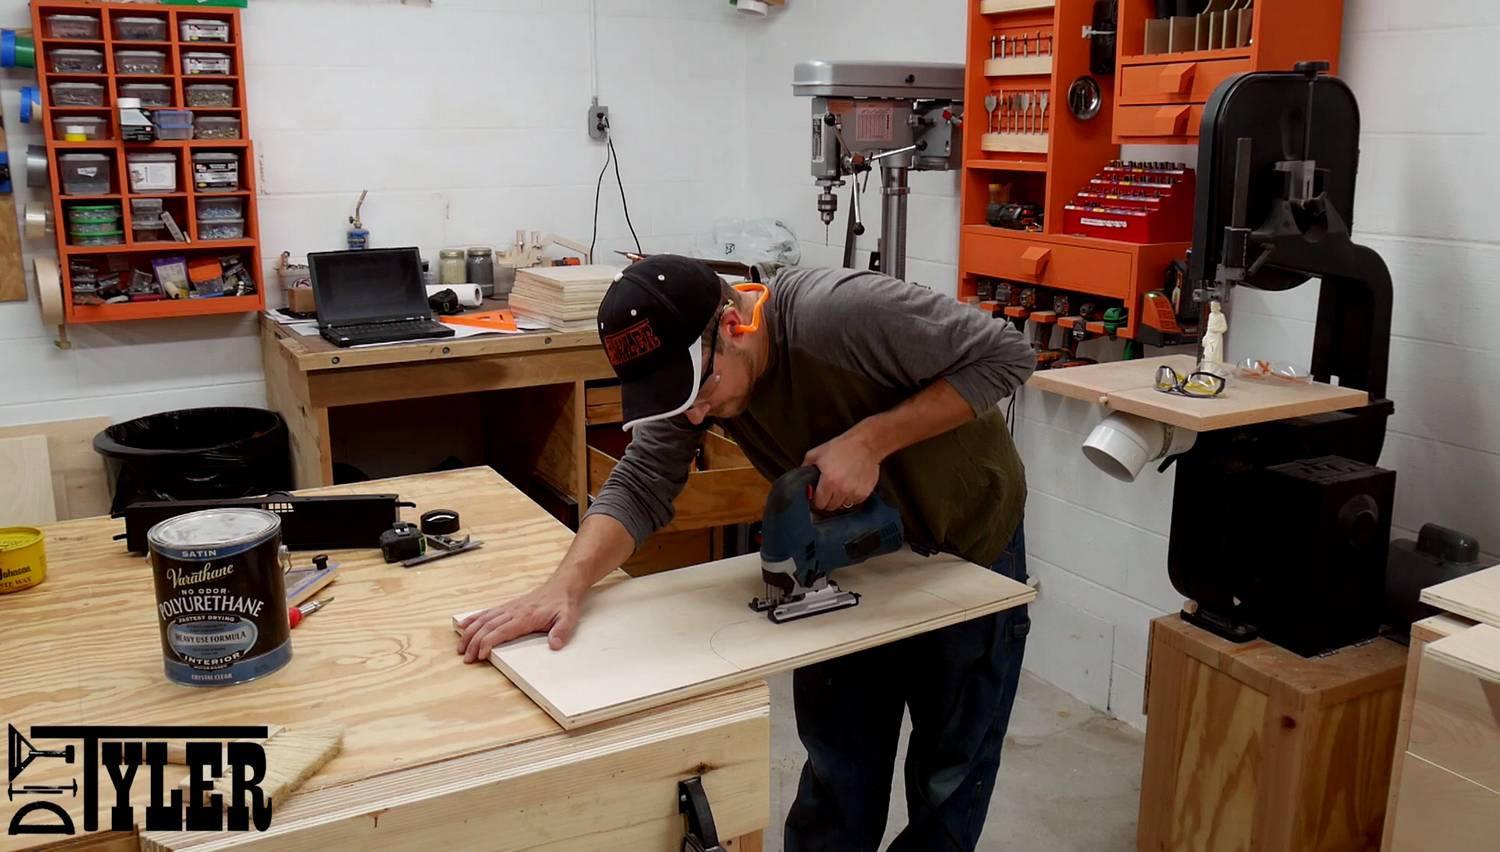
Fastened it to the sides of the cabinet and added some sides to maximize the dust catching. The sides are held on with two screws each so I can quickly remove them if I need to cut a bevel. With the setup you can see in the picture below I can cut full 45° miters in both directions without having to remove anything.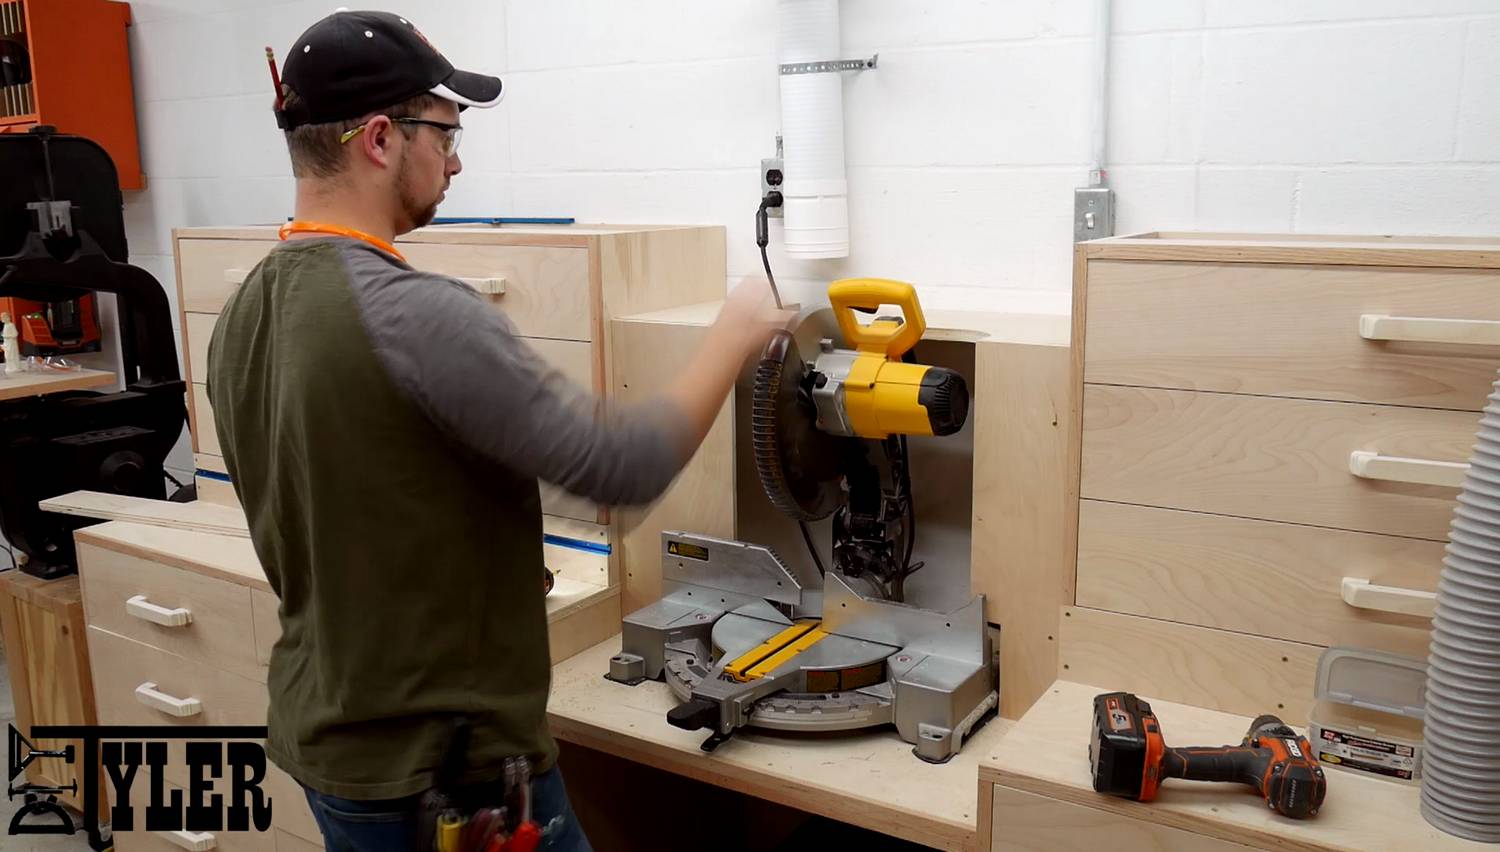
Extension Wing
My favorite part of this build is the folding extension with to allow you to have almost a full 8′ of fence to the left of the blade. To make this I sandwiched two pieces of plywood together using wood glue and a few screws so I could move on right away. This section makes the base of the folding wing.
Added a hinge block making sure the base of the wing was perfectly flush with the rest of the miter station.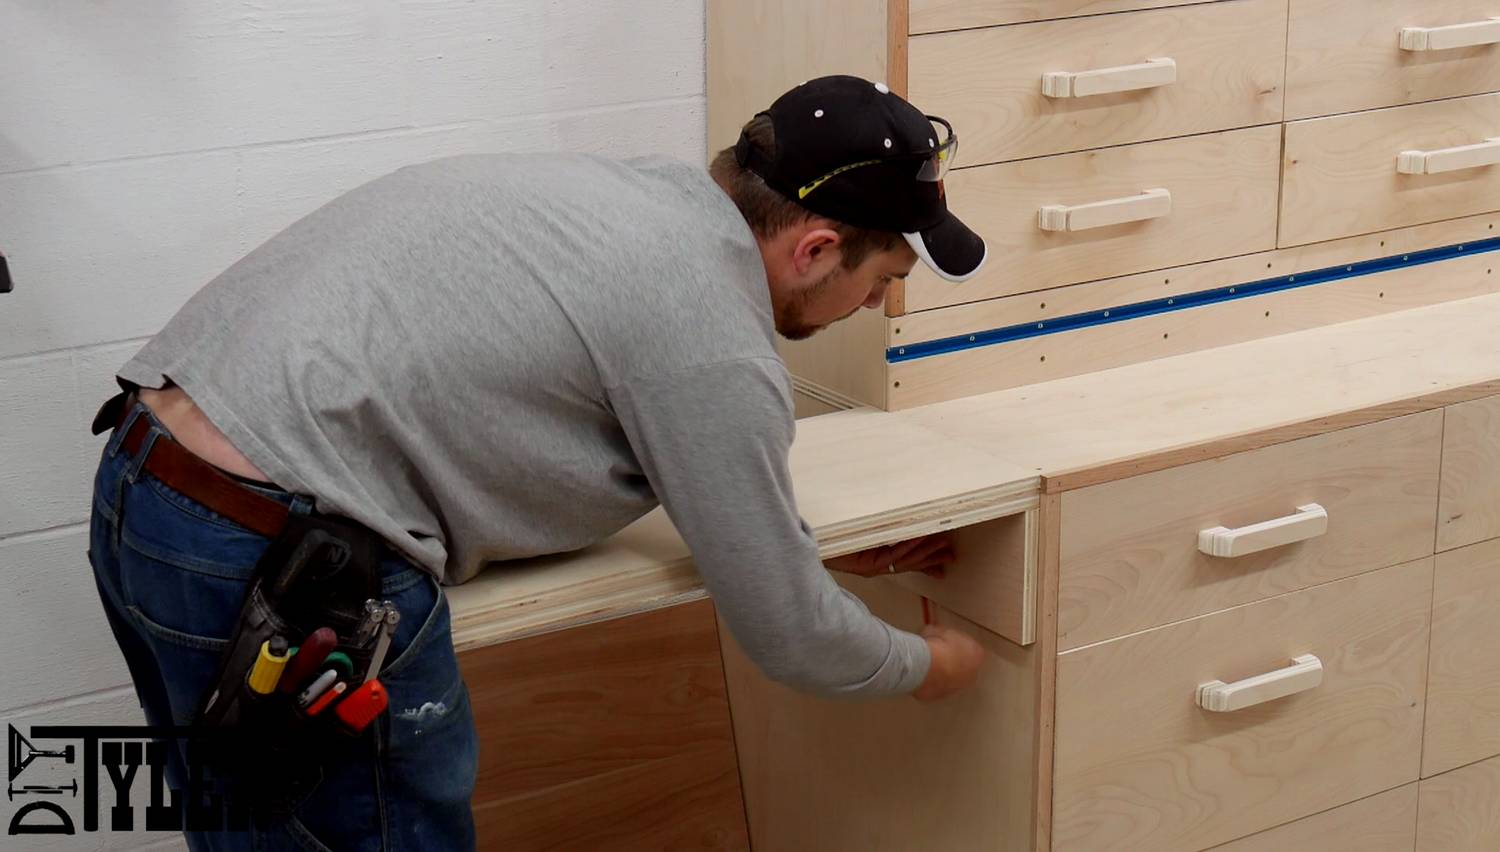
Cut a few sections of piano hinge to allow the actuation.
And mounted the hold up arm to the hinge plate.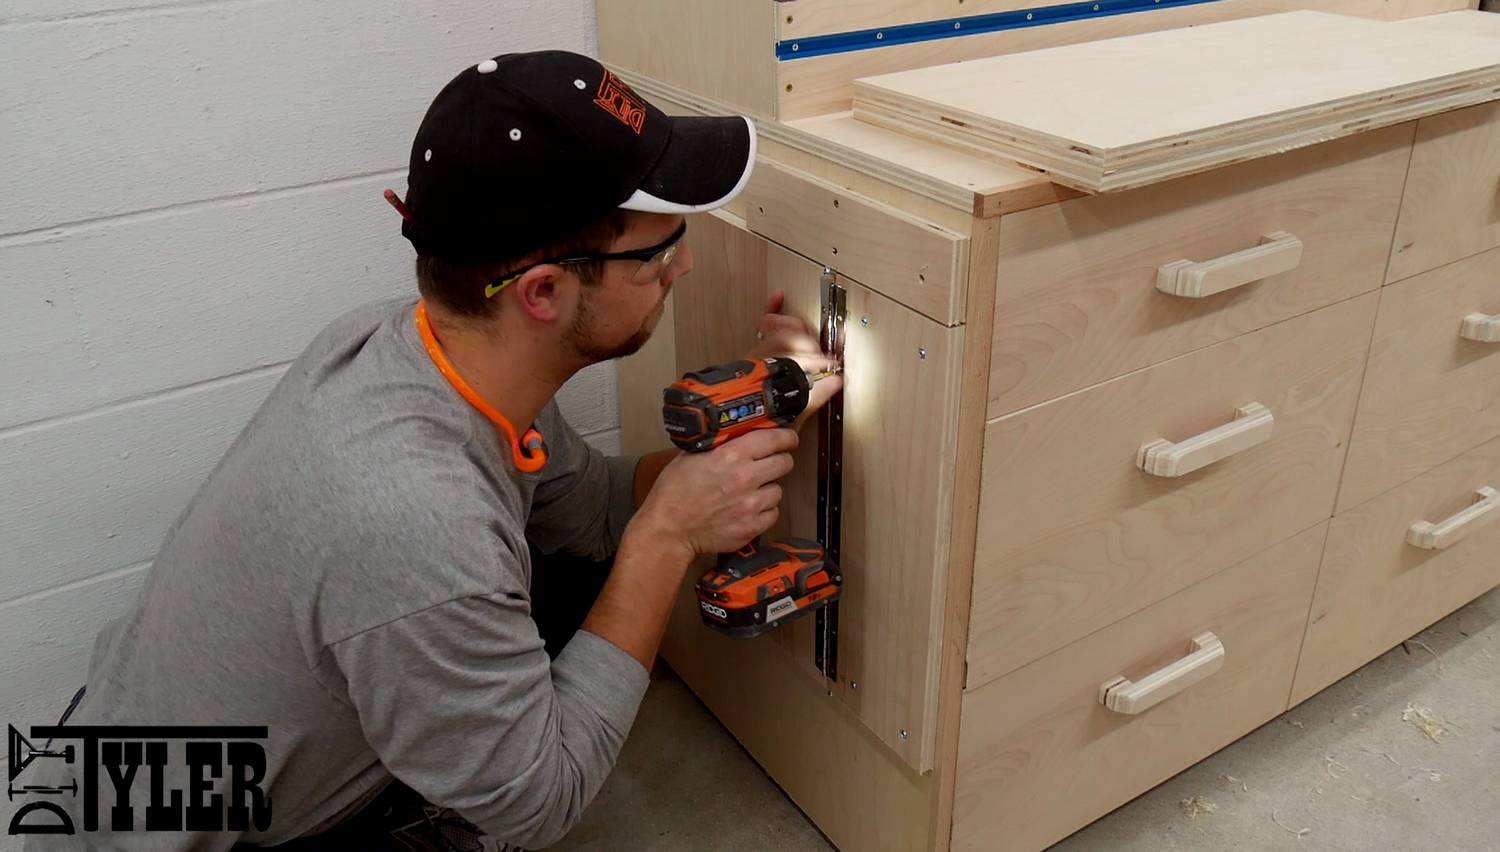
Ethan offered a hand while installing the folding wing. 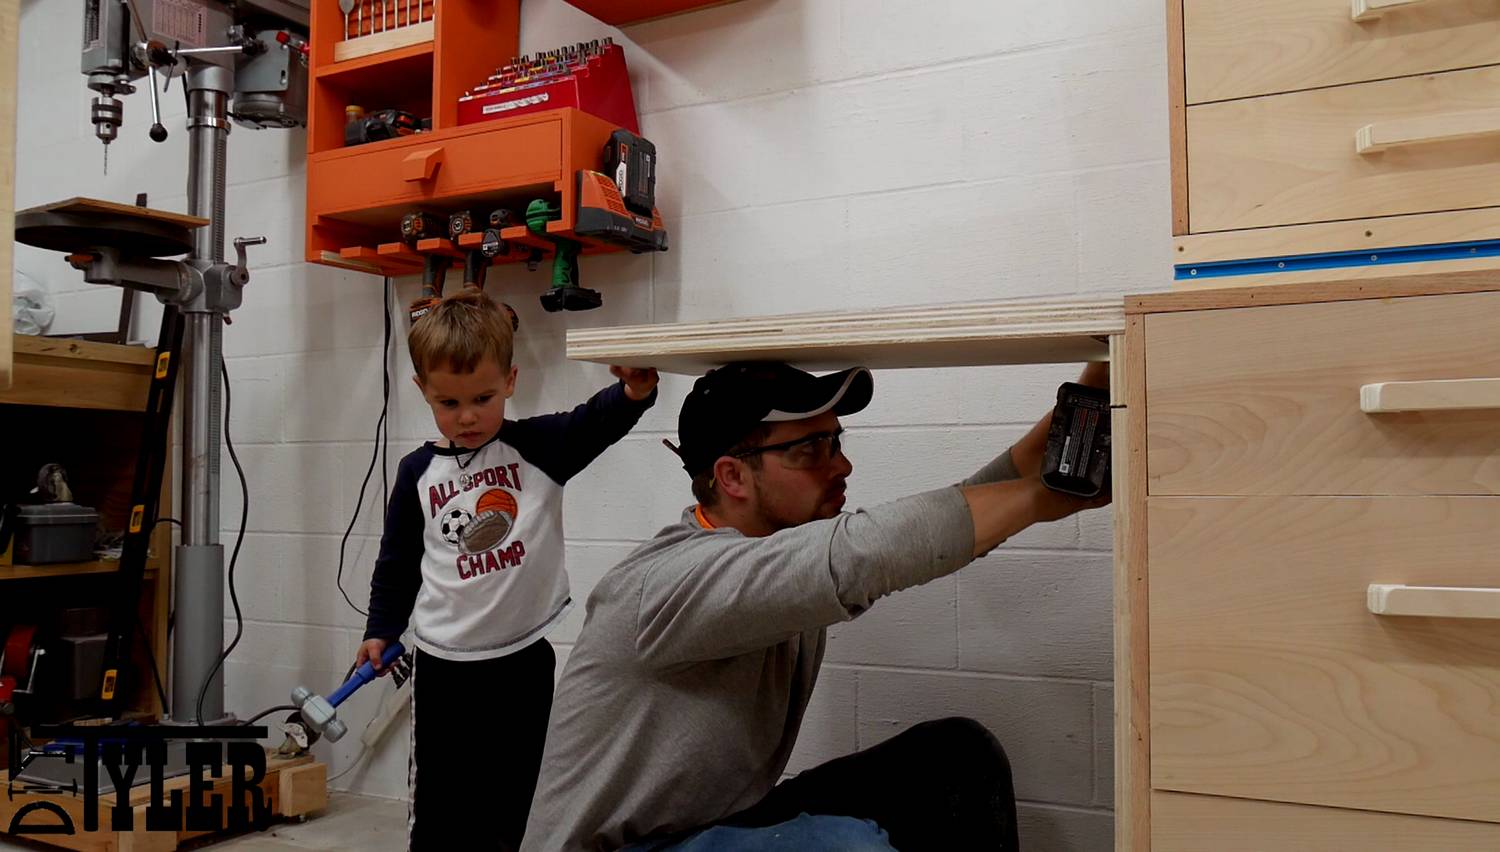
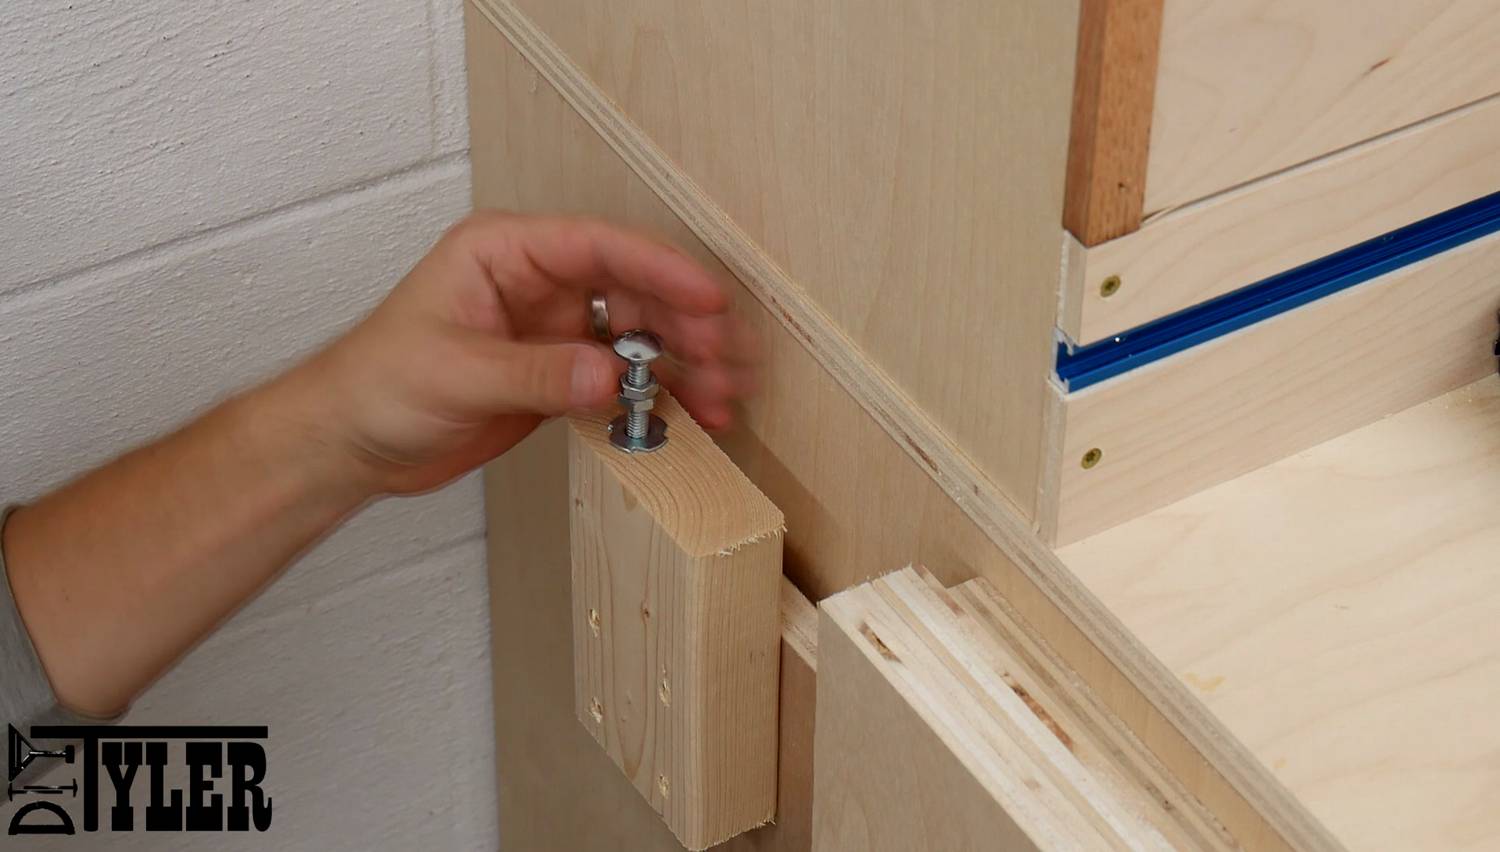
Added small block to the end of the hold up arm with a hole and threaded insert…..
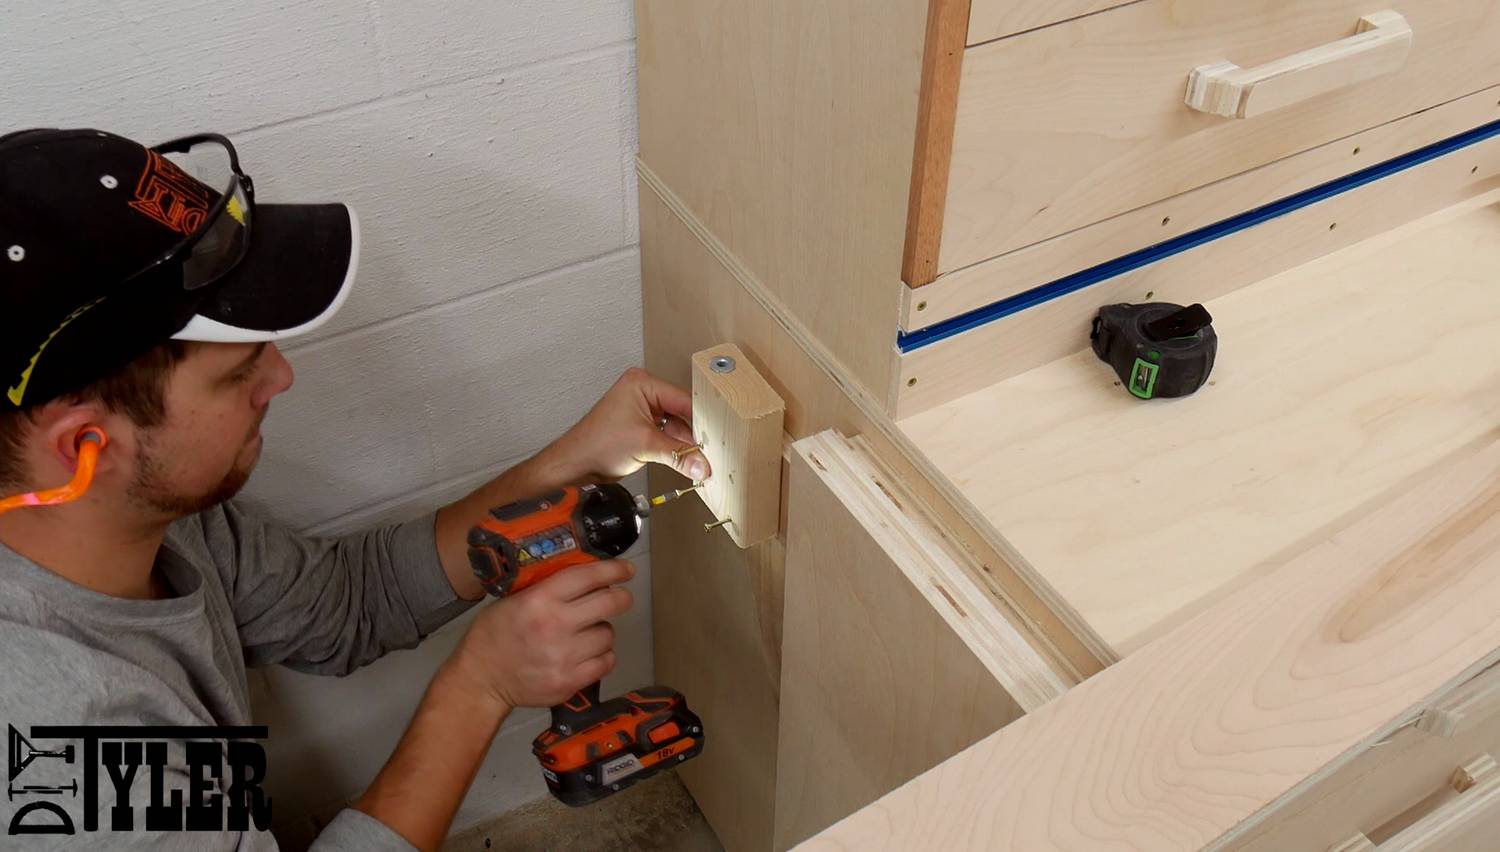
To accept a 5/16″ bolt to adjust the level of the folding wing relative to the rest of the station.
And a backer fence using wood glue and pocket screws. Make sure this section is perfectly 90° to the table of the folding wing.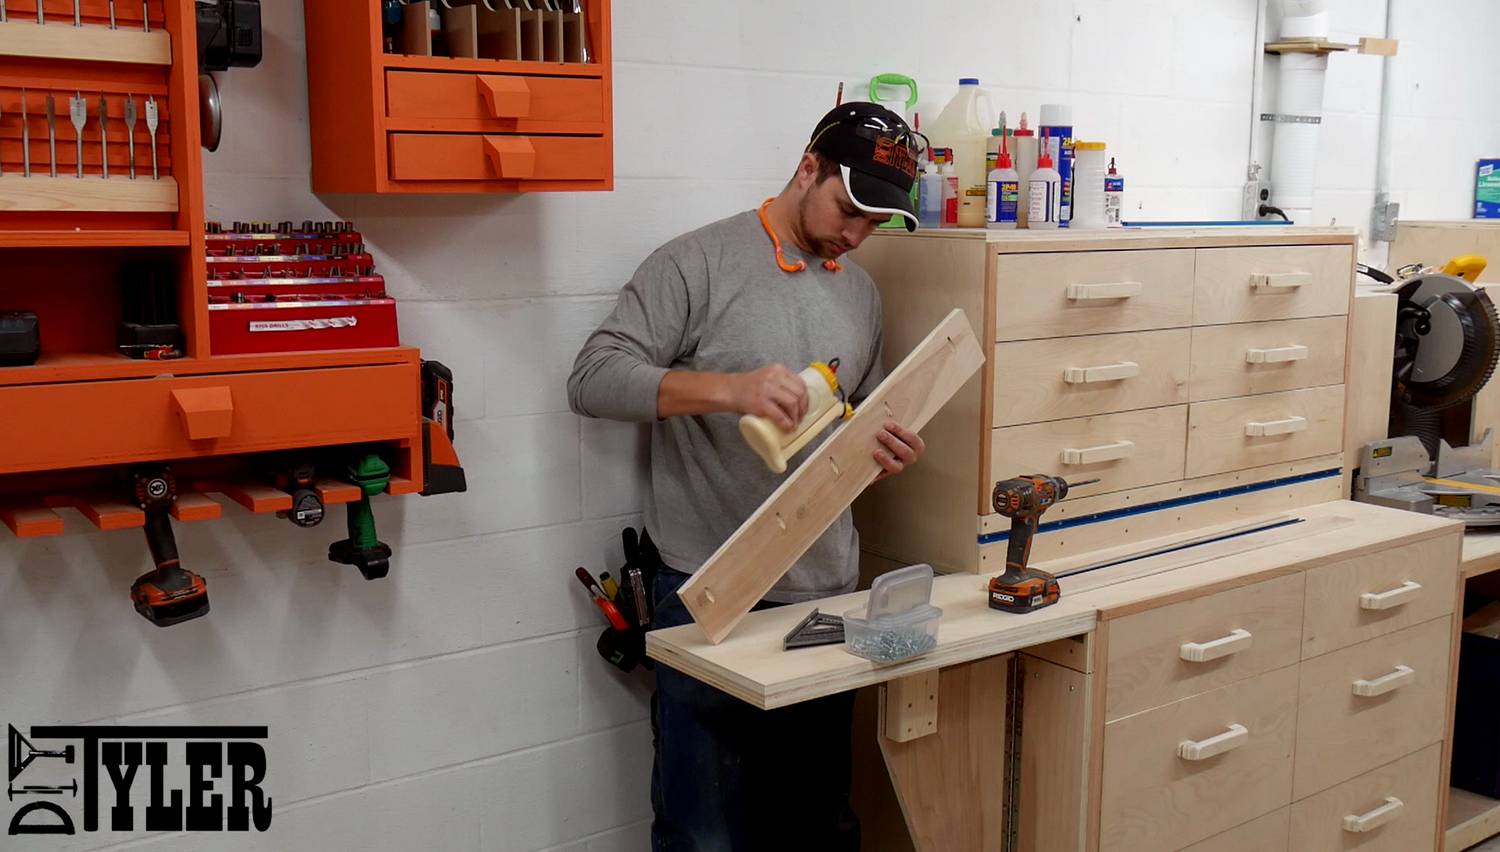
And then install the three fence sections as in the Miter Fence section of this article.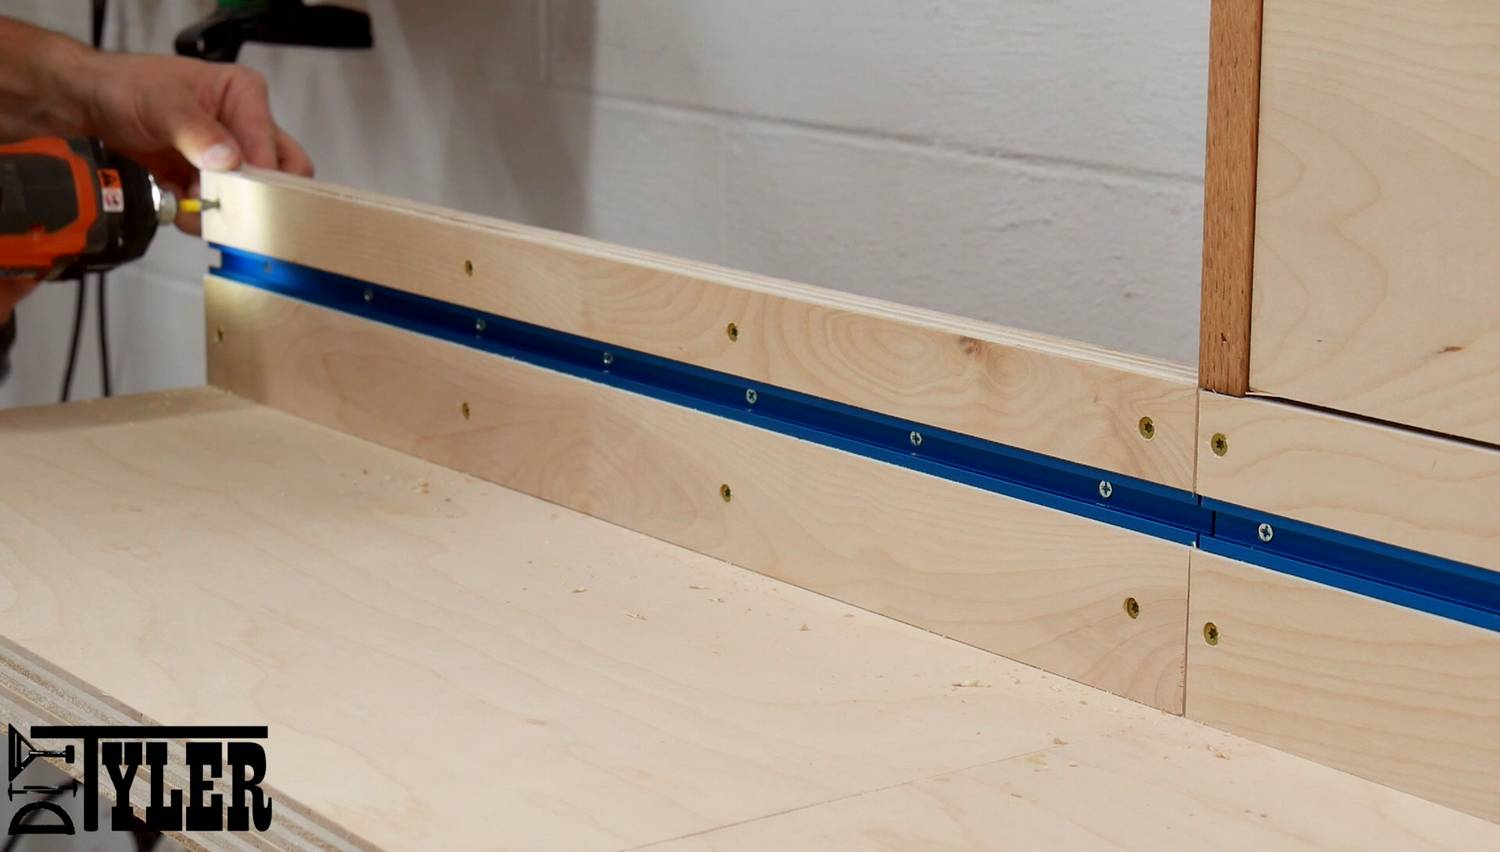
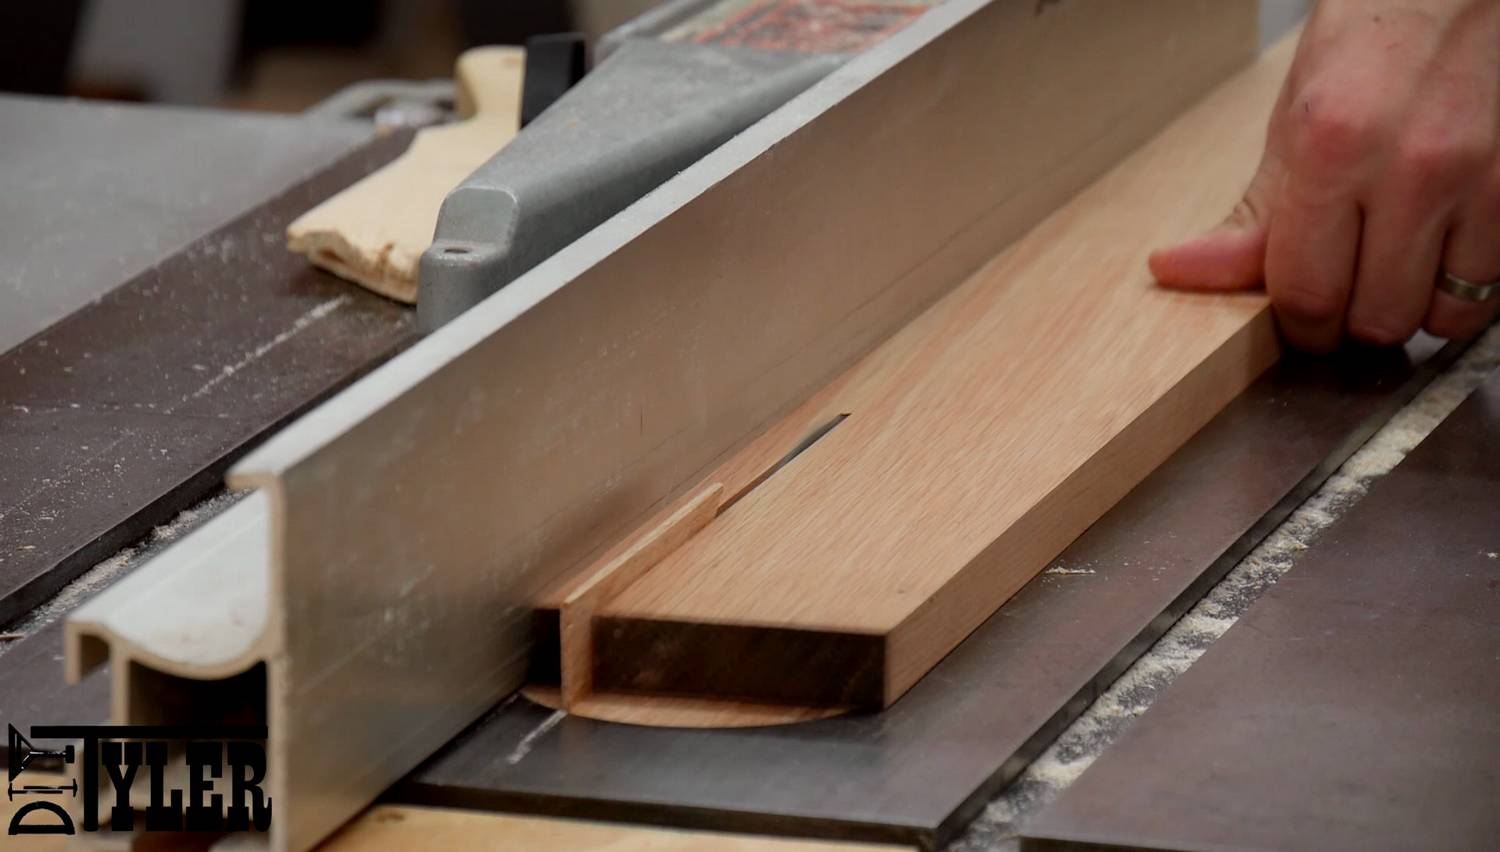
Stop Block
I was in the middle of building this miter stop when I had an idea for a design that will flip out of the way so you don’t have to remove the block to cut a longer piece. The block for the moment is a section of plywood cut on the table saw.
With a tongue on the back to hold it off the table and allow it to slide through the t-track. A t-bold needs a through hole between the tongue somewhere.
And it clamped into place using a star knob.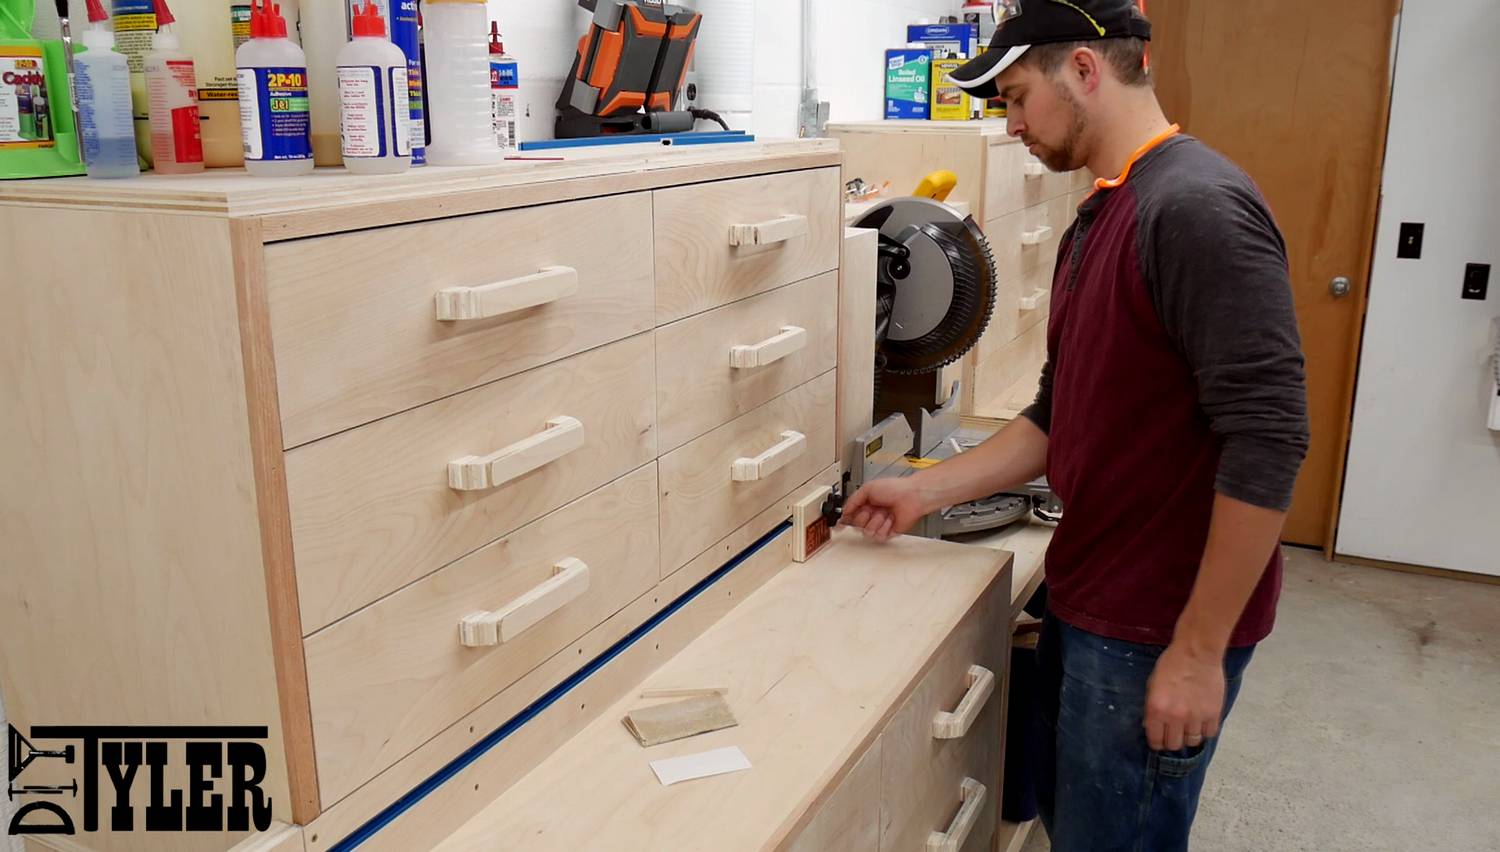
Stop Block Ruler
The ruler is a double sided ruler from FastCap LLC (Aff Link; https://goo.gl/ZgFg07) I first stuck down the supplied double sided tape.
Marked a set point away from the blade.
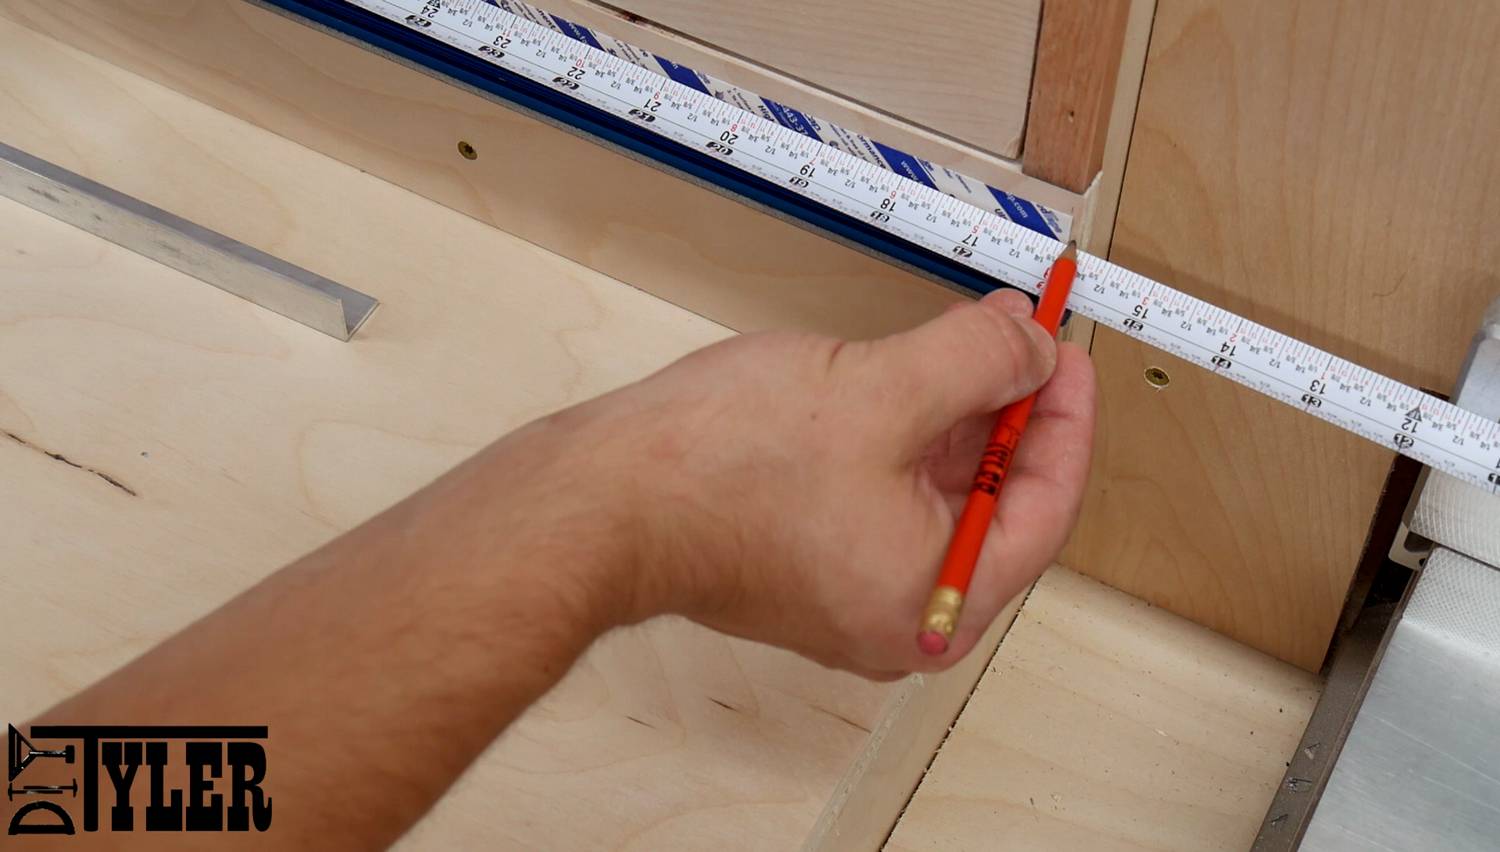
And added the ruler starting at the set-point I just marked.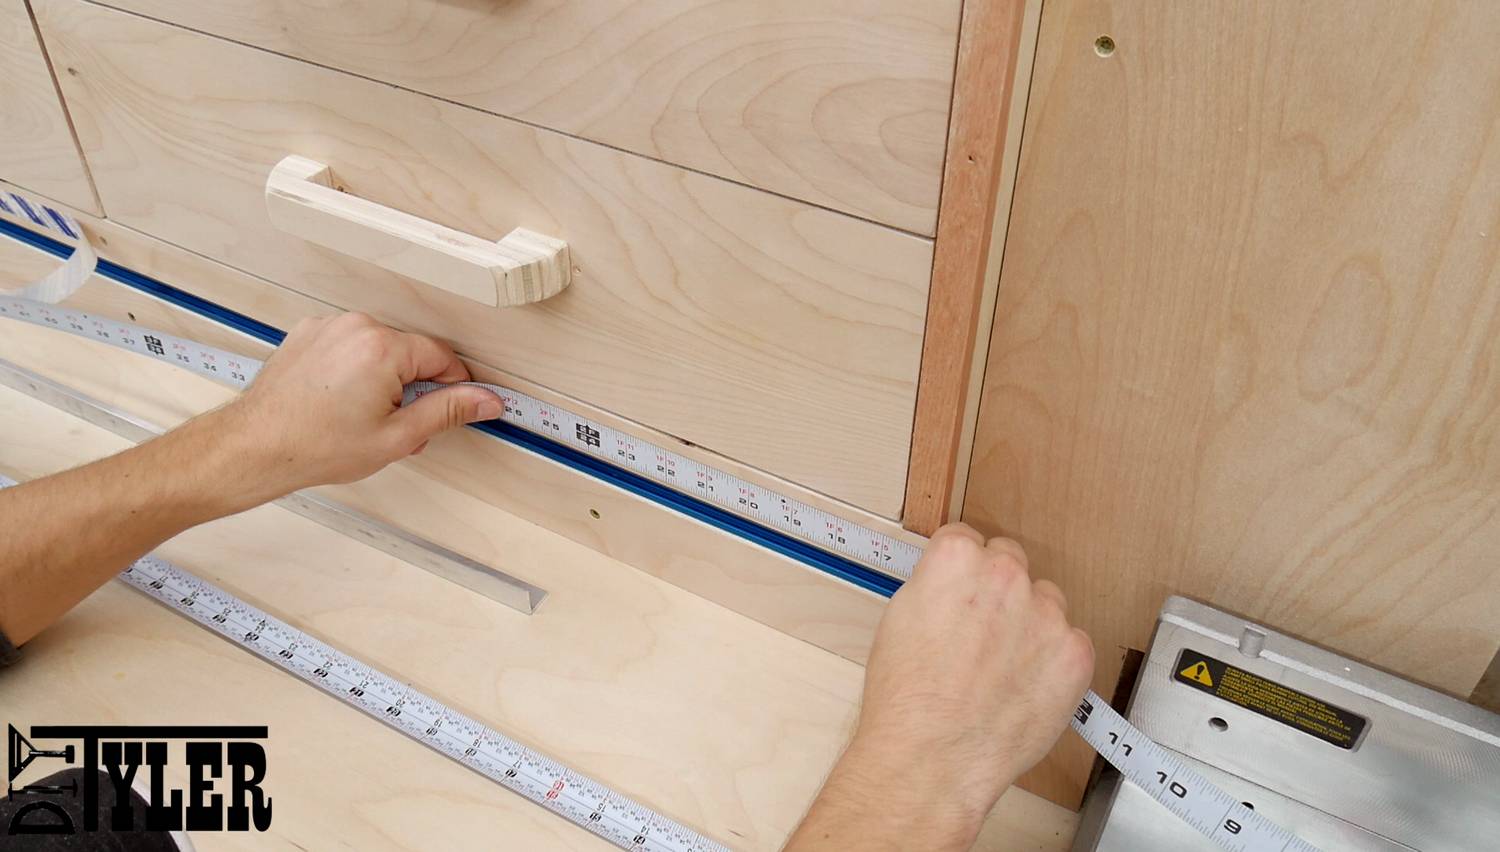
The tape is the same stuff that you would find in a tape measure so it didn’t cut super easy.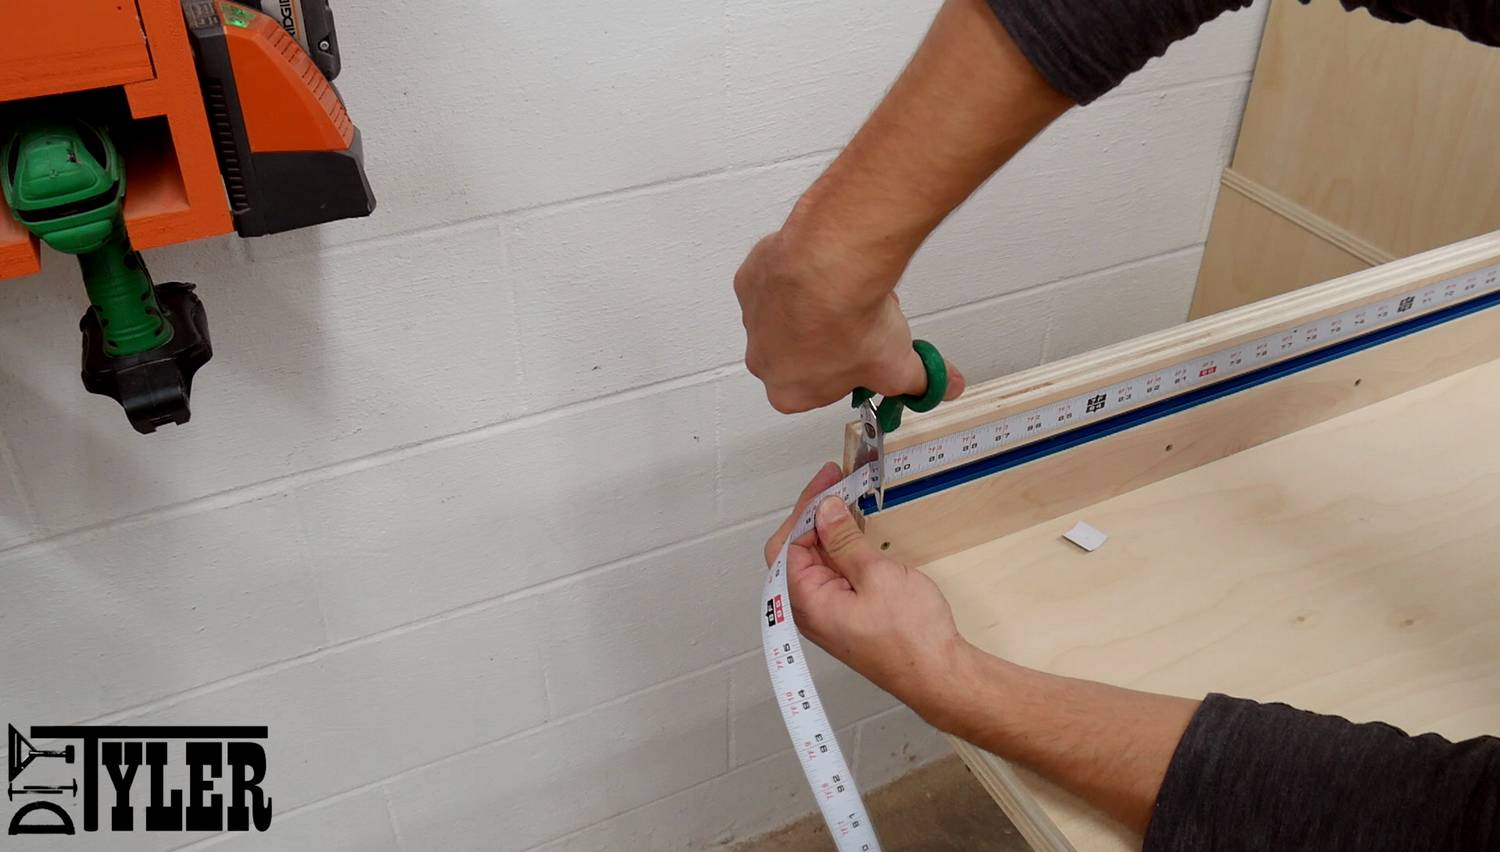
Once the ruler is place you can add the miter stop but you need to have some minor adjustment to allow for different kerfs on the miter saw. I drilled some groves in a small section of angled aluminum and screwed it to the top of the miter stop.
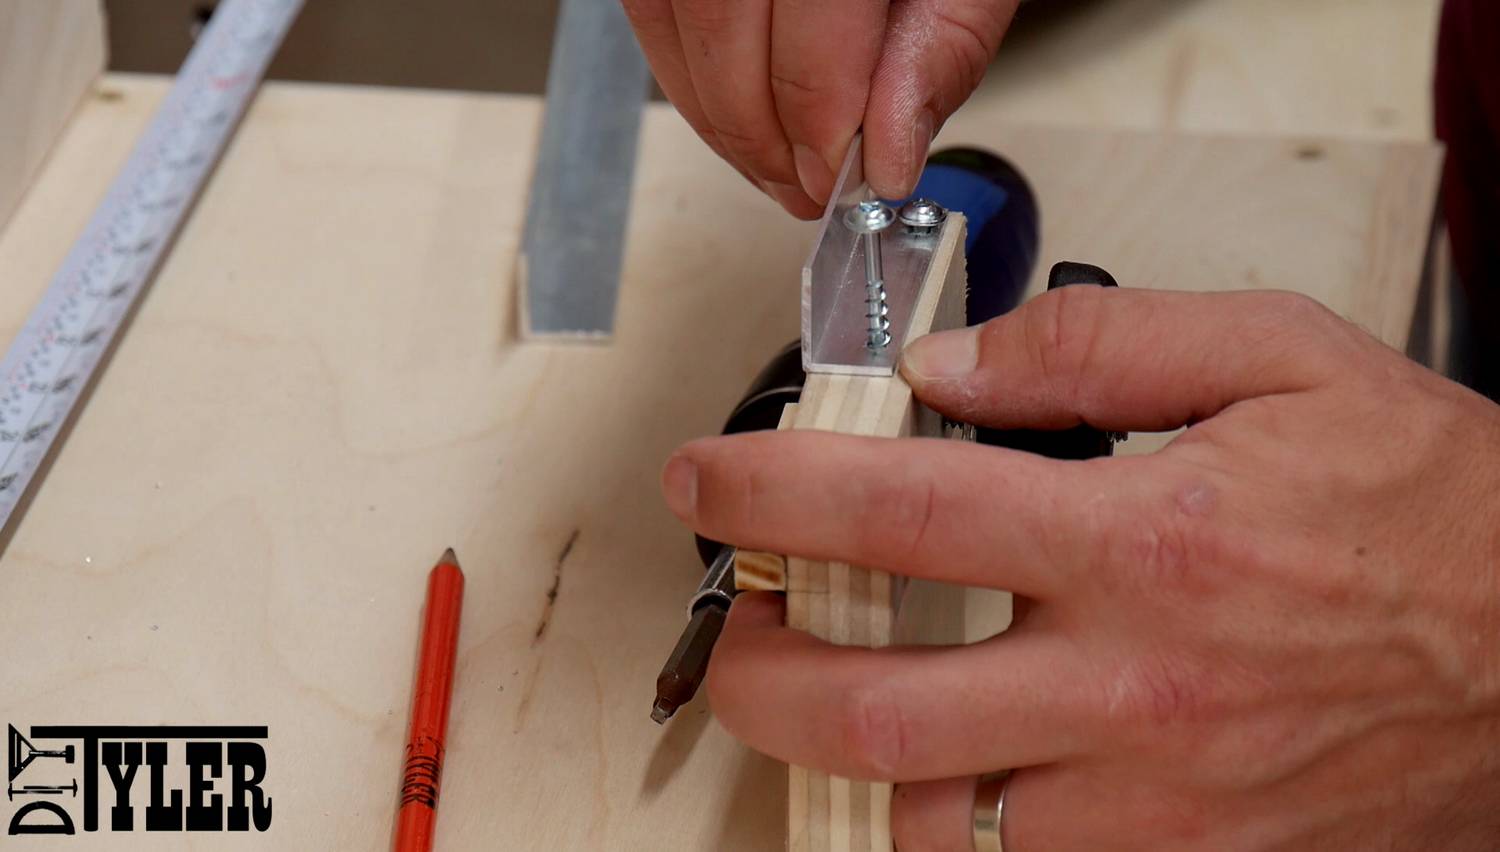 And this allowed me micro adjustment based on the different blades I may use. I was able to get this stop dialed in perfectly!
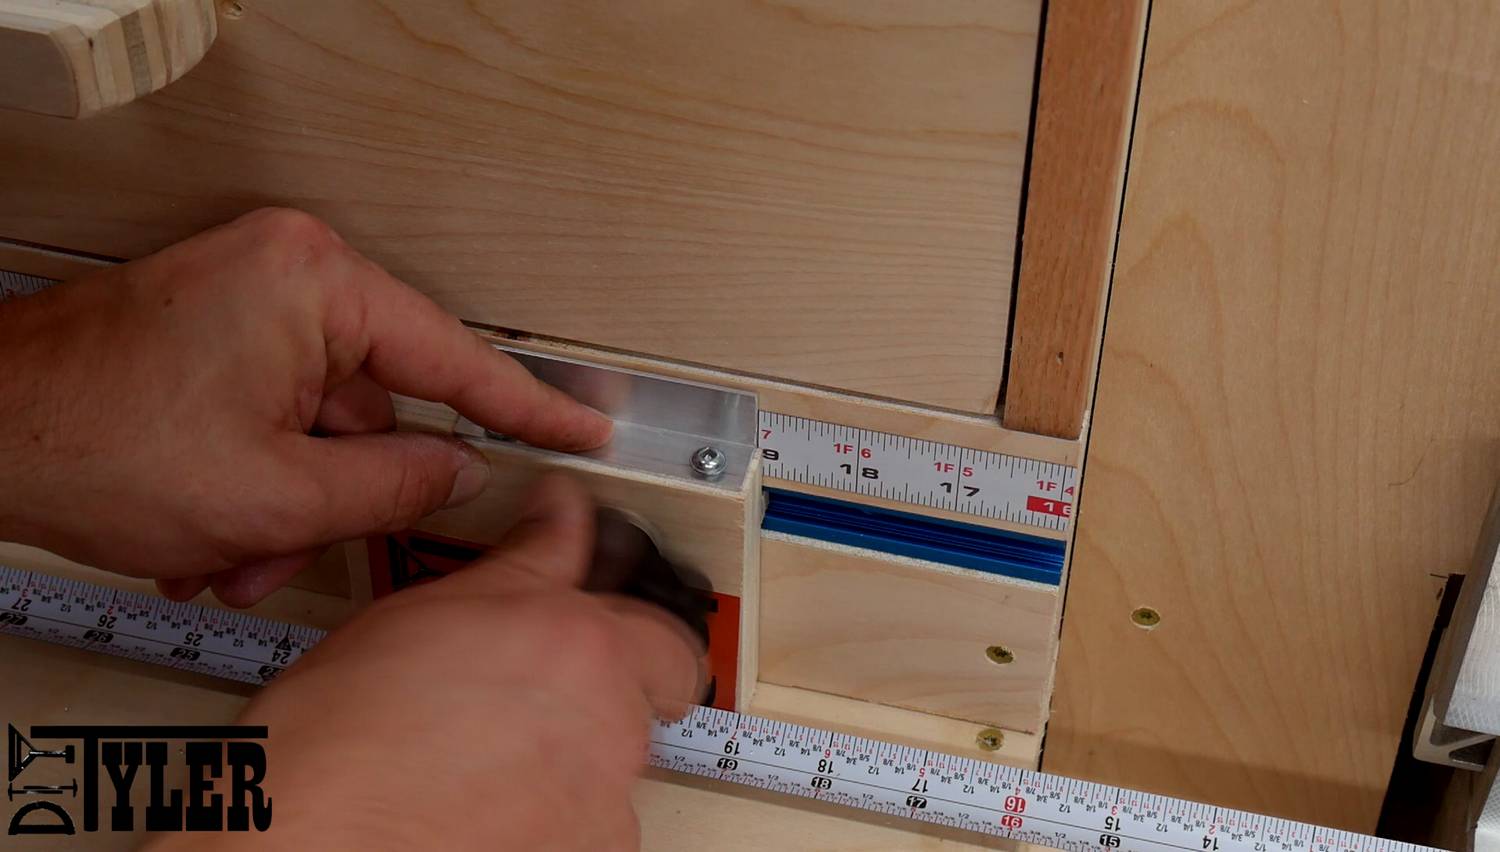
Conclusion
Well I cannot tell you how exciting it is to have this miter station done, like I have said before I was thinking of it more as a giant set of drawers with a chop saw on top. Having this built really opens up other space in the shop and on top of all that it functions AMAZING as a miter station!!
If you would care to get the plans and build your own you can find them here. Thanks for the support! If you build one be sure to shoot me an emails so I can see your creation!
Please follow and like us:
11 thoughts on “Miter Saw Station Part 2 | Drawers | Fence | Dust Collection”
Love the orange highlights that is epic dude
Excellent Job.
Can you give overall rough dimensions?
Thinking about purchasing your plans, but need overall dims before deciding to do so.
Thanks!
The station is 166″ wide with the wing up
138″ with the wing down
27 1/2″ deep and ~70 1/2″ tall.
You mentioned you can’t use a sliding miter saw. What’s the distance between the fence of the saw and the back of the cabinet?
If my saw fits you have $ coming your way.
Great job on the build!
I like the miter saw station, good job on the design and build. Far too large for my shop but if i had a dedicated shop it would be great. Keep up the great work and i hope you continue sharing your projects.
Hi Tyler I want to said that you miter station is very nice I am going to build one on the next month.
Thank you for your videos
How much $$ do you have in this mitre saw station?
I will be moving into my new house in a few months and have a perfect shop for this size station.
Thanks!!!
It’s over $700 just in plywood. Not a cheap project.
Stinky poopy Tyler pooped in his blue jeans nah nah poopy Tyler
How tall is the work surface of this station? (from the ground to the top of the first set of drawers).
Bonjour
Quel est la référence de votre pistolet a clouer ridgid?
Merci beaucoup
Patrice