This project has been a long, long time coming and I am so excited to finally have it under way. In this video I will be going through the building of the upper and lower cabinet frames for my miter saw station. I am really thinking of this as a ton of storage drawers with a miter saw on top of them, that being said it will be really nice to have a fence to repeatable cuts!
I will have plans for this miter saw station available after the second video goes live so be sure to subscribe to our email newsletter and YouTube channel so you know when they are available! 😉
[wp_ad_camp_4]
Miter Saw Station Vision
Biggest goals of this miter station are, TONS of drawer space, not to invade the shop space more than my current miter saw setup and not to block the shop door in anyway. Blocking the shop door is specific to my situation but the concept might be useful to you guys. What I came up with is similar to many other miter saw designs but tailored to my shop. I will have 24 drawers total, some 14″ deep and others 22″ deep and of various depths. By the door I will have a cabinet section that is shorter to allow me unrestricted access to the door. The station does not extend a full 8′ in either direction but it is designed so that an 8′ or longer board will balance with no issues.
In the plans (when they are finished) you will have full dimensions for all the cuts and assemblies, sheet layout to show you how to get minimum scrap from each sheet of plywood and each part is numbered and colored so the plans are easy for everyone to follow.
Lower and Upper Cabinet Frames
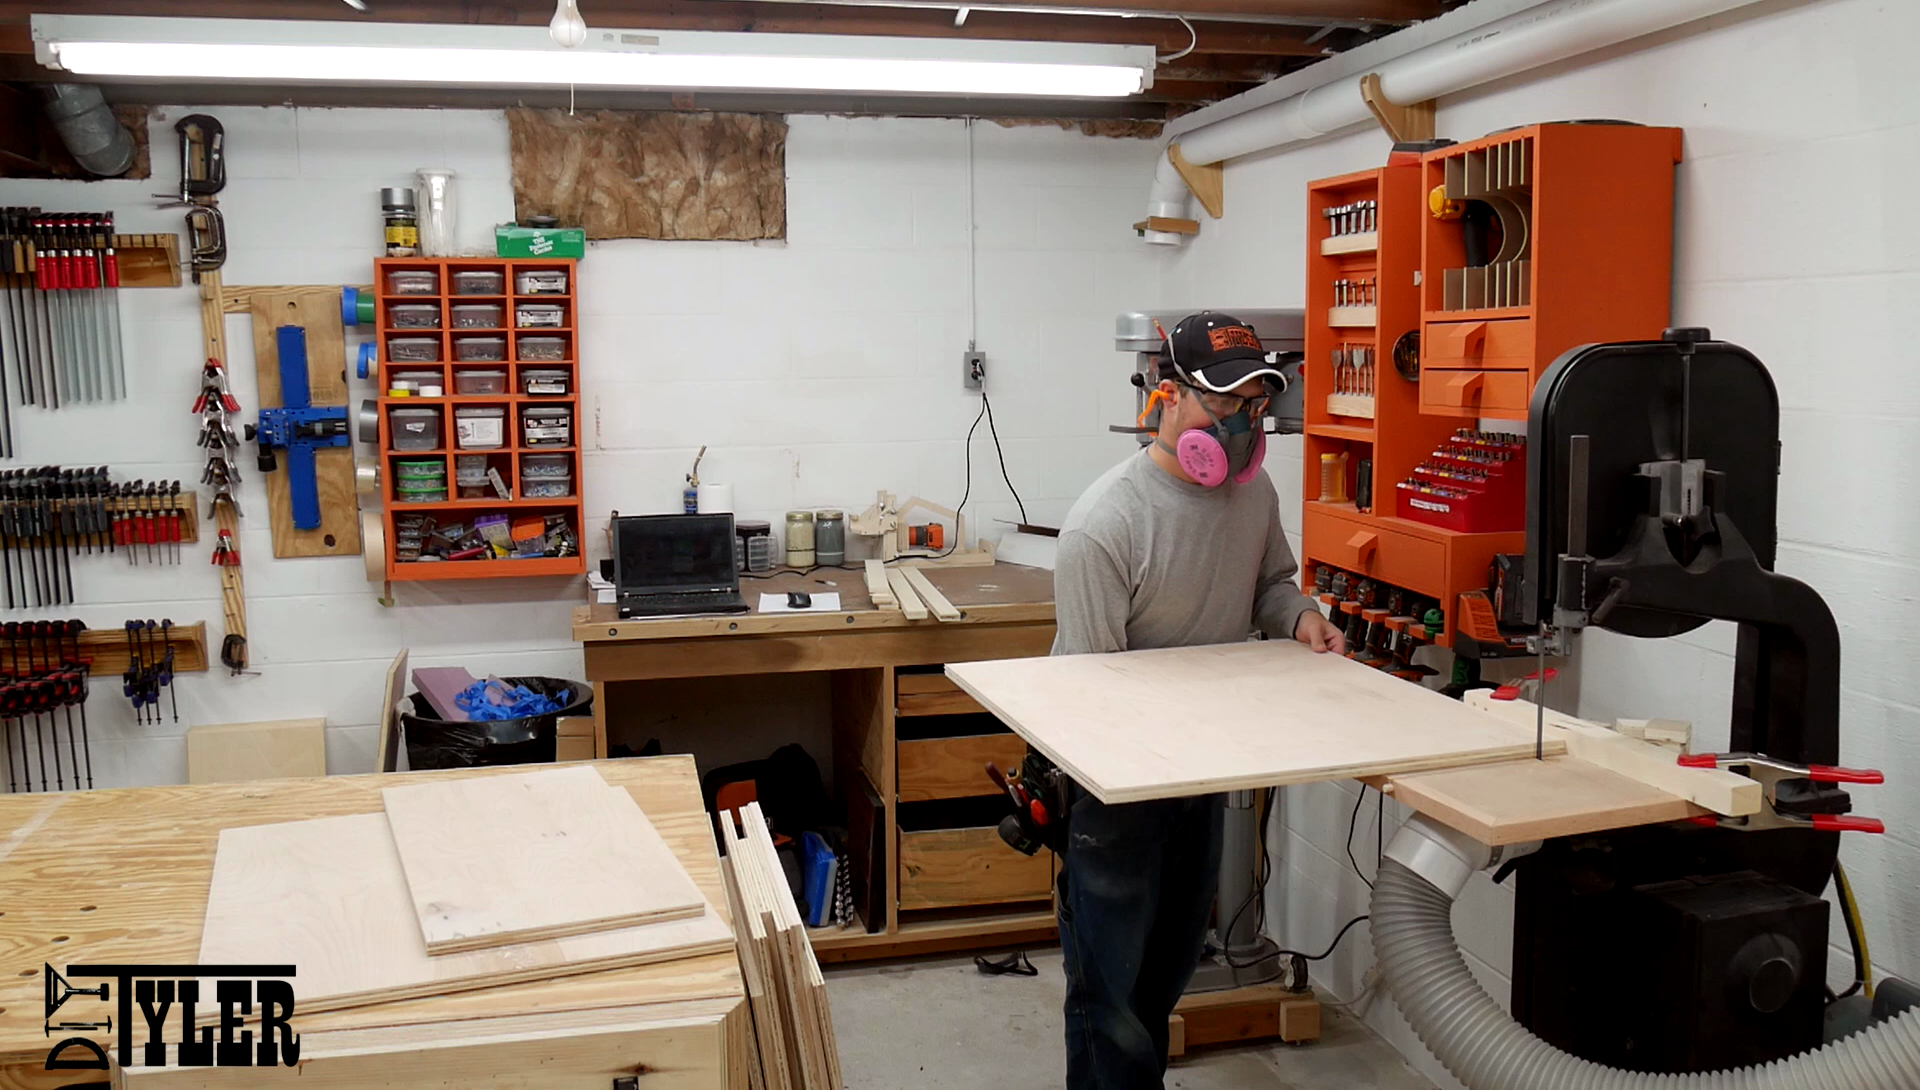
Before I could really get down to business I needed to get all the sheets of plywood down the stairs and into the shop. Yes I can get a full 4×8 sheet of plywood down with no issues but 15 sheets is exhausting! This build calls for 10 3/4″ sheets of plywood and 5 1/2″ sheets. You need a few other odd and end pieces of wood but I am willing to bet most of you have those parts laying around the shop. (The plans will have a full parts list.)
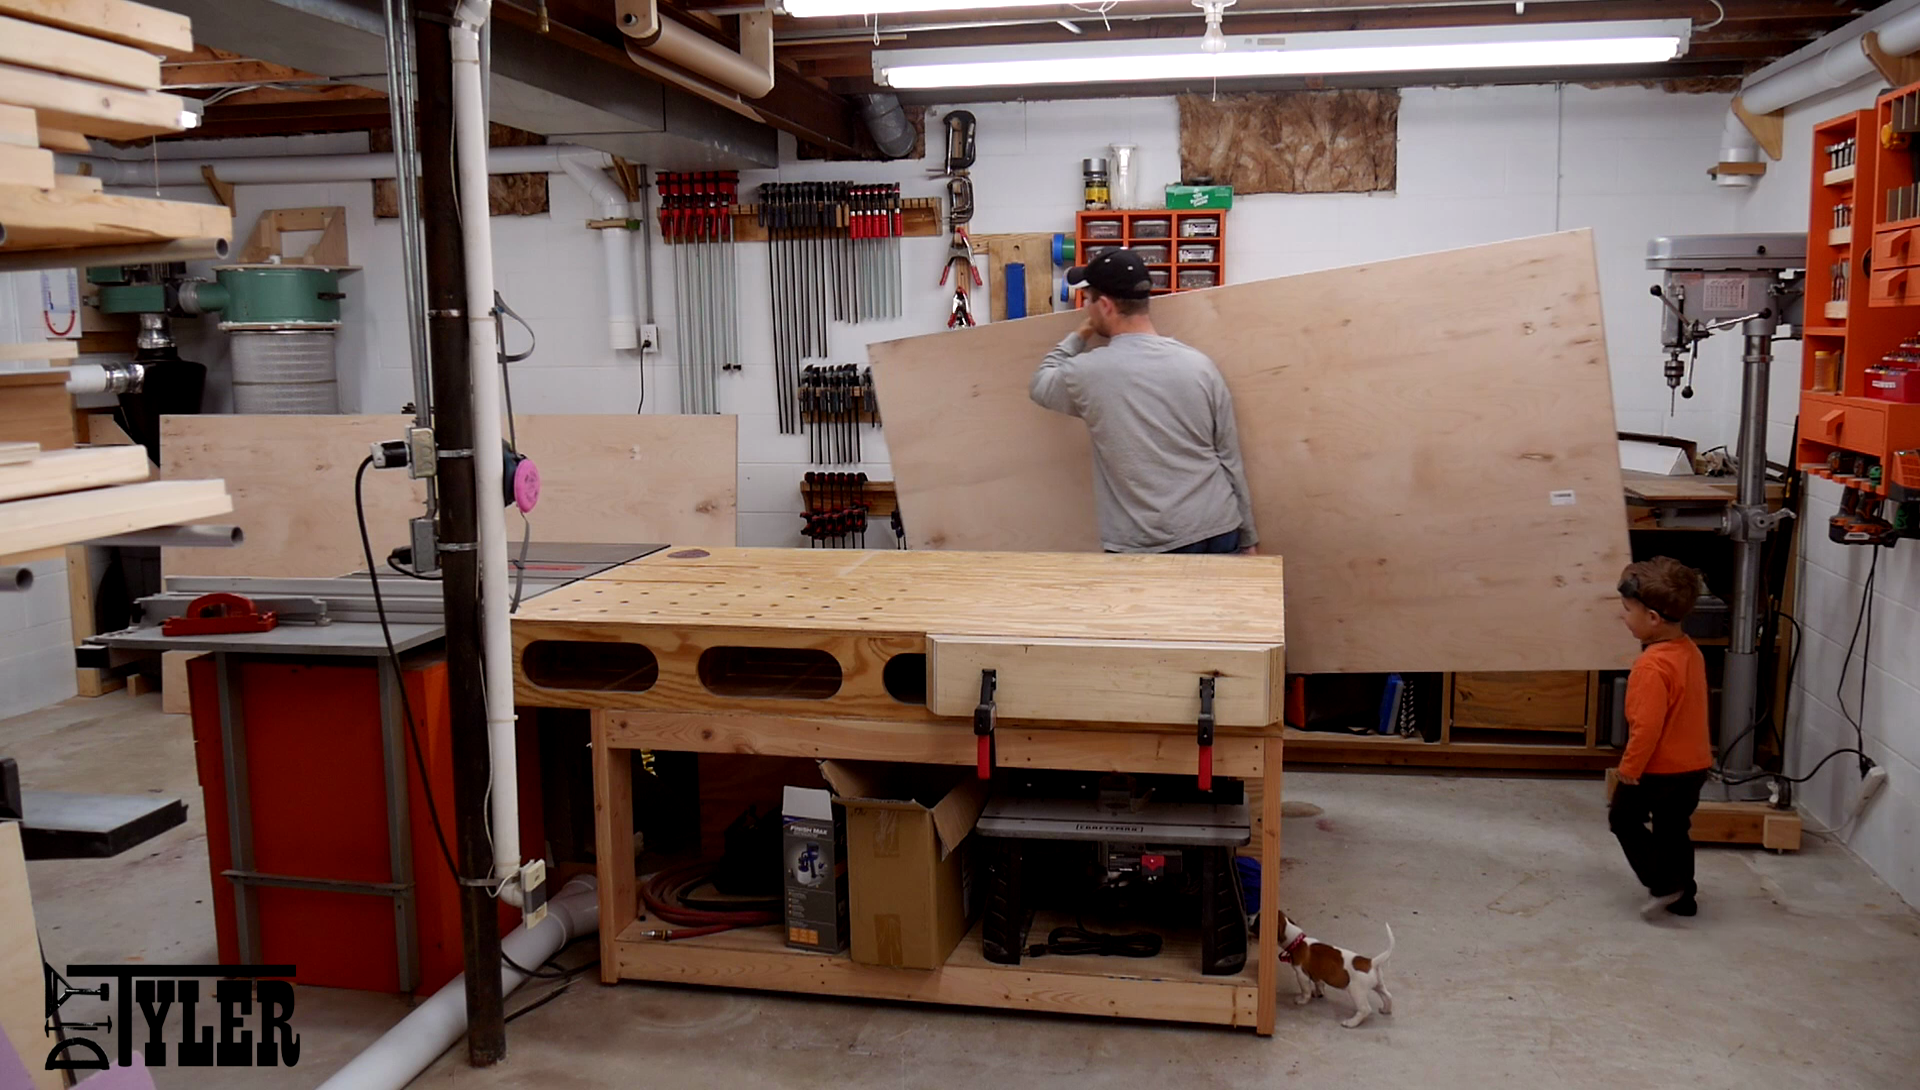
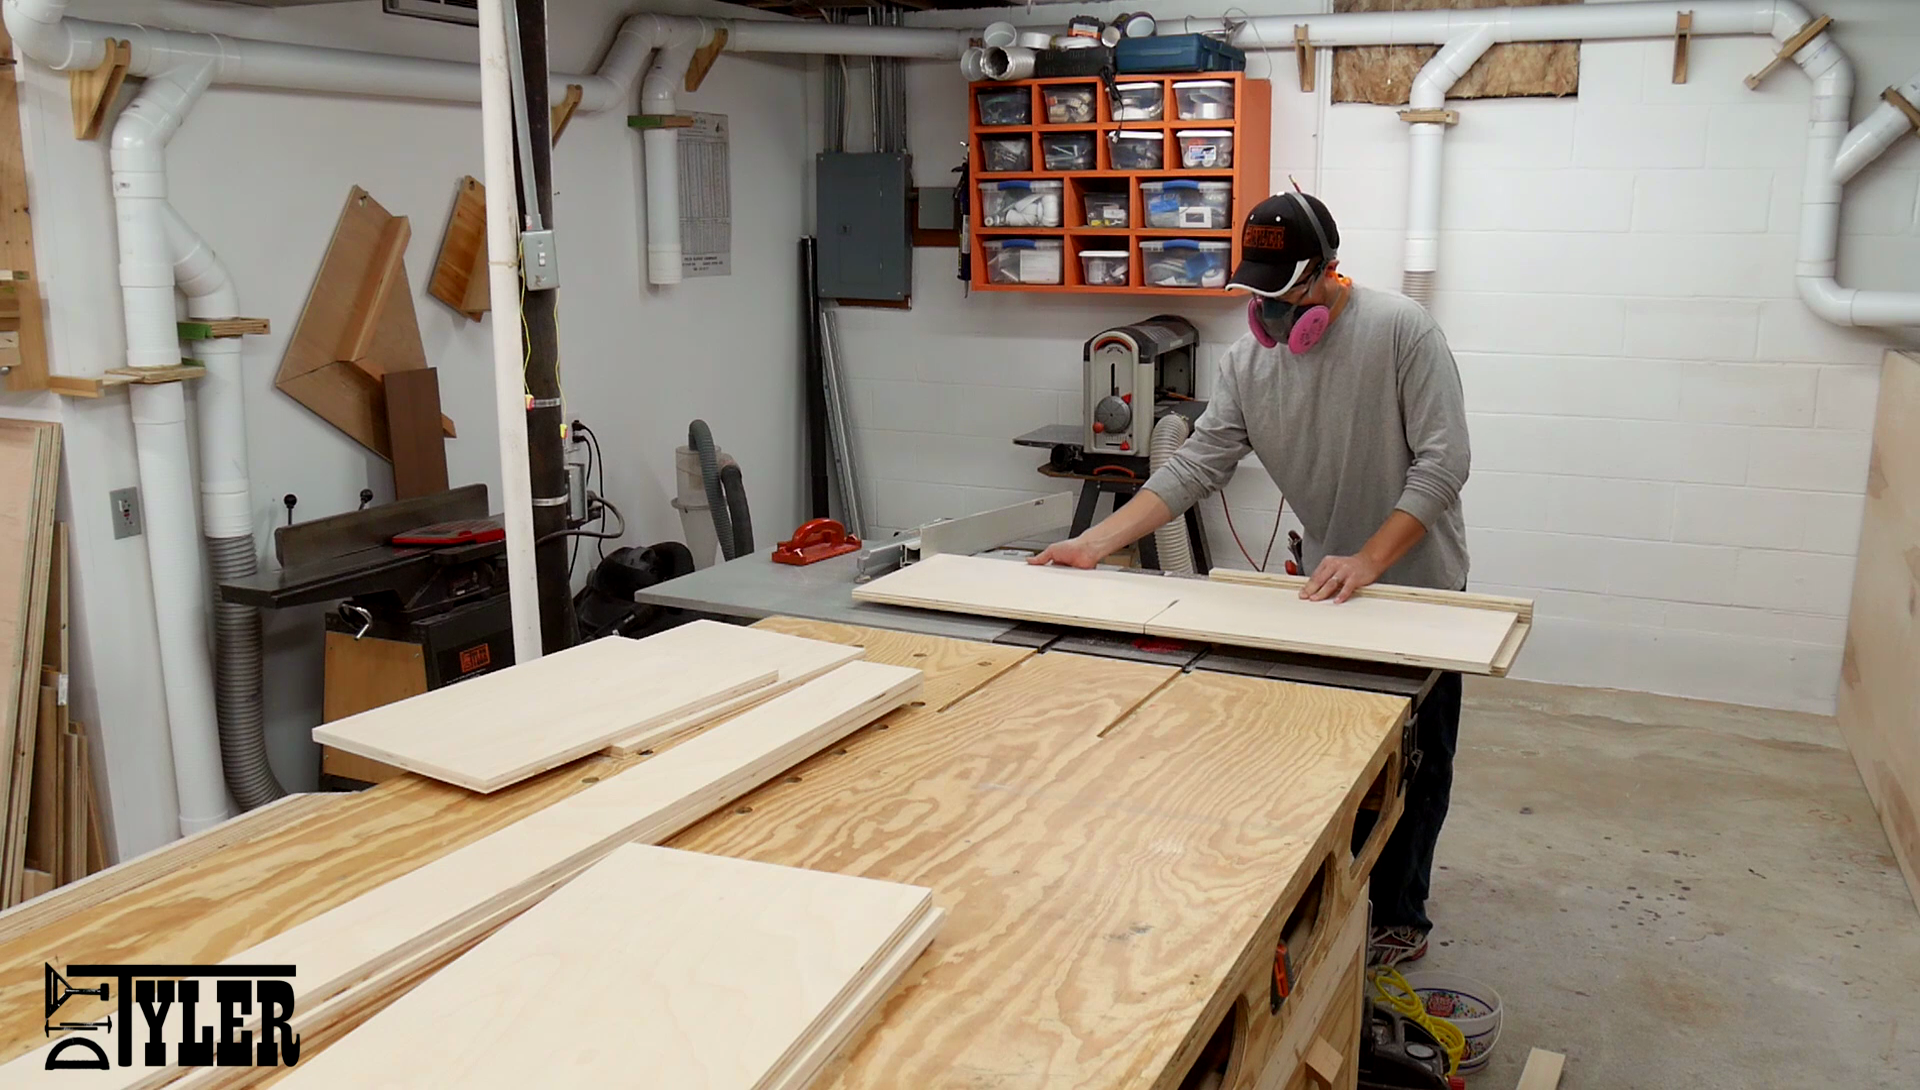
I began braking down all the sheet goods on the table saw. To keep track of all the different parts from each sheet I made sure to cut each sheet completely before moving on to the next one.
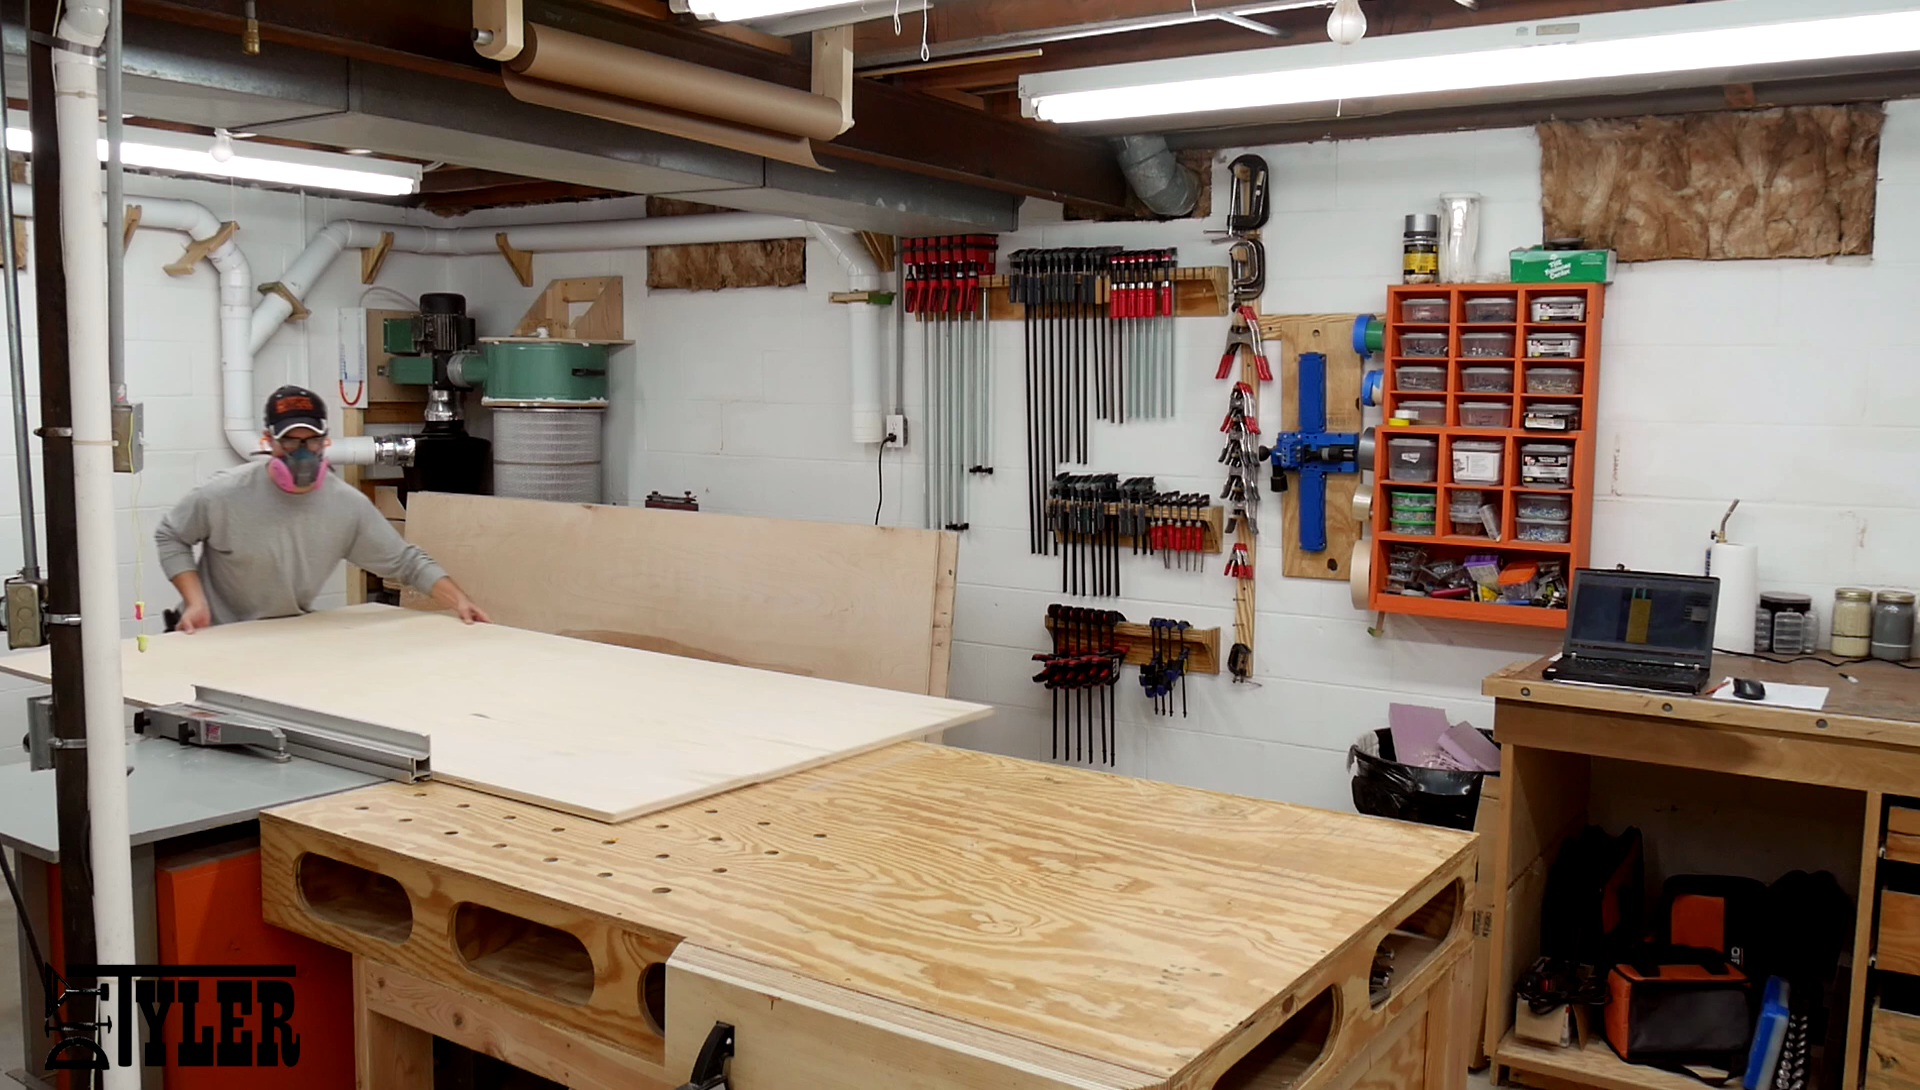
To make some of the larger cross cuts I used my table saw sled….
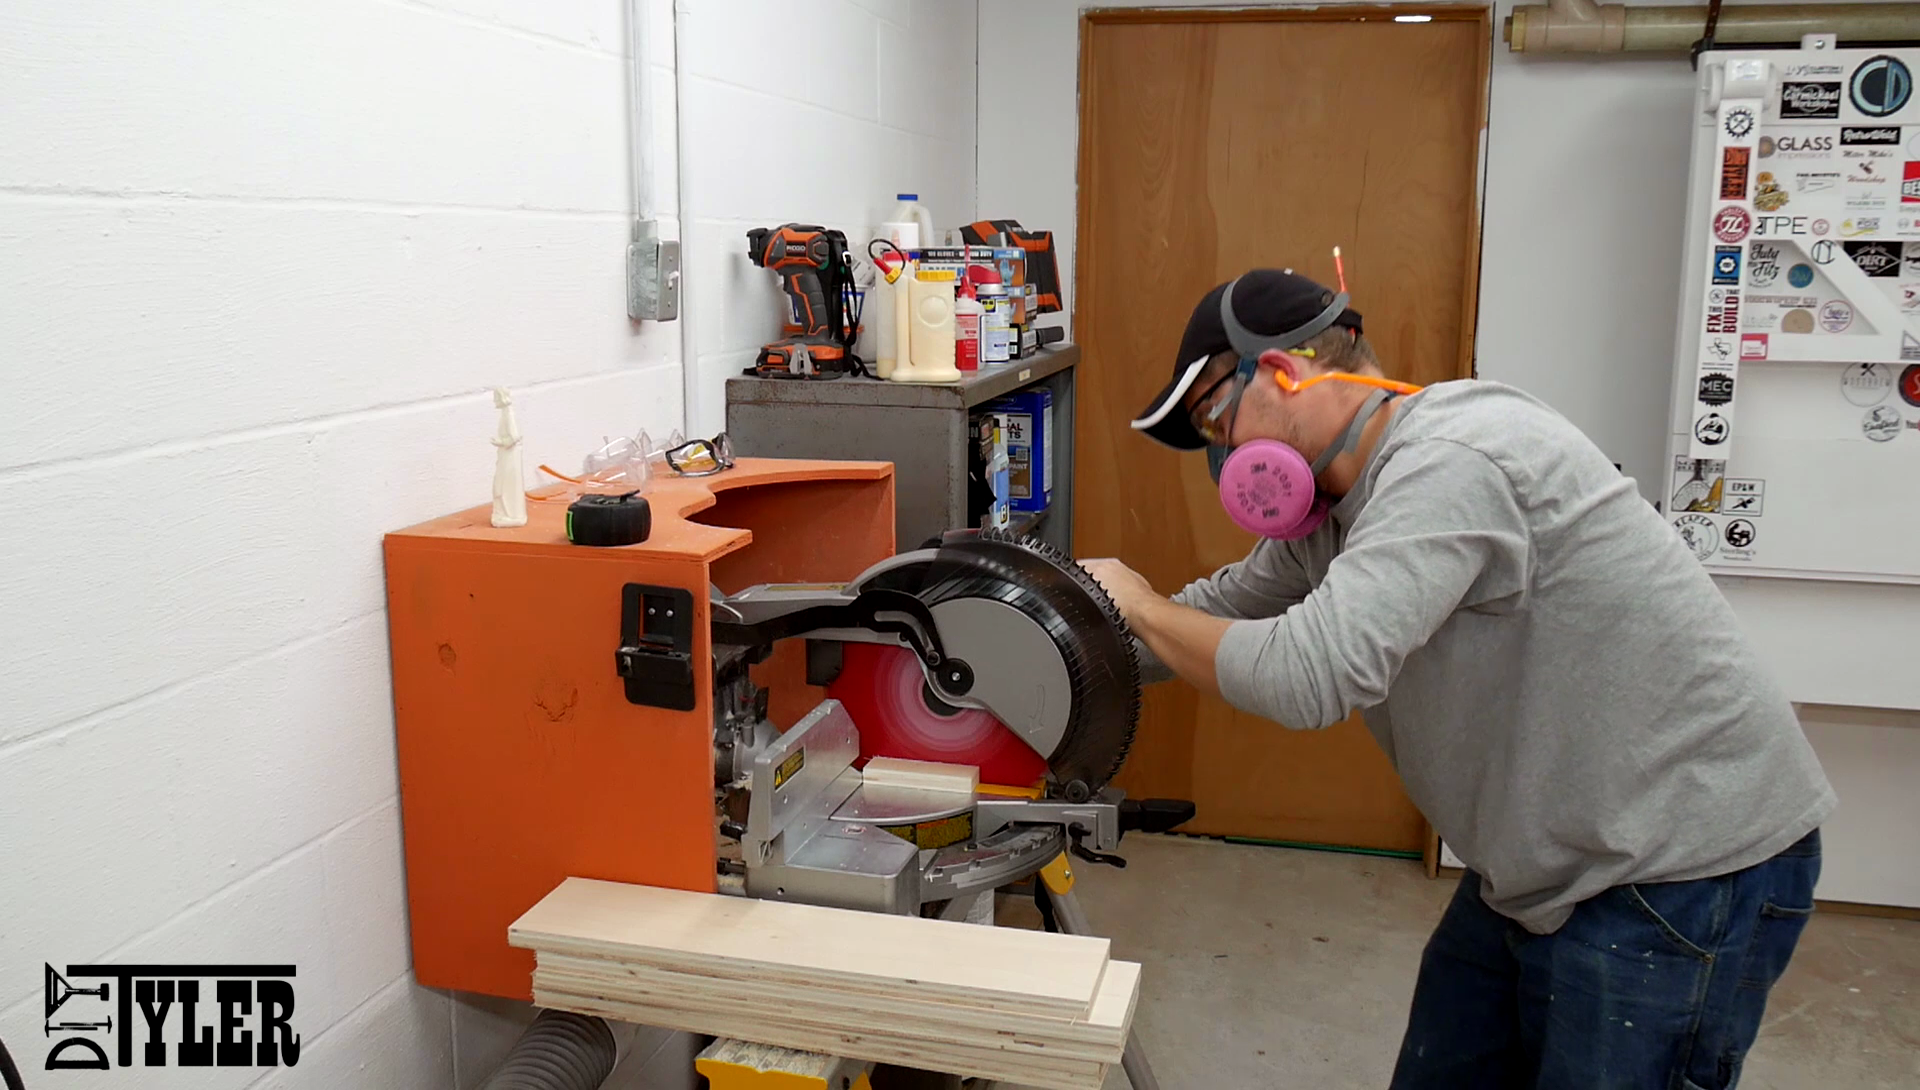
On the smaller cross cuts I used the miter saw….it looks so cute on it’s old little stand!
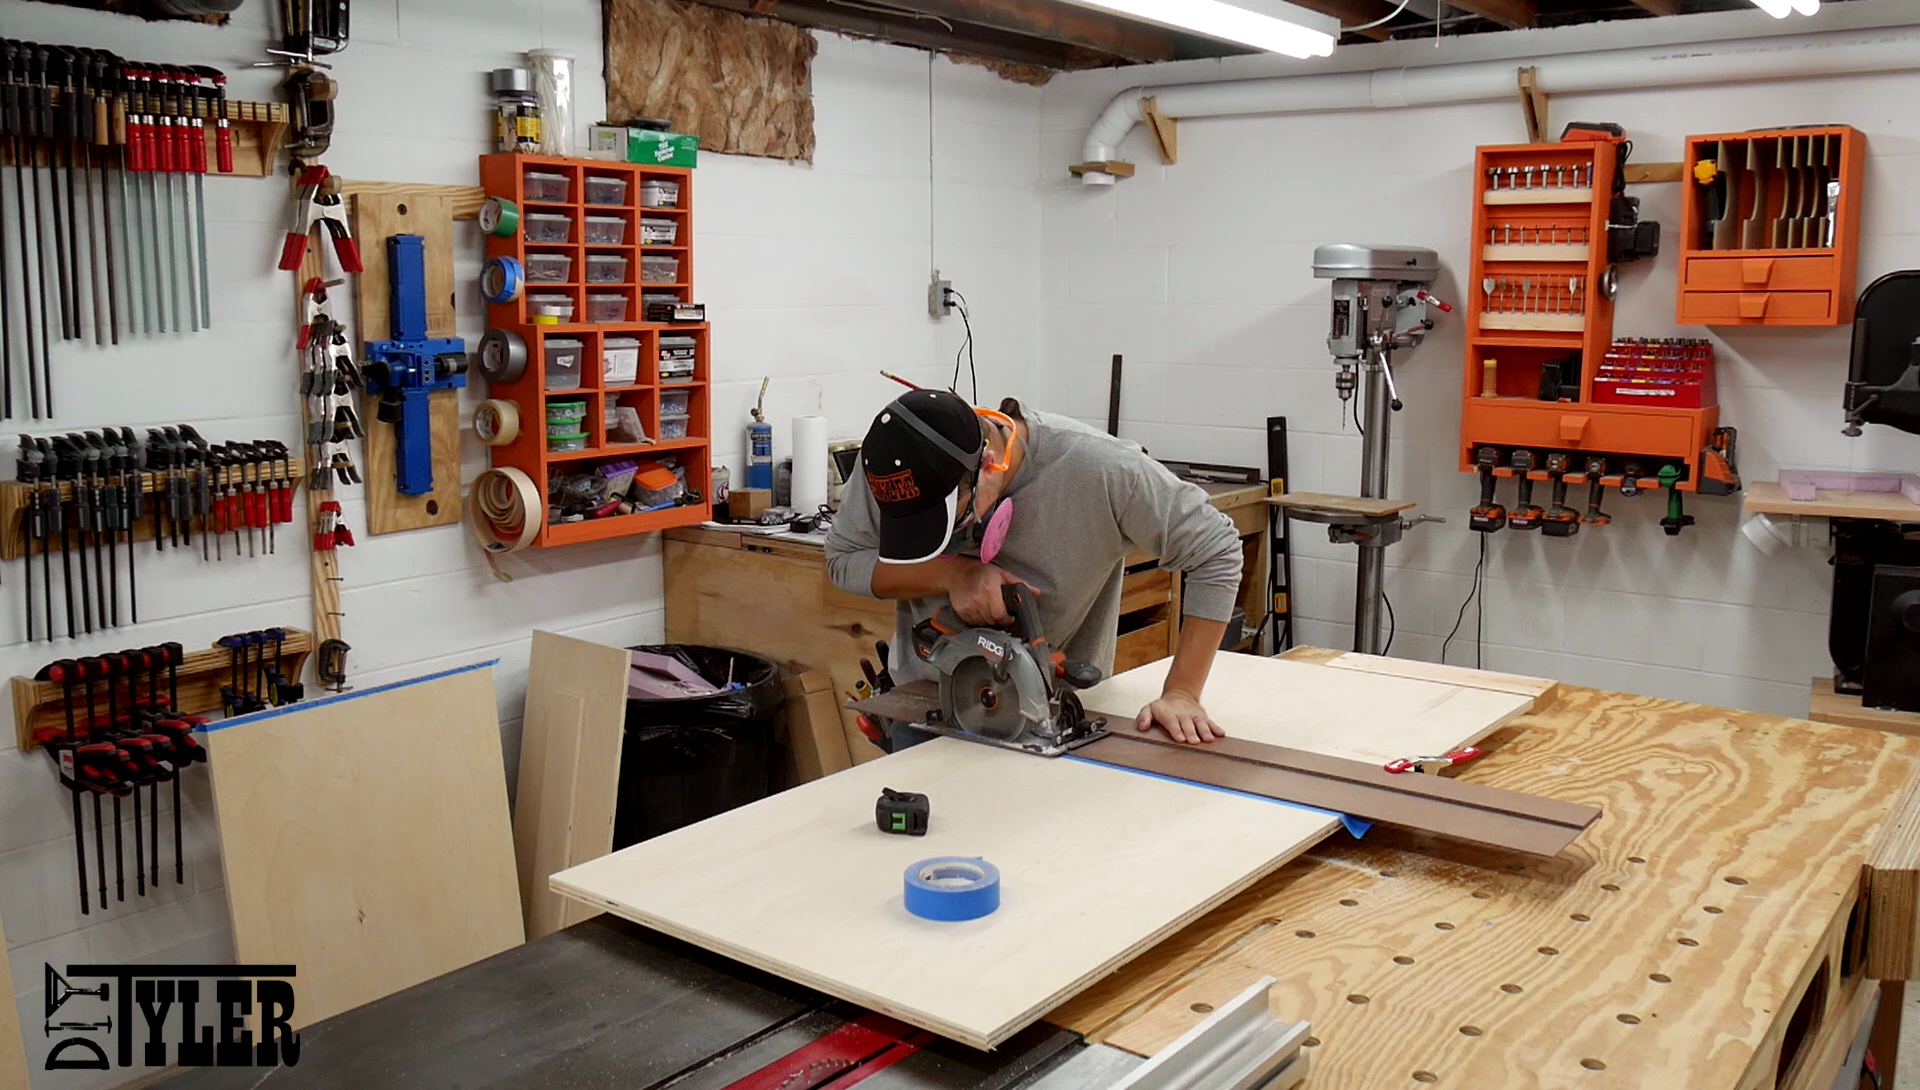
For parts that were too big for the miter saw and to cumbersome for the table saw sled, I used a door board and my cordless circular saw to safely make these cuts.
Tyler Tip: use some painters tape over your cut to help minimize any tear-out.
And then I numbered and stacked all like parts together in different areas so I could keep track of it.
Cabinet Frame Toe Kick
I wanted to make a toe kick on the bottom of the lower cabinets and the simplest way to do this was with the band saw and a fence. If you don’t have a band saw this can totally be done with a jig saw it will just take you a bit more time. BTW, my bandsaw dust collection is amazing!
Tyler Tip: I don’t have a bandsaw fence yet so I used a scrap piece of 2×4 and some spring clamps to hold it in place.
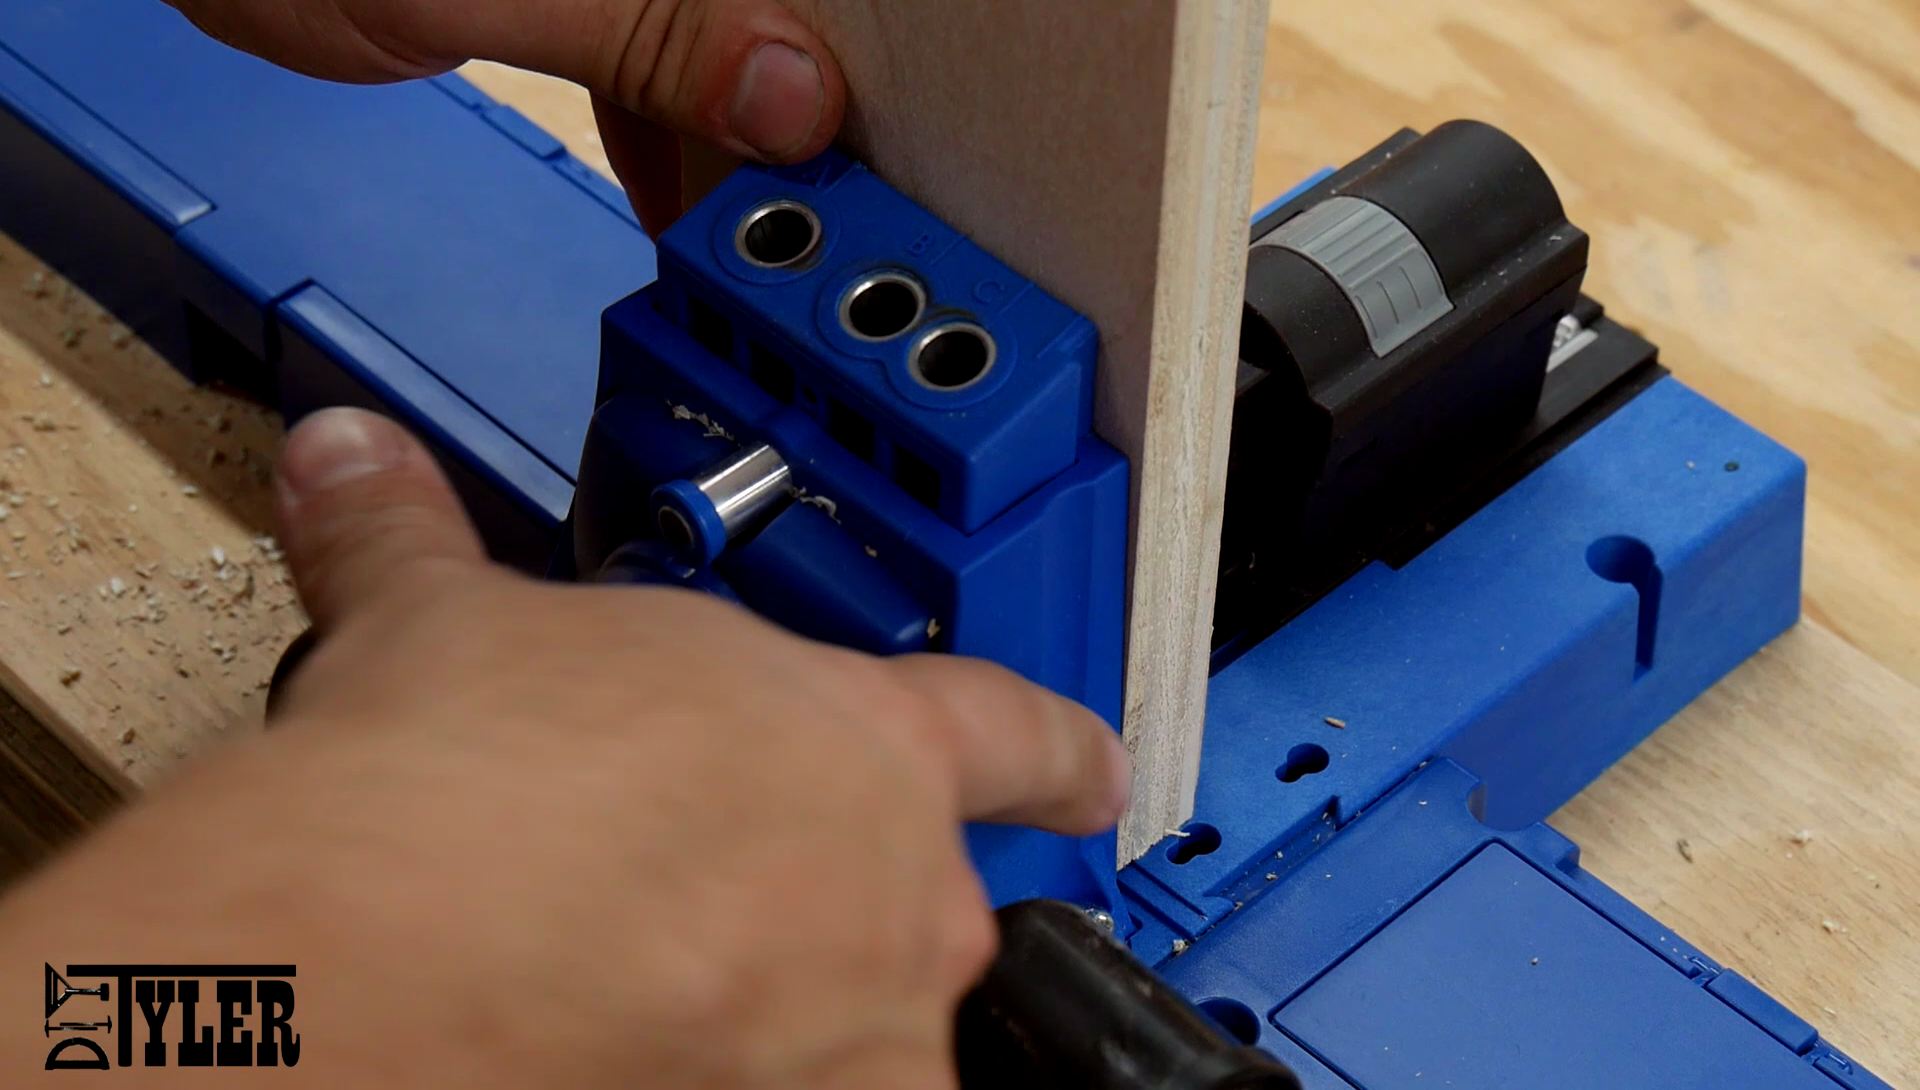
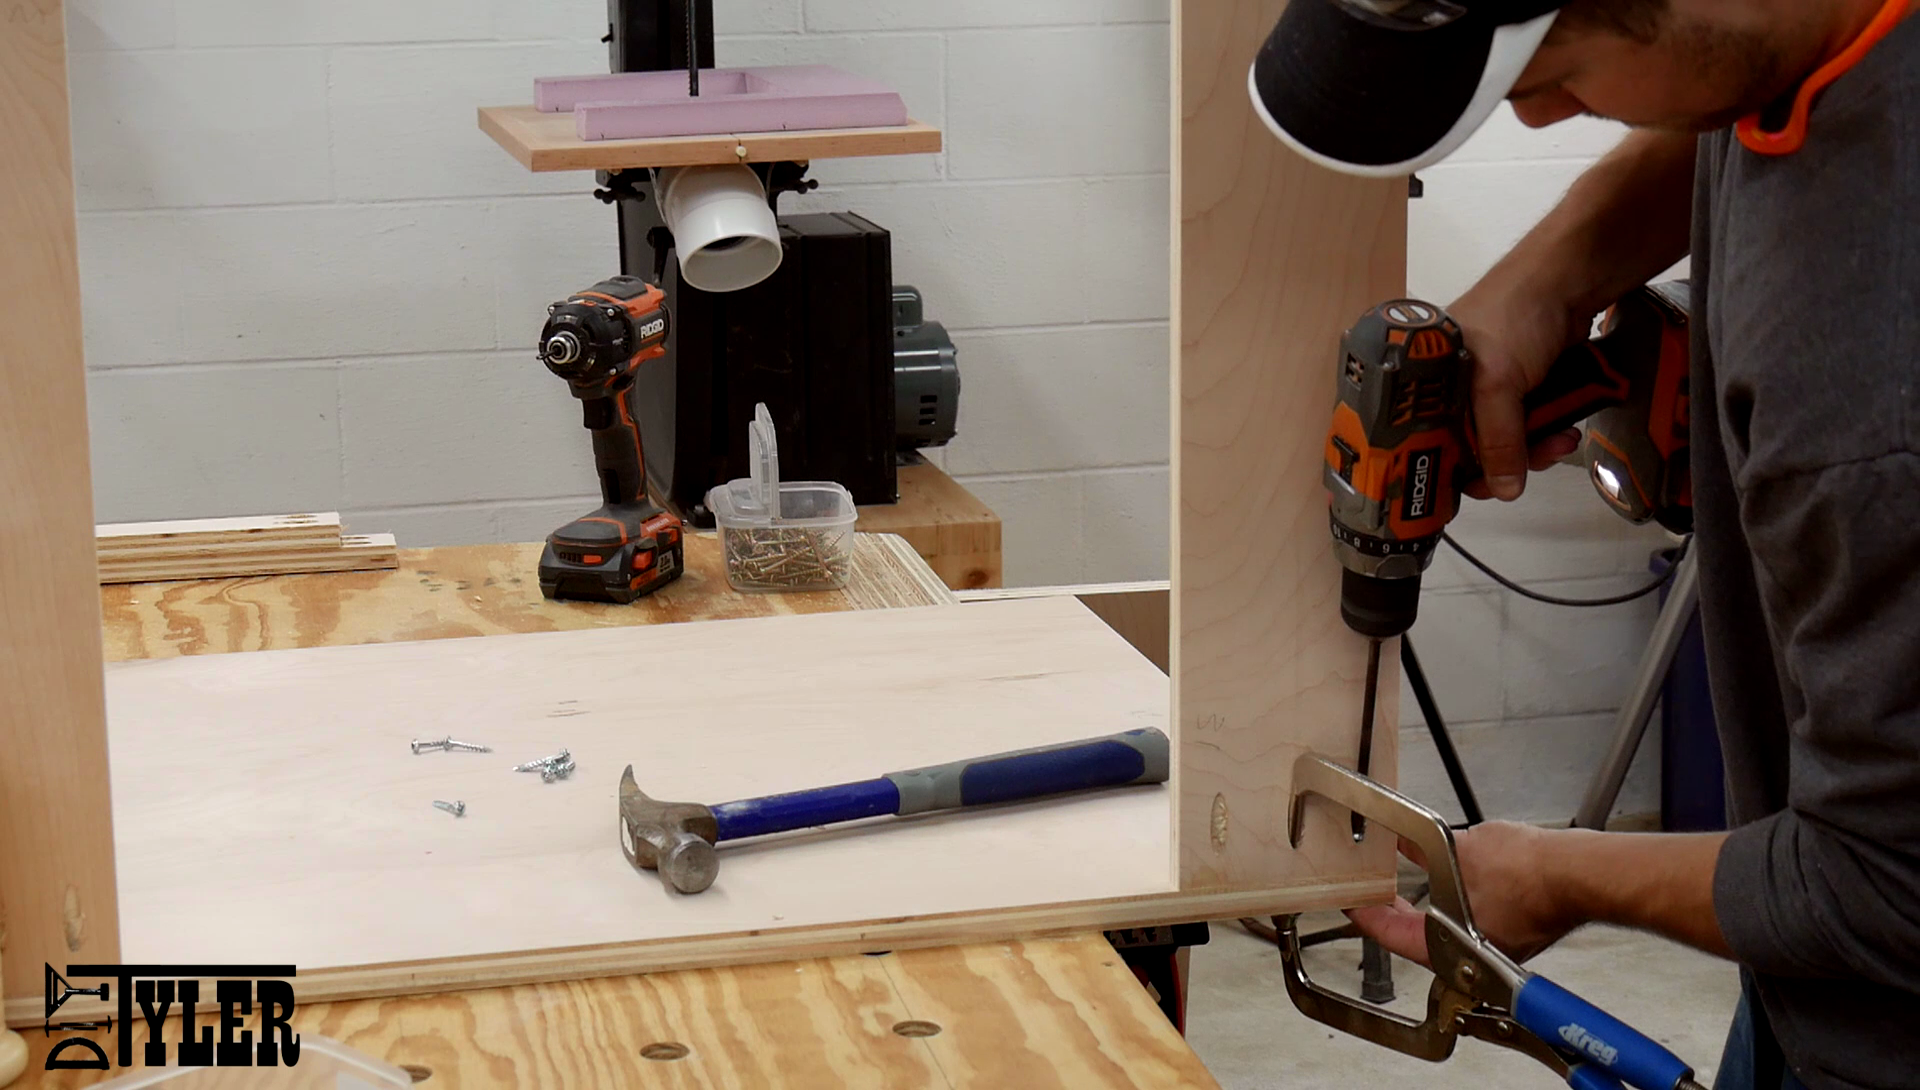
Cabinet Frame Joinery
Since the plan is to use pocket screws to assemble these cabinet frames I had a LOT of pocket holes to drill. As I was cutting these holes I found ways to save little bits of time here and there, I discuss these tips in the video. Especially when you have a ton of repetitive movements and cuts like this build each few seconds of time you can save really adds up in the end.
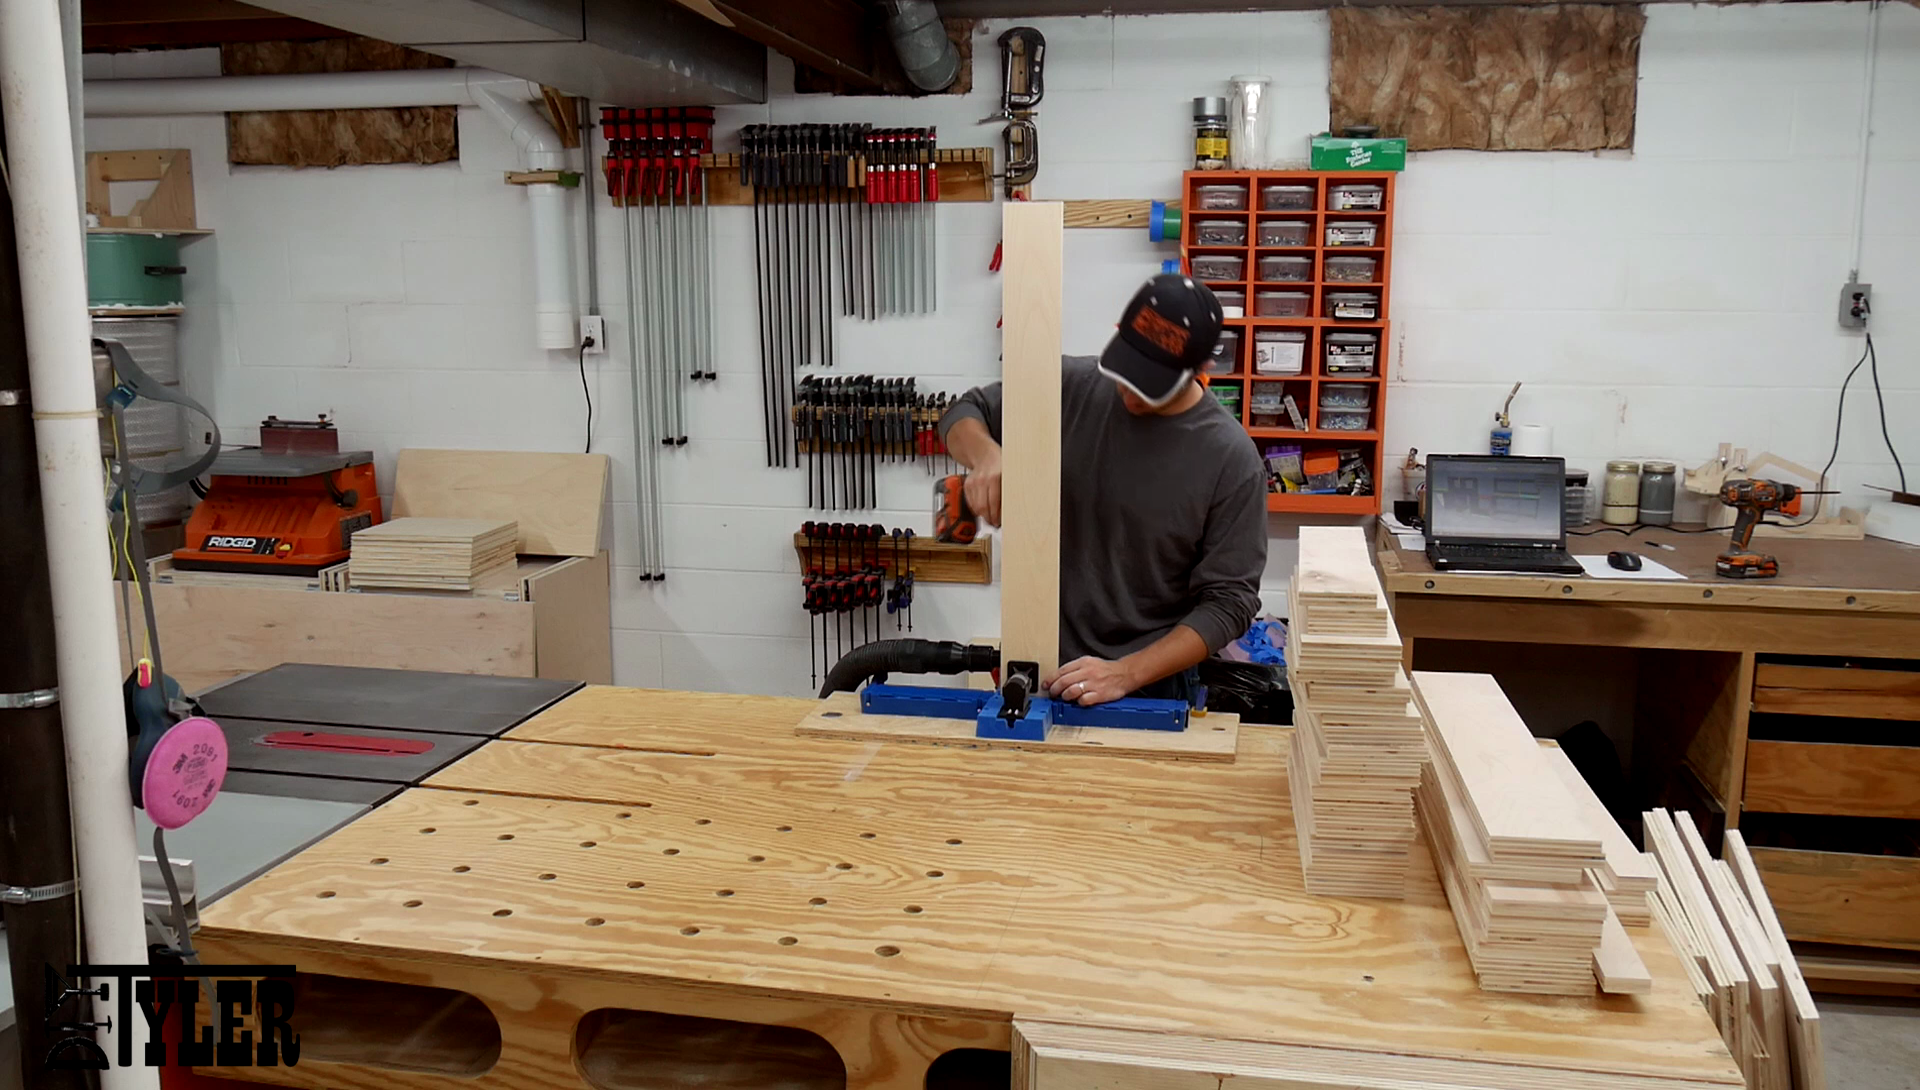
Here you can see where I am using a mounting hole in the jig to allow me to quickly register the board each time I rotate it.
Leveling Feet Interface
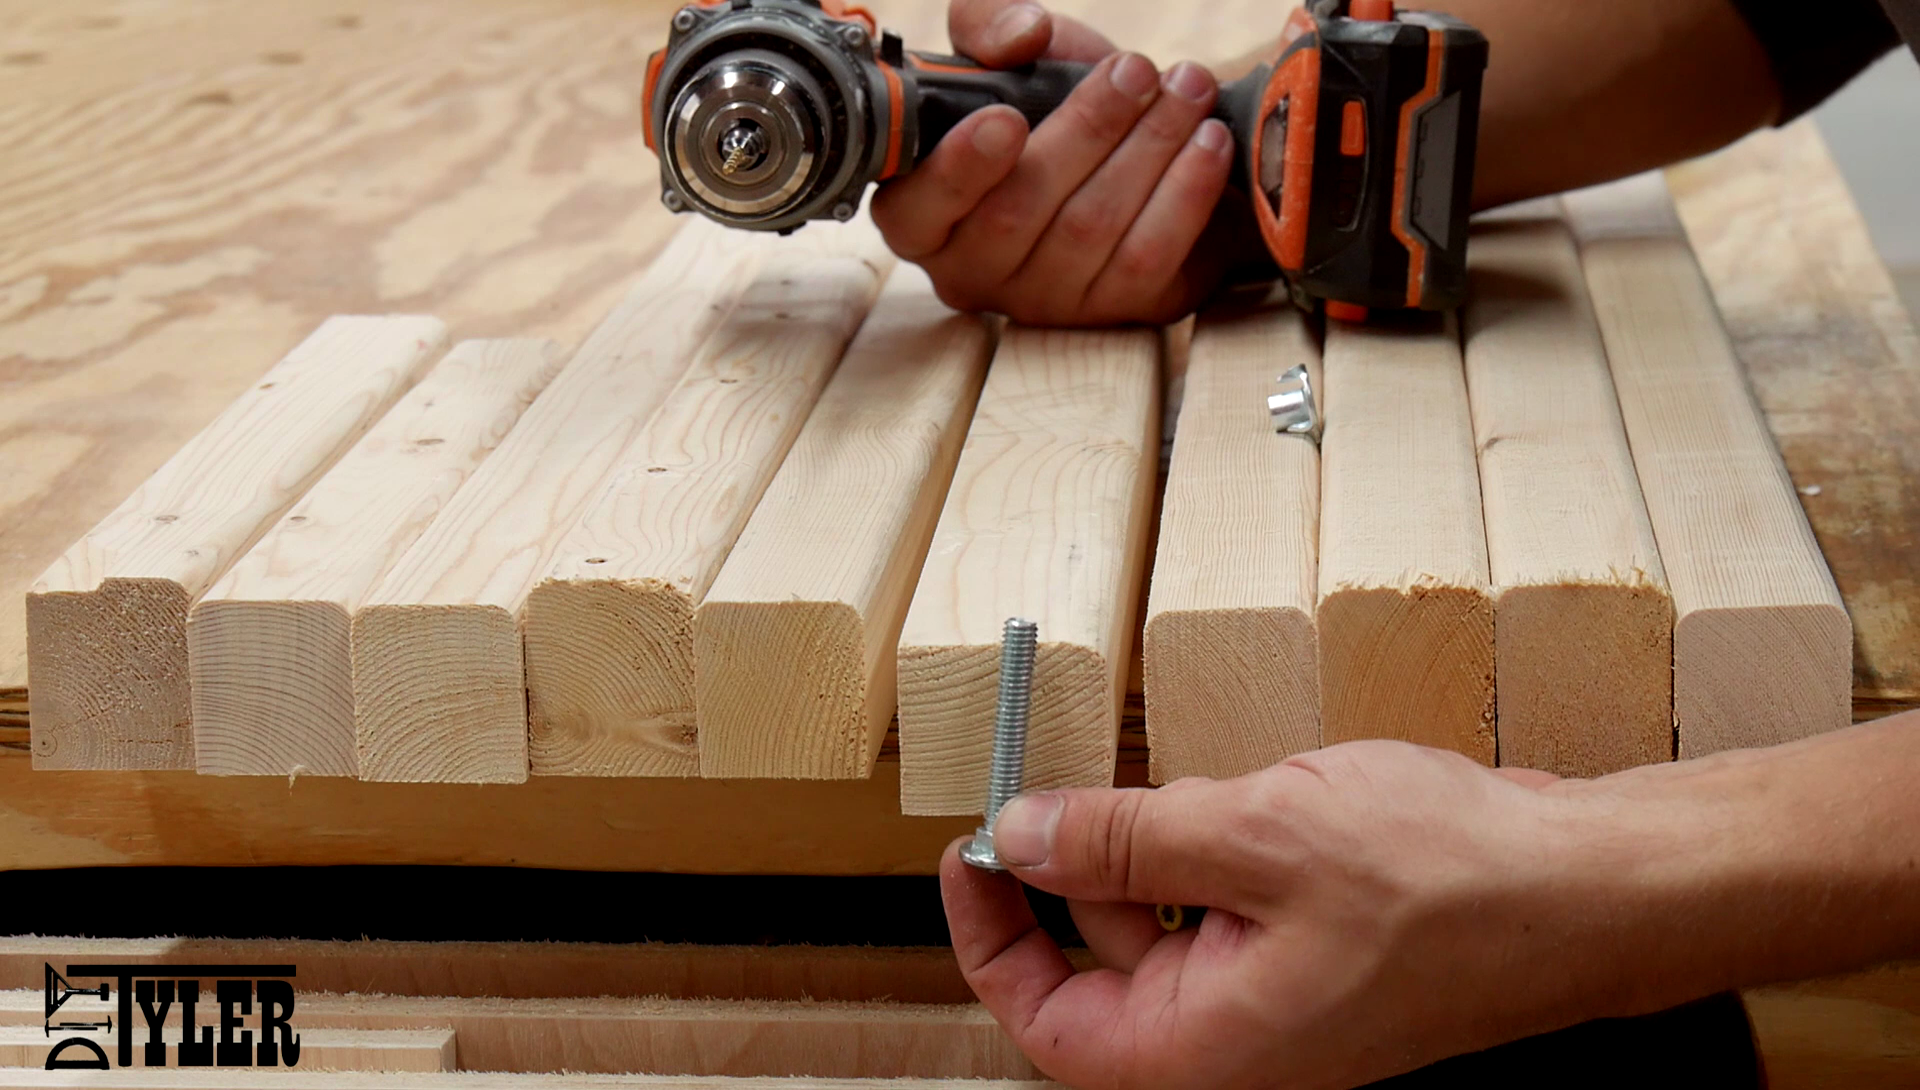
I wanted to use inverted bolts to allow me an inexpensive way of leveling all these cabinets and the miter station as a whole and countersinking these into the plywood will not work. So I mounted a section of 2×4 to the bottom of the frames but first drilled a through hole for the bolts and countersunk pilot holes for the mounting screws.
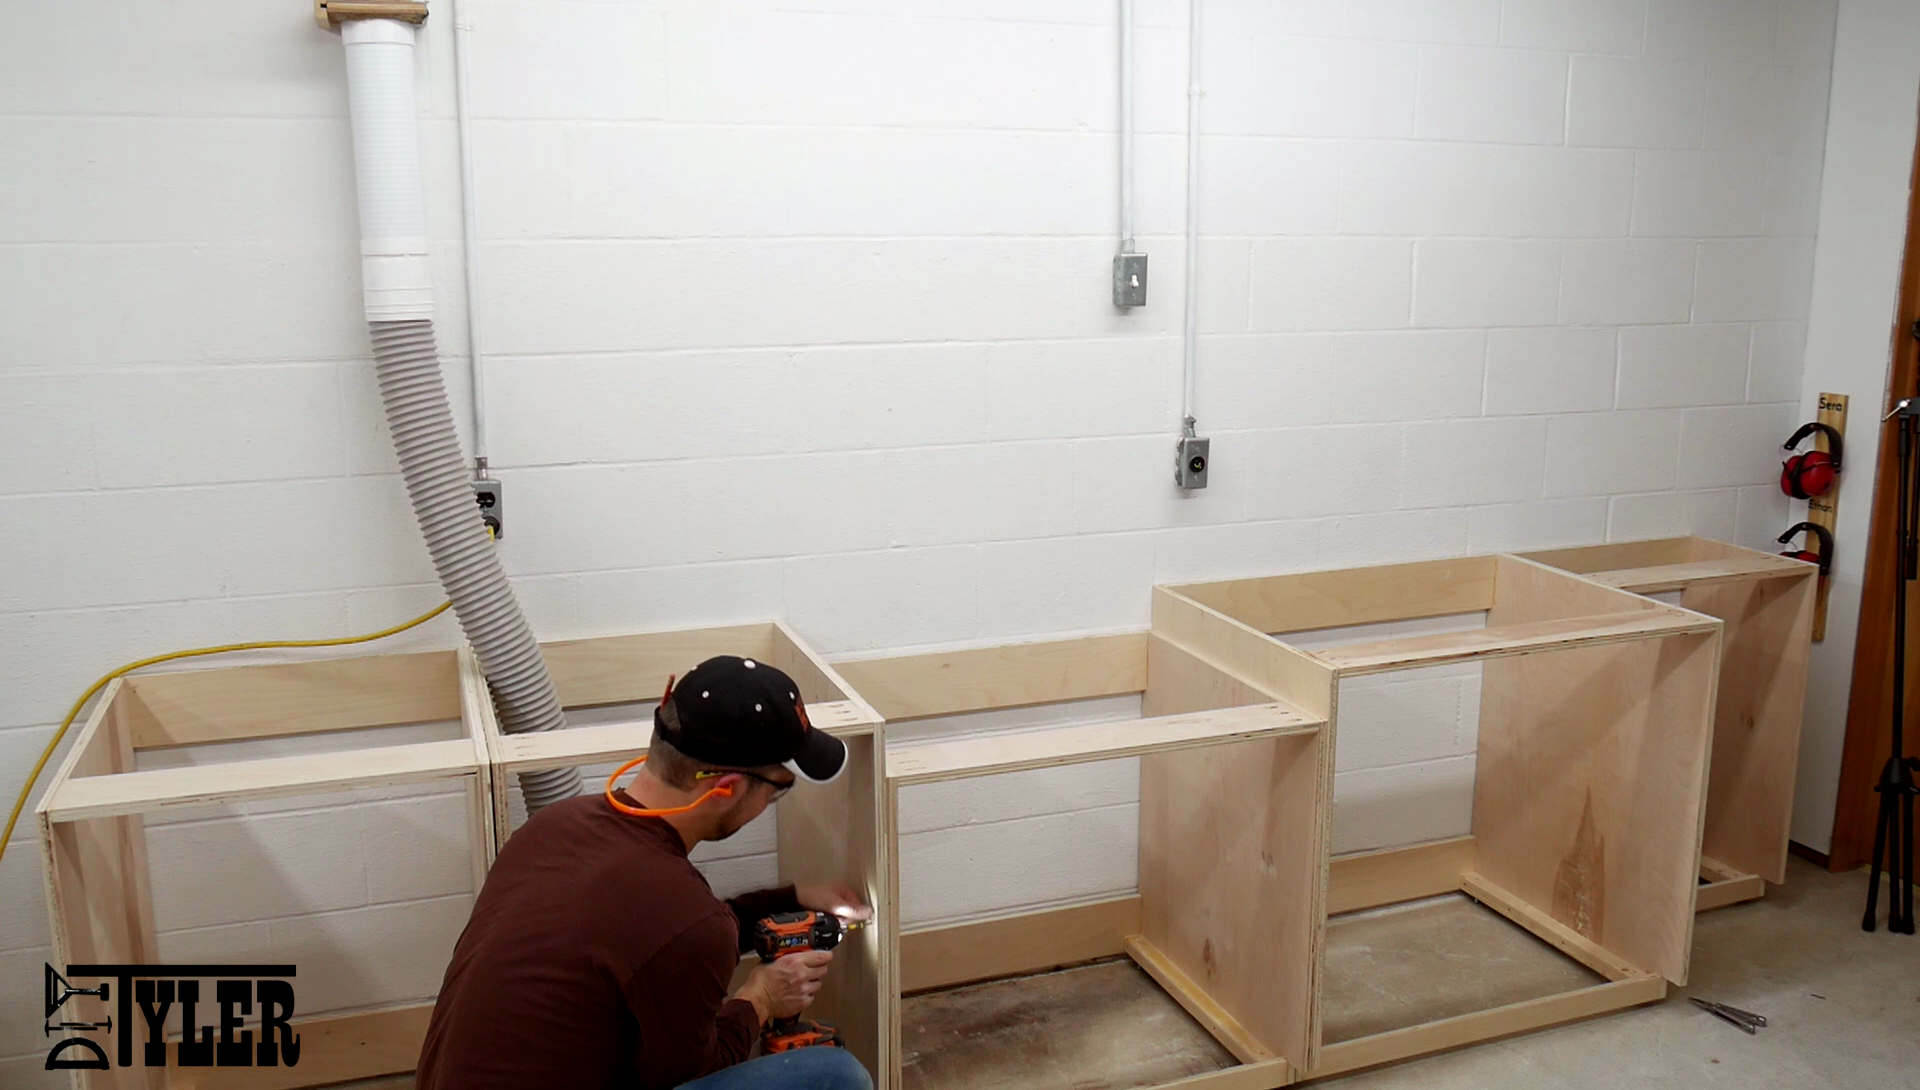
Cabinet Frame Assembly
Assembled all the lower and upper cabinet frames using wood glue and 1 1/4″ coarse pocket screws.
And mounted the leveling interface board while I had the frames on the bench. I also threaded in the leveling bolts before I moved the frames to the floor.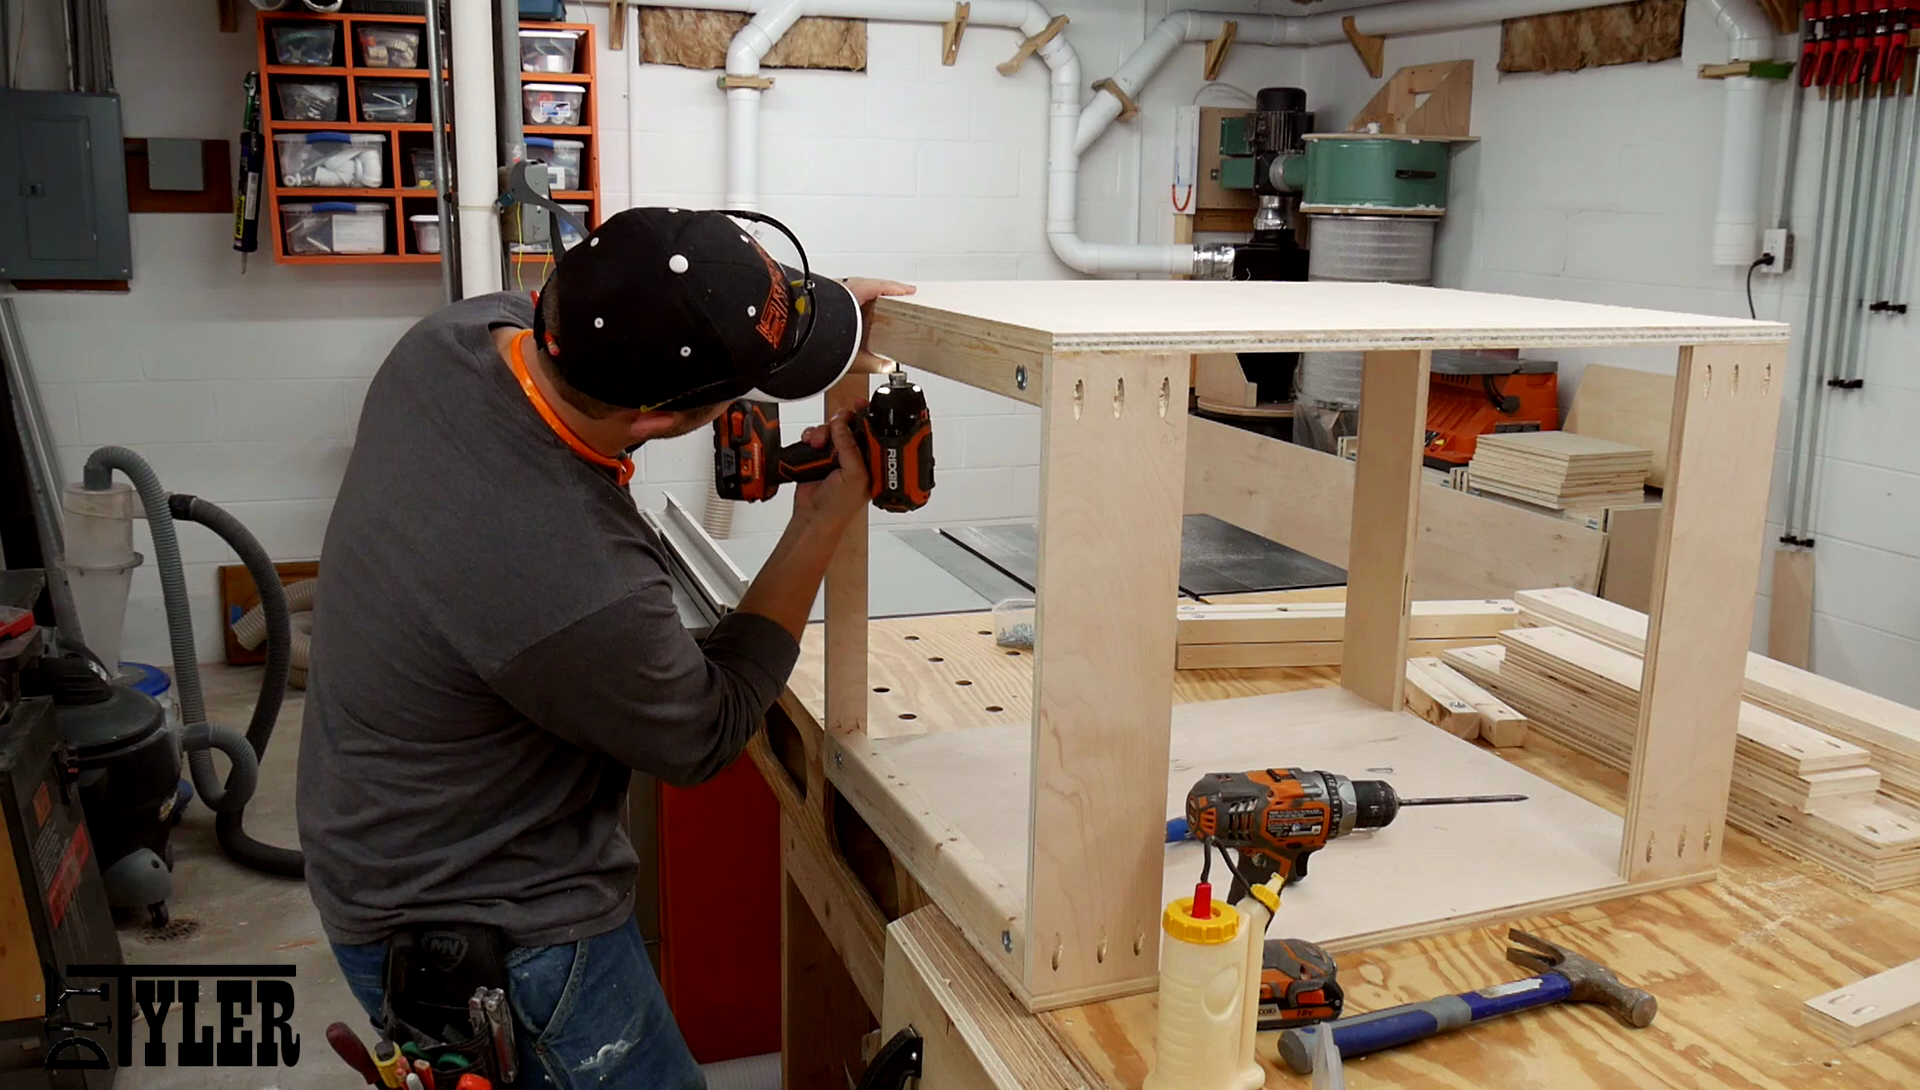
Setup / Level / Connect / Counter
The exciting moment to move the different assemblies where they belong and see what the unit is actually going to look like!
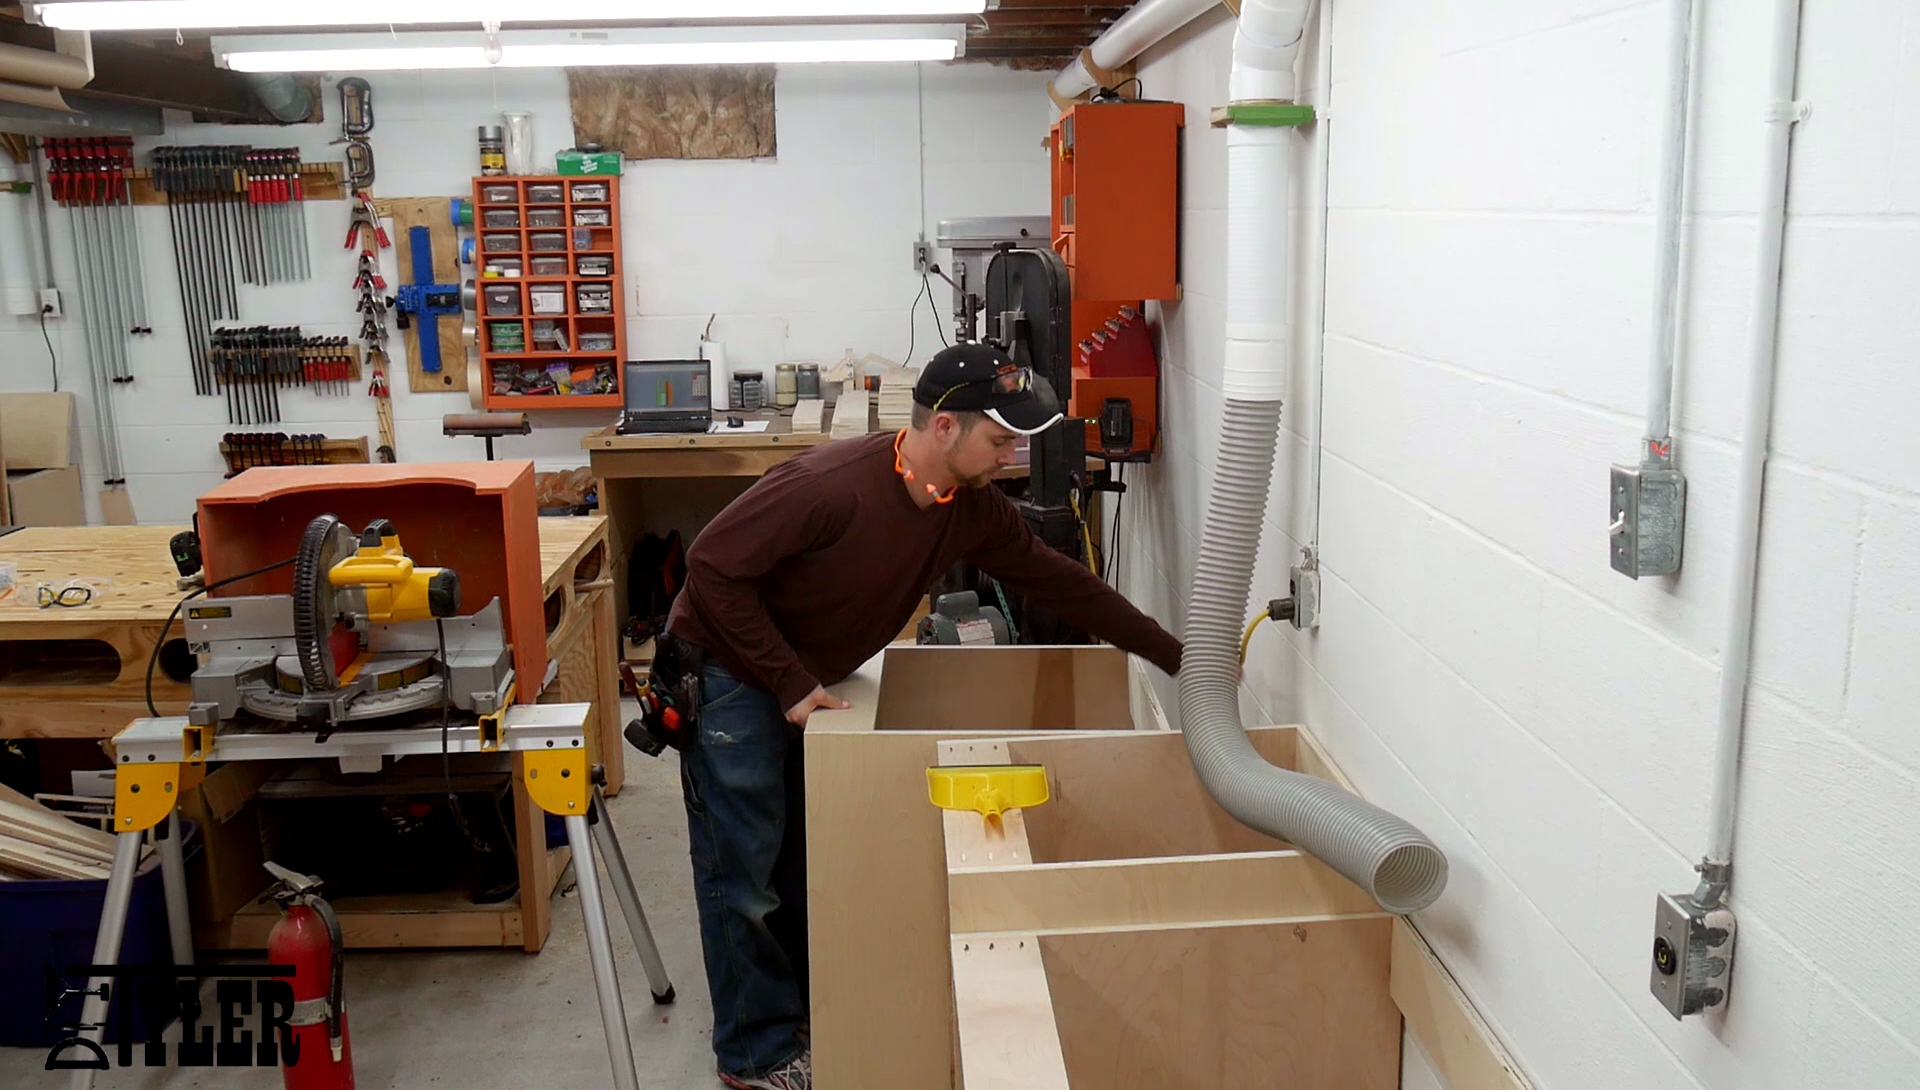
Spent a good while going back and forth to make sure the entire station was level.
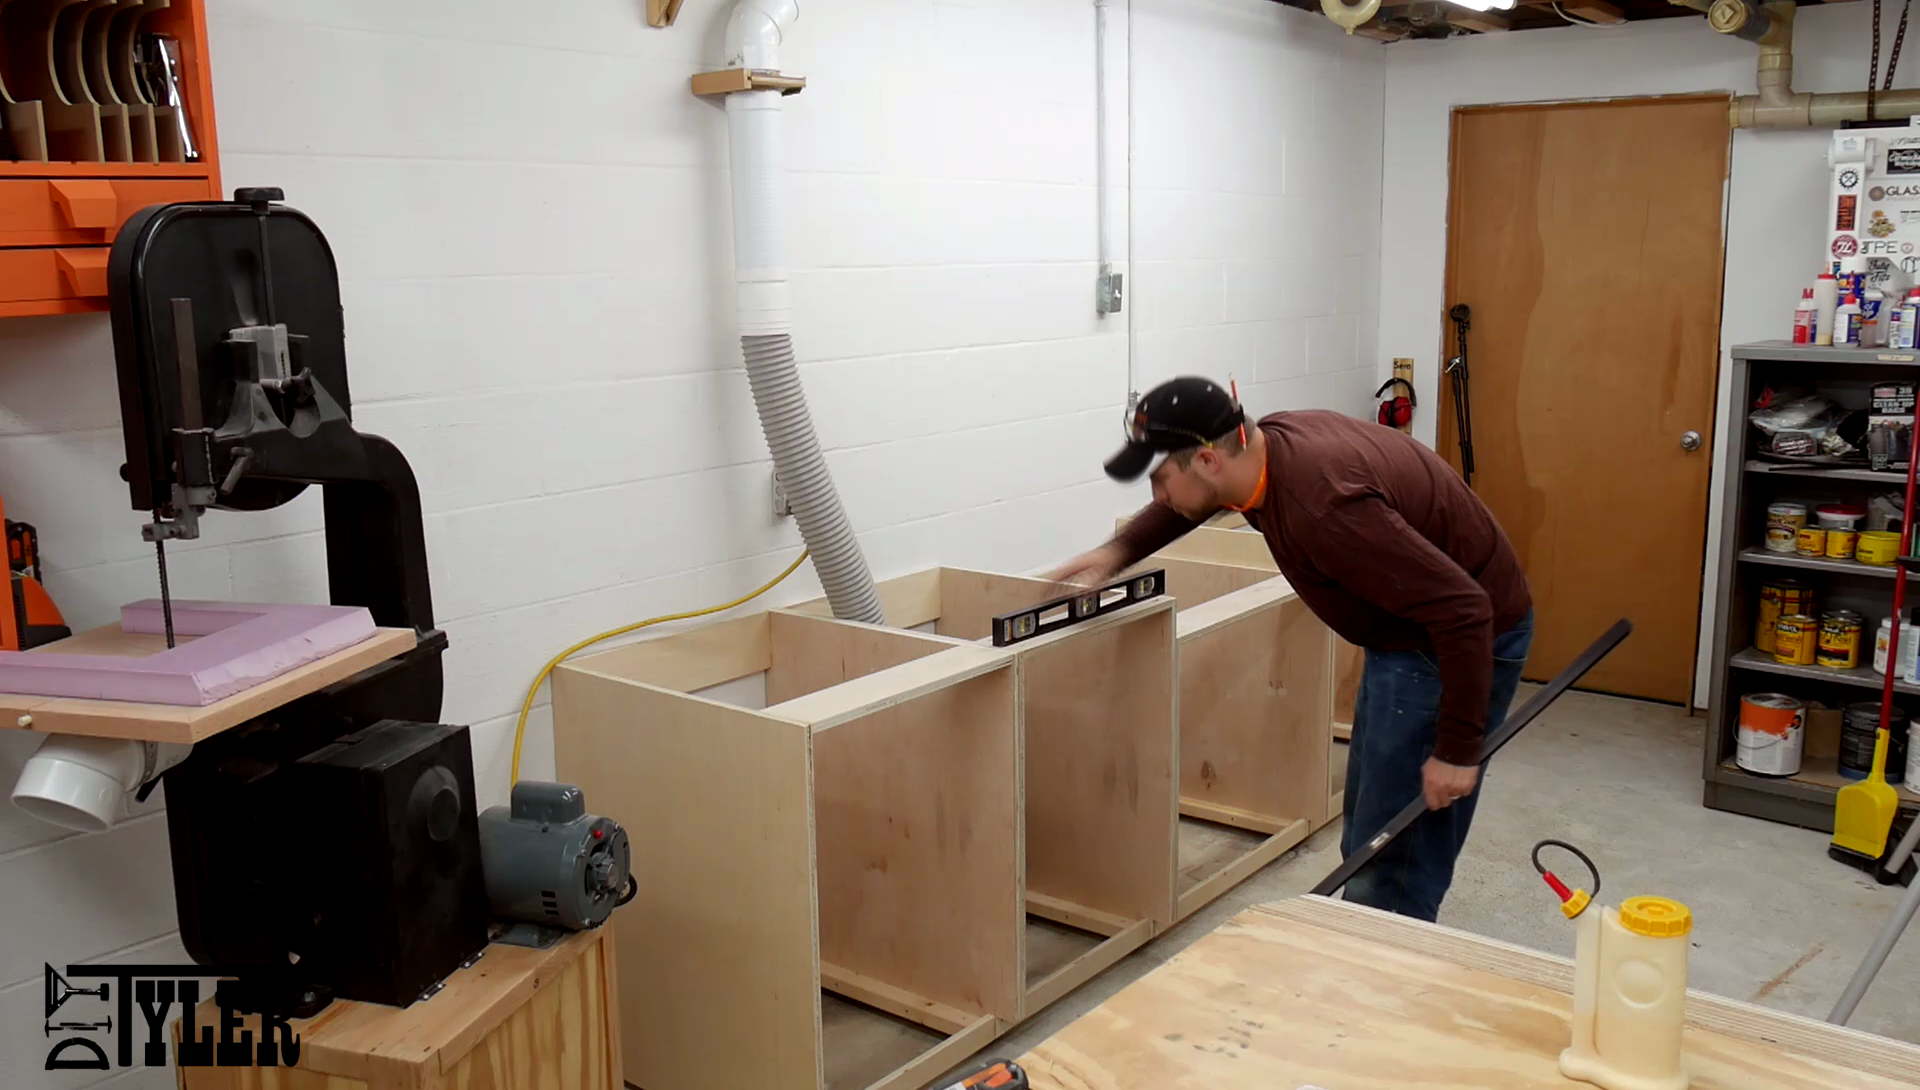
After the unit is level attach all the frames together using a few screws in areas that will not be seen when the drawers are in place.
And then made the entire station stationary using a few tapcons into the basement wall.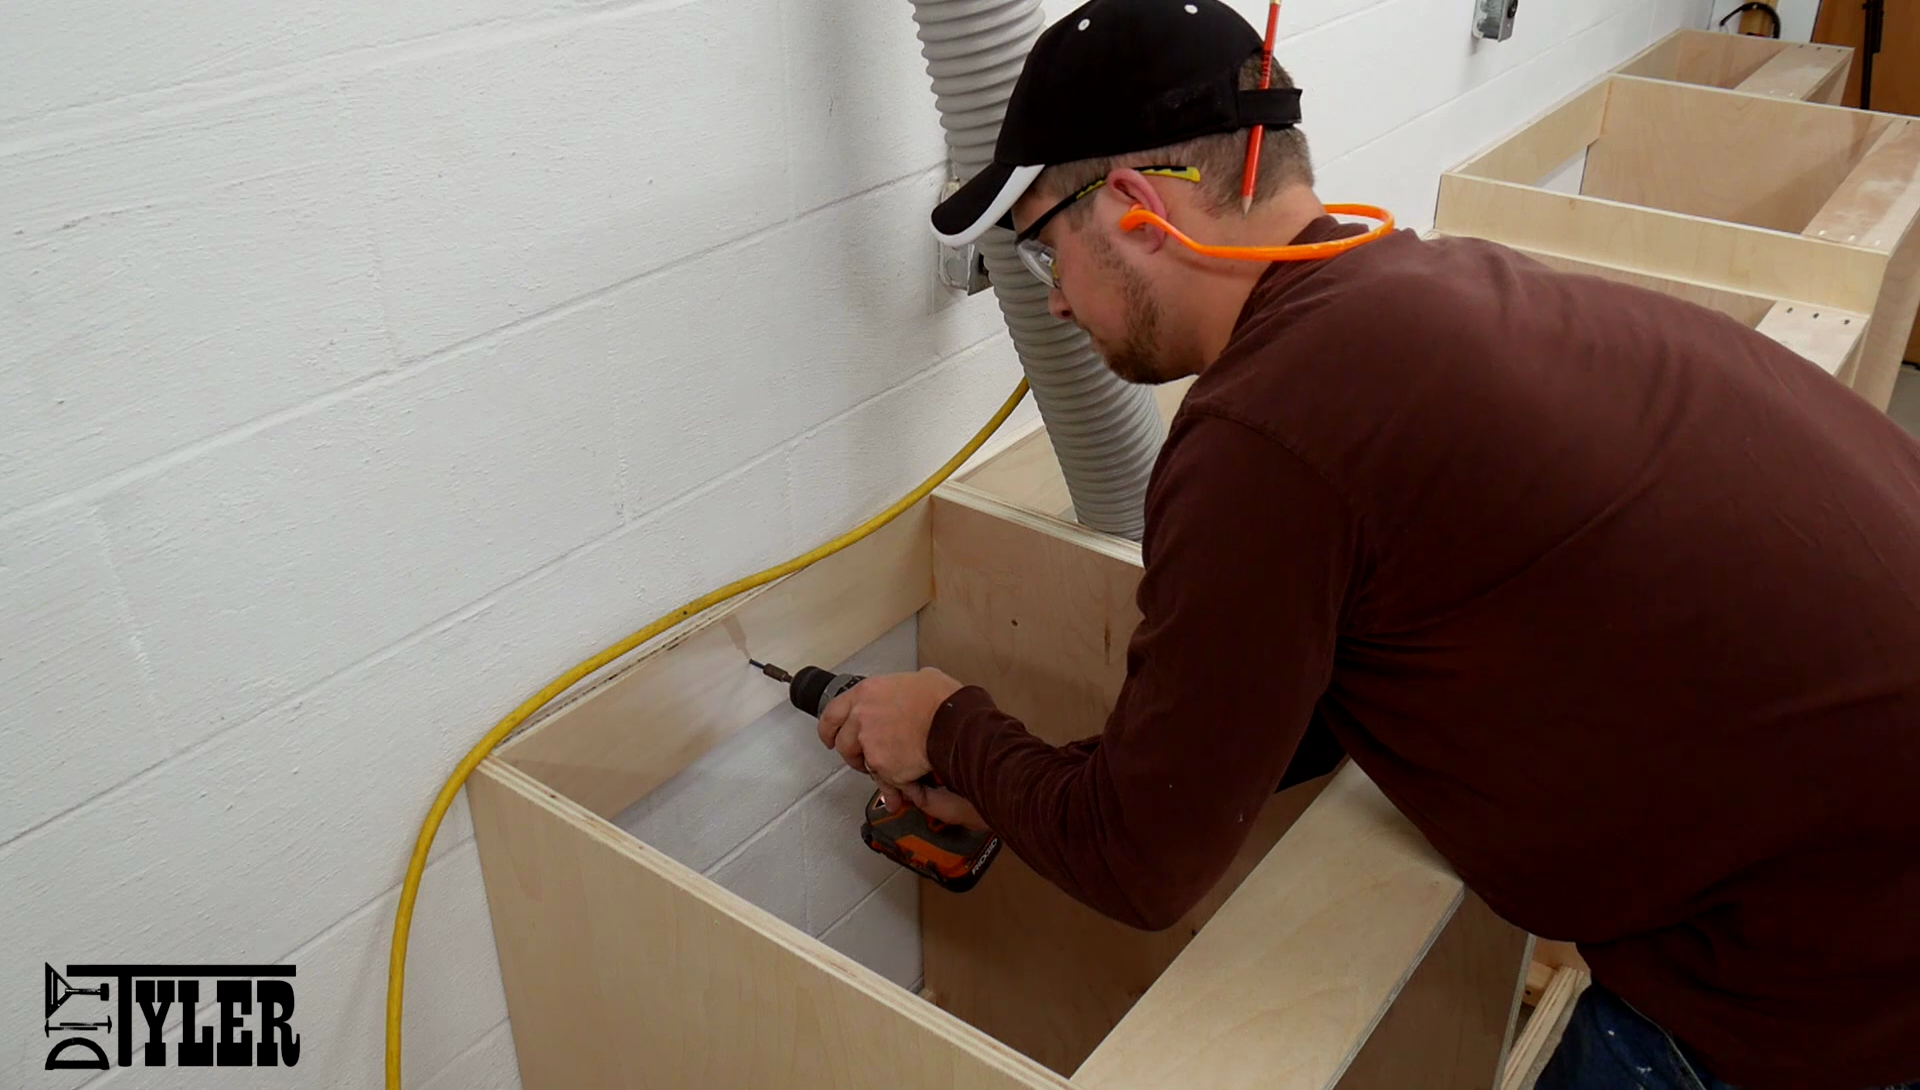
Added the counter tops and screwed into place using a few 1 1/4″ screws.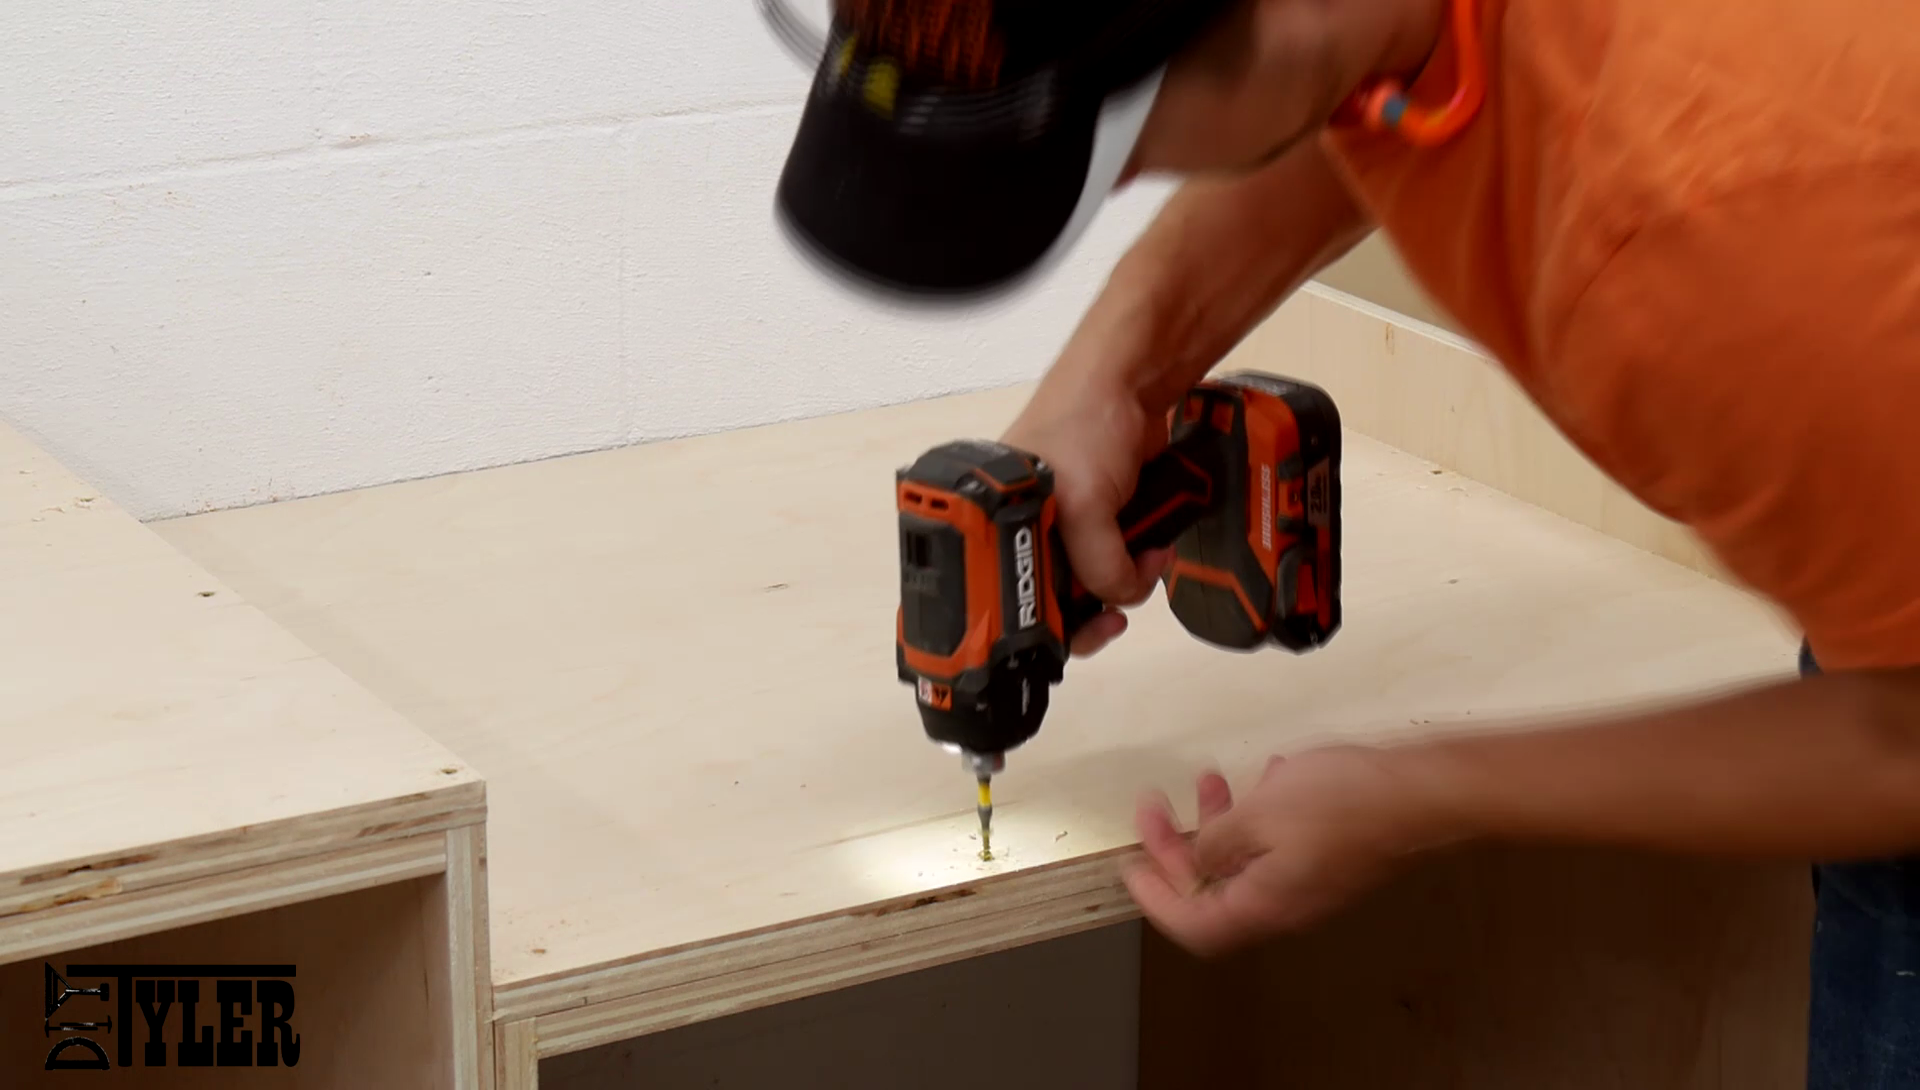
Add the top Frames / Square the Saw
Once I had the lower frames and counter top assembled and leveled it was time to put the upper frames in place.
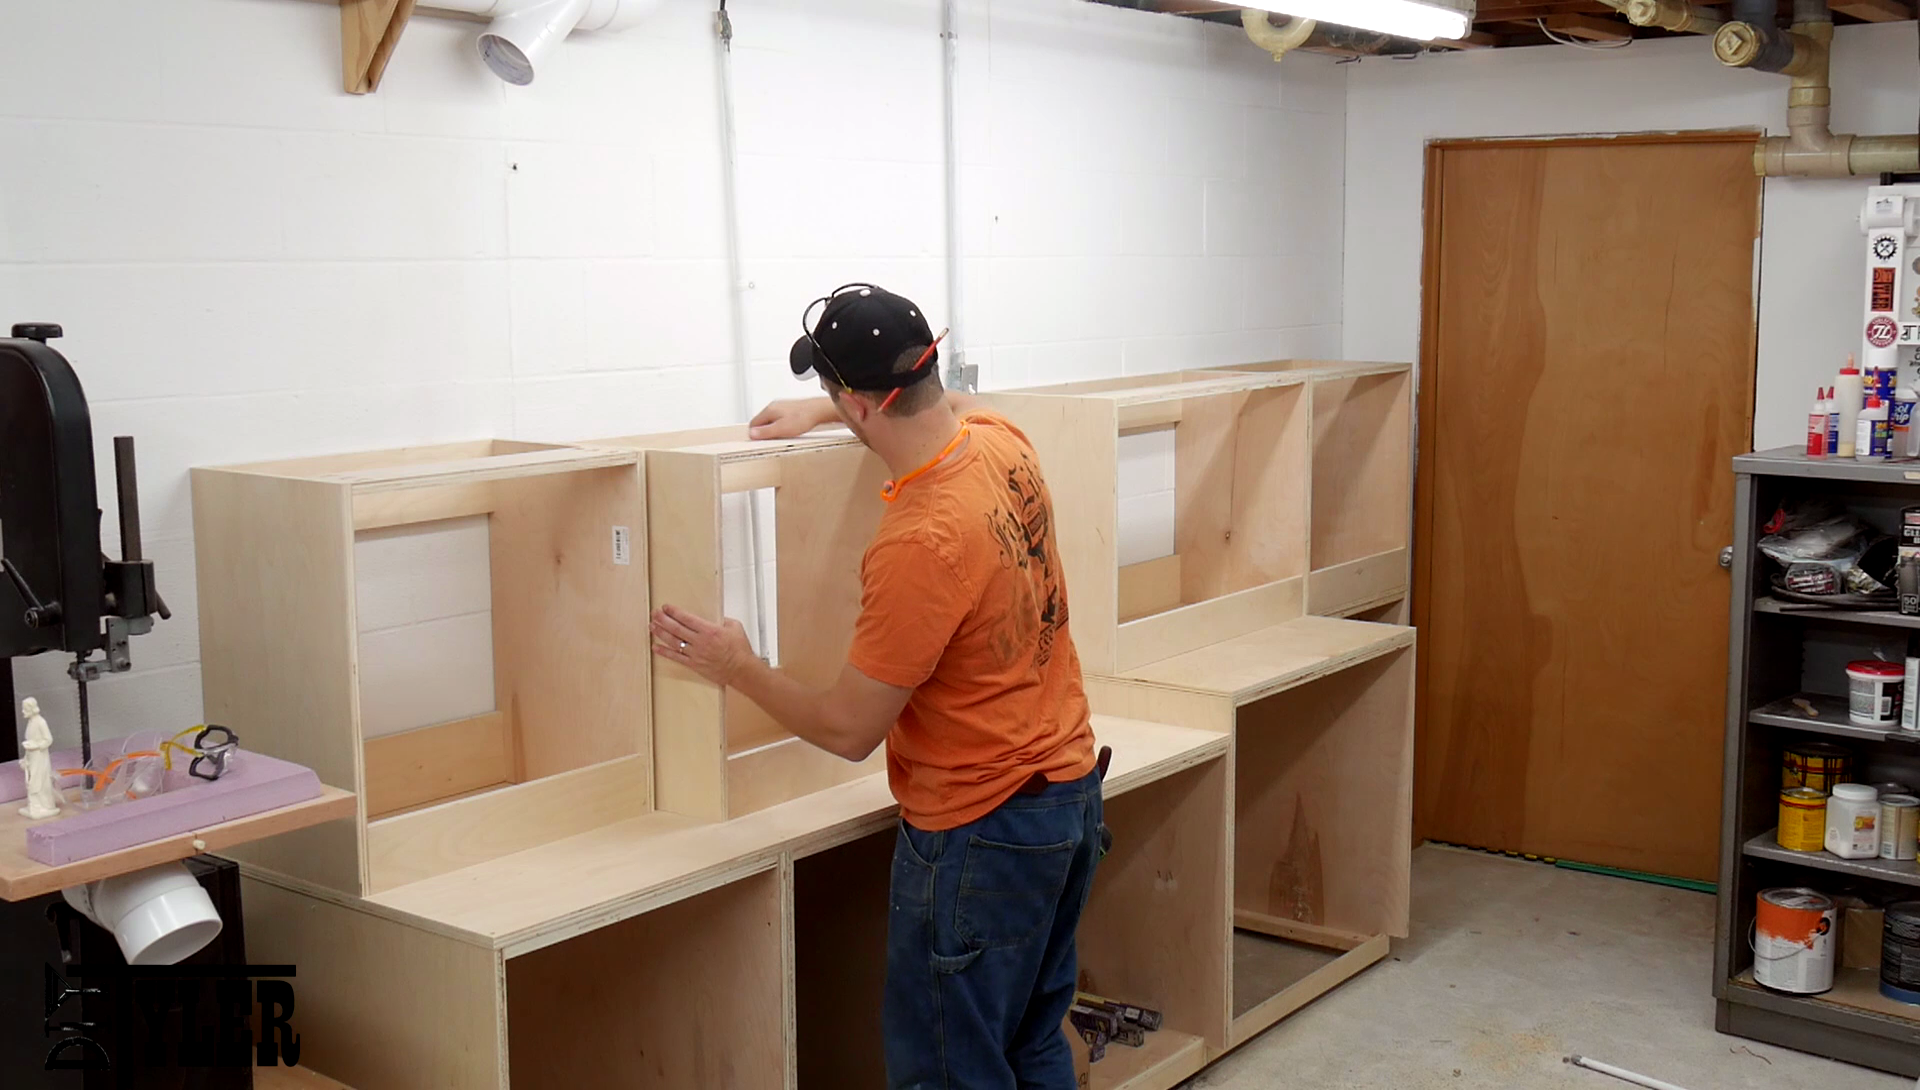
I set the frames in place, made sure my miter saw was square to the front of it’s cabinet and then used a long straight edge to make sure all the upper frames were square to the saw. This is important because the fence is going to be backed by these upper frames.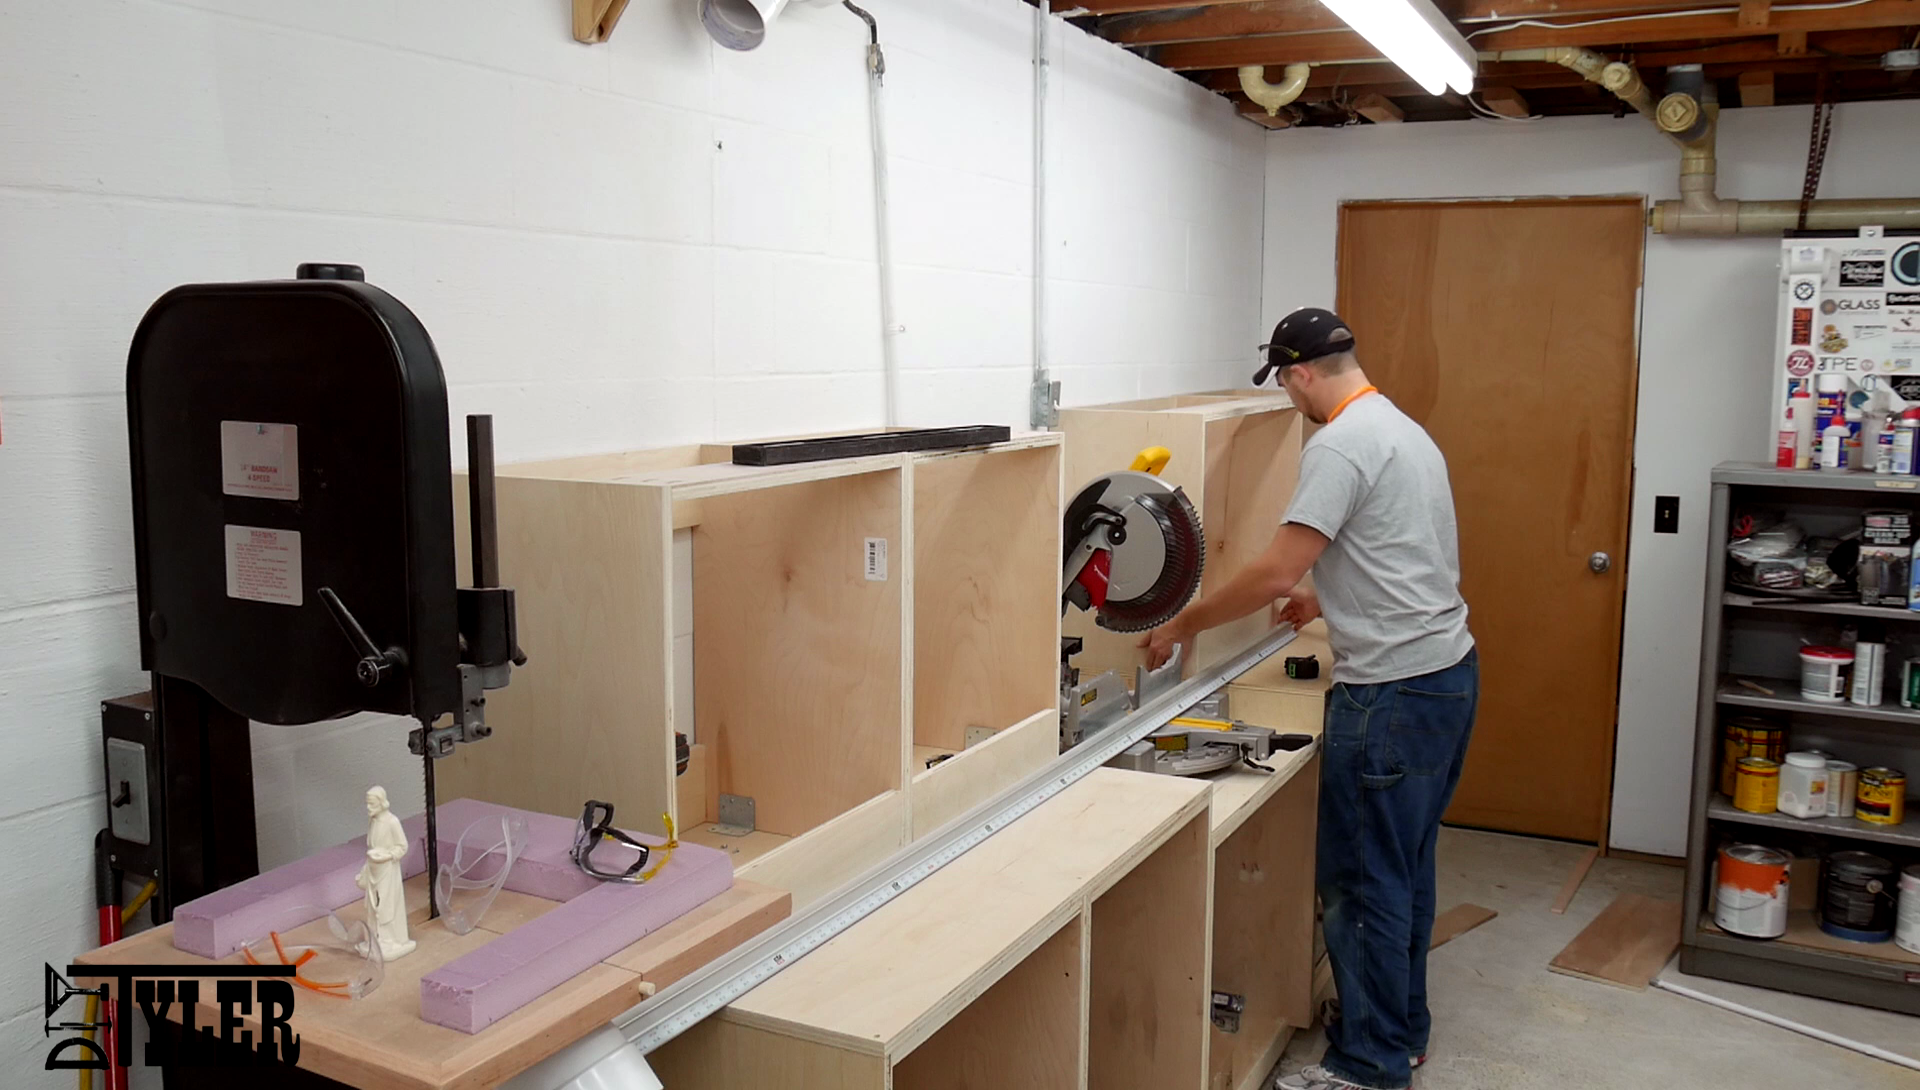
Once the frames were in their proper position I used a few L brackets I had laying around to connect the upper frames to the counter top. I would have simply put a few pocket screws in but I forgot to drill any pocket holes.

Well that’s it for part one! Can definitely say I am SUPER excited to finally be getting around to this in my shop, have really really needed the extra storage. Be sure to subscribe to the youtube channel and the newsletter so you are notified when part two gets released!
Please follow and like us:
17 thoughts on “Miter Saw Station Part 1 | Cabinet Frames”
I am interested in the plans for your Miter Saw Station
Yes, I would like to receive Plans
Thanks
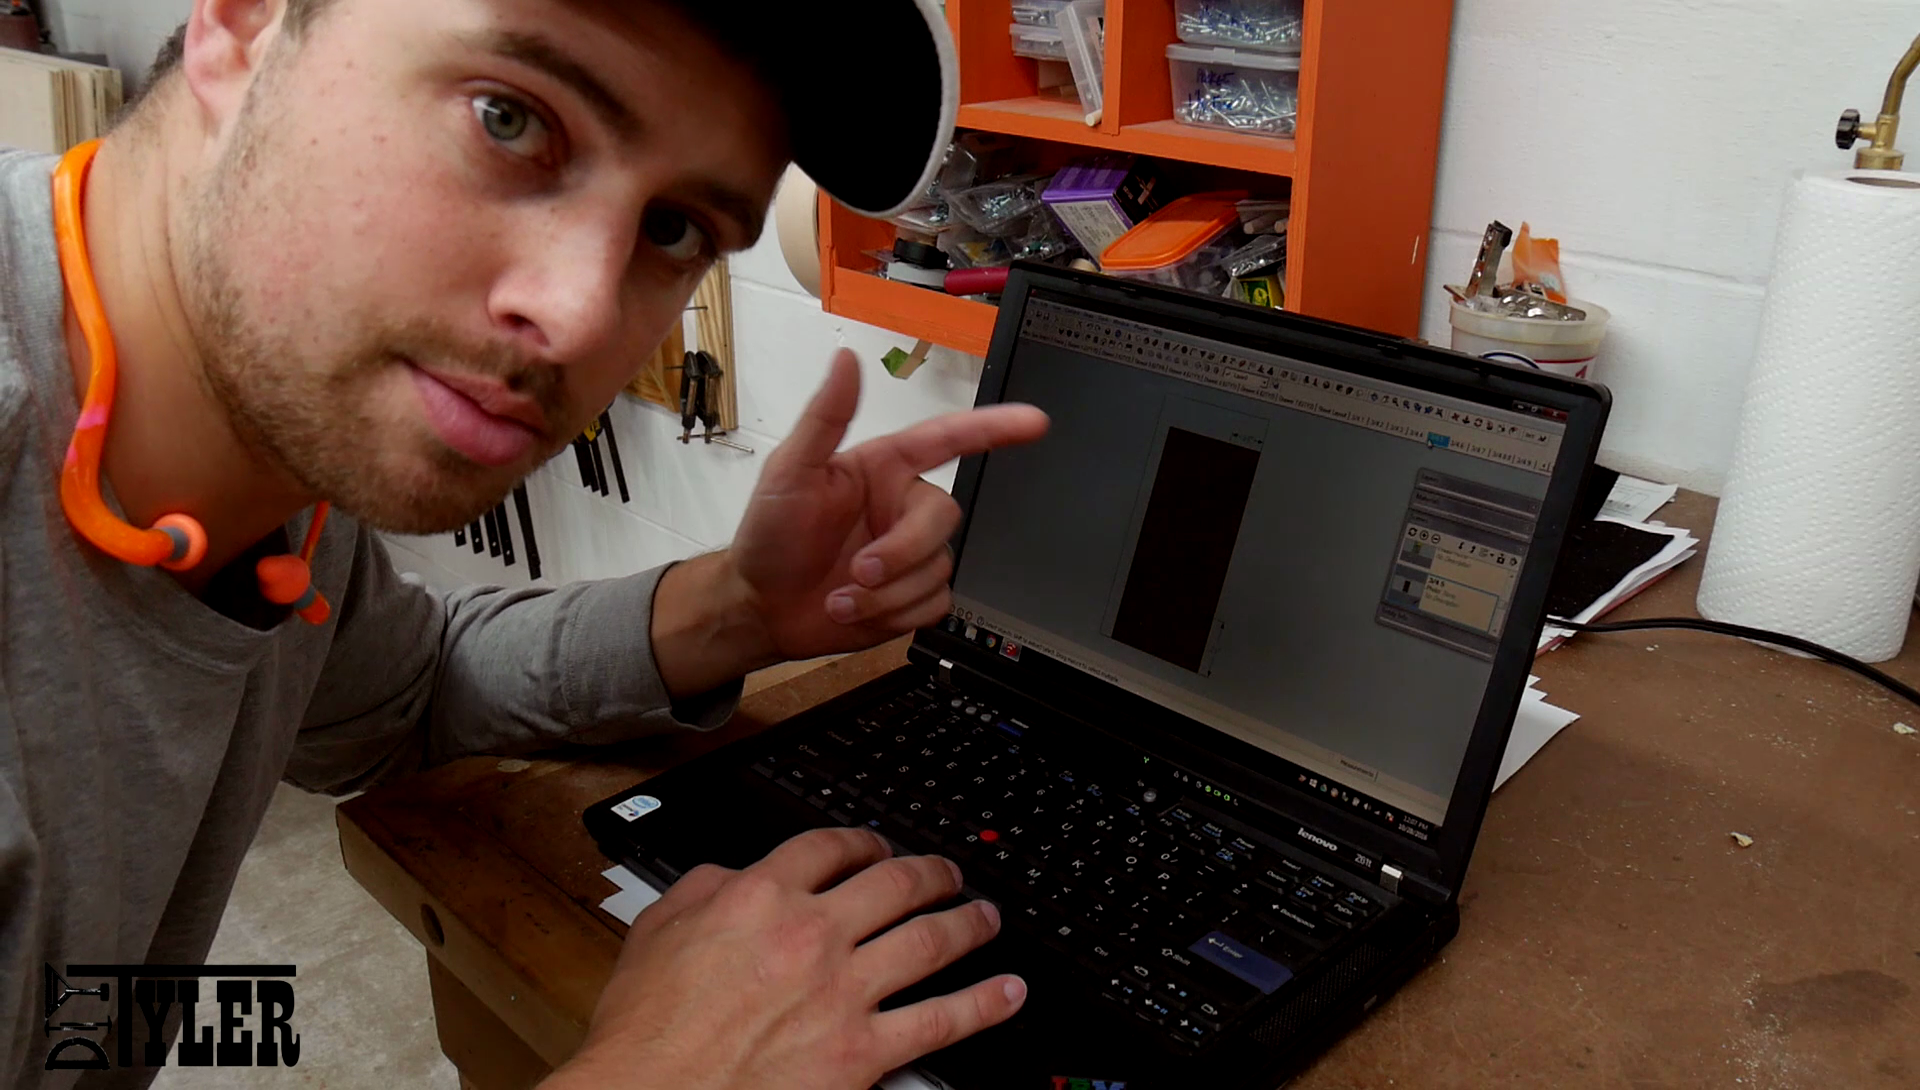
HELLO WHAT IS THE SOFTWARE YOU USE TO MAKE YOUR PLANS. I AM OF FRANCE AND I AM A BIG FAN;
Hi Paco… It appears that Tyler is using SketchUp. You can download a copy of SketchUp at,
http://dl.trimble.com/sketchup/2014/en/SketchUpMake-2014-1-1282-61130-en.exe
Hi Tyler;
I am interested on receiving a set of your drawings that I seen you with on YouTube bud. I have SketchUp already…
Thanks
Ken
I am interested in the plans for this station, Thank you.
I am also interested in the plans for this station, Thank you.
Good evening Tyler, I’m also interested in cutting plans, your station is sensational !!
i would love to have plans for your miter saw station its really nice I wont one
Hi Tyler greetings from Indonesia, Im kind a newbie in this field, I am also interested in the plans for this station, Thank you.
Love your miter saw station. I would love to have your plans.
Link is on this page.
Hi Tyler your make is incredible. Good job.
Is possible to obtend the plans?
Thanks for your attention.
Link for the plans is on this page.
Hi DIYTyler, I bought your plans last week and they are great. I need to shorten the overall width of this by 4 inches to fit the space in my shop, do you think I can take that all from the saw section (vs from a drawer section) or does it need that width when I tilt the saw? I have the same dewalt CMS you had when you built this.
Don,
Not sure you will have 4″ of room to take out of the saw section. Pretty sure there is only an inch or so on either side. Can you take it out of the folding arm?
Would love to get your miter saw station plans
Don,
Yes, I too would like miter saw plans… . Good job!