
Each time we visit my parents we cringe at pile of toys in the corner of their living room and decided to do something about it for them. This toy shelf is a simple shelf for the living room that incorporates some removable totes, toy shelves and puzzle shelves into one compact yet open and visible shelf unit with a modern base.
This project is built from PureBond plywood, if you aren’t familiar with PureBond hardwood plywood it is made in the USA and Canada, formaldehyde free, and available exclusively at The Home Depot.

Toy Shelf Stock Prep
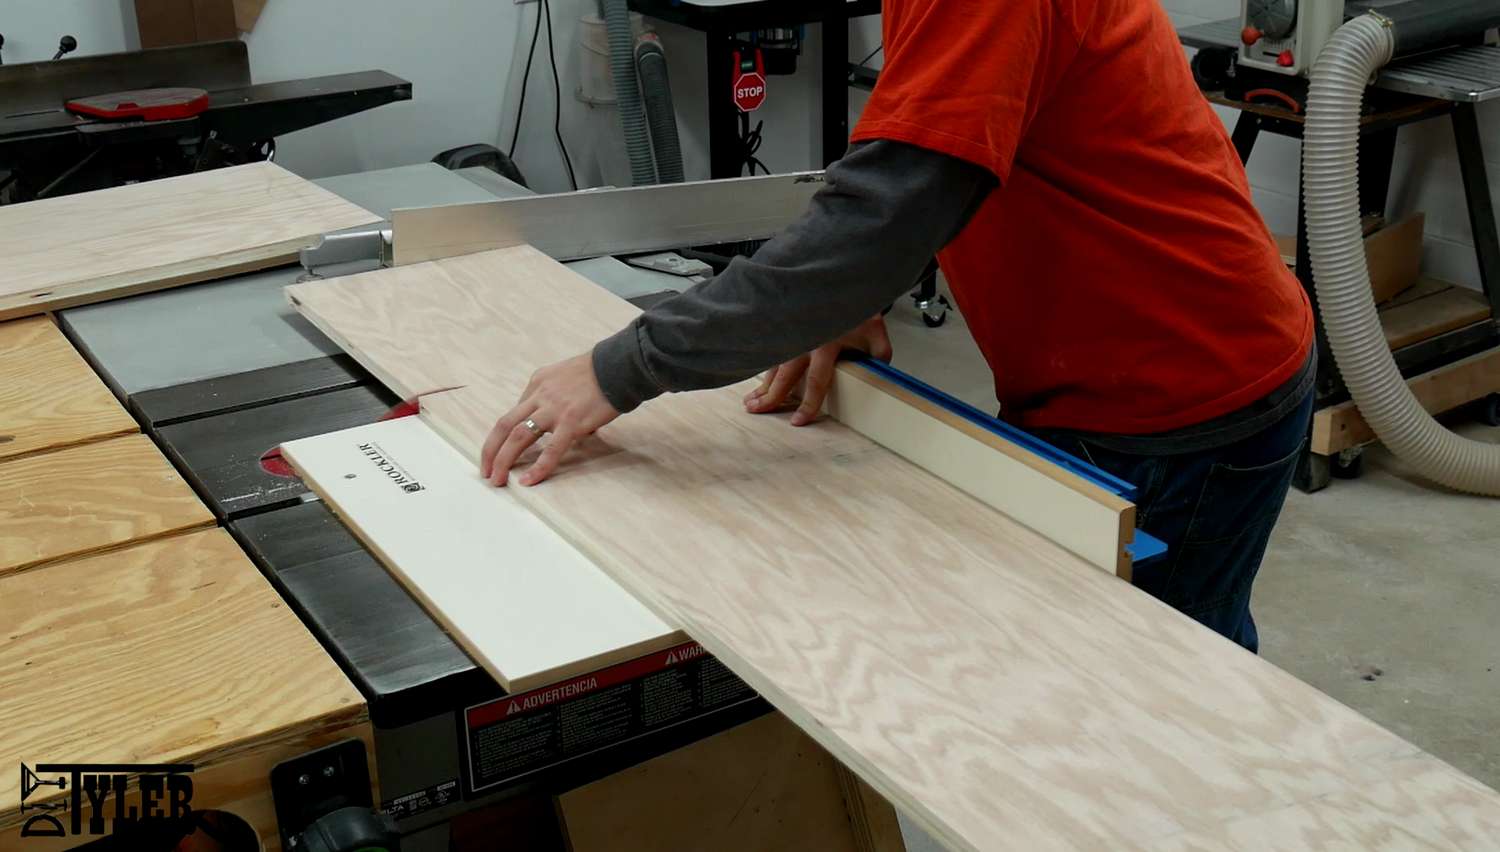
This project stated where most of my project do, at the table saw. I broke down the large sheets of purebond using a combination of the table saw….
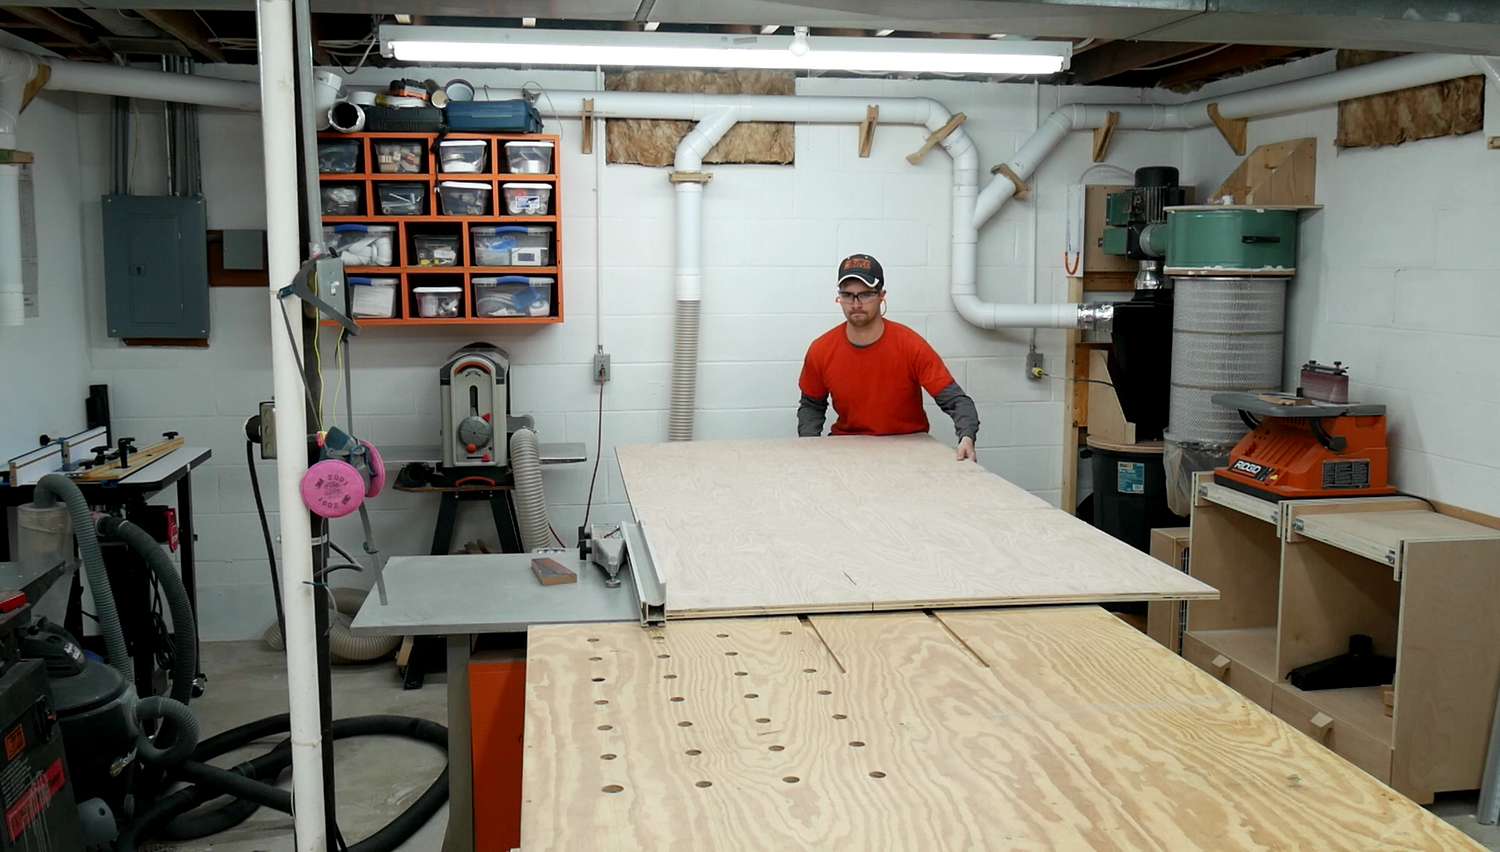
Cross-cut sled for the cross cuts that could be managed safely.
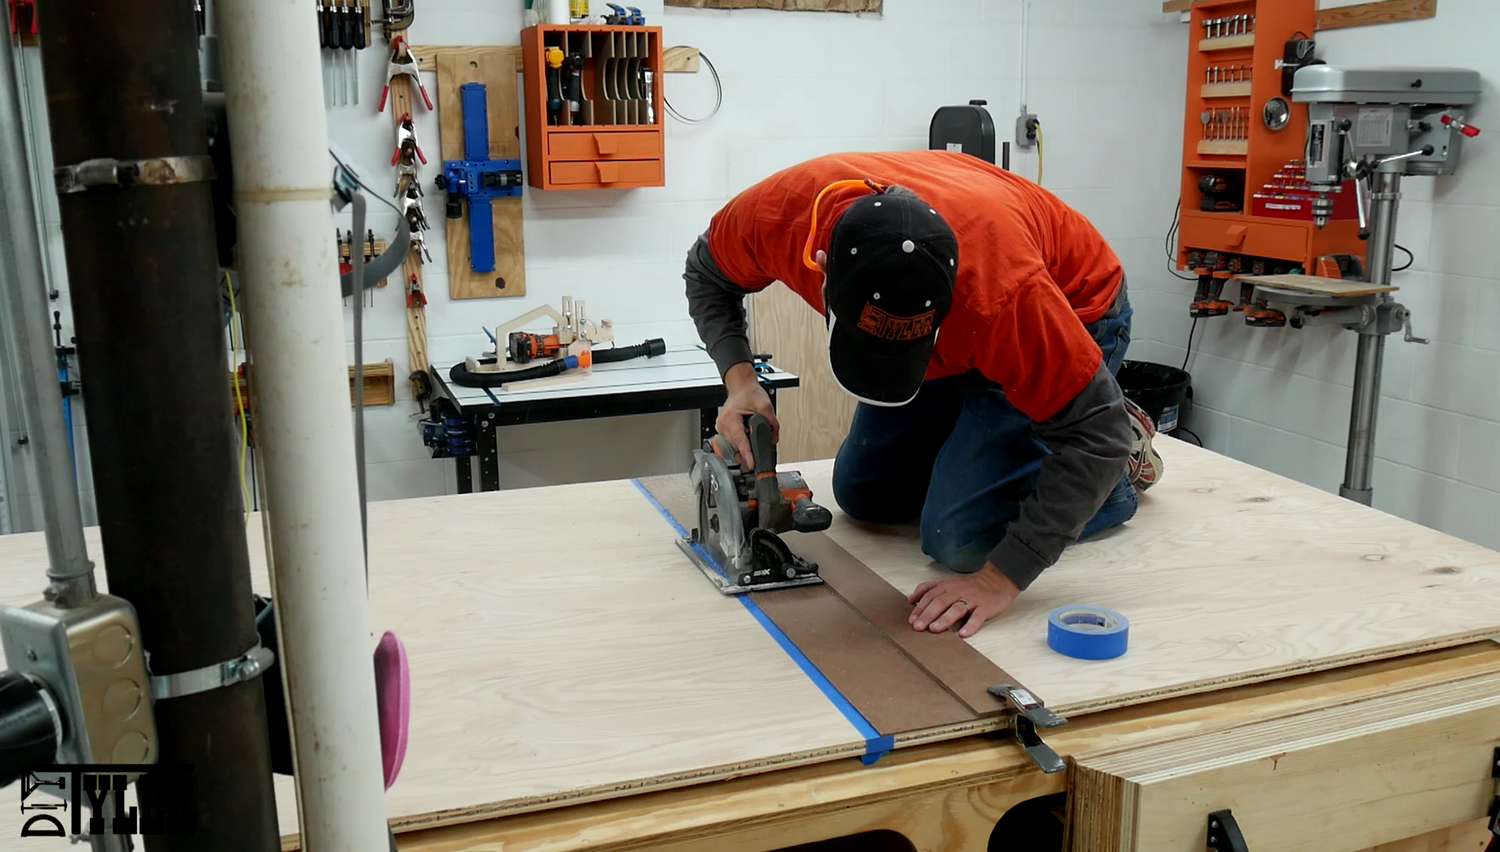
And and door-board combined with my RIDGID cordless circular saw for the larger cross cuts. (Really only the back of the shelf was too big for the table saw.)
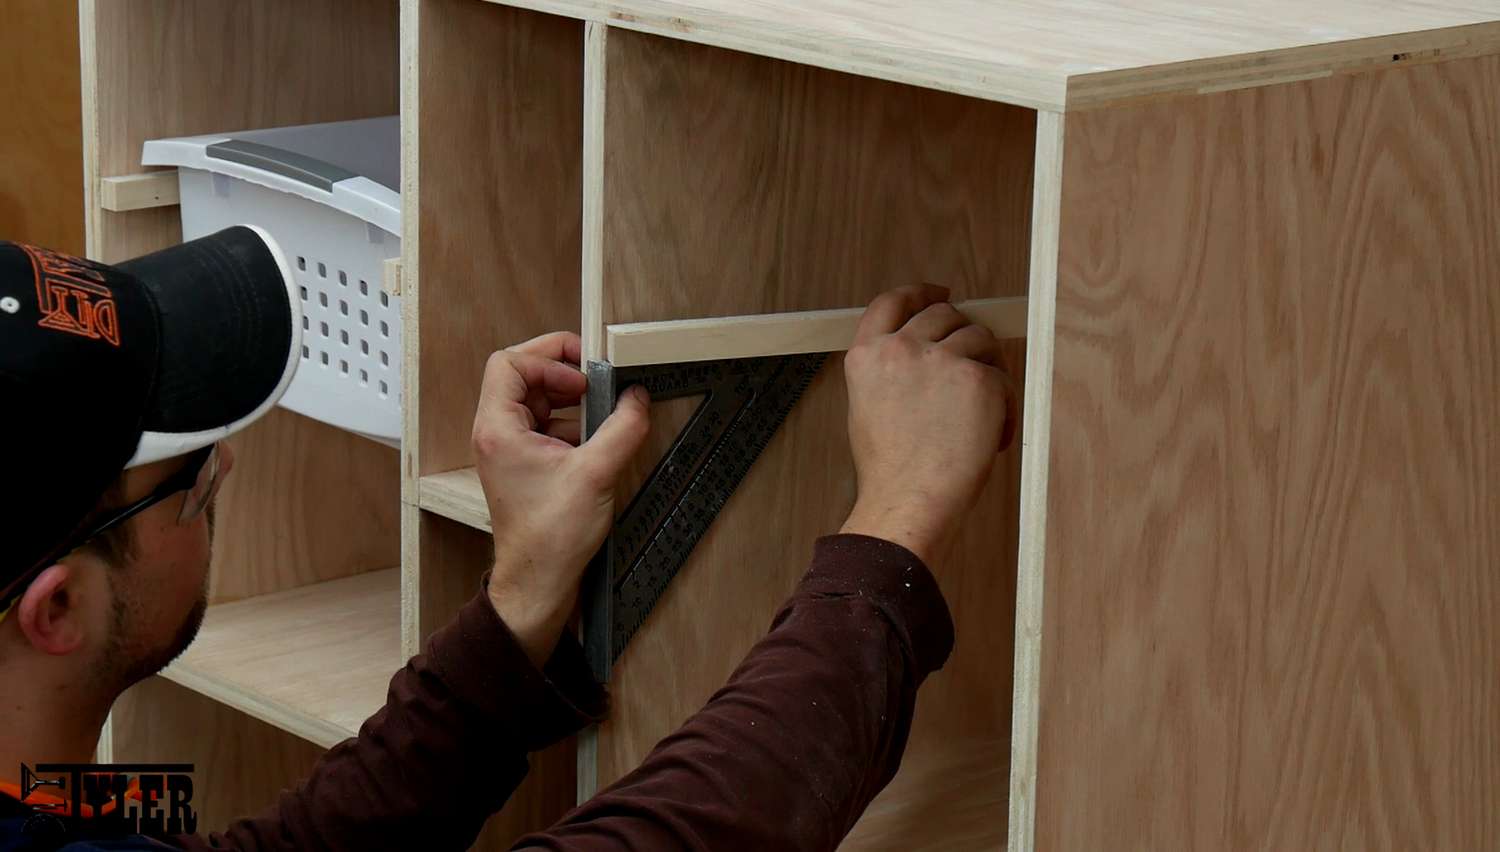
Frame Assembly
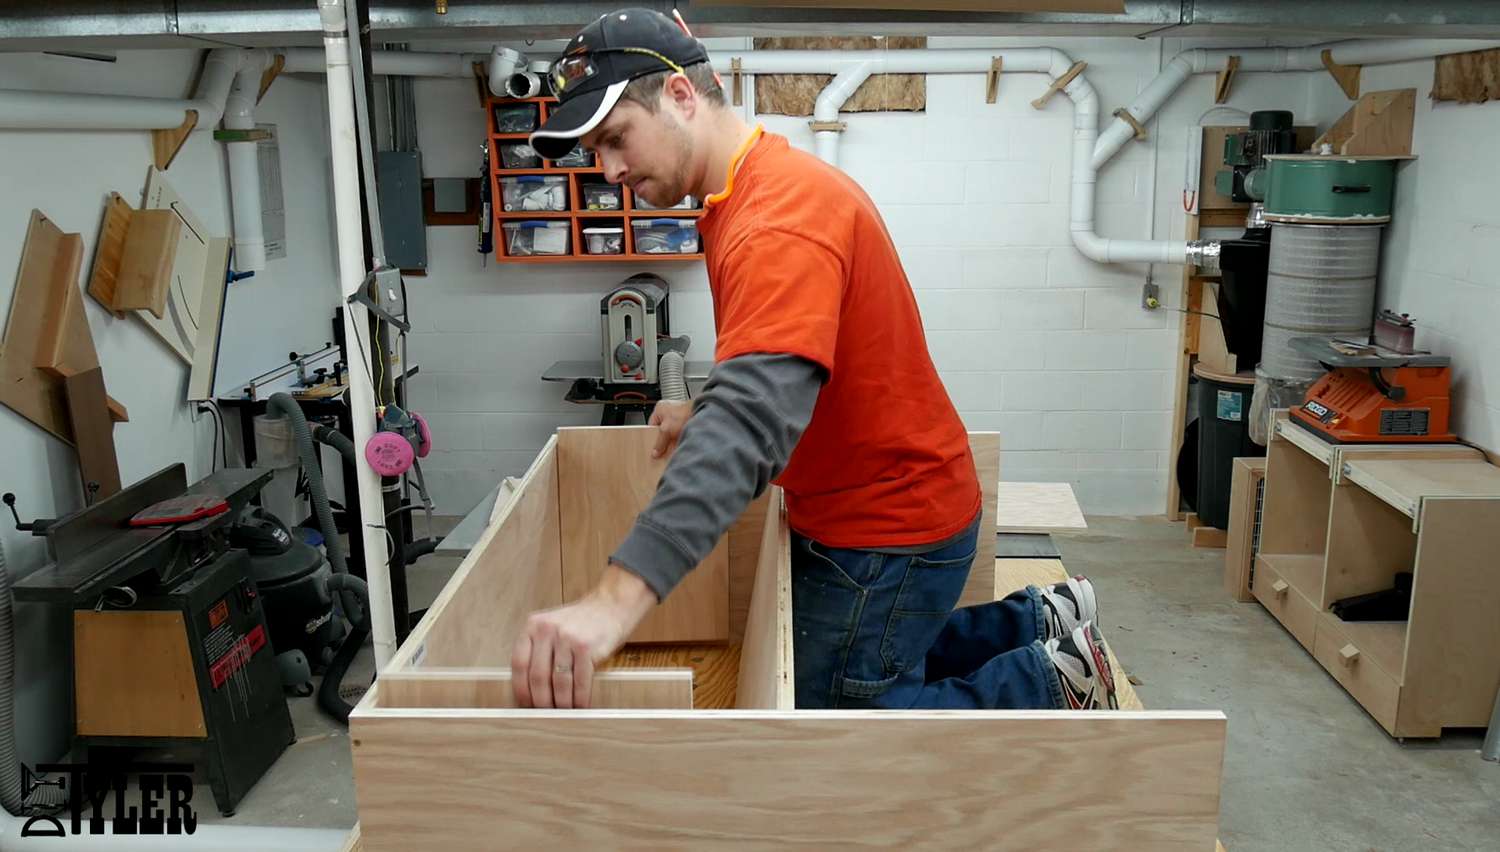
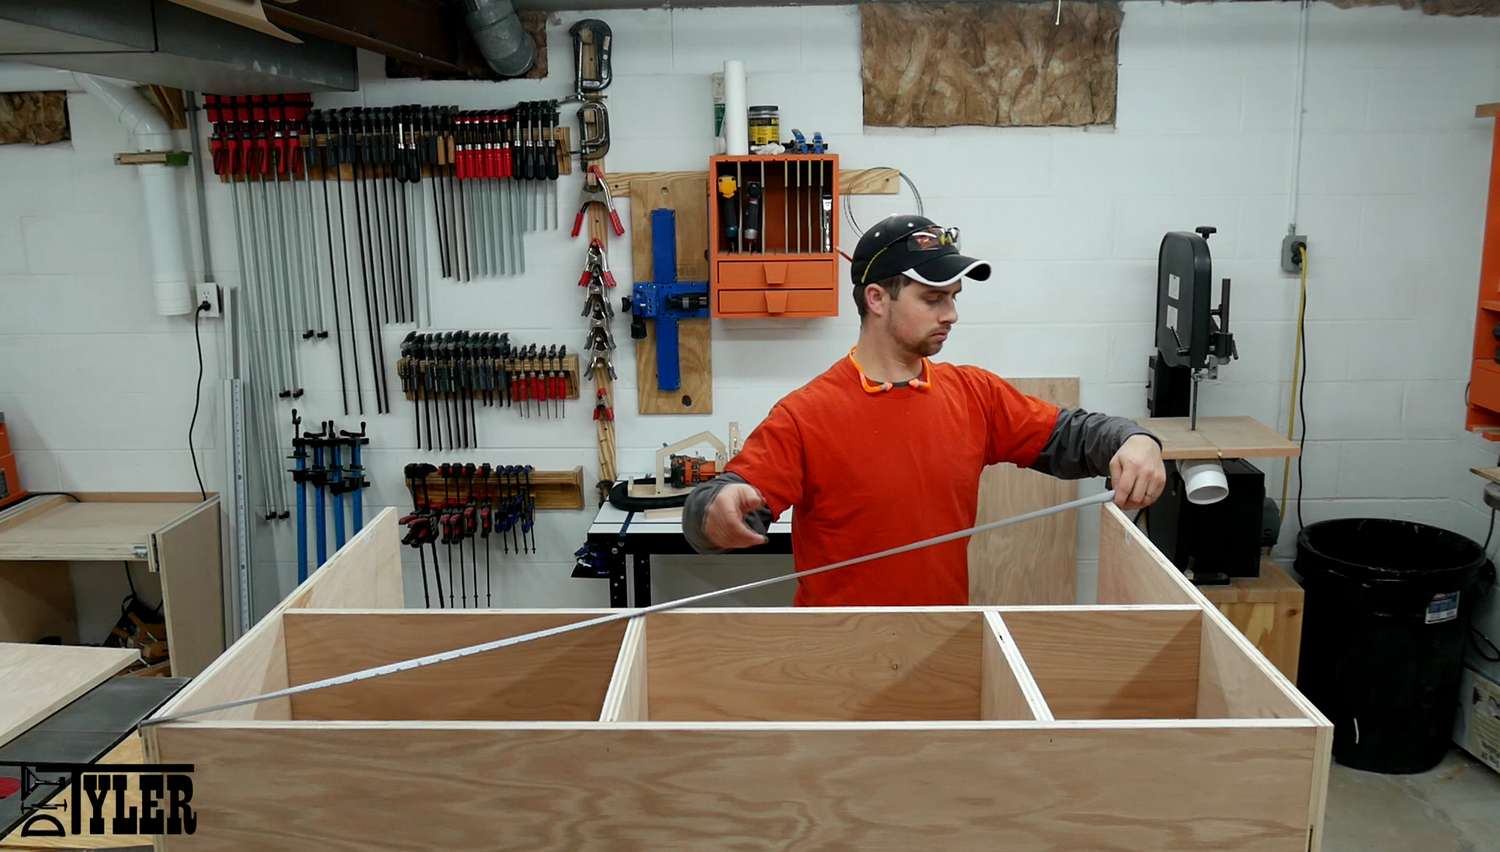
I wanted to try and take a different approach to assembling this large shelf, usually I assemble the outside “box” of the frame and then add the shelves. With this one I wanted to try and only connect three sides of the frame and build the shelf out. In the end it worked pretty well but was a little bit tricky to keep everything square.
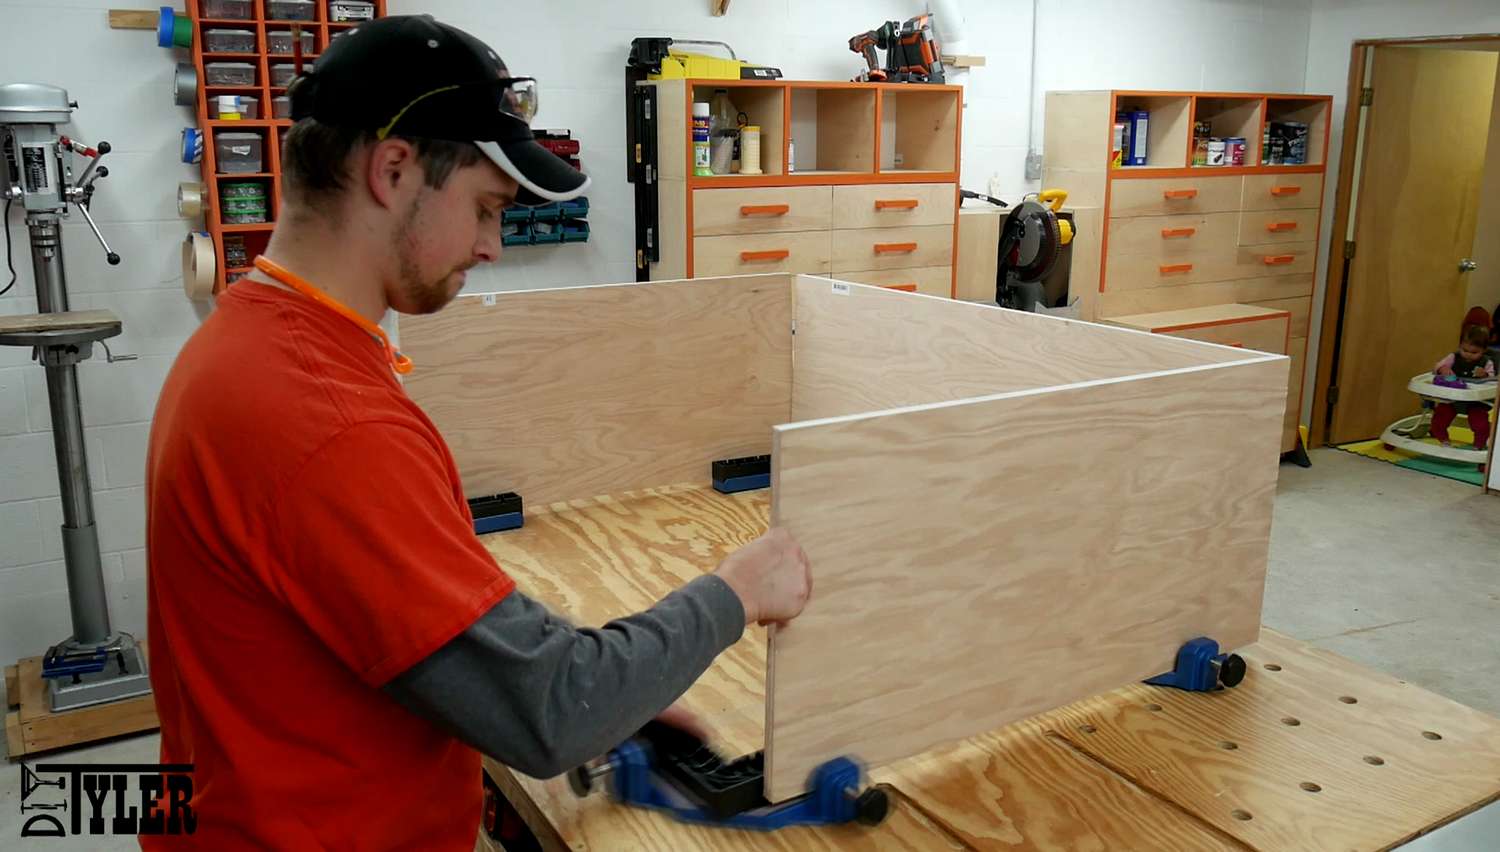
Since this is a painted project I glued and brand nailed into place and then added some screws for extra strength.
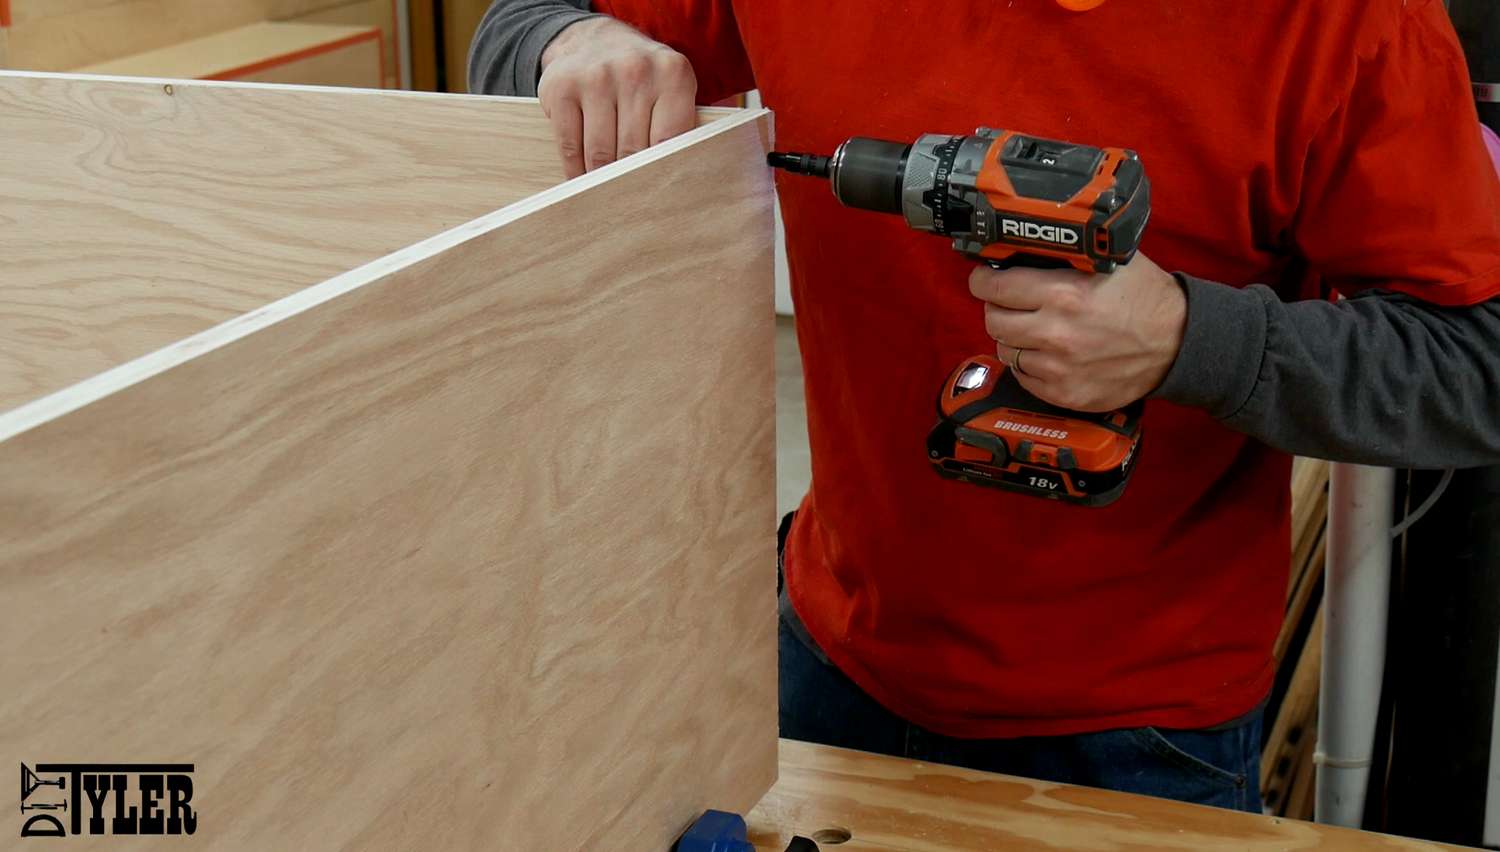
I used the shelves as spacers to get my measurements, for the horizontal shelves I made sure to measure the top and bottom to keep everything square.
Add some wood glue….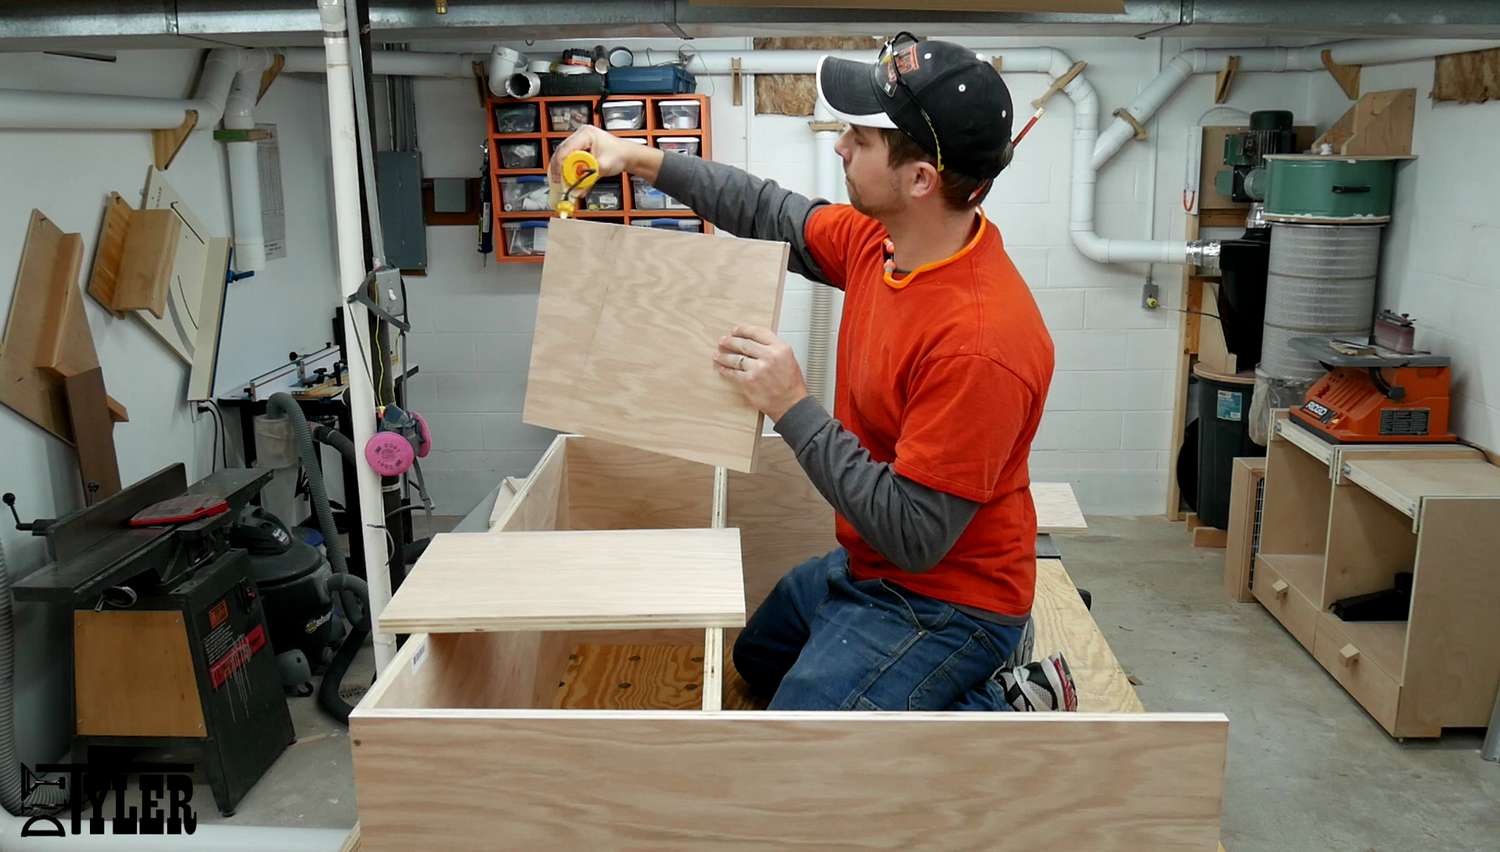
And pinned into place with 18g brad nails. I did not add any screws to the shelves as there are multiples of them to hold everything in place.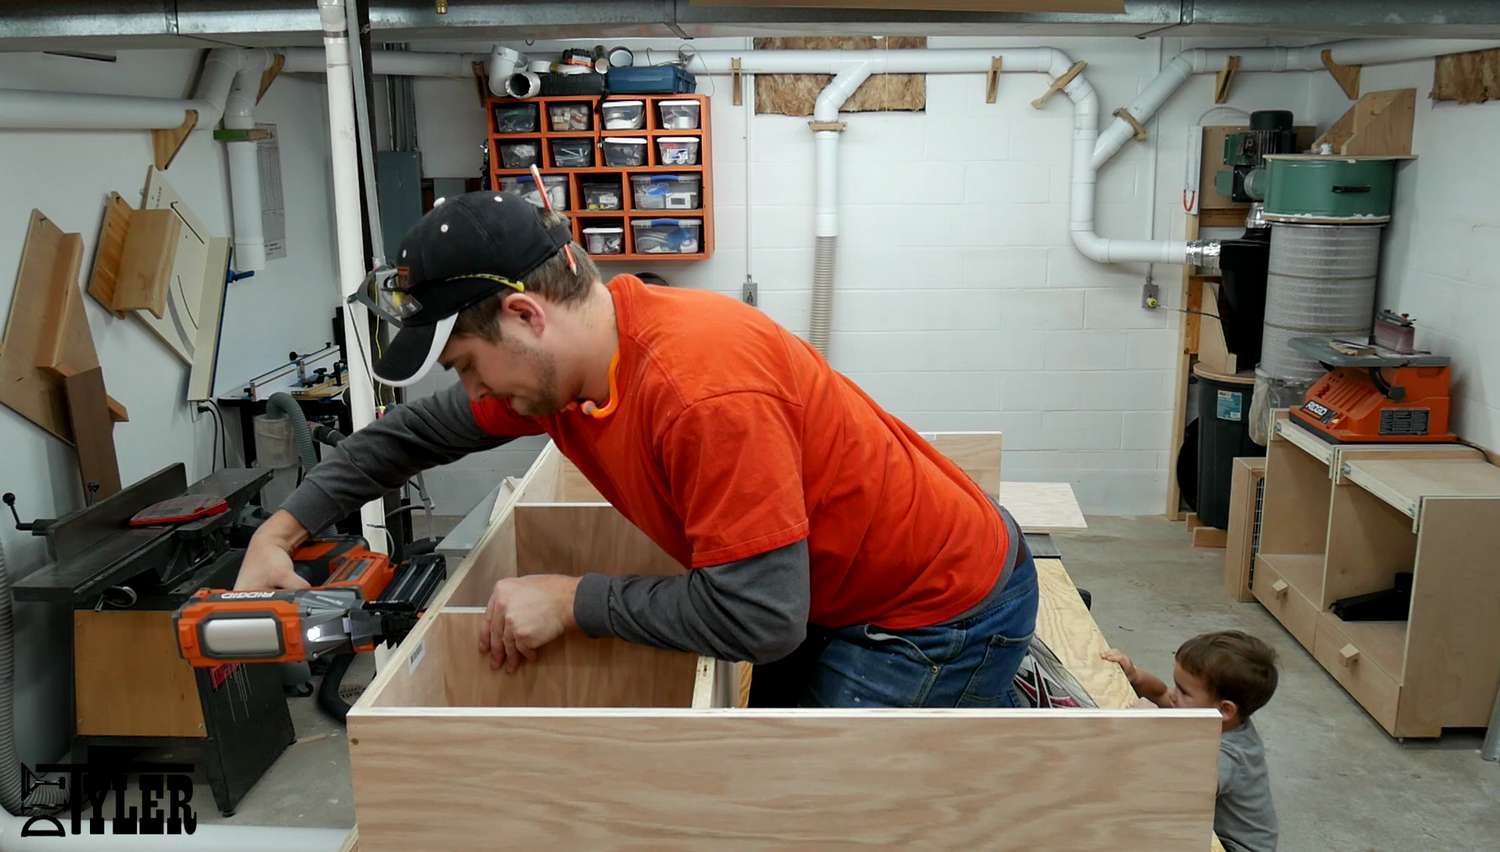
Was sure to check for square as I went, adjusting if needed.
Modern Design Base
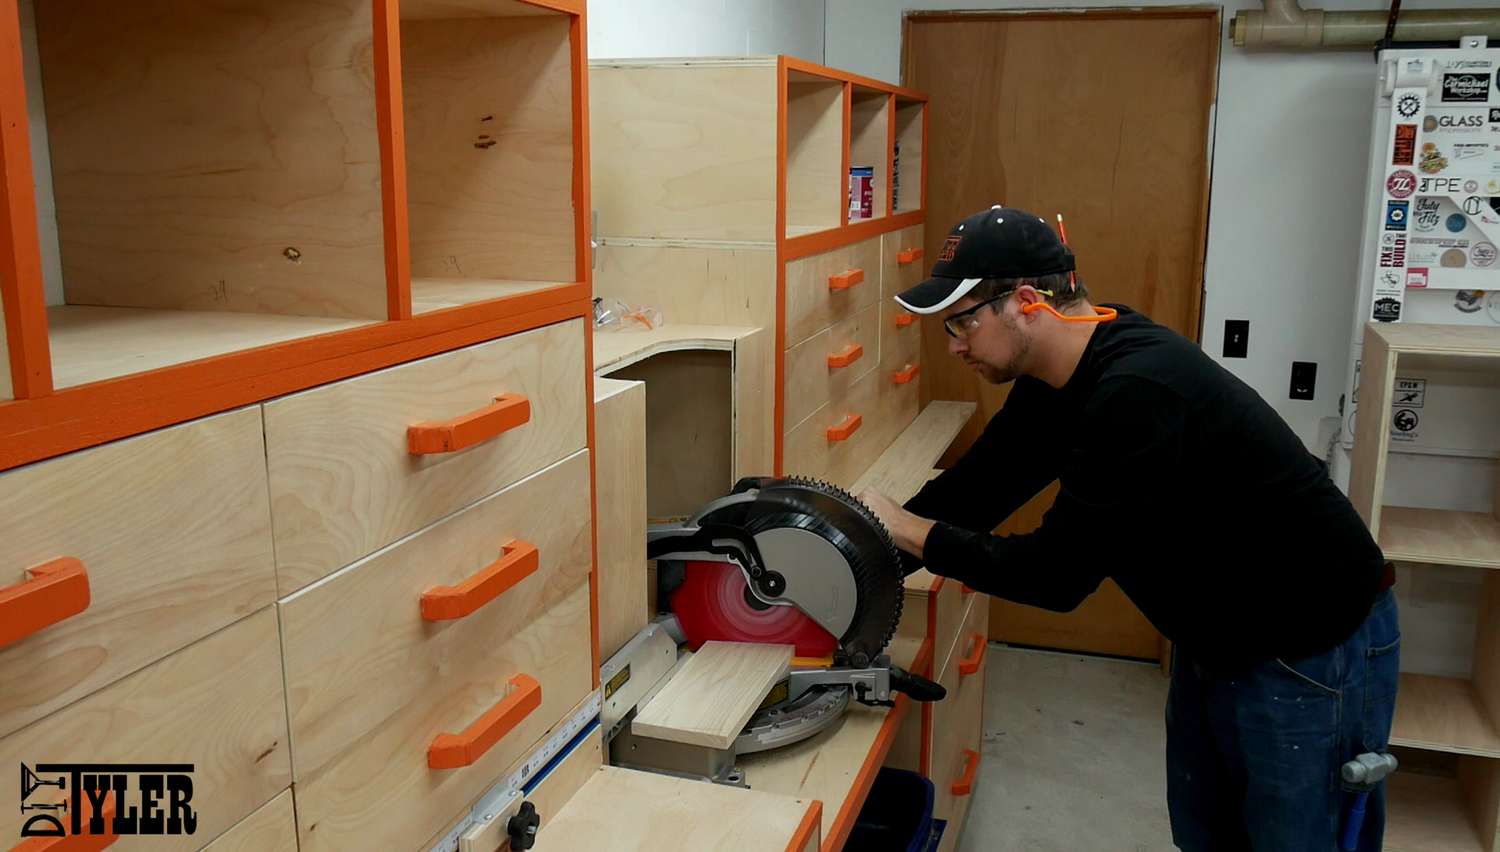
Since the shelf wasn’t the most exciting structure in the world I wanted to add a bit of class by making a mid century modern base. I started by making some of the angled cuts on the miter saw, love my miter station!
I then used a table saw sled with a piece of scrap wood screwed onto it at the proper angle to make the longer angled cross cut on the legs.

Then switched to a different sled with a stop block to cut yet another angle.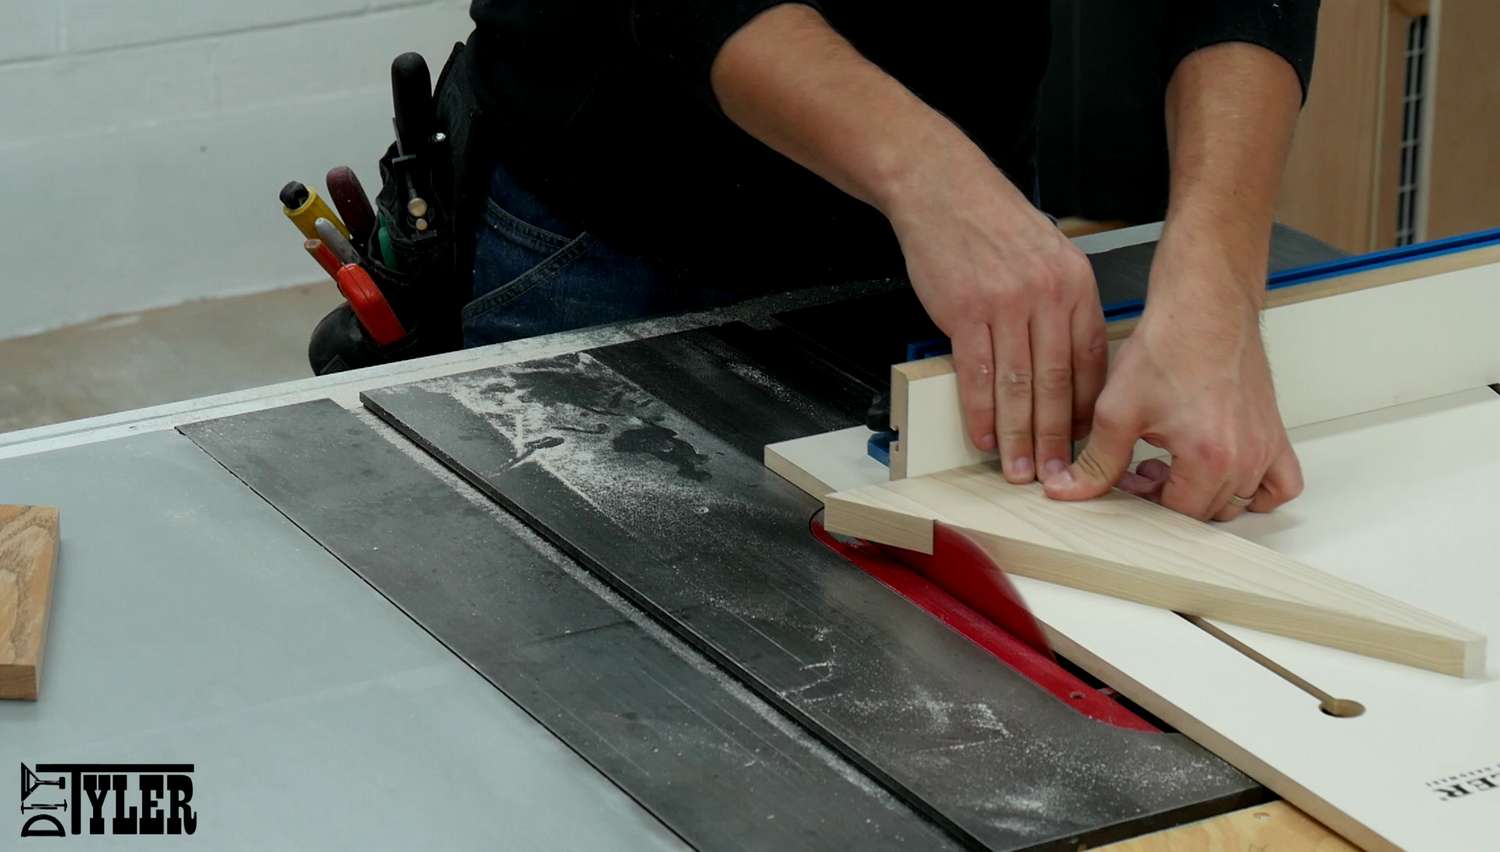
And finally cut the legs to their proper length. Making all these different cuts worked well, I only needed minimal sanding to get everything aligned after assembly.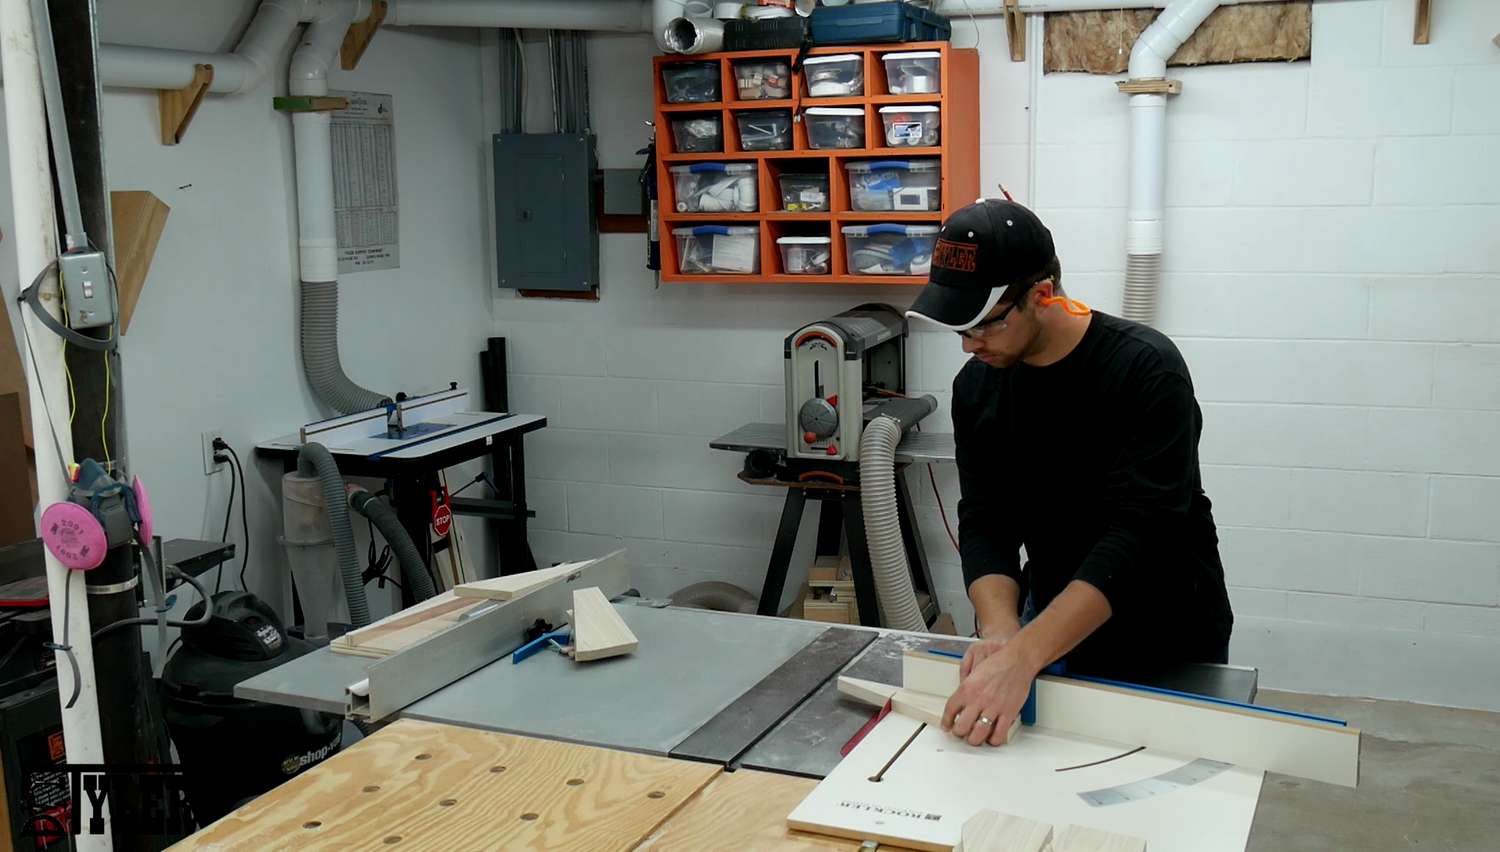
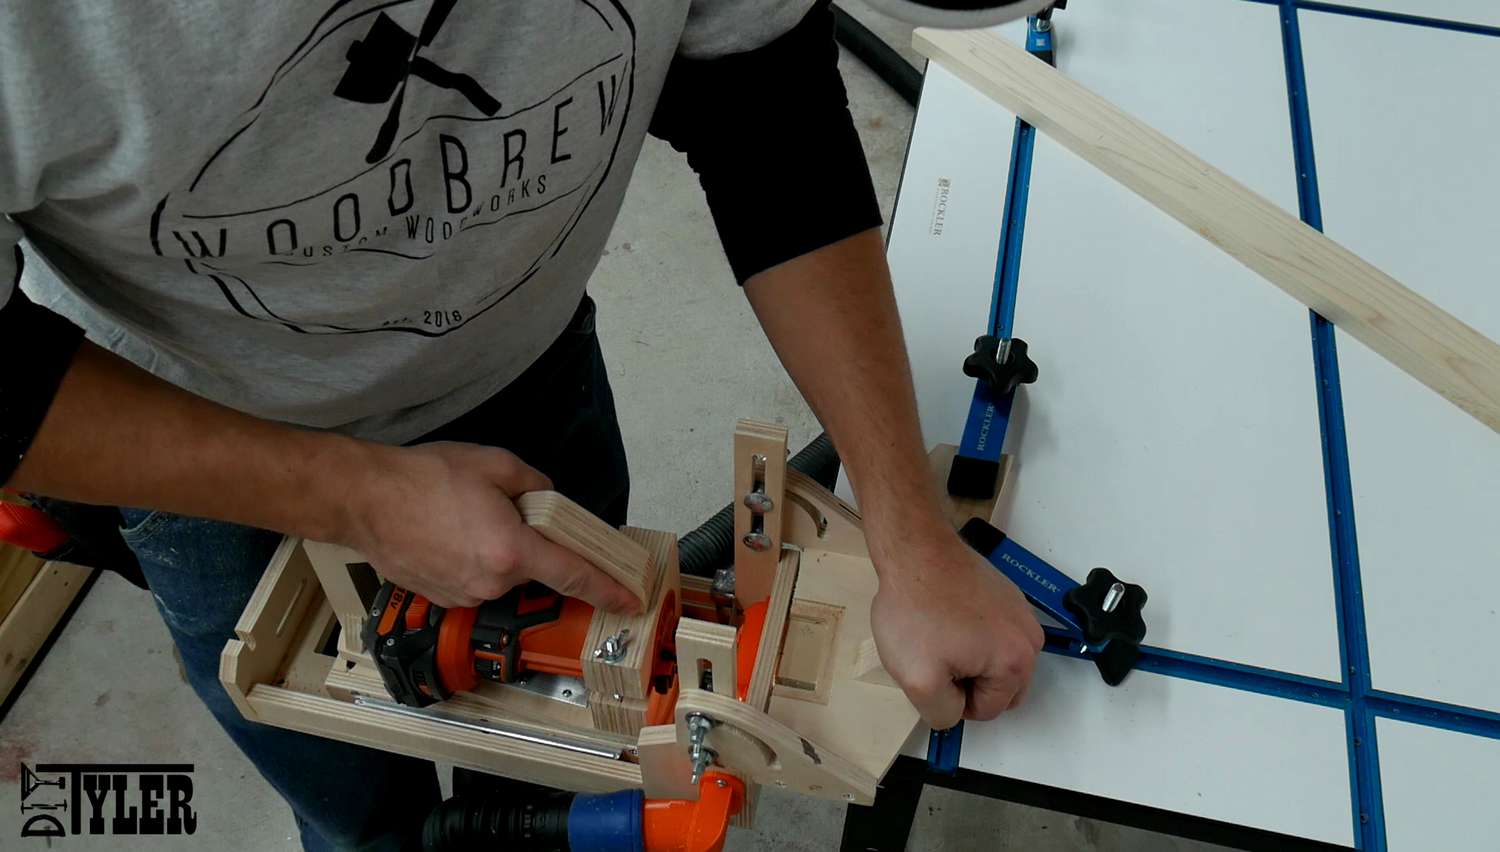
Mortises!
After laying out where I needed the mortises I used my DIY cordless portable mortiser to make the cuts.
And assembled using home made loose tenons and wood glue.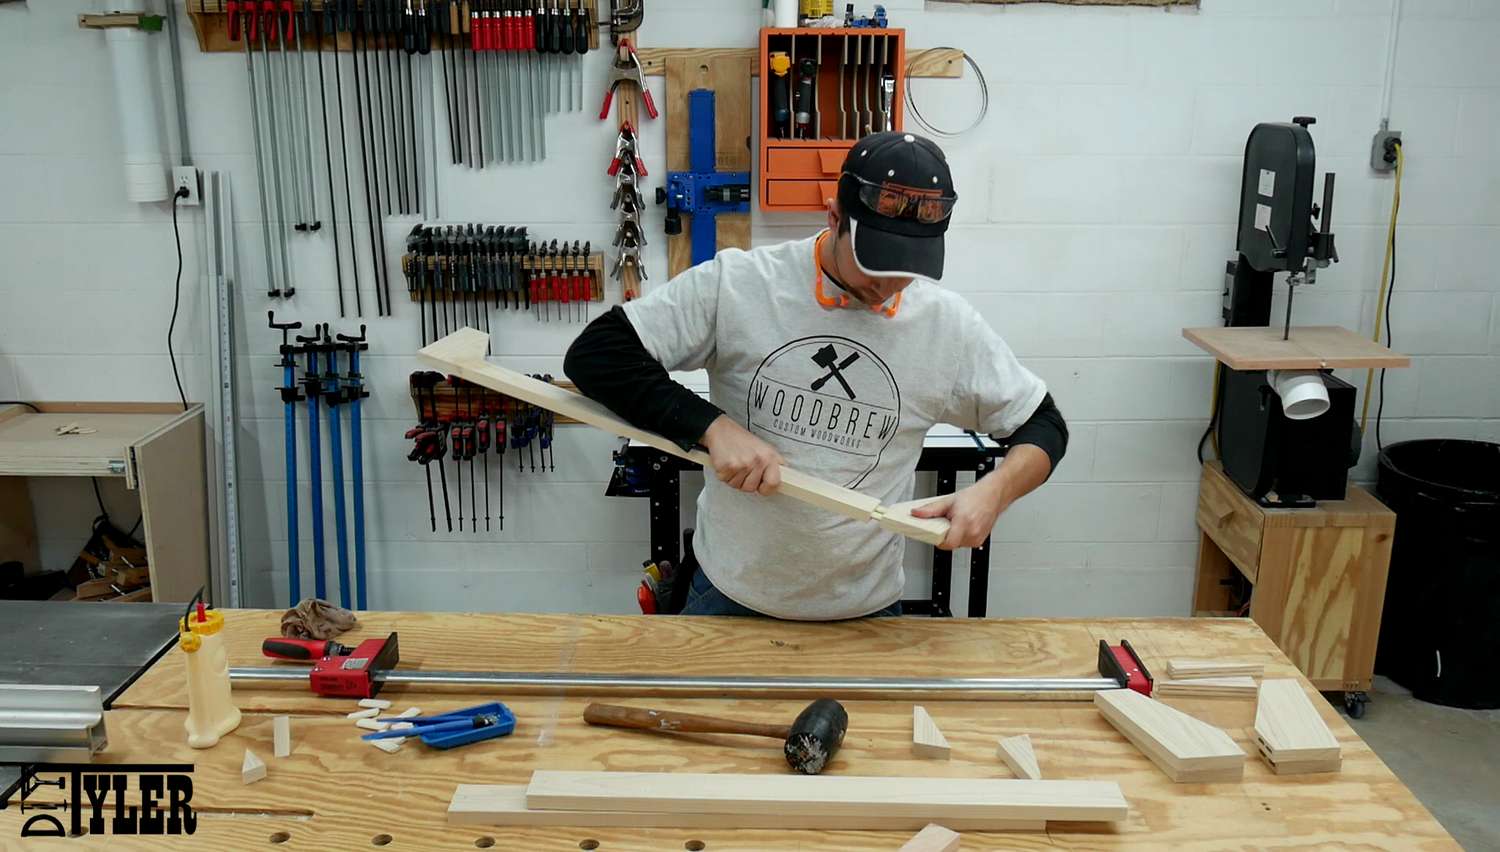
Used a few scrap pieces of wood cut at an opposing angle to the legs to allow me to get even clamping pressure while gluing up the base.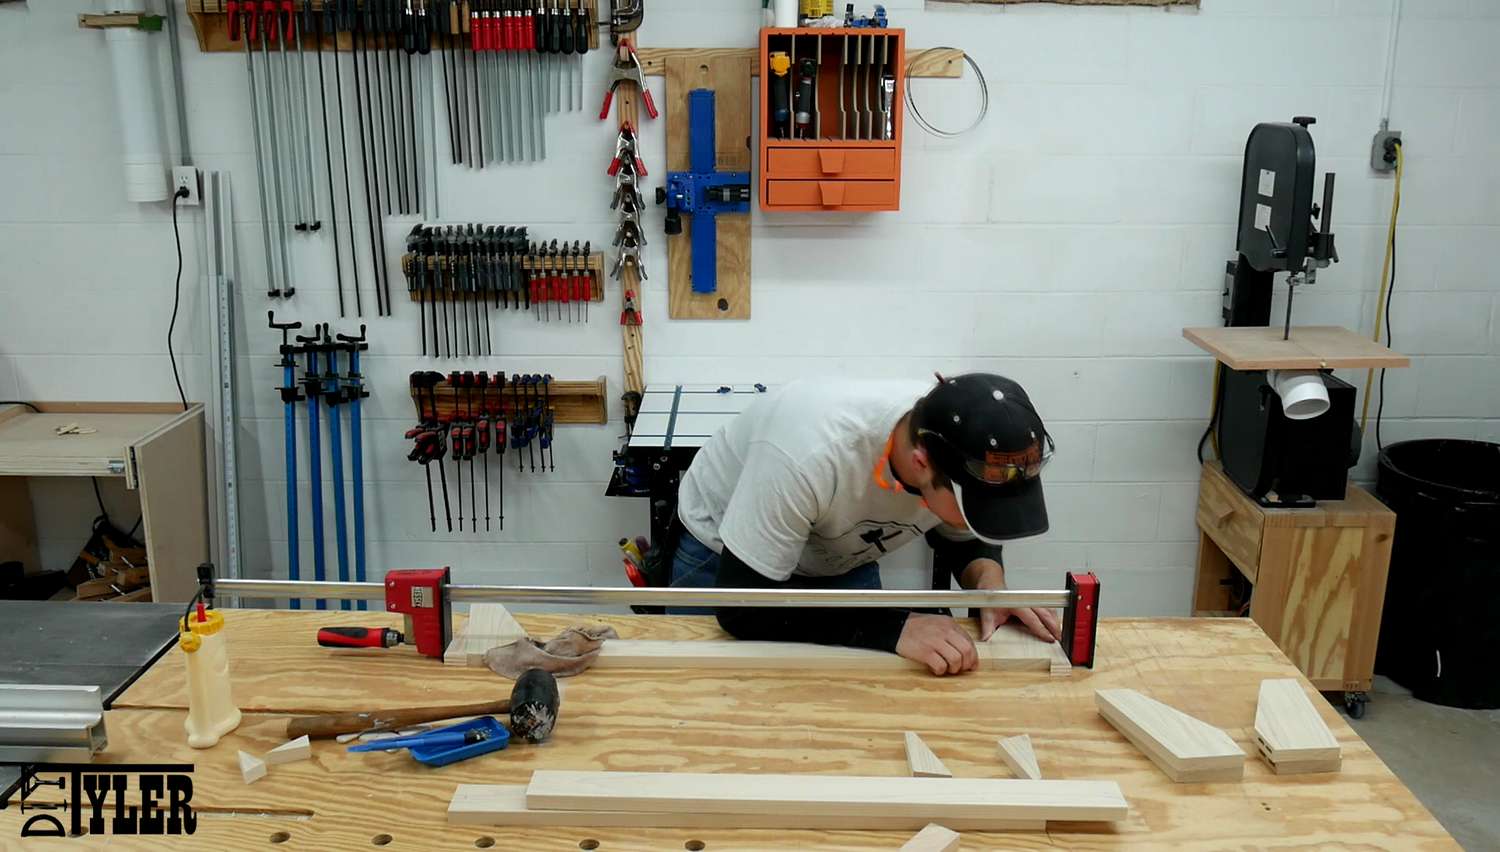
After getting the 4 sets of gets assembled I laminated two together to make a pair of thicker legs.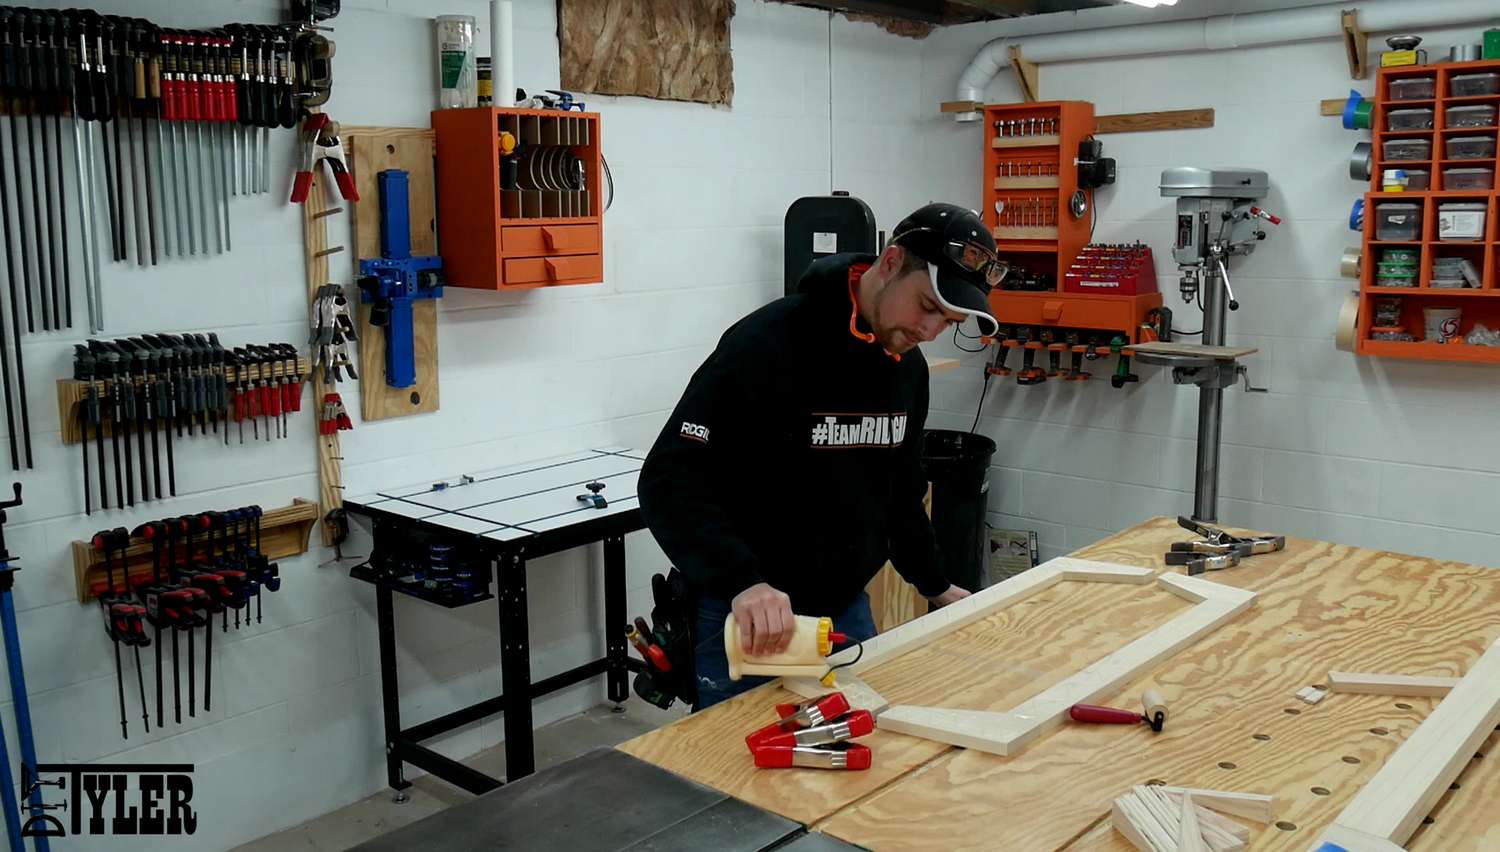
After the now fully assembled legs dried I added some more mortise cuts to install the cross brace.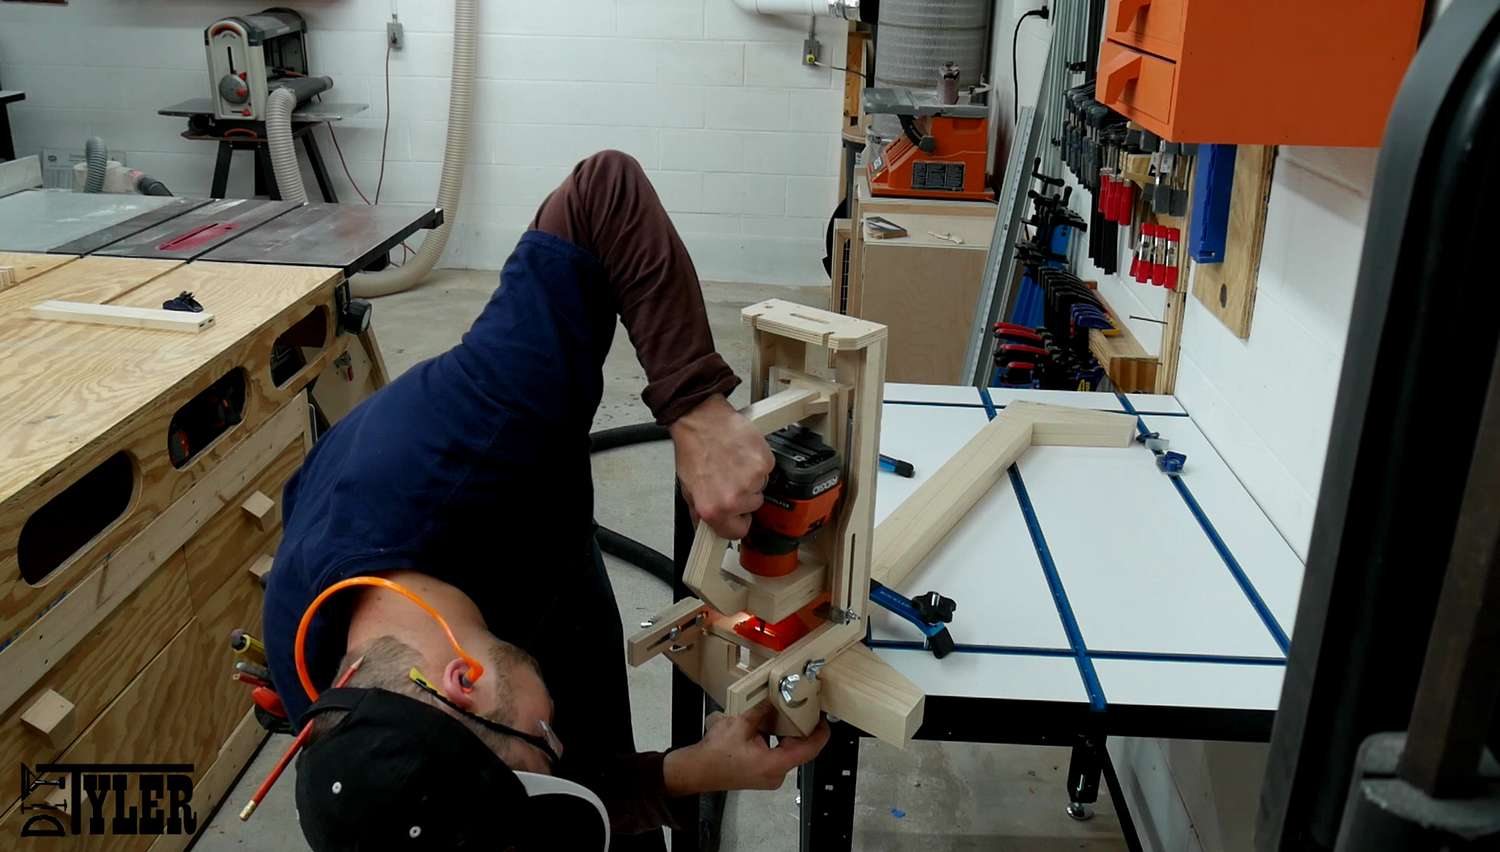
And installed these using wood glue and clamps. Look at those beautiful mortises!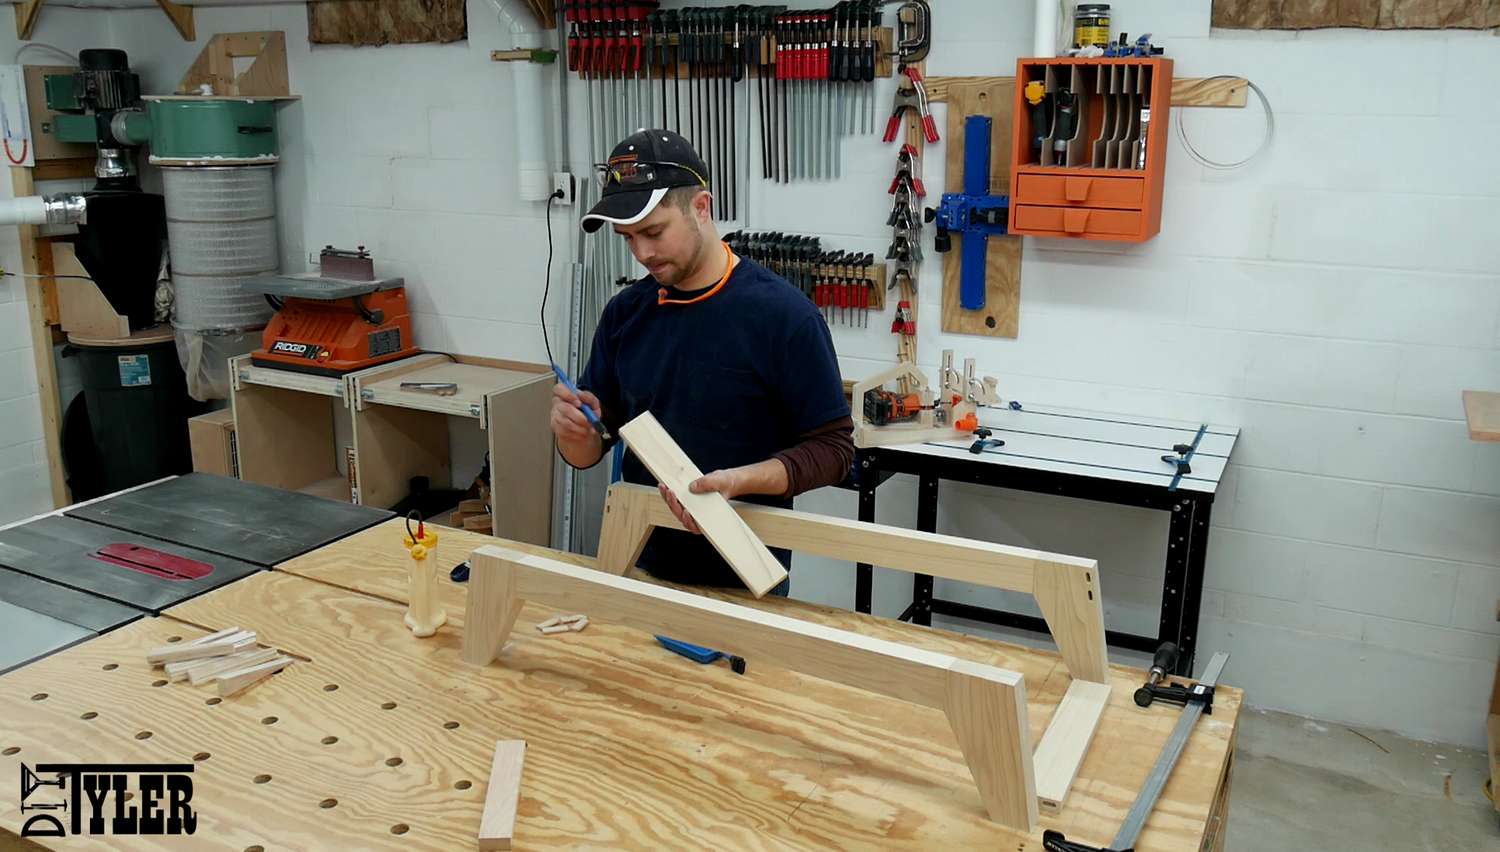
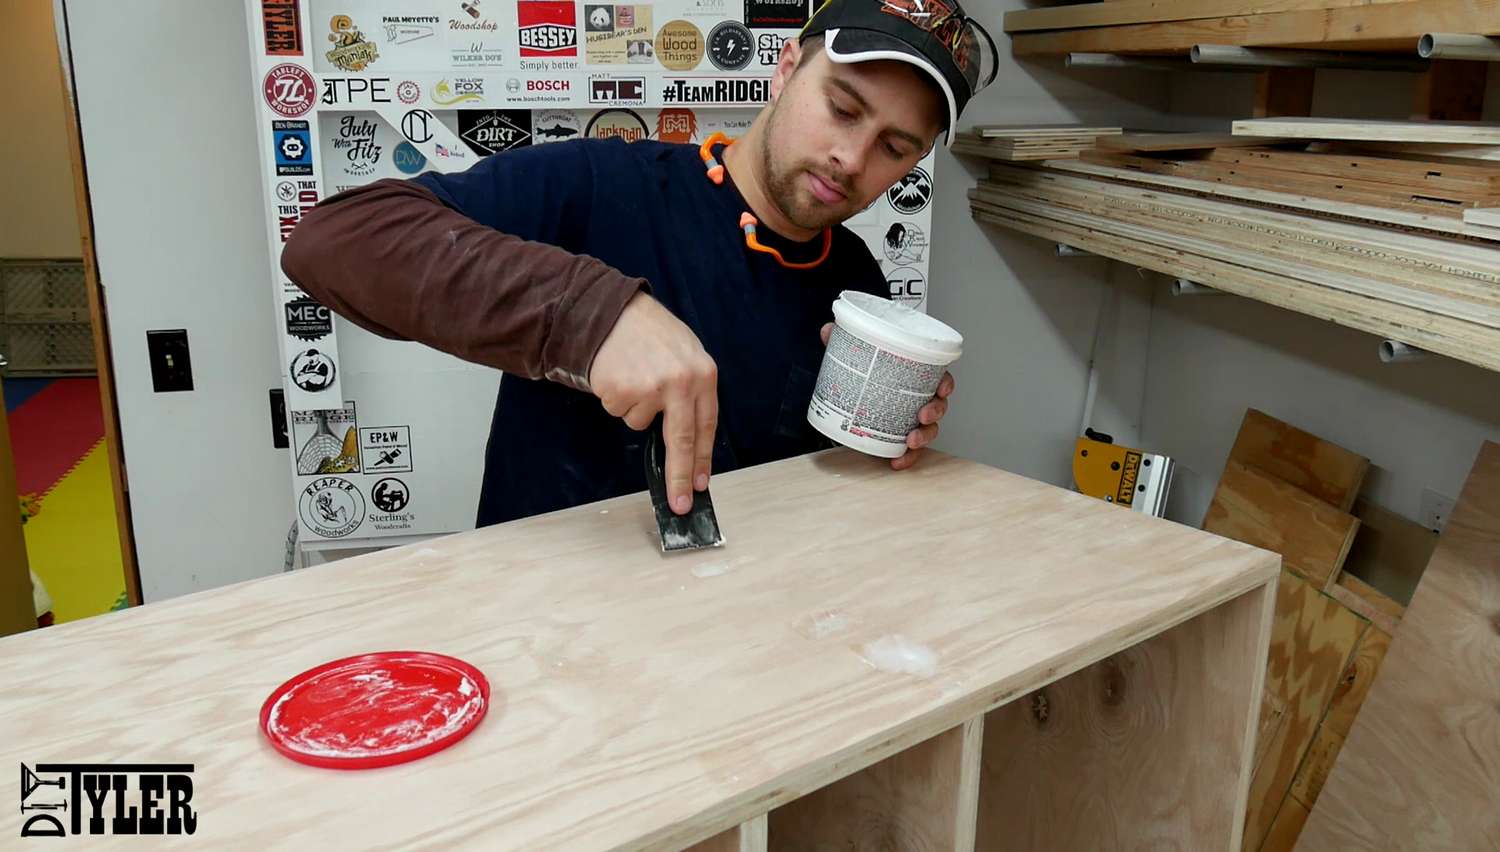
Odds and Ends
Filled in all the screw and nail holes with putty, really easy to use, dries fast and is inexpensive!
Added rails for the toy shelf totes to slide on. You can find those here (aff link): https://goo.gl/vnKRPY
Some pocket holes into the base to attach it to the main frame.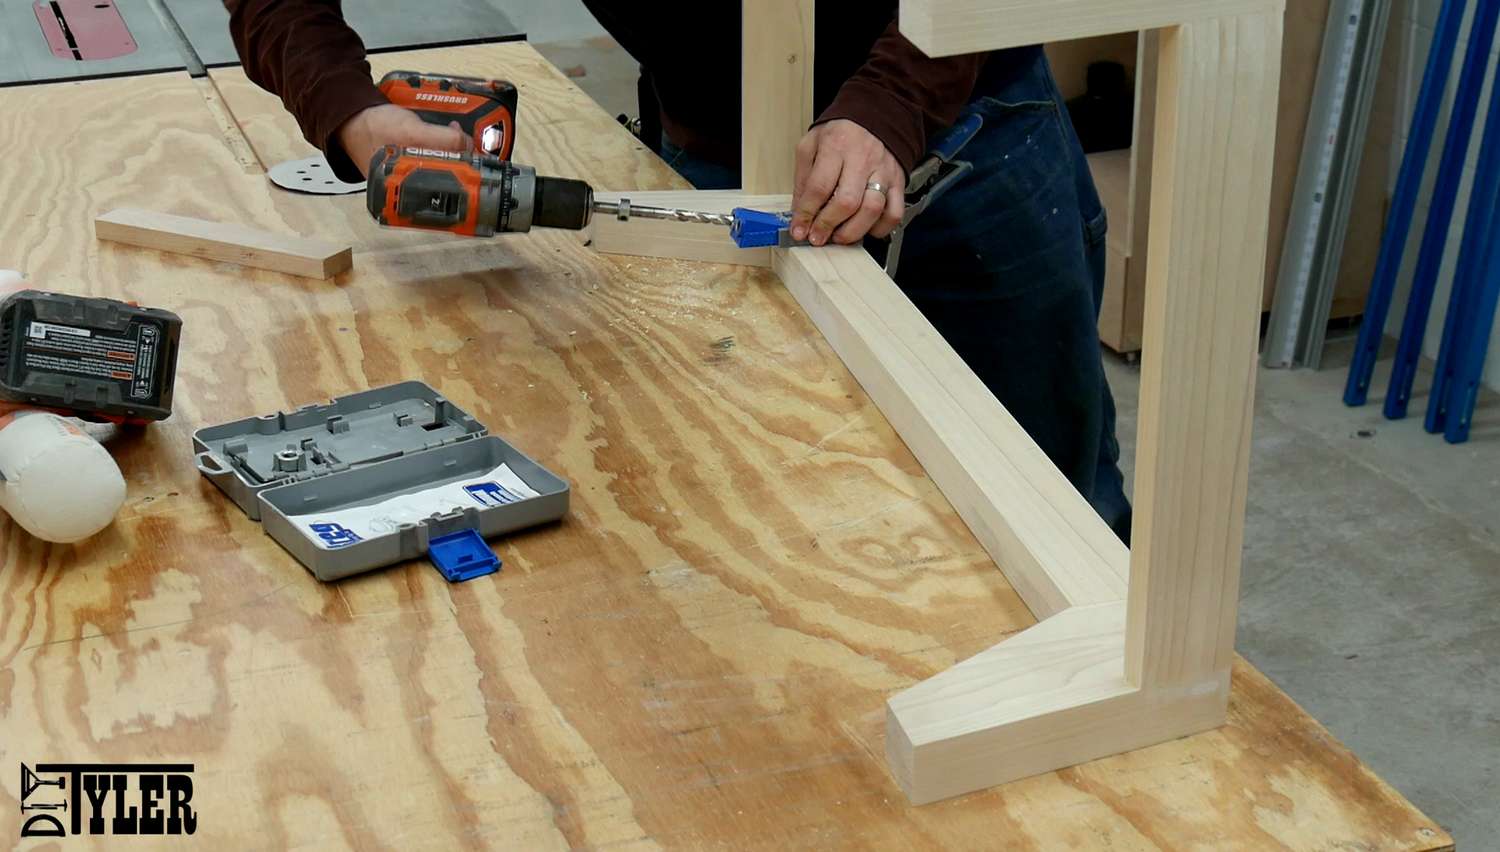
And some paint. We went with an off white for the frame and a rick chocolate brown for the base and trim.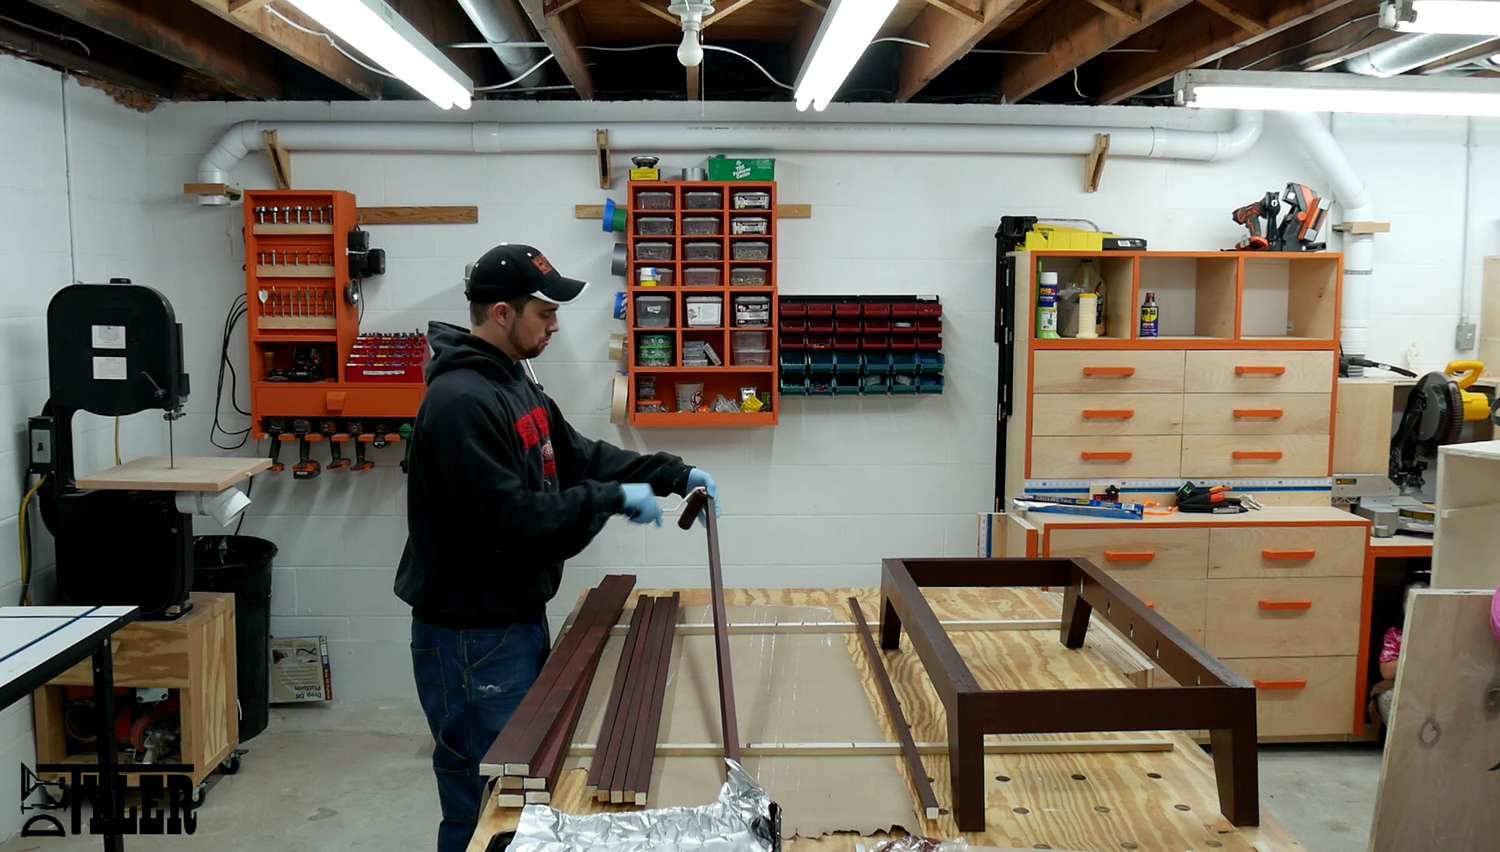
Final Assembly
The back was added with with only wood screws no wood glue. No real reason for this except the screws will be plenty strong.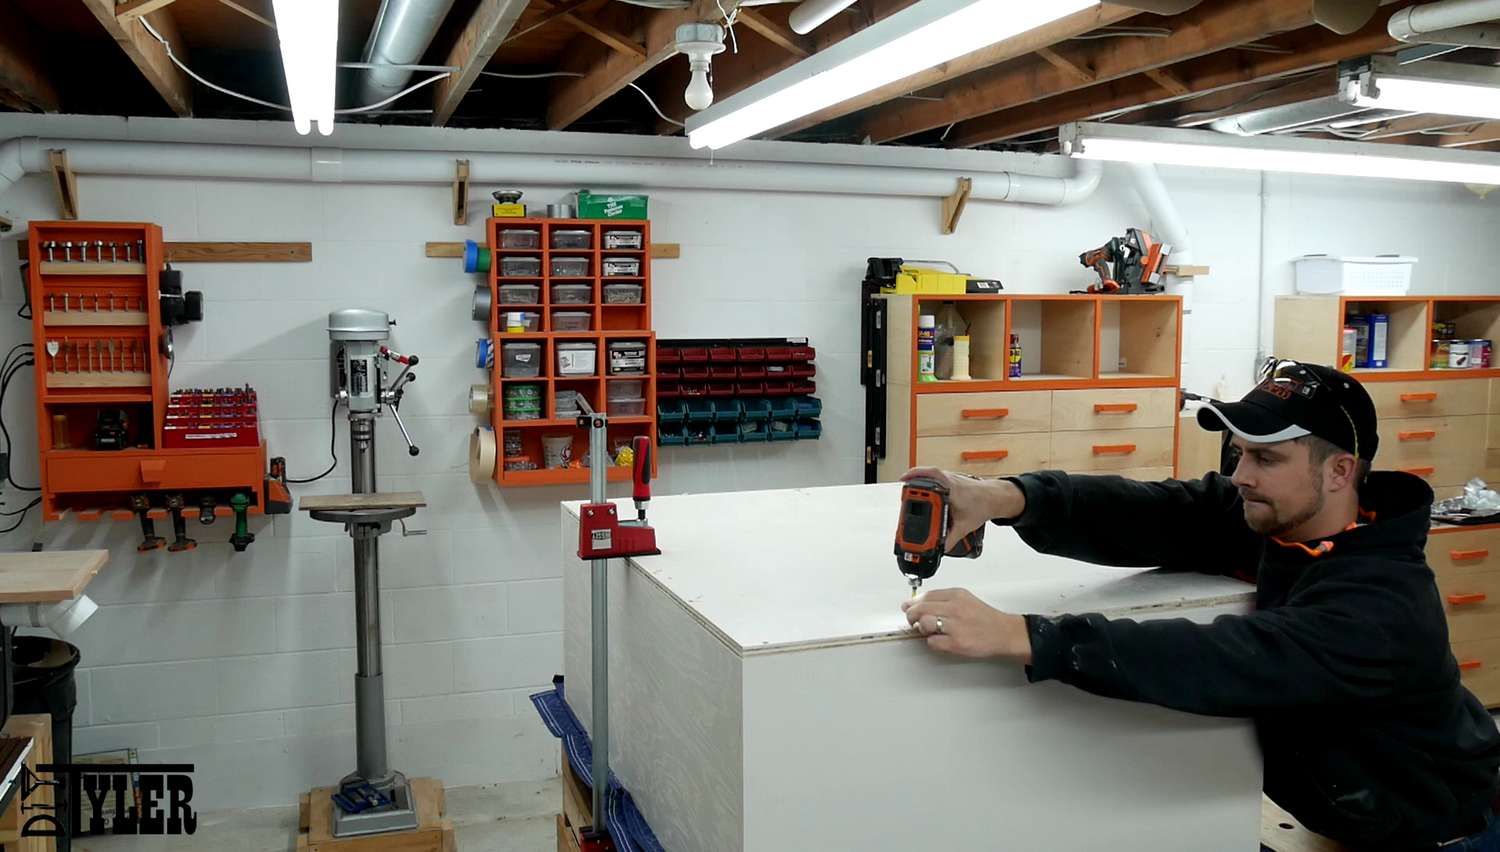
Attached the base with pocket screws. I used a piece of the trim to make sure I had proper spacing all around the base.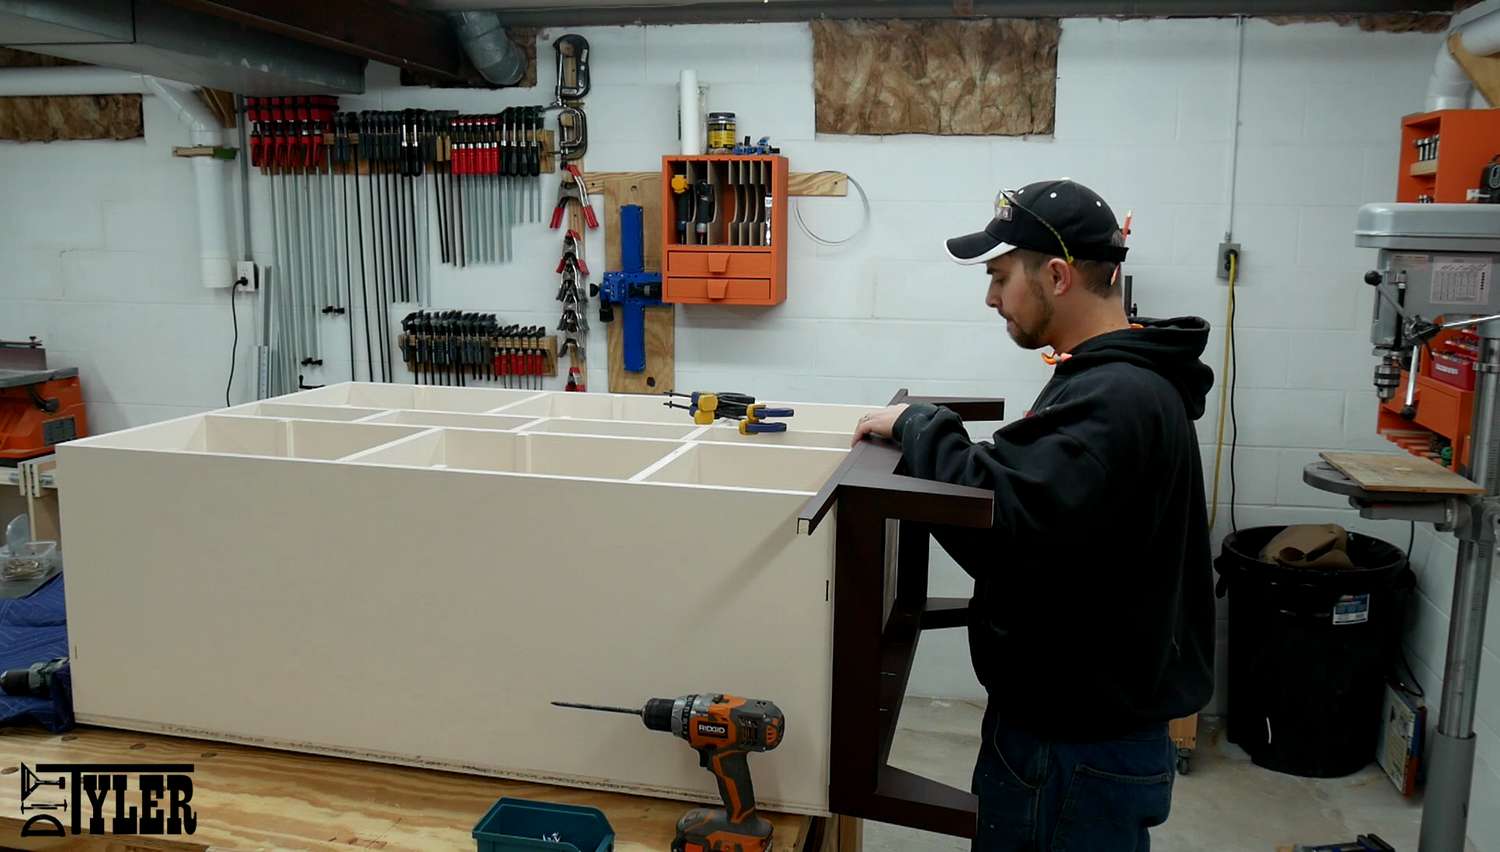
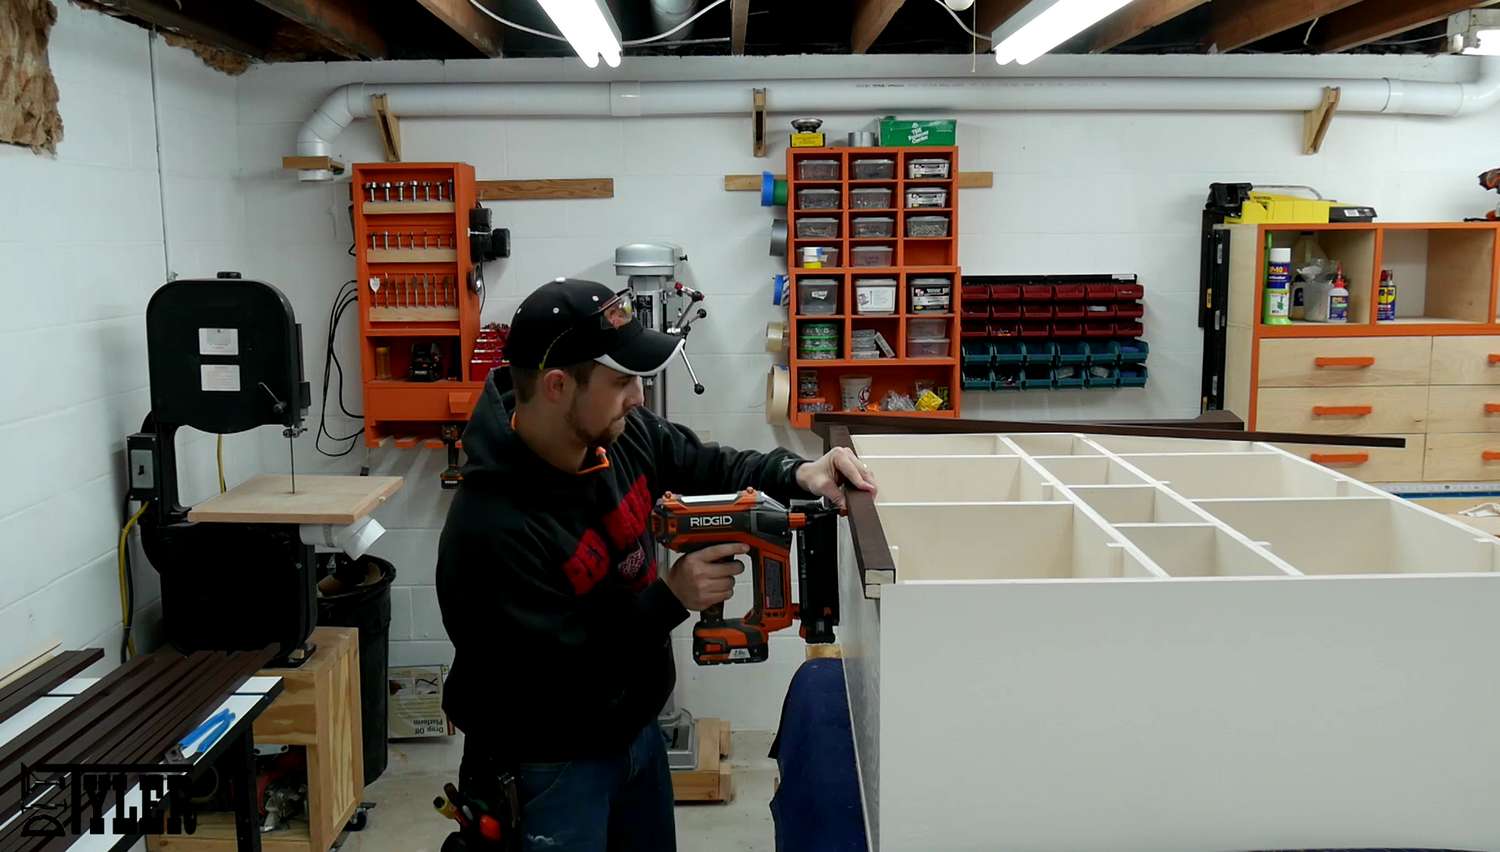
And added the trim using some wood glue and brad nails, really starting to look like a proper toy shelf now!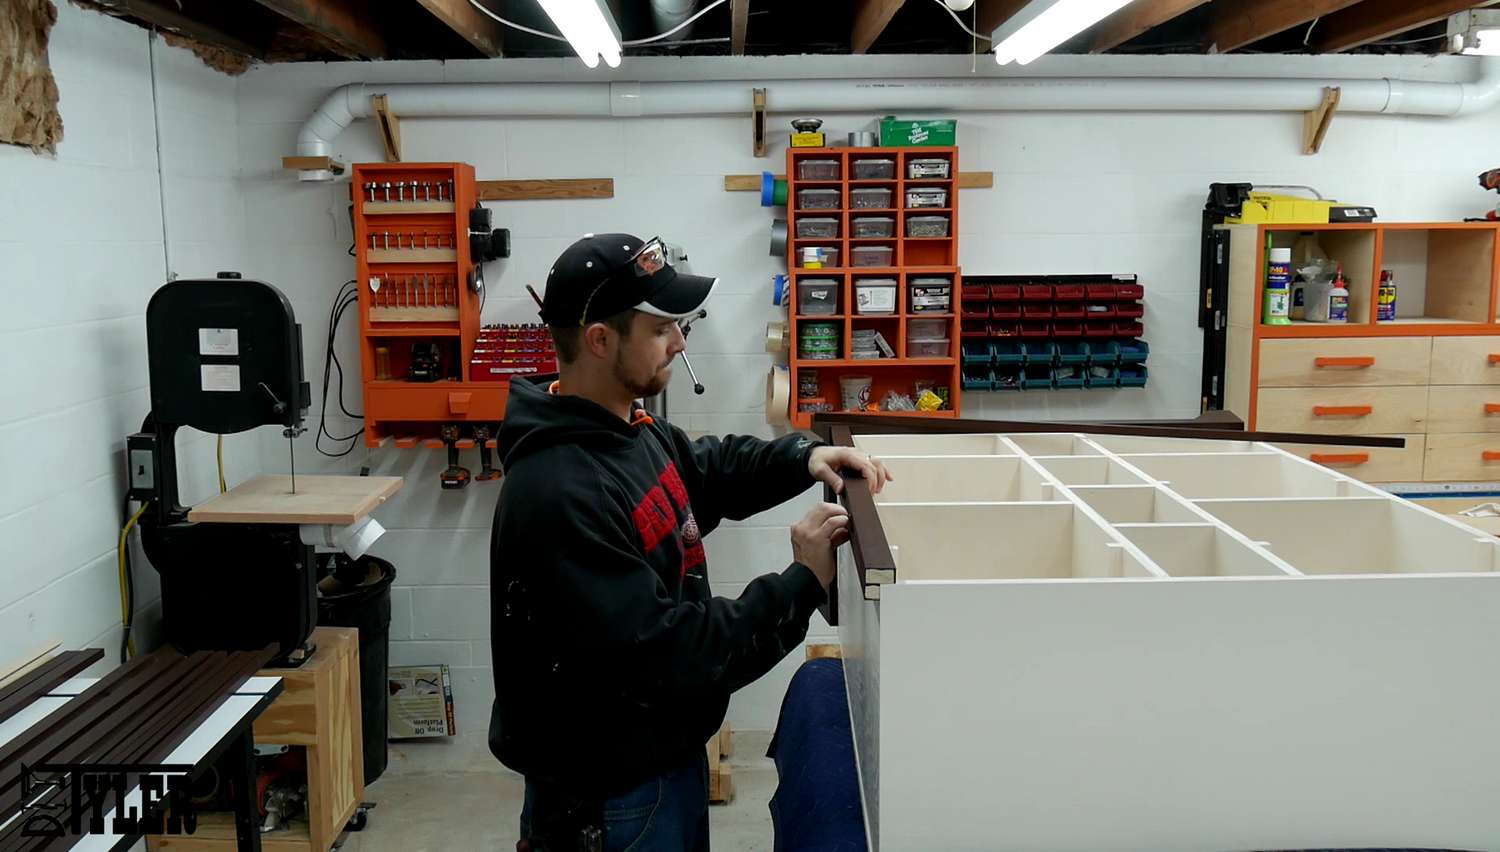
Here you can see a nice shot of the base, looks great and is super sturdy!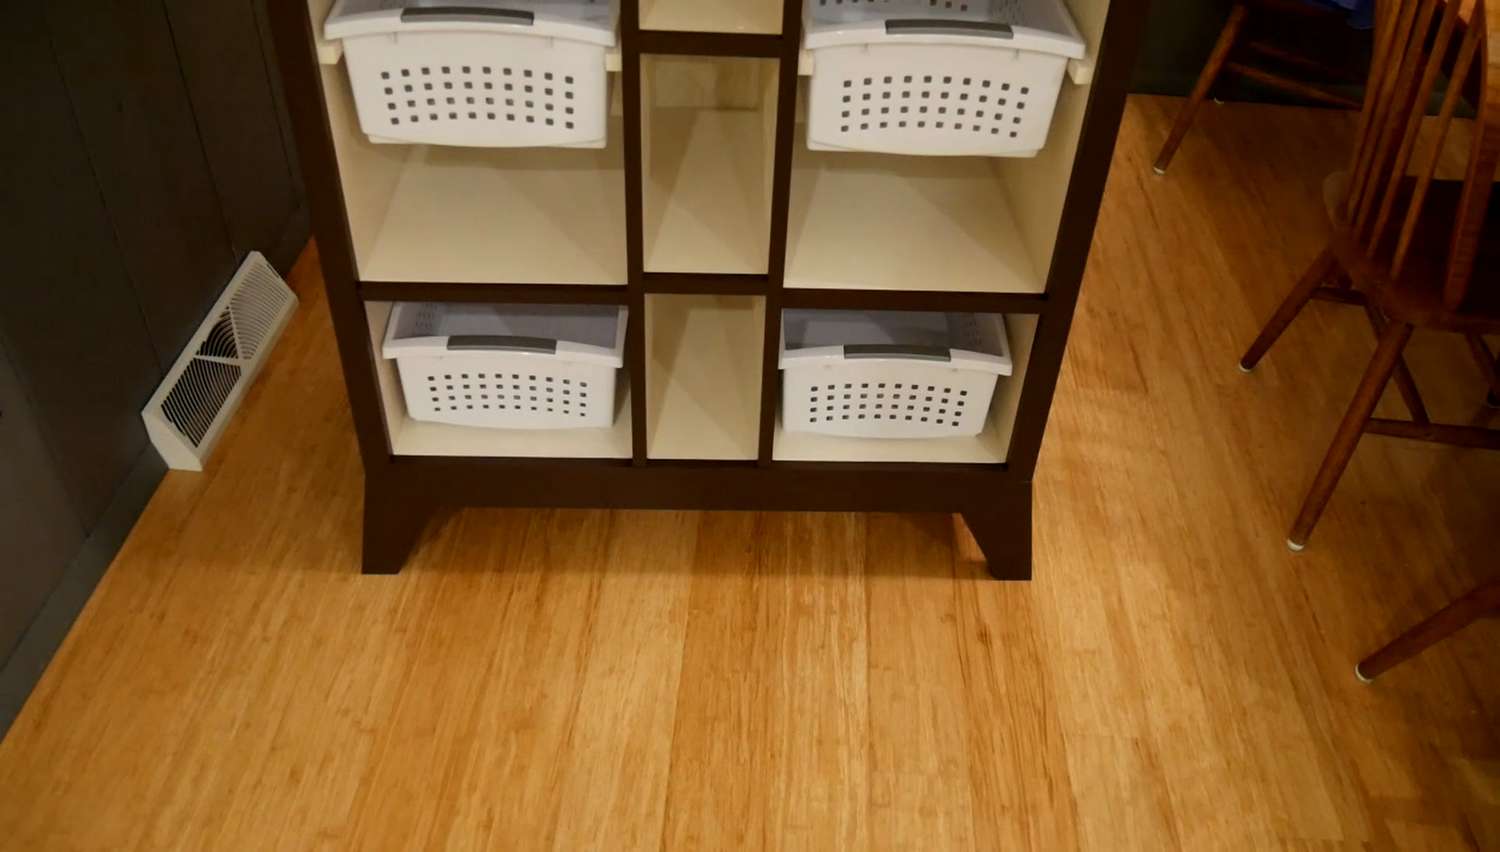
Conclusion
This was a pretty simple project to build and I think the base really adds a nice touch! Have not seen it in use since my parents Christmas tree is right where this shelf is designed to go but they really like how it looks!
Thanks for checking out the build and be sure to sign up for our email newsletter so you never miss when we put out a new project!
Please follow and like us:
2 thoughts on “Toy Shelf for the Living Room with a Modern Base”
Awesome toy storage cabinet. Just what I need. Do you have dimensions or plans for this project you can share?
I know this is one of your older entries and videos, but do you have plans for this toy shelf with exact cuts and measurements?