
We figured someday we would finish our new garage, we just didn’t think it would be so soon! The perfect opportunity arose when Home Depot reached out asking if we could show off some of their storage and organization products, so we jumped at the opportunity.
As you can probably guess, this post has been sponsored by the Home Depot, and many of the products we talk about were purchased at one of their stores.
#ad #sponsored
Getting Started , Cleaning
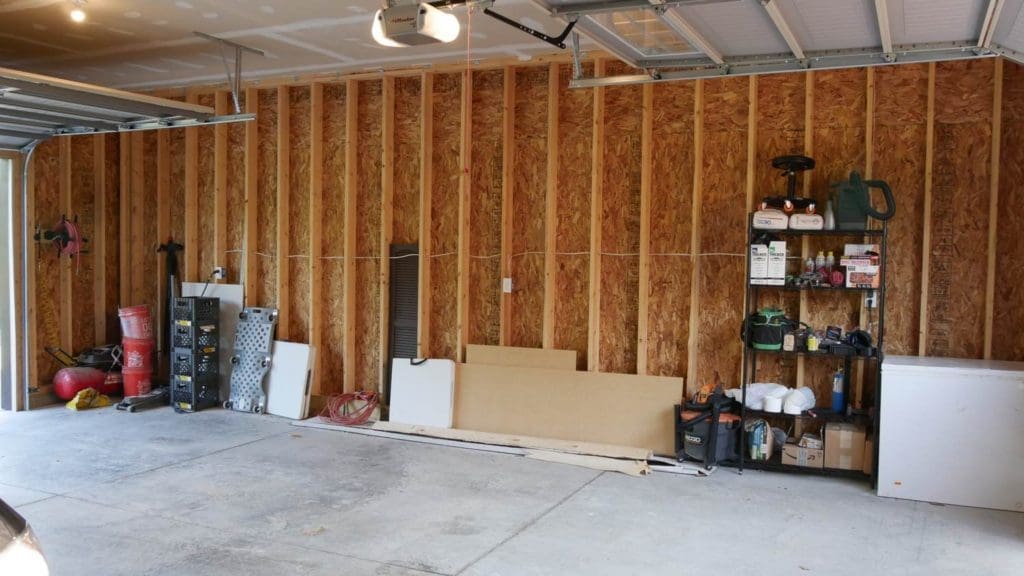
We had to get everything cleared up before we got started. The garage is just over a year old now, so a pretty recent addition, but enough time to build up a lot of little knick-knacks and stuff that add to the Clutter.
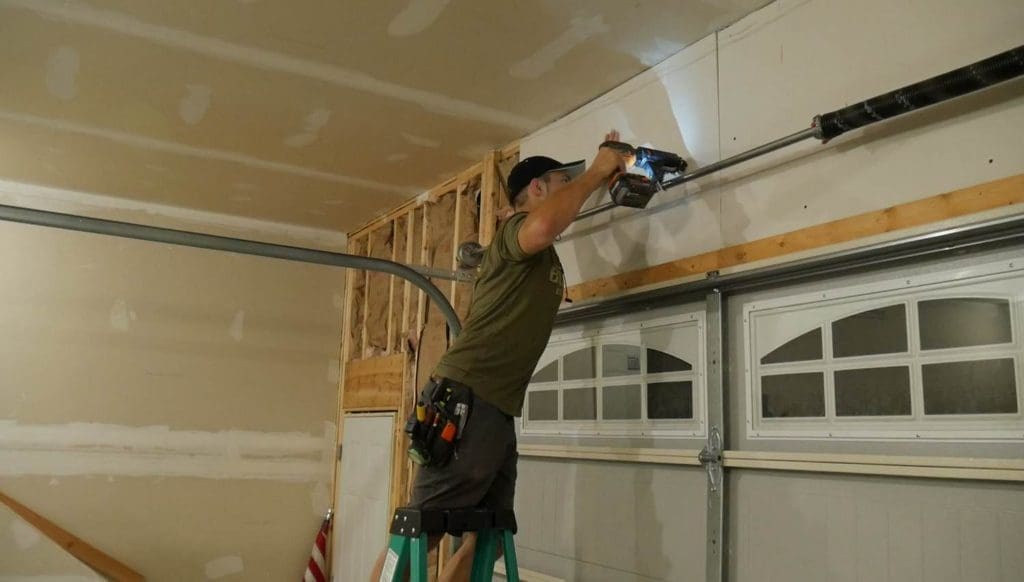
Do it right, or don’t do it at all, right? Well, we decided to go all in and insulate and sheetrock the space while we were spending some time in there. I took the time to shift the electrical boxes out a bit to make sure we could accept the sheetrock.

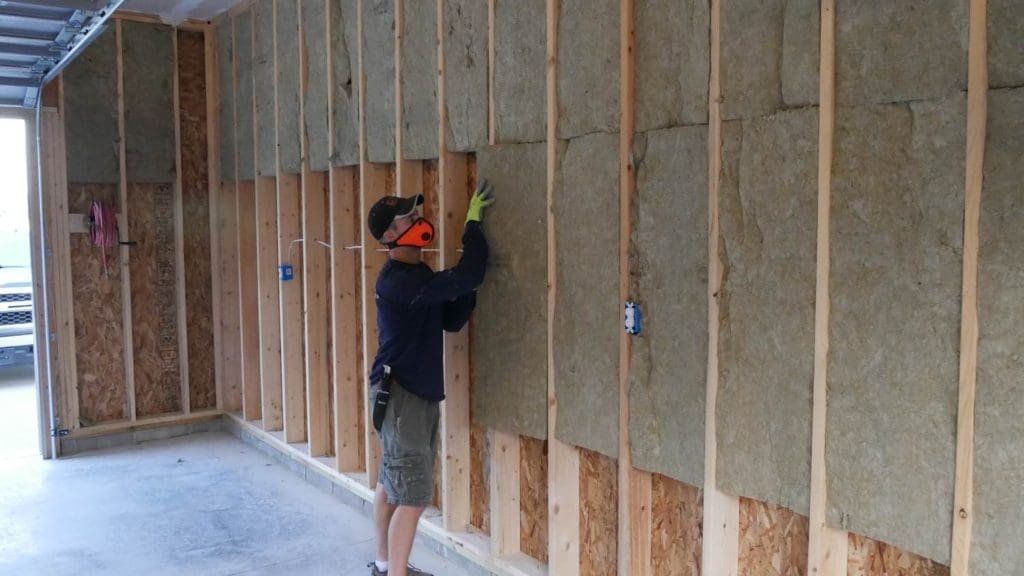
Insulation
We insulated the space with Rockwool comfort batts. This insulation is manufactured from ground-up/woven rock instead of fiberglass and absorbs sound incredibly well, at least when it’s not covered with sheetrock. Side benefit from being made from Rock: it’s way less itchy than fiberglass, which is always a plus!
Drywall
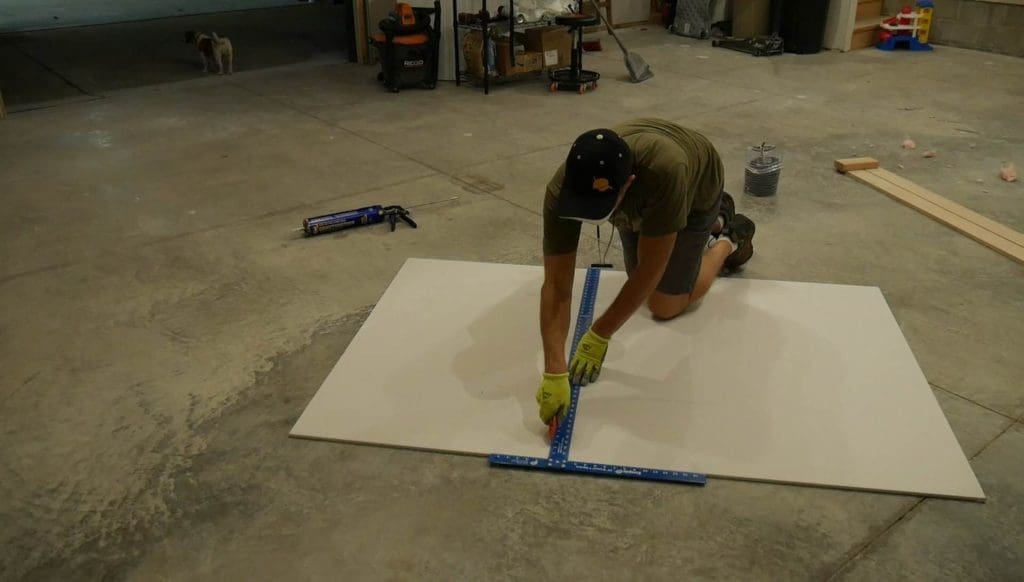
We then added half-inch sheetrock over all of the studs. By the way, I’m not sure what took me so long to buy a drywall T-Square, it paid for itself with this small job in time saved! It would have been nice to have for the last 10 years.
I mounted the sheetrock using Titebond construction adhesive….
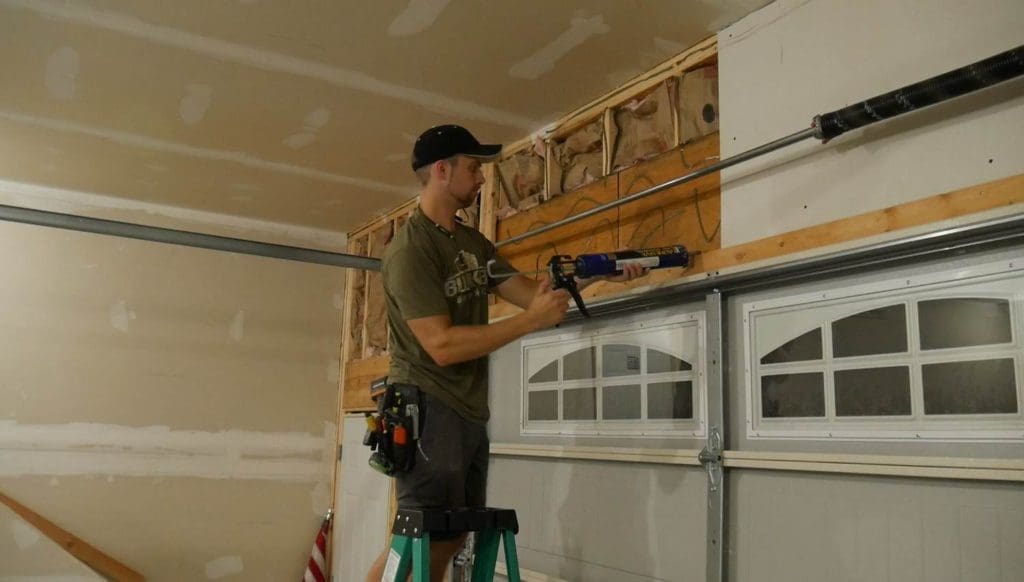
And 1 5/8″ drywall screws in my RIDGID colleted drill..ANOTHER magical tool for hanging sheetrock.
Forgot to snap a picture but we were lucky enough to be able to get our drywaller friends in for a day to fire-tape. Took him hardly any time at all, and cost $100. (A well spent $100, I’ll say!)
Primer / Paint
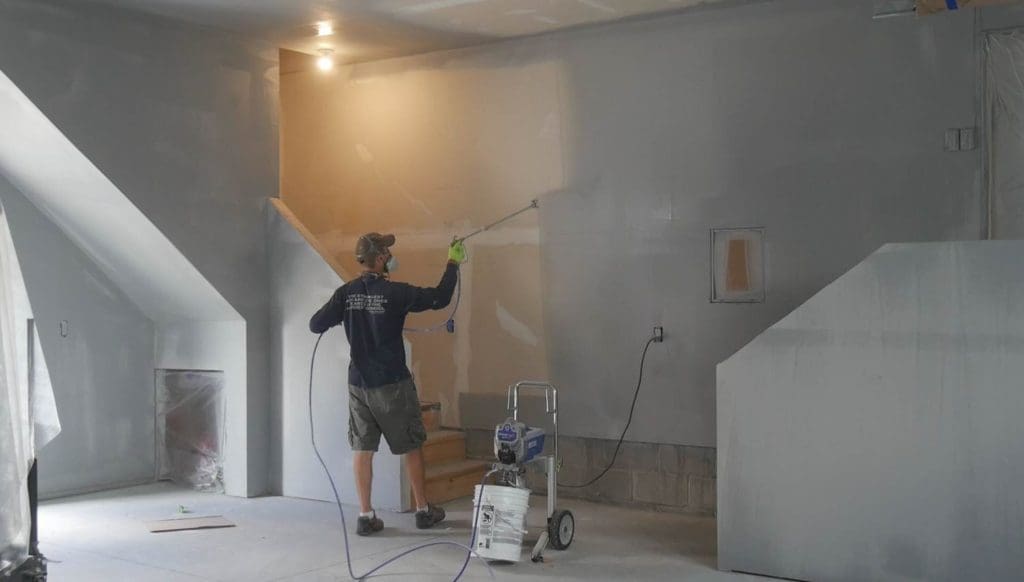
I then used my Graco x17 airless sprayer to shoot a coat of primer and a topcoat of satin. Spraying is the ONLY way to apply finish of any type! I was able to spray a total of 10 gallons in about 2 hours!! Yes, it takes quite a bit of time and effort to mask off correctly, but is still WAY better than brushing and rolling!
To save precious time, we used the same neutral color for the ceiling and walls. Pro tip: choose a gray that will blend right in with the cinderblock foundation and concrete floor. No unsightly paint flecks anywhere!
Organize!
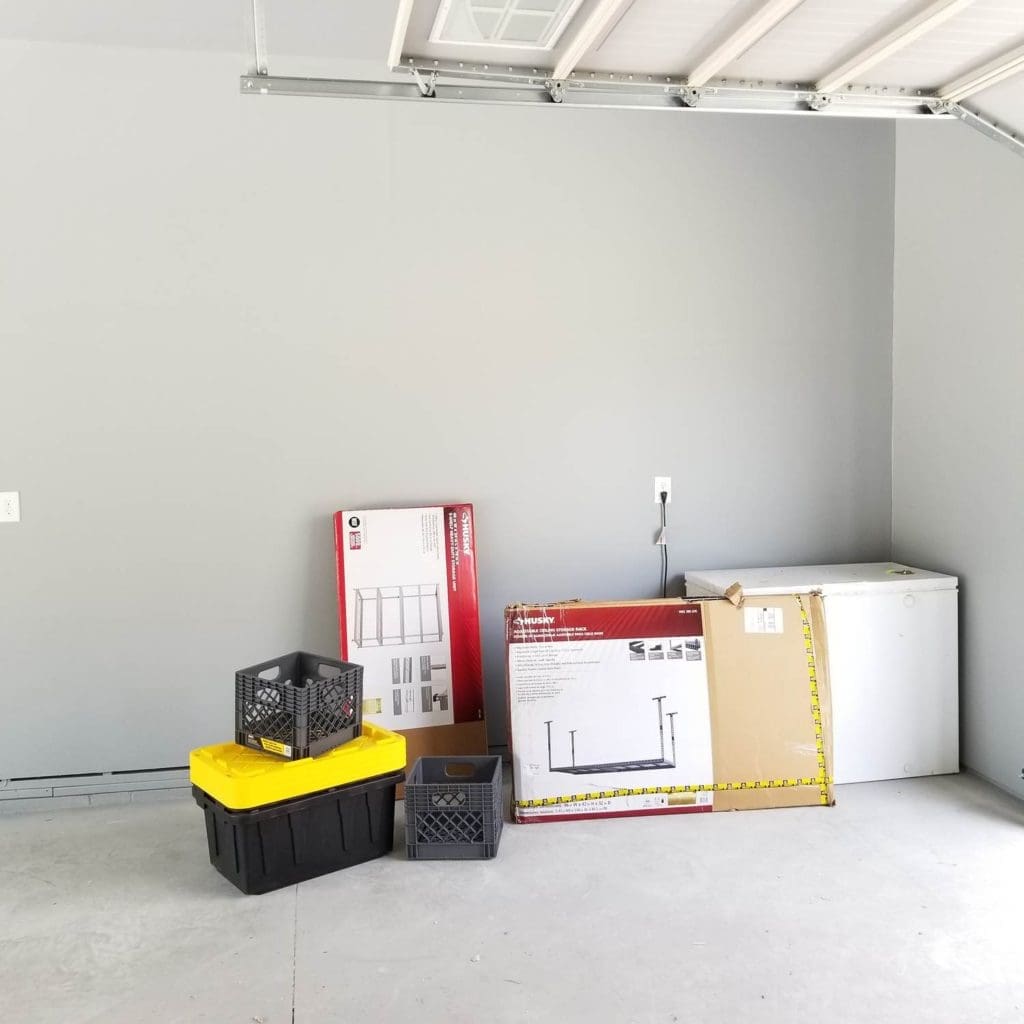
You guys know we like clean spaces and now it is time for the fun part, adding all the shelving and storage bins! The Home Depot was running an up to 30% off sale when we bought this stuff, so we were able to save a few bucks there. Keep an eye out for sales like that, they’re so helpful!
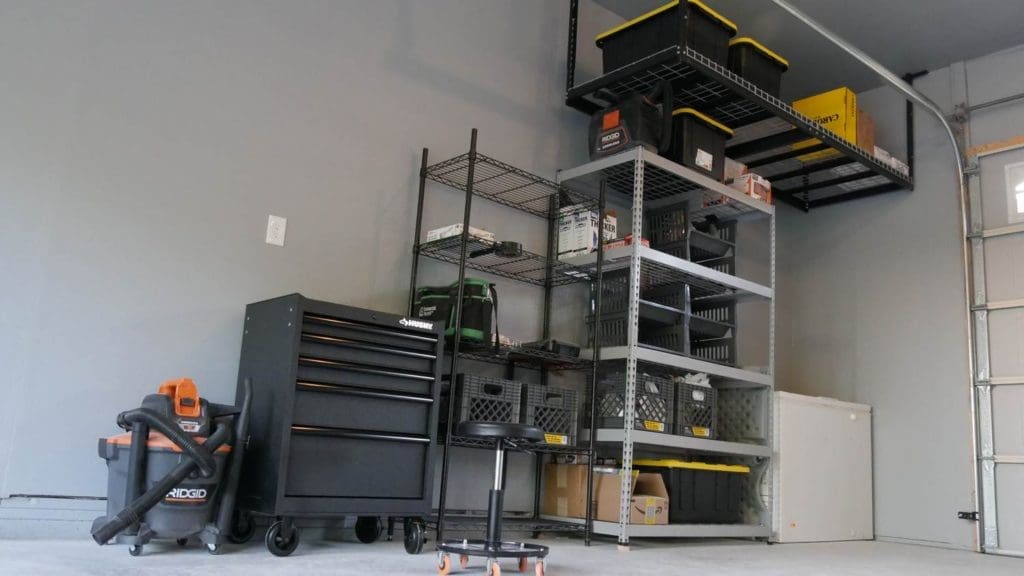
We ended up picking up a few sturdy shelves, a ceiling mount rack to utilize the higher spaces, a bunch of totes, milk creates and shelf organizers (my favorite!)
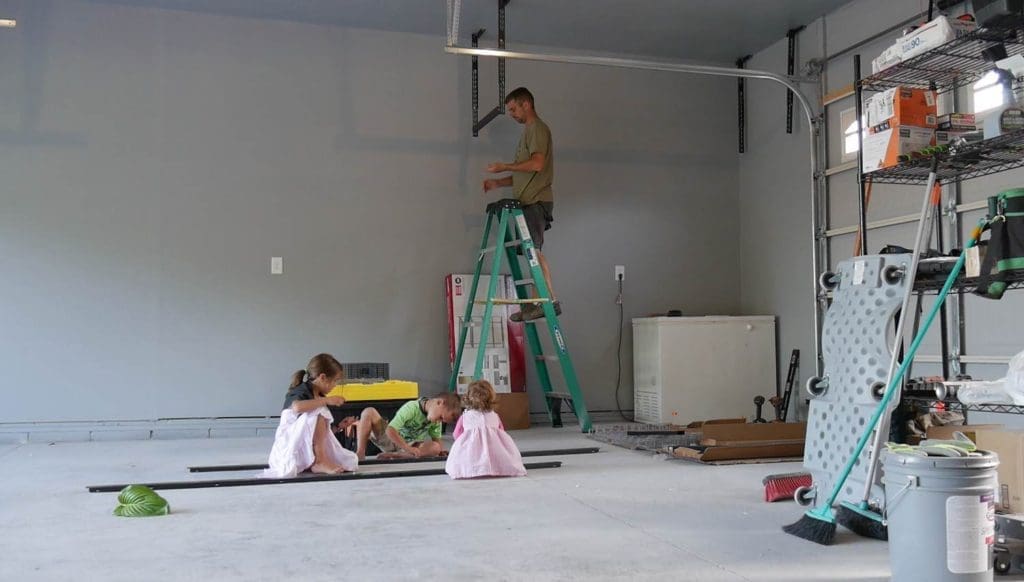
The kids always like to lend a hand, and as they get older they can do more and more and it’s great to have them around and involved!
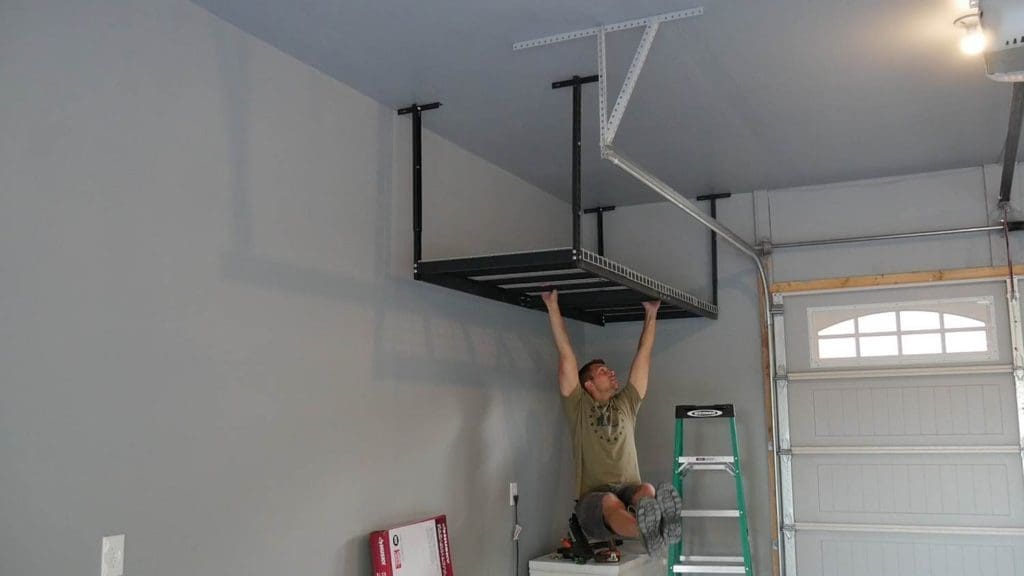
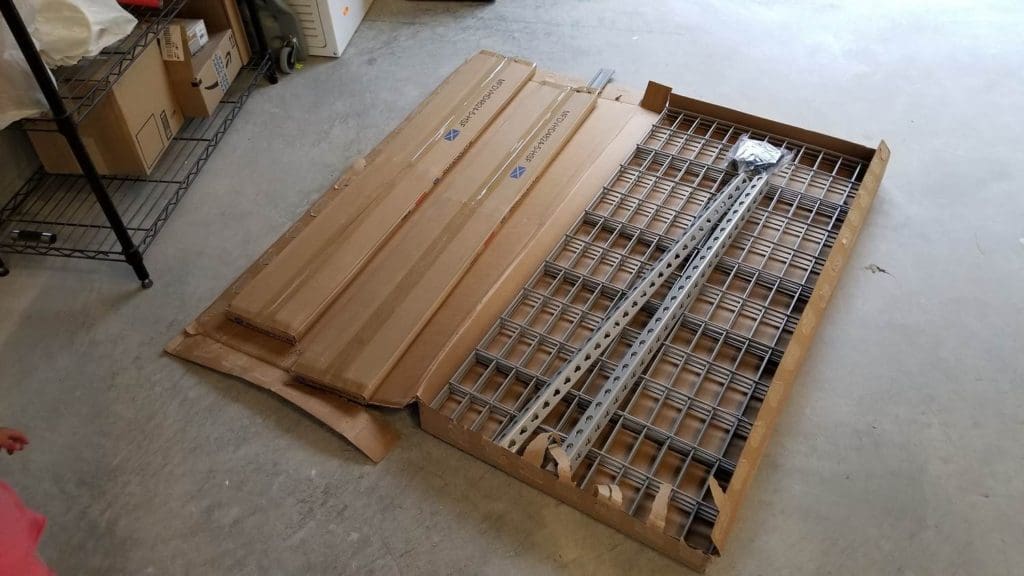
We started with the ceiling rack. Was very pleased with how well it was packed, it was heavy, and the instructions (I read them this time) were pretty good.
And the good news is, it will hold somewhere between 100 and 200lbs with no issue! Actually it’s rated for somewhere around 600lbs… but that’s a lot of stuff.
And moving onto the heavy duty shelves. Again, well packed, which is a good thing for such a heavy box. Really happy with this shelf, it’s very deep which is great for those larger items.
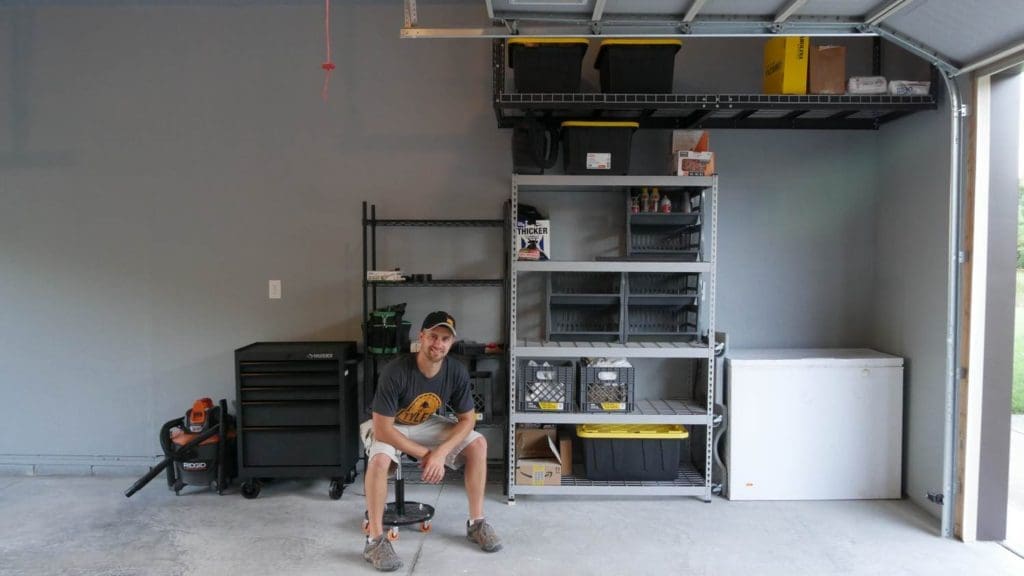
To complete the space, I added an upright toolbox and mechanic’s stool. The cordless shop vac belongs here too, for cleaning out the cars. The wife was very pleased that I added a battery charging station here as well. No more trips All the way to the shop to grab a battery!
Concluding thoughts
We’re REALLY happy with how the space turned out. This week long project cleaned up our garage so much, and will be more comfortable in the winter with all the insulation we added!
The toolbox and vac right by the vehicles will be great as this is where I do the vehicle mechanic work. Now I don’t have to share my woodworking tools with the filthy brake jobs!
Big thanks to The Home Depot for sponsoring our efforts and letting us complete awesome projects. Be sure to check out their site for the latest promotions!
Please follow and like us:
3 thoughts on “Garage Makeover + Mechanic Zone”
The Ceiling storage took me to a milk crate link on HD site (LOL).
GSC Technologies
6.5 Gal. Milk Crate Storage Tote in Graphite
Same.
Please comment on how the sheetrock was installed under and around the garage door structures