We recently updated our Living Room . It’s actually a second living room in our house, the first one being updated last year (video HERE). But I digress. The room we’re talking about today was looking dated and pieced together. Old brick fireplace, old worn couches, yellow-y electrical plates, brown, beat up trim…you get the idea. The wife and I decided to make it a 24 hour makeover project, and we’re so glad that we did! Two videos went out on the renovation, How to whitewash a Brick Fireplace and 24 Hour Living Room makeover . It looks fantastic now! So fresh and cozy.
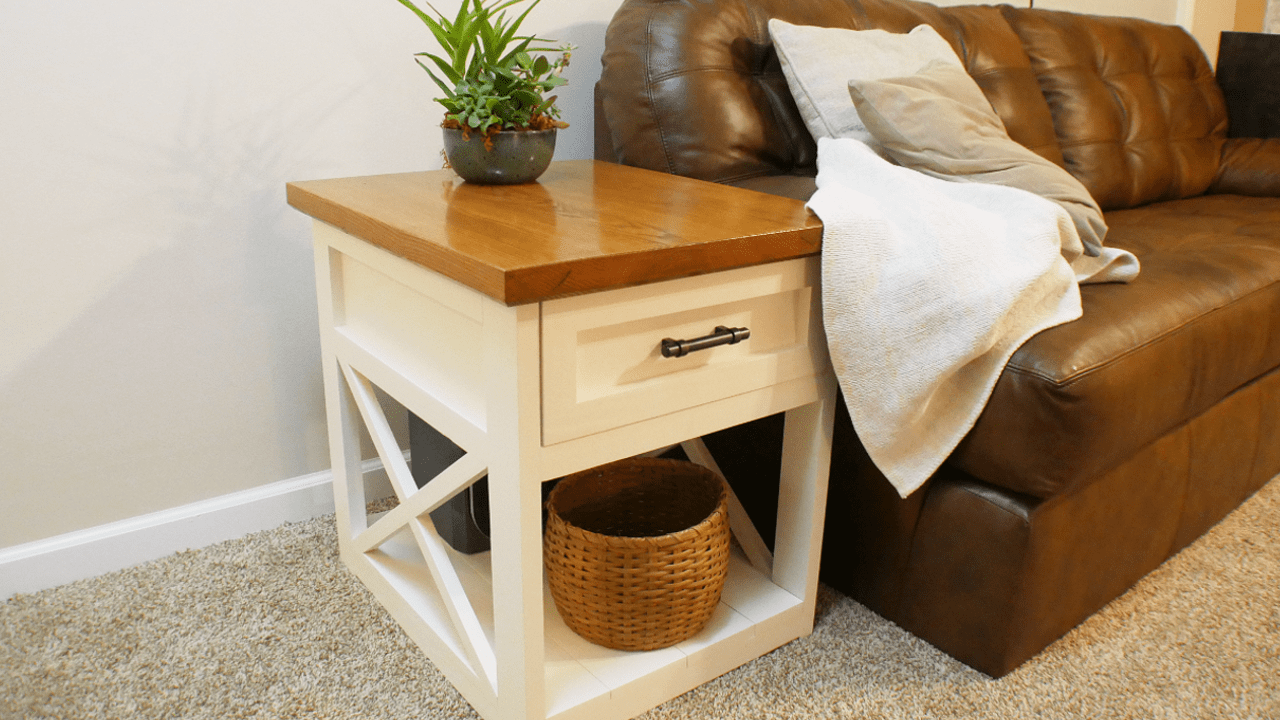
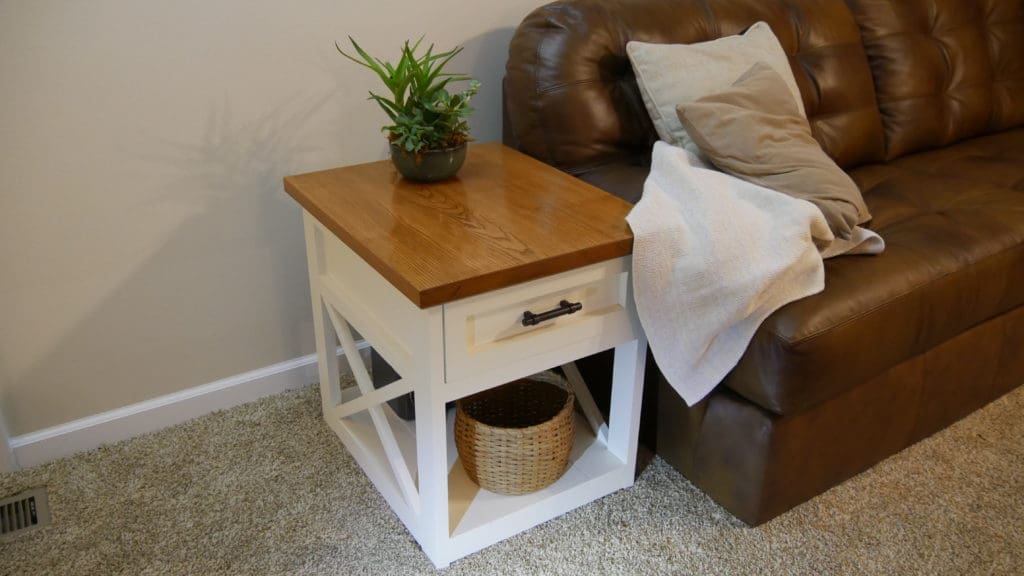
All that being said, we were sorely lacking beautiful side tables for the room, and a little Pinteresting around surfaced some ideas. We decided on Farmhouse Style end tables, with a lacquered base and darker Ash top. Complete with a drawer, for all the little gadgets one uses near a sofa!
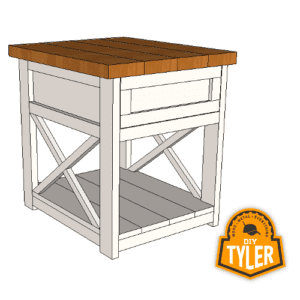
We have put together a set of plans for this side table if you are interested!
Step 1
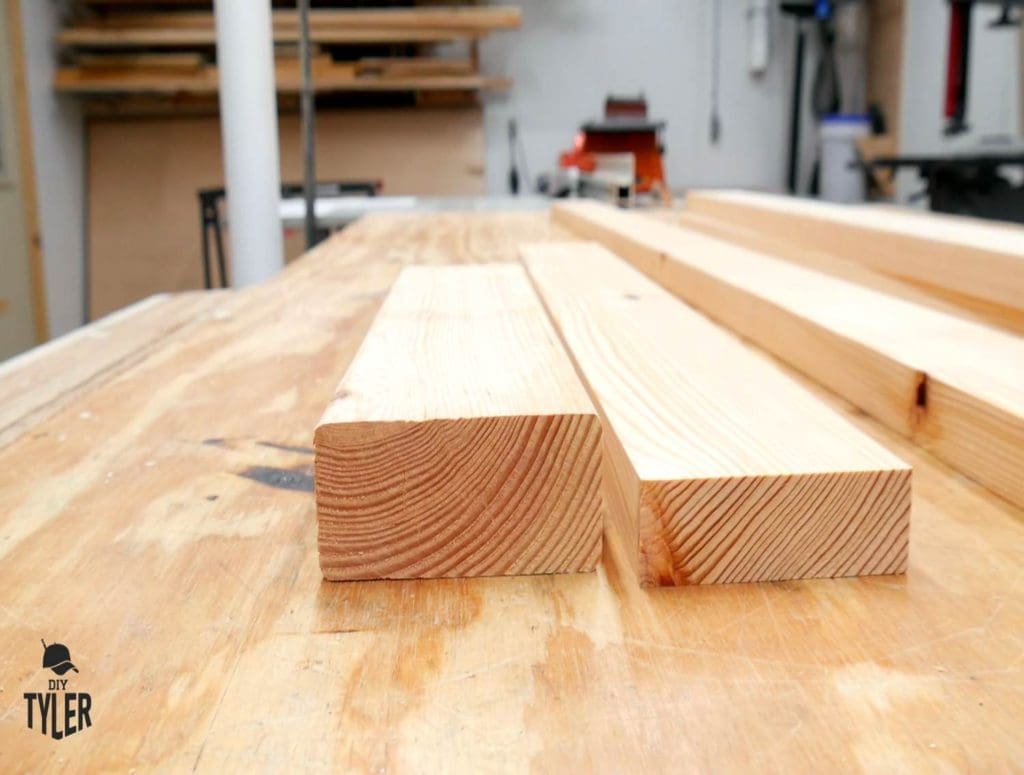
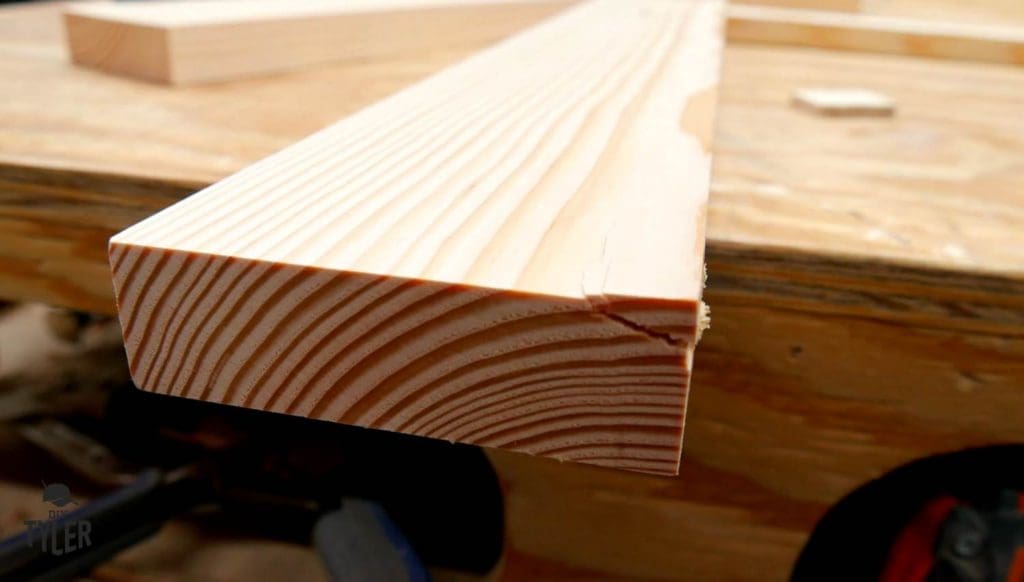
Since we are going to paint the base, I ran to the local big box store and picked up some construction grade lumber. These 2×4 boards were selected carefully, boasting a tight grain pattern and no warping.
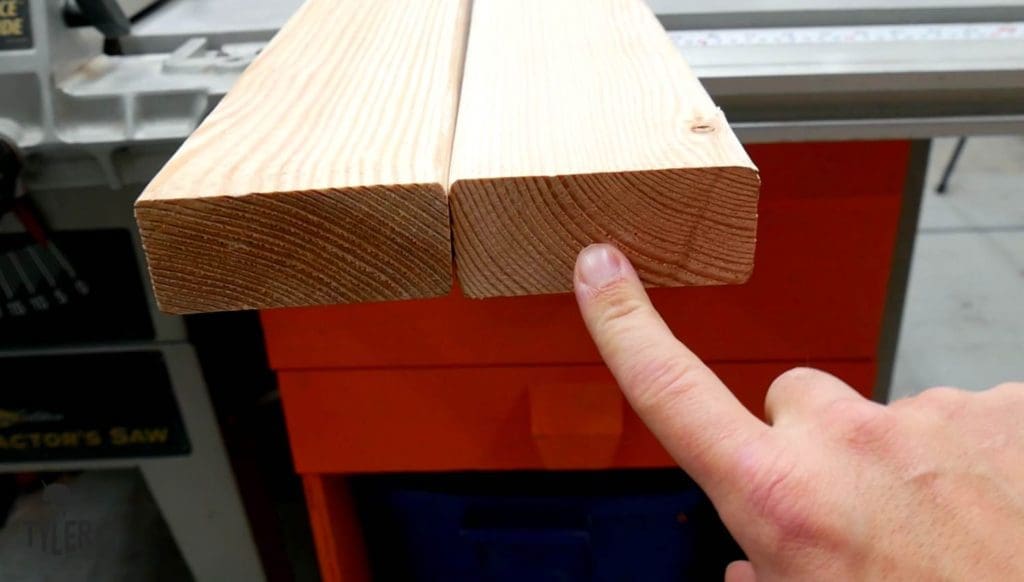
As opposed to:
Yeah, that’s sad.
The project began over on the miter saw, where I cut the 2x4s down into a workable length. The aim was to get a few leg pieces out of each board, with little leftover.
Next, a visit to the Jointer to make two side flat.
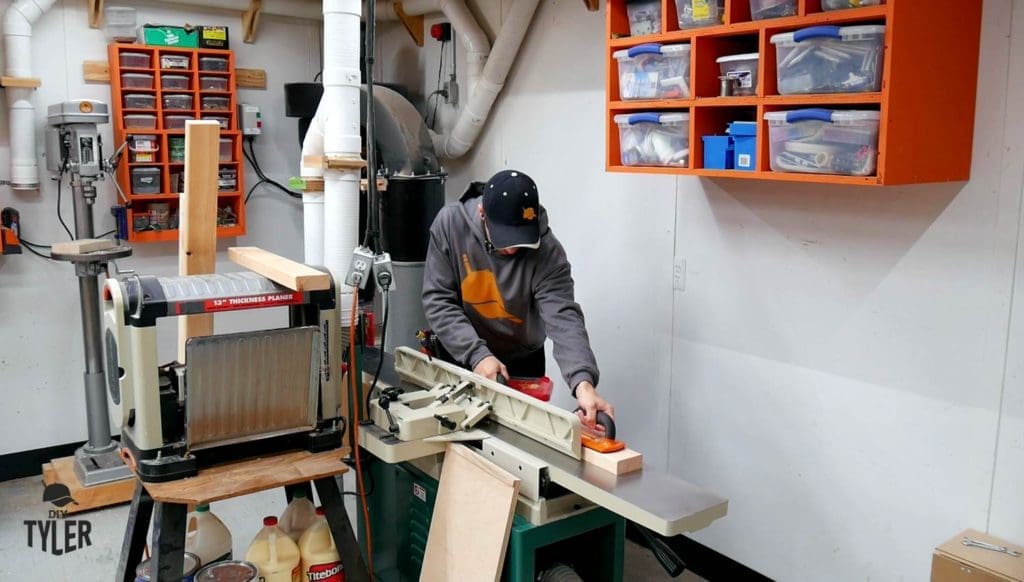
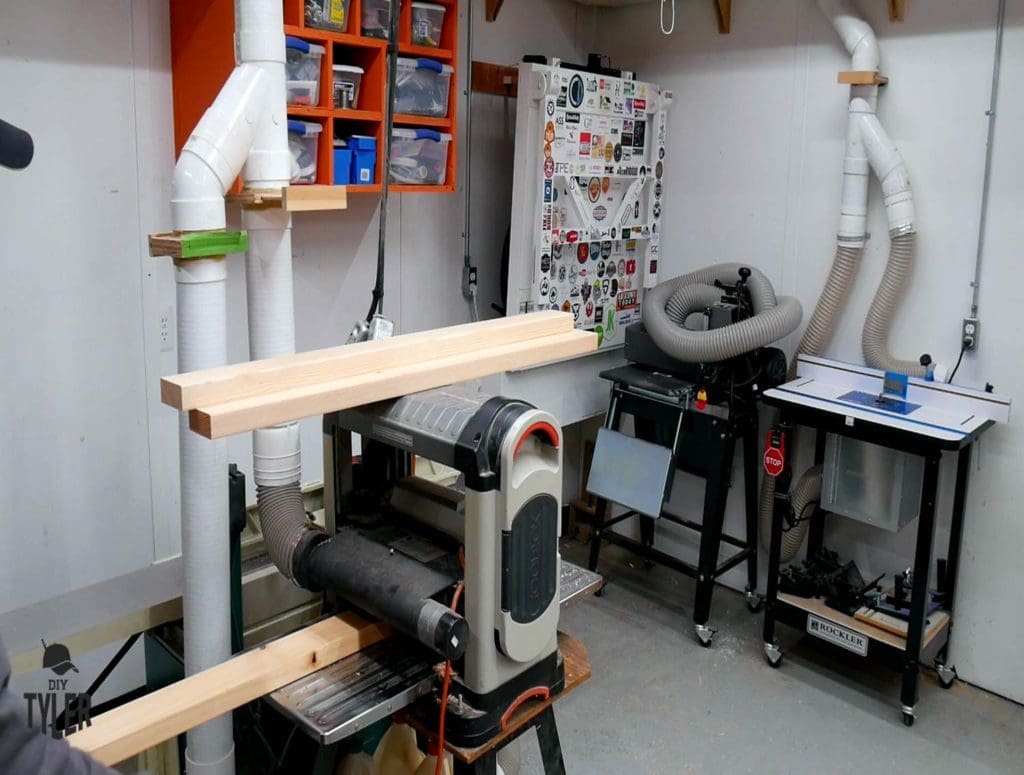
Followed by a visit to the Planer to make the other sides parallel.
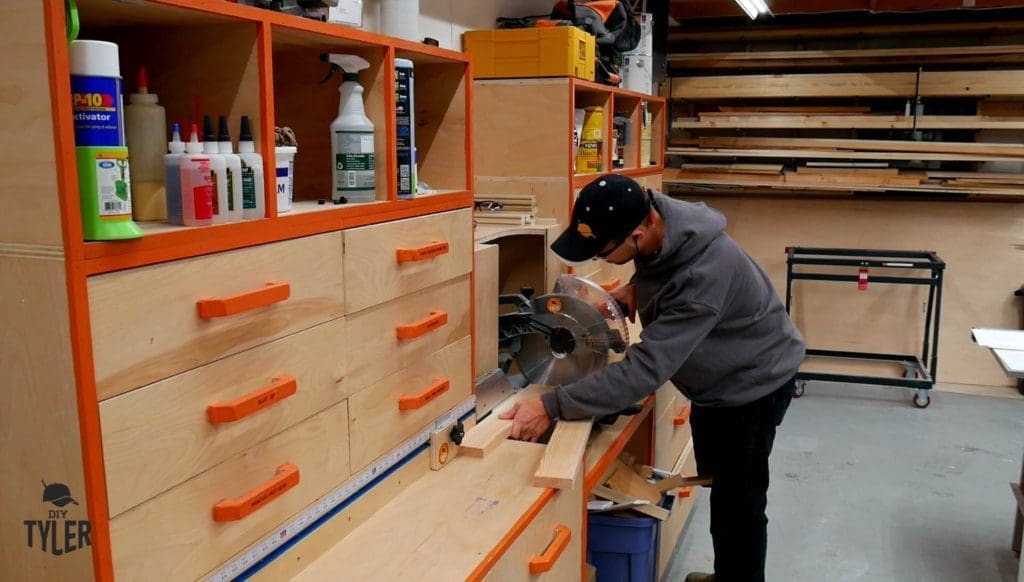
Here we are, back at the miter station, now cutting the legs down to their final length of 22 inches. This height, when combined with the Ash top, sits very comfortably beside the arm rest of our couches. It just looks right, too.
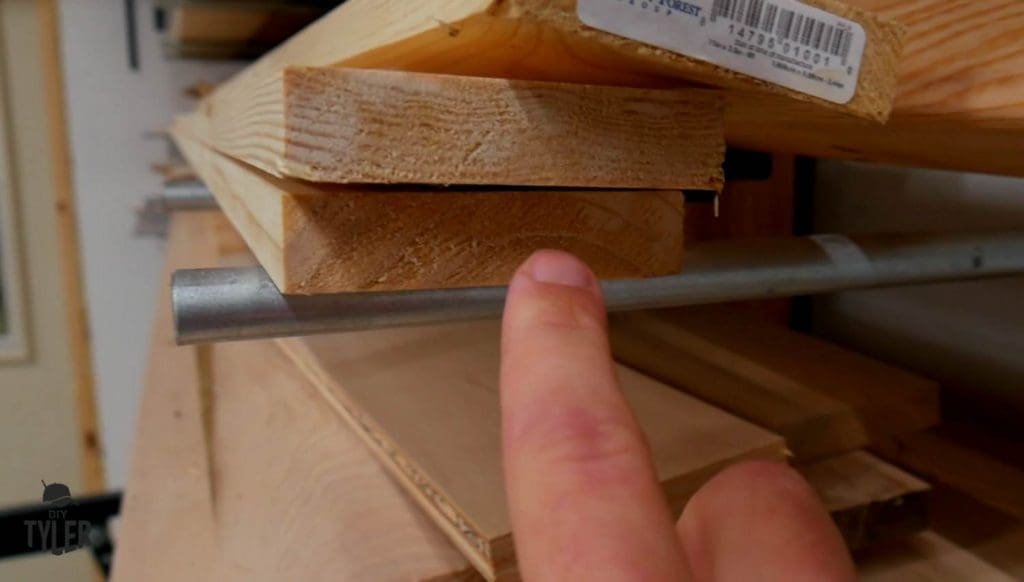
You can see here why I chose to plain down the 2×4 a little…they’re thinner, sleeker, more furniture-like.
Using a 1×10 board, I was able to rip down the base pieces with the table saw. This will later act as support system for the tables, and offer a neat little shelf on the bottom as well.

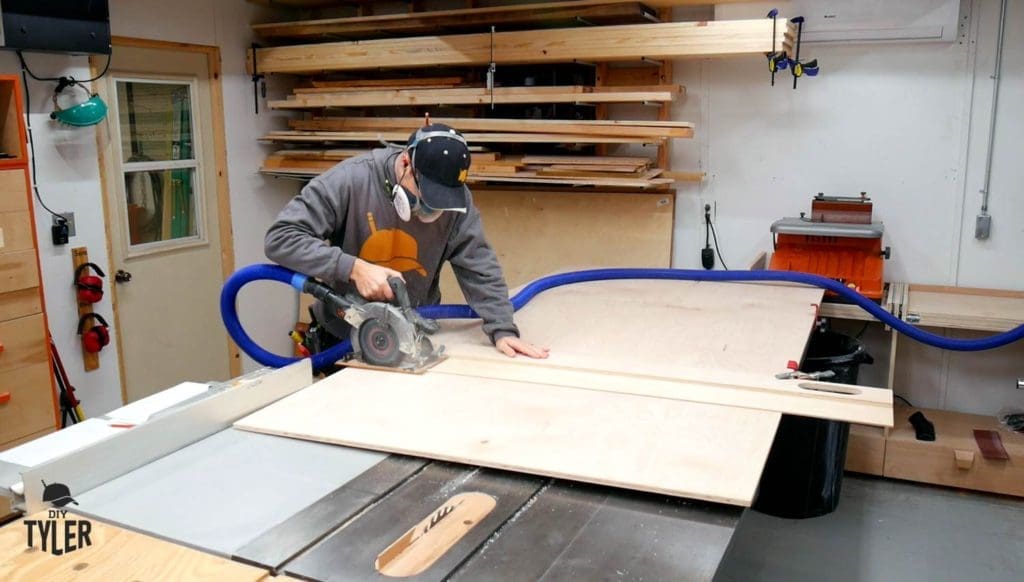
Last but not least in the cut list, we have a small amount of plywood to cut down for use on the drawer. I used my crosscut circular saw for this step, but it really made me aware how much I’d like to invest in a track saw in the near future.
The table saw cut these pieces down to their final dimensions.
Step 2
It’s pocket hole time! Don’t you love the simplicity? For everyday furniture, I love pocket holes. Finer woodworking can boast of dovetail joinery and doweling, but for our day to day high usage projects, I always turn to the kreg jig. In fact, a little R3 kreg jig was one of my very first tool purchases in my quest to become a woodworker!
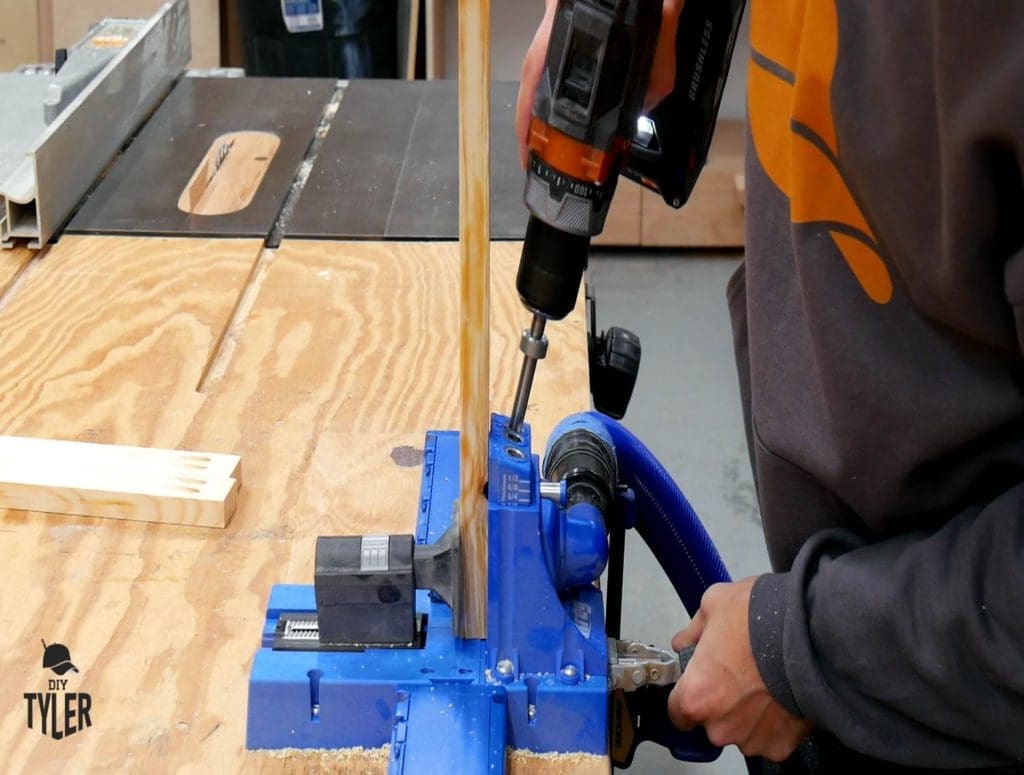
For this project though I chose to use the kreg jig K5 , which is an excellent tool for repeatable pocket holes. It clamps securely onto my work station and has a dust port for dust collection.
Step 3
Time for some assembly! These tables are going together quickly. I will be using Titebond 2 wood glue, in conjunction with 1.25 inch screws into the pocket holes.
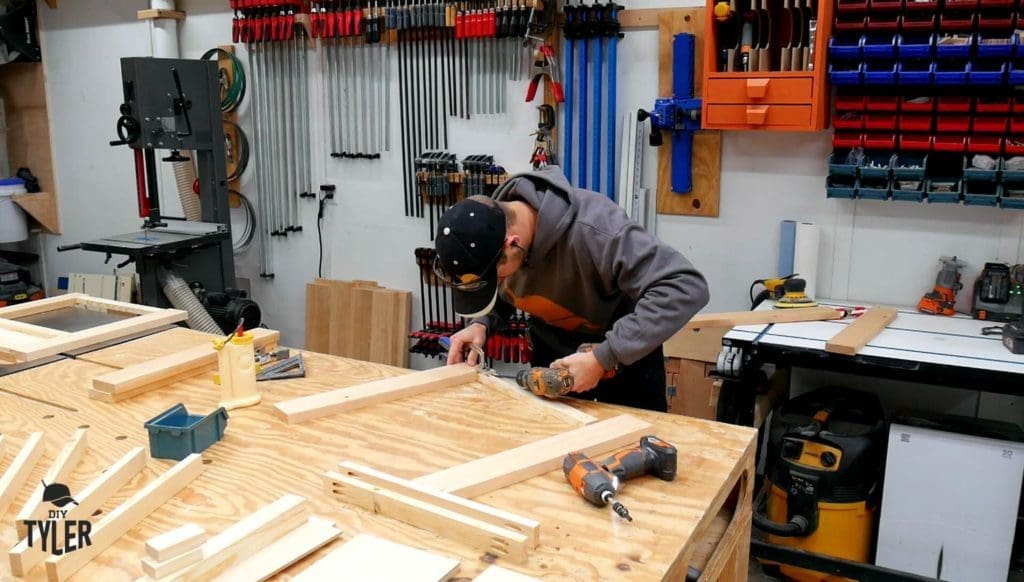
Oops.
I ran into a little problem with cracking one of the leg joints while drilling the holes. Failure is an option! But so is fixing your mistakes….so….

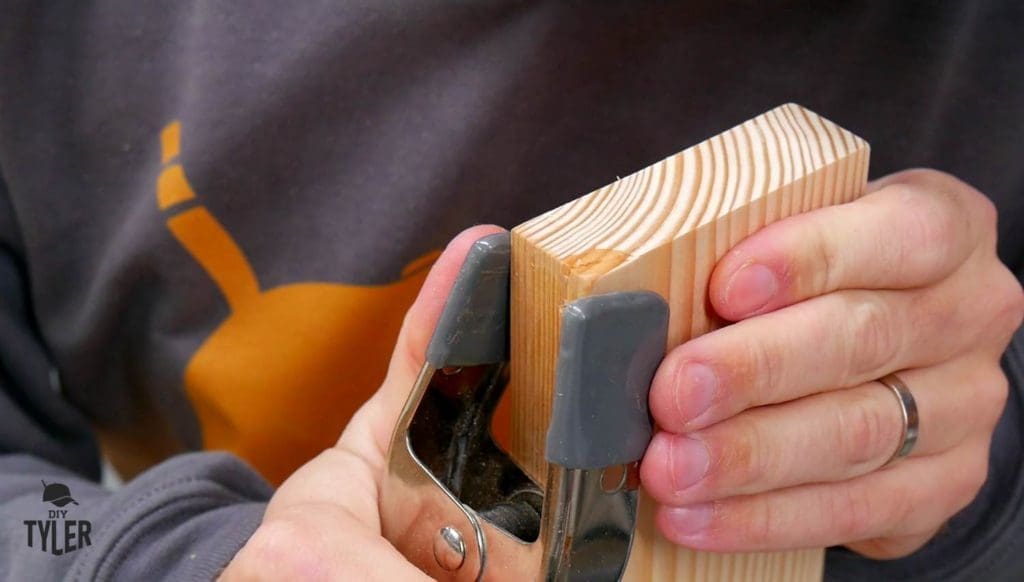
Some Titebond CA glue and clamping for a few minutes had me back in business. Grateful that we’re painting these boards, because my problem would be more evident with stain.
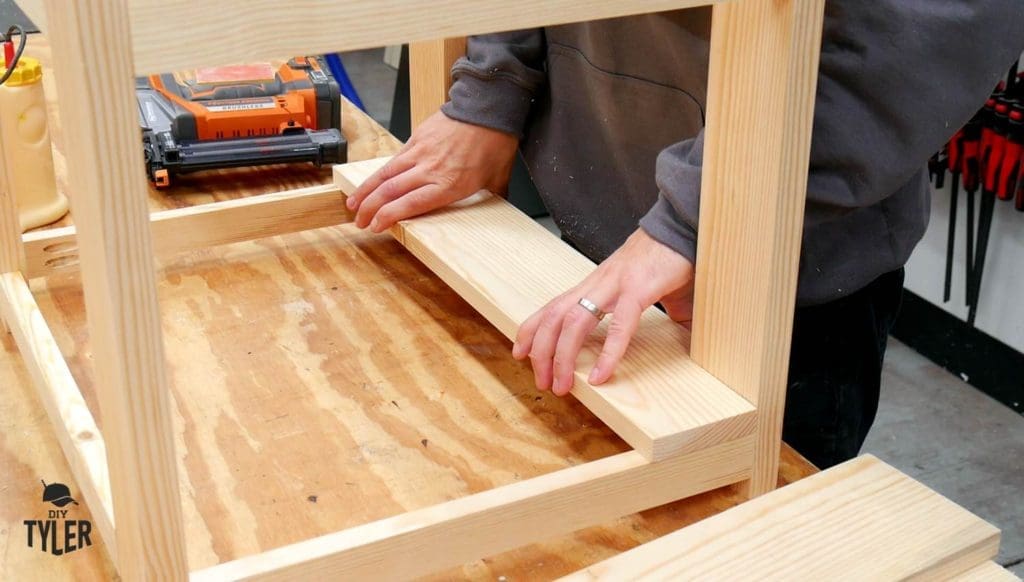
So the sides of these side tables will have a faux shaker style look to them, where the sheet goods come into play. Wood glue and pocket screws have held everything together so far, but for this piece we will be using glue and a few brad nails to hold everything into place.
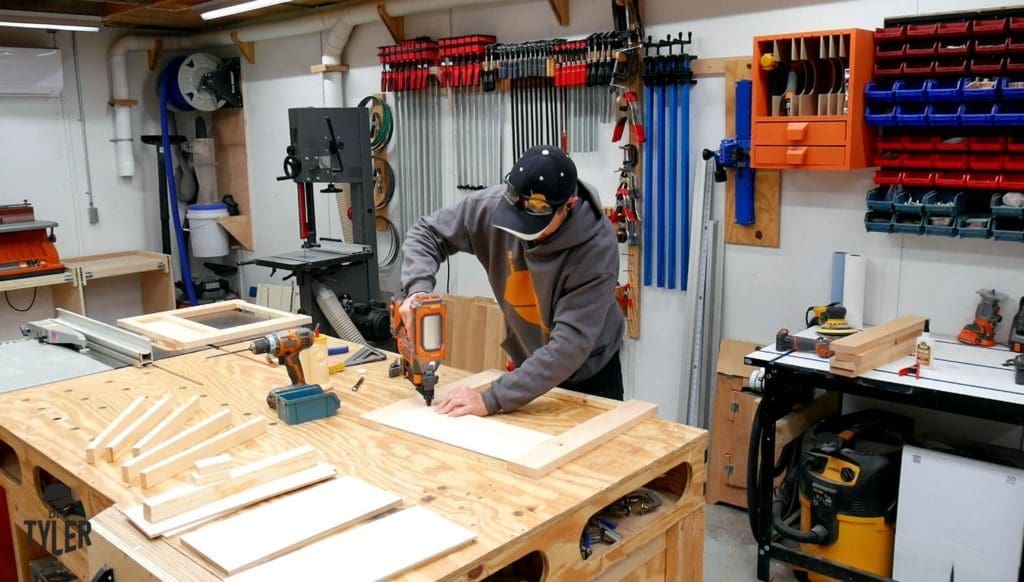
Looking good!
A few more pieces of the puzzle put together…….
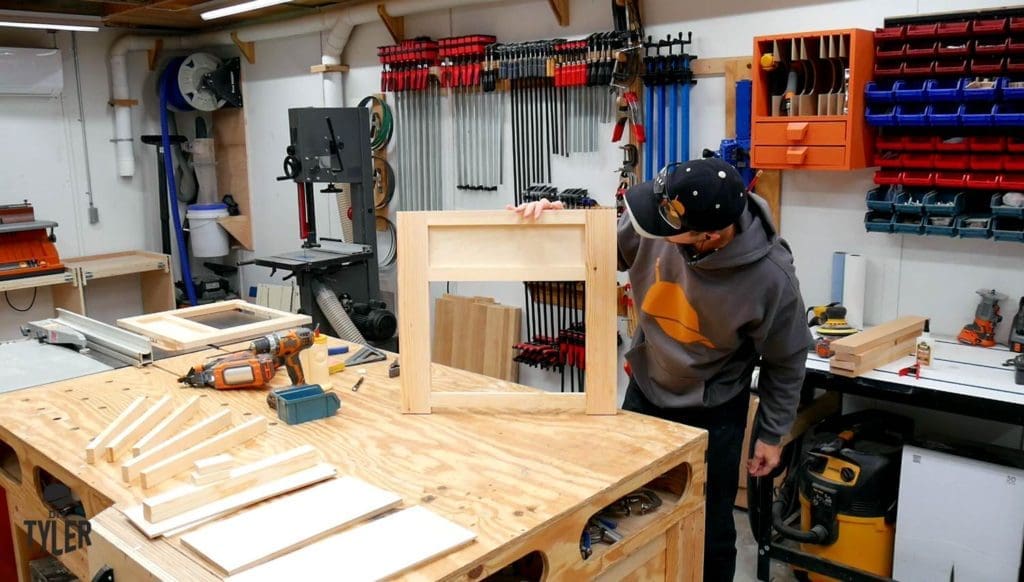
And it’s time to revisit the 1×10 boards we ripped down earlier.
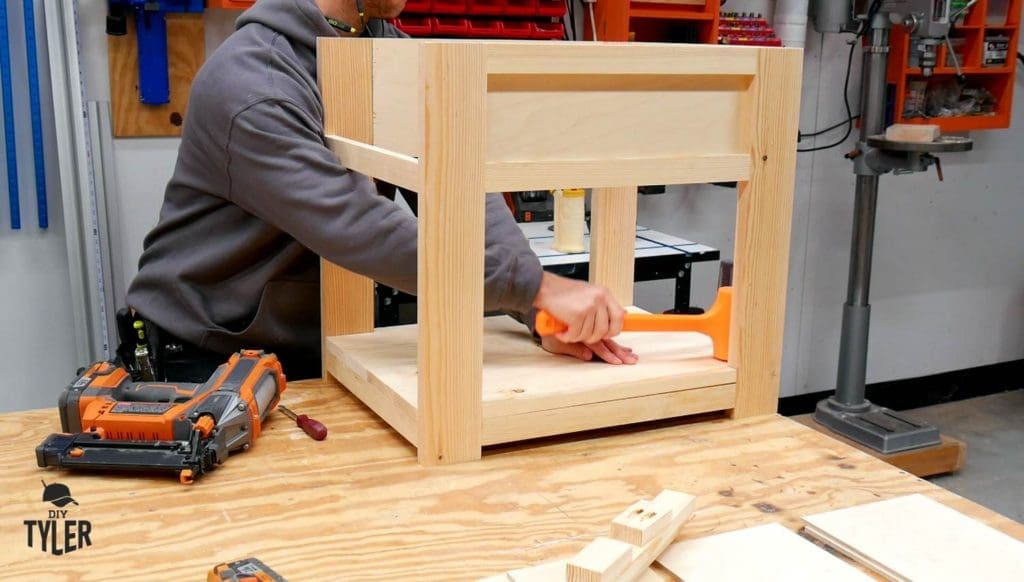
I created a notch out section on the band saw as a first step to making the base, which will hug the corner legs on the table.
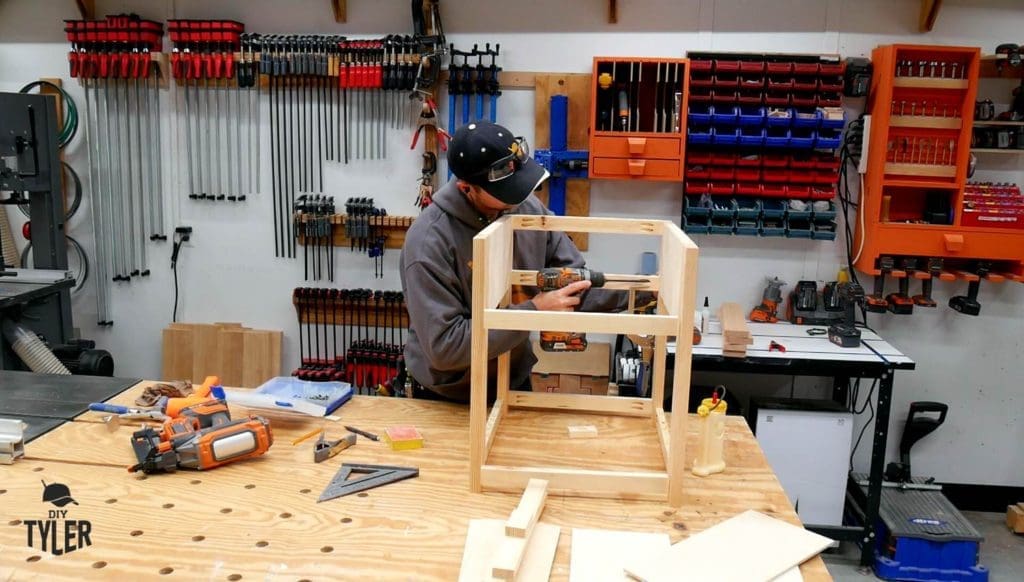
Glue and brad nails held the base into place, with a gentle nudge from my DIYTyler orange mallet. Up until now, my table wasn’t completely squared up, but the base here seemed to fix that problem perfectly.
Step 4
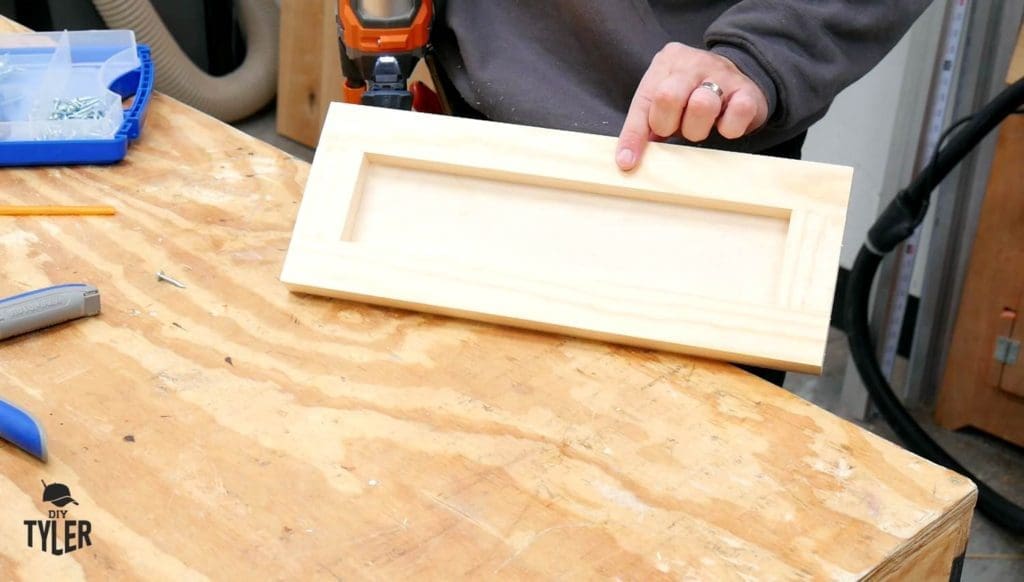
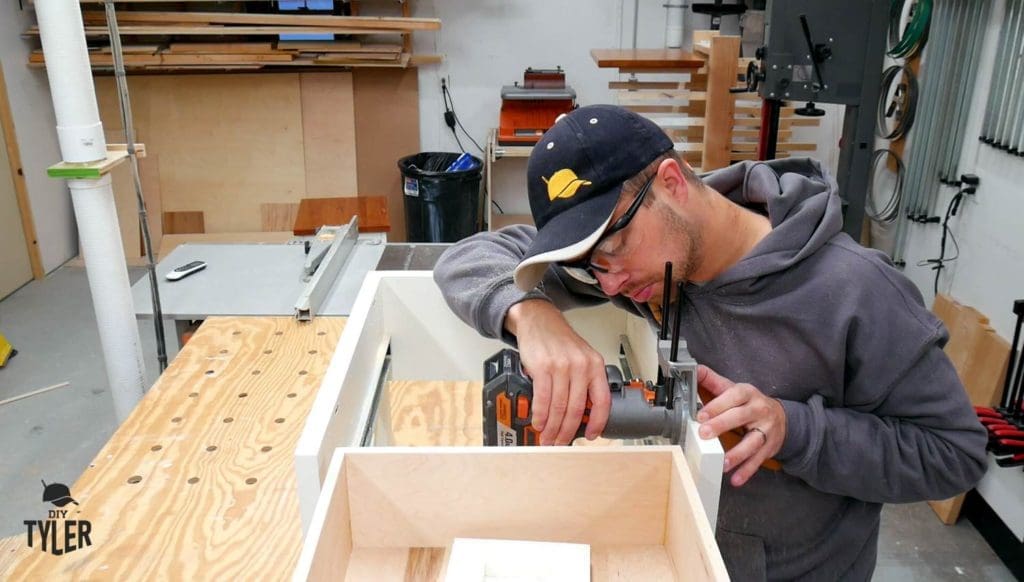
The drawer. Faux shaker style, with pocket screws, glue, and a piece of plywood for the back.
Obviously we can’t have a drawer without a carcass, which I made with the rest of the plywood we cut down earlier. Thinking of that Track saw again. (Someday.)
Step 5
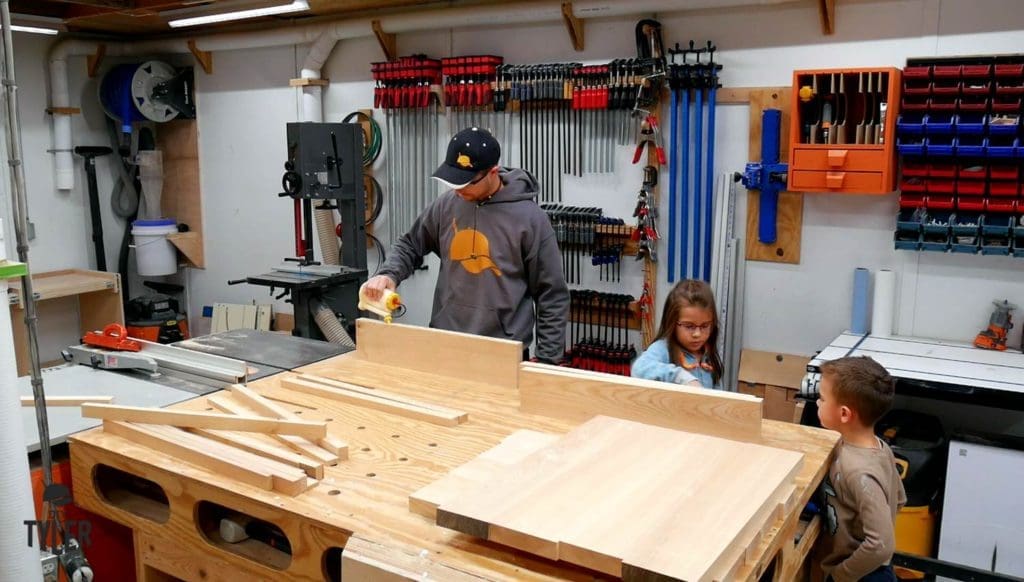
Let’s talk Ash. I had a nice slab in my shop from a local mill, air drying in my shop for the last 2 years. We wanted to keep the top of these side tables natural; Let the Ash do the talking, if you know what I mean.I just needed to rip down my board and proceed with the usual steps of cutting to rough width, jointing, planing, and table saw.
The kids and I glued these up together, which bonded more than just the wood.
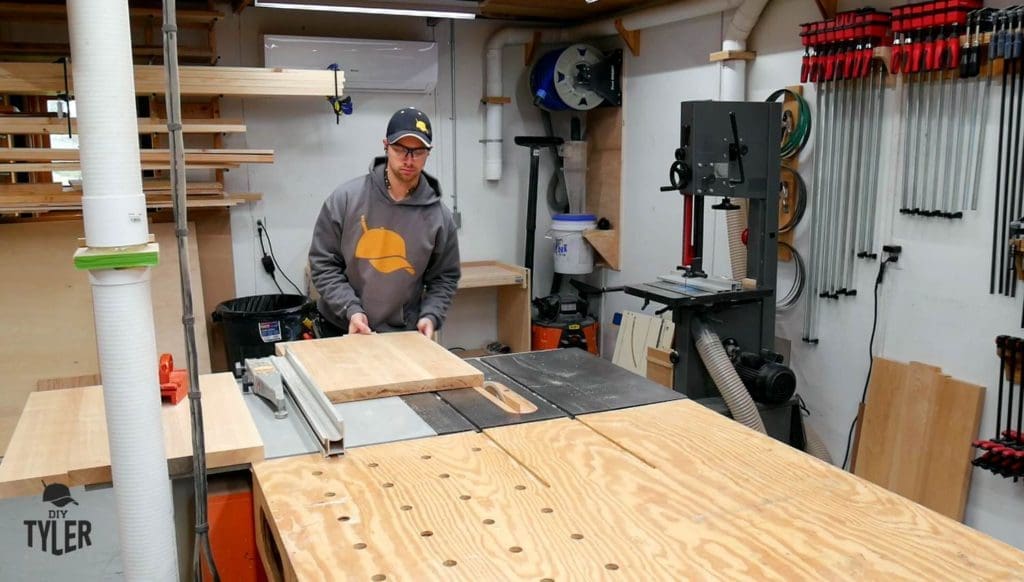
After a period of drying, I brought the slab top over to the table saw and cut this beauty down into final dimension for the table top.
Step 6
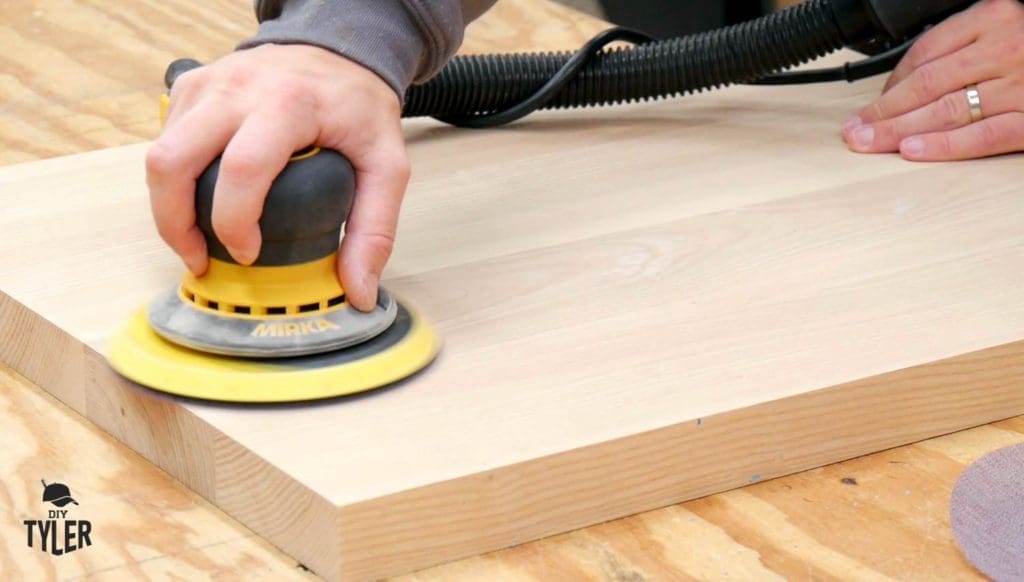
I did quite a bit of sanding on this project, as usual, starting with 120 grit sandpaper and finishing with 220. My 6 inch random orbit sander really makes this a painless step, but Iv’e done it the hard way before, too.
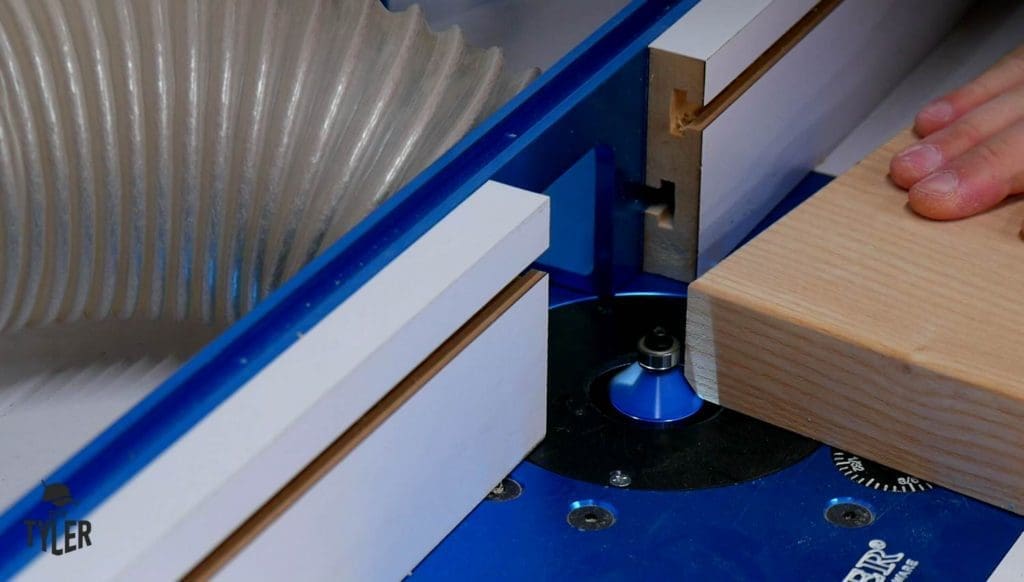
Next I made a quick round over on the edges with my hand held trim router…..
Followed by a visit to the big router table for a chamfer on the bottom. Both those steps could be omitted altogether, but, I thought they added a nice touch.
Step 7
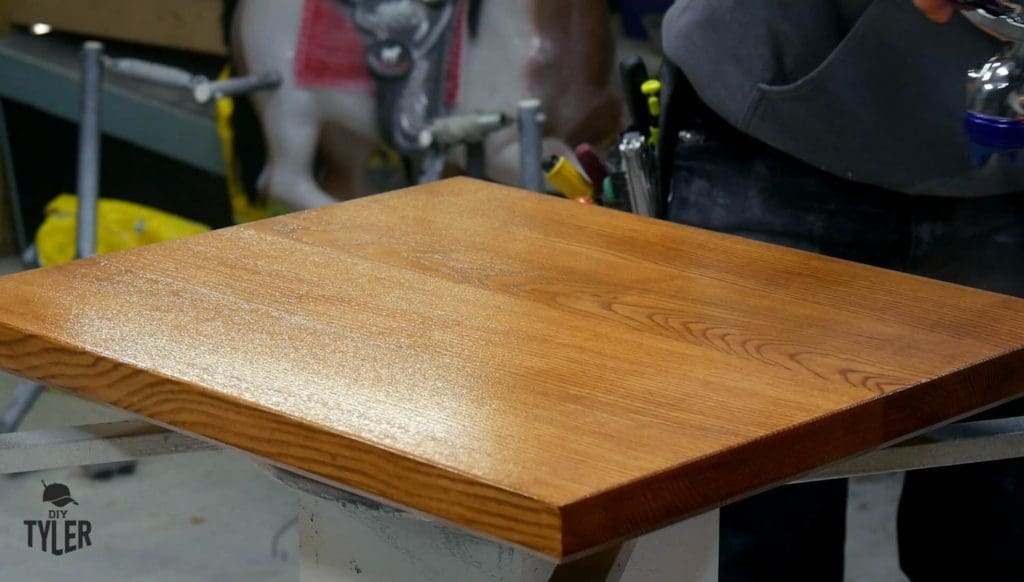
We used our favorite General Finishes water based stain on the Ash top, Shaker Maple. It really popped the grain and looked fantastic once I sealed it with General Finishes Enduro Sanding Sealer. It filled in any imperfection in the grain pattern, and after sanding down gently I finished up with 3 coats of General Finishes Enduro Clear Poly. Can I just say, Wow.
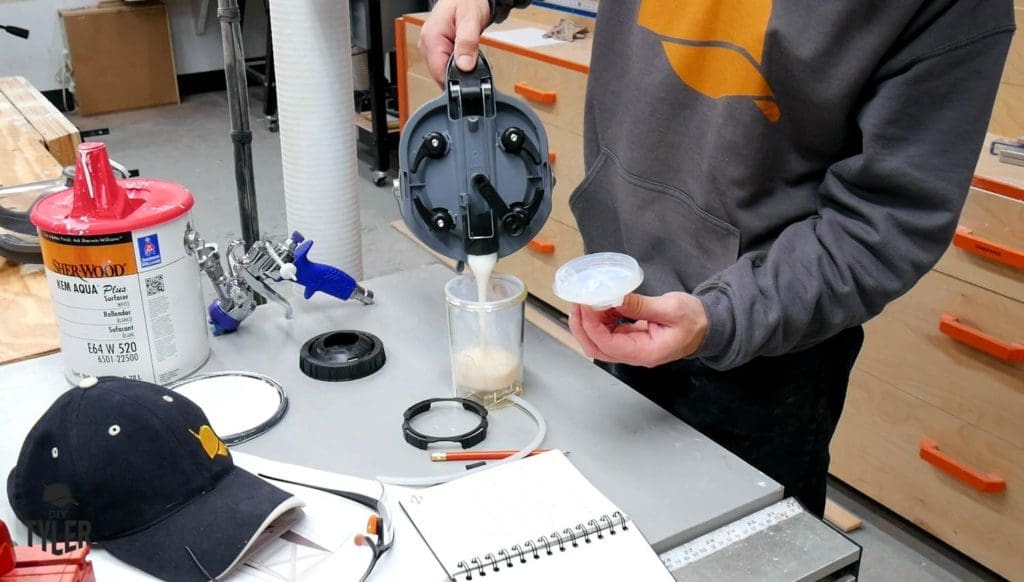
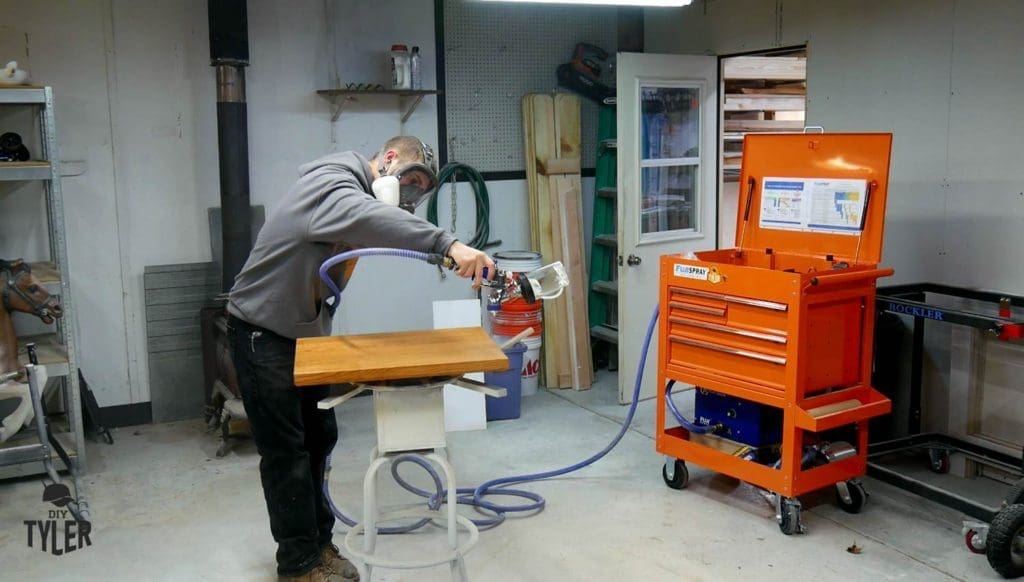
I have a whole video out on my Fuji spray setup , if you would like to learn more about the system I use, and how I like it.
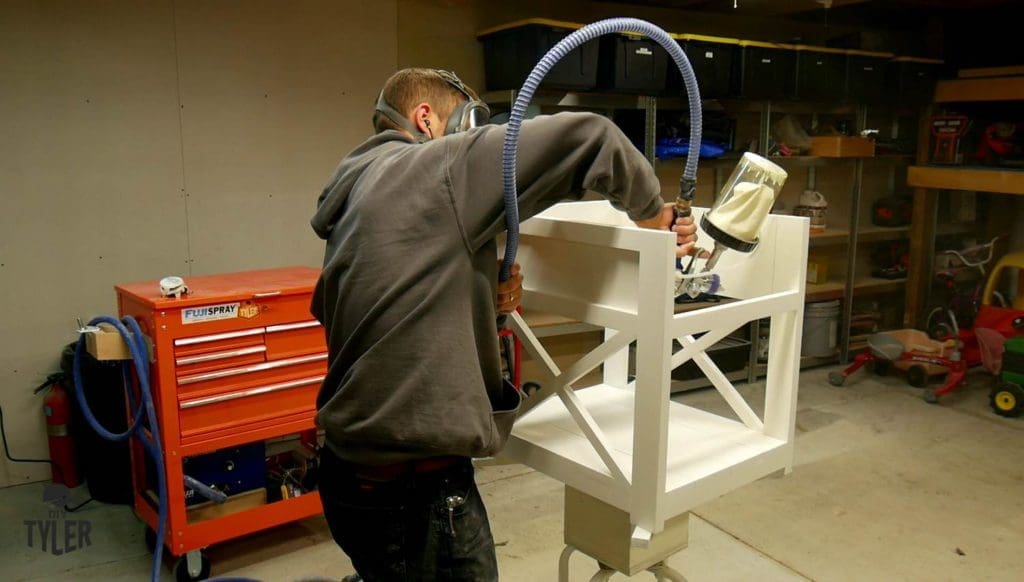
For the base, I applied 3 coats of Sherwin Williams Kem Aqua Plus, in Dover White. This is the same color we used on our Laundry room cabinetry last year and have really taken a liking to the shade.
Step 8
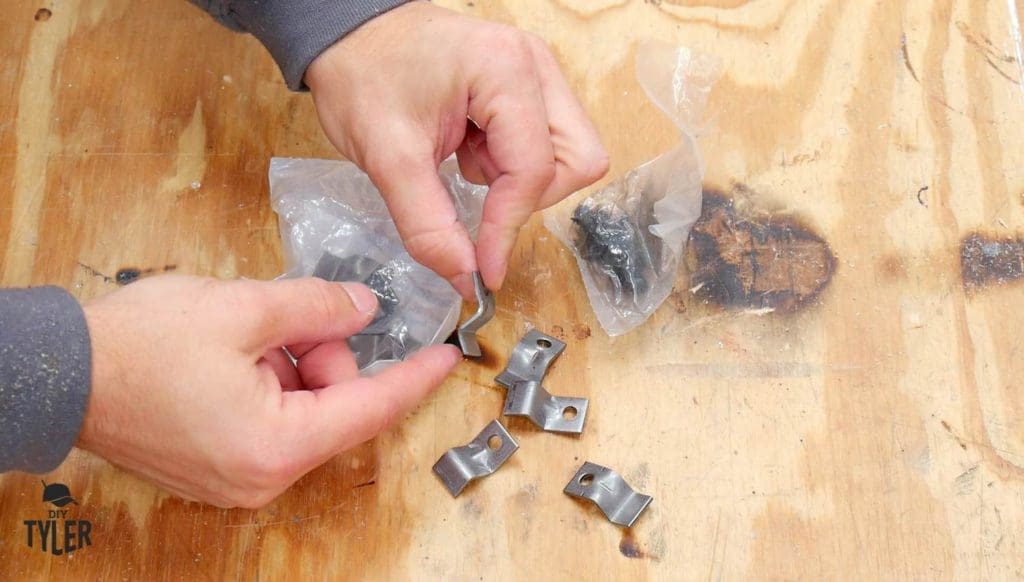
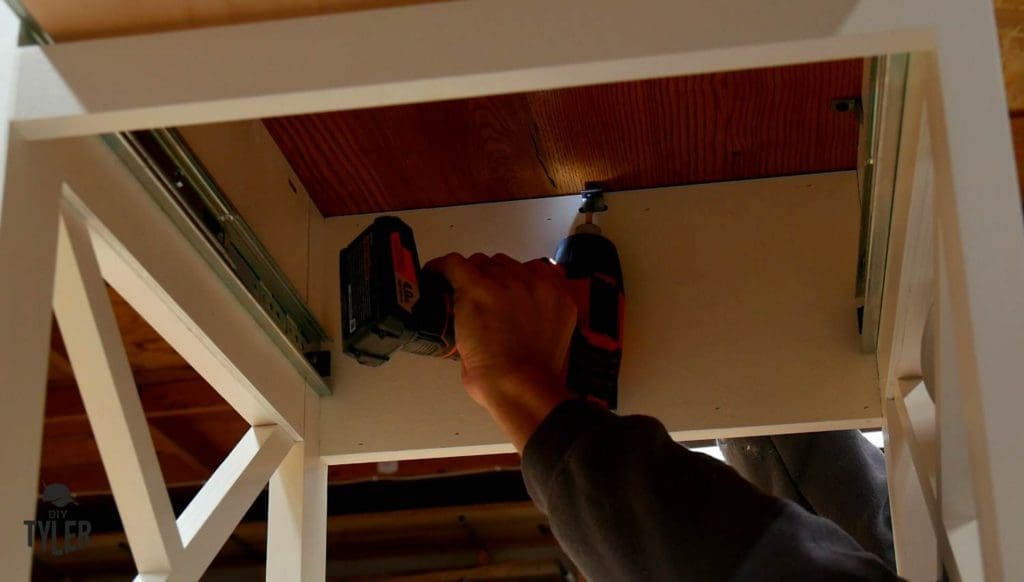
A couple remaining steps in the project here: Adding on drawer slides for the drawer, And securing on the table top with these little gizmos that allow for wood movement as the seasons change. I used my handheld router with a 1/8 inch straight bit to insert a small groove to accept this hardware.
Here we go!
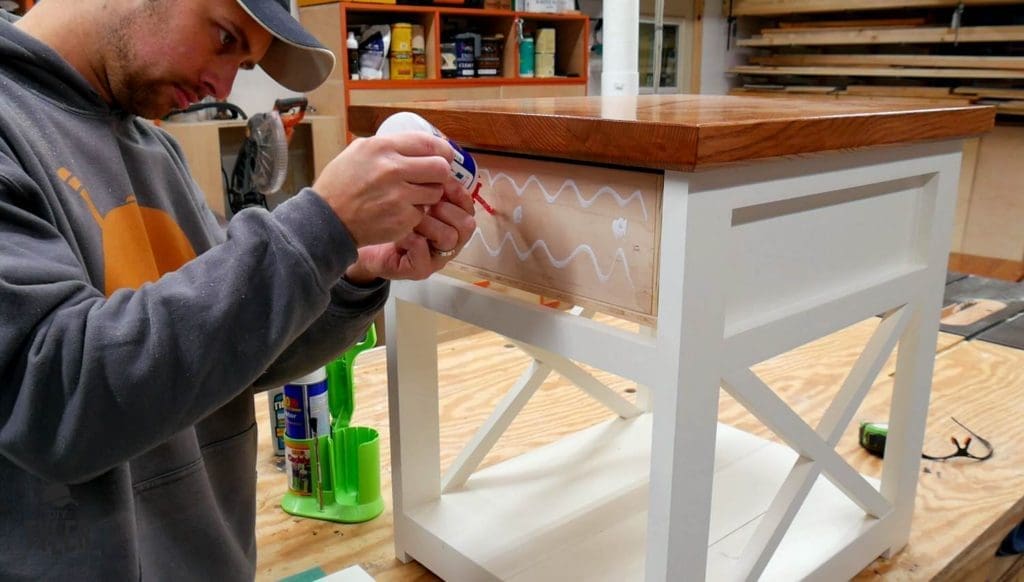
Last step was to adhere the front of the drawer with some Titebond Thick n’ Quick in conjunction with some 2P10 to hold the front in place while the wood glue sets up. I wedged a few random plexi glass scraps under the drawer to keep my spacing right.
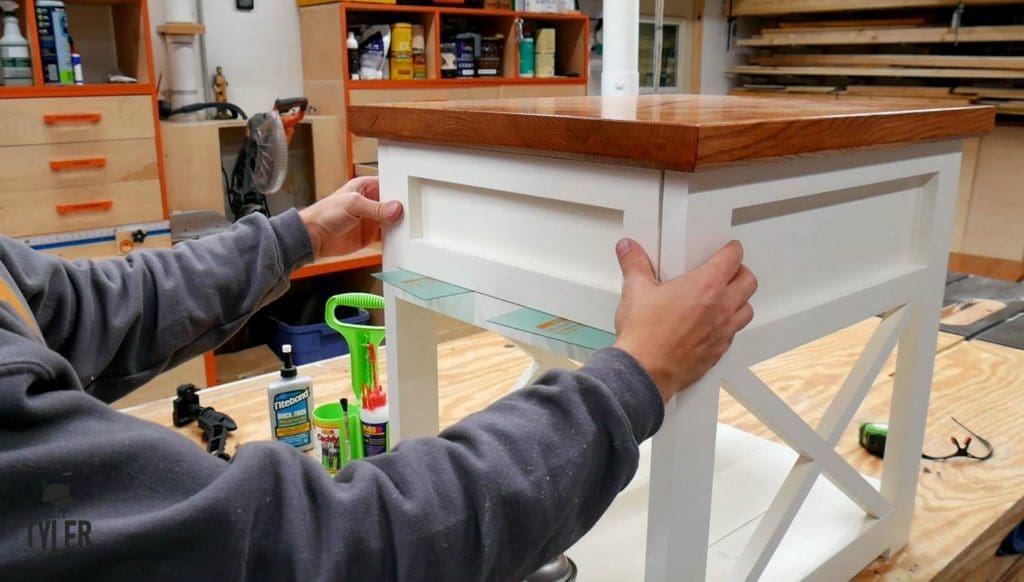
The wife picked out some Oil rubbed bronze hardware to complete the look, and purchased a pretty little succulent just to show these tables off. Not that they needed any help.
Please follow and like us:
5 thoughts on “Farmhouse Style End Tables”
Hello Tyler!
My name is David and I would be interested in knowing more Labour the retractable vacuum hose you are using.. could you make a review or small video about it?
Nice build! Don’t use Pine, the sap will bleed through paint over time even with primer. Poplar would be an excellent hardwood alternative and very economical. Keep up the great work!
shellac primer blocks pine stains
Hi Tyler
Could you please give the measurements on this…legs etc…I’d greatly appreciate it.
What is the wideth…what measure for shaker area .