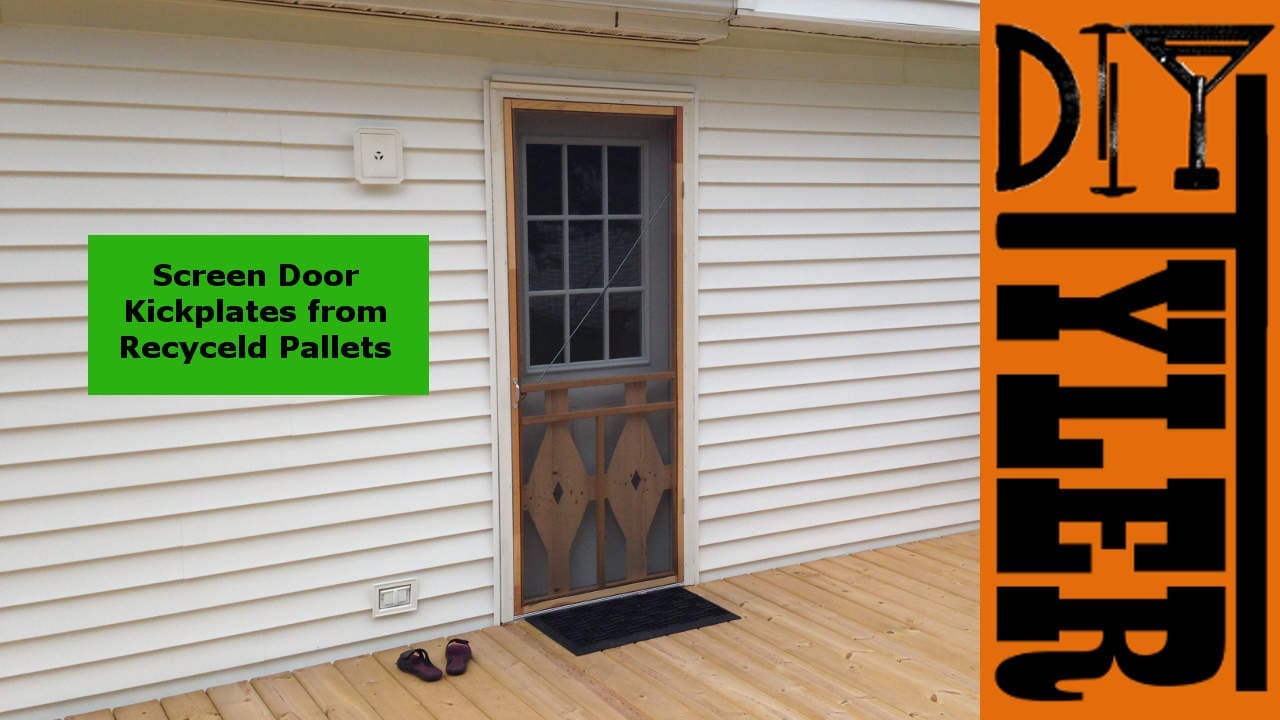
With our new screen door in place there has already been a little foot or two put through the screen in an attempted to open the door, we needed to get a kickplate. Looked though the appropriate aisle at my favorite home improvement store and was dismayed to see that they wanted $20+ for a simple grate that looked awful. So I bought a few fence boards, planed them down and screwed them in place, done. Not so much, the wife wanted nothing to do with my simple, easy kick boards so it was back to the drawing board! We ended up making a a set of diamond shaped kickplates from a recycled pallet and I must say they look great!
In other news we are going to be making build and other DIY videos as often as we can, the thought is we will try to publish a video every two weeks if not more often. Below is our first build video! Please share and subscribe if you deem our work worthy and hit the thumbs up if you like it!
Write up of the build below.
Started by dis-assembling a pallet that we received some of our deck lumber on. Not an easy job, unbelievable how many nails are used to build these things! Probably try to make myself some sort of “Pallet-Pat” like Izzy Swan has done since we like the recycled pallet look and plan to use more in the future.
I then ran all the boards through the thickness planer to clean them up and try to get the boards a little lighter.

|

|
Set the router up with a straight bit and set the router table fence to function in the same method as a jointer to clean up one edge of each board.

|

|
Cleaned up the other edge on the table saw, all boards are random width.

Cleaned up boards laid out for the two kickplates.

Glued up using Titebond III, clamped and rubbed saw dust to clean up the glue squeeze-out.
Cut the two boards to width on the table saw and to length on the band saw.

|

|
Measured and marked the first board, cut out with the jig saw and transferred that cut board to the other unit.
Had a mishap when one of the boards cracked, happens with pallet wood I suppose. Glued it back up and was good to go.

Cut out an inner diamond, for looks and to take a bit more weight out.

|

|
Routed a 45 °chamfer

Sanded the edges using the belt sander in its jig, and the random orbit sander.

|

|
Installed using some 1 1/4″ deck screws.

Well, my wife really likes them and that’t what matters! I like them too and we have gotten several comments about them which is pretty cool. Using the recycled pallets worked out really well, we have lots of ideas for using them for future projects! See you next time!
Please follow and like us: