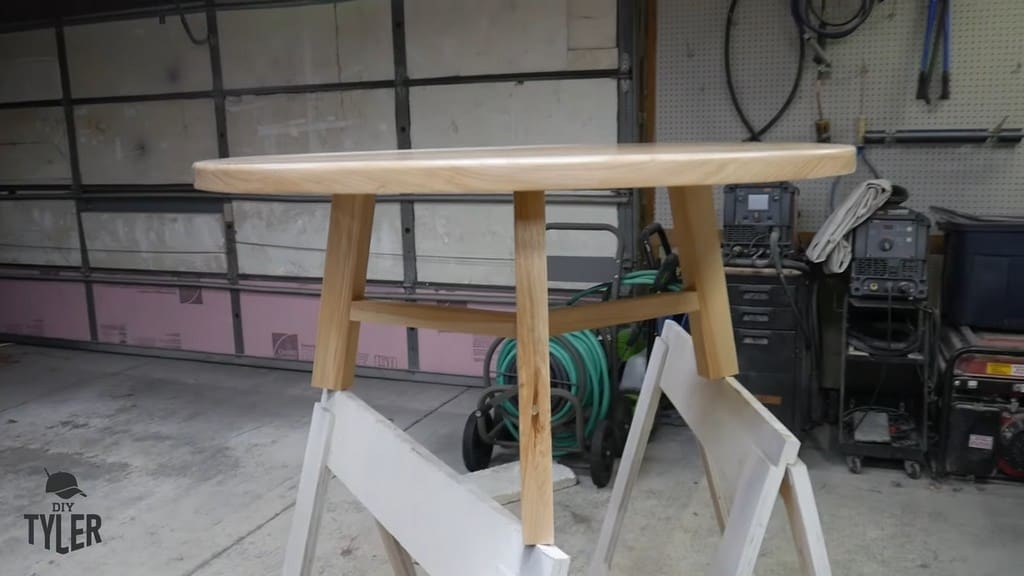
DIY Round Coffee Table – Cheaper Than Pottery Barn!
Today’s article focuses on my creation of this beautiful DIY round coffee table. If you want to know how I made the sweet “tripod” joint for it, check out one of my previous videos.
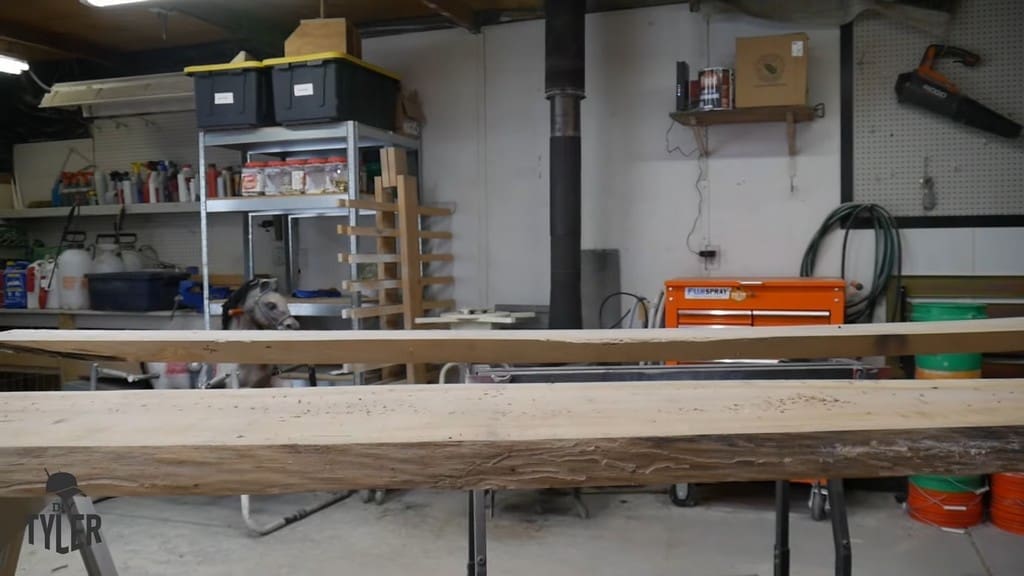
Breaking Down the Hickory Slabs
My working material consisted of a couple of these gigantic hickory slabs. These guys are unwieldy, so you have to break them down before you can move them into your shop.
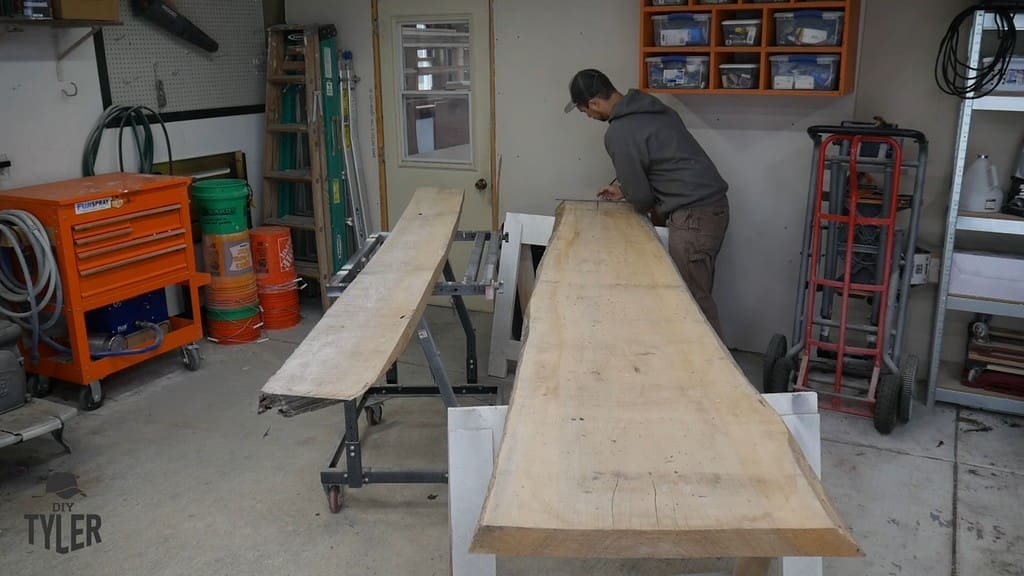
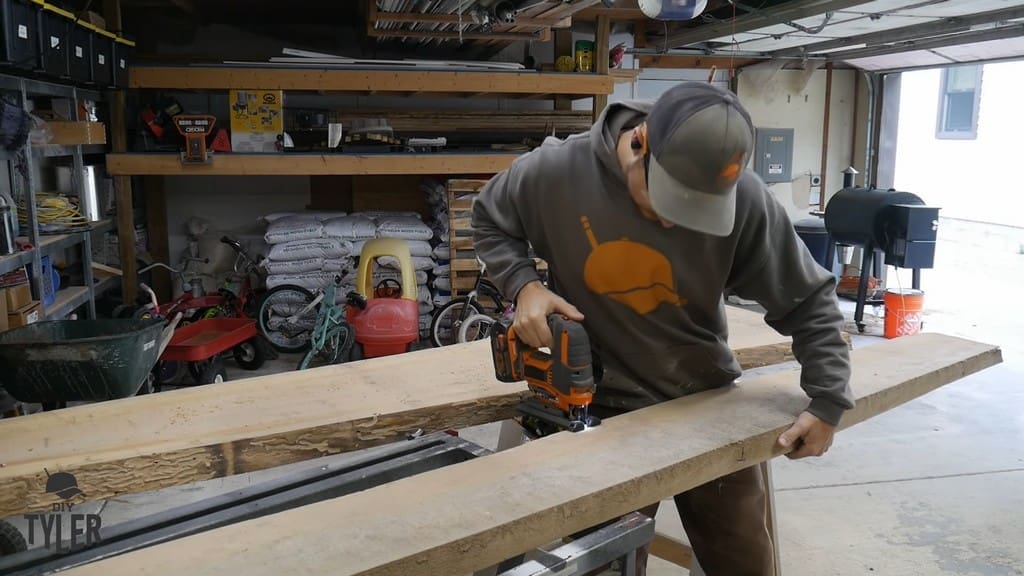
I marked out the sections I would need in anticipation of cutting them up with a jigsaw.
Why break down such beautiful slabs that cost a bit of money? To put it simply, it was easier to run pieces that have already been broken down through my woodworking shop.
After that point, I knew I could reassemble the pieces exactly how I wanted to.
I knew this would be a round table. So, I needed to build a big, flat board out of which I could cut the round circle for the tabletop.
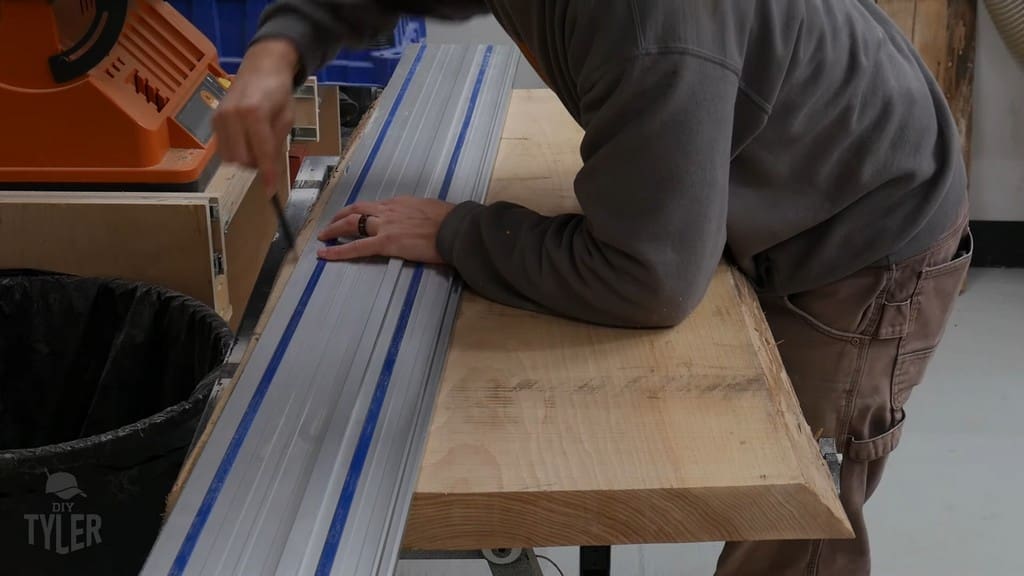
Once I had the big slabs broken down into something slightly more manageable out in the barn, I rolled the pieces into the shop.
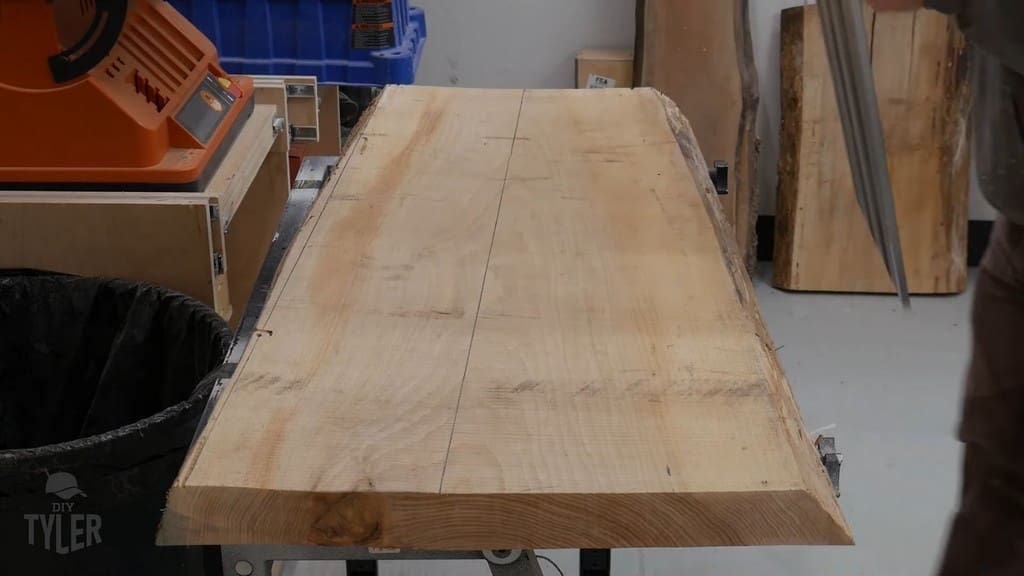
Having done that, I marked out exactly where I would need to make cuts.
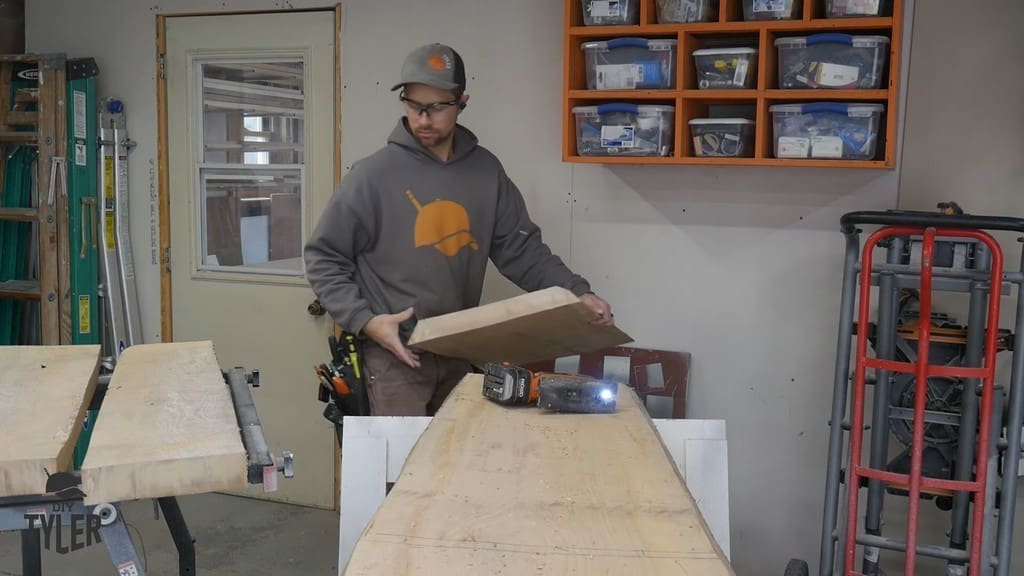
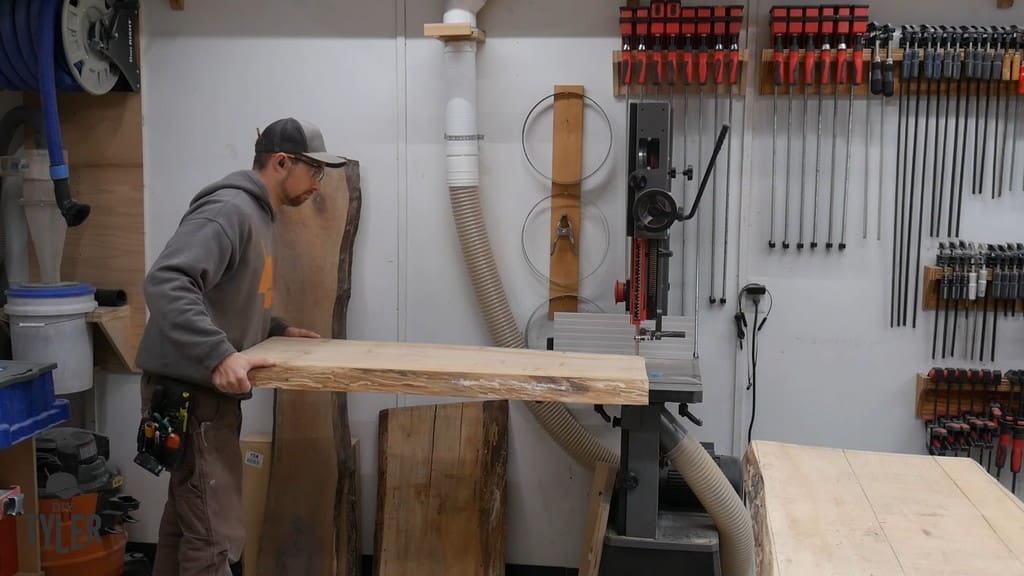
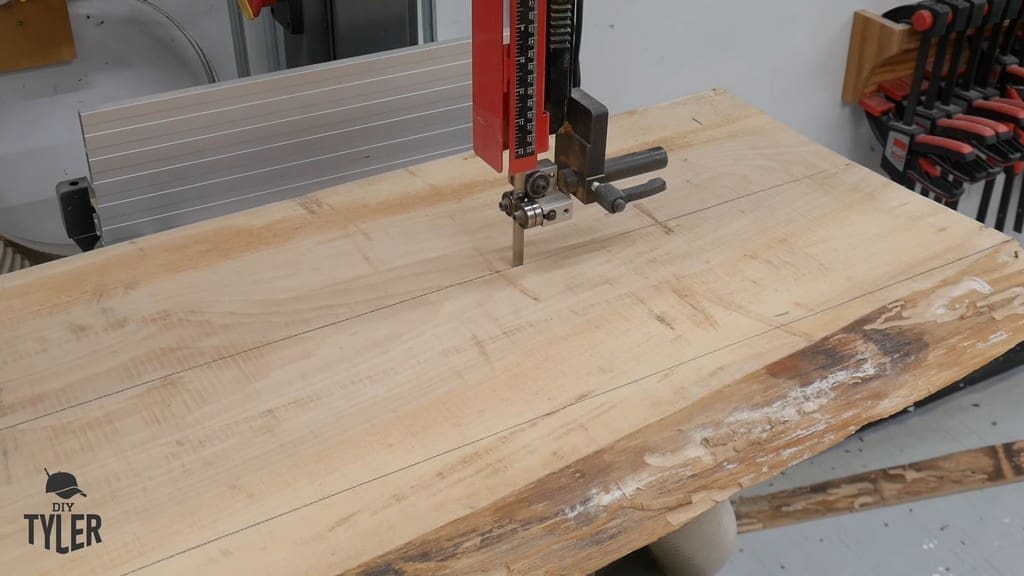
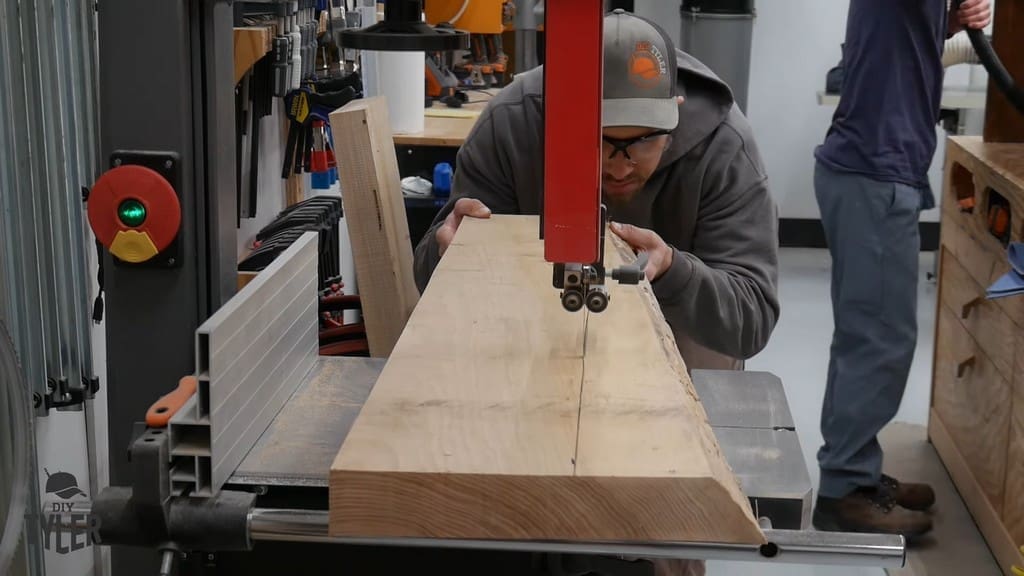
Next, I moved the pieces over to the bandsaw. There, I could break them down into smaller, more manageable sections.
Milling the Hickory Boards
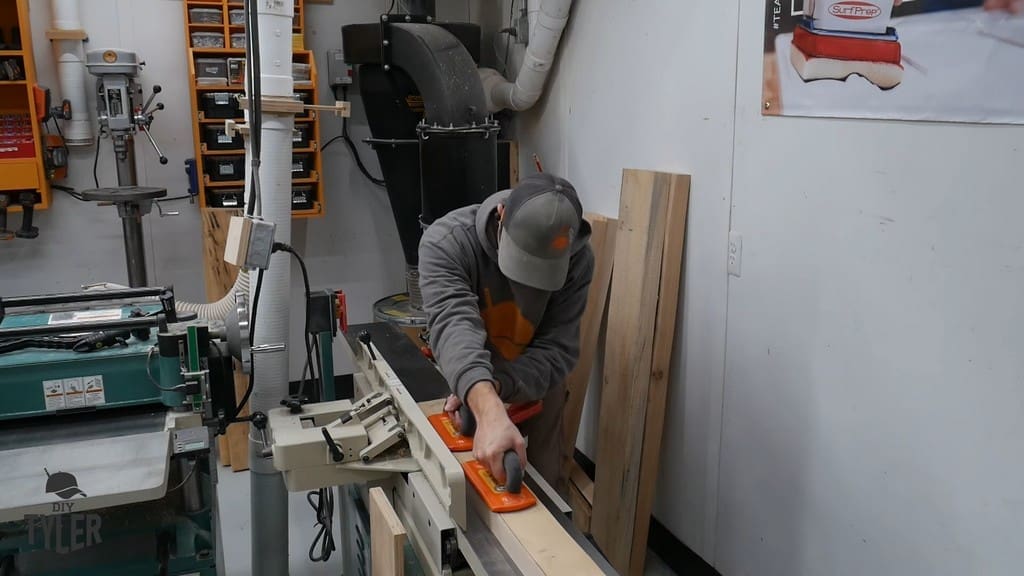
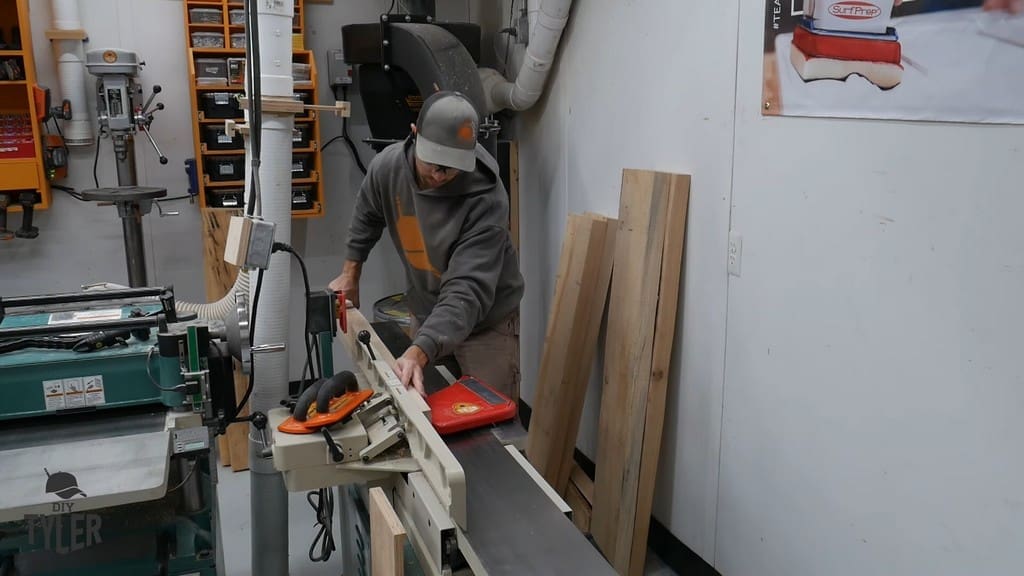
After breaking all those pieces down, I moved to the milling area of the shop. This is something of a mindless task to flatten everything down and create usable wood.
At the same time, this is an exciting area. You can create a beautiful piece of wood after you’ve run it through the milling station.
I flattened two sides on the jointer before moving the board over to the planer. There, I reduced everything down to the same thickness.
Squaring Up with the Table Saw
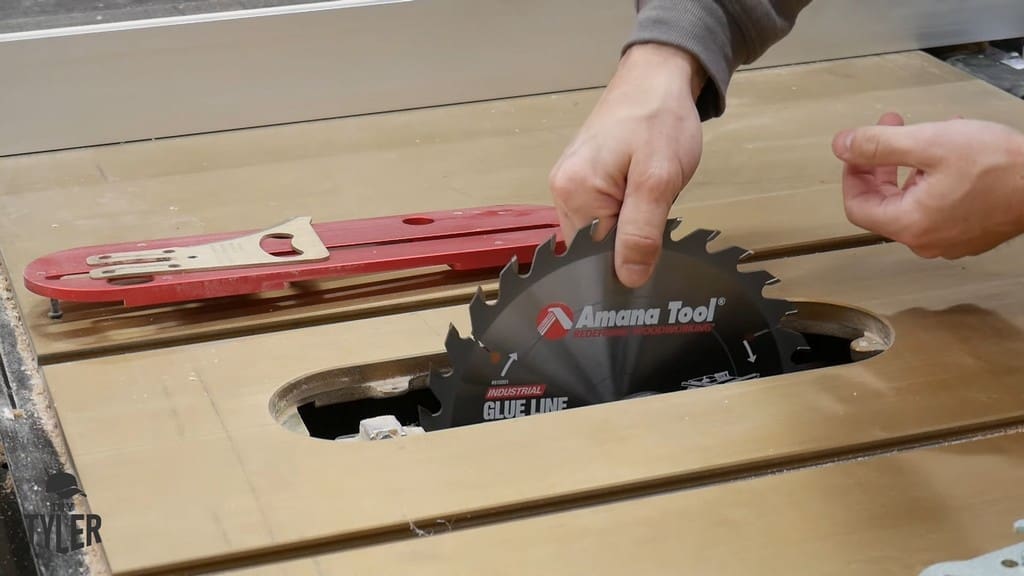
Once everything is flattened, you need to square up the last side over at the table saw. Because I was working with such thick hickory wood, I removed my combination blade and installed my ripping blade instead.
This blade has fewer teeth and bigger gullets to remove the bigger strands of wood. Since you’re going with the grain, you will have more strips and shavings of wood versus dust.
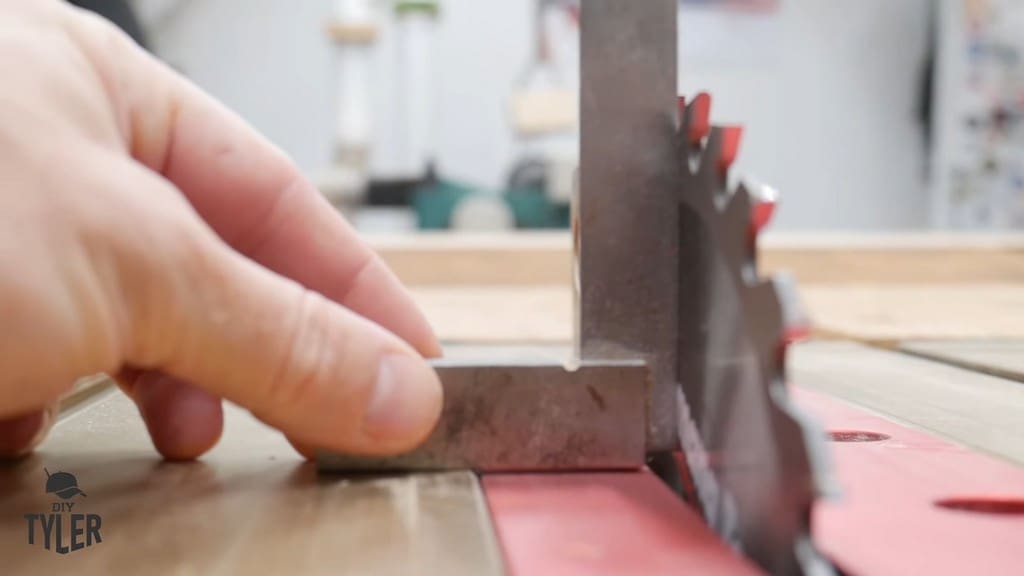
Since you’re doing a glue-up, you need to make sure everything is perfectly square.
My 4-horsepower Harvey table saw cut through my 1-5/8ths inch hickory like it was nothing. By the way, keep your eyes posted for an upcoming review of this saw!
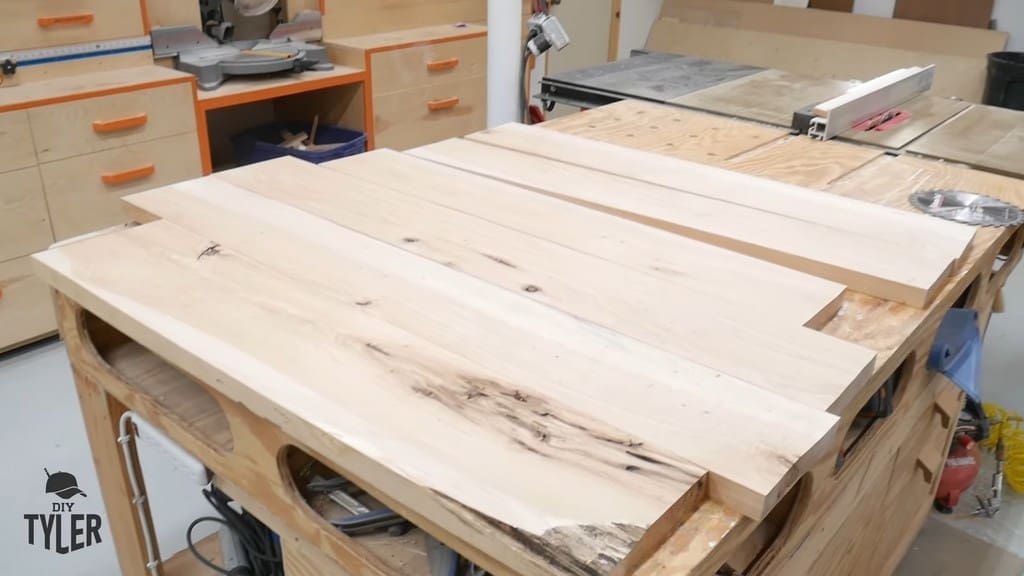
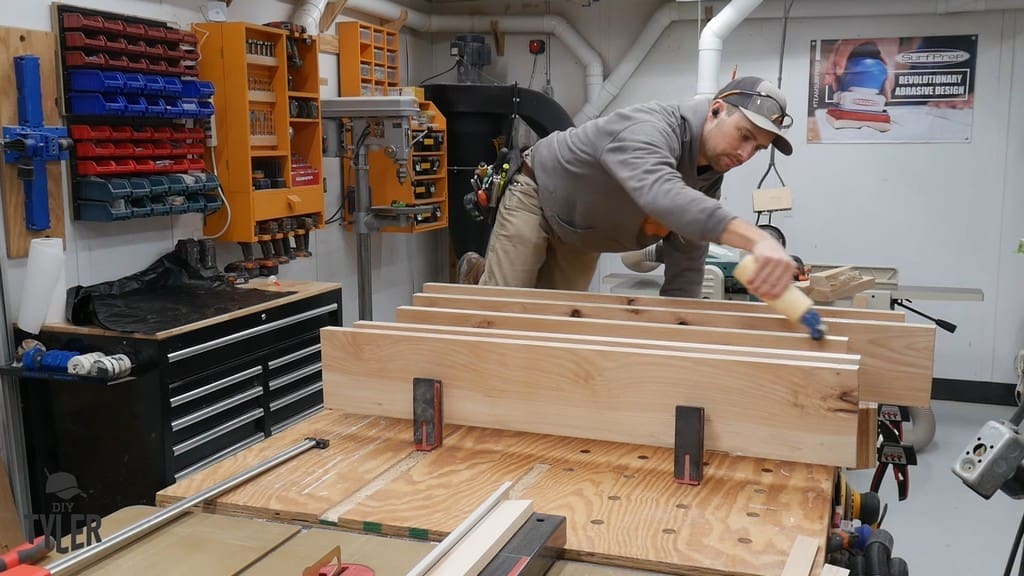
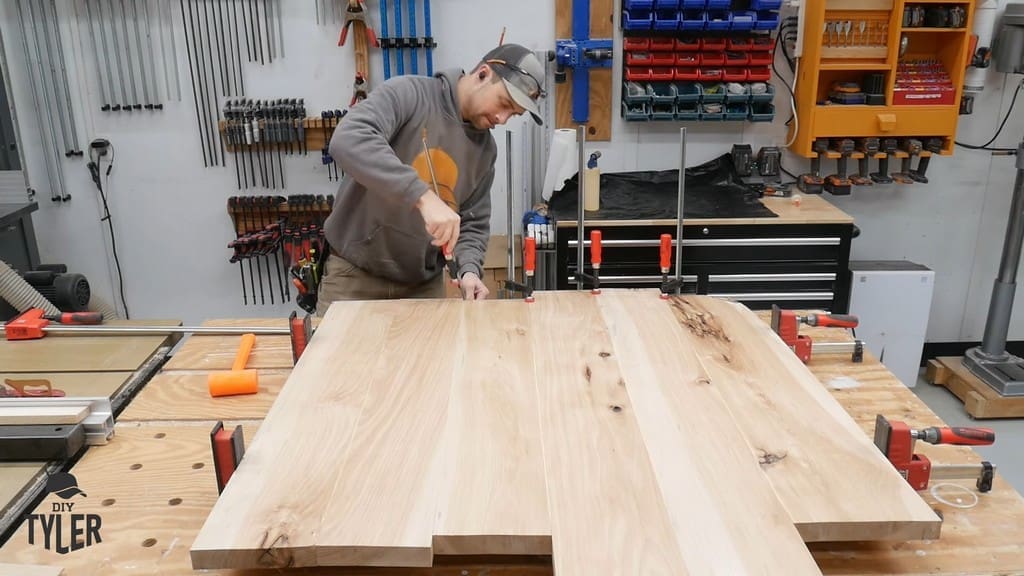
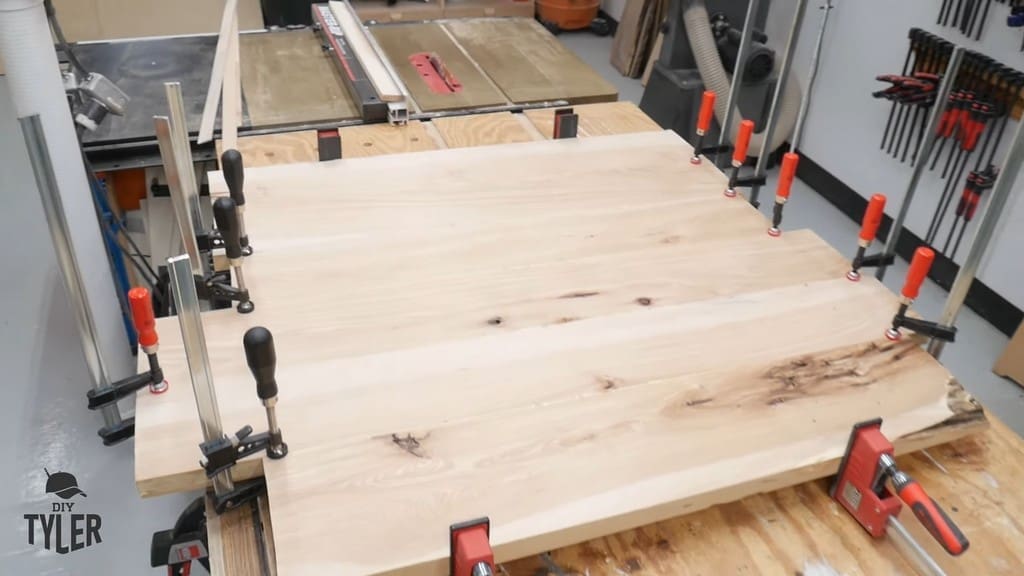
Gluing the Boards Into a Slab Shape
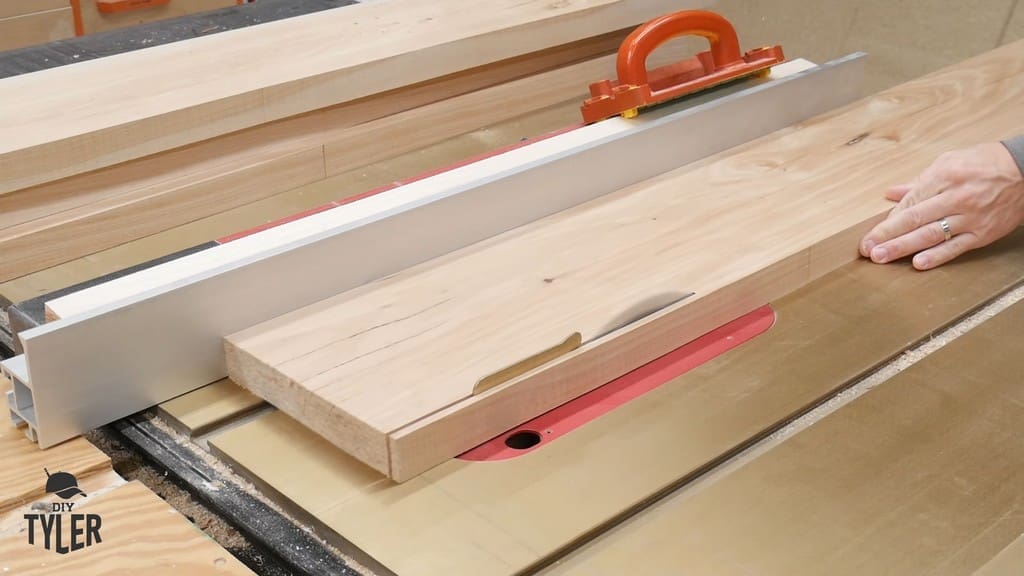
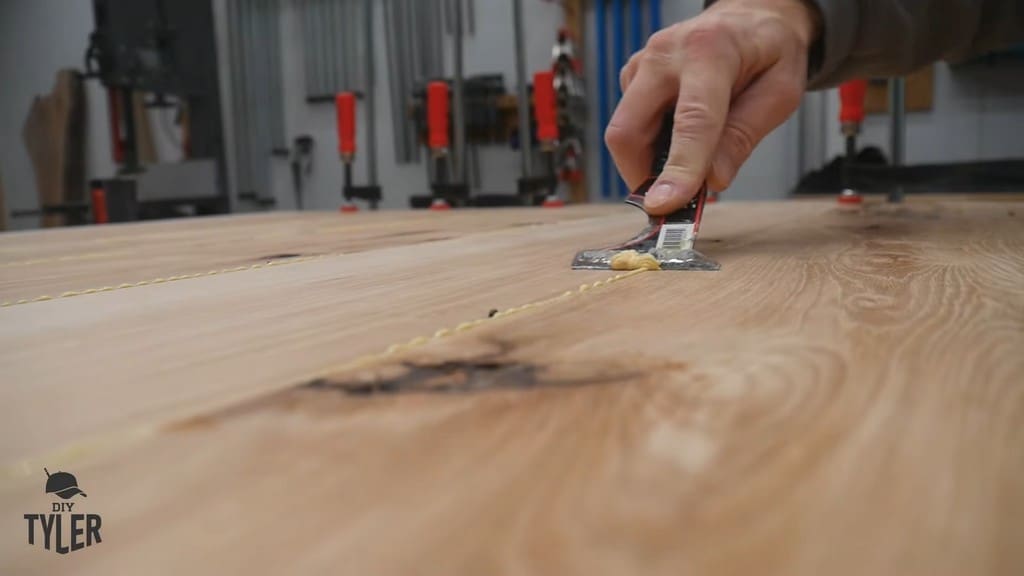
My setup allowed me to go right from the table saw to clamping. I could easily apply some Titebond II in order to glue these pieces into a big ol’ slab.
I made sure everything was perfectly flush by hand. Then, I added some clamps over each individual piece to make sure nothing would move.
Cutting the Slab Into a Circle
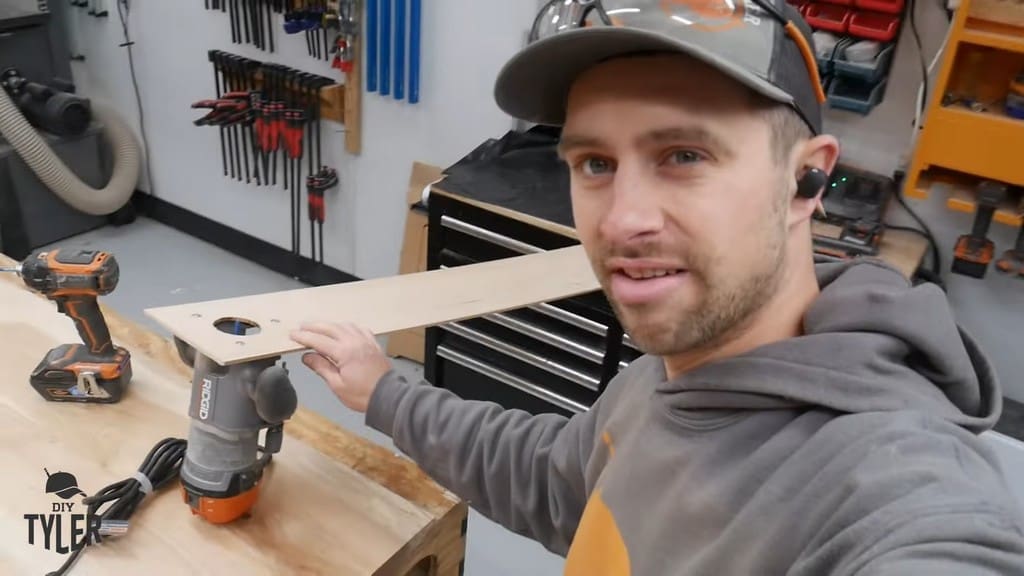
To make my square slab table a round one, I jury-rigged a makeshift “radius jig.” To do this, I used a piece of quarter-inch plywood and a quarter-inch straight bit on my big router. This setup provided better stability than I would have had otherwise.
I was aiming for a total diameter (i.e. double the radius) of 42 inches.
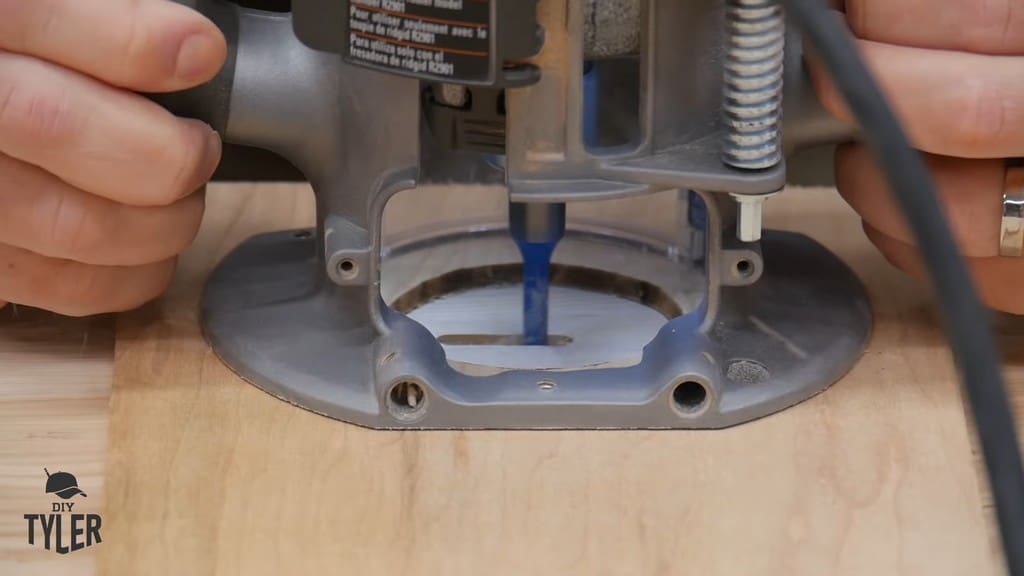
I had a hole set roughly in the middle of the slab. Drilling my makeshift jig into place, I went to work with my router to make the slab round.
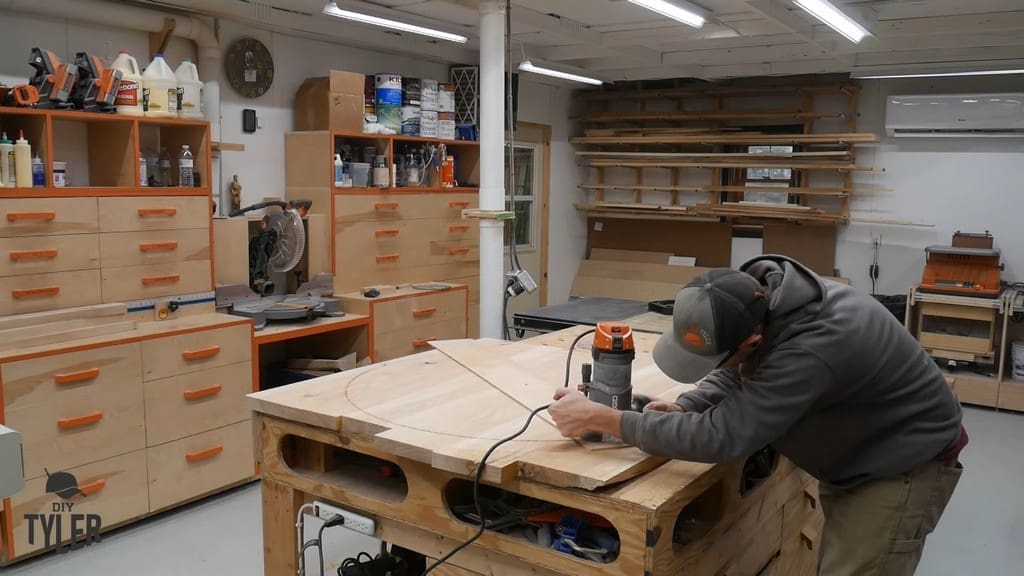
With the first plunge done, I slowly moved the router around and around the slab.
This ended up making a huge mess, especially when it came to flushing everything out.
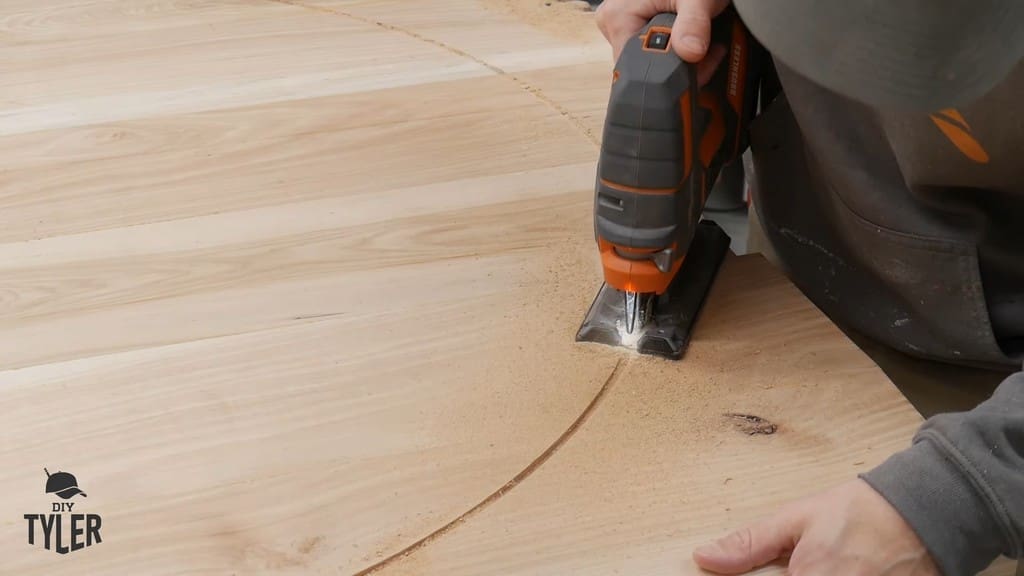
With the first pass completed (roughly half an inch deep), I went through and removed the excess wood with a jigsaw.
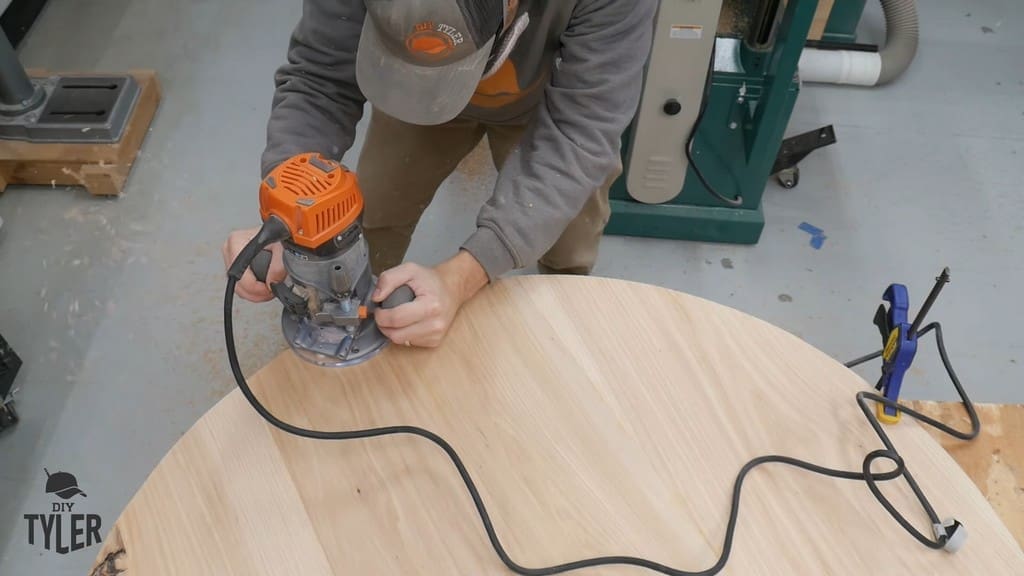
The real mess came after I attached a flush trim bit to the router to take care of the edges of the round table.
Make sure you hold on tight to your router so that the big bit doesn’t get the better of you.
With all the flush cutting done, I also went over the edges with a sander.
Constructing the DIY Round Coffee Table Base
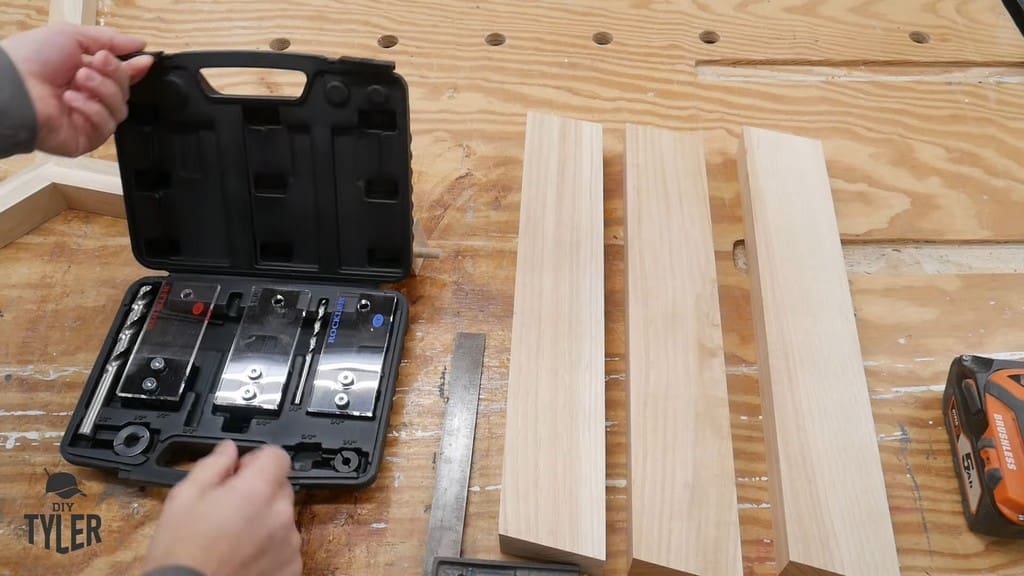
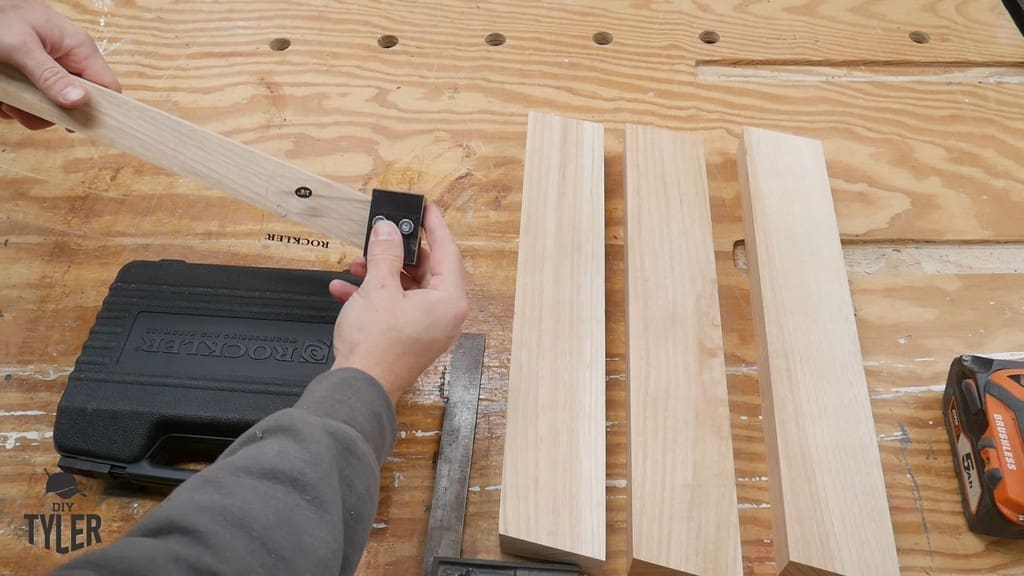
Next comes the assembly of the base. I cut the same angle at the top and bottom of the piece. This provided the angle necessary for the legs to be inset at the top of the table.
Next, I used a dowel guide jig from Rockler to align my drill bit and create nice, flush dowel marks.
Remember, if you want more info on the tripod joint featured in this build, check out my article for that piece here.
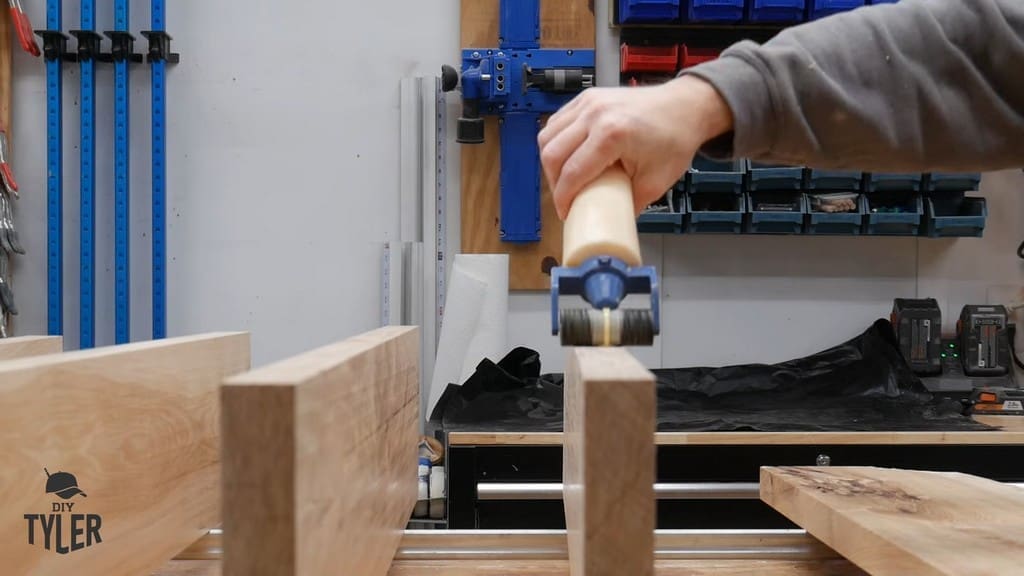
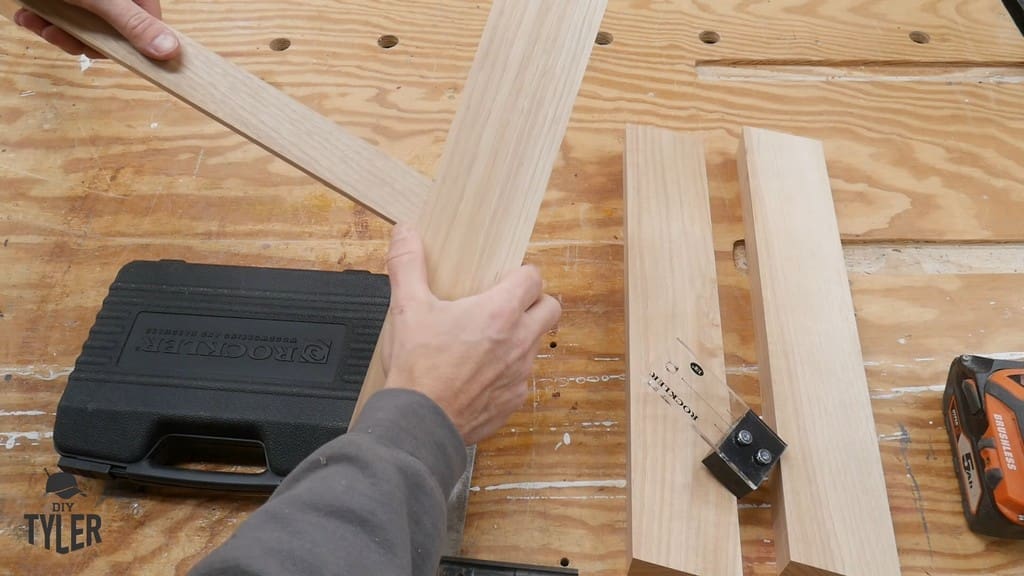
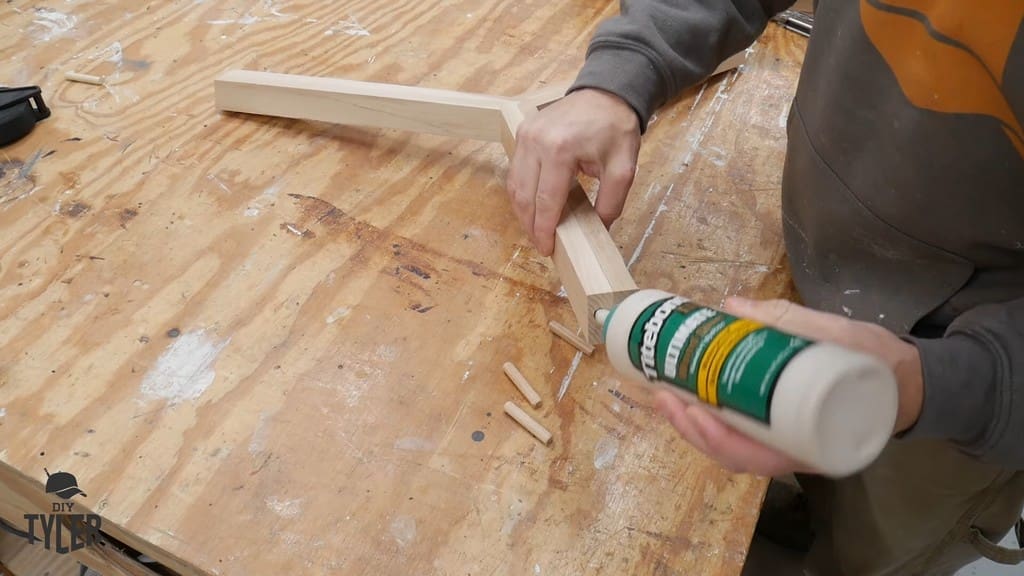
Anyway, the table legs were at the same 10-degree angle as the angle of the triple joint, which allows for the inset angle I mentioned earlier. That angle was really on display as I started to clamp everything up.
With plenty of wood glue on the dowels, it was a matter of assembling the pieces before trying to get some kind of clamping mechanism around them.
I ended up using a picture frame clamp, which is a strap clamp. It worked pretty well, though I also had to use some spring clamps to make sure the strap didn’t slide upward and add asymmetric pressure.
Tightening the Dowels
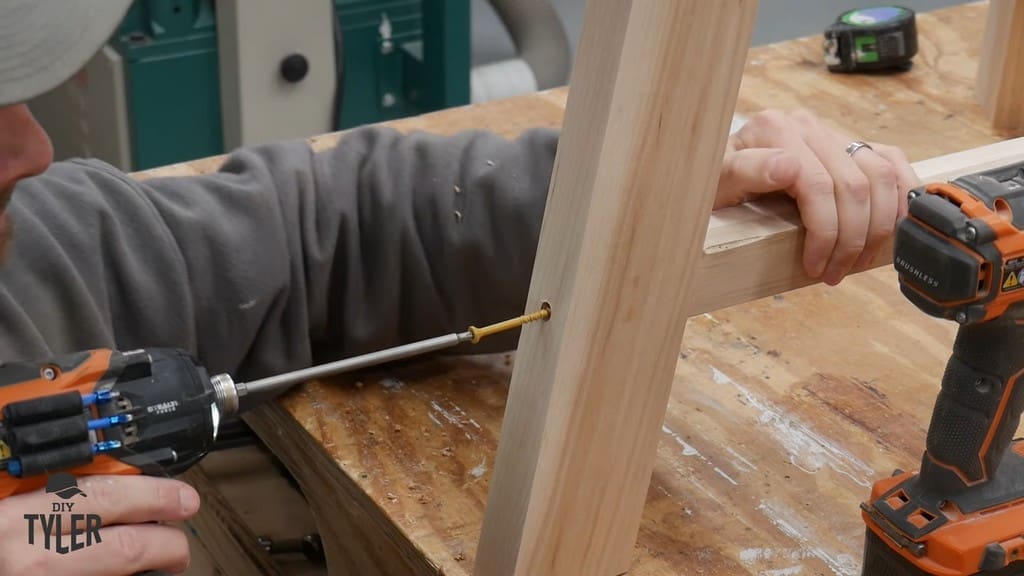
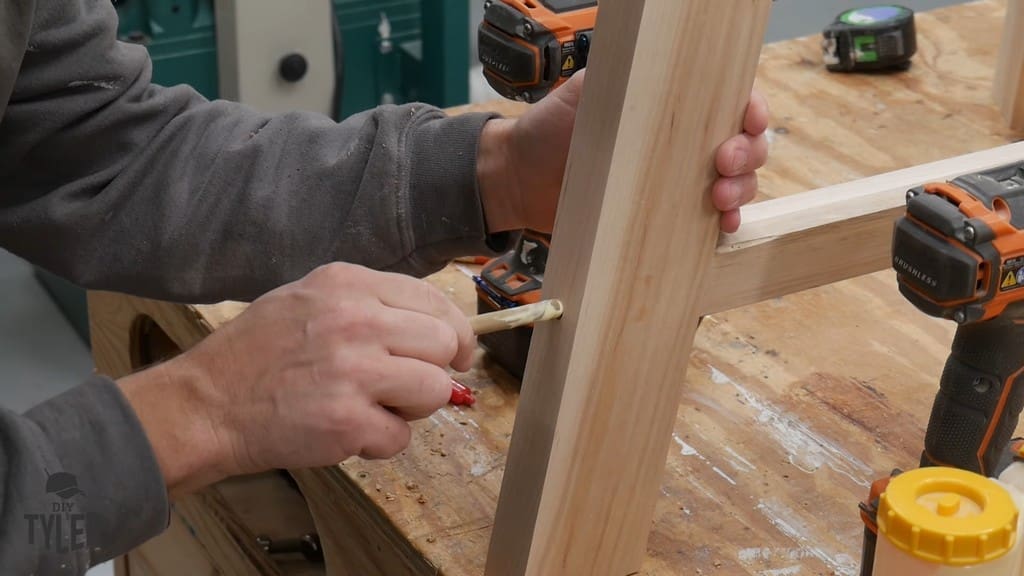
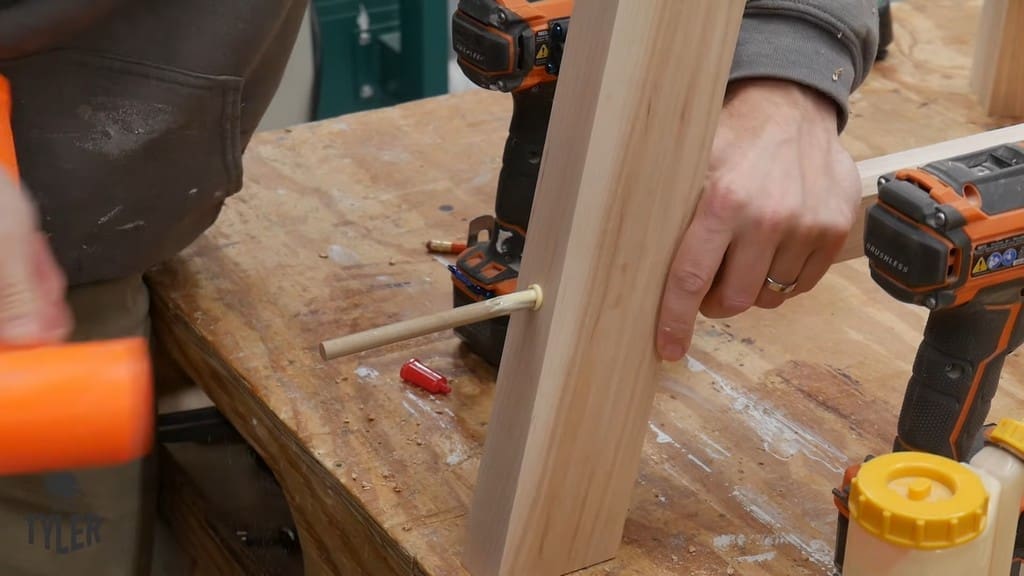
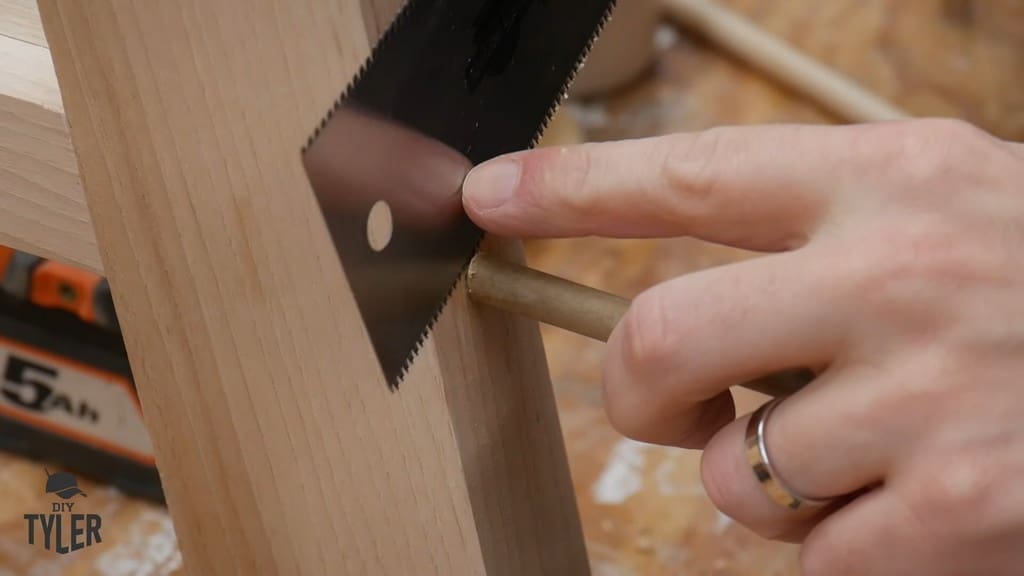
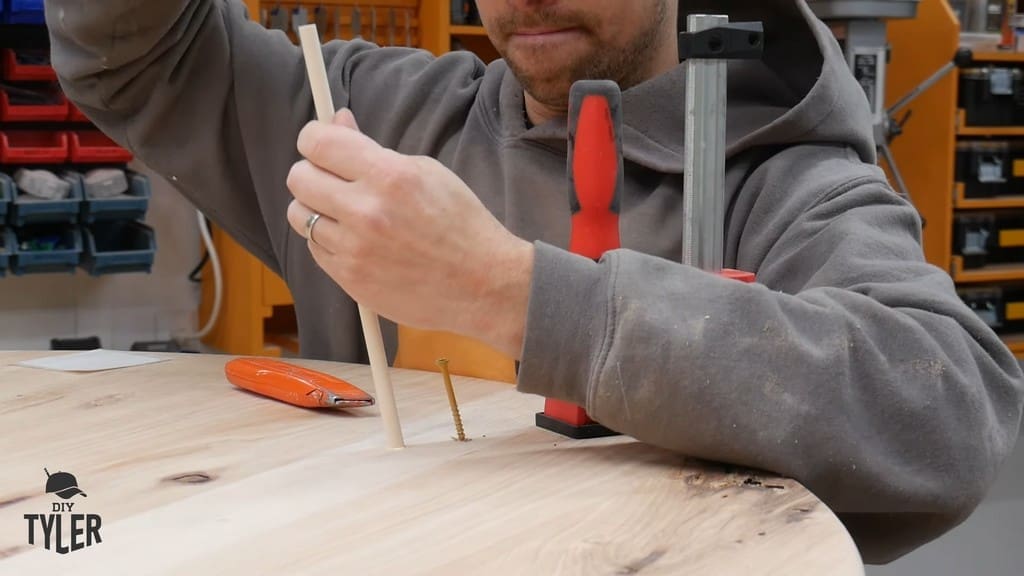
After drying, I found that my dowels still had a bit too much wiggle. To solve this, I decided to drill a recessed hole, drive a 3.5-inch screw to tighten everything up, then cap it with a 3/8th dowel.
Adding this screw really tightened up that joint and was exactly what we needed.
Honestly, the dowels and the plugs are a nice accent look as well.
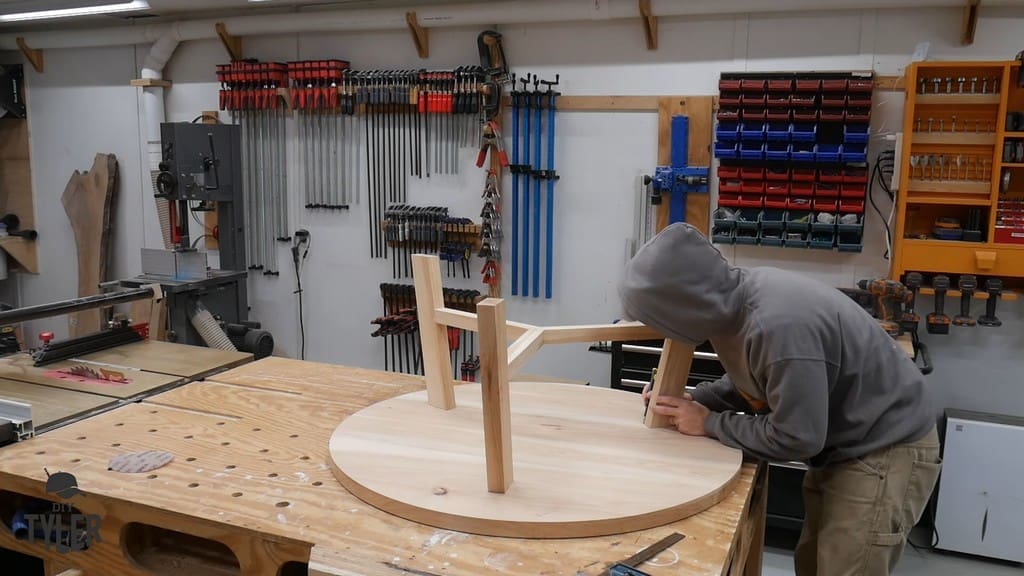
Fastening Tabletop and Base Together
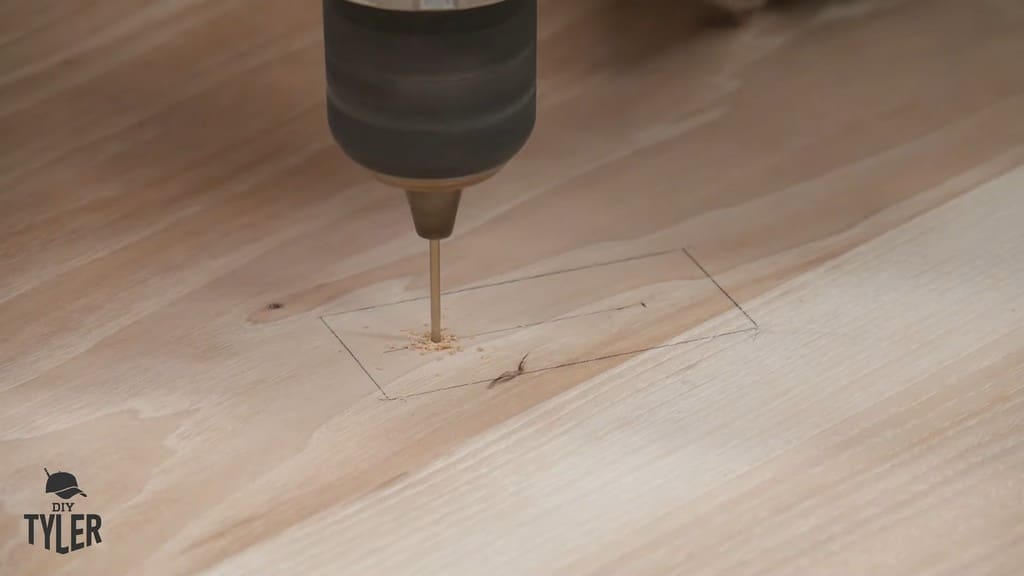
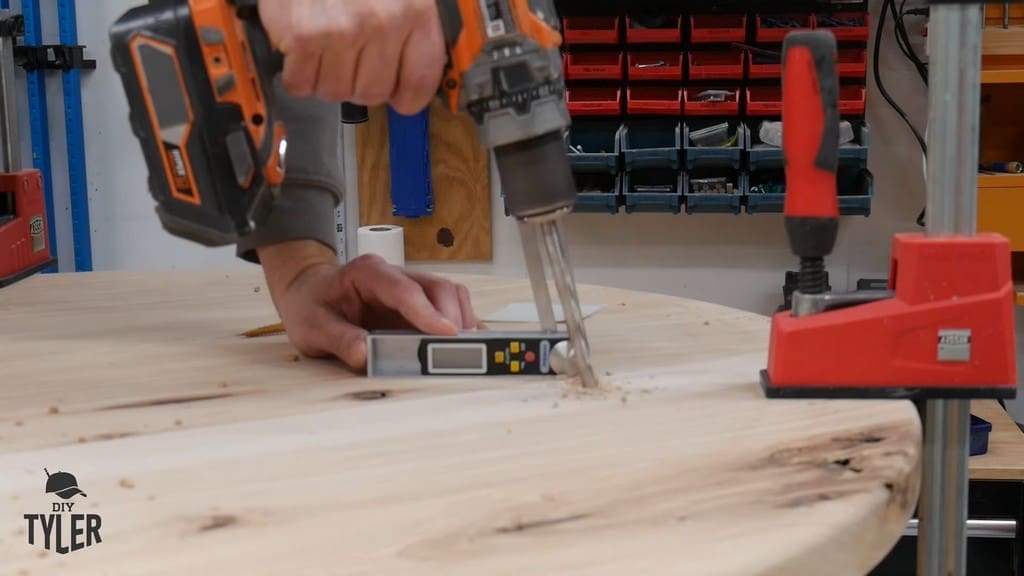
To make sure my holes for mounting the legs lined up, I decided to drill pilot holes from the bottom of the round slab through to the top. This way, I could know exactly where the dowel holes were going to be.
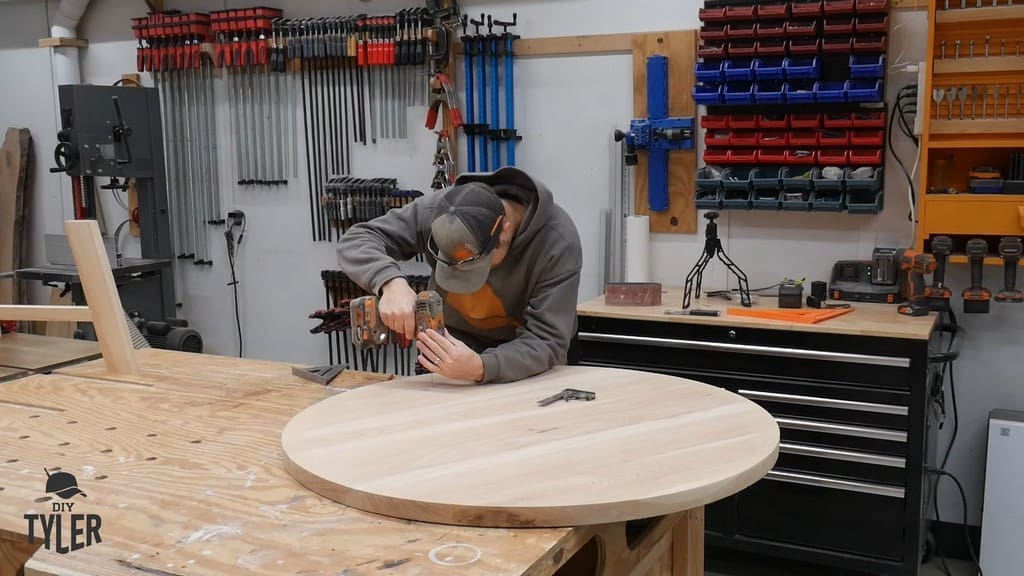
Then, I could set the slab onto the base and drill the actual dowel holes. Since I wanted these holes to go pretty deep, they needed to be at an angle.
Here I am drilling the pilot holes . . .
. . . then I’m clamping the slab into place and drilling the dowel holes. I positioned my angle gauge right next to my drill to ensure I had the proper alignment as I drilled into the angled leg.
Each leg had two holes drilled into it: one for a full-length dowel, the other for a screw with a dowel plug on top.
The long dowel went deep into the leg to prevent any side-to-side motion that could break apart the wood glue or the screws.
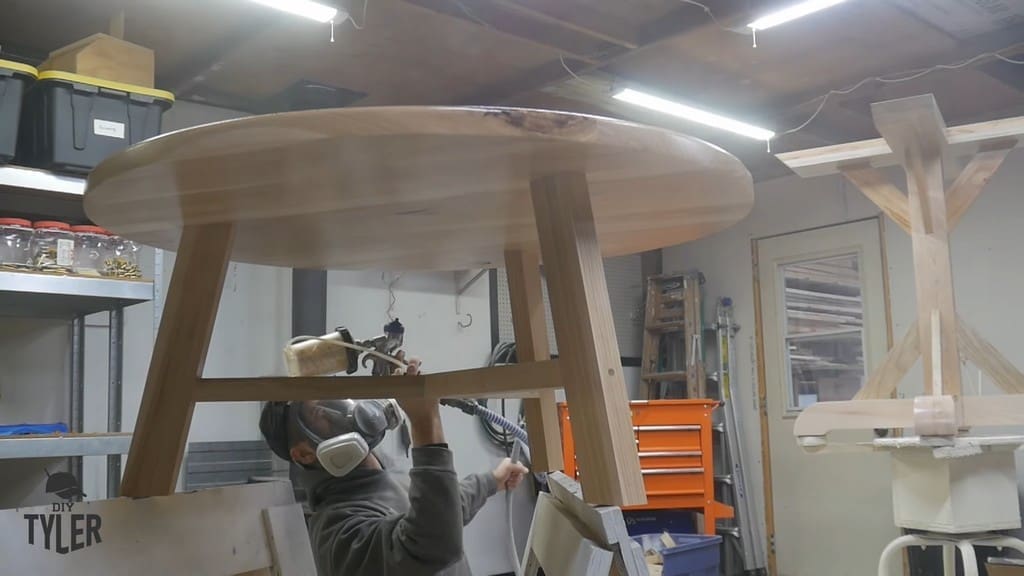
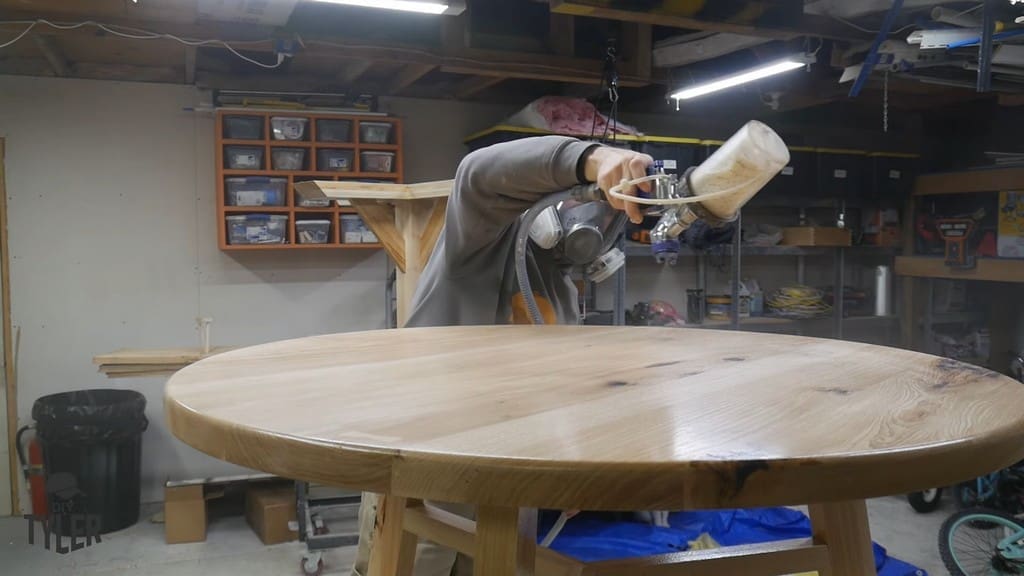
Applying Spray Finish to the DIY Round Coffee Table
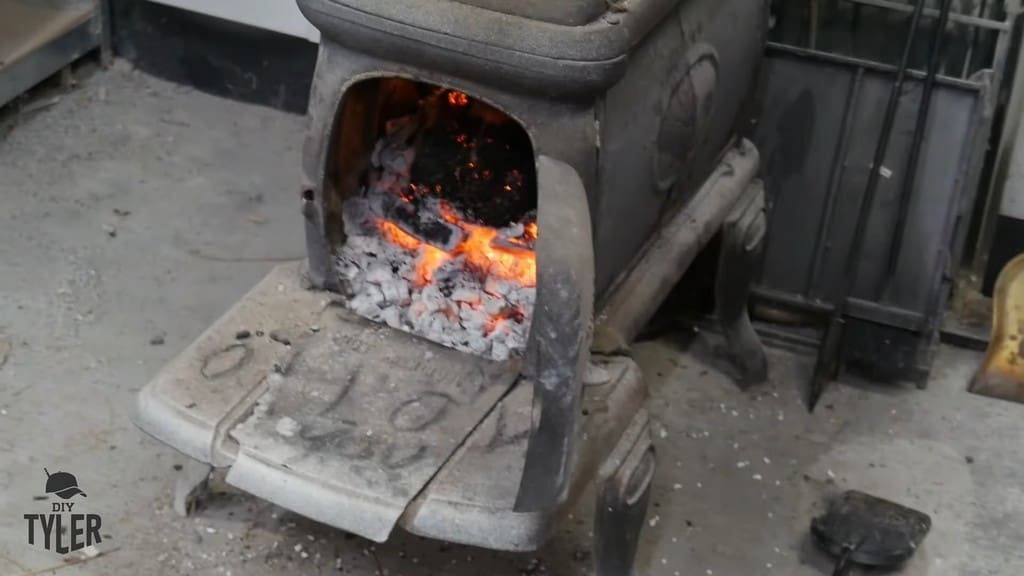
Next, I moved the table out to the barn, which was at 60 degrees thanks to the fire that was burning.
While some people may think it’s stupid to spray down a table with the fire going in the same room, the General Finishes brand water-based finishes are safe enough that you could blow them straight into the fire without ill effect.
In fact, if you sprayed enough into the stove, you could actually put the fire out because you are spraying water-borne material into the flames.
Using the spray finish, I was able to cover all of the table’s weird joints and angles in a matter of minutes.
I did a coat of sanding sealer and three coats of top coat, which is my normal finishing procedure (see my video about that here).
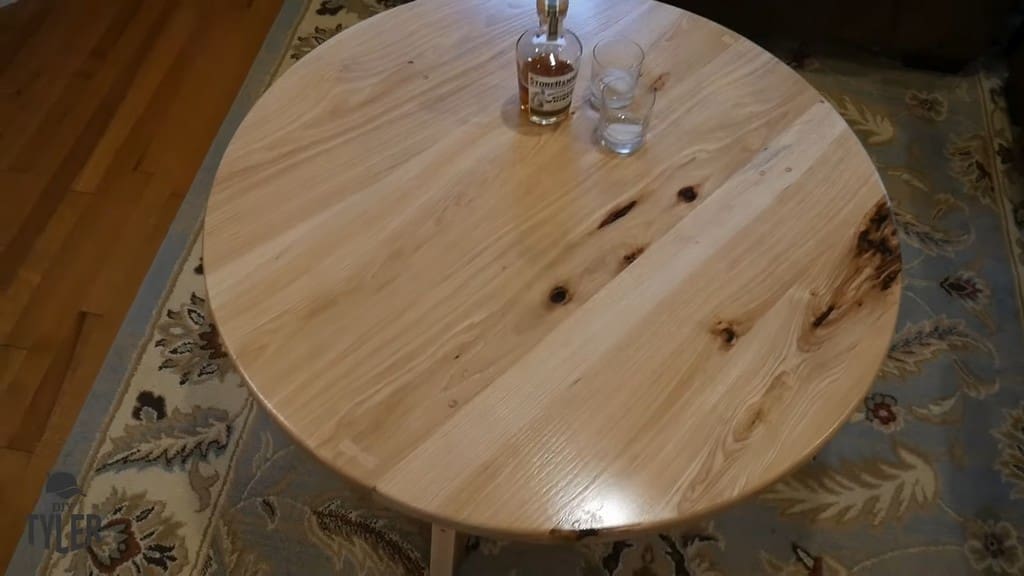
Final Thoughts
This was a fun build. However, I think I’ve gotta stop doing so many builds with hickory because it’s such a pain in the neck to sand.
On the other hand, this beautiful table should last a very long time for the friend I built it for!
Please follow and like us:
3 thoughts on “DIY Round Coffee Table – Cheaper Than Pottery Barn!”
Patrick Schupbach
Beautiful table !!
My concern is the dowel / screw connection for the top to base .. There is no allowance for wood movement… Hope this doesn’t cause a problem down the road … Thank you for sharing your work !!
Great video with lots of good info and shots of your progress. Thanks for sharing. BtW I’ve been following you for a long time and you continue to get better and impress me with your skills and your clear communication.
This is above my skill/patience level but it’s beautiful! My mom had a round coffee table when I was a teenager and I always wanted one. Hers was a dining room table someone had modified by attaching the tabletop onto the base. It was really beautiful!


3 thoughts on “DIY Round Coffee Table – Cheaper Than Pottery Barn!”
Beautiful table !!
My concern is the dowel / screw connection for the top to base .. There is no allowance for wood movement… Hope this doesn’t cause a problem down the road … Thank you for sharing your work !!
Great video with lots of good info and shots of your progress. Thanks for sharing. BtW I’ve been following you for a long time and you continue to get better and impress me with your skills and your clear communication.
This is above my skill/patience level but it’s beautiful! My mom had a round coffee table when I was a teenager and I always wanted one. Hers was a dining room table someone had modified by attaching the tabletop onto the base. It was really beautiful!