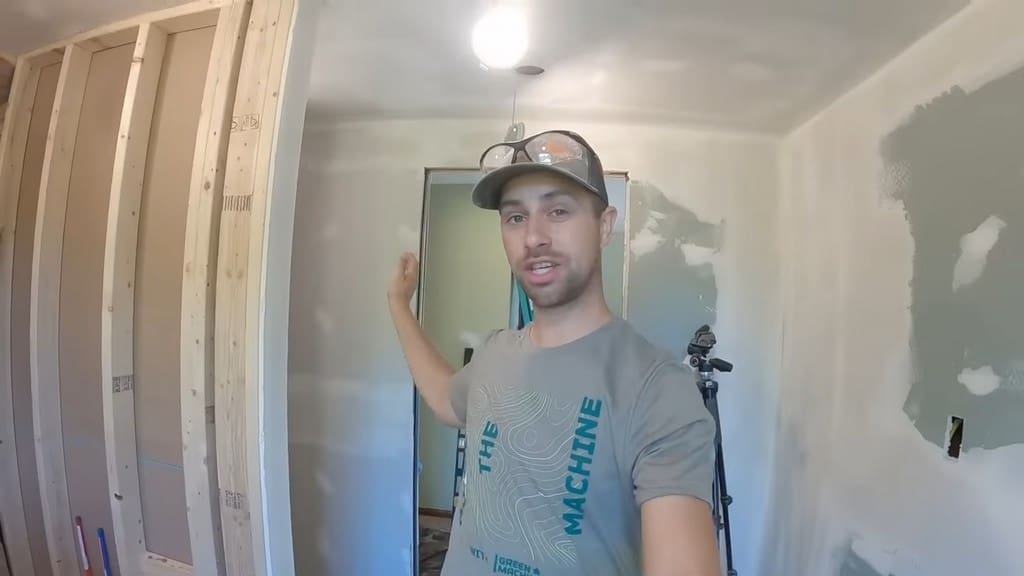
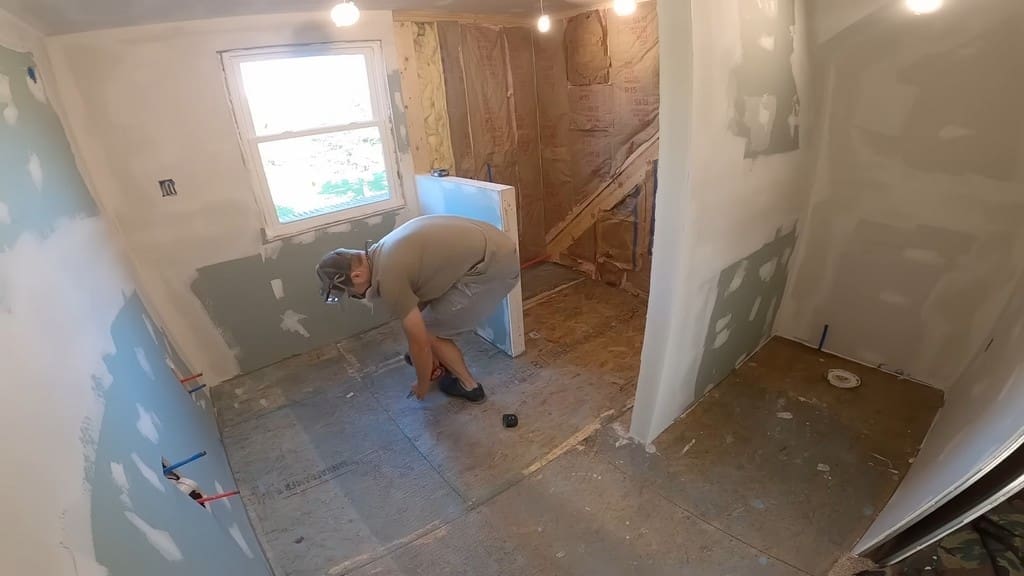
Welcome to the next installment of our ongoing bathroom remodel series, where we’re moving on to adding a self-leveling compound to the floors. Check out our previous video and article on the project if you missed it!
Initially, I went back and forth between using only two vs. all three buckets of mix that I had purchased.
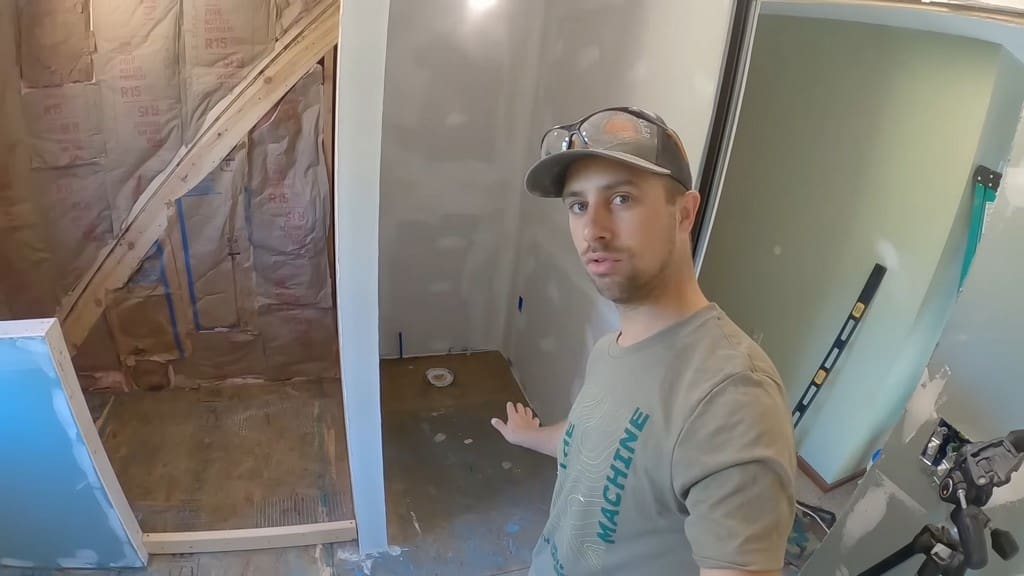
Why the change of plans? Well, I decided I’d only level the area for the toilet and the space for the shower, where there is a significant amount of pitch.
As you’ll see later below, I ended up needing all three bags of mix!
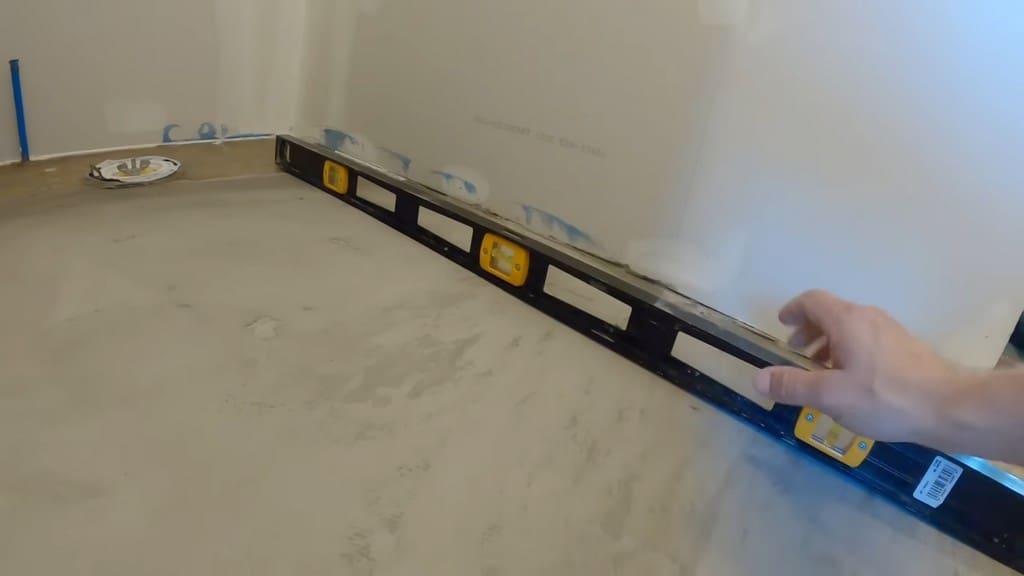
Preparations
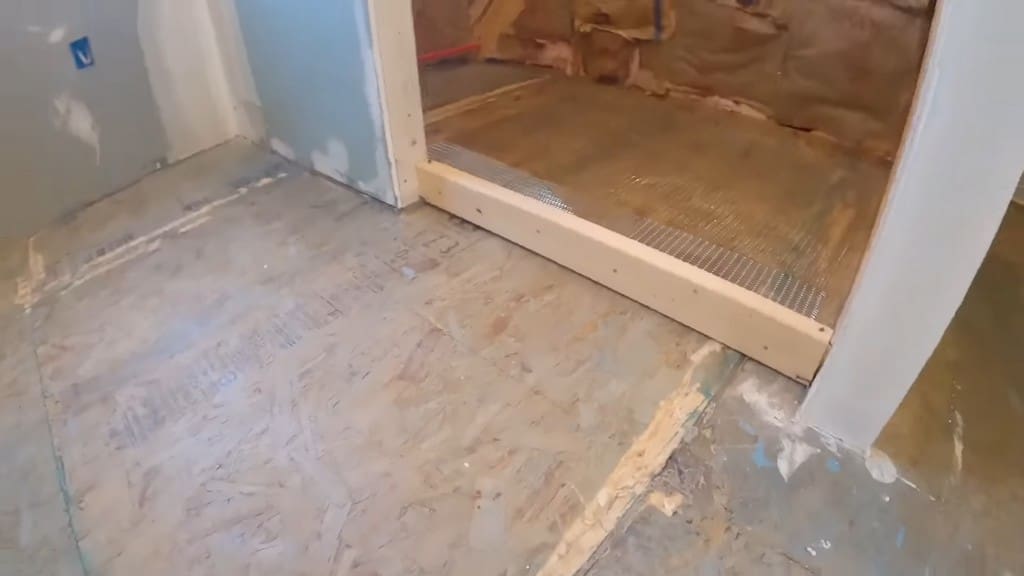
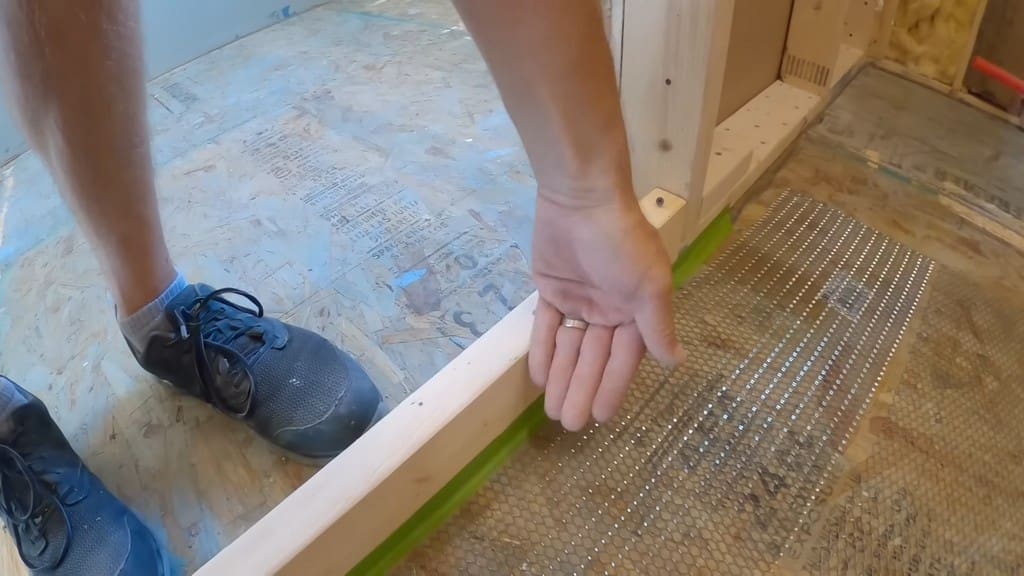
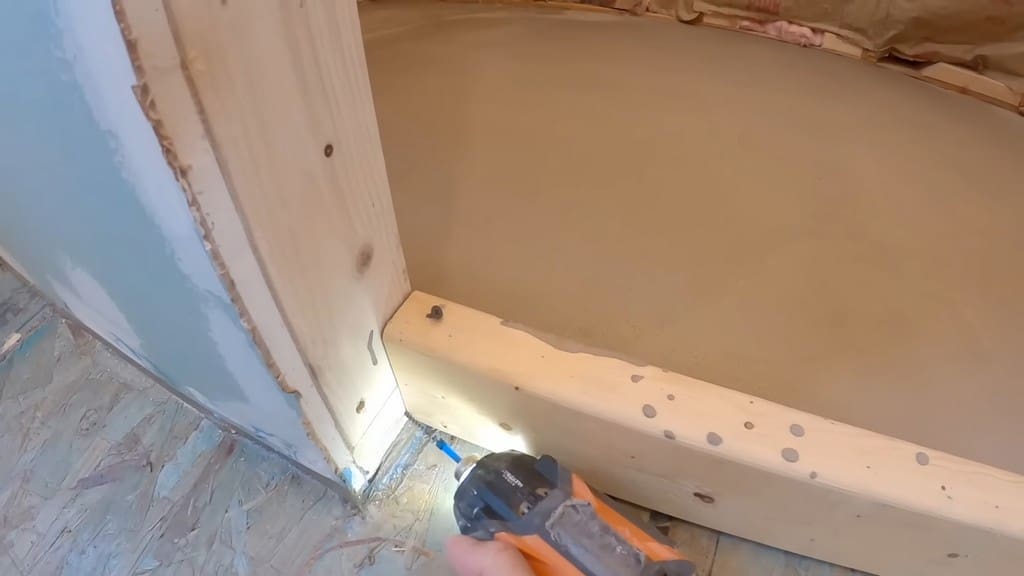
First, I screwed a temporary barrier into place where the Schluter curb is going to be installed. For easy removal afterward, I applied some tape on the back side of the board.
In addition, I caulked all along the edges of the shower to allow for expansion and contraction of the self-leveler. Plus, the caulking will keep the self-leveler from flowing into other sections of the bathroom.
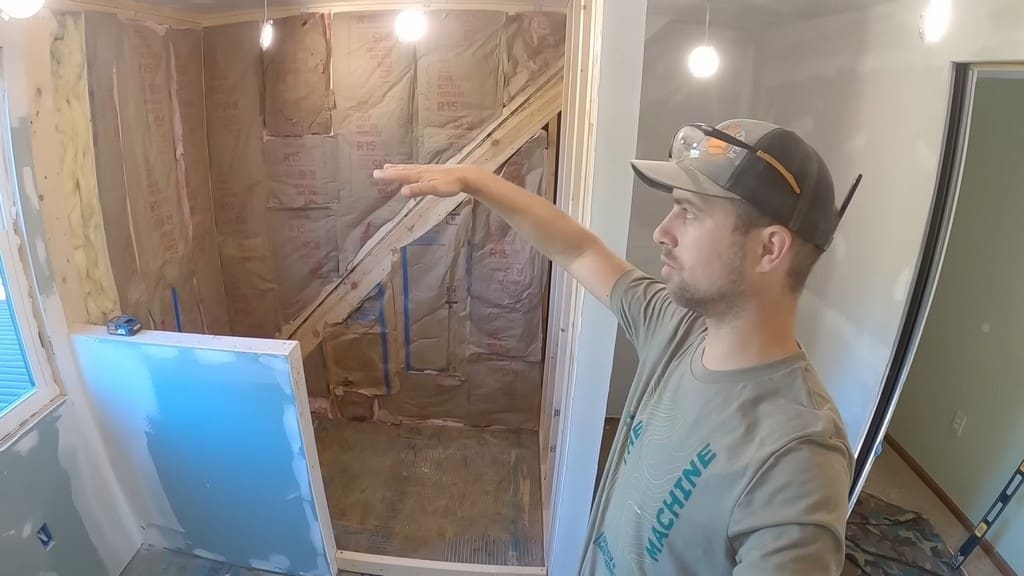
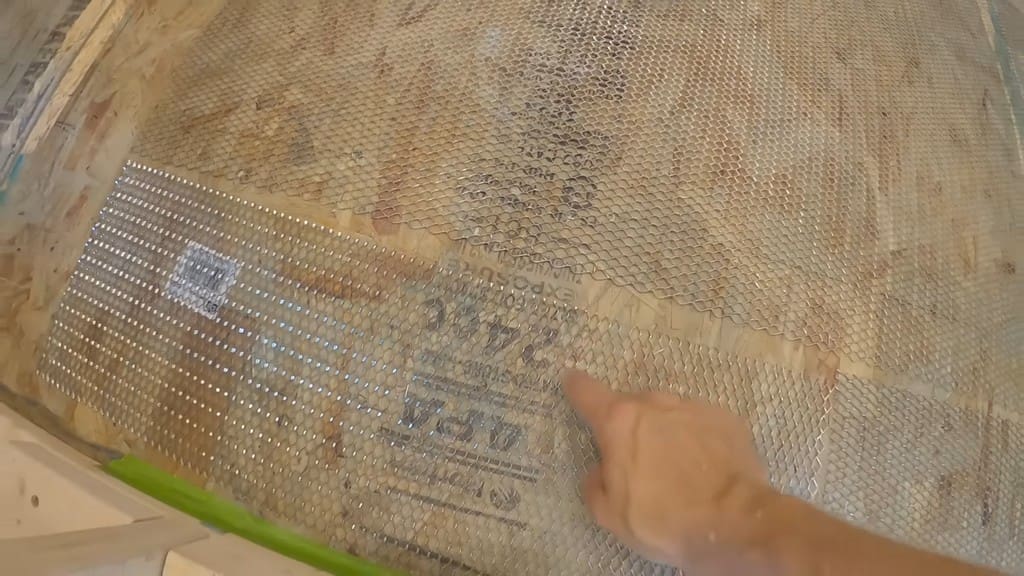
Furthermore, I laid down some lath, which is a super-sharp mesh that is meant to prevent the compound from cracking if the subfloor moves beneath the self-leveler. This sort of mesh isn’t necessary for concrete flooring but is important for OSB subfloors.
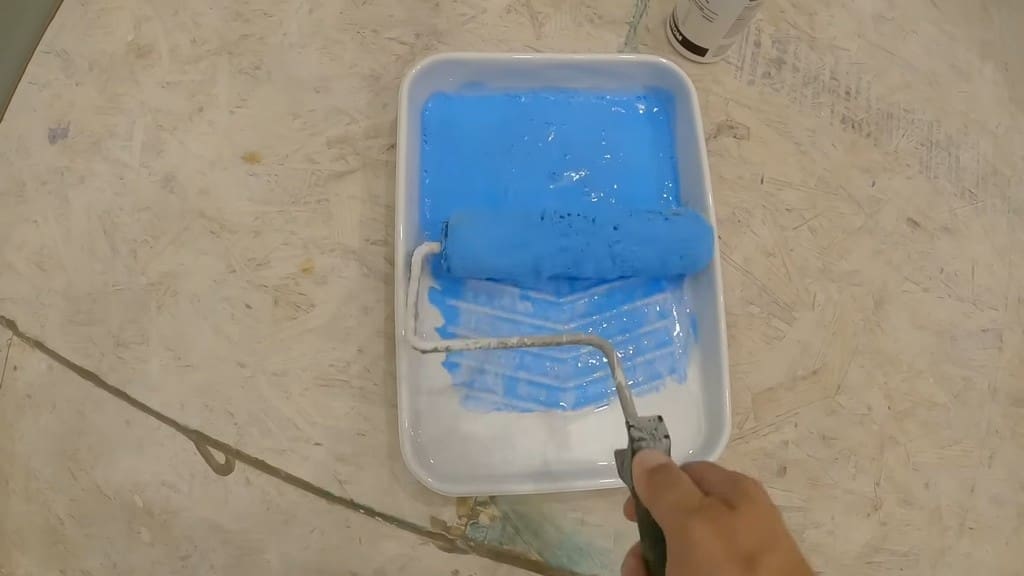
Next, I sanded, scraped off, and swept up the excess glue from the joints of the OSB boards.
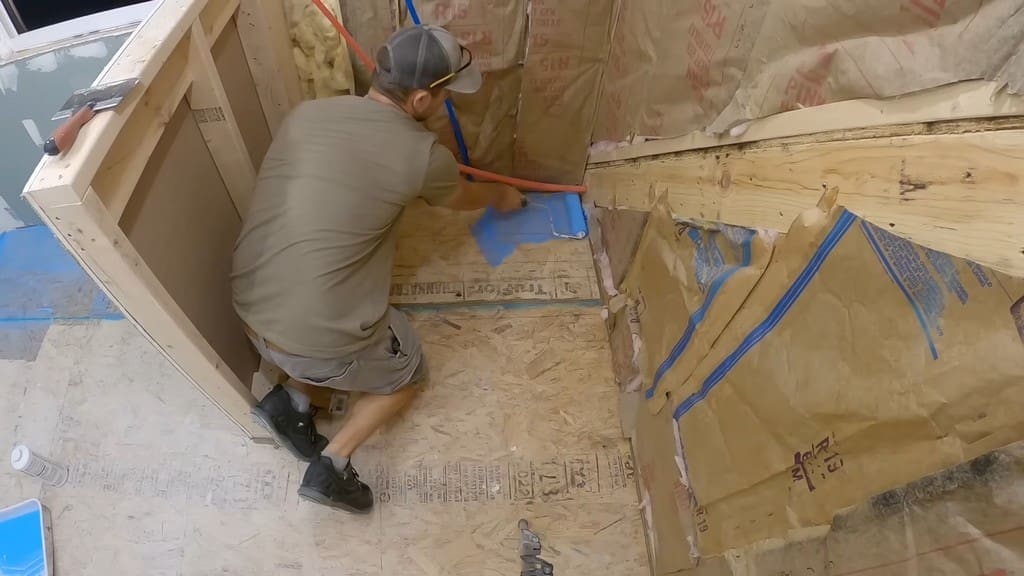
After clearing the excess glue away, I applied a blue acrylic primer that is intended for this specific self-leveler compound.
Here I am cutting out pieces of that mesh I talked about earlier. Once I had a piece the size I wanted, I simply stapled it into place directly onto the wood.
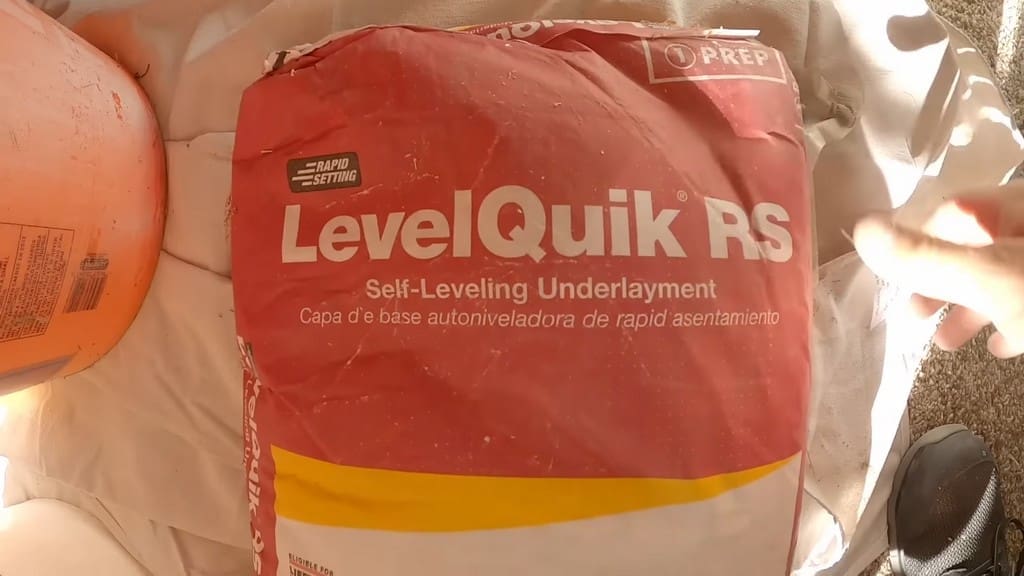
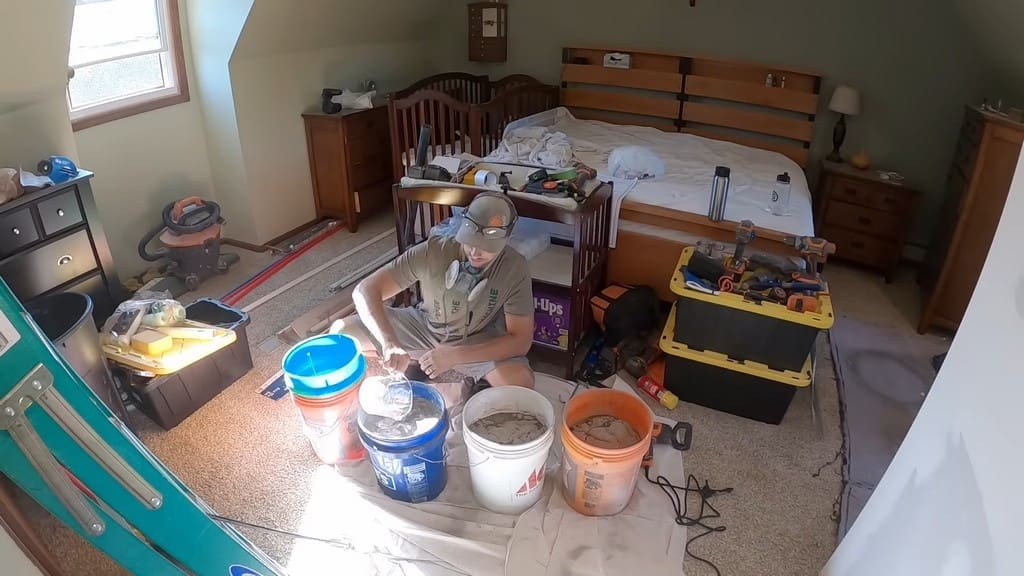
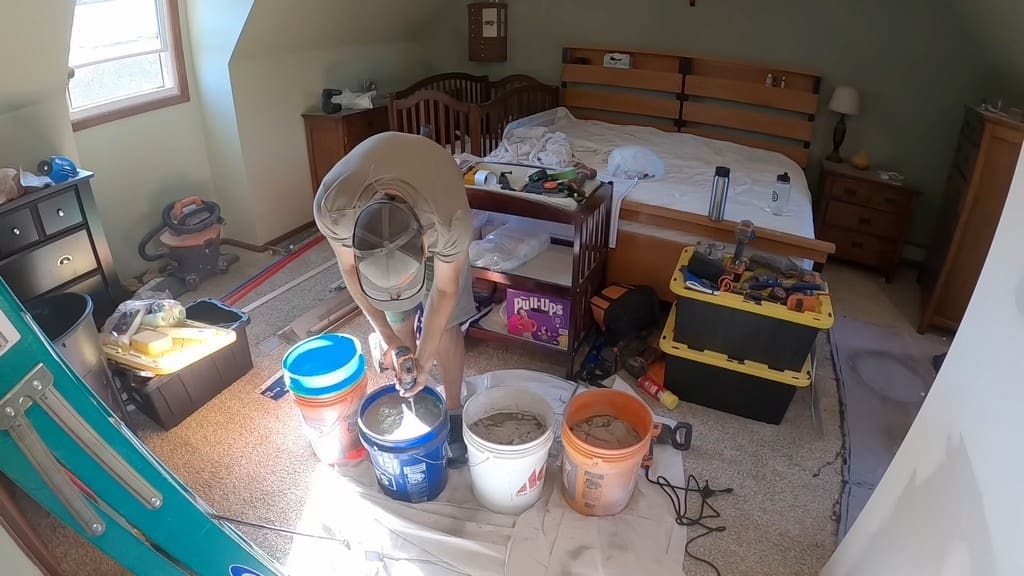
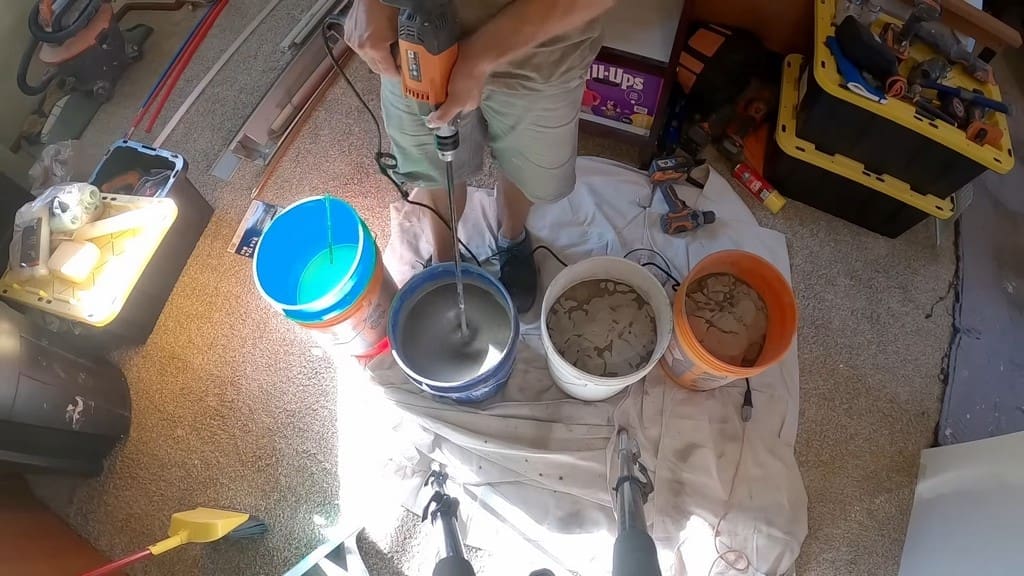
Mixing the Self-Leveling Compound
Here is the mix for the self-leveling compound that I used.
At first, I made the mistake of dumping the powders into their respective buckets before I checked the back of the bags. It turns out you’re supposed to add water before you dump in the powder.
So, I decided to add roughly five quarts of water after the fact for one bucket to see what happens!
Instead of starting with a paddle mixer, I used a drywall mud beater so that I could have more control as I mixed.
Then, I switched to the much larger paddle mixer after I’d made some headway with the smaller attachment.
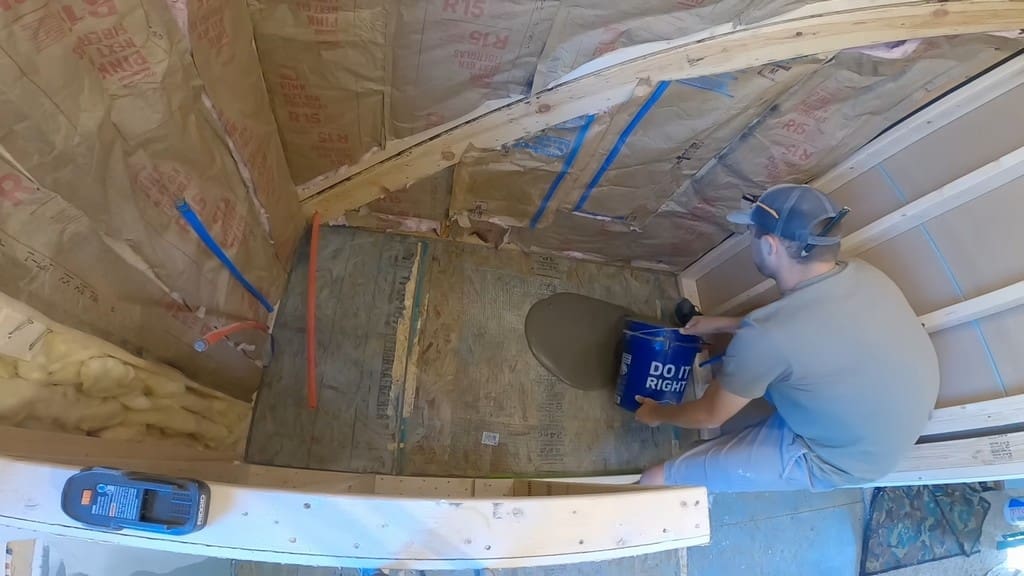
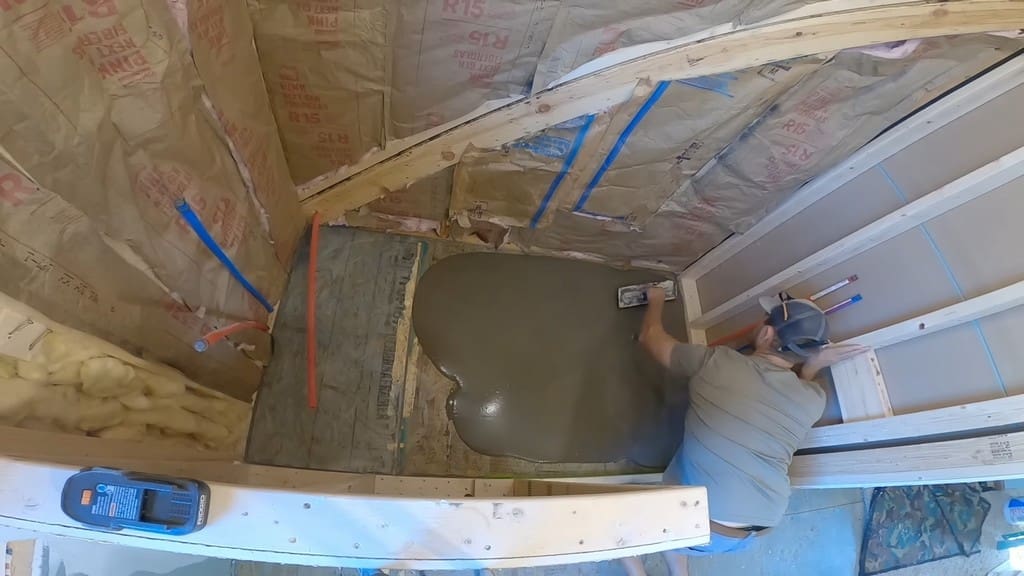
Applying the Self-Leveling Compound
After making sure there were no bits of paper from the insulation sticking out, I dumped the self-leveling compound into the shower space.
I easily used up the entire first bucket and used a finishing trowel to spread the mix around. Like with concrete or any other mix of this nature, you want to get a nice, even coating before everything sets.
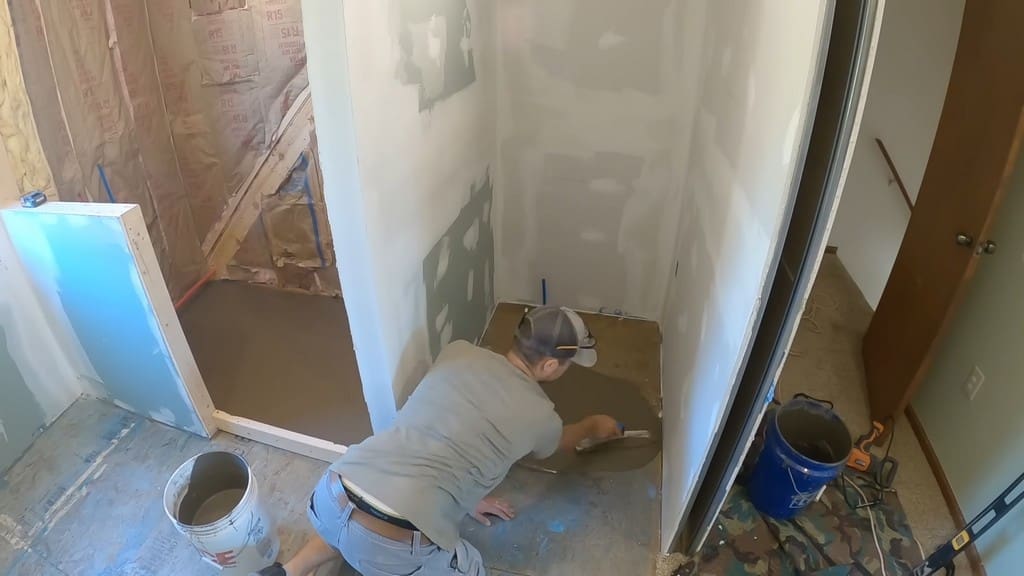
Here I am dumping a bucket of the self-leveling compound into the toilet space. Spreading the compound around in this area required a bit more finesse since I had a smaller space to work with.
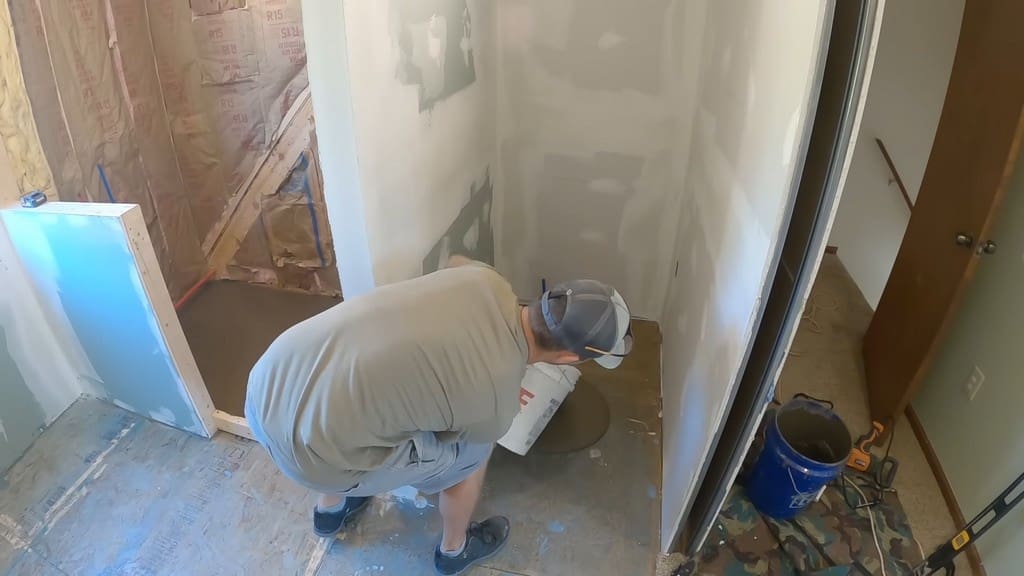
Final Steps
With the self-leveling compound set, I used my drill driver to unscrew the wooden board barrier at the edge of the shower space. At that point, it was a simple matter of gently tapping it with my fist and carefully prying the board out of place.
As you can see, the tape worked relatively well for its intended purpose.
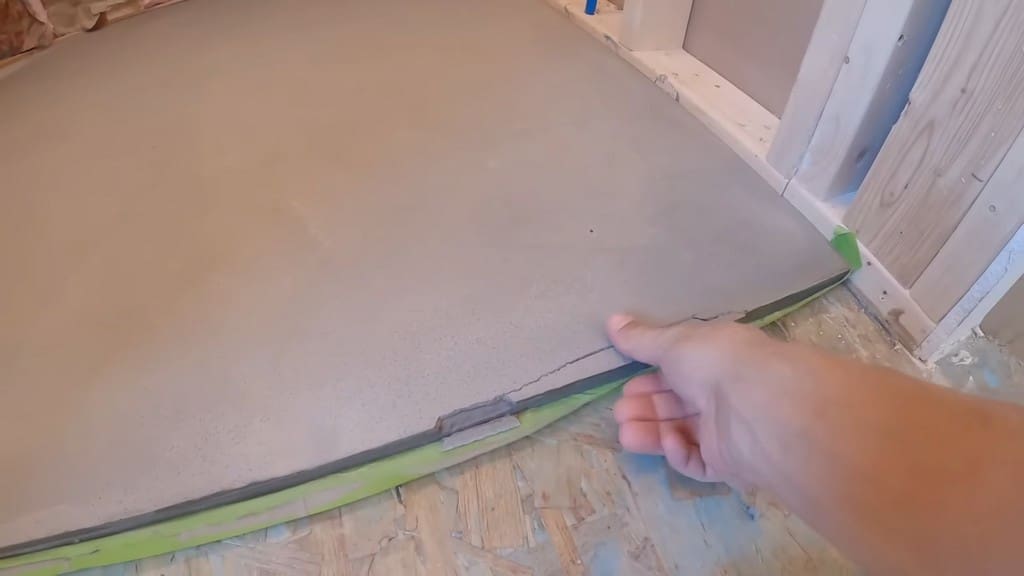
There ended up being a bit of a bubble in the center of the shower floor, but it was nothing that I can’t fix with some mortar later on.
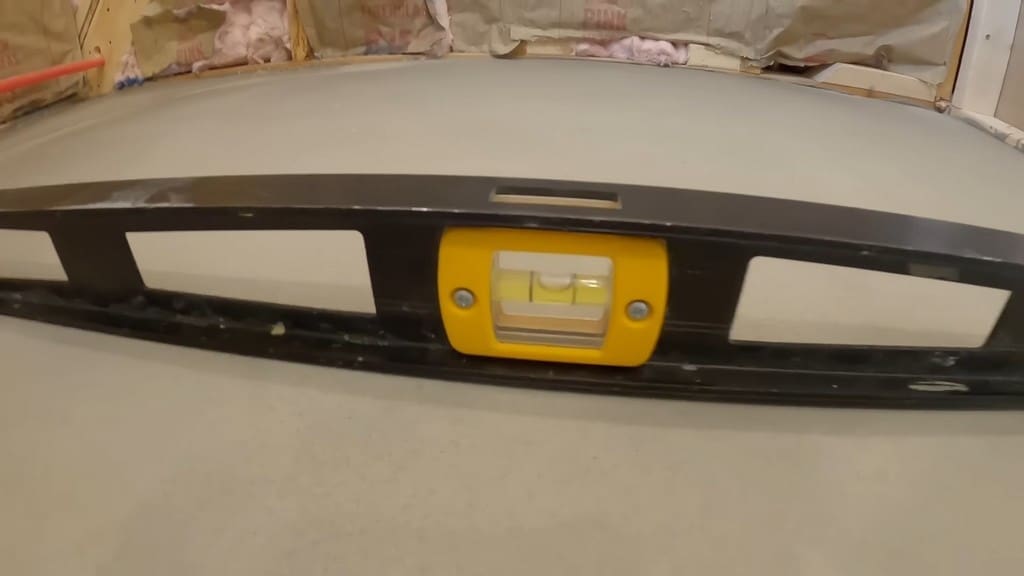
Meanwhile, the level of the toilet space looked spectacular, with only a small gap at one part.
Closing Thoughts
All in all, this isn’t too difficult of a task, though I did need to complete a second layer for the shower section.
Based on how quickly it set up, I may have mixed the self-leveler too dry. This meant it didn’t flow quite as well for the second go-round and may explain the bubble.
Still, if you follow the instructions and add the full amount listed on the bag (over five quarts of water!), you can get great results.
I was happy with the final appearance of the self-leveling layer.
We’re only just getting to the good part of this video series. Stay tuned for follow-up installments in the bathroom remodel saga!