We have been wanting to become more self-sufficient by raising and butchering our own meat chickens. With the goal of homestead chicken meat in mind, we created a DIY chicken tractor that we could pull around our yard.
Since we could pull the chicken tractor around, we wouldn’t risk the chickens destroying a single section of our yard. Plus, we could fertilize as we moved the tractor along the property.
To accomplish this, we designed a tractor that would be completely detached from the ground and could be moved whenever we wanted it to do so. We didn’t want to have to worry about a detached chicken feeder or water dispenser, either.
It’s enough for now to say that the feeder for this unit is attached to one side of the chicken tractor and is actually a part of the tractor itself. You can see the feeder at the front of the chicken tractor in the picture above and in the completed build at the end of this article.
Assembling the DIY Chicken Tractor’s Base Frame
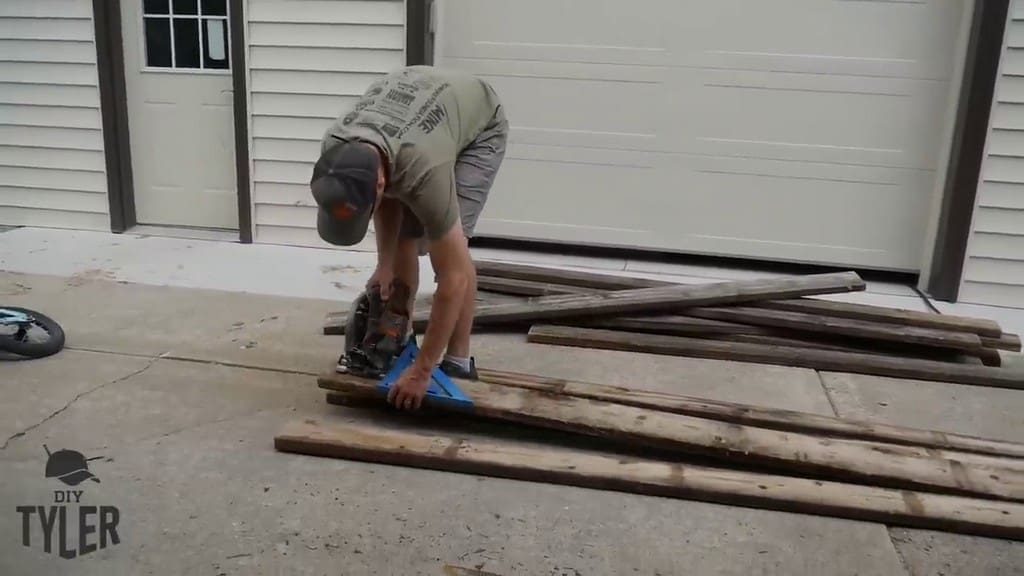
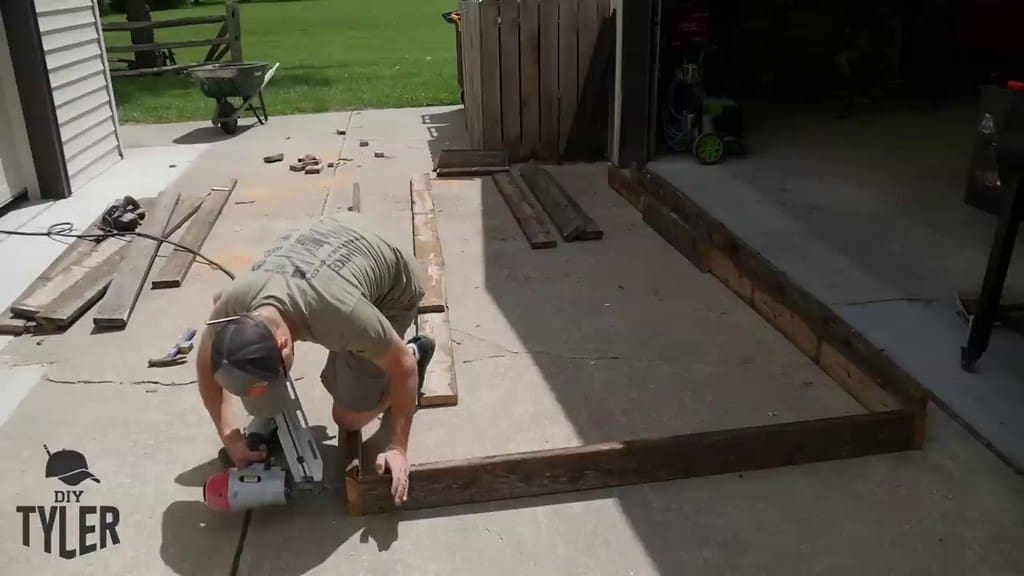
To start, we used some of our old deck planking from our previous deck that we tore down.
Materials for the DIY Chicken Tractor
We wouldn’t have used 2×6 boards if we had purchased material outright, since 2×6 boards are kind of heavy.
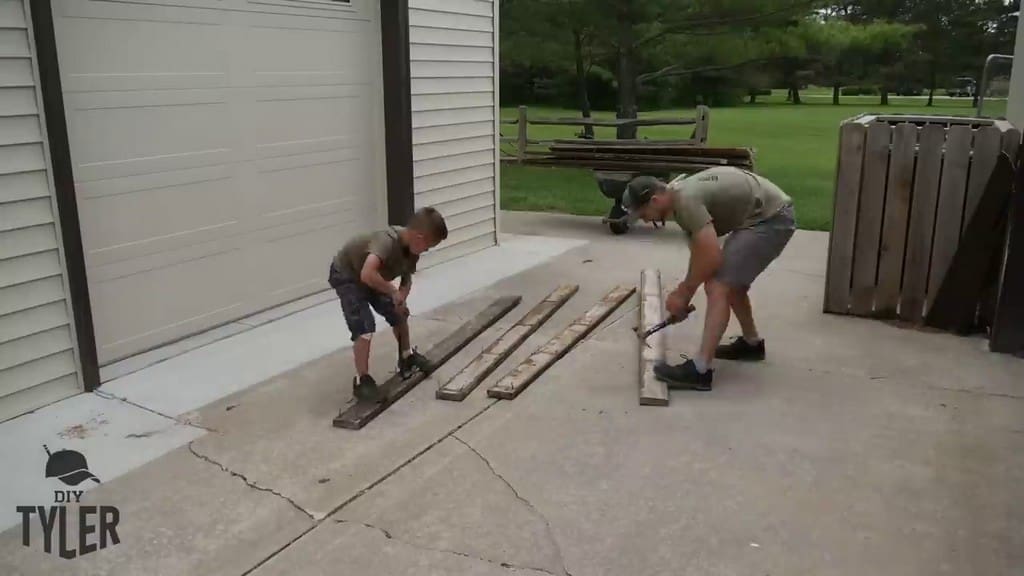
Still, free material is free, so we brought some planks out from where we had them stored in the back. We removed the nails from the boards, measured them, and cut them down to size.
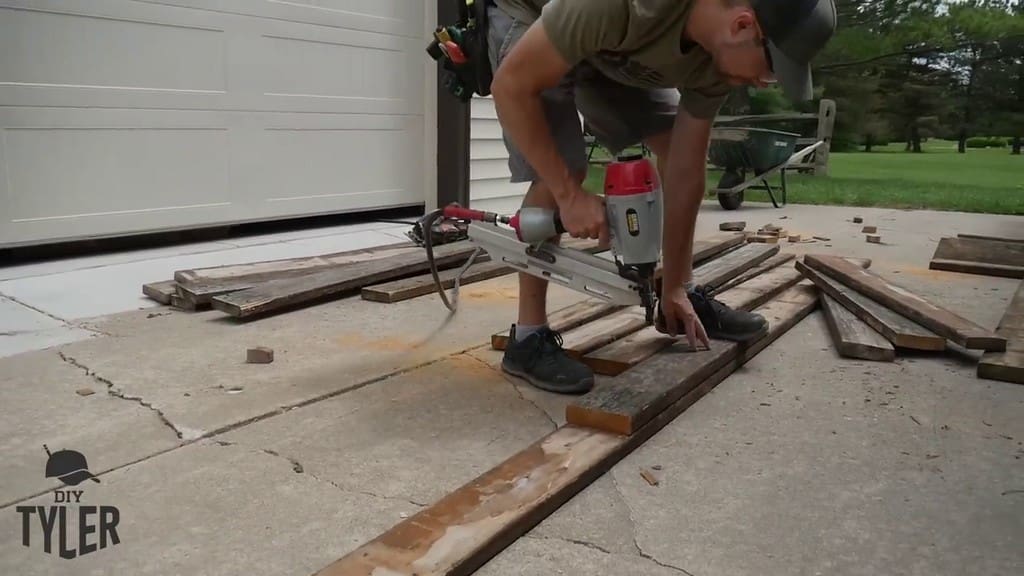
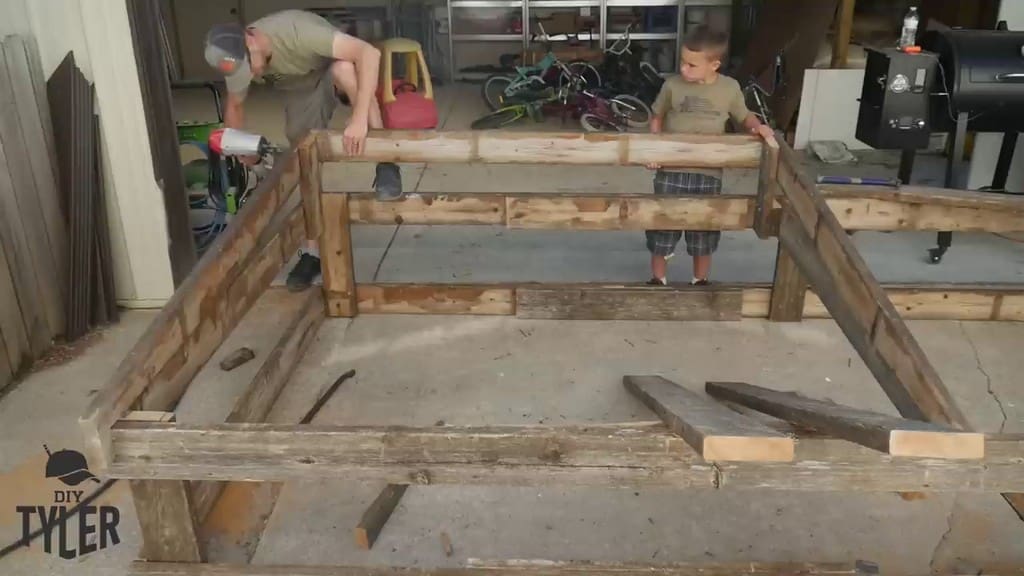
Nailing the Base Frame Boards Together
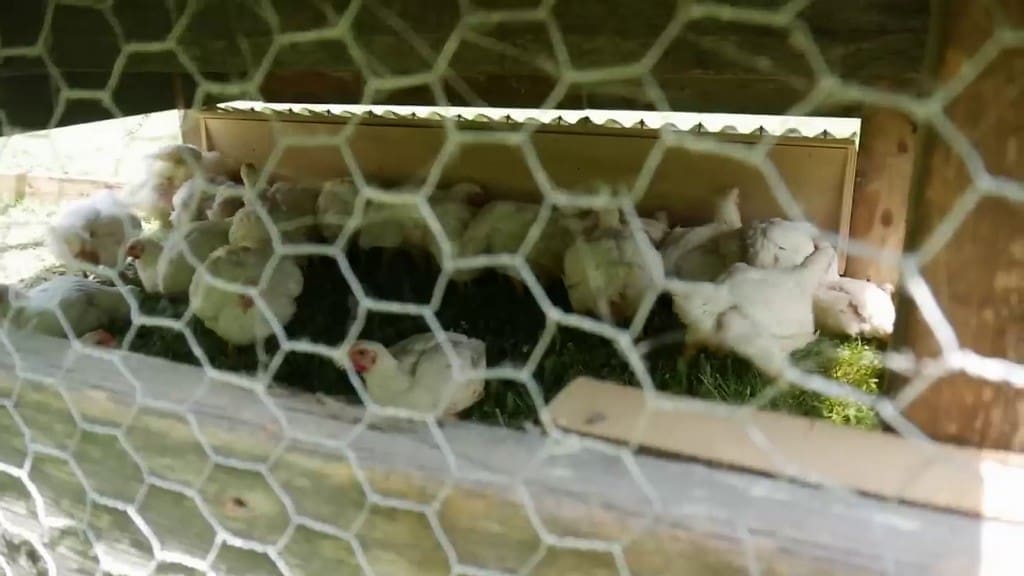
The dimensions of the chicken tractor were 12 feet long by 6 feet wide. This gave us 72 square feet, which is enough for up to 36 meat chickens. We ended up housing 32 meat chickens, with each bird having just over 2 square feet apiece.
Since we didn’t have any 12-foot boards, we nailed a couple of planks together instead. Sometimes, you just have to make do with what you have!
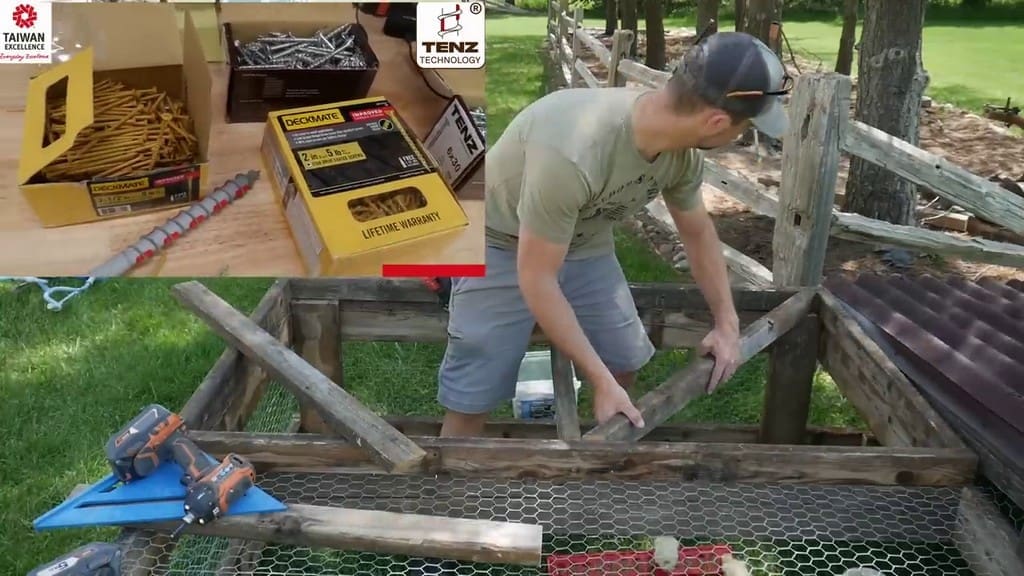
We preassembled everything with nails, with the intention of adding 3.5-inch DECKMATE screws later on. The screws help prevent anything from pulling apart while moving the chicken tractor.
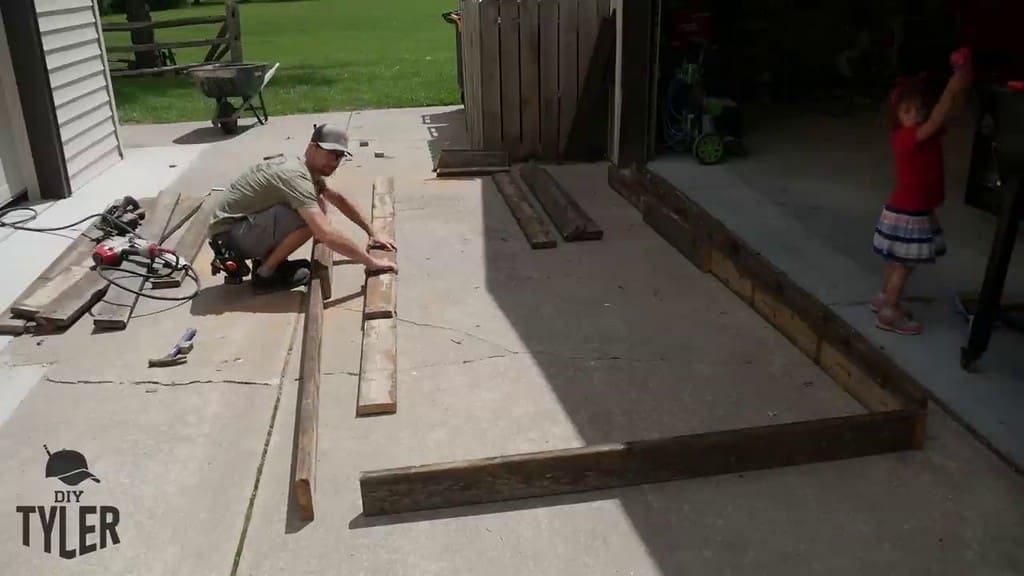
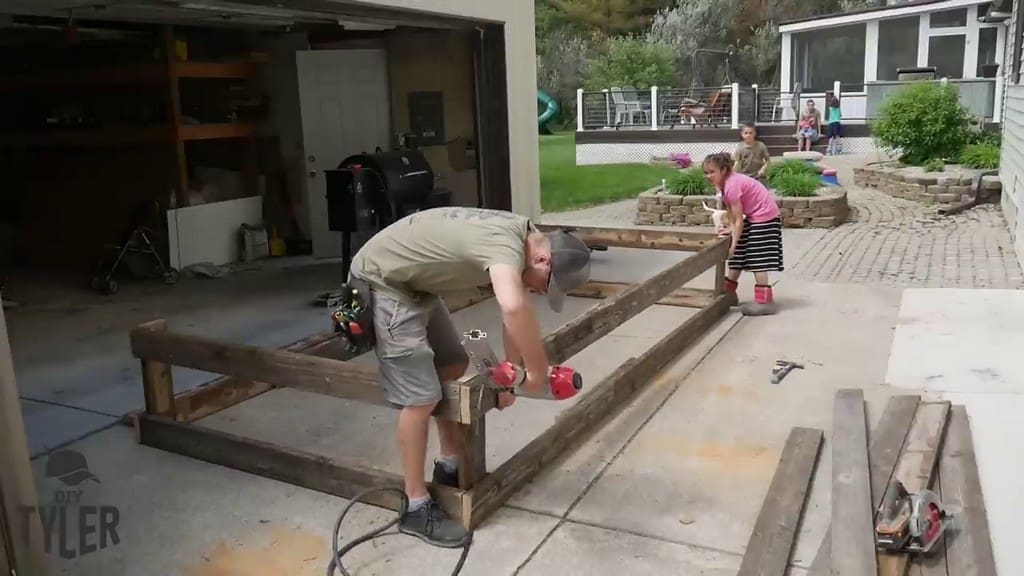
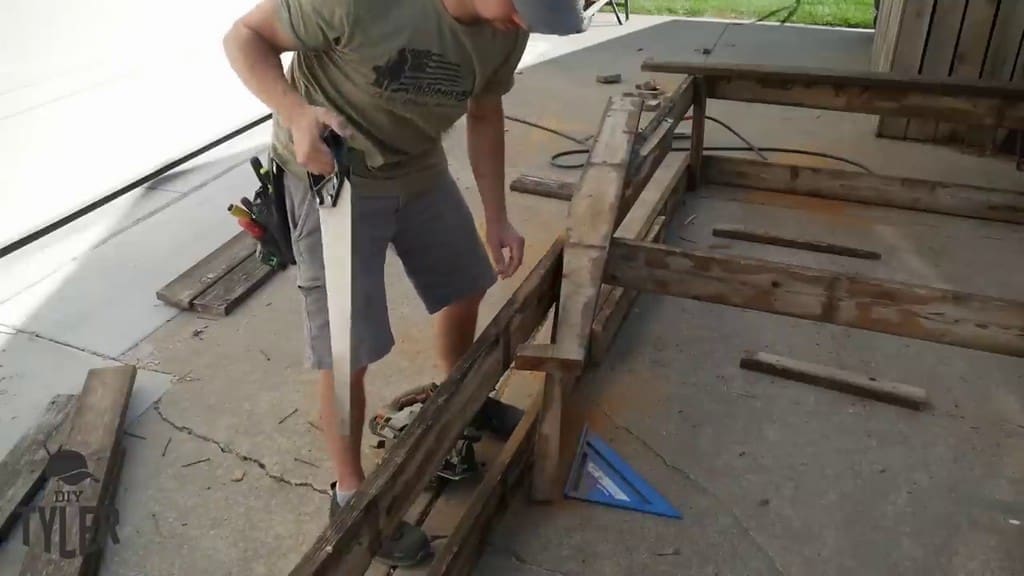
After nailing the long boards, we created two rectangles that were held together with roughly 20-inch vertical boards.
After assembling the base frame, we nailed together the pieces for the upper rectangle.
Building the DIY Chicken Tractor’s Roof Frame
We only covered half of the chicken tractor with a roof. This still gives the chickens room to huddle together during rain while allowing them the chance to enjoy some direct sunlight on bright days.
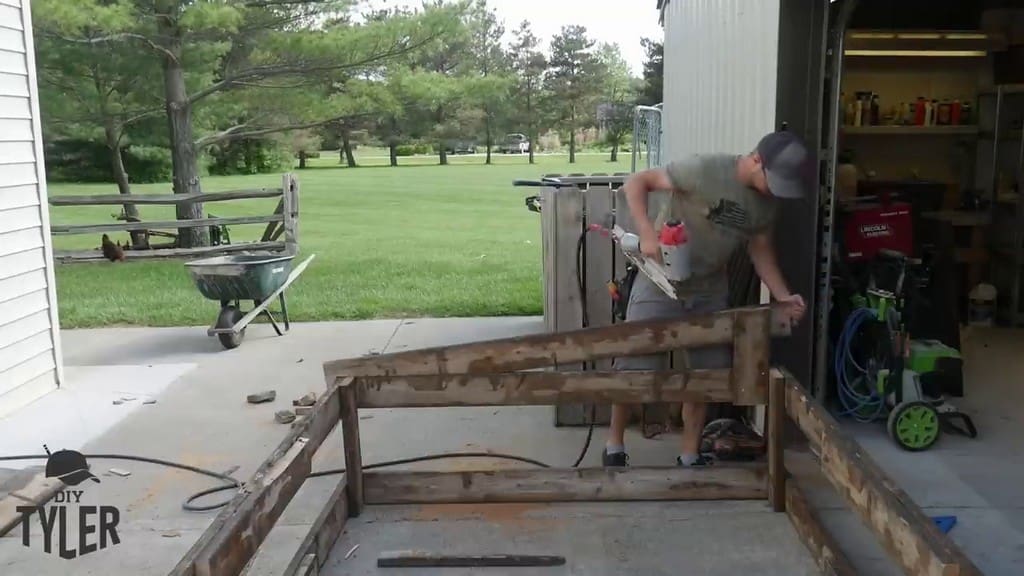
For the roof structure, which we wanted to give an angled pitch, we cut bridle joints in order to create rafters.
We added some support beams for the chicken tractor’s roof structure.
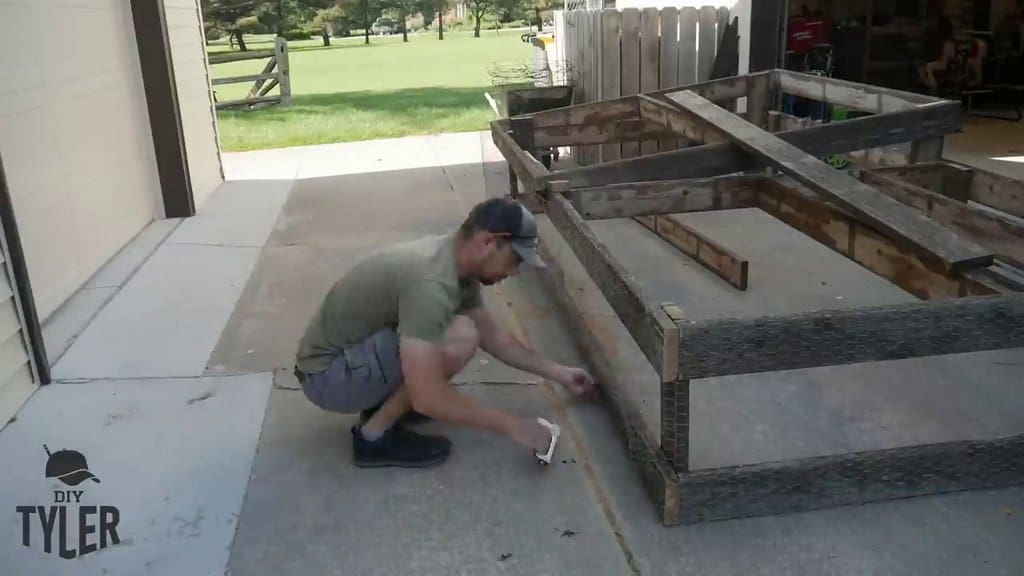
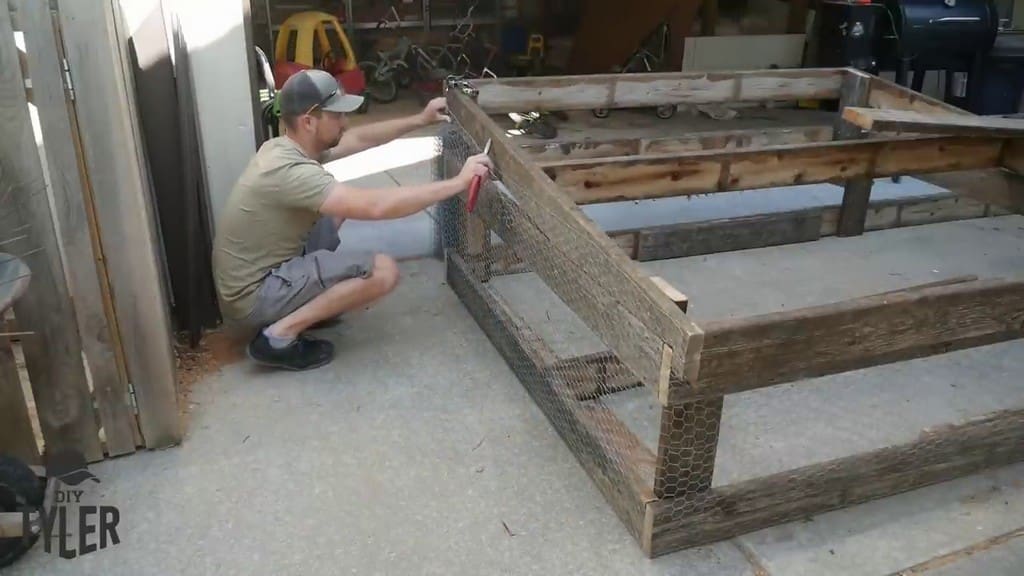
Wrapping the Structure with Chicken Wire
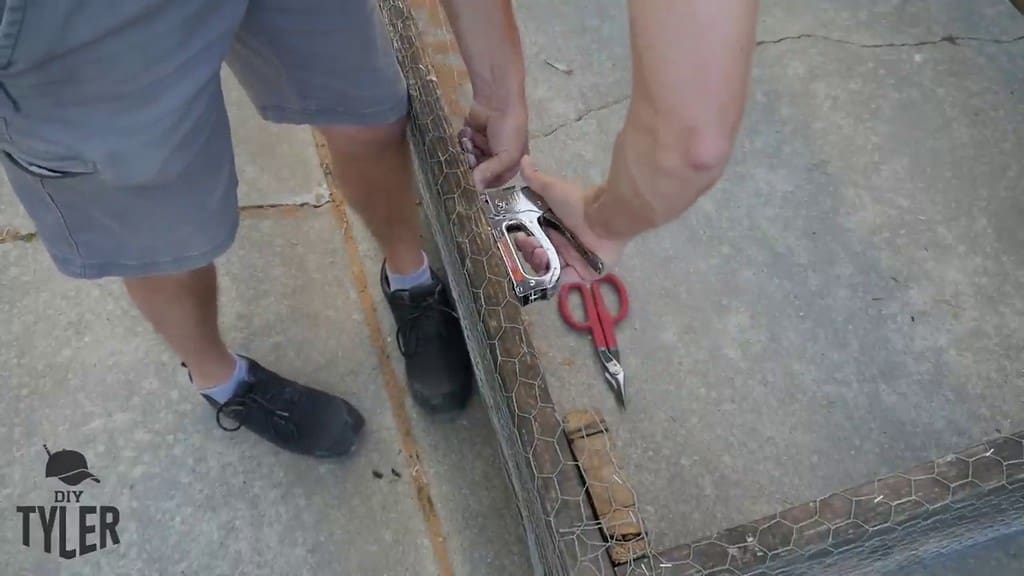
With the frame of the chicken tractor basically completed, we wrapped it up in chicken wire. I got the wire from the hardware store and simply stapled it in place.
How Much Chicken Wire to Use
Since we want to prevent any predators from getting into the tractor, we double-wrapped most of the sections. This keeps predators from poking their paws through the wire and pulling it out of place so that they can get at the meat chickens.
Using two feet of wire was high enough to wrap around the top of the boards. For the gap left by the angled portion of the roof, we added another piece of chicken wire to block off any open spaces.
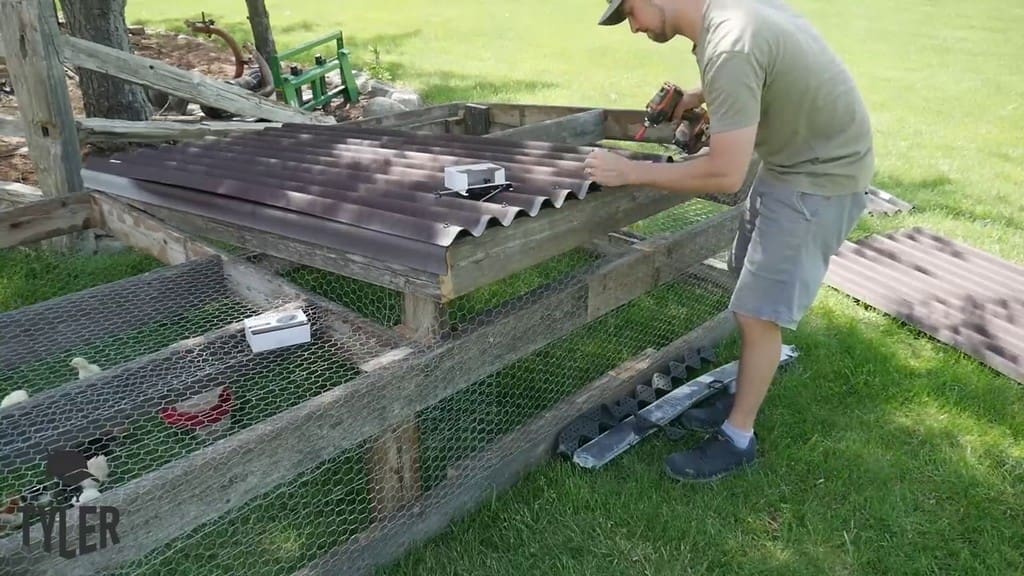
Installing the DIY Chicken Tractor’s Roof
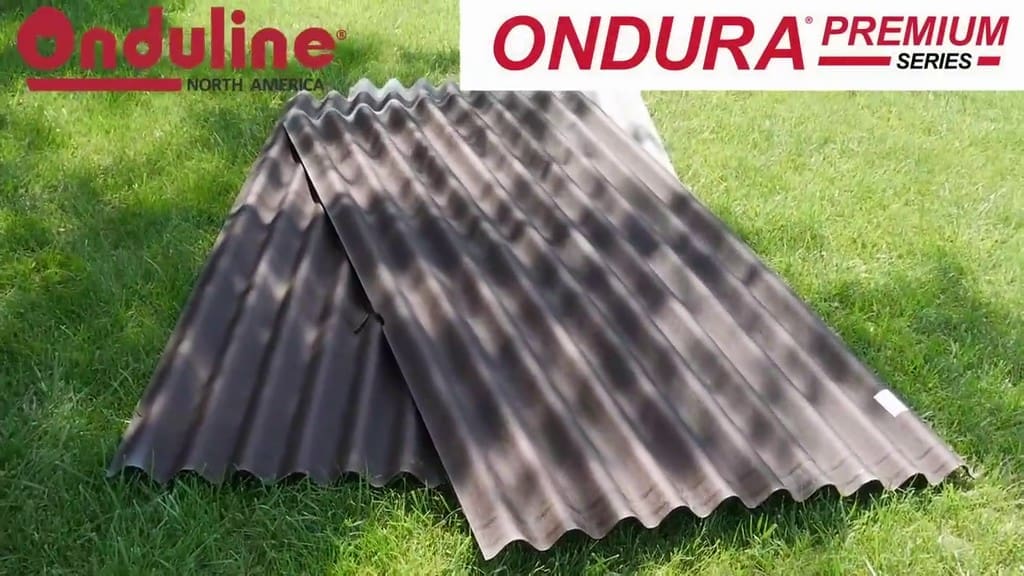
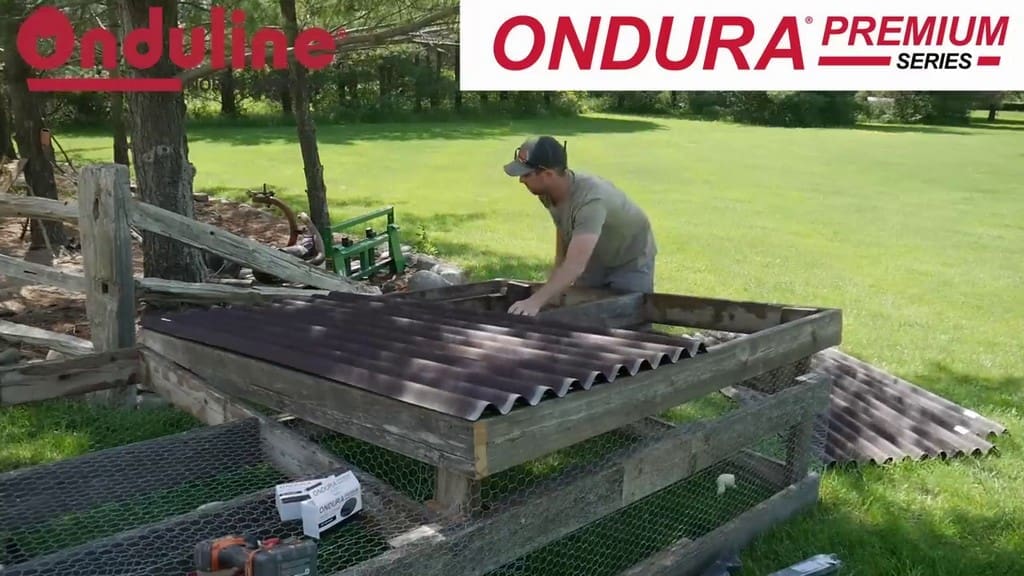
For the roof covering, we used Onduline North Americda’s Ondura Premium Series roofing panels. We have used these panels for previous projects. They are easy to work with and install, plus each panel covers a good amount of square footage.
From our experience, we have found that these panels protect well and are watertight after installation. If you want roofing panels like these, check out your local Lowe’s store.
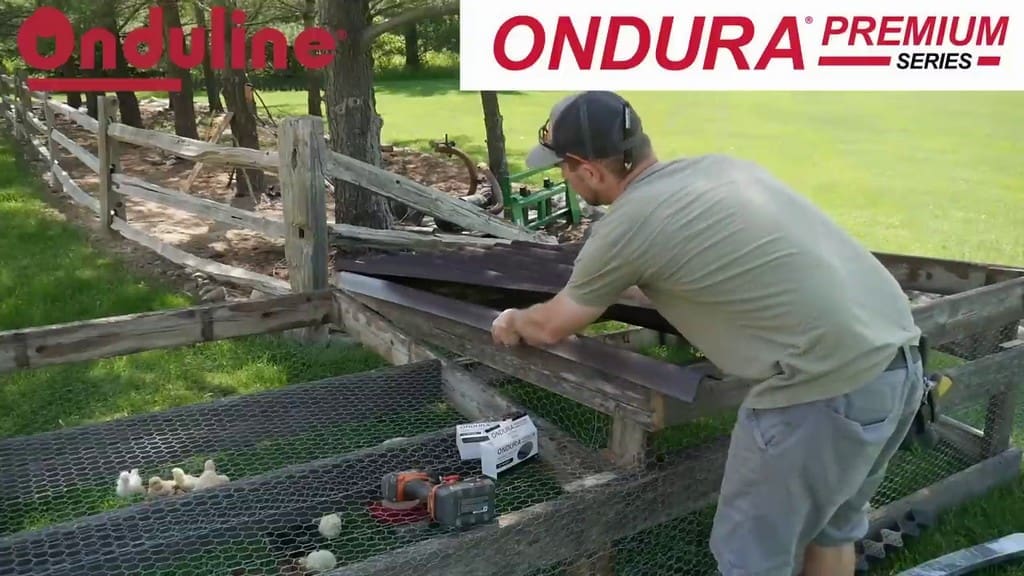
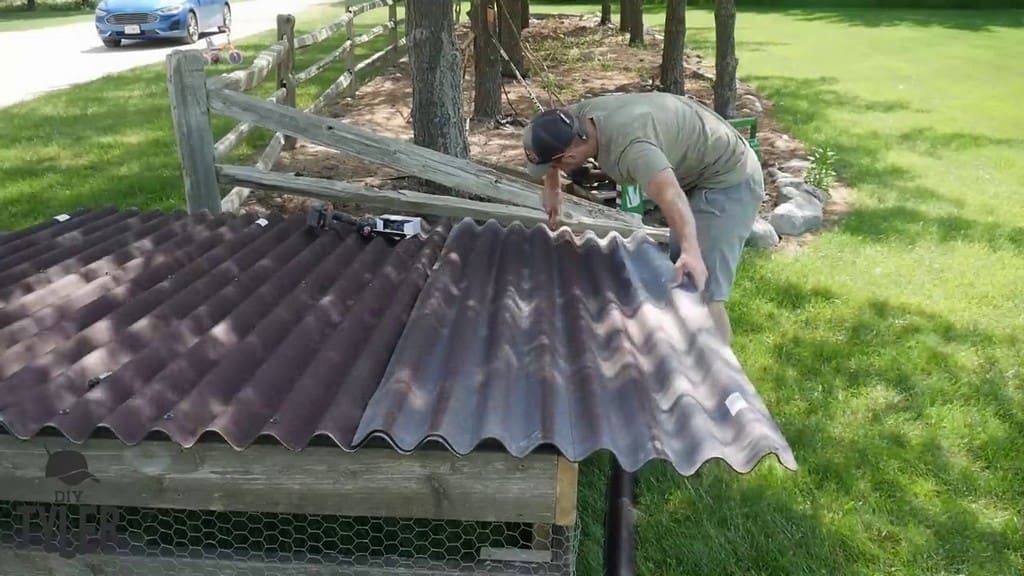
Roof Edging
After placing the main panels, we made a drip-edge using one of the corrugated sections that we cut off of a panel. Foam edging comes in handy here as well.
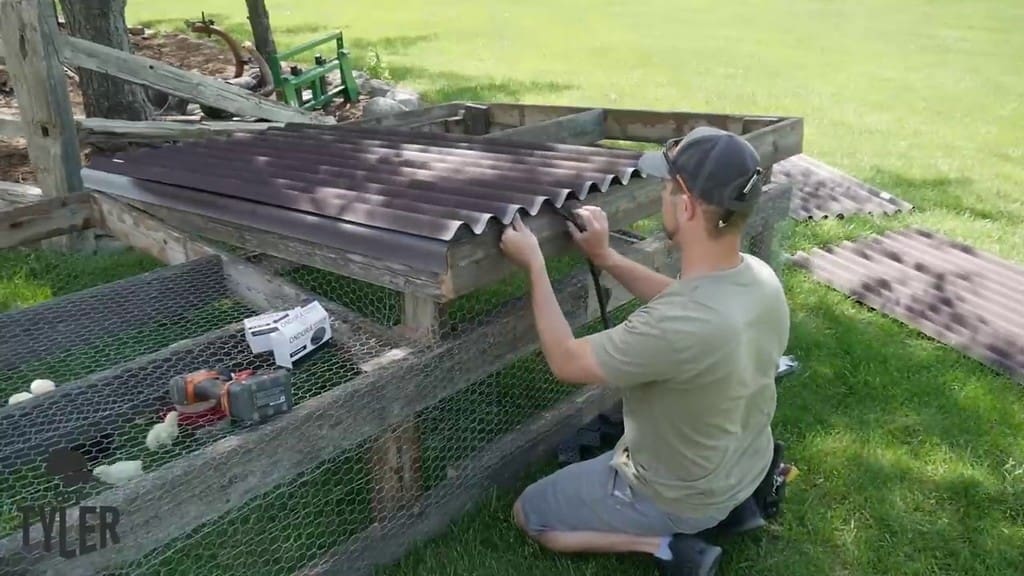
Securing the Roofing Panels
We drilled the panels in place, which was easy thanks to the embossment serving as a guide to where we needed to drill down. To ensure the proper width, we used a utility knife to cut off one end of the panel that was hanging out over the edge of the chicken tractor.
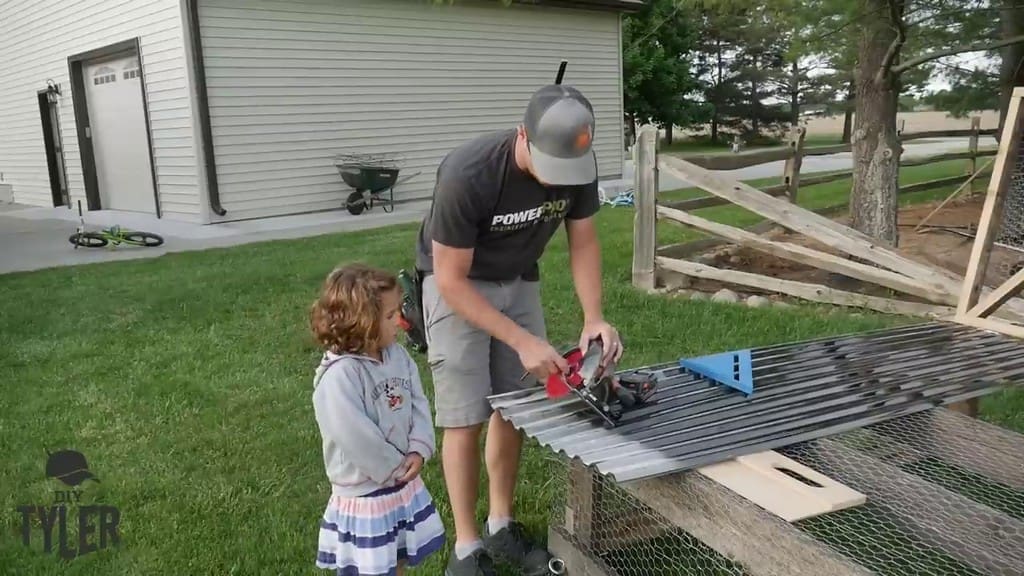
Protecting the DIY Homestead Chicken Meat
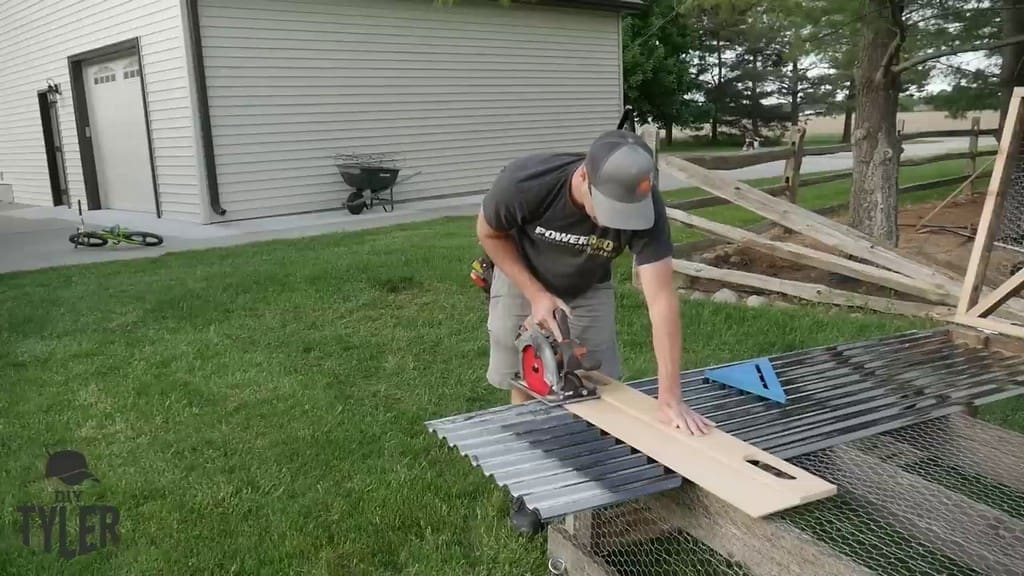
After installing the roof, we added Onduline brand polycarbonate Tuftex edging material to prevent rainwater from getting into the chicken tractor. Personal experience and audience feedback have taught us that it is best to cut only a small amount of Tuftex at a time.
In addition, it’s a good idea to turn the circular saw blade backward before cutting. Turning the blade around seems to prevent it from jumping or catching on the material as badly.
After cutting the Tuftex to size, we drilled it to the sides of the chicken tractor.
Building the Door Frame
With everything secured on the roofed portion of the chicken tractor, we began work on the door frame, which was located in the front-left quadrant of the structure. We fastened the frame’s boards with the same 3.5-inch deck screws that we had drilled into the base frame after the initial nails.
These DECKMATE wood screws use a design from Tenz Technology’s, which is a brand that has received the distinguished recognition of Taiwan Excellence. You can find them at your local hardware store.
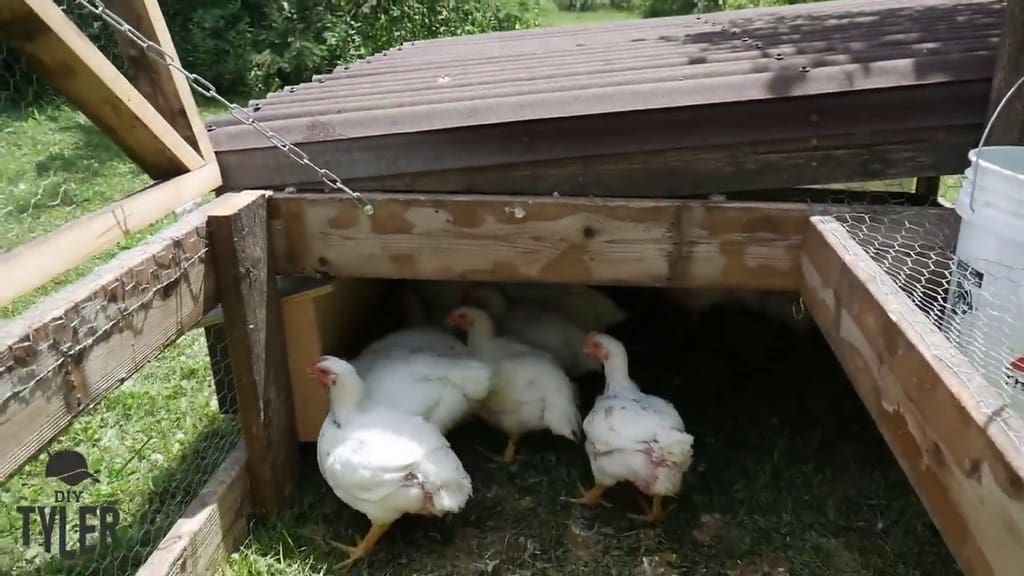
Here you can see the door in use with the full-grown chickens inside the tractor.
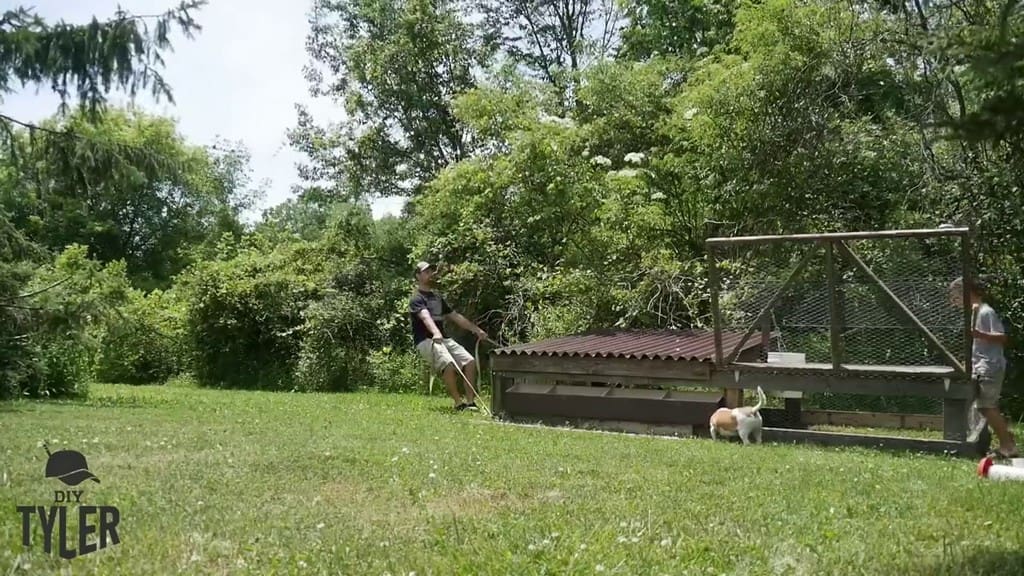
How to Move the DIY Chicken Tractor
Like we mentioned at the top of this article, we wanted to be able to move the chicken tractor daily without too much trouble. We didn’t install any wheels at the bottom, but we had another way to transport the tractor as needed.
Installing Tow Straps
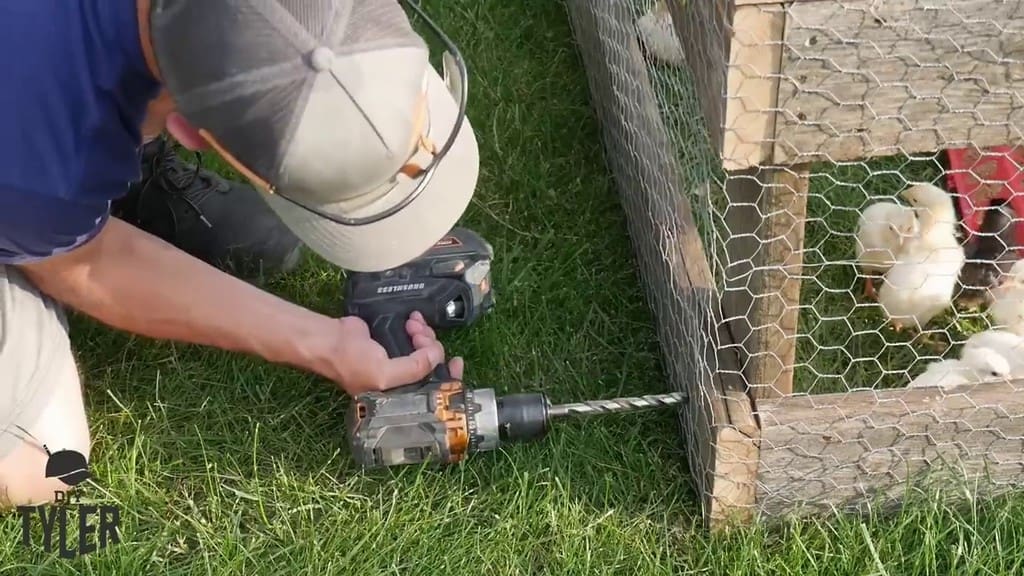
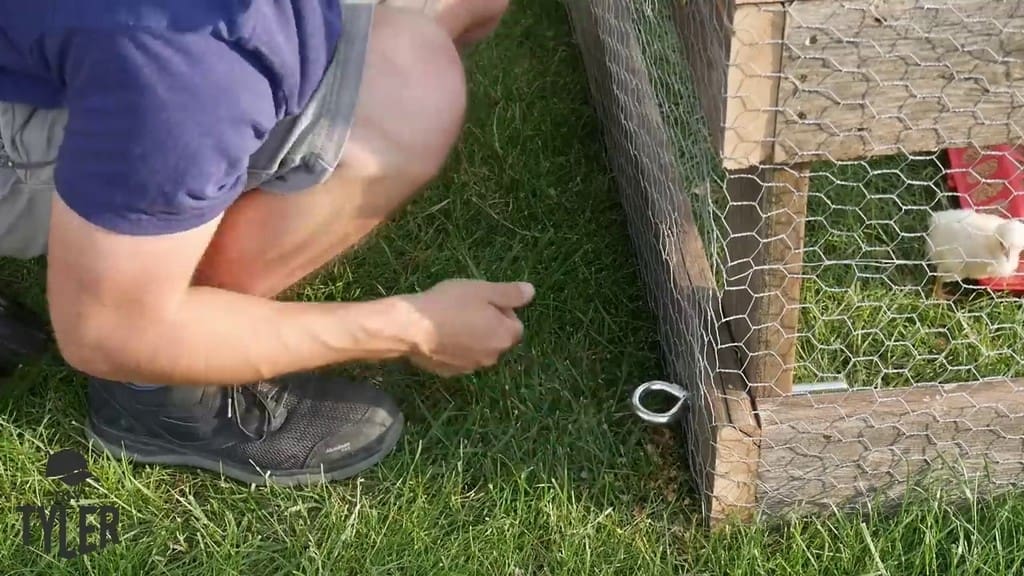
In order to move the chicken tractor around, we drilled holes into the bottom part of the frame and inserted eye bolts. After that, it was easy to hook in some tow straps and pull the contraption around.
How Often to Move the DIY Chicken Tractor
We move the chicken tractor along the west side of our property 1-2 times every day. We move the chicken tractor 6 feet at a time if we move it twice in a single day. If we’re only moving it once, we pull it the full dozen feet at one time.
You can see the feeder installed at the front part of the chicken tractor.
Final Thoughts
Here is a picture of the completed chicken tractor.
The chickens were about 36 days old at the time of filming. We have definitely been looking forward to the taste of our DIY homestead chicken meat!