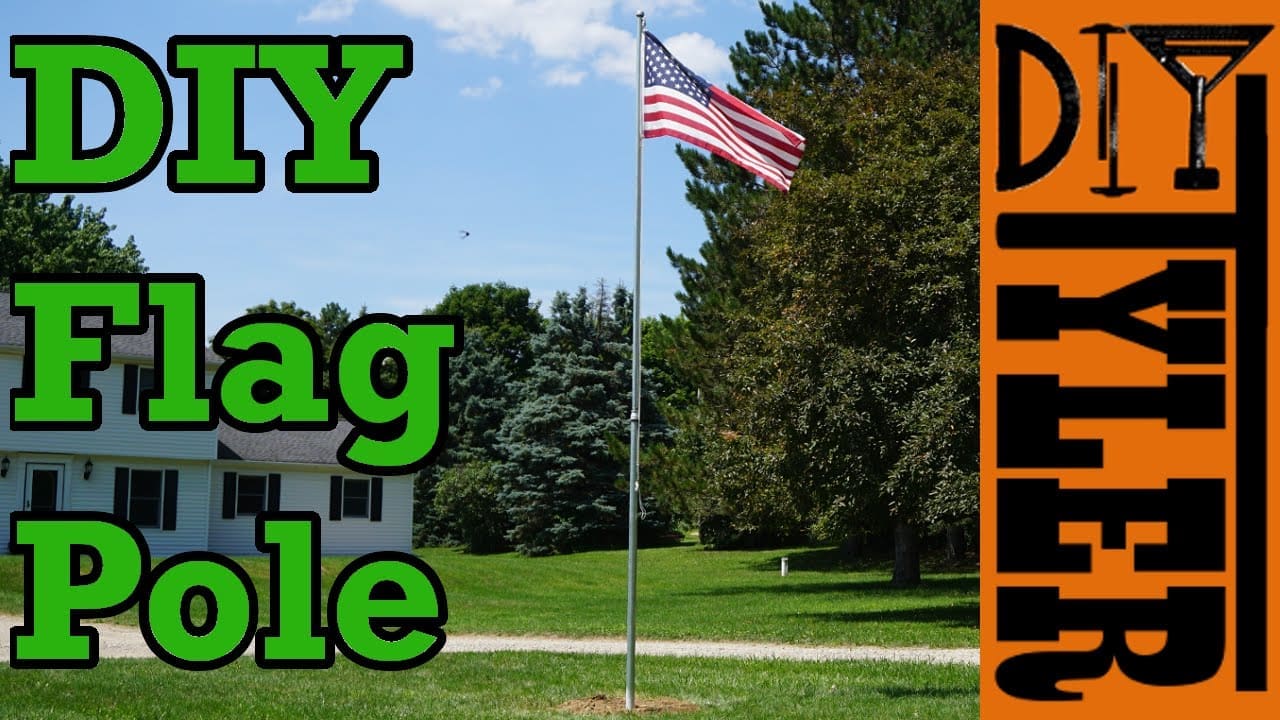
I have always wanted a flag flying in front of my home and it has been far too long around our place without one. I finally had the time to come up with a simple, inexpensive yet very strong flag pole that cost less than $130. This project can be completed in one afternoon with parts that are readily available at your home center and will change the look of your home forever.

Flag Pole Hardware
All items for the Flag Pole can be gotten at your local home center, I have included the part numbers from The Home Depot as that is where I got the items for my build. Not all stores carry the 2″ galvanized pipe, I was lucky that my local store does.

Sleeve Prep
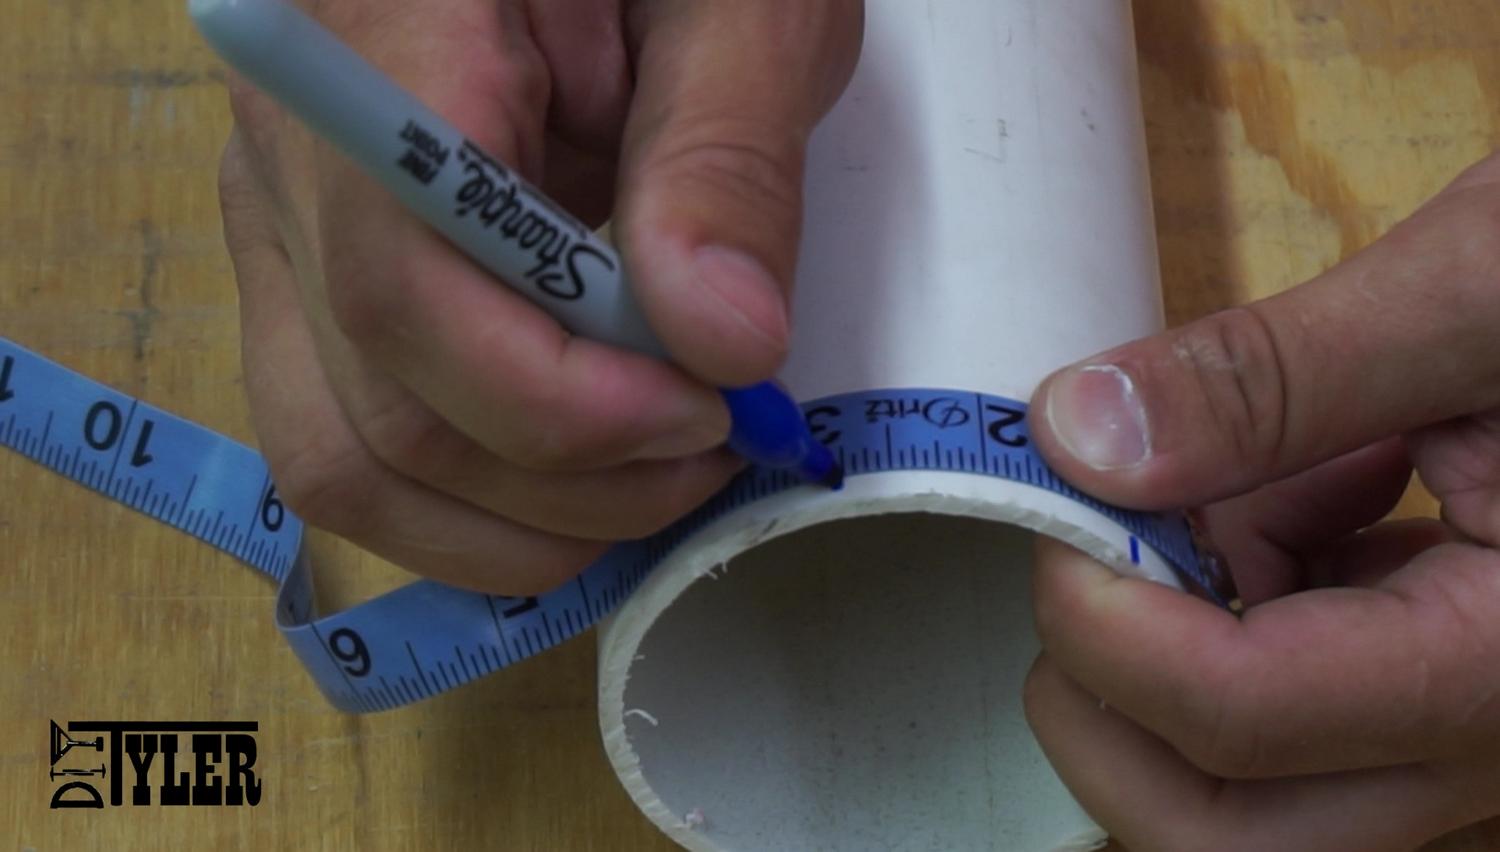
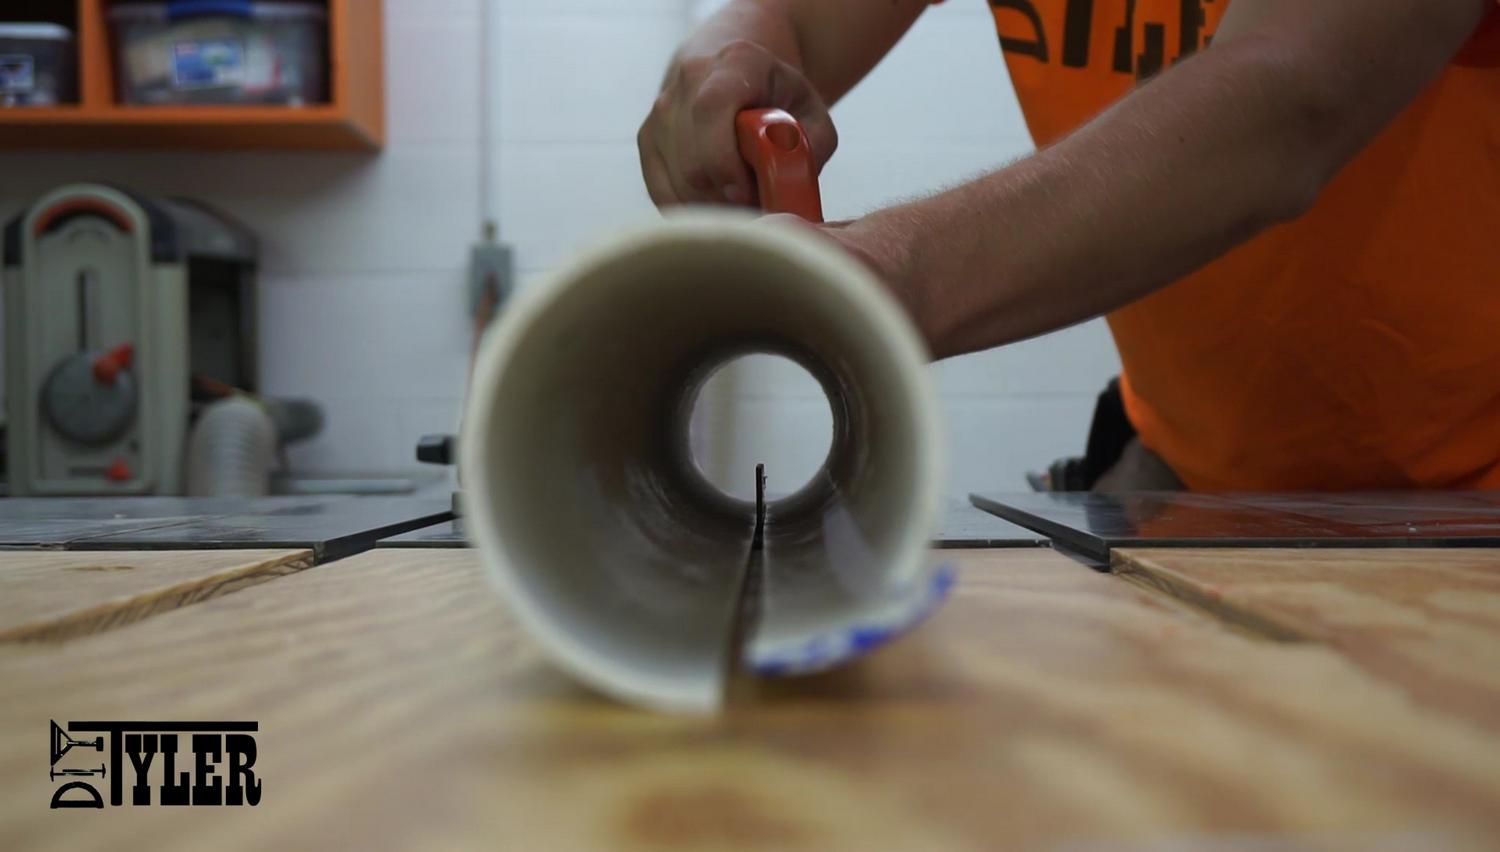
The sleeve to hold the flag pole in the concrete pylon will be made from a 3′ section of 3″ PVC.
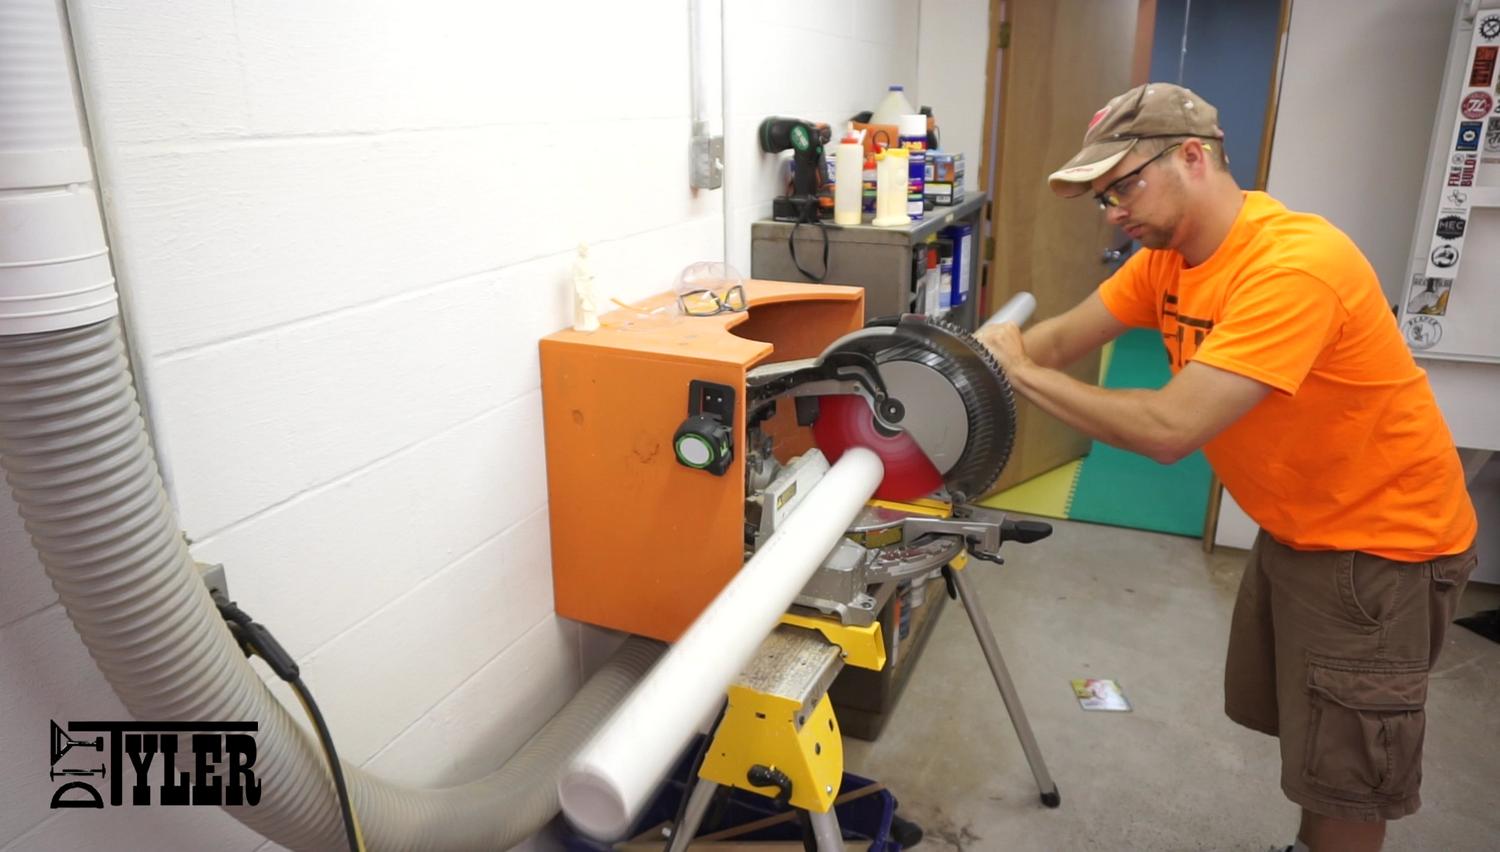
Issue with this is the 3″ ID of the PVC is way bigger than the 2″ galvanized pipe. To make the sleeve fit you will need to cut 1 3/4″ inches out of the PVC.
I used the table saw to make this cut. If you use a table saw MAKE SURE to have a splitter or riving knife otherwise there will be a major pinch point and kickback. You can see in the image below how the splitter prevents pinching on the blade. You can see how I made this splitter here.
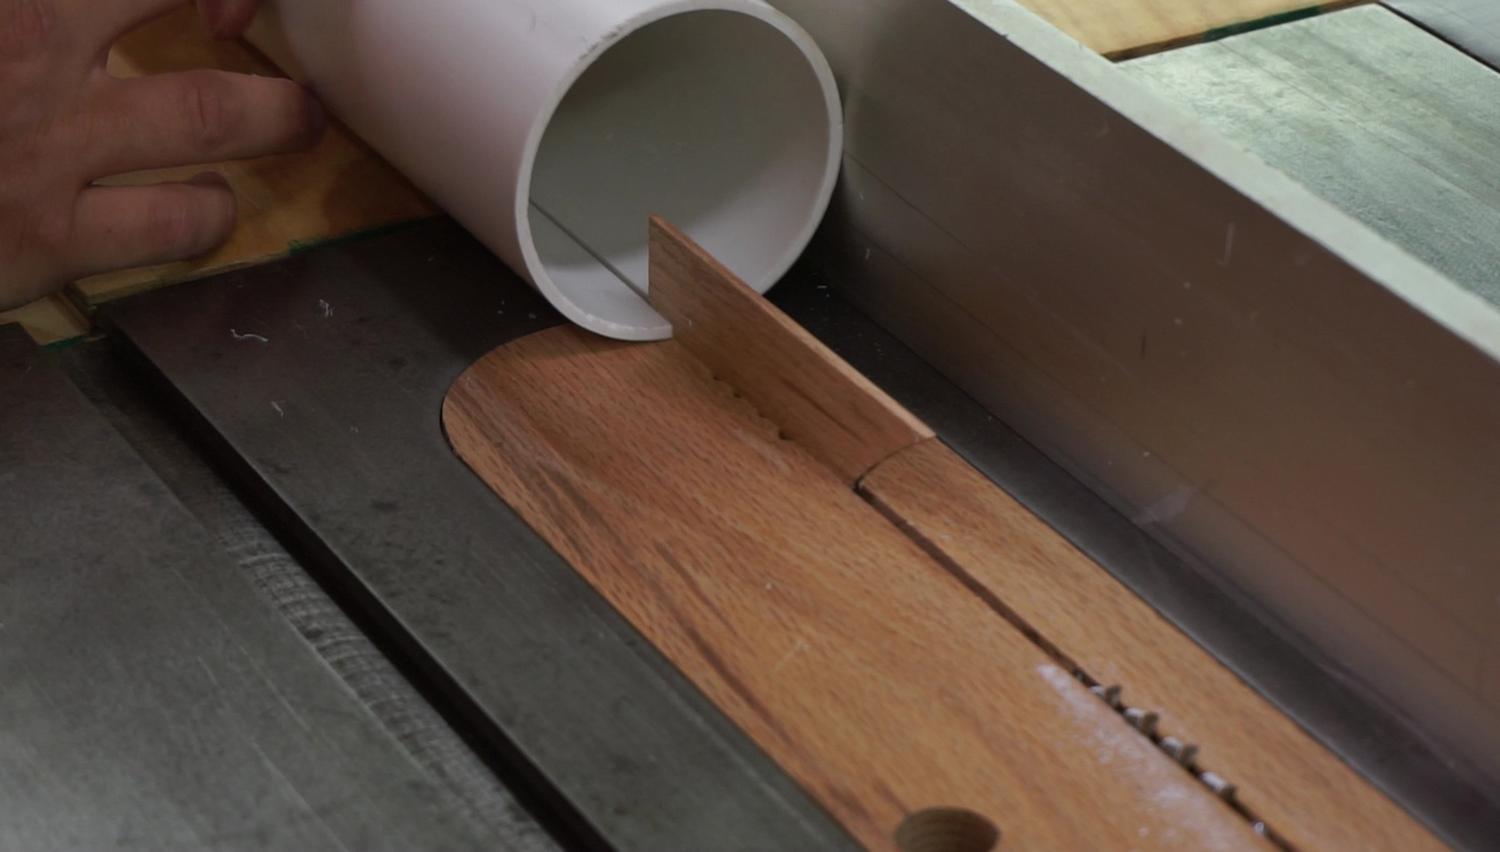
Make sure to account for the blade kerf when making this cut.
[wp_ad_camp_1]
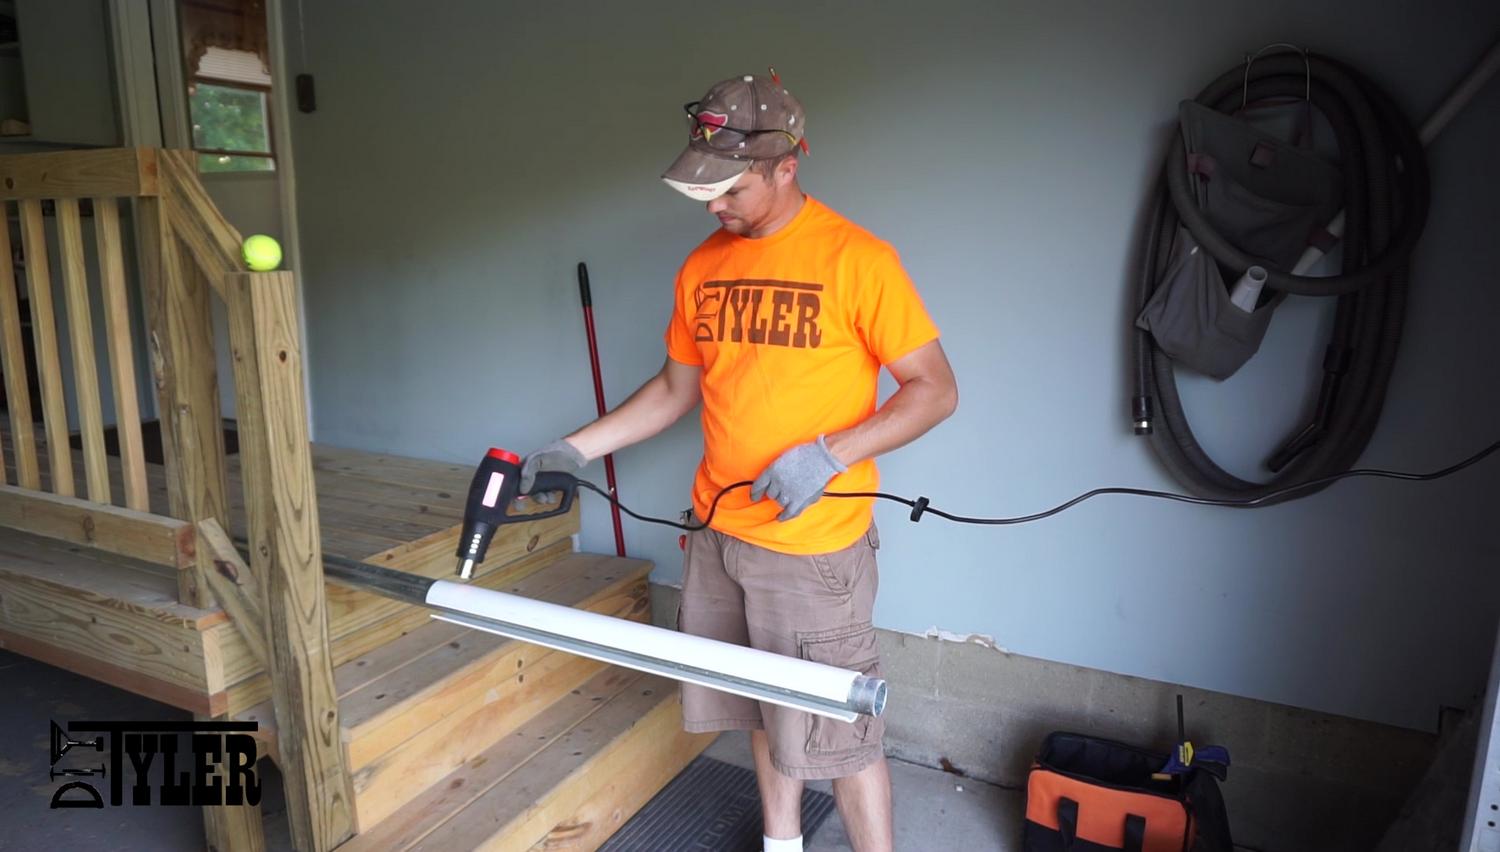
Once I had the proper cutout I used a heat gun to soften the PVC and wrap it tight around the 2″ galvanized pipe.
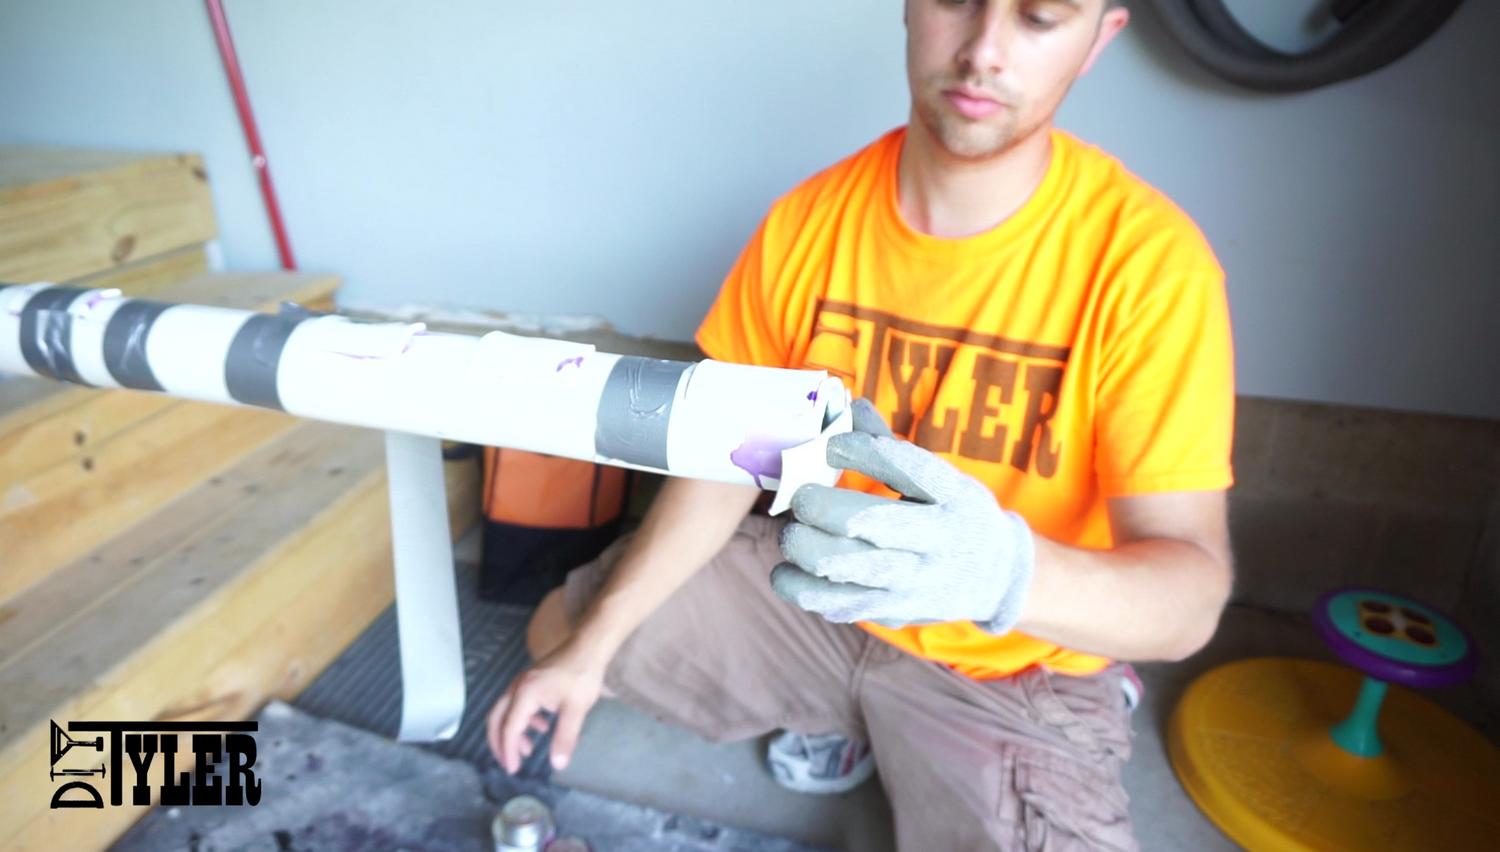
I worked my way from one end using duct tape to clamp the PVC in place until it cooled.
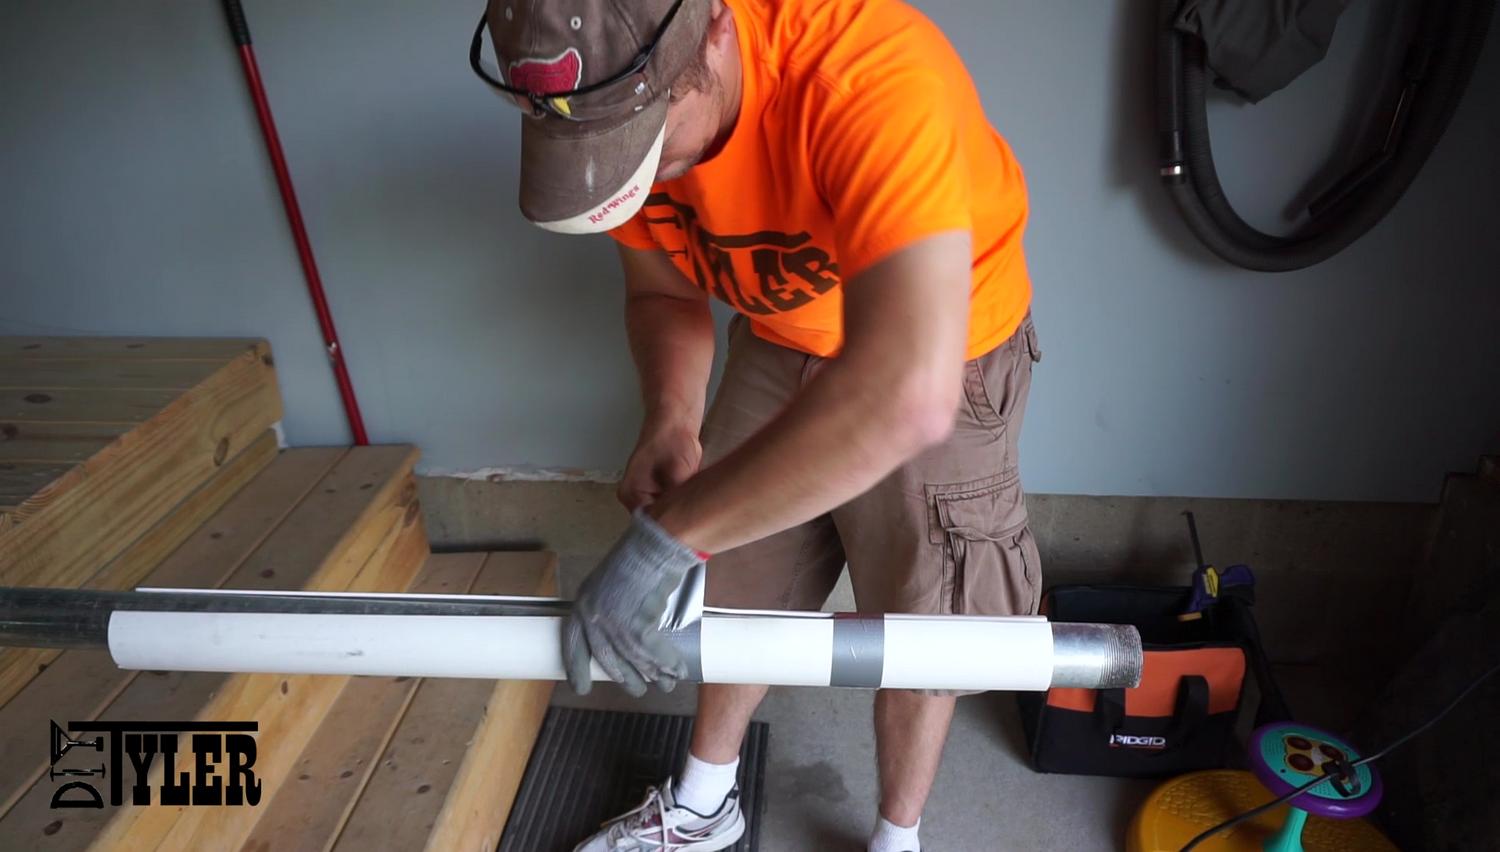
I also bent a shoe across the bottom of the sleeve to prevent the pipe from slipping though the sleeve into the ground.
Digging Holes
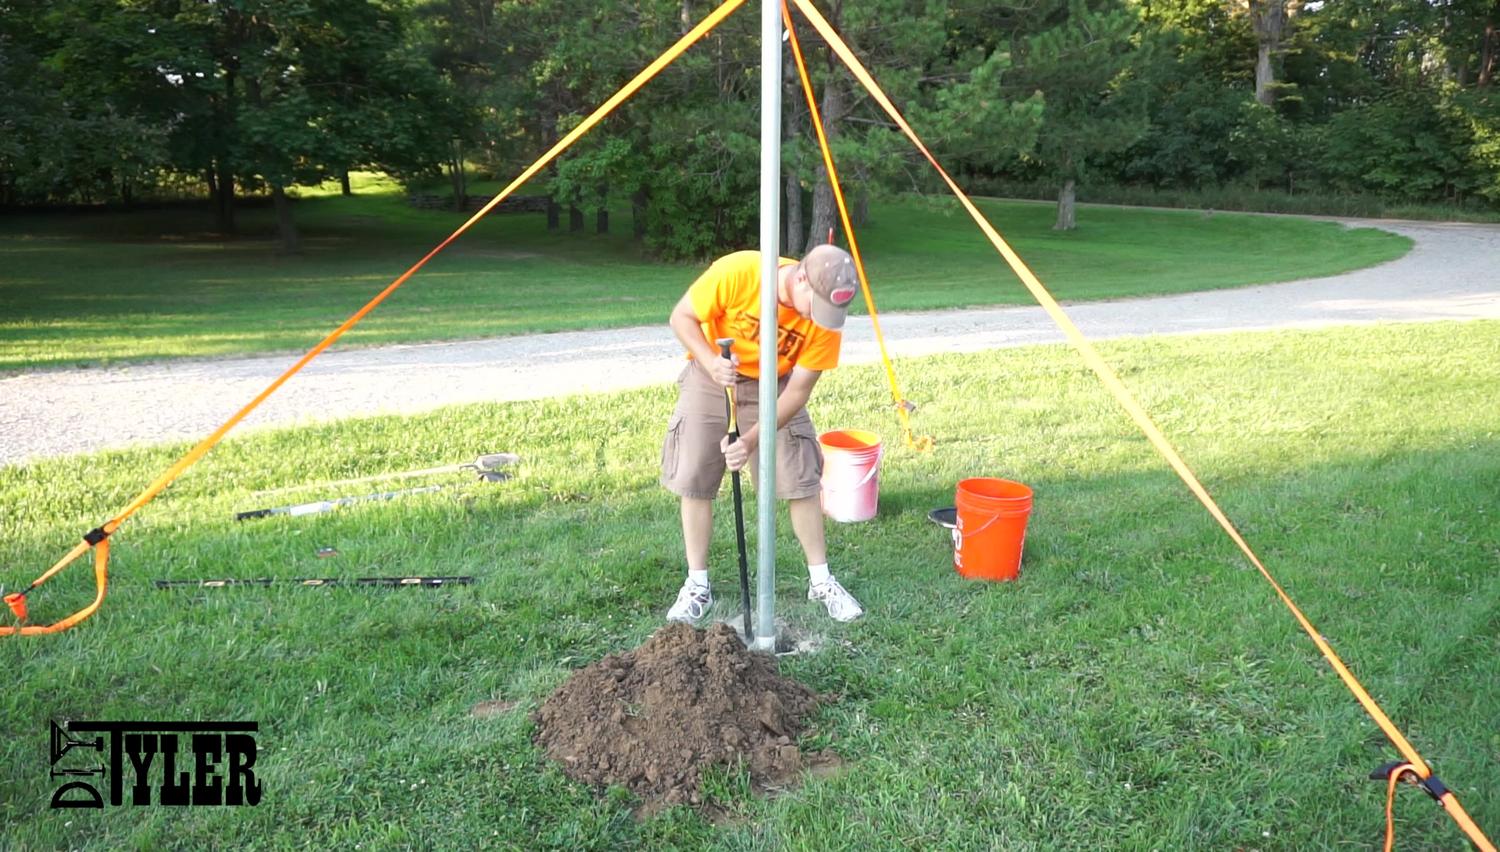
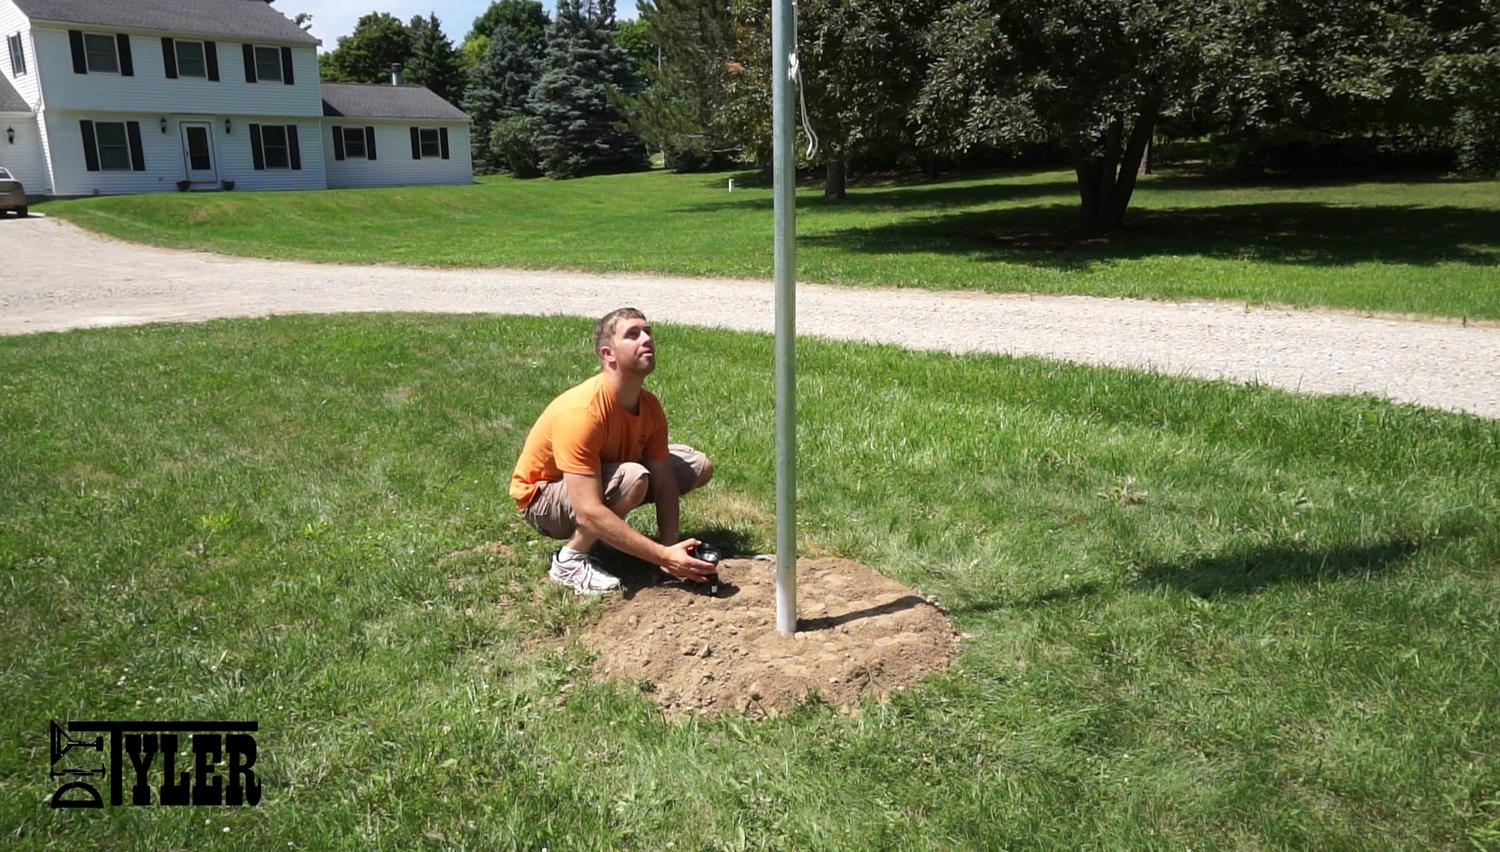
I dug the hole for this flag pole 36″ deep and about 8″ in diameter. I would have been more comfortable with a 46″ deep hole so I was below the frost line but I did’t want to sacrifice that much height, we will see if that is a fail or not. It was REALLY warm the day I decided to dig this!
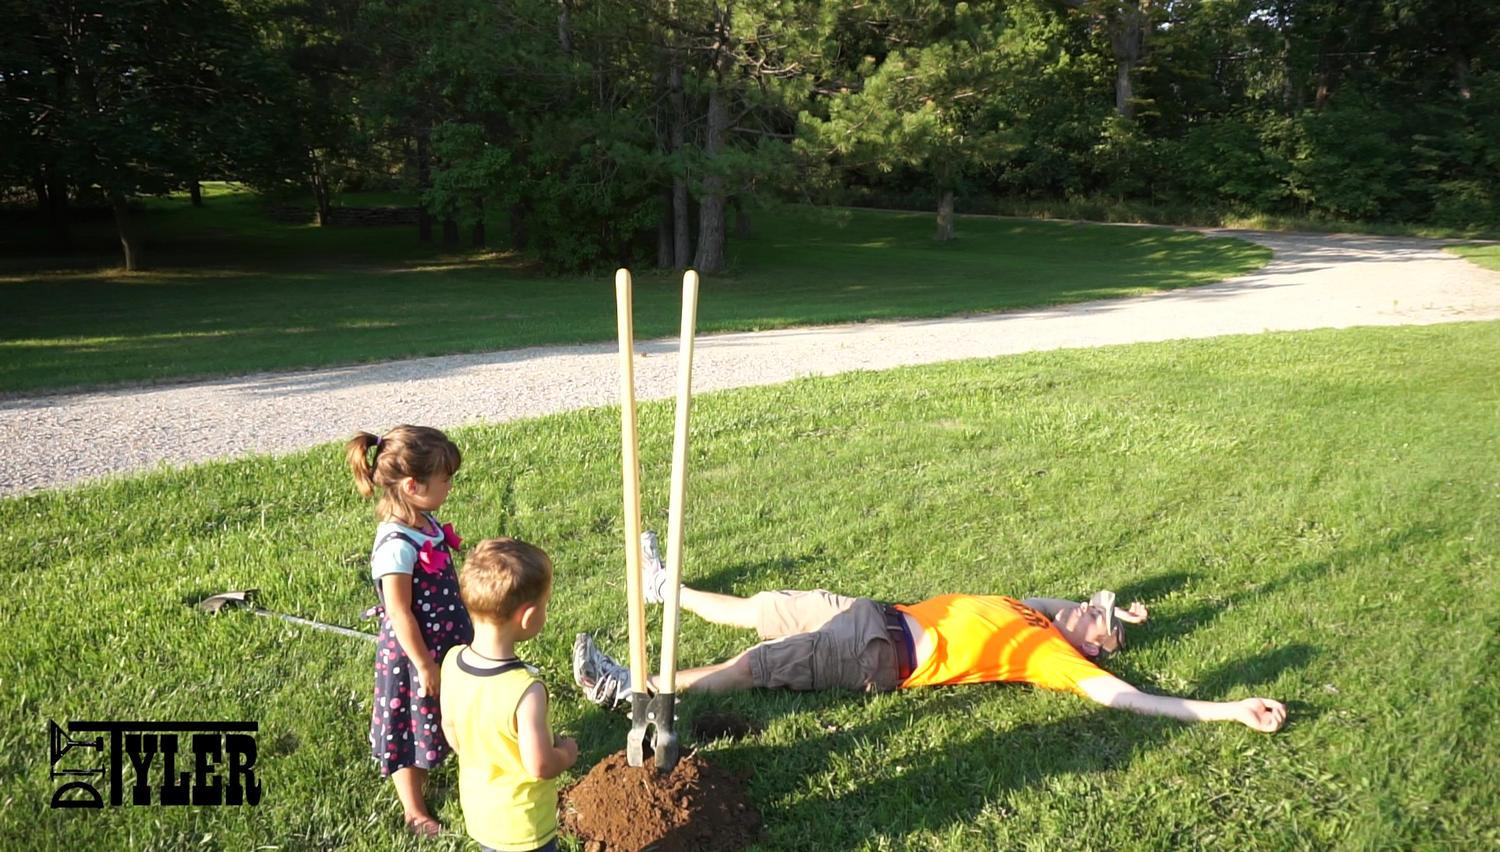
When I had the hole finished I sprayed some dry lube on the pipe so that I have a chance of removing this later on.

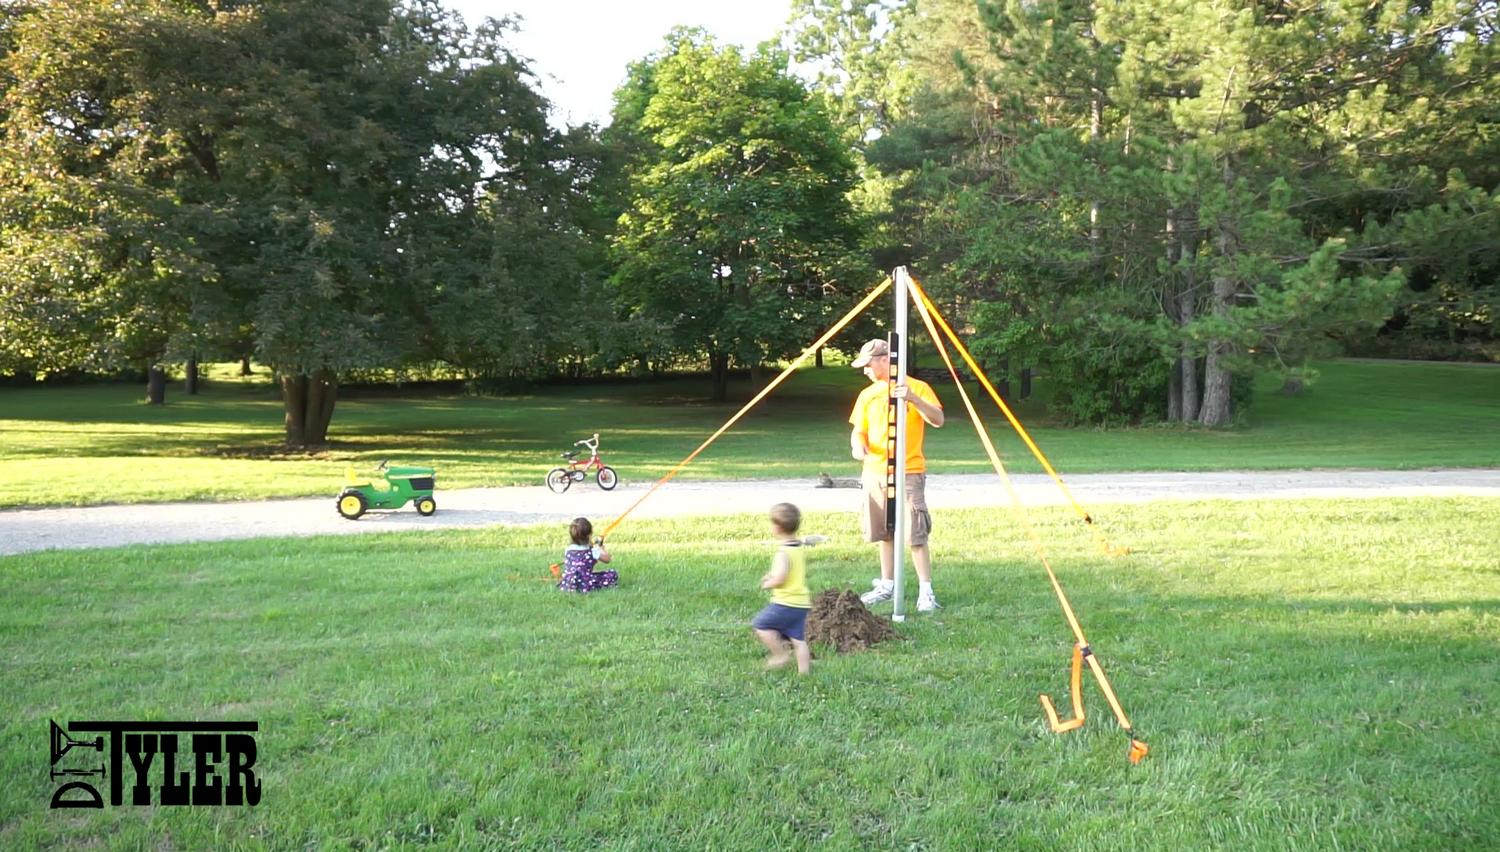
Used some ratchet straps to level the pole in place.
[wp_ad_camp_2]
Concrete Time!
I like to skip the cleaning step and mix my concrete right in the hole, I have had lots of success with this in the past so why clean if you don’t need to! Pour in a few inches worth of quickrete.
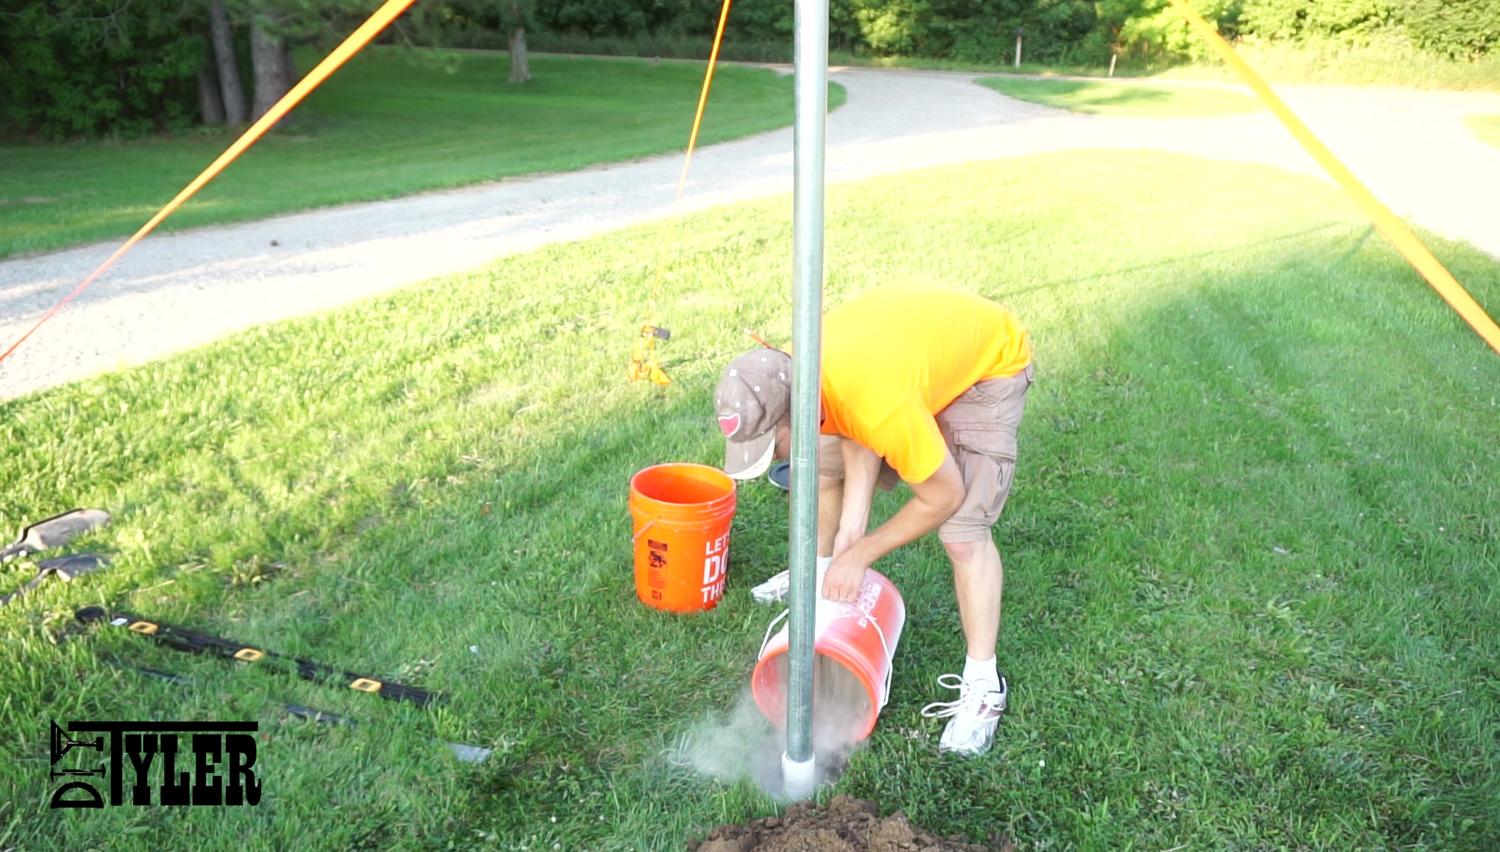
Add some water.
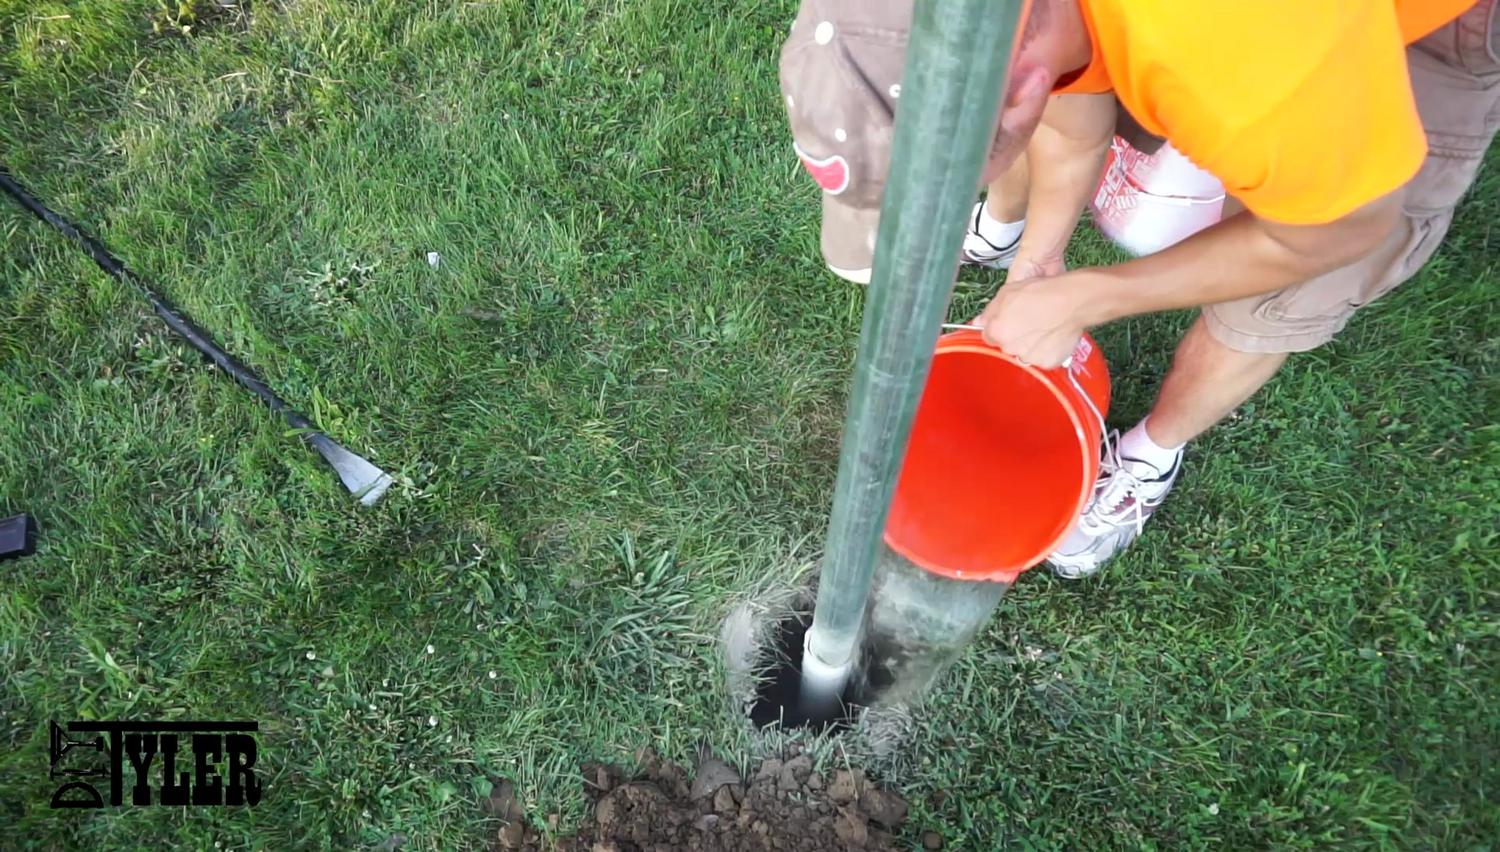
And mix thoroughly with a crowbar.
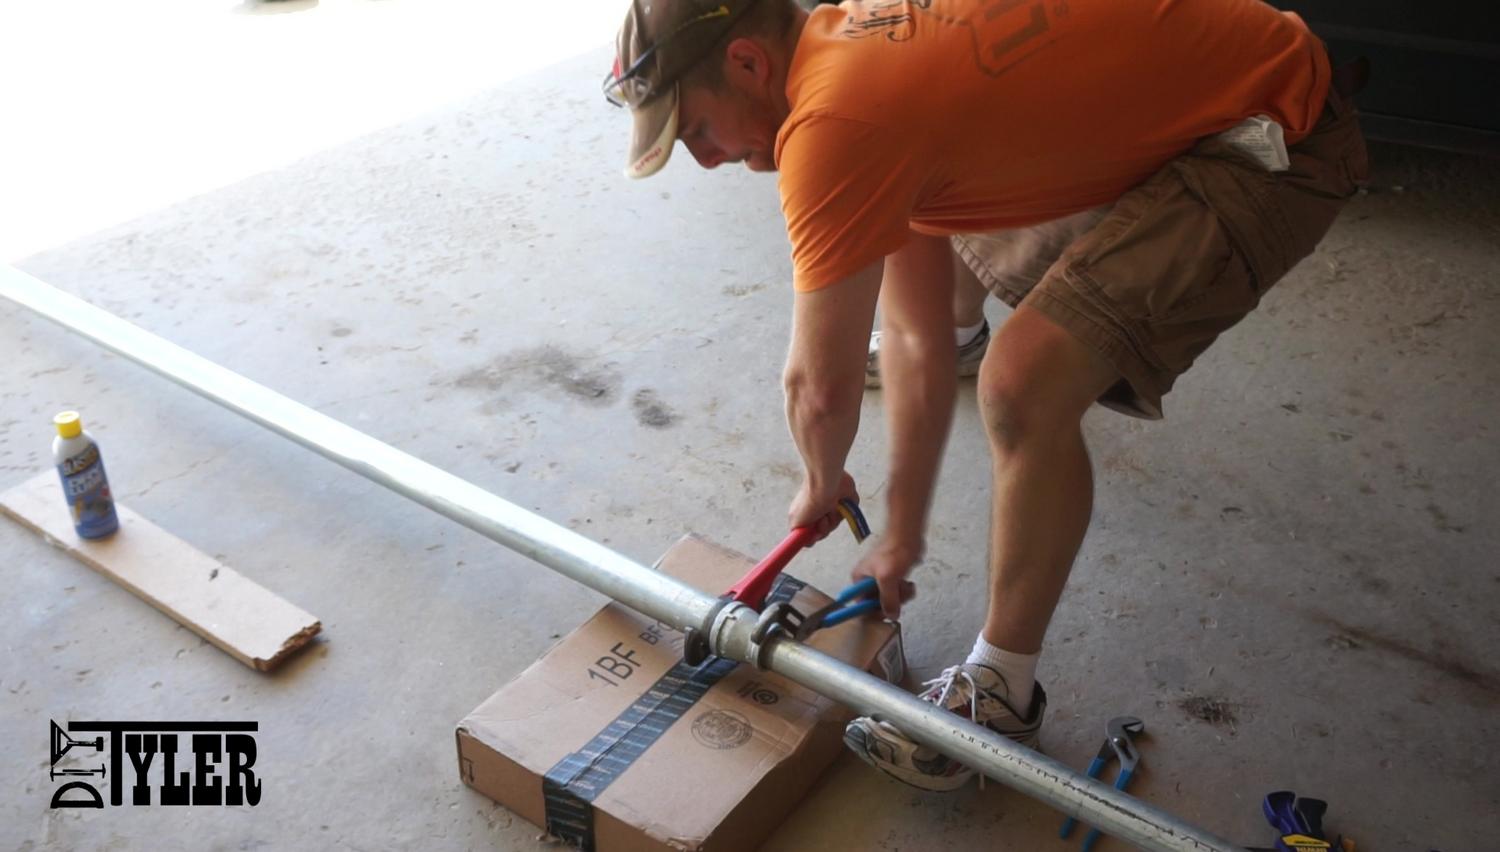
Make the Flag Pole
First step for making the actual flag pole is to measure to a point that will be comfortable for you use the cleat for tightening the rope, be sure to take into account the 3′ that are in the ground. This is on the 2″ pipe.
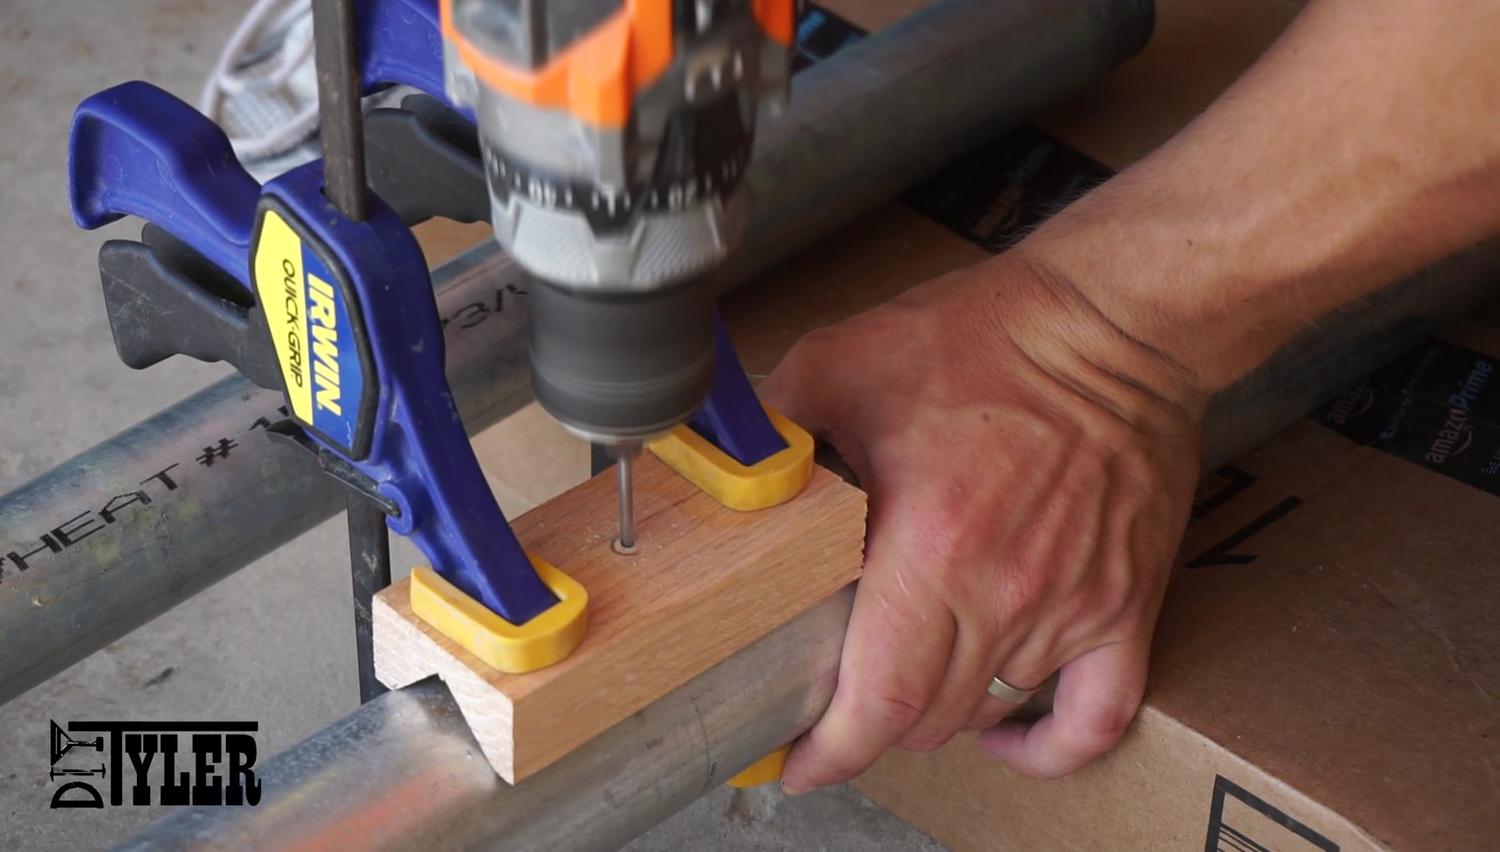
I made a small jig to help me drill the cleat mounting holes straight.
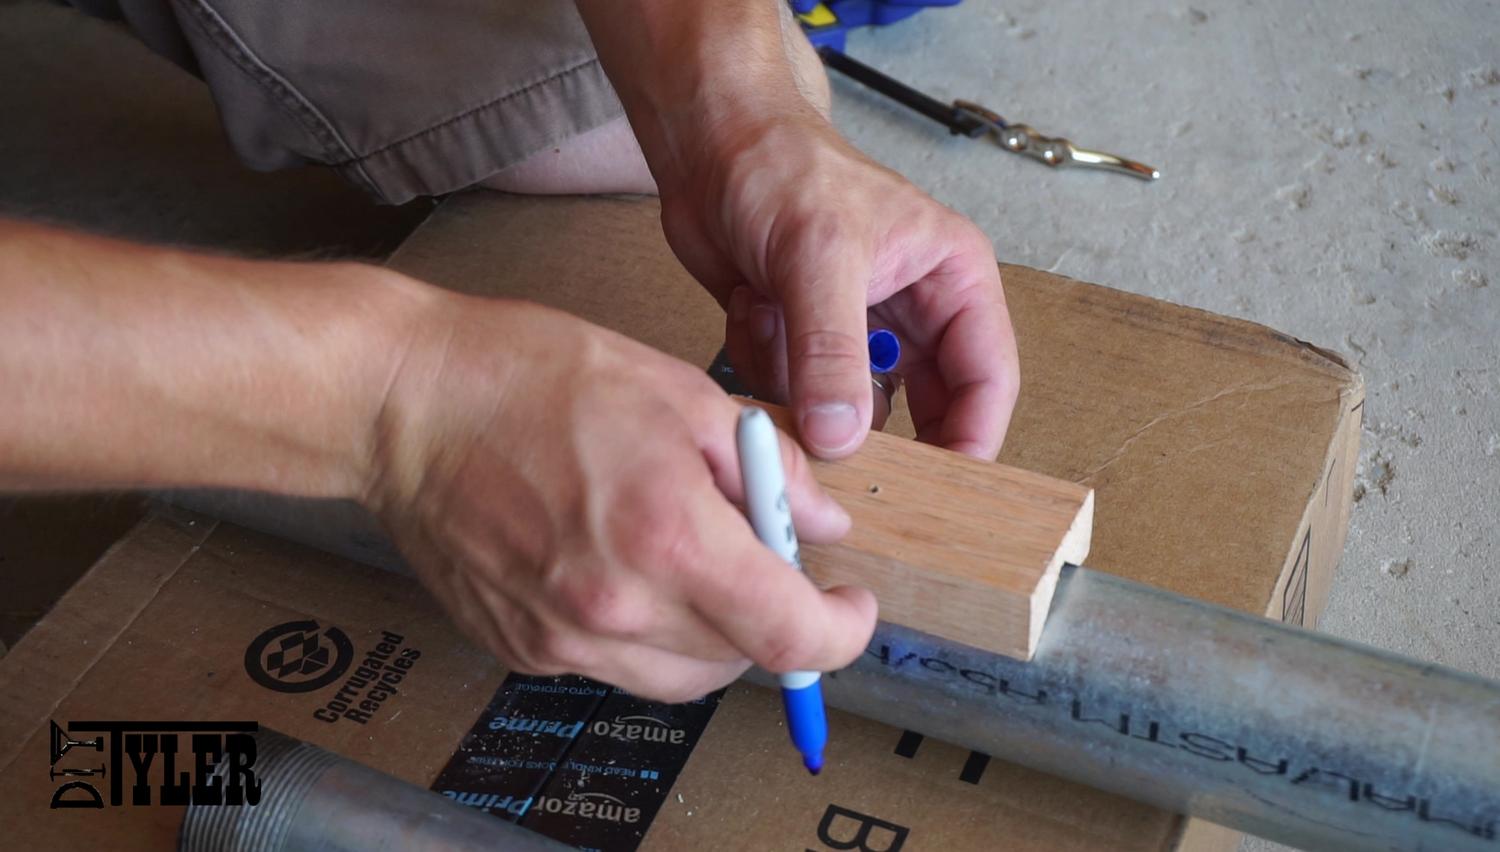 And drilled two 1/8″ holes.
Fastened the cleat with two self tapping screws.
I than used the same jig to drill a 1/4″ hole all the way thought the 1 1/2″ pip at the very top mount the eye bolt to hold the pulley.
Fasten in place with lock washers and make sure the eye bolt is oriented as shown below, this will prevent the bolt from opening over time and dropping the pulley.
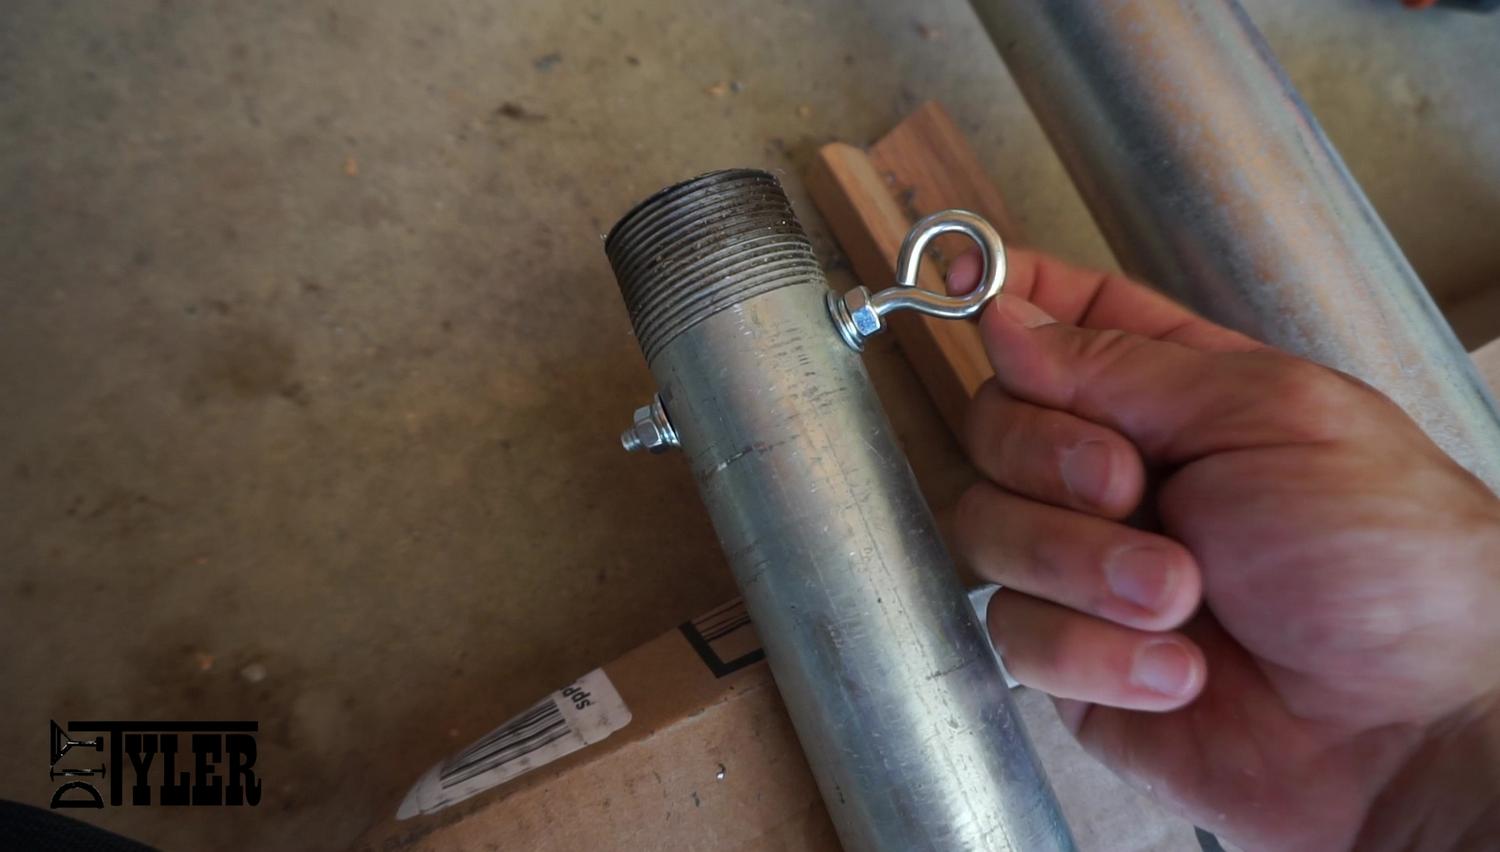
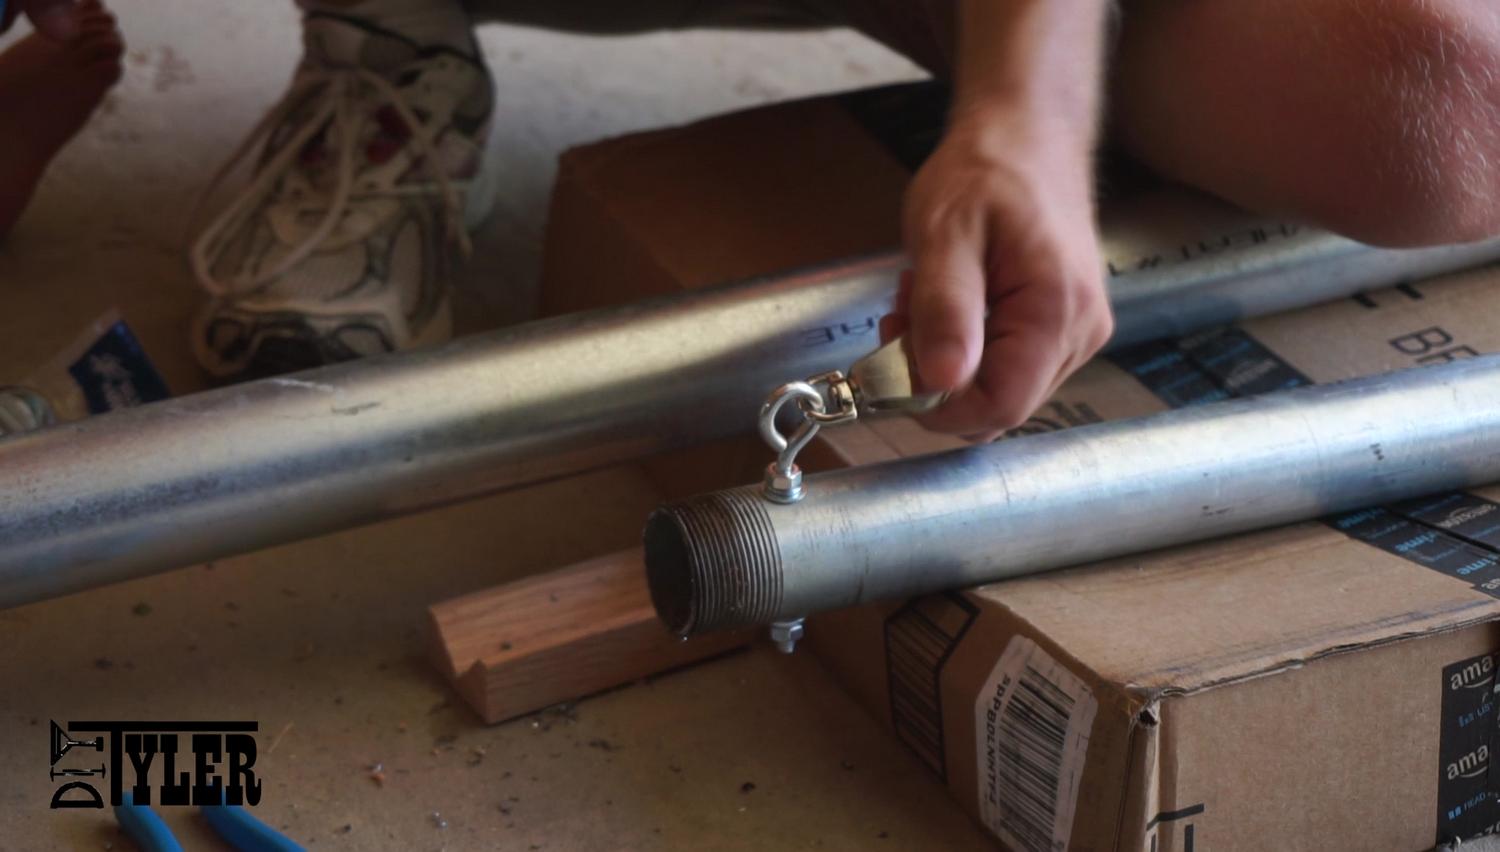
I than bent the eye bolt open a bit, mounted the pulley and squeezed tight with channel locks.
Add the pulley.
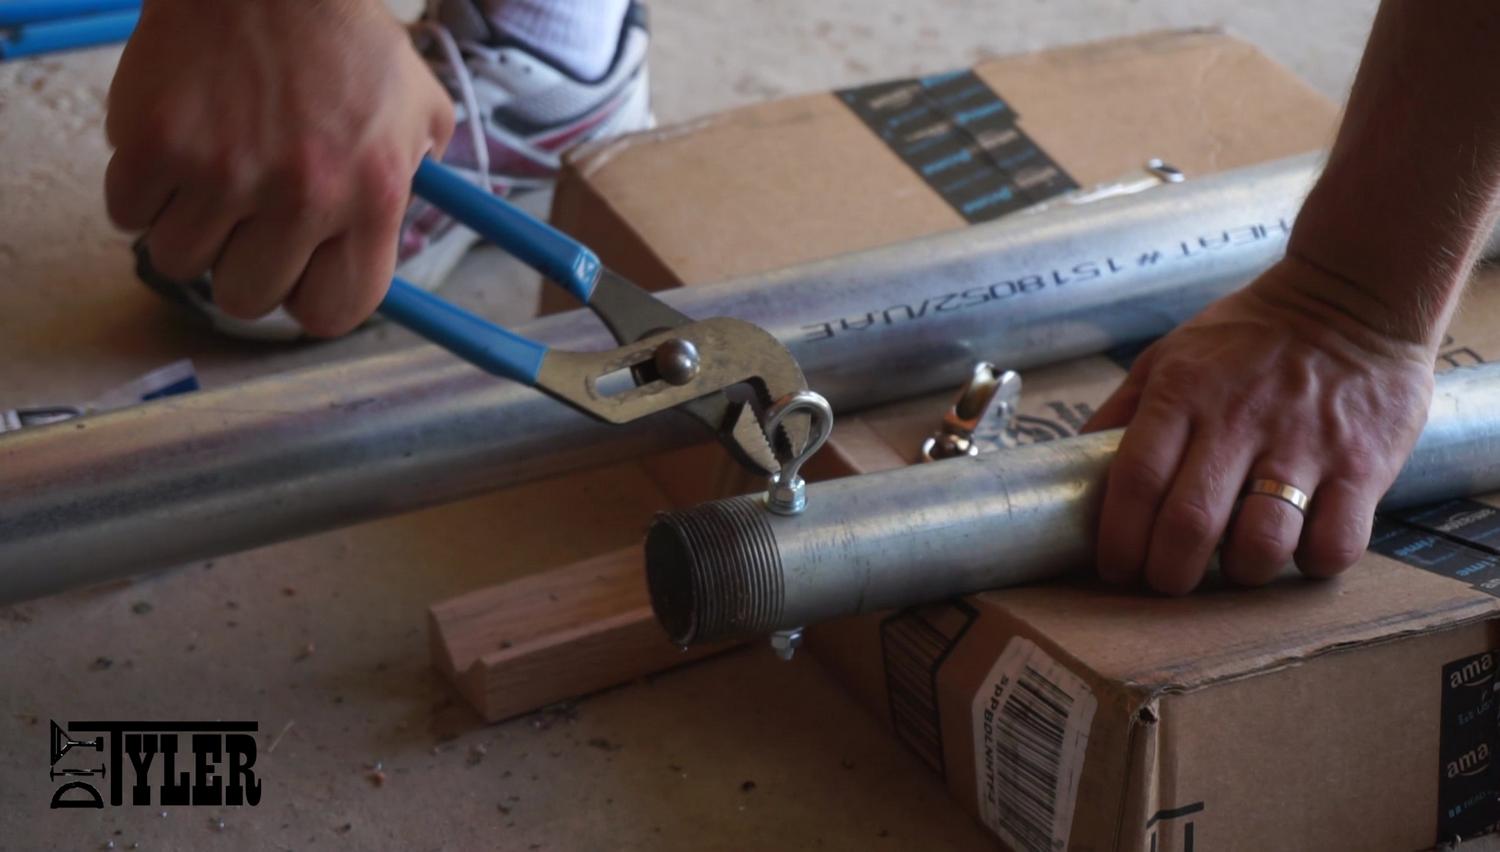
Now is a good time to put the 1 1/2″ cap on the top of the flag pole.
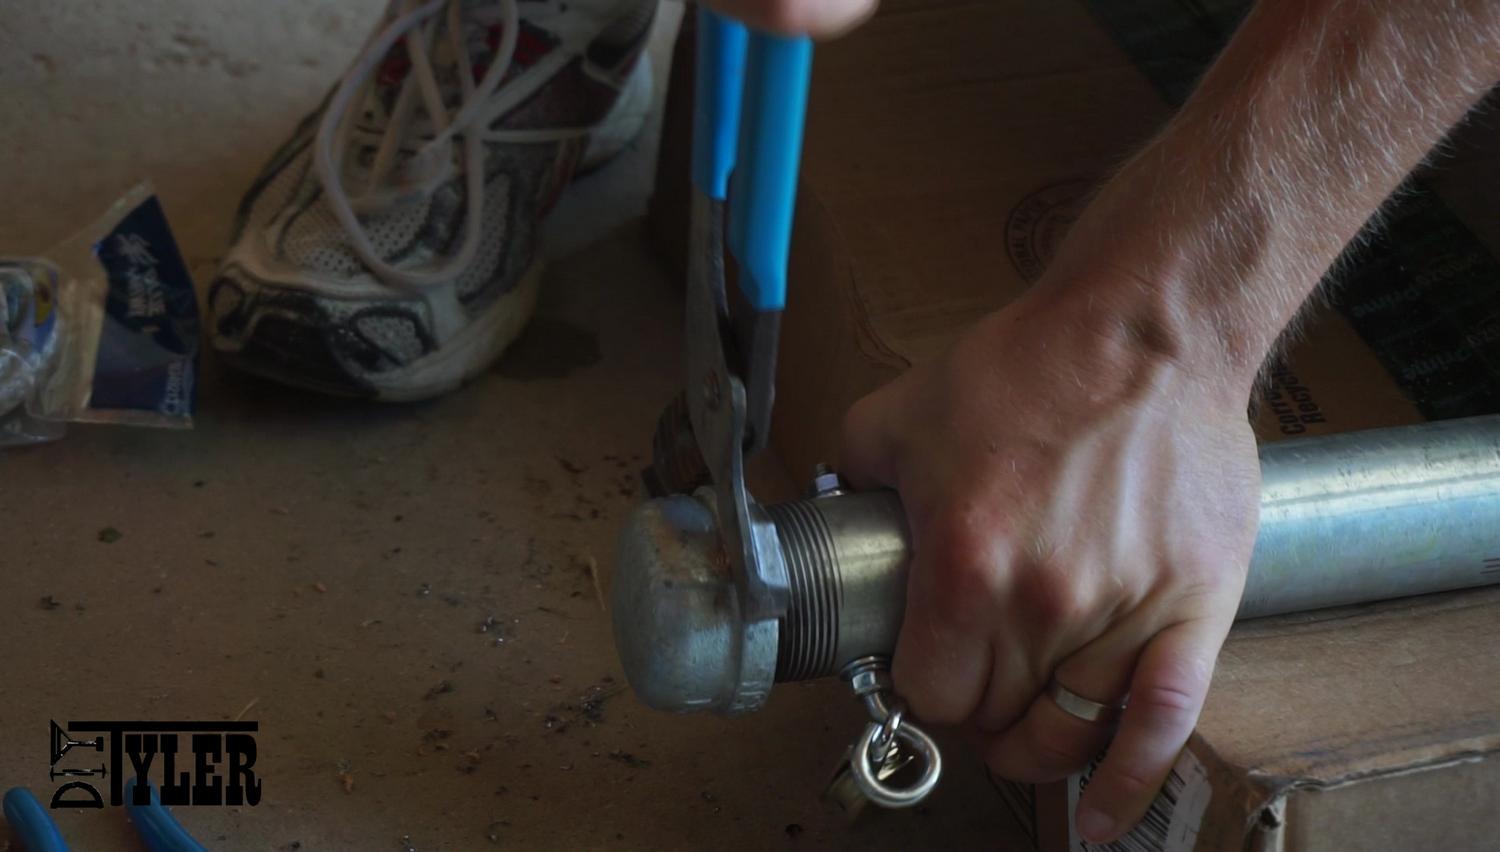
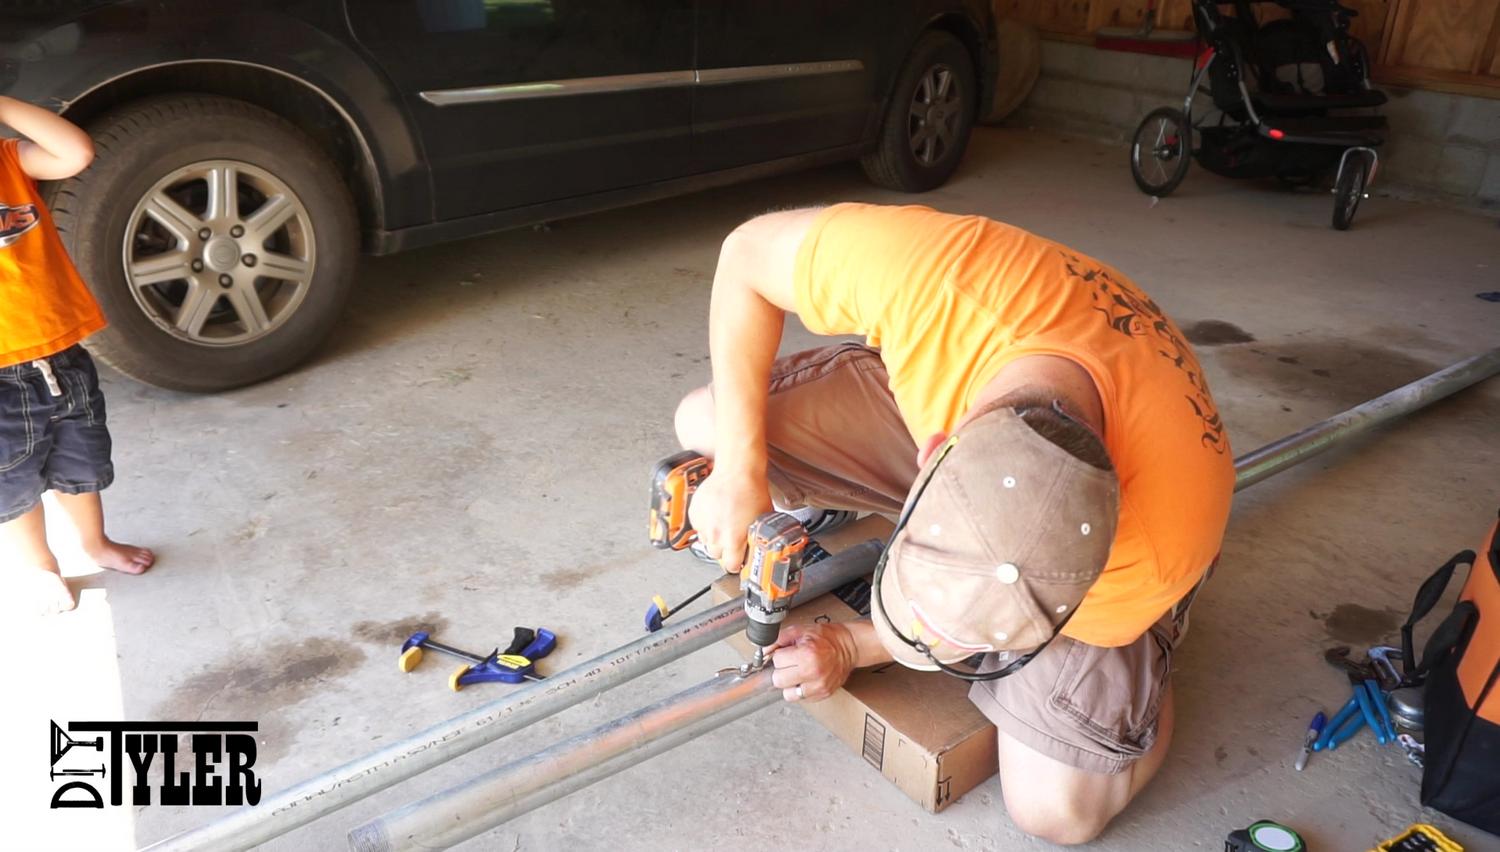
And connect the two pipes together with the 2″ to 1 1/2″ reducer and tighten as much as possible.
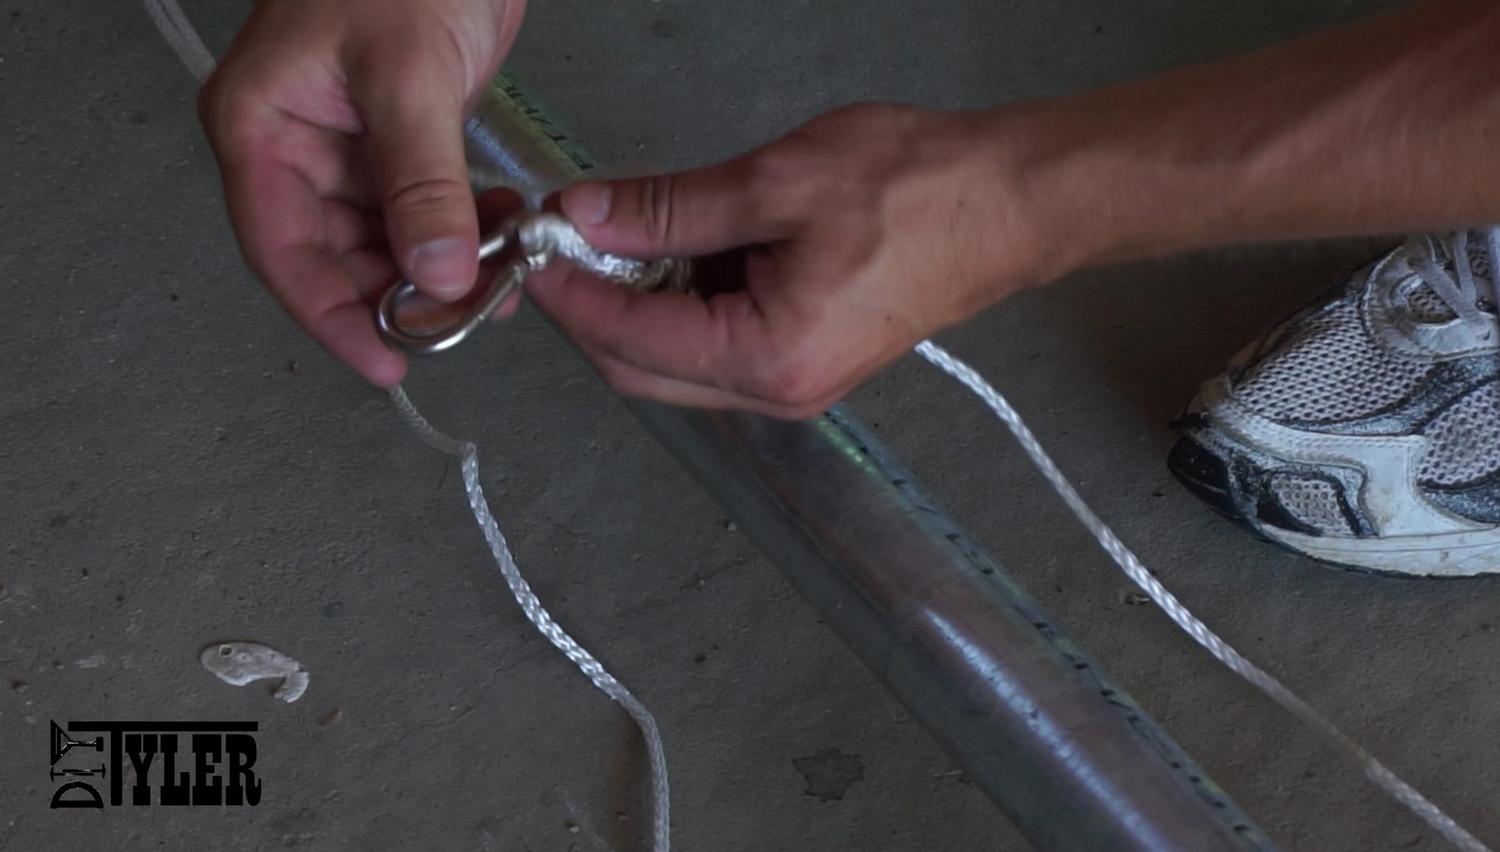
Adding Rope and Flag
I strung the rope through the pulley and down to the cleat but did not cut anything yet as I was not sure how long I needed the rope yet. The spring clamps that hold the flag are tied to the rope using a simple loop knot.
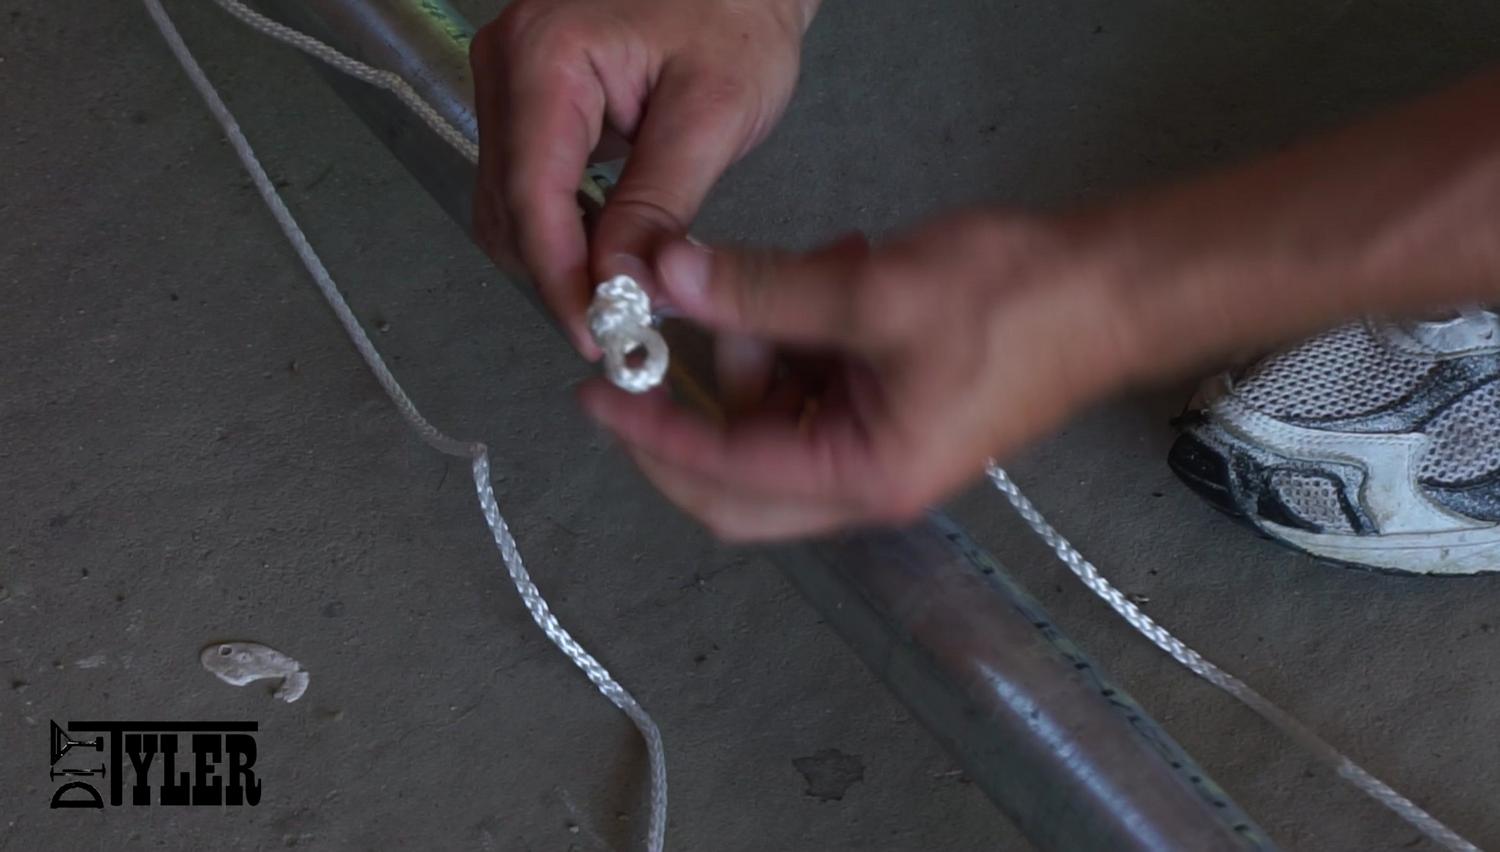
And the spring clamp is simply connected through this knot and clips onto the flag.
Add the top clip first and then be sure to stretch the flat tight before adding the second clip.
[wp_ad_camp_3]
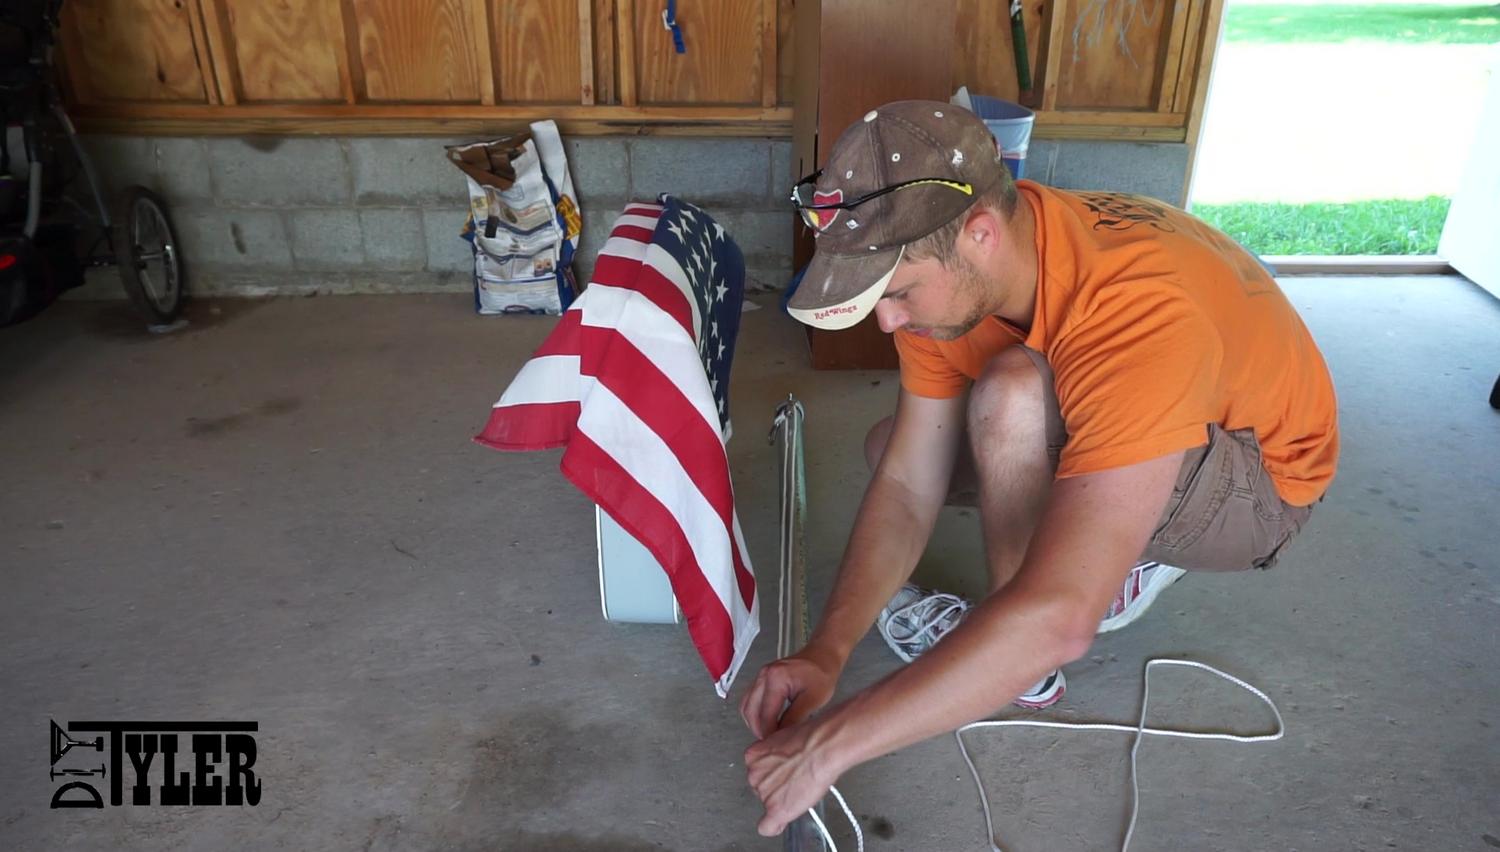
After the flag is mounted cut and knot the rope at an appropriate length to allow you to tie the rope down.
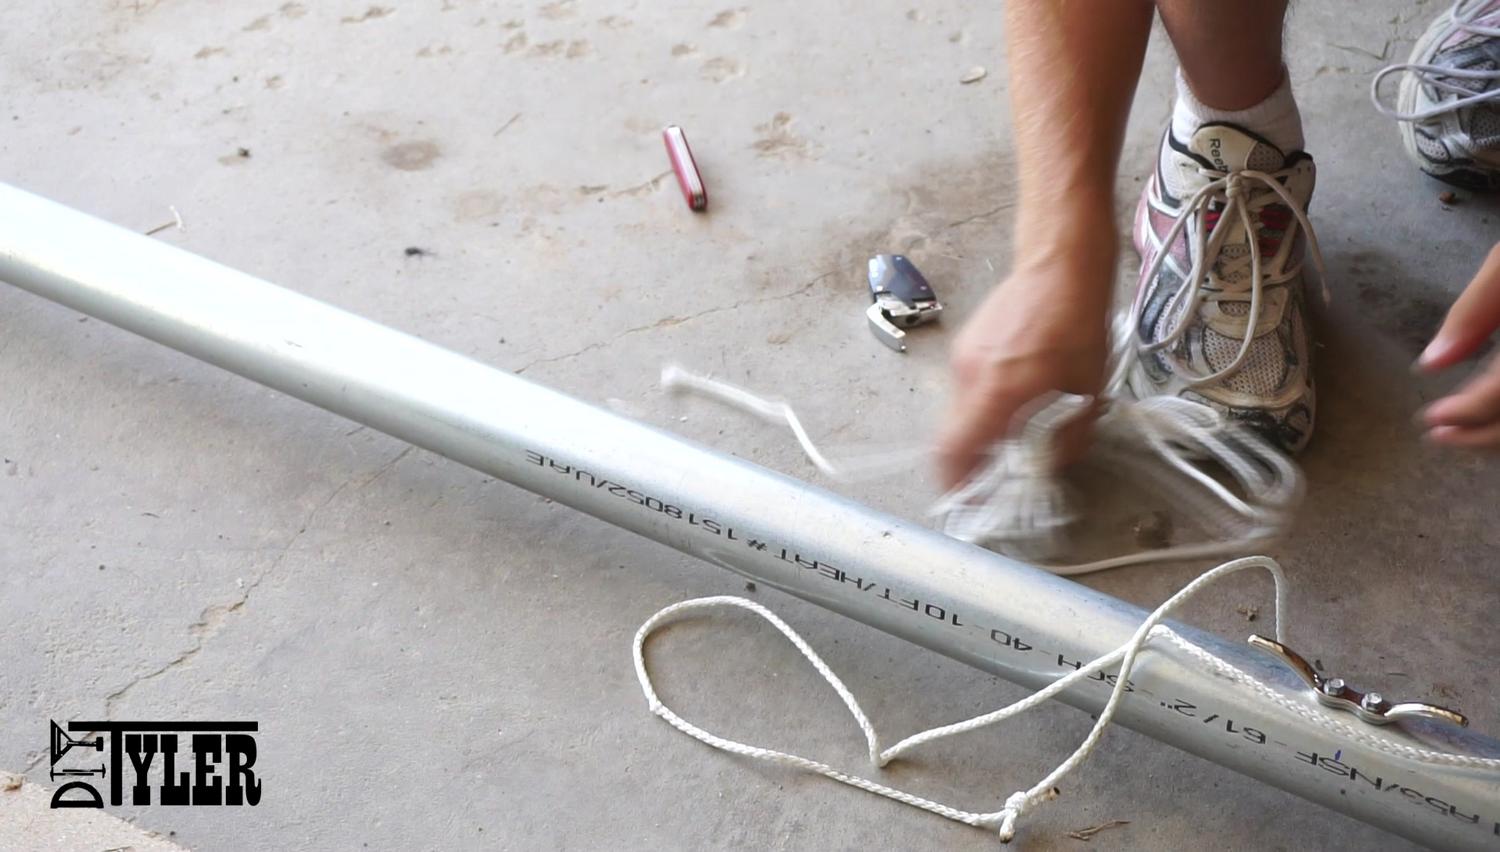
Before putting the pole up I cleaned off the lettering on the pole using some high grit sandpaper and mineral spirits.

Raising the Flag Pole
I added some more dry lube to the bottom of the flag pole and slid it into it’s sheath, clipped on the flag and raised it.
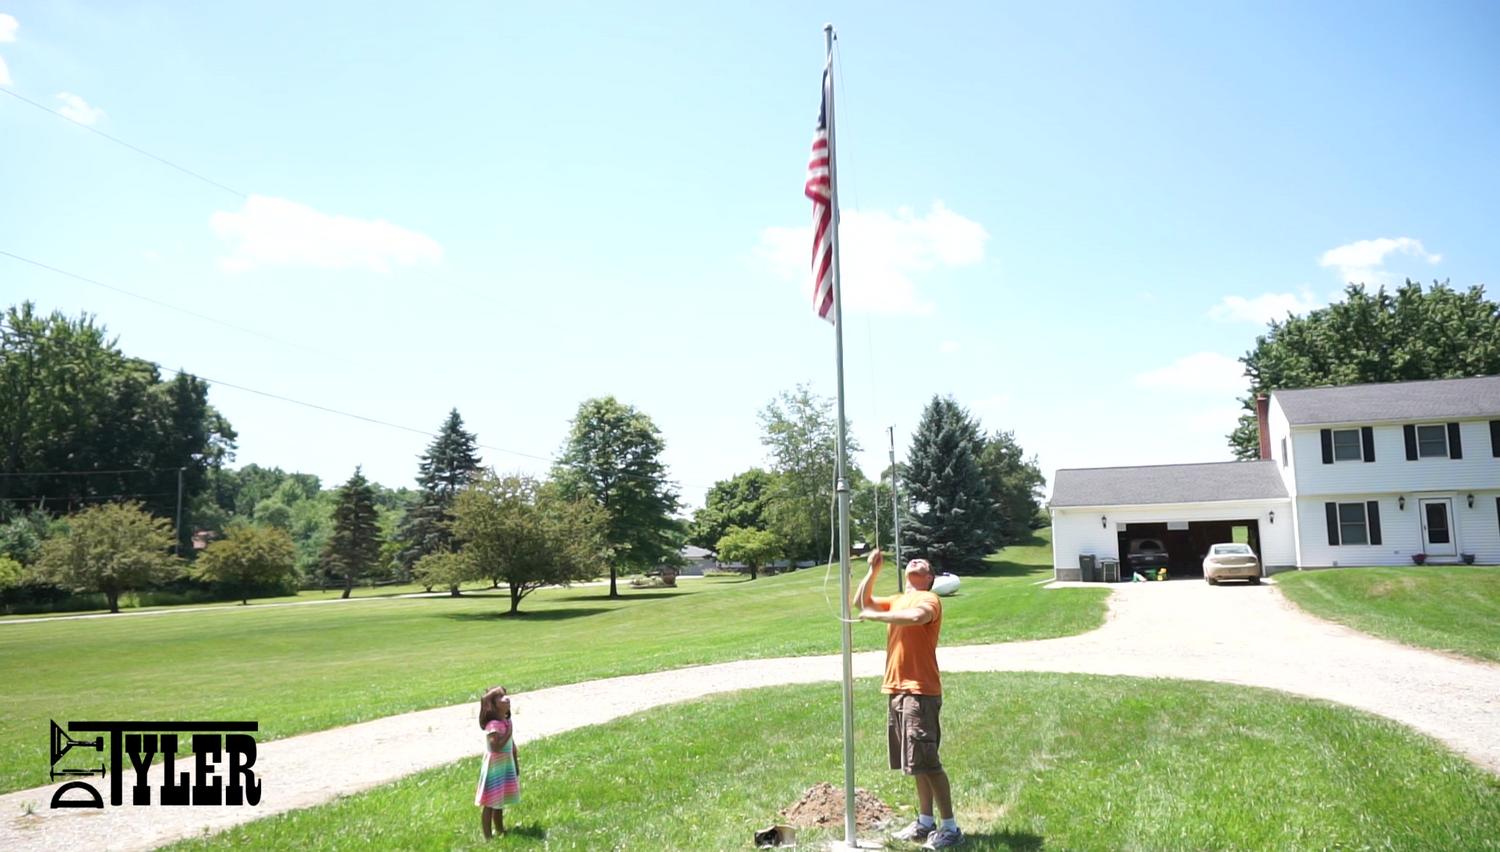
Added a solar light to shine on Old Glory throughout the night.
And stood back to admire the work. SO please, I love it, the wife loves it and we both wish I completed the project a long time ago!
Be sure to check our the project video on our YouTube channel as I go into more detail there. Thanks for checking out our stuff and have a good one!
Please follow and like us:
14 thoughts on “Do-It-Yourself $130 Flag Pole”
Pingback: Do-It-Your self $130 Flag Pole — HowTo: Do it yourself!
After a year how has it held up would u do anything different?
Really nice
If you are joining two 2″ pipes, why did you use a 2″ to 1 1/2″ reducer to join them? Wouldn’t you need a 2″ to 2″ coupler instead?
As flag pole goes higher it gets skinnier. The top 10′ is 1 1/2″ pipe and the lower is 2″ pipe.
Revised question: Why didn’t you use two 2″ pipes? Just curious.
Do you think if I put a 3′ piece of 2″ galvanized pipe with the threads sticking out of the concrete, then put a 2″ to 2″ coupler on it, then screw the 2″x 10′ pipe into it, would that coupler hold the weight?
Or maybe a 3′ piece of 2 1/2″ pvc?
Trying to make flag pole stand for 7 flags for the V.F. W. Has any one got any plans for this if so text me please
Don’t lay flag on ground while building.
Flag worship
Please. He’s letting him know because the man clearly respects our flag. It doesn’t mean there isn’t a first amendment right to violate it. But most would rather not. Technically, once an American flag touches the ground, it is supposed to be burned. With respect. If you ever have that situation come up, you can take the flag to your local American legion or VFW where they will retire the flag. Same thing once your flag starts fraying or becomes too soiled to clean. Take it to your local veterans’ association. Most will have a ceremony where they retire all the flags that have been brought to them recently.
Absolutely. It’s not only against the law, men have died in combat to keep that from happening! Some flags you can lay on the ground but not the US flag.
I’m tired of seeing our flag code violated. The supposed thin blue line flags and The thin red line flags are just as illegal and just as much a rampant and disgusting violation of the flag code. And I’m saying that is a retired firefighter he’s dad was a cop for three jurisdictions. He didn’t like it either.
I’m just curious as to which section you think those “thin X line” flags violate? Are you referring to § 8 (G) ?
I am just legitimately curious since I tend to consider myself one of the utmost “respecters” of the U.S. flag… I would personally argue that burning a flag (other than the respectful burning in a ceremony to retire it) IE> burning out of “protest” or “anger” SHOULD be illegal (granted they’ve ruled it IS protected under the 1st. I personally think; if you don’t like it here, and you’re evil enough to burn a flag in “anger”/”protest” you should be deported (even if you’re 100% “American”)… If you do not like it here; YOU’RE FREE TO GTFO (IMHO)…
Anyway… I am just legitimately curious as to which flag code “modifying” the flag “violates”… I guess as an “added” I wouldn’t say I’ve ever seen an actual flag for one of those “thin X line” flags; it’s always just seemed to me to be “apparel” or “stickers” or the like (which I know some would argue is also a violation of flag code § 8 (D)(I)(J)) but even the American Legion has taken the following stance (which I agree with personally):
“It is the longstanding opinion of the Americanism Commission of The American Legion that it is acceptable to wear clothing that has an image of the American flag on it if that garment has not been made using an actual U.S. Flag as the textile. It is The American Legion’s opinion that, with few exceptions, the U.S. Flag Code pertains only to an actual flag. Early on in our campaign to protect the flag from physical desecration, Congress agreed in 1989 that the term “flag of the United States” means “any FLAG of the United States, or any part thereof, made of any substance, of any size, in a form that is commonly displayed.” A shirt, necktie, hair band, etc., with the likeness of a flag, is not a form commonly displayed as any sort of flag. Many Americans simply want to express their patriotism and love of country by wearing an article of clothing or an item that has an image of the flag imprinted upon it. You should note that there are those who have differing opinions than that of The American Legion, so we are not able to say if you will offend anyone or not.”