The time has come to finally make some improvements to the outside of the house! The first order of operations is to build a deck leading out of the great room. We had been through the design and approval stage once before with the township but we made a few changes that resulted in a better look and less lumber. So it was back to the drawing board and the township, we were able to get approved with no revisions, got the permit and were ready to go.
We ordered the lumber and concrete from Carter lumber…props to them for giving me a 10% discount since I am always able to get that at Lowes. They delivered within two days and the lumber was in incredible shape, very, very pleased.
Below is the design that we were able to get approved. The staircase on an angle is the biggest cosmetic change, but I am really glad we did since it really is pointing in the direction of travel now. Decking is 5/4″ deck boards, joist are 16″ centers, railing 36″ high.
Because the railing post are all within 6′ of each other and extending under ground we were able to get away with 3 beams and the ribbon joist would support the joist on either end. All using approved joist hangers and spax screws….another point I am SO glad we did because I was able to mount the joist holding with one hand and screwing with the other, not something that is possible using a hammer and nails.
The deck is not mounted to the house using a ledger board so we were able to run the joist parallel to the house. With the beam placement we were able to use 2 16′ boards for the joist. This allowed for enough but not too much overhang resting on the middle beam.
All the railing post, although extending 42″ underground, are also block and bolted to provide extra support. We want to be able to drive a tank on this deck when its complete.
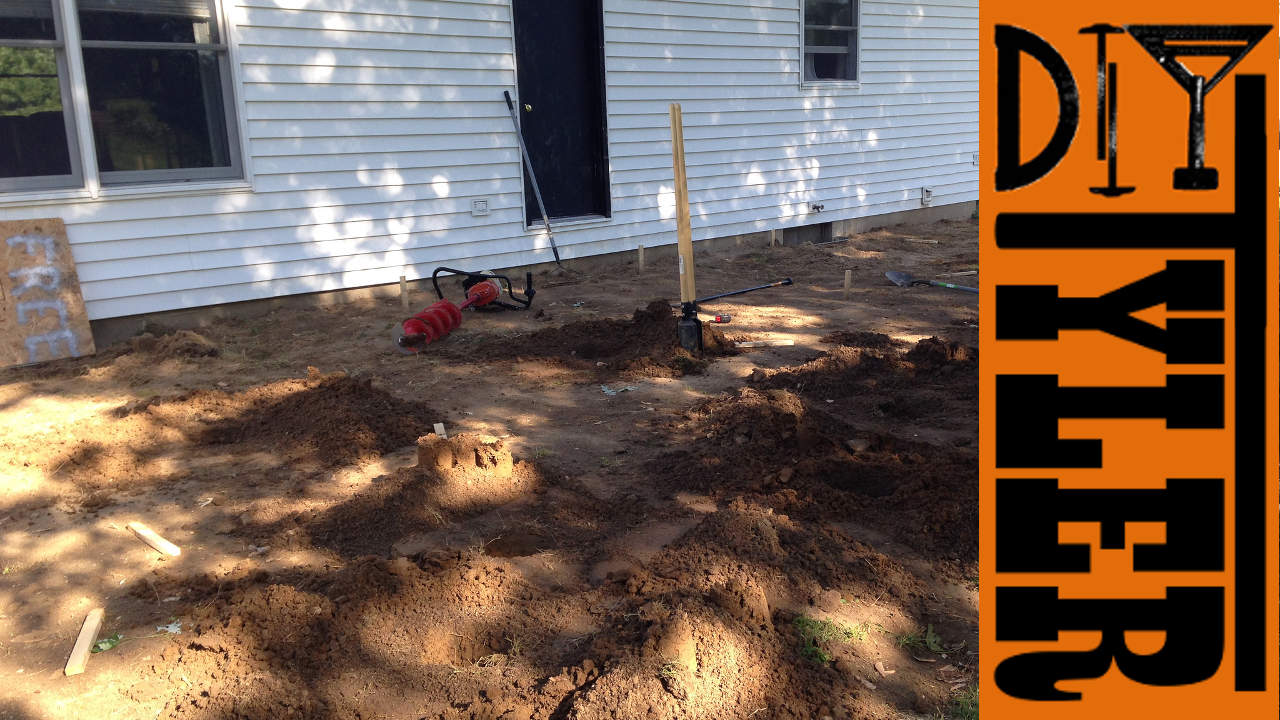
GROUNDBREAKING TIME!We needed to knock down a bit of a hill that was causing some back draining towards the house, the hump was also going to be in the way of the beams since this deck is only about 15″ off the ground.
Sera helping out with the marking pegs we made.
Used our tractor setup with the 3-Point plow to break the ground making it easier to push dirt around with the blade.
Then used the blade to push dirt towards the house to have a positive grade away from the foundation. We then rolled the soft dirt driving back and fourth several times to make it as solid as we could. Here we also show the marking pegs set in place of the poles. Make sure you are square, took lots of time with the help of my wife to make sure the pegs were square as could be.
We rented an post-hole digger from HD, based on recommendation from the guys at work (thanks Ron/Jeff), and were able to get all the holes drilled in about 2 hours. Back breaking work but it would have been worse digging by hand. Took me a few holes to figure the best way to handle the machine.
Lumber, concrete and hangers delivered from Carter Lumber.
Much work still to complete but at least the ground is broken and the process started. (At this point we are playing catch up with the site….deck just needs stairs at this point!)
For more pictures check out our flickr page, DYITYLER.
Be back soon with an update!
Please follow and like us:


