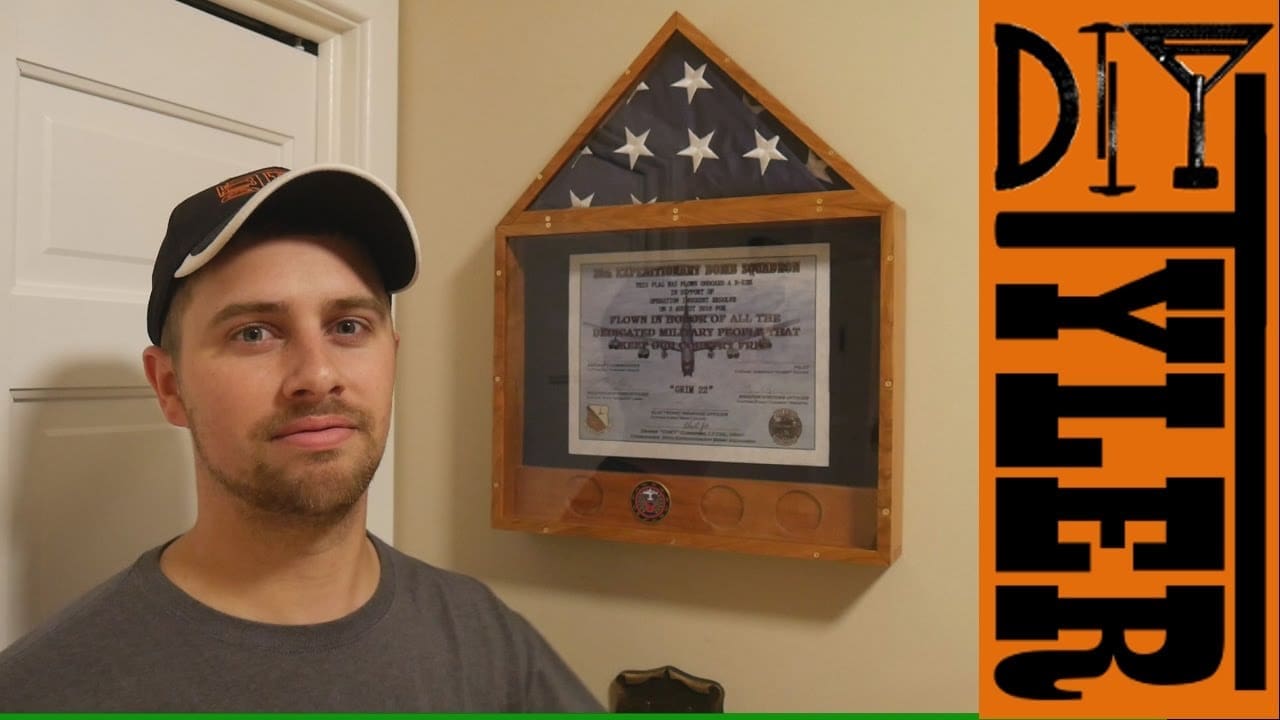
I had the pleasure of having Jay Bates from Jay’s Custom Creations in my shop a while back and we wanted to do a project together while he was in town, we came up with this flag display case. This is not any ordinary flag, this flag has been flown in Operation Inherent Resolve on a B-52 Bomber over Afghanistan, so I wanted it to have a special place in our home.
This build video is in two parts, part one is on Jay’s channel and it shows us prepping the cherry stock and making the main display section. Go give part one a check on Jay’s Channel and website and then come back here to watch part two!
If you guys don’t already know about Jay and his channel/website be sure to give him a look, he has been a big inspiration for me and he has novel and innovative ideas that anybody can learn from and find useful.
[wp_ad_camp_4]
Flag Display Section
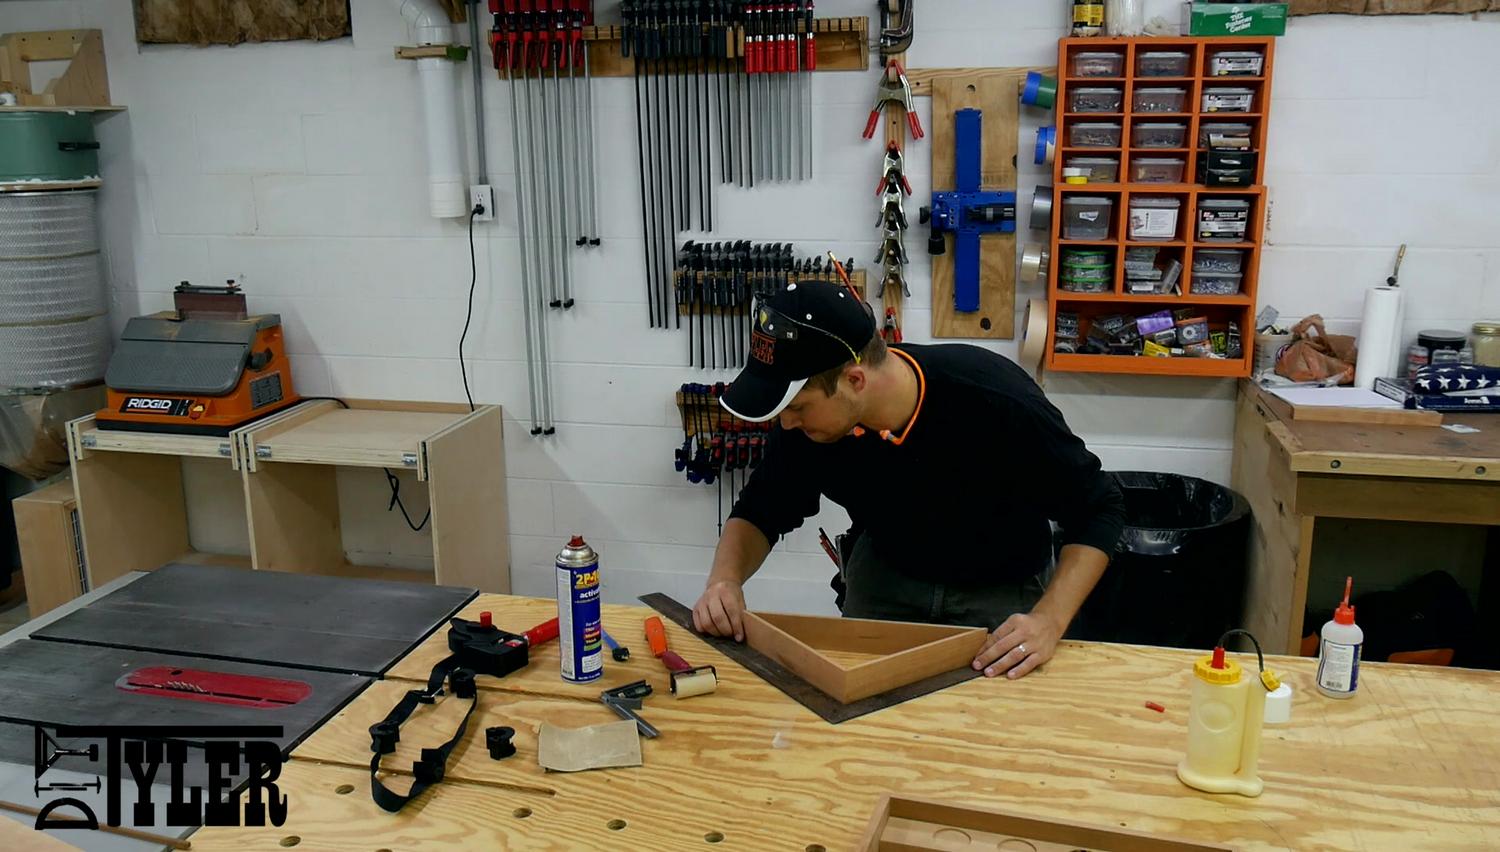
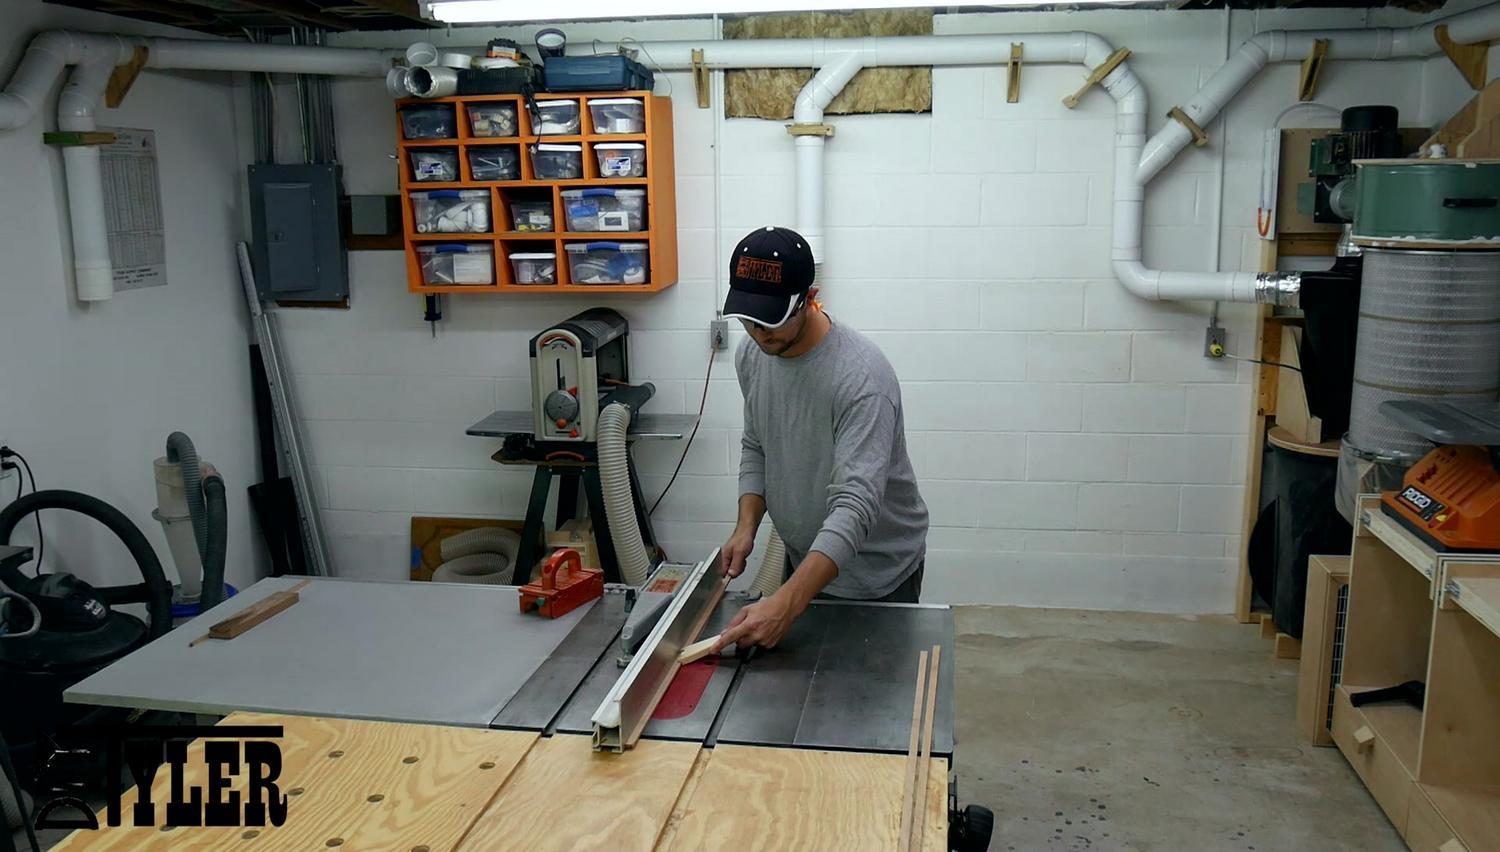
My part of the build picks up with making the triangular section that holds the folded flag. The stock was already prepped to proper thickness so I cut it to proper width using the table saw.
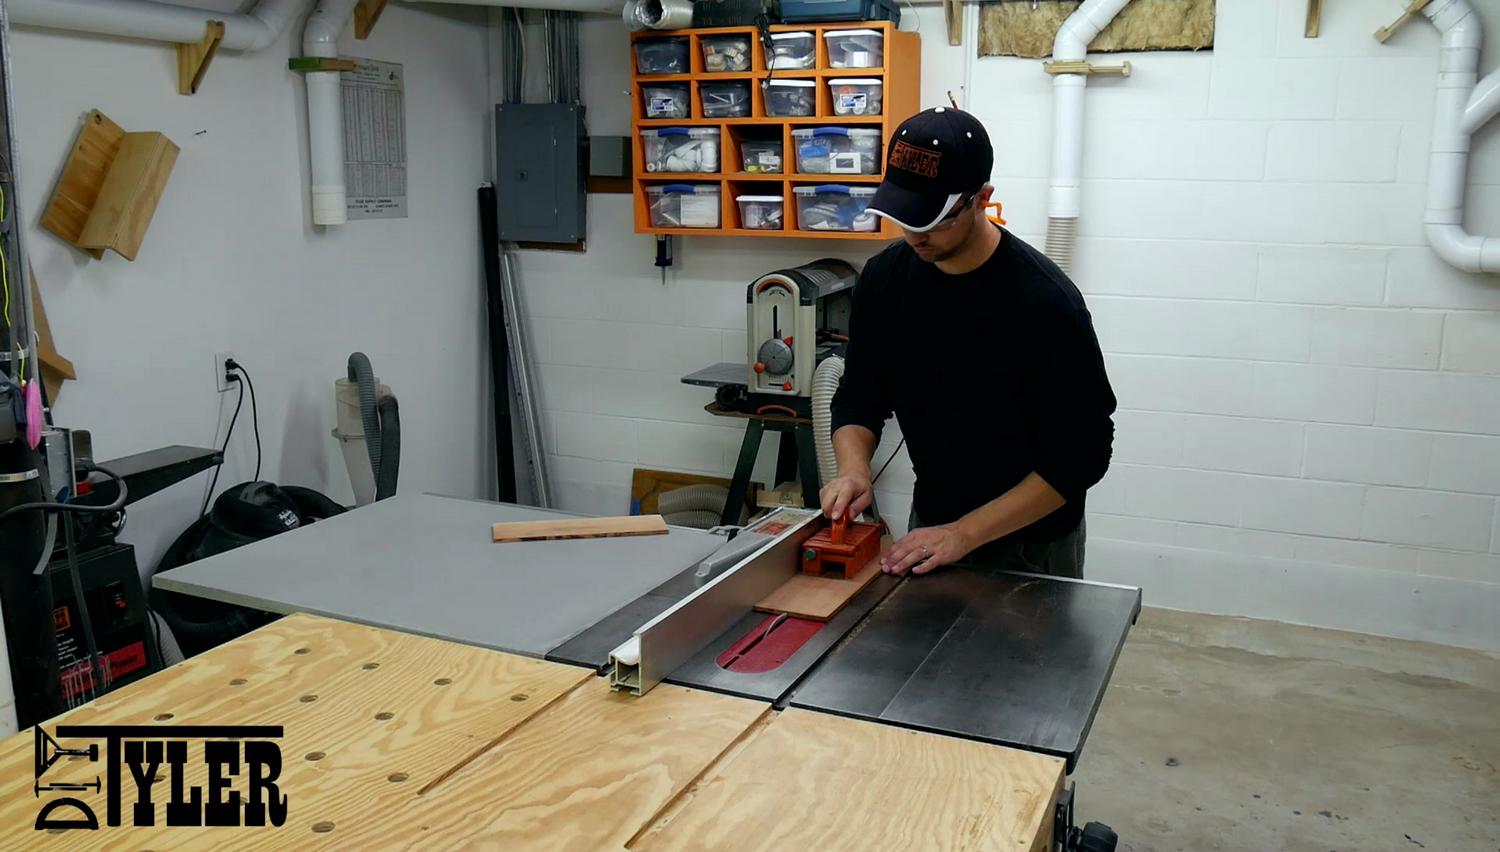
I made sure to cut the cherry in such a way that I would be able to put the most figured pieces in the most visible area.
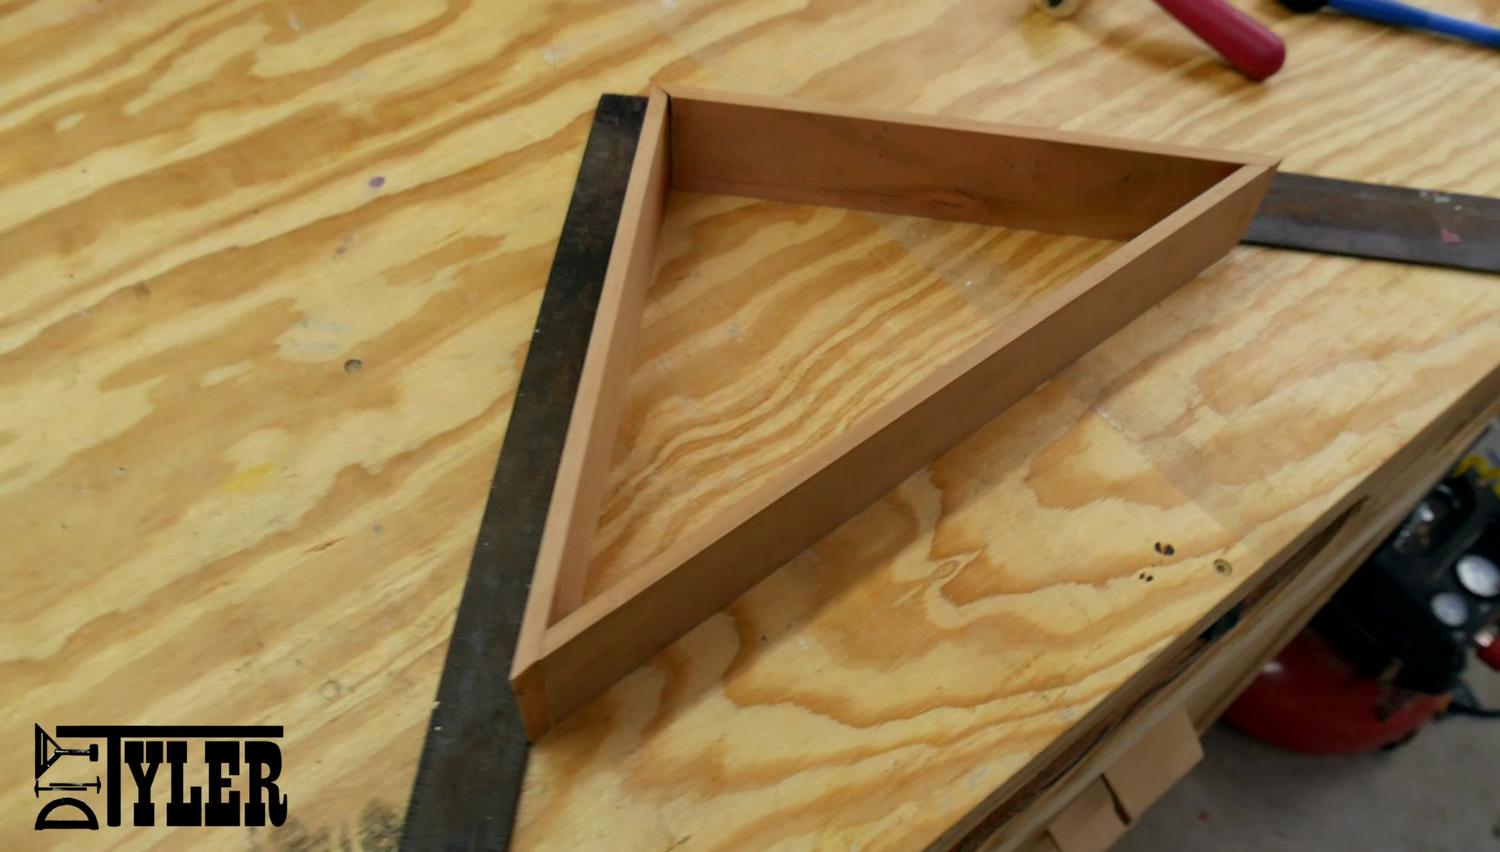
To make the display triangle the is one 90° at the top and then opposing 45° angles on the bottom corners. I cut the miters using the chop saw, make sure to use a zero clearance backer board to prevent tare-out.
 Used wood glue to assemble and added a few dabs of 2P-10 CA glue to provide an instant hold to allow the wood glue to setup properly.
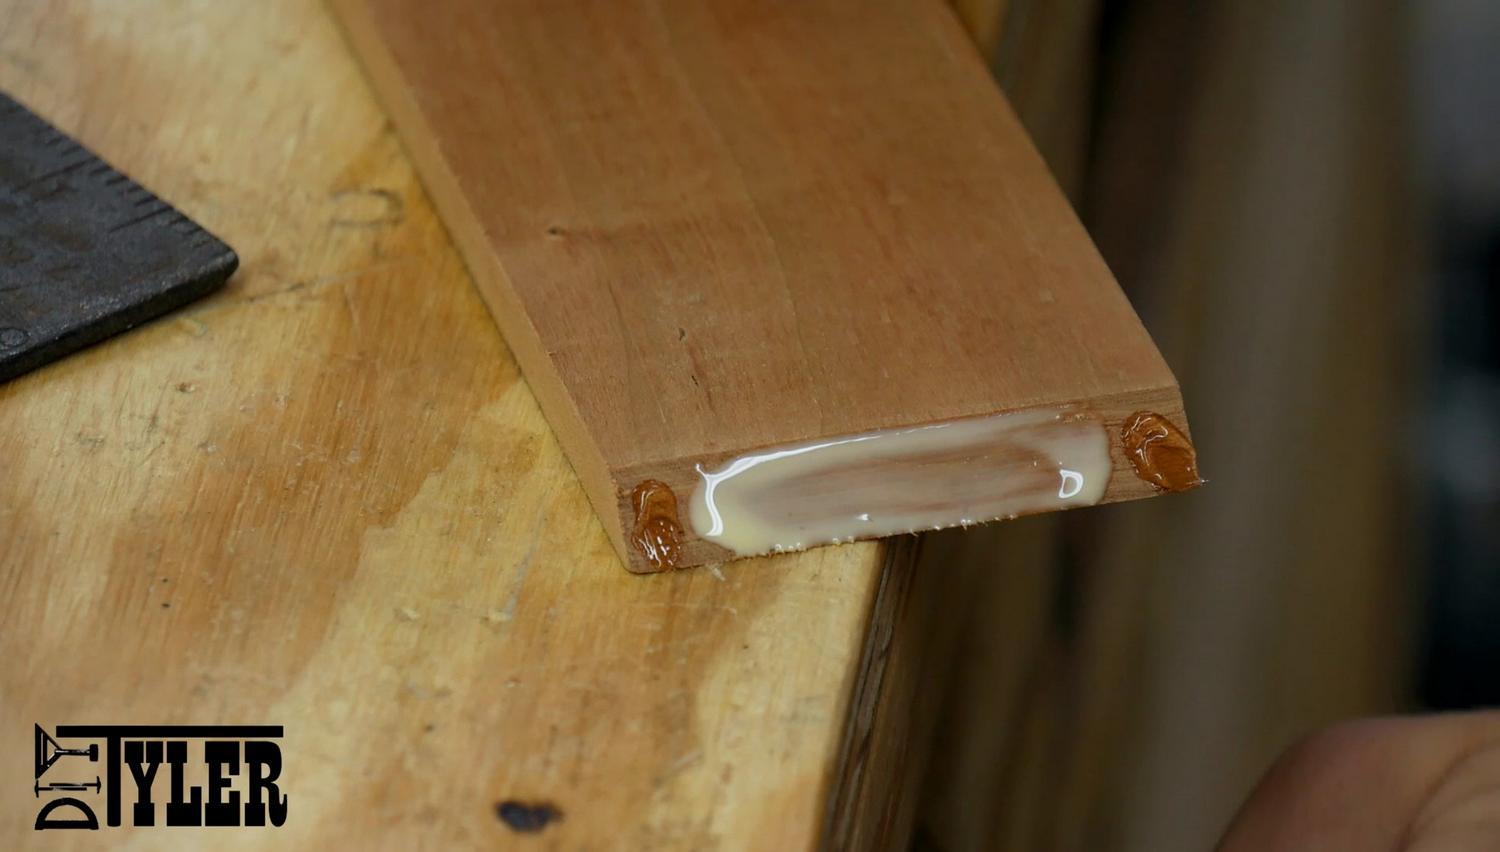
Glued up the section up against a square to make sure I had everything aligned properly.
 Here you can see how the bottom corners are mitered.
Strengthen with Splines
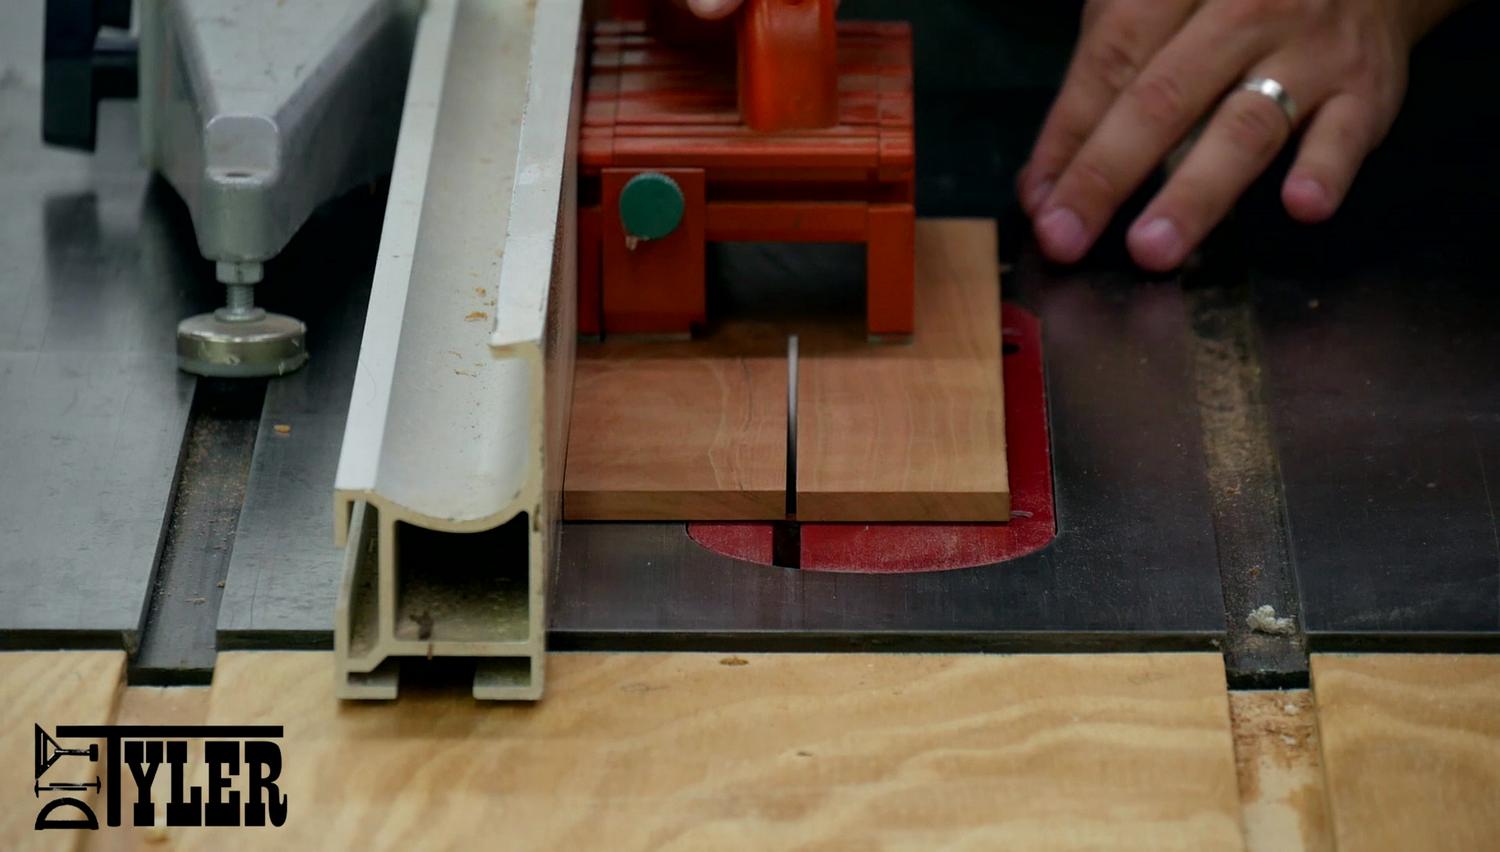
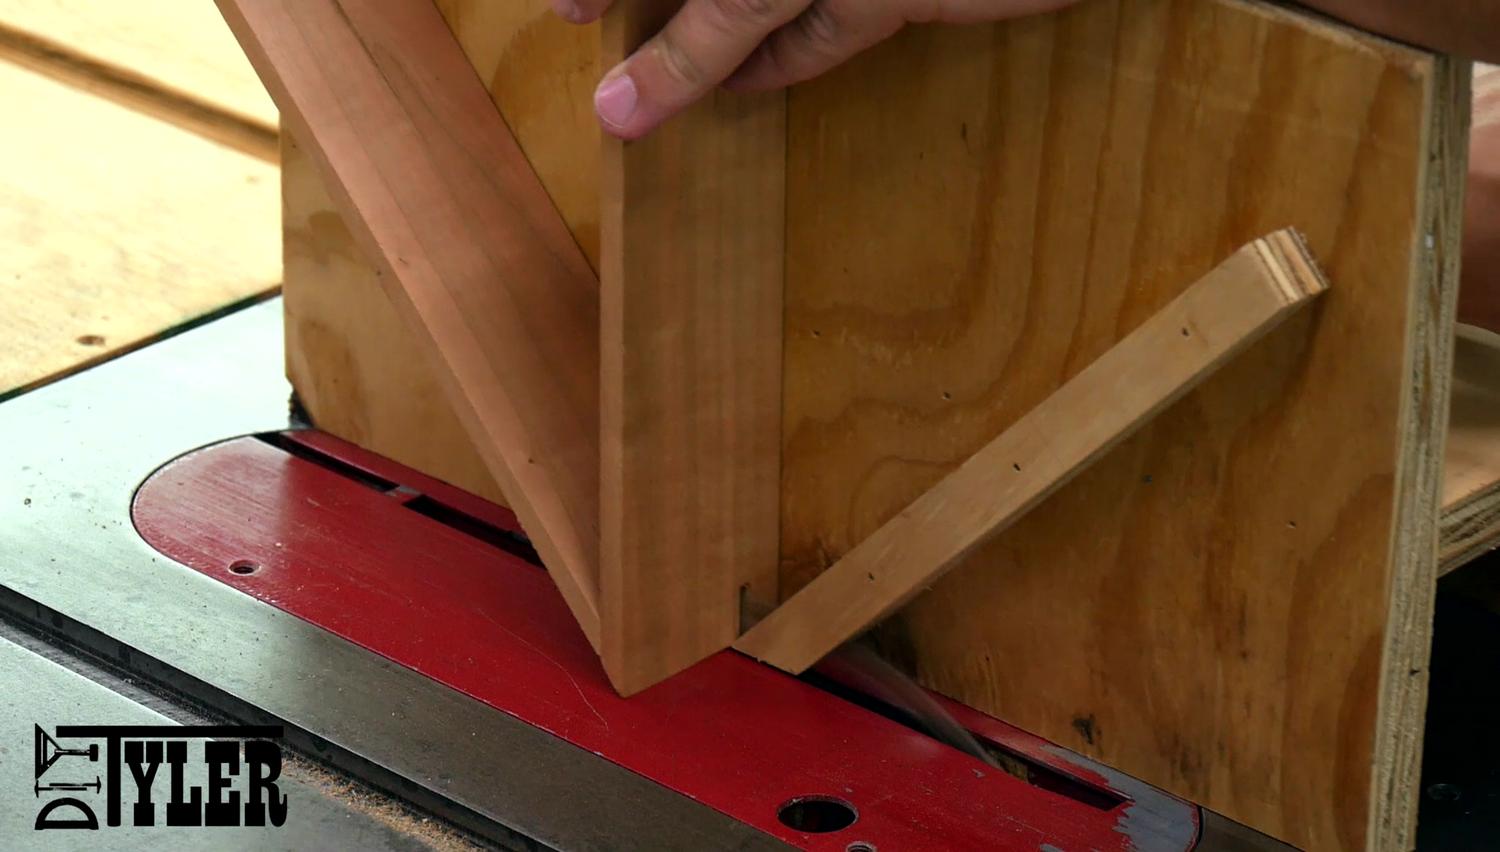
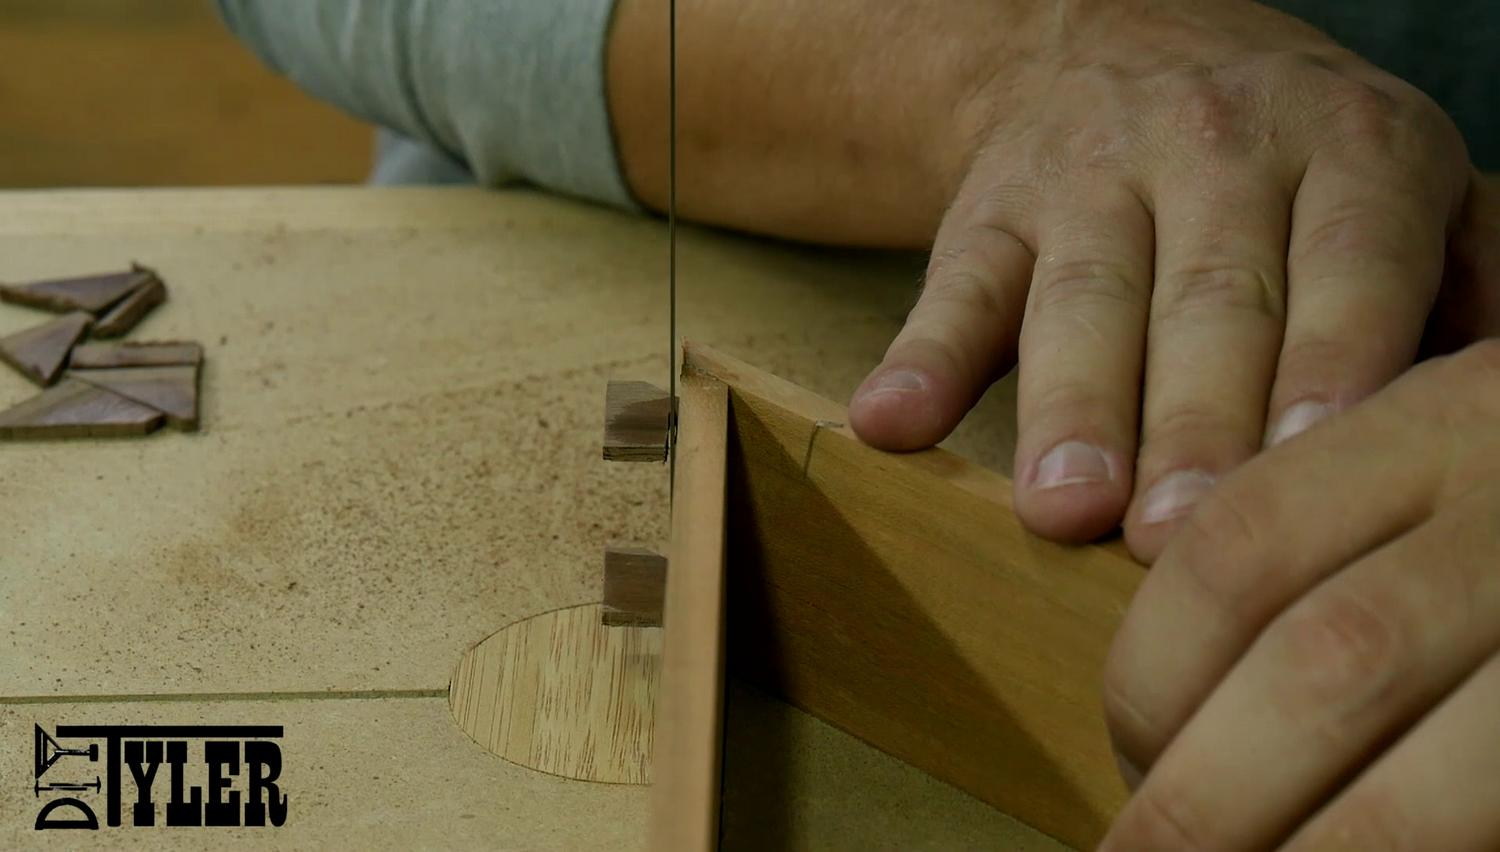
End grain to end grain miters like I just glued up are not very strong, a simple way to strengthen this joint is to add splines. I cut the spline groves on the table saw using a simple jig.

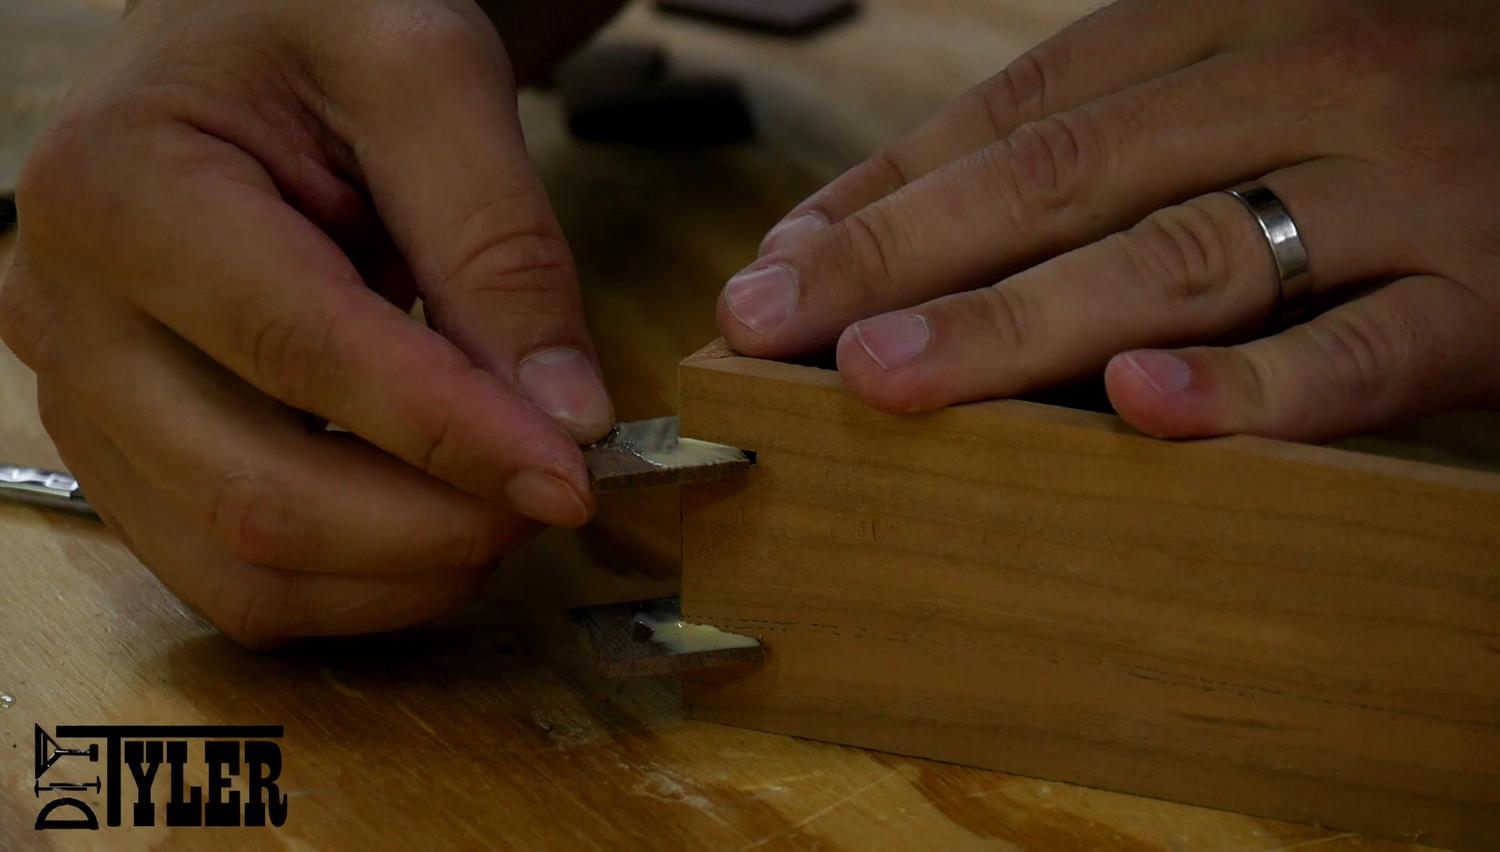
I cut the splines from some scrap walnut and glued them in place with a liberal amount of glue.
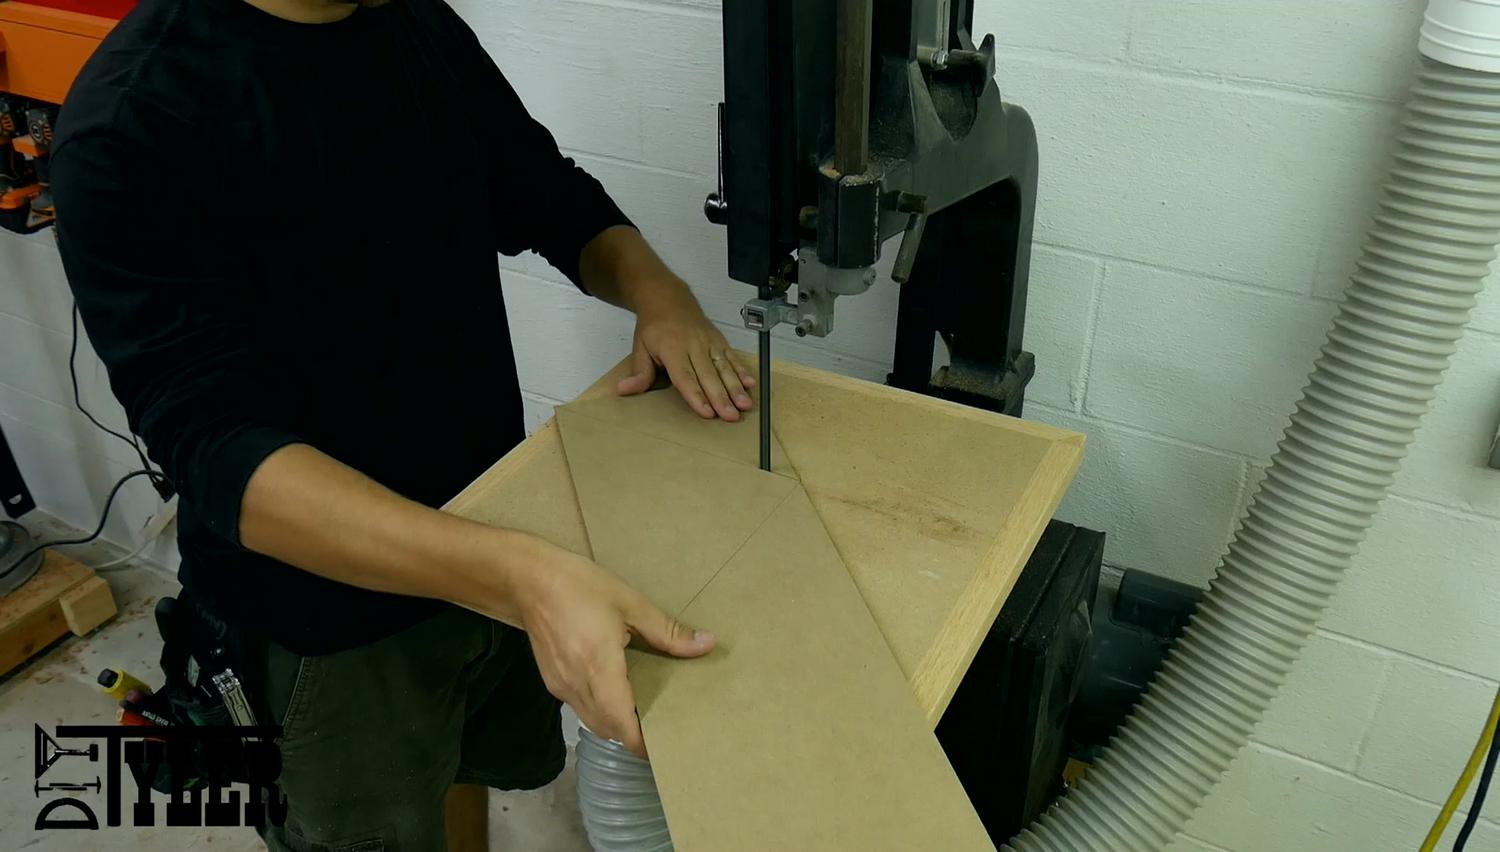
Once the glue dried I trimmed the splines close to the case using the bandsaw.
And smoothed everything up using the belt sander.
Adding a Base
I traced the inside dimensions of the flag display onto some 1/4″ MDF to use as the base. Cut it to dimension using the band saw.
Added some wood glue and glued into place. There was no need for clamps here just make sure to clean up any glue squeeze-out so you will have an even finish application.
 Glass Capture and Display Trim
 Glass Capture and Display Trim
To hold the glass in place I cut some cherry strips 3/8″ wide and 1/4″ thick and added a rabbit to the back to capture the 1/8″ plexi glass.
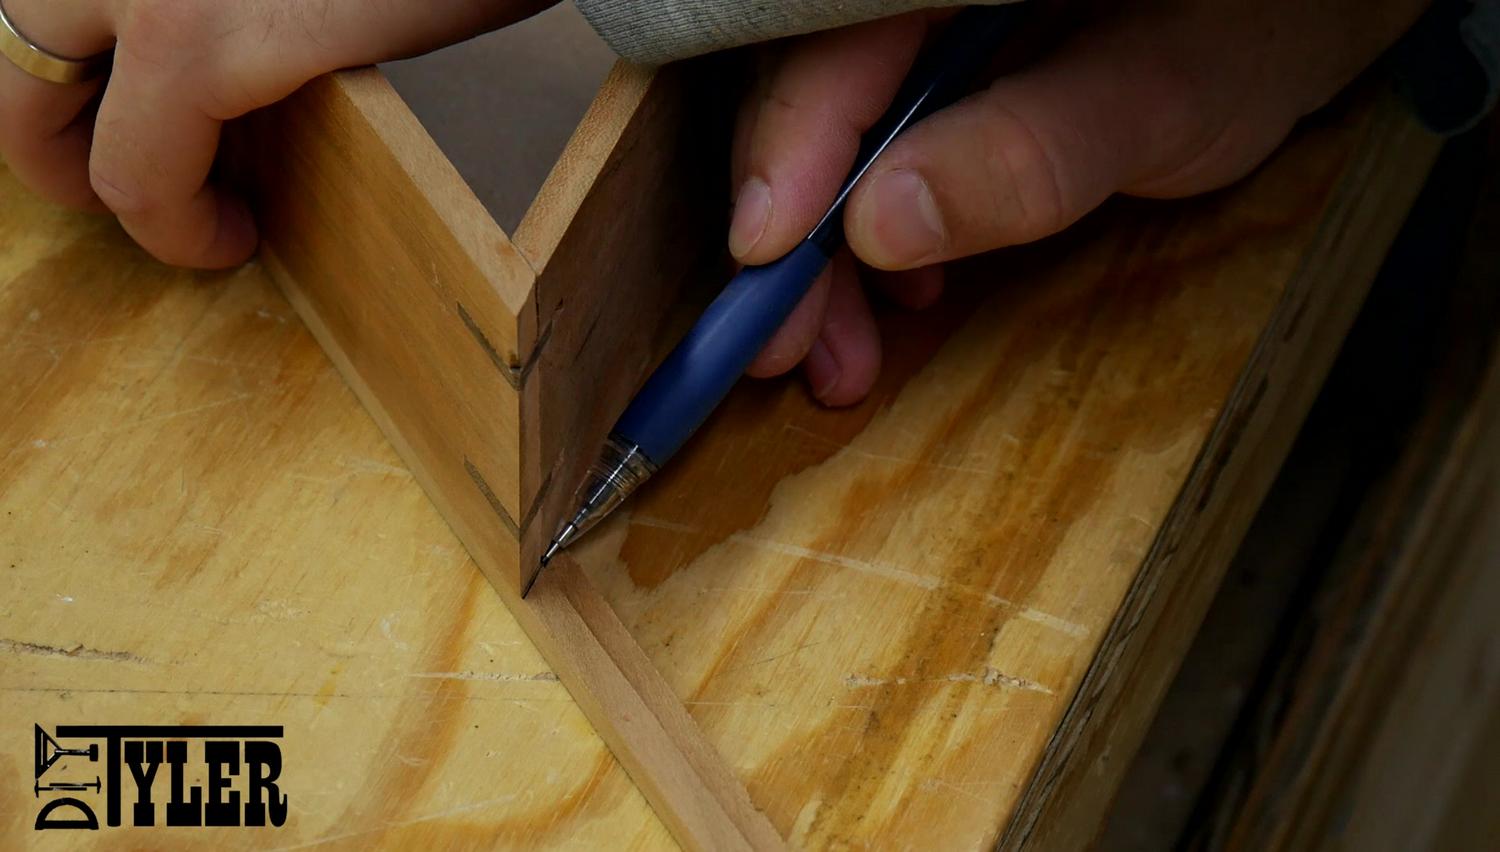
To make sure I marked the trim as accurately as possible I used the display case to mark my cuts and used a mechanical pencil to ensure the best accuracy.
Cut the trim to rough dimension using a pull saw.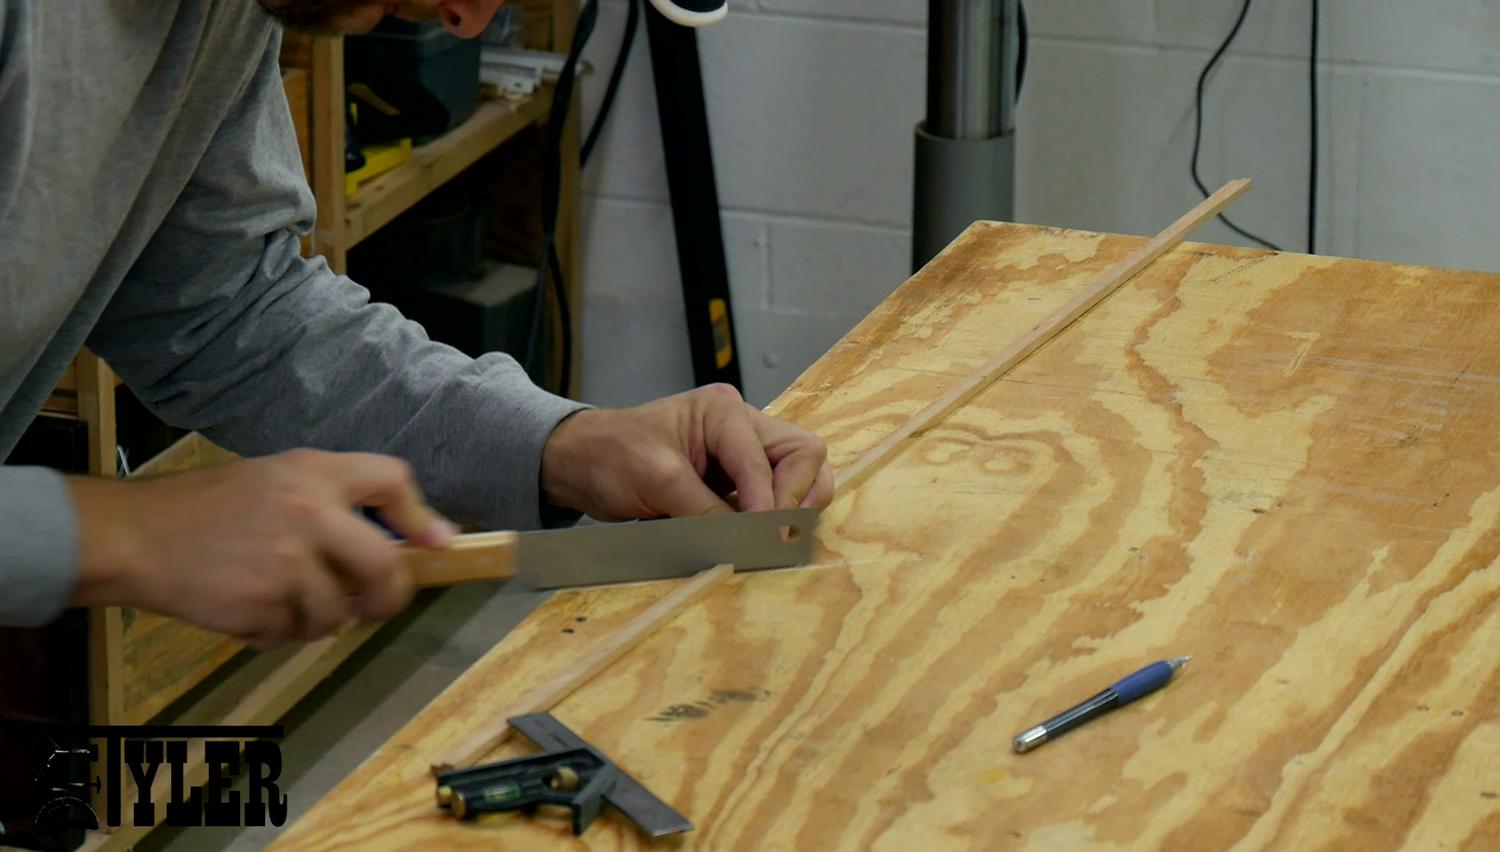
And sanded up to my lines using the belt sander. I chose to use the belt sander instead of the chop saw or a hand miter saw because I figured I had more control since I could sand slowly, check and repeat the process as often as I needed. This process worked great.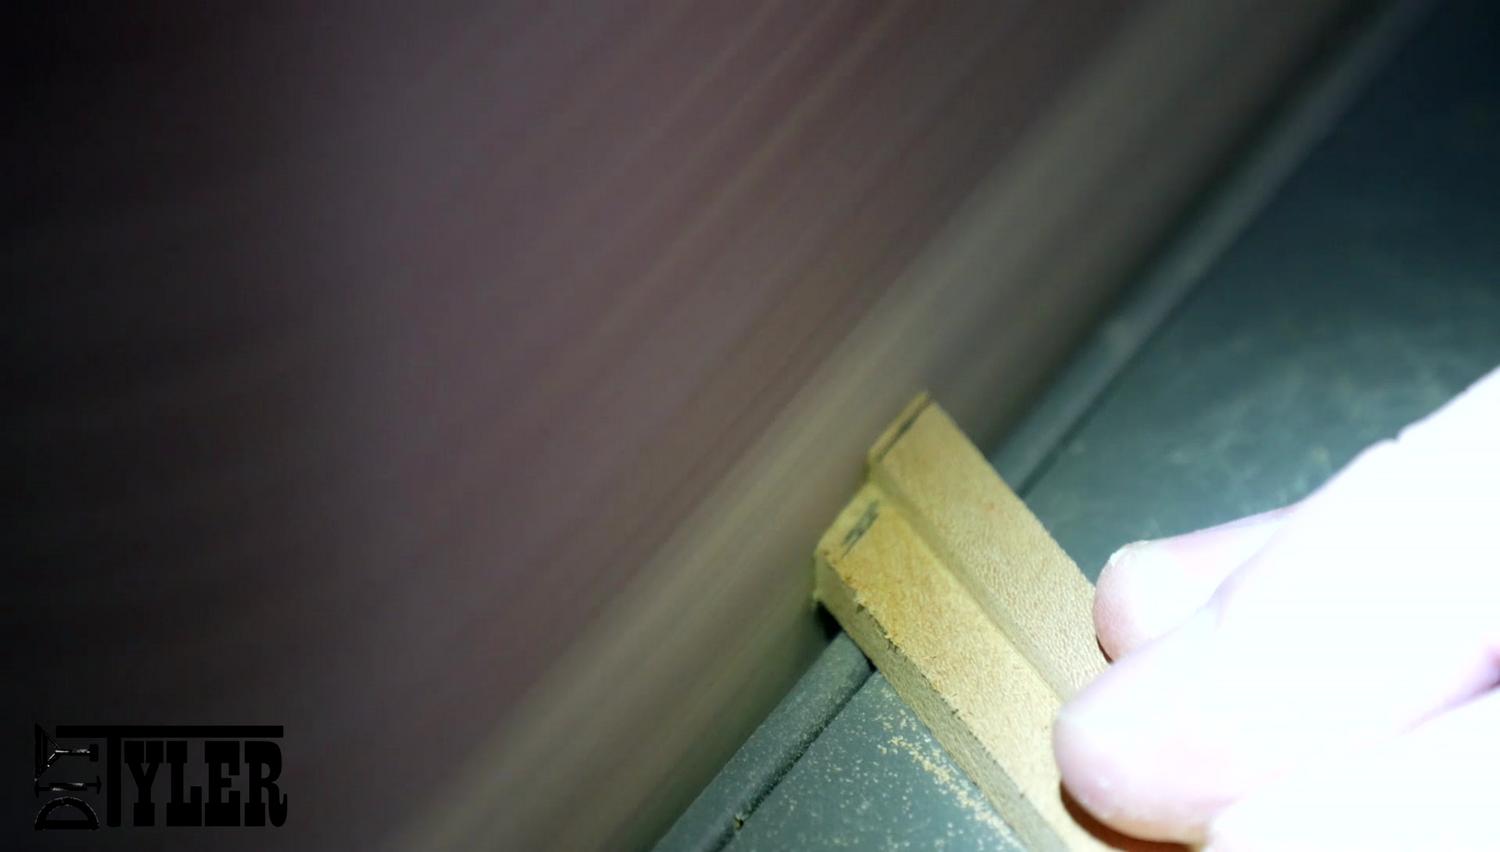
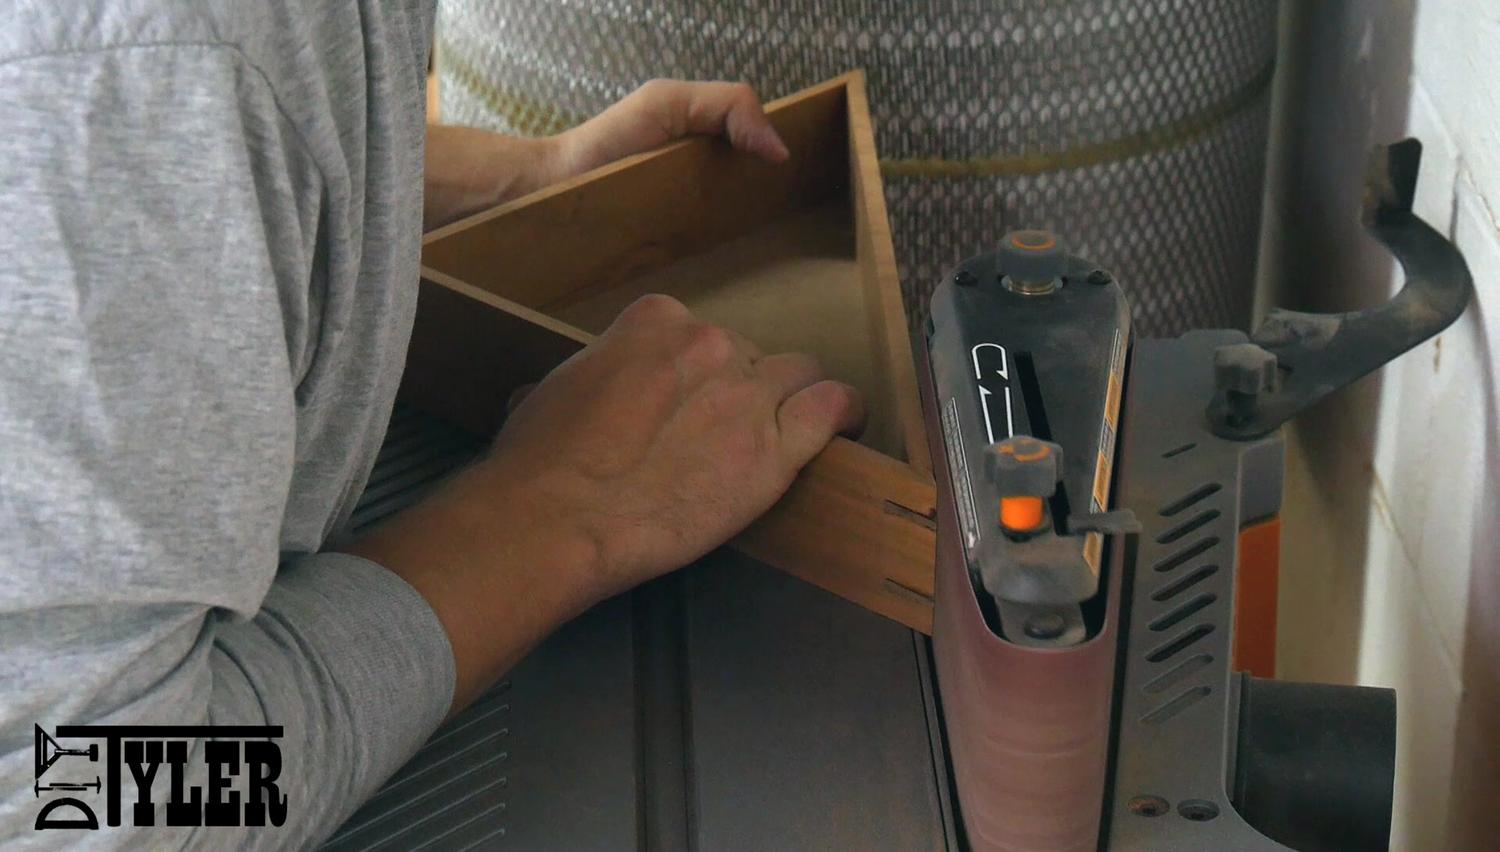
Attaching Trim
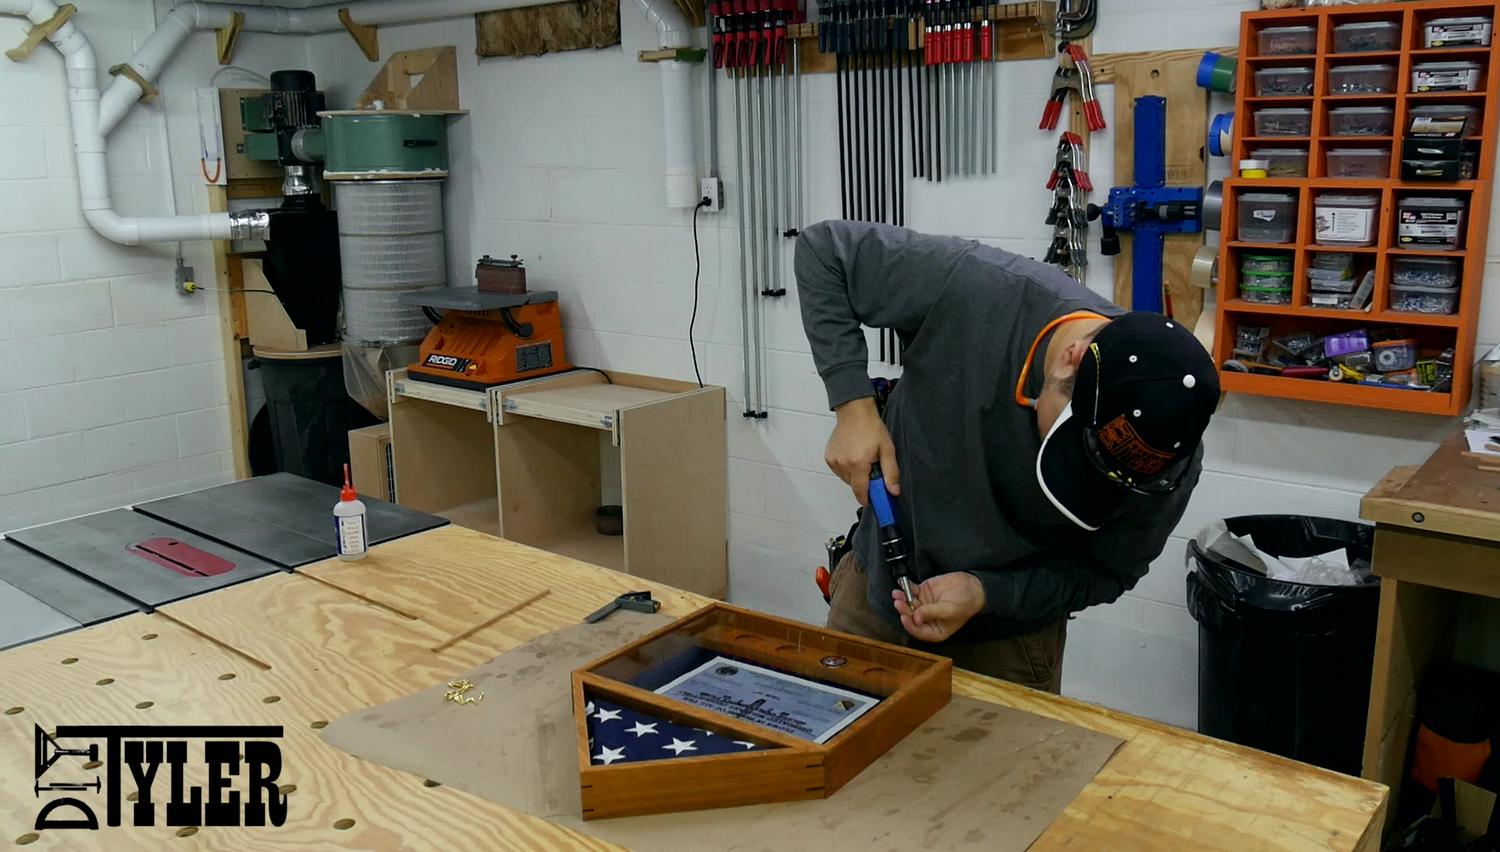
Most of the trim is added to the display case using wood glue and brass screws. The brass screws are for show on all but two pieces of trim. These pieces, one for the flag section and one for the certificate/coin section, are removable so you can add a coin or change anything that you may want to.
I drilled and counter sunk the trim.

Added a small amount of wood glue on the appropriate pieces.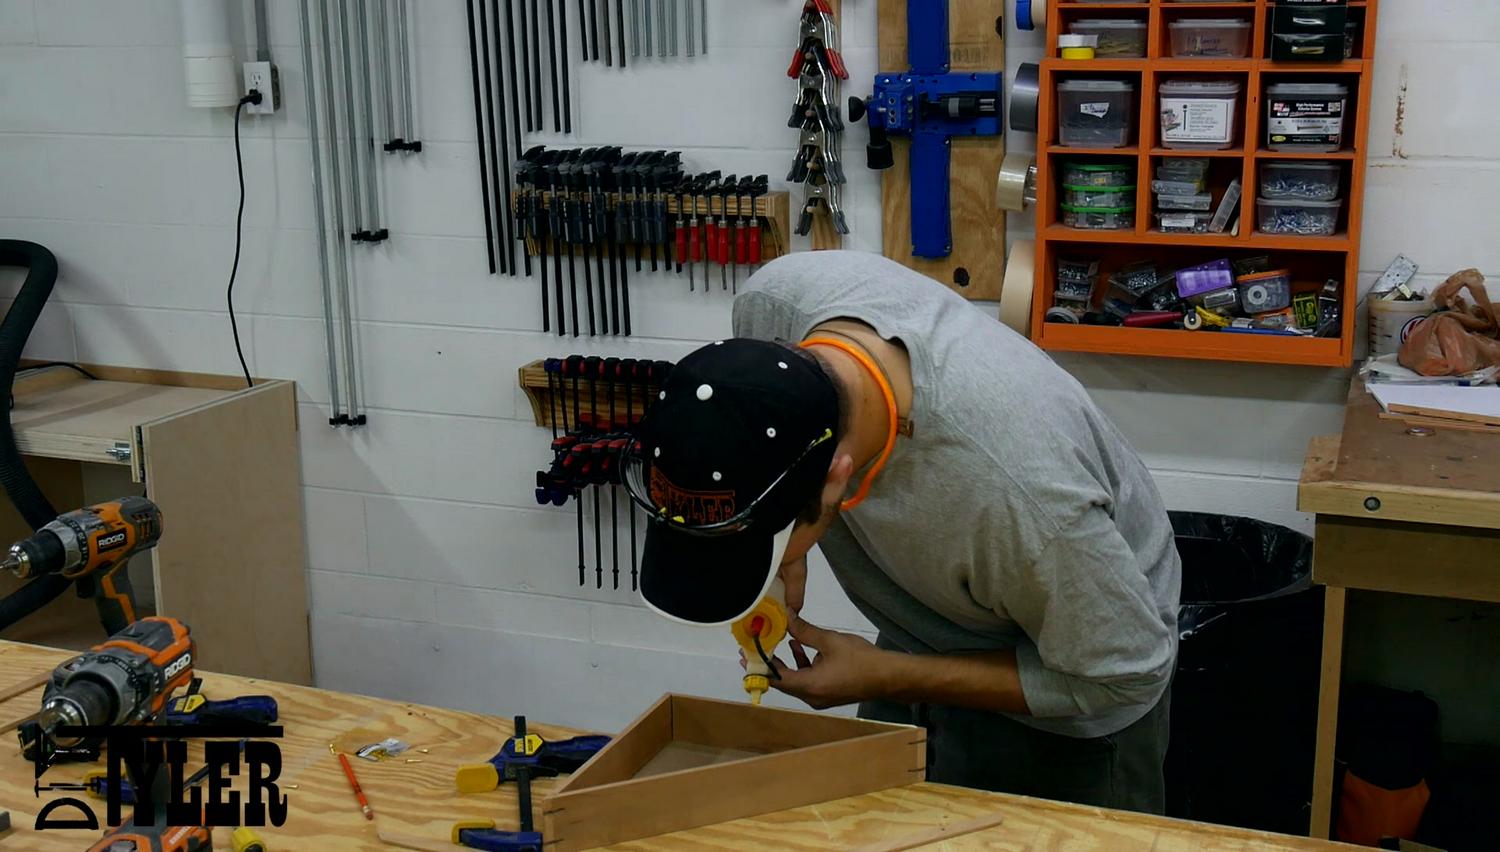
And drilled and added the brass screws.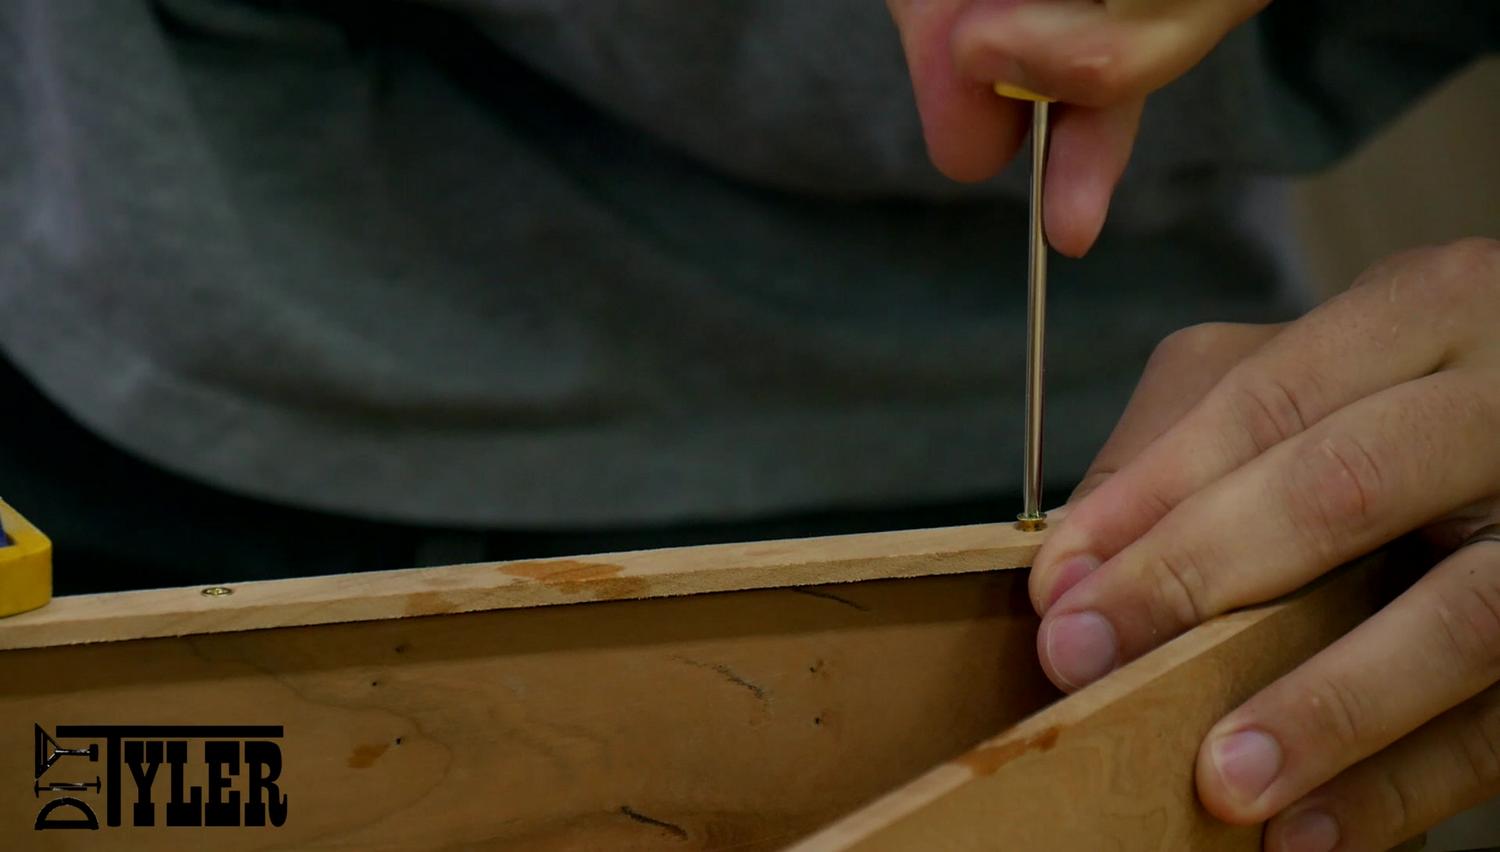
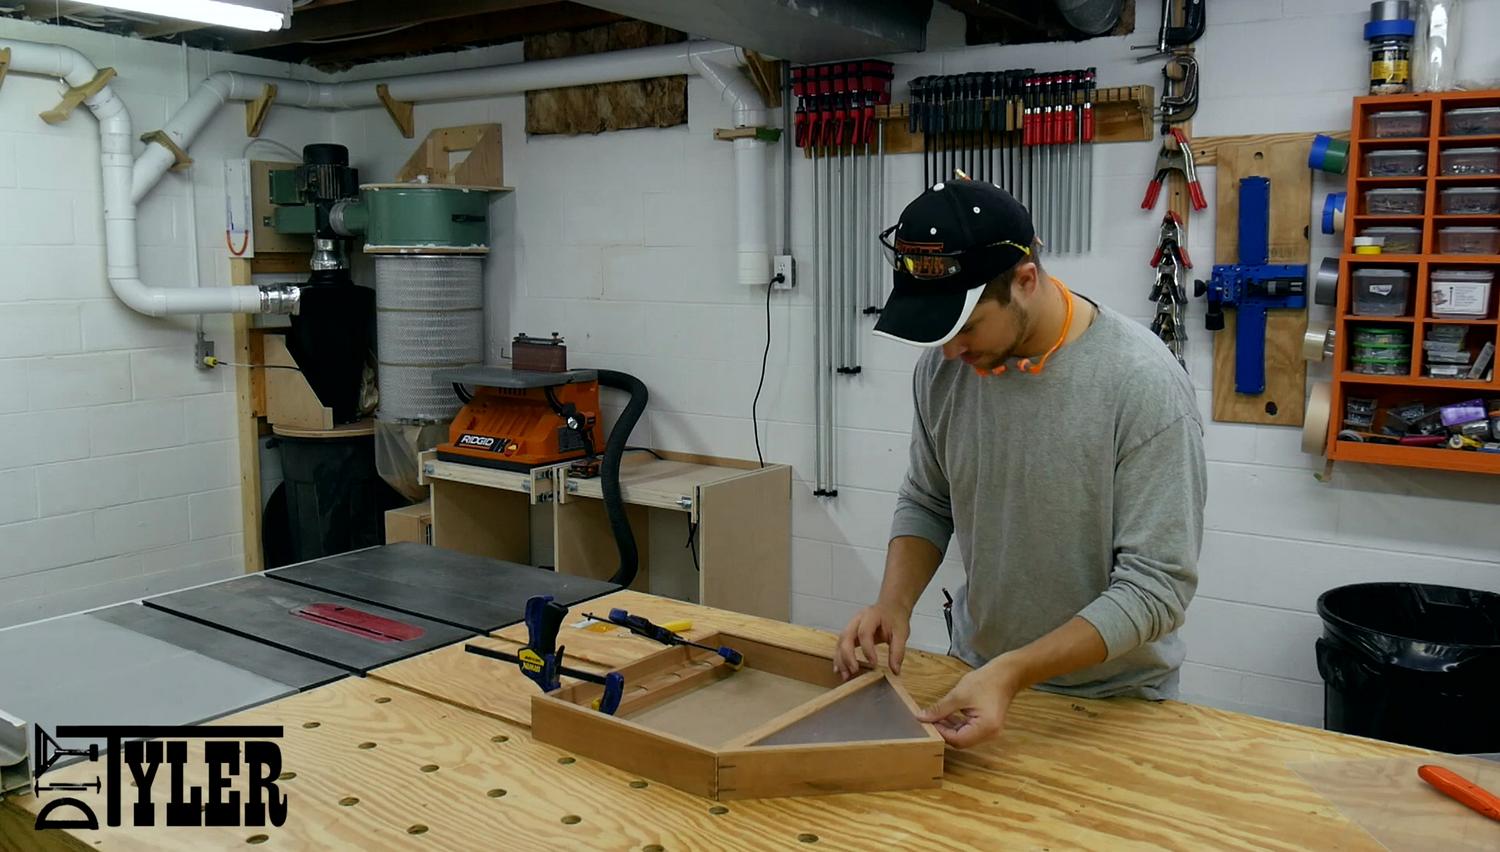
Combining Flag section and Certificate section.
To add the two display sections together I used some 5 minute epoxy, this way I didn’t have any unsightly screw heads in areas I didn’t want them visible.
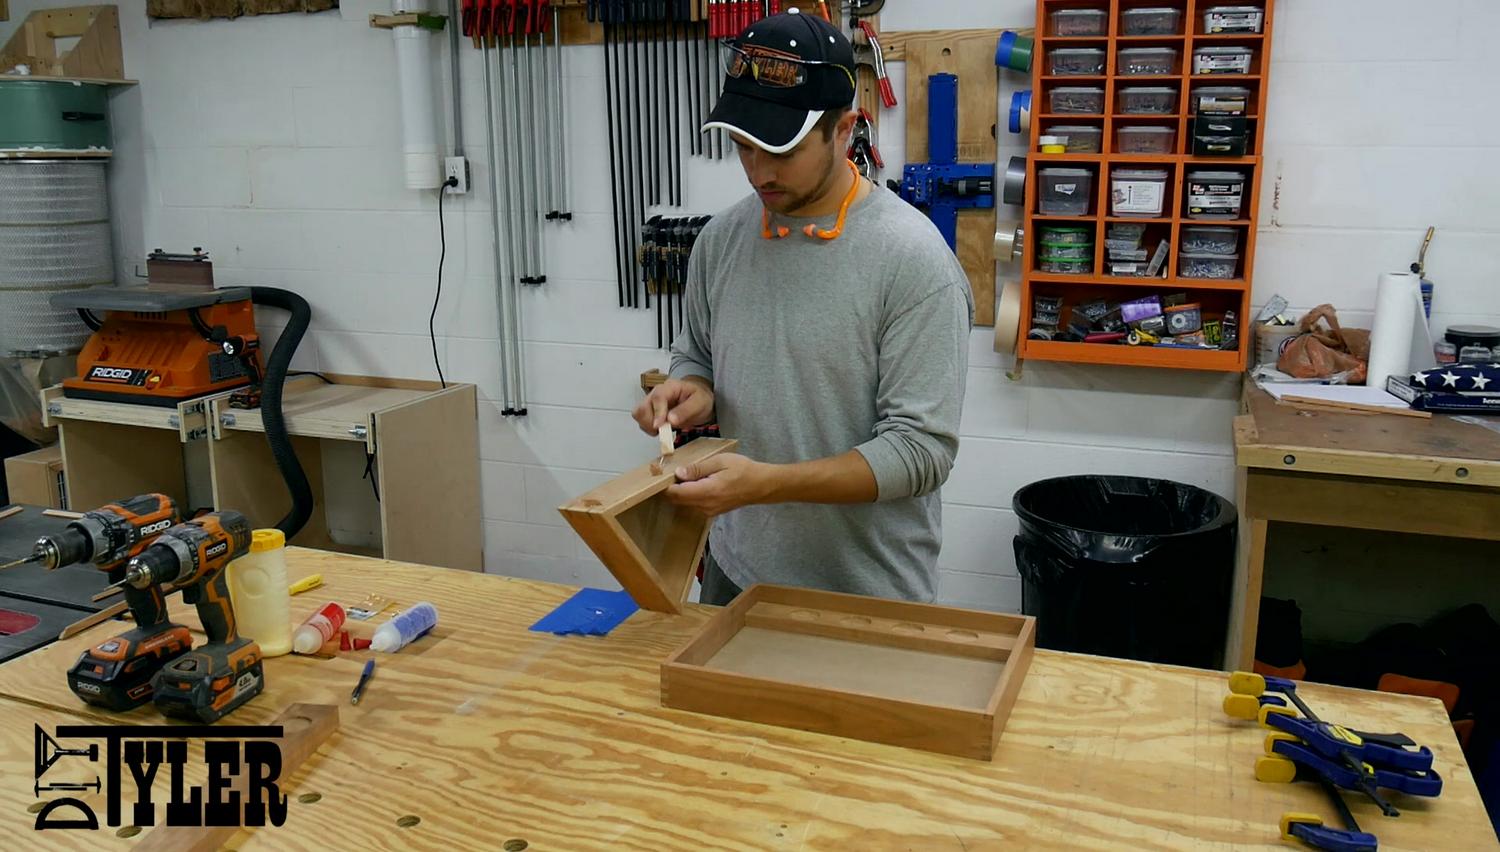
I simply set the sections together where I wanted them and let is set for a few minutes to set up.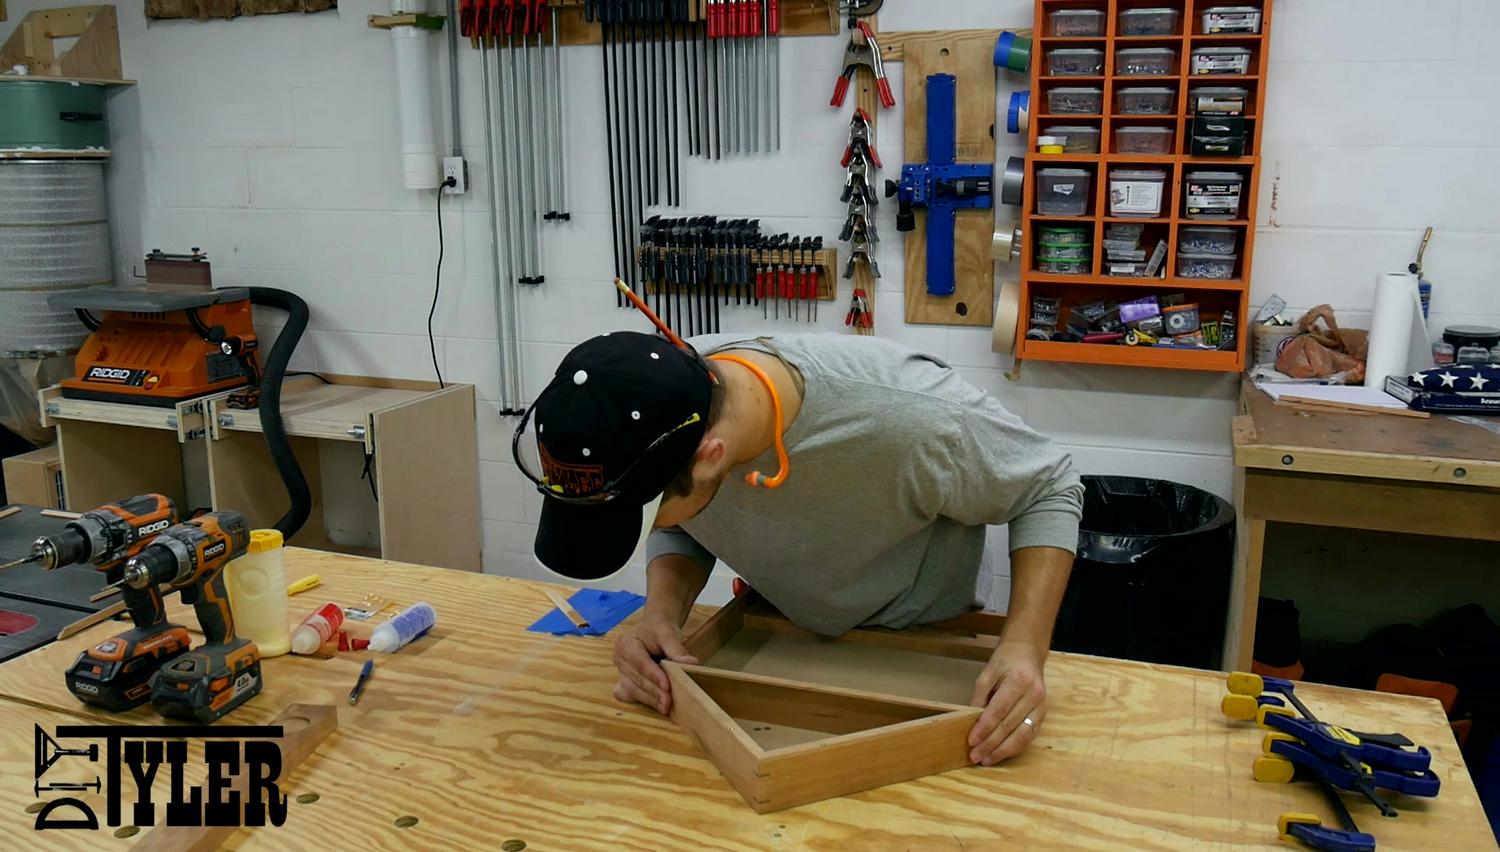
After the sections were glued together I added all the rest of the trim, adding half of it after gluing the sections together allowed me to make sure I covered any small miss alignments.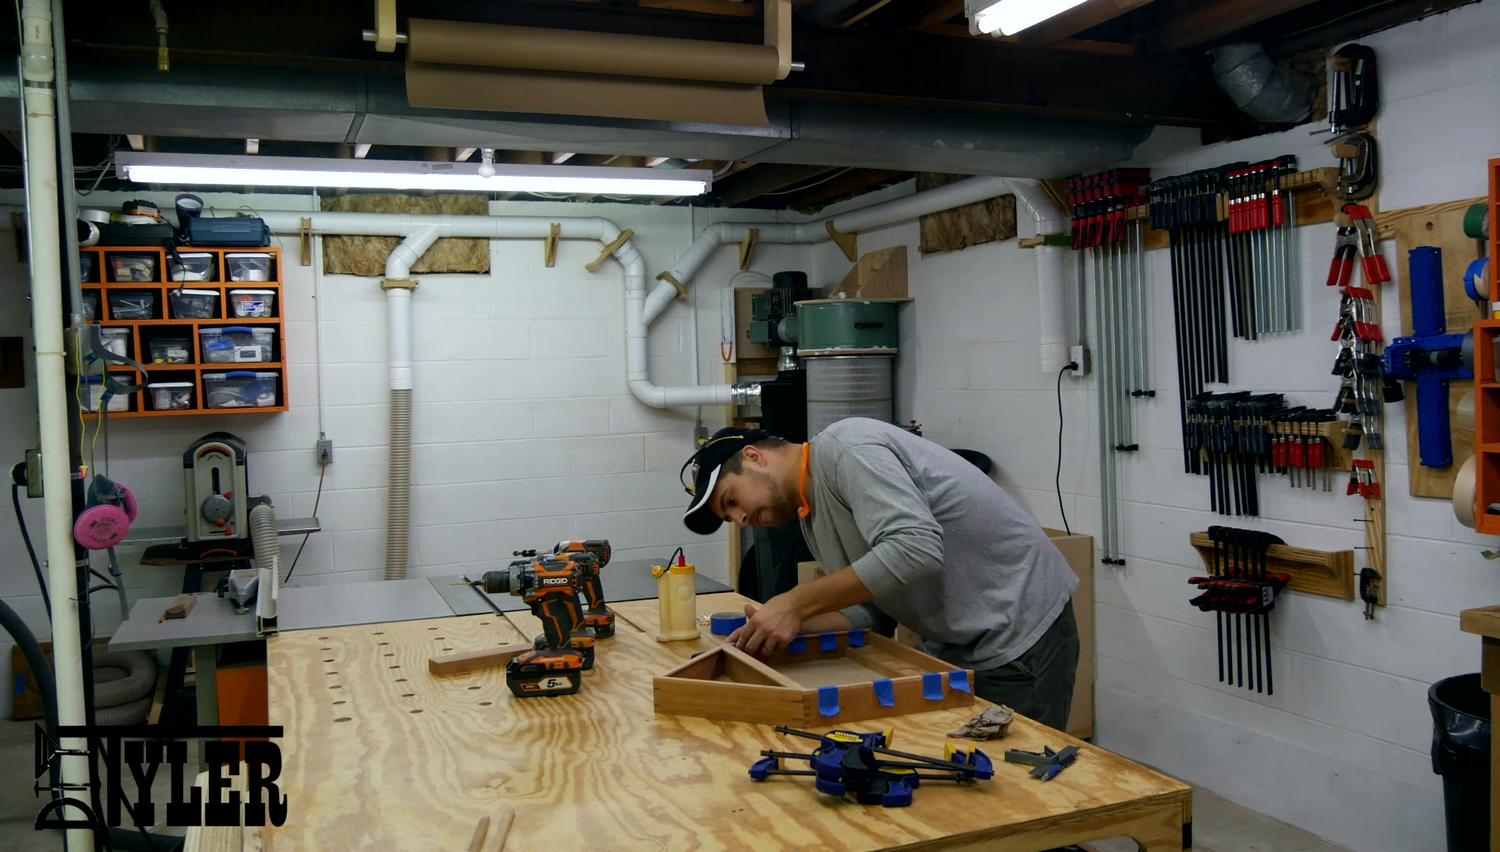
Glass and prep for Finish
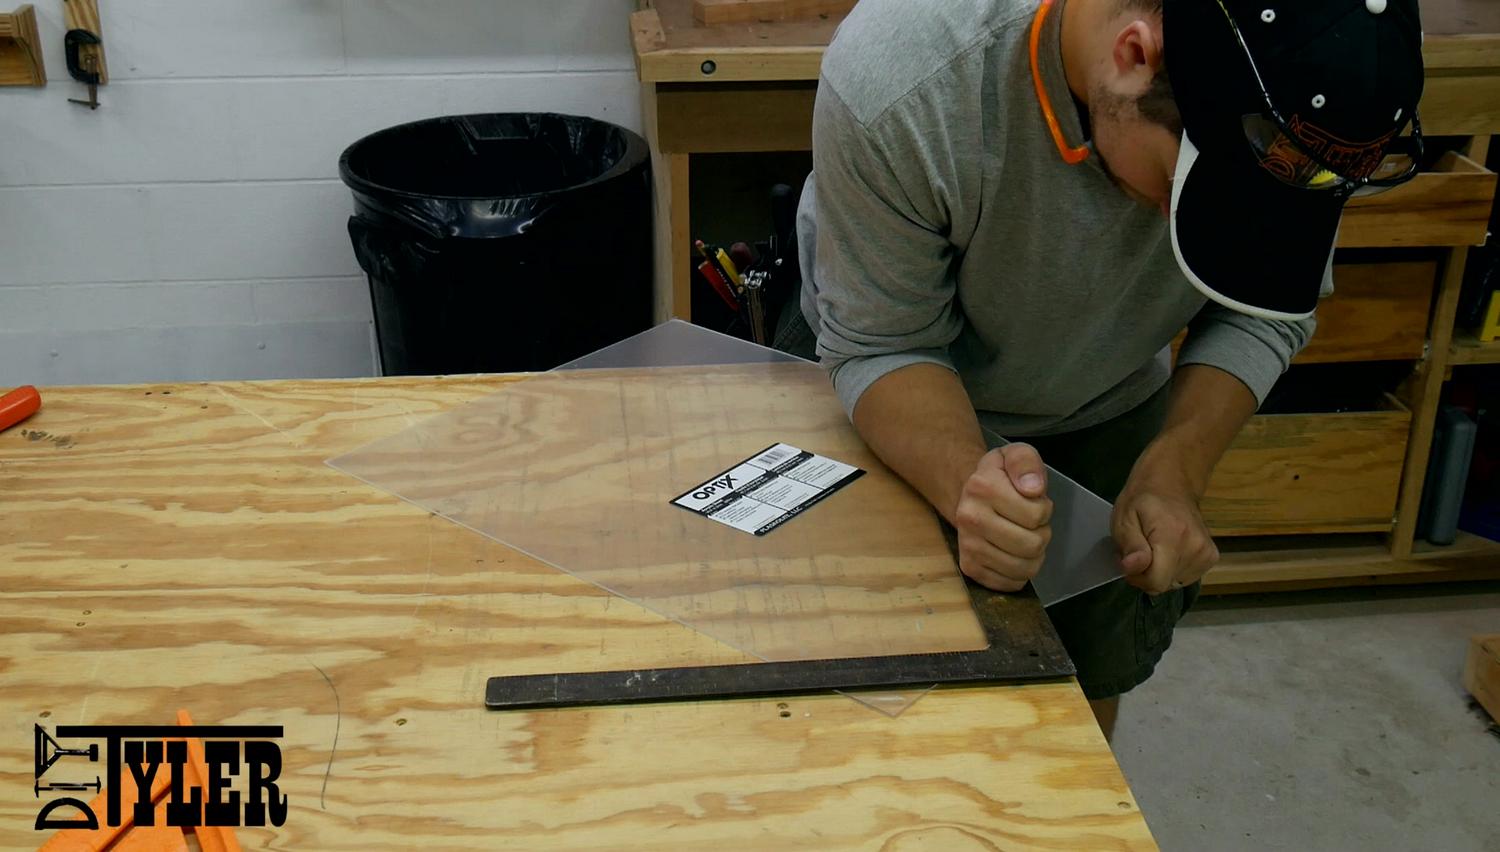
I chose to use plexi glass for the glass on this case because I figured with my luck I would never be able to cut the triangular piece without shattering it to bits. A second reason for the plexi is you can take off small amounts with a sander if you are not right, not really an option with real glass. I was able to cut the angled piece with a utility knife and square.
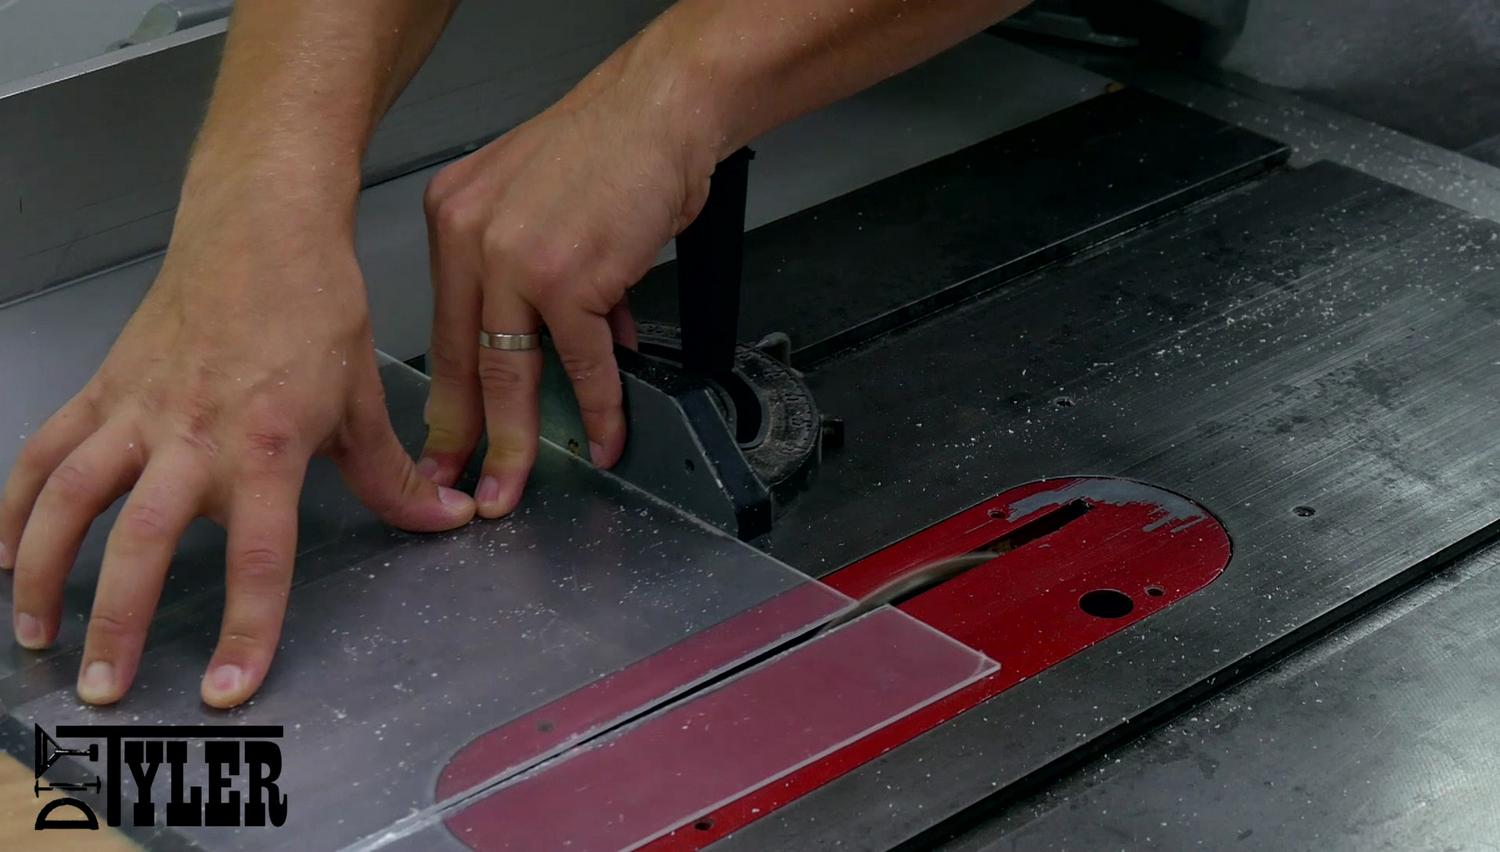
The square piece was an easy cut on the table saw.
Finish
To prep for the finish I gave the entire case a good scrape with the card scraper. Such a inexpensive tool but yields some great, silky smooth results, I highly recommend one if you don’t have already have on.

For the finish I used several thin coats of general finished Arm-R-Seal.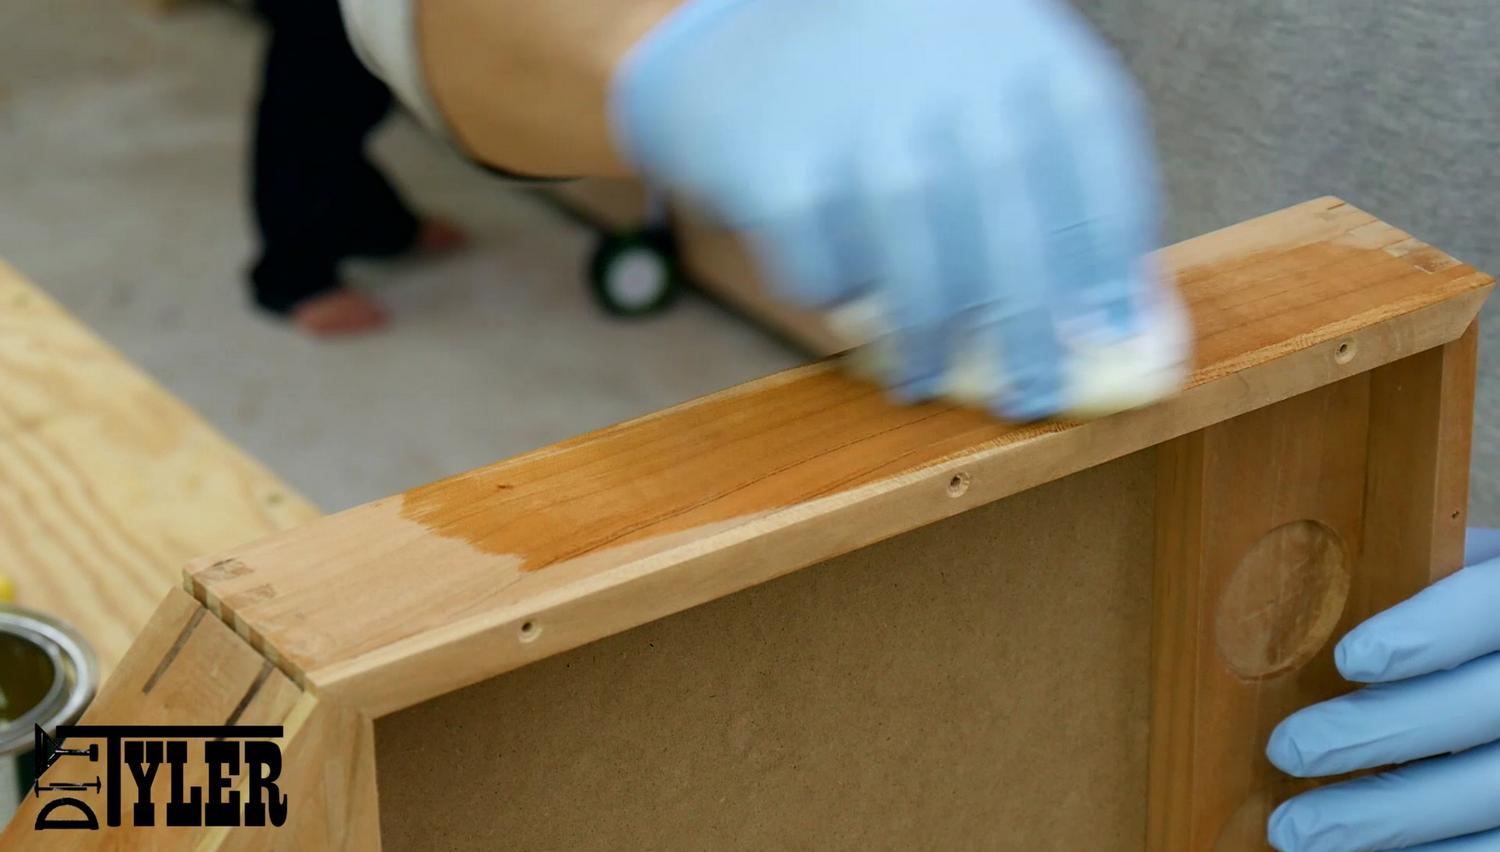
Final Assembly
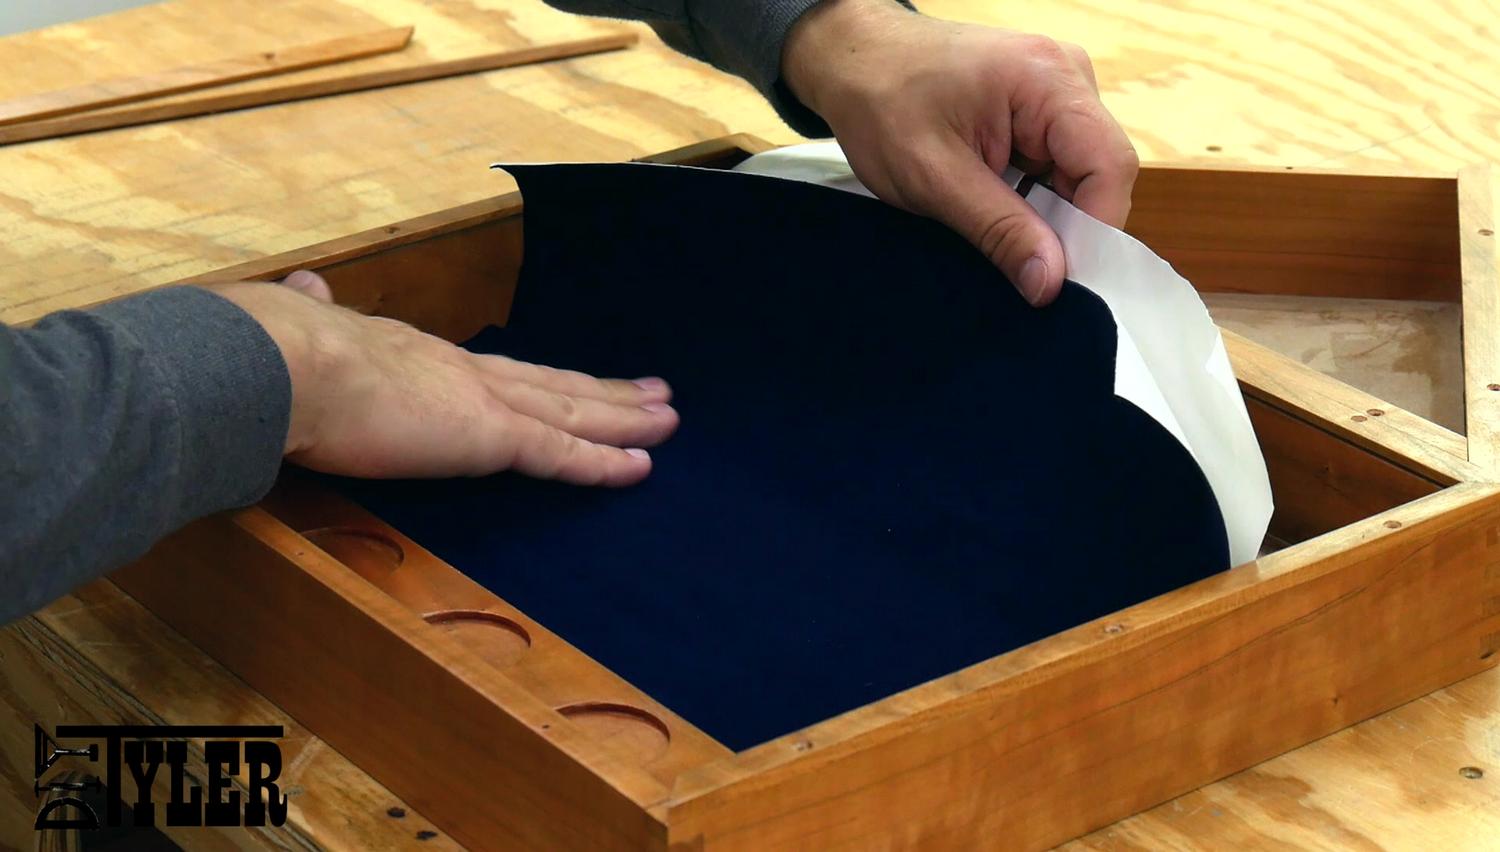
I carefully took measurements of the inside of the display case and cut the royal blue felt. I was shocked that I was able to get it cut right the first time and even more surprised that I was able to lay it down without any wrinkles! Am in for it on the next project!
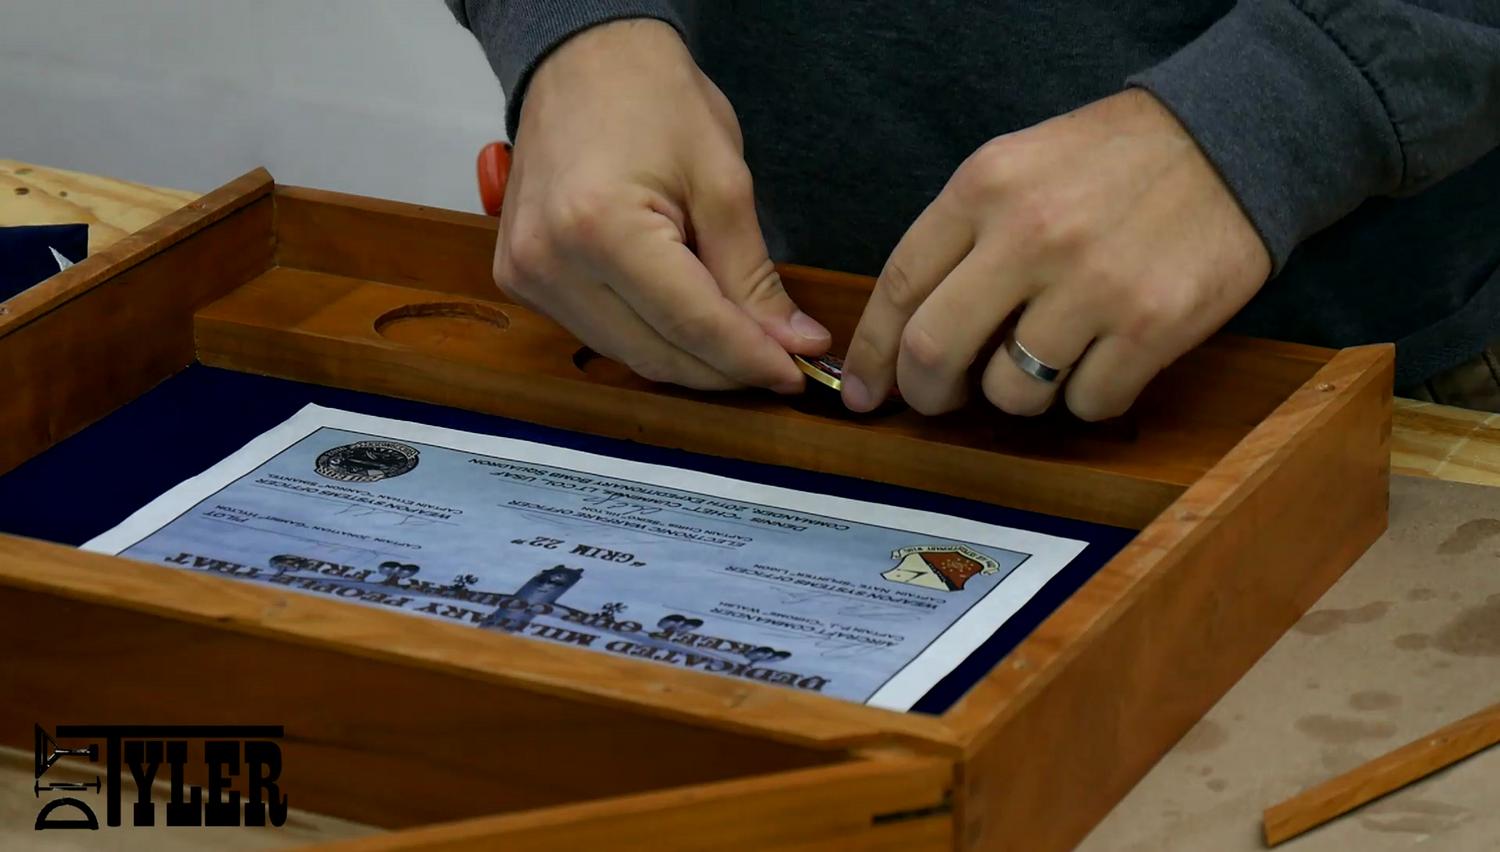
Set my challenge coin in place.
Set the flag, with only blue showing.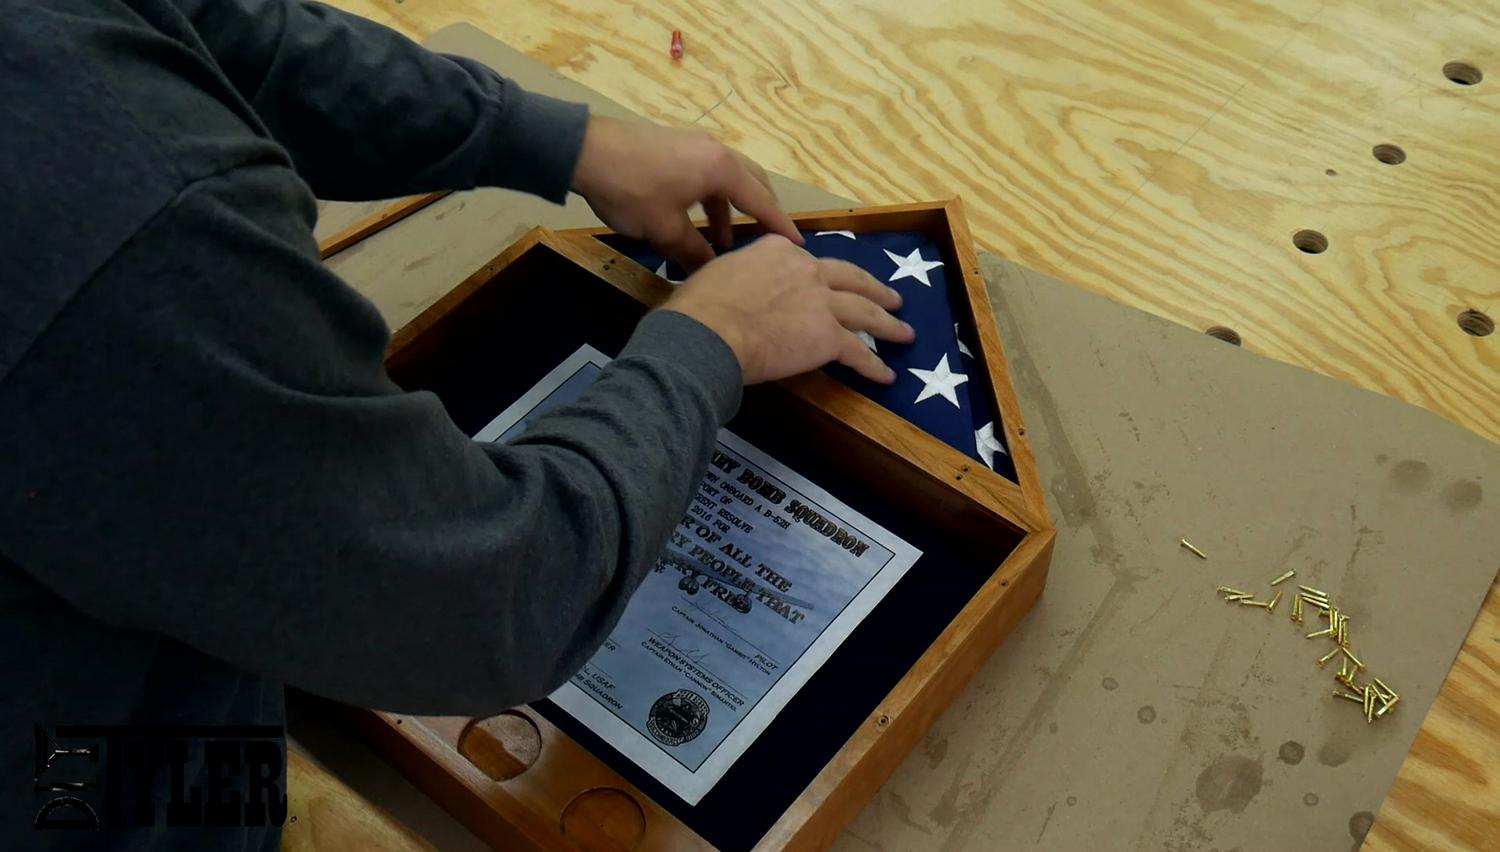
And set the glass. To get the larger section of glass to fit into it’s rabbit correctly I had to get a small stick to support the furthest side.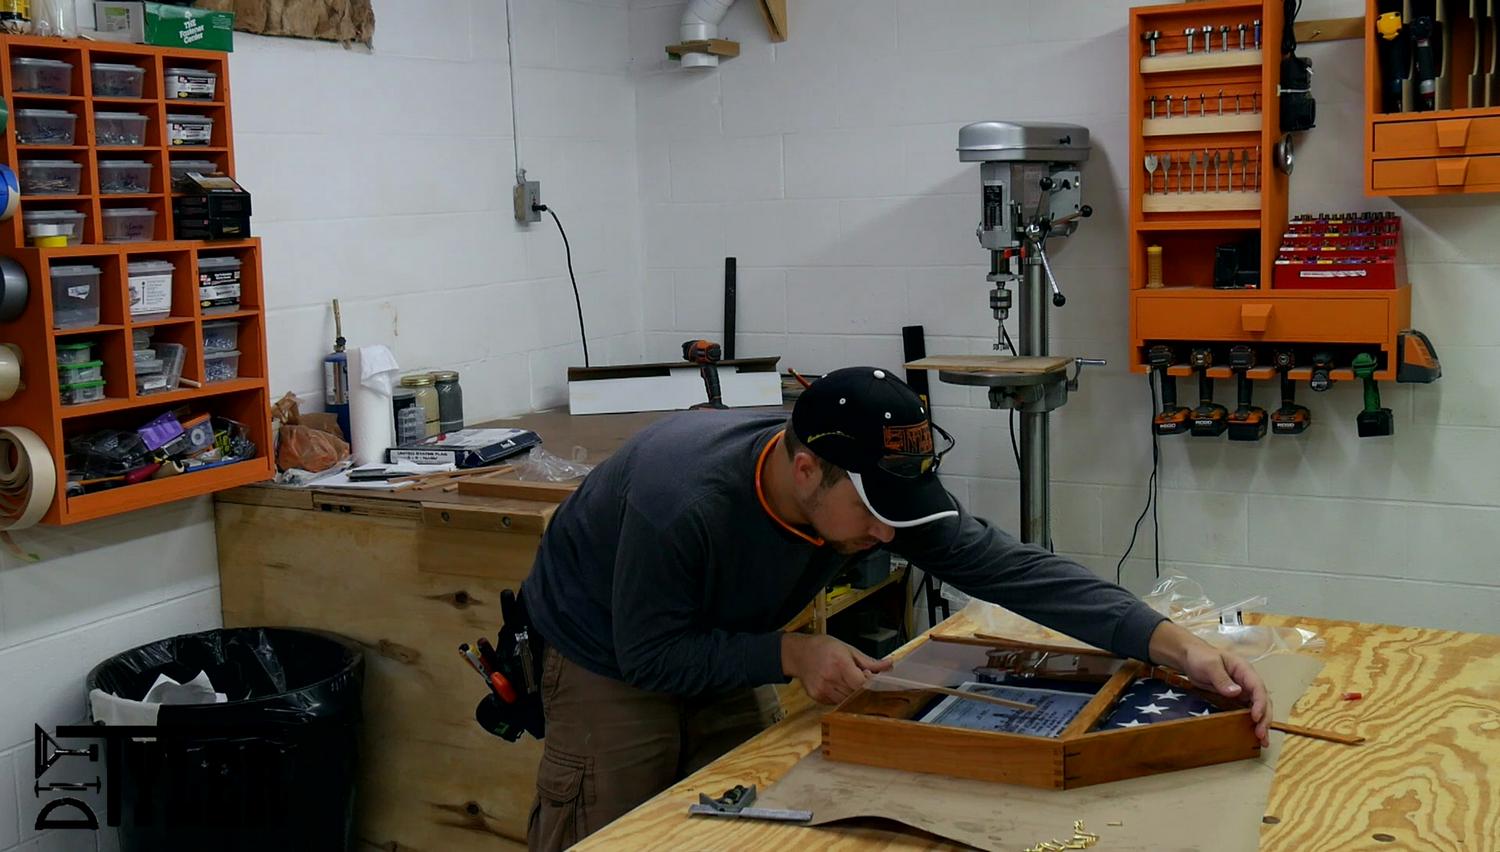
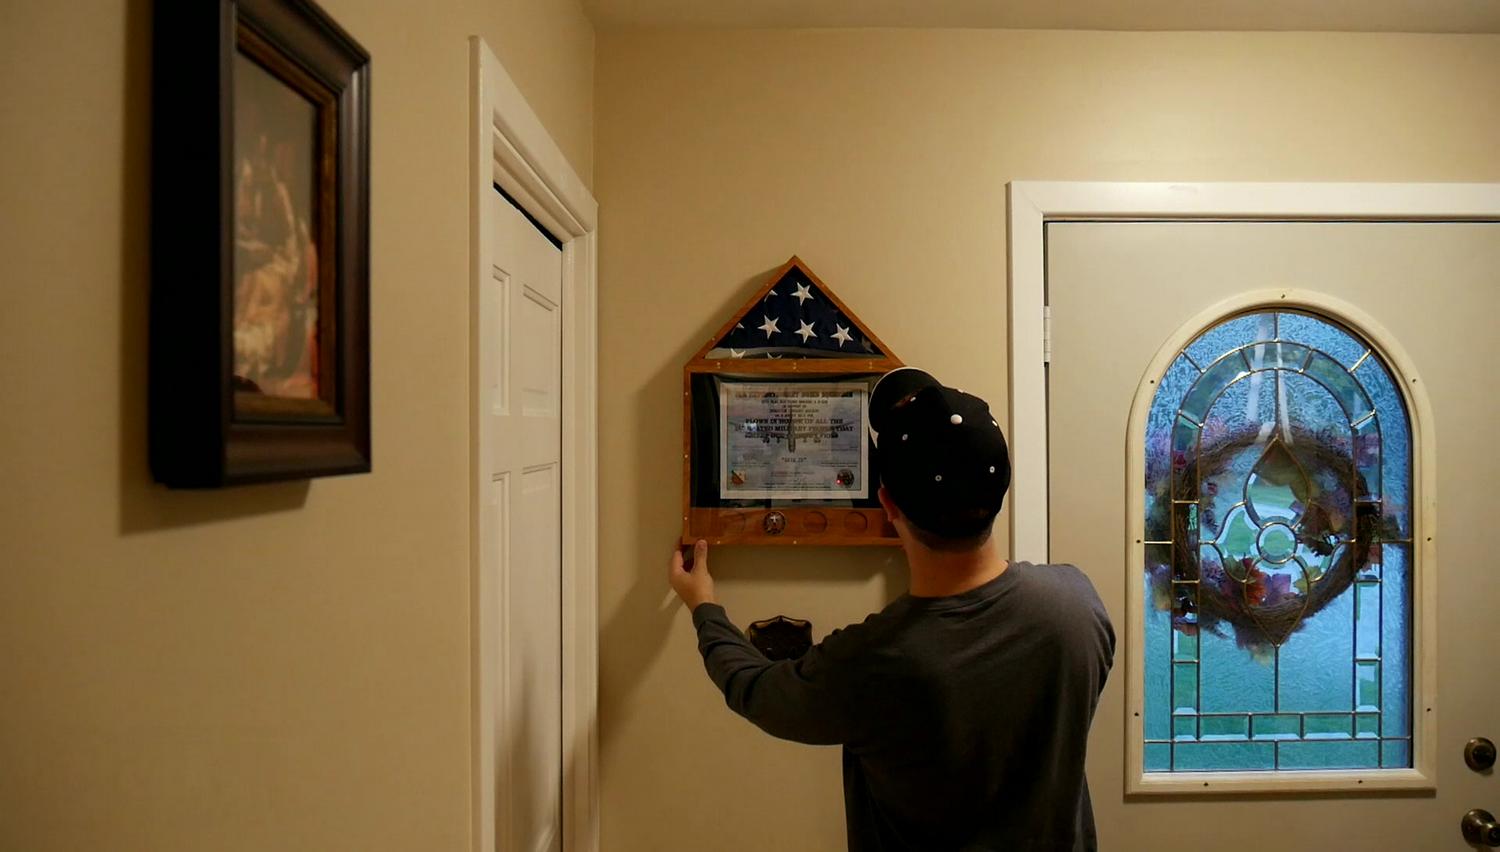
Conclusion
I am super happy with the results of this build, it turned out just like I was hoping and we will be proud to display this in our home for a long, long time. It was really great to have Jay in my shop for a day and hope to do it again before too many years pass by. If any of you guys have an opportunity to work on a project with another creator I highly encourage it, you will learn some tricks and it is fascinating to see how different people go about the same process is such different ways….but in the end achieving the same results.
Thanks for checking this build out and you guys have a good one!
Please follow and like us:
4 thoughts on “Cherry Flag Display Case | Bates Collab Part 2”
Tyler, great video. I enjoy your YouTube channel and always learn something new. Just curious, how did you get hold of a flag flown on a mighty Buff combat mission?
Thanks
A viewer of the channel hooked me up with the opportunity.
Hi Tyler, I enjoy your channel….are there plans available for this flag display case?
Ben, thanks for the feedback. I don’t have them up yet but have gotten several requests. Will send our a email blast when I put them on the website.