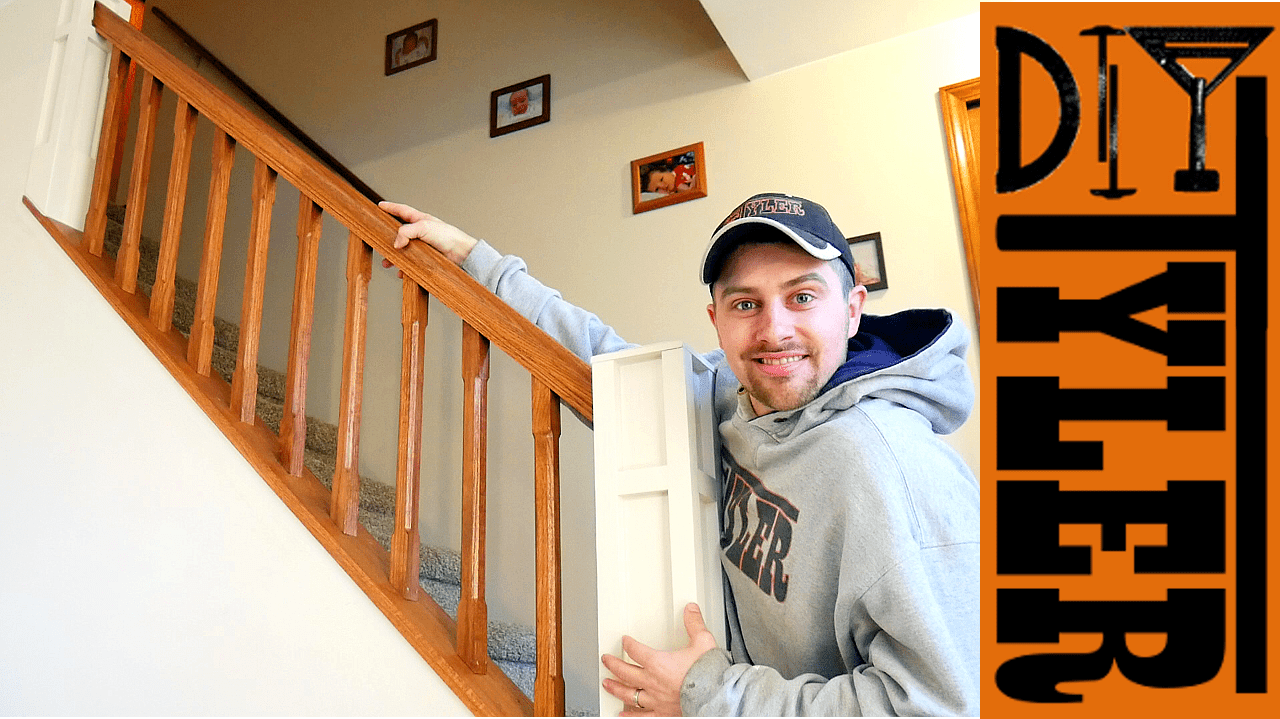
When we bought this house a couple of years ago, the stairwell was open on one side with a half wall, nothing else. As much fun as our kids had sliding down this area, it looked incomplete and posed a safety problem for the baby now racing up the steps faster than we could chase her. There just wasn’t a good way to attach a gate. Our solution: Build a Newel Post and close in that space with a simple handrail and homemade balusters.
We started the project by running to the big box store and purchasing our supplies…Pine 4×4, oak plywood, an unfinished oak handrail . I had some solid Oak slabs laying around so chose to use those for the balusters and capping board. Check out the build video below and be sure to hammer that thumbs up button!!
Shop work started where it always starts, at the Miter saw, chopping everything down to it’s rough length.

The 4×4 post was relatively square but the other boards needed a visit to the jointer to square them up, before sending them over to the planer to thin them down to our desired thickness of 11/4 inches. I sent the post through as well, a few passes brought it down to 3 inches. My plan was to wrap it in Oak for strength and aesthetics but still maintain it’s original size. It just looked right.

At the bandsaw, all the rough Oak that we planed down needed to be ripped to a rough width for the Balusters.

Then with some quality help from my crew, I took them back over to the Planer and ran them through to a perfect 1 1/4 x 1 1/4.

Time to rip down some plywood! We used 1/2 inch oak ply, which I took over to the table saw and cut 4 strips down to it’s proper dimensions.

Assembly of the Newel Post began with wrapping the Pine in the plywood strips using wood glue and 1 1/4 inch brad nails. To add durability and some visual dimension, I chose to wrap the bottom portion and corners of the post with solid Oak, taking my lumber over to the table saw and while there, creating a miter that I would use for the trim. These 4 corner strips I glued together first, using these handy miter spring clamps for a perfect, sturdy seam.


Once they were dry it took very little time to add them onto the post, using the same method as before. After each corner was applied, I took a minute to add a small piece of horizontal trim with fast acting Titebond adhesive to break up the look of the post. It added a nice touch . I actually made 2 Newel posts simultaneously, as our half wall needed a shorter one at the top to accommodate the railing.
We needed a decorative piece for the top of our post, and I figured something up using trim and a cap for the very top. It was a puckering experience to cut miters on such a small piece, but we made it through with all appendages attached. Some glue and brad nails set it in place and after spackling the holes and sanding the whole thing up to 220 grit, we were ready to move on.

The Balusters (those 1 1/4 x 1 1/4 pieces we made earlier) needed to be cut to length and angled carefully for the rise of the staircase. Everyone’s stairs will be different, but I figured mine with a bevel gauge and a few errors before finding the measurement we needed. Then, for the first time on this project, we went over to the router table to add a chamfer on all four sides of each Spindle to create a finished look. We only wanted this chamfer detail in the middle of each Spindle, so I first put up a stop block on the router table to ensure accuracy and make things easier for the job at hand.

Sanding everything down was a breath of fresh air with my supermax drum sander. Not a necessity to have in your shop, but pretty amazing if you can swing it.

And…Ready for finish. We used General Finishes Shaker Maple, (Our default setting ) for staining the Balusters and decided to paint the Newel posts for a unique and fresh look. Bonus, it was also easier to cover up the nail holes that ended up on there during installation.
We sealed everything with 3 coat of General finishes water based top coat and turned the sprayer on a very low setting to eliminate overspray in the shop. I know I talk about this Fuji q5 Platinum Sprayer a lot, but let me just say again….life changing.


We were now ready to move the project inside for installation. First order of business was to remove the carpet and cut a hole through the floor, where the Newel Post would slide in and be secured from below. We also needed to take a minute and remove the old half wall trim and install our new oak piece that was seen earlier in the project. We used a heavy layer of Tite Bond construction adhesive and some 2 1/2 inch deck screws to mount it firmly into place. The ends were chamfered to accommodate the inside trim measurement of the Newel post, which was why it was important to address this install before securing the post downstairs.


6 Inch screws went all the way through the Post and into the half wall upstairs, along with construction adhesive. The wall was not square so we ended up having to shim it and caulk later. Down below we secured the post with support boards against the floor joists, so when the kids fly down the stairs and swing on it , it won’t be going anywhere.


The half newel post where the railing begins at the top was adhered to the wall with construction adhesive and 6 inch structural screws as well, but it was not necessary to screw from below.
Ever so carefully I cut the handrail to length and installed it between the Newel posts using countersunk holes, screws, and help from The Wife. Unfortunately the decorative horizontal trim got in the way and I ended up having to notch out the railing so it would sit at the appropriate height. There are always problems that we have to roll with in a project, aren’t there?

The balusters were put in place using a spacer for accuracy , a level, and some construction adhesive with brad nails.

The finished rail.

It really adds something! Amusing enough, during the course of this video and now with the new rail in place, we started noticing other projects in the room that need attention and areas that could use freshening up. Updates are on the horizon, so stay tuned!!
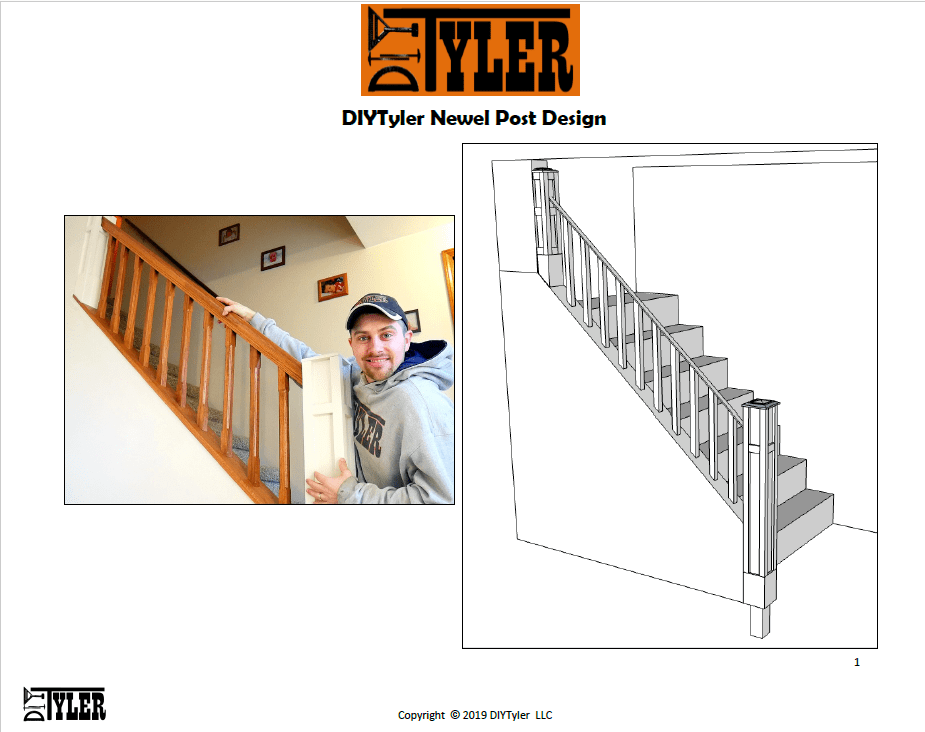
If you want to build something similar click on the image below and check out the detailed plans. If you make one be sure to shoot me a picture!
Please follow and like us:
1 thought on “Build A Stair Railing For A Half Wall”
Could you help me with how easy/hard creating the base for this would be? This video really helps me for the rail part– thank you!! But my staircase just got opened up, so, imagine your other wall just got knocked out to line up with the one that is already created to have the half wall as well.
Before creating my stair railing, I need to create a replication of that half wall… Could you give me some pointers on how that would look/how hard it would be to create?
(I have a carpenter who will help me; he’s just never created this type of half wall. He usually puts the spindles right into the stairs– & that won’t work for my home/stairs)