
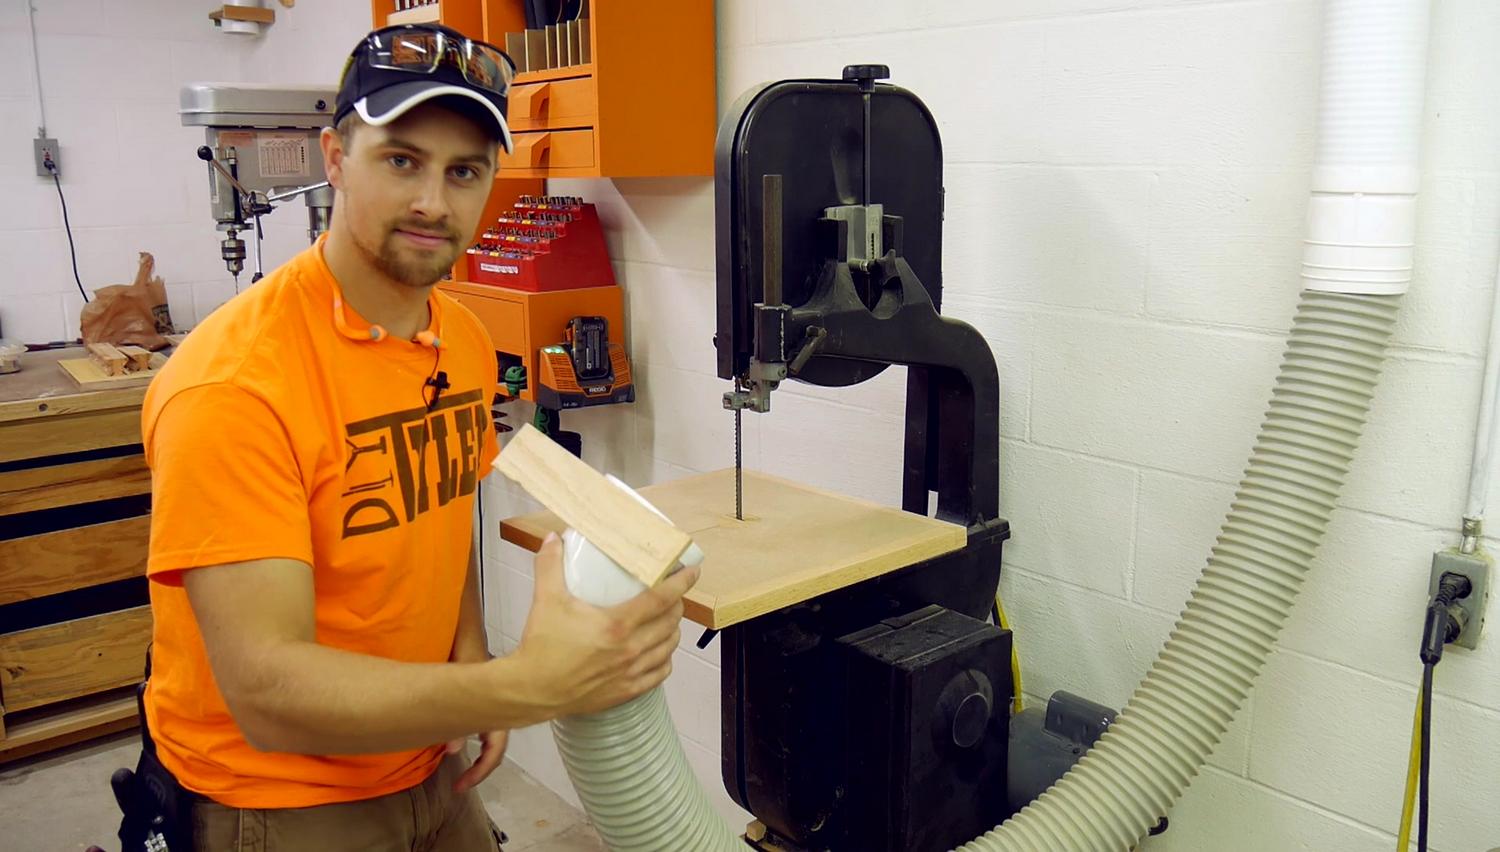
Bandsaws create way more dust then one would think, if you have the proper lighting you can see even the most simple cuts spray dust all over. Here is a good example, (https://goo.gl/gGTu5d). I have been needing a new bandsaw table and this is a perfect opportunity to add proper dust collection.
Bandsaw Table Prep Parts
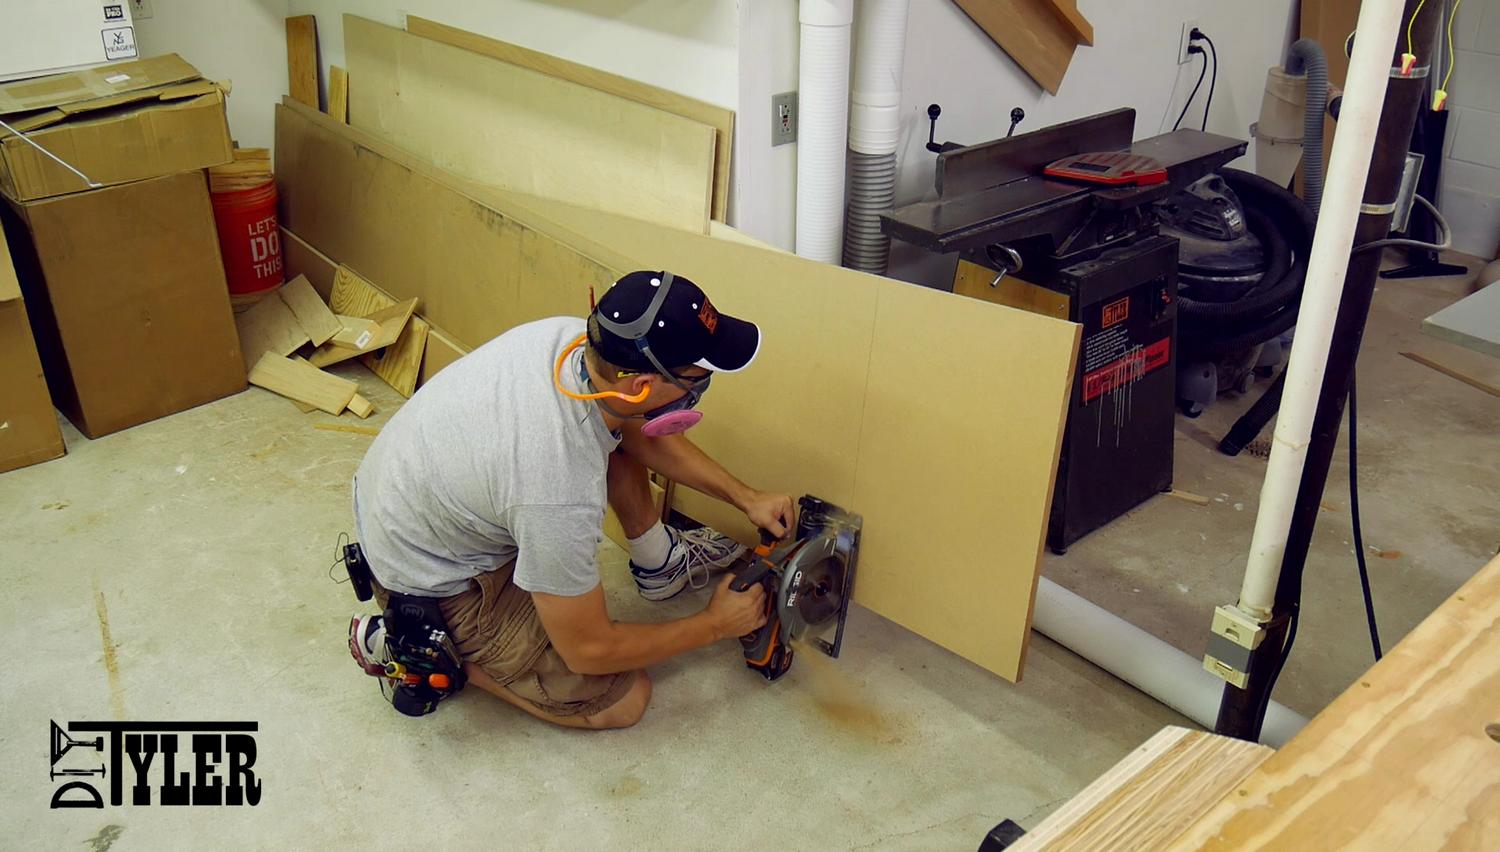
I am using MDF as the main section of this table top because it’s very flat and very consistent. I cut off a section of 3/4″ MDF using my cordless circular saw…..so dusty!
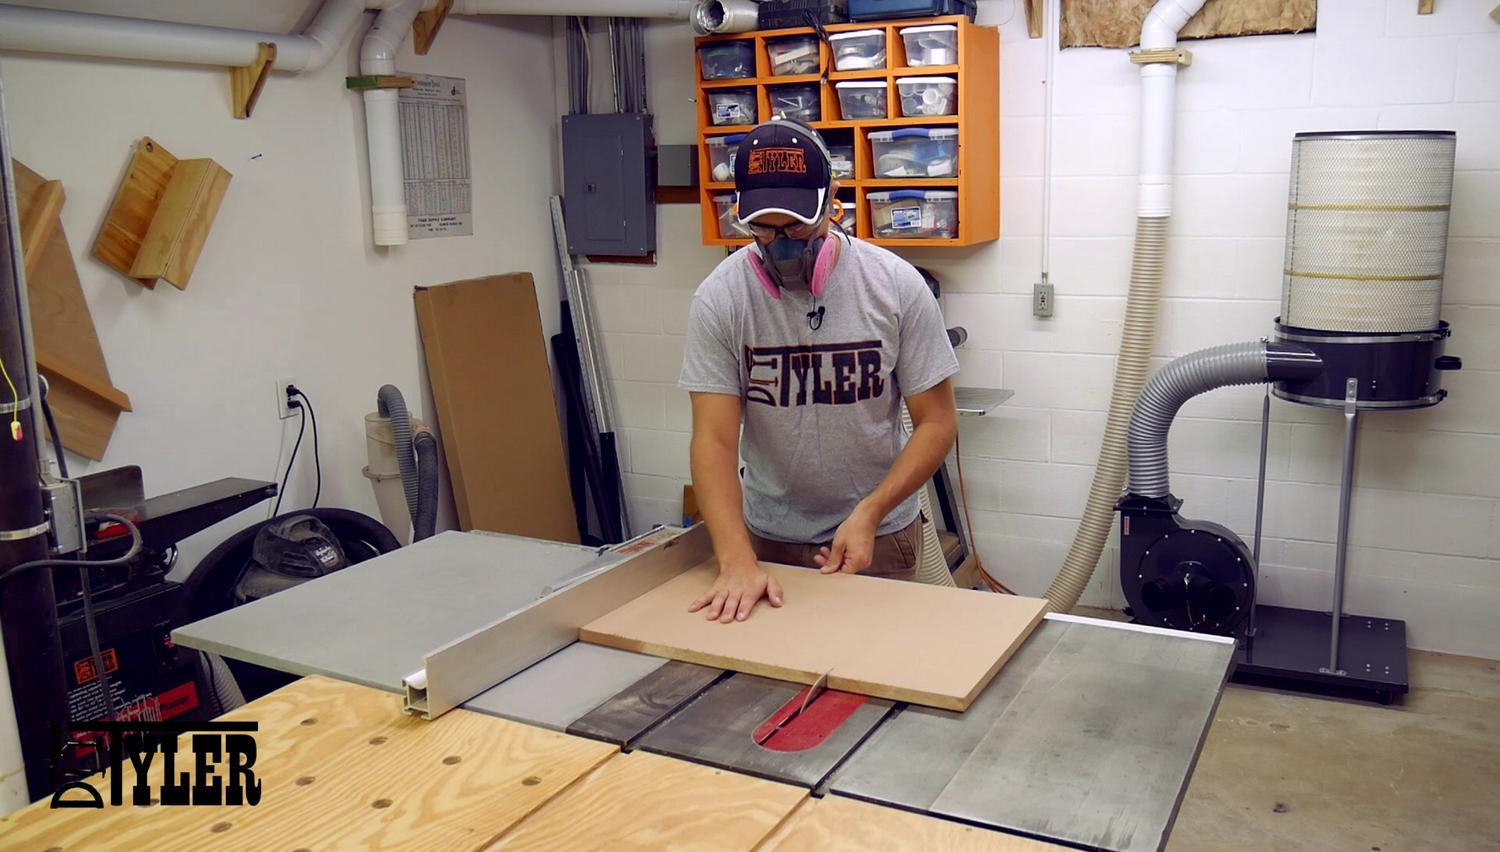
And squared it up to the proper dimensions using the table saw. Each persons table can very to a degree depending on your bandsaw and what you would like. You do need to be careful that you don’t have too much table to the left of the blade as that will prevent you from angling the table to a full 45 degrees.
Since MDF isn’t the strongest media in the world I wrapped it in mitered oak edge banding. I cut to proper width on the table saw, and using the main table board for proper dimensions I marked the proper lengths onto the oak edge banding and cut the miters on the miter saw.
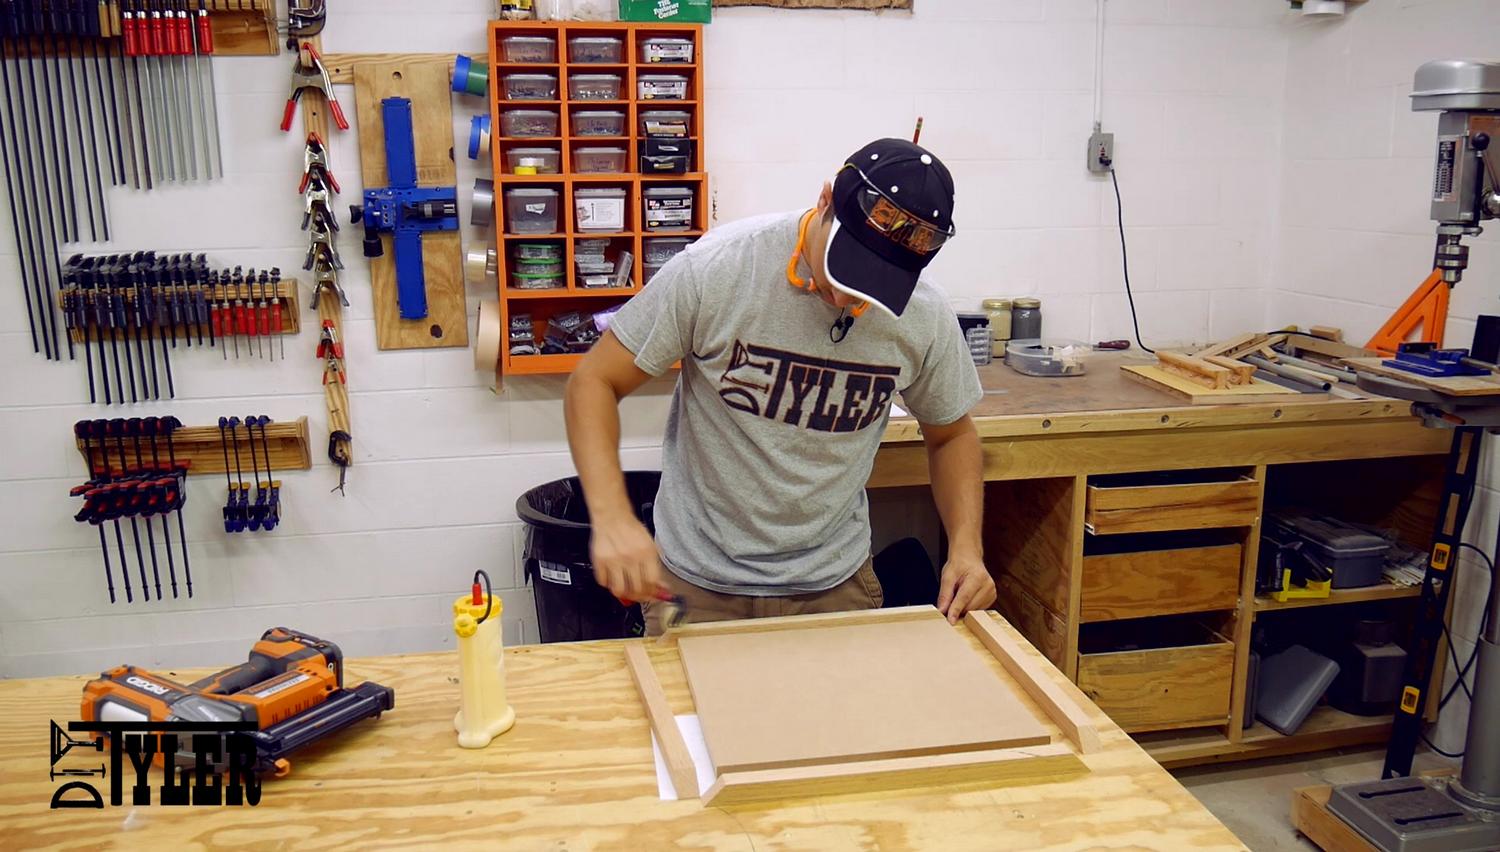
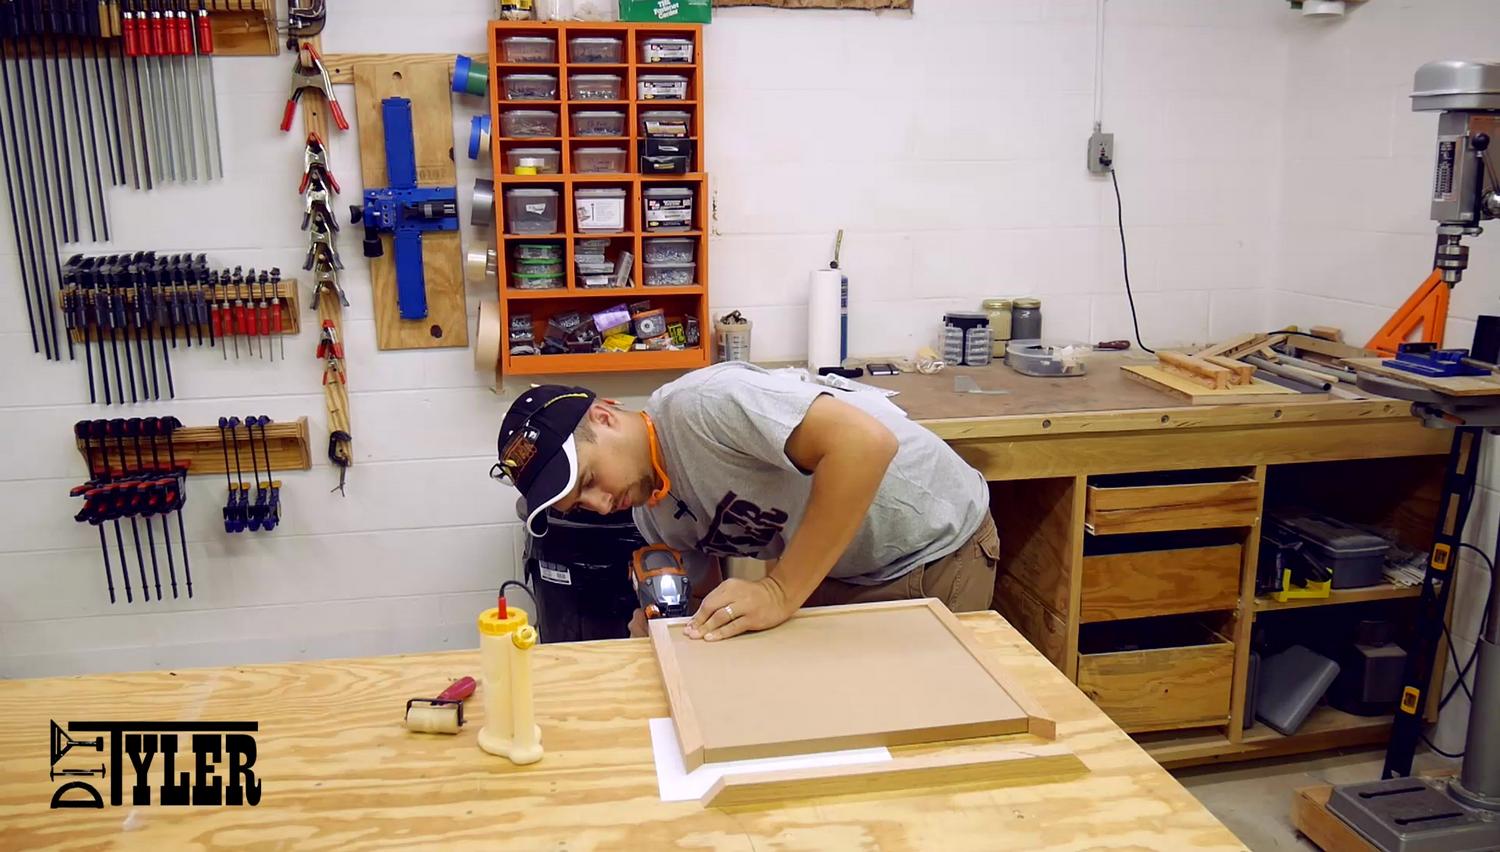
Bandsaw Table Assembly
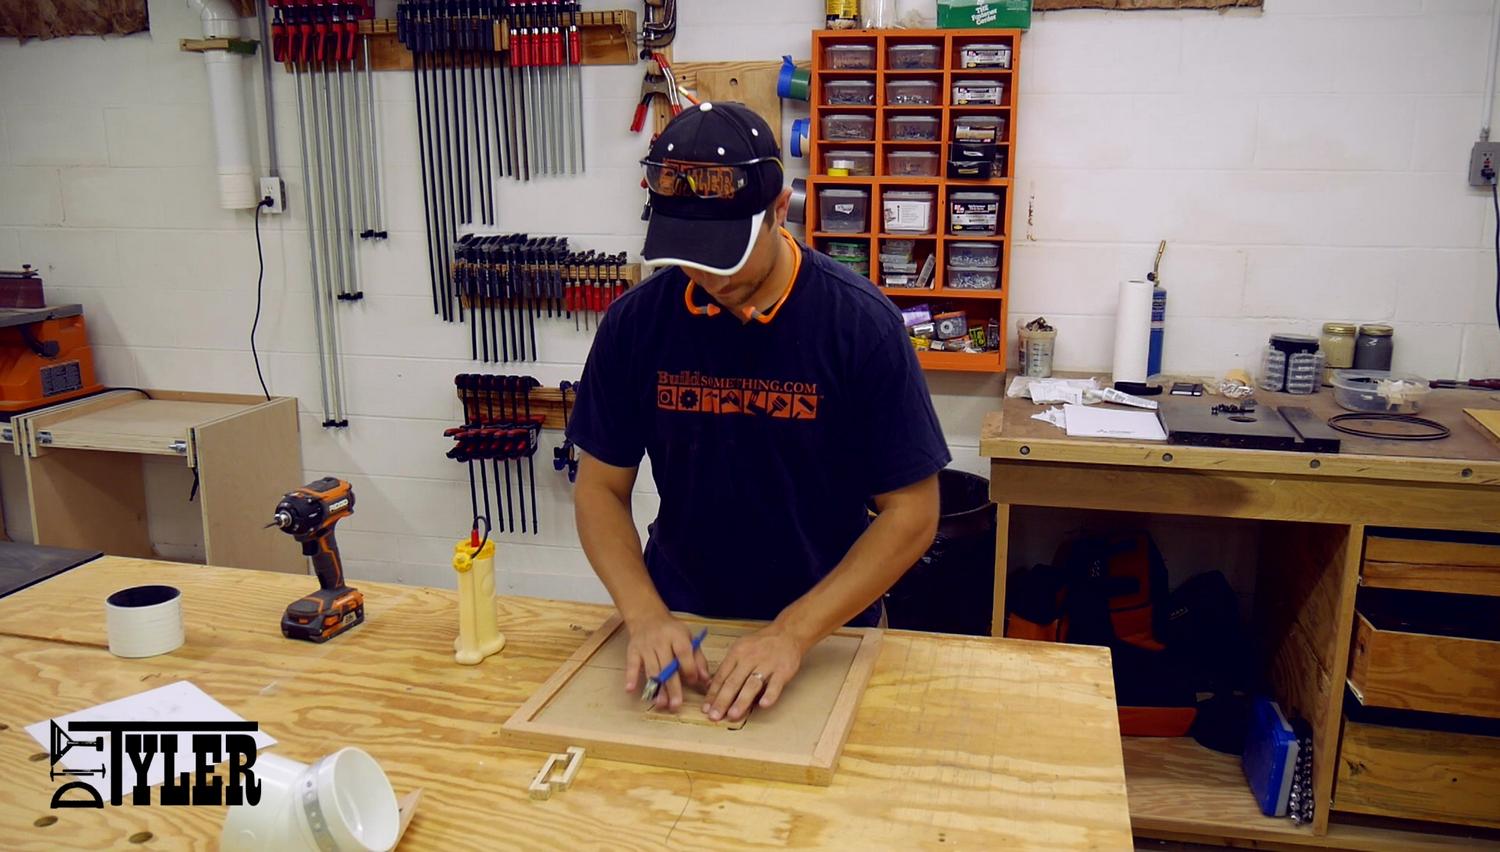
I attached the edge banding to the table using a liberal amount of wood glue, MDF really soaks up wood glue, and 1 1/2″ brad nails.
A brayer roller makes spreading glue super easy.
Insert Recess and Blade Passage
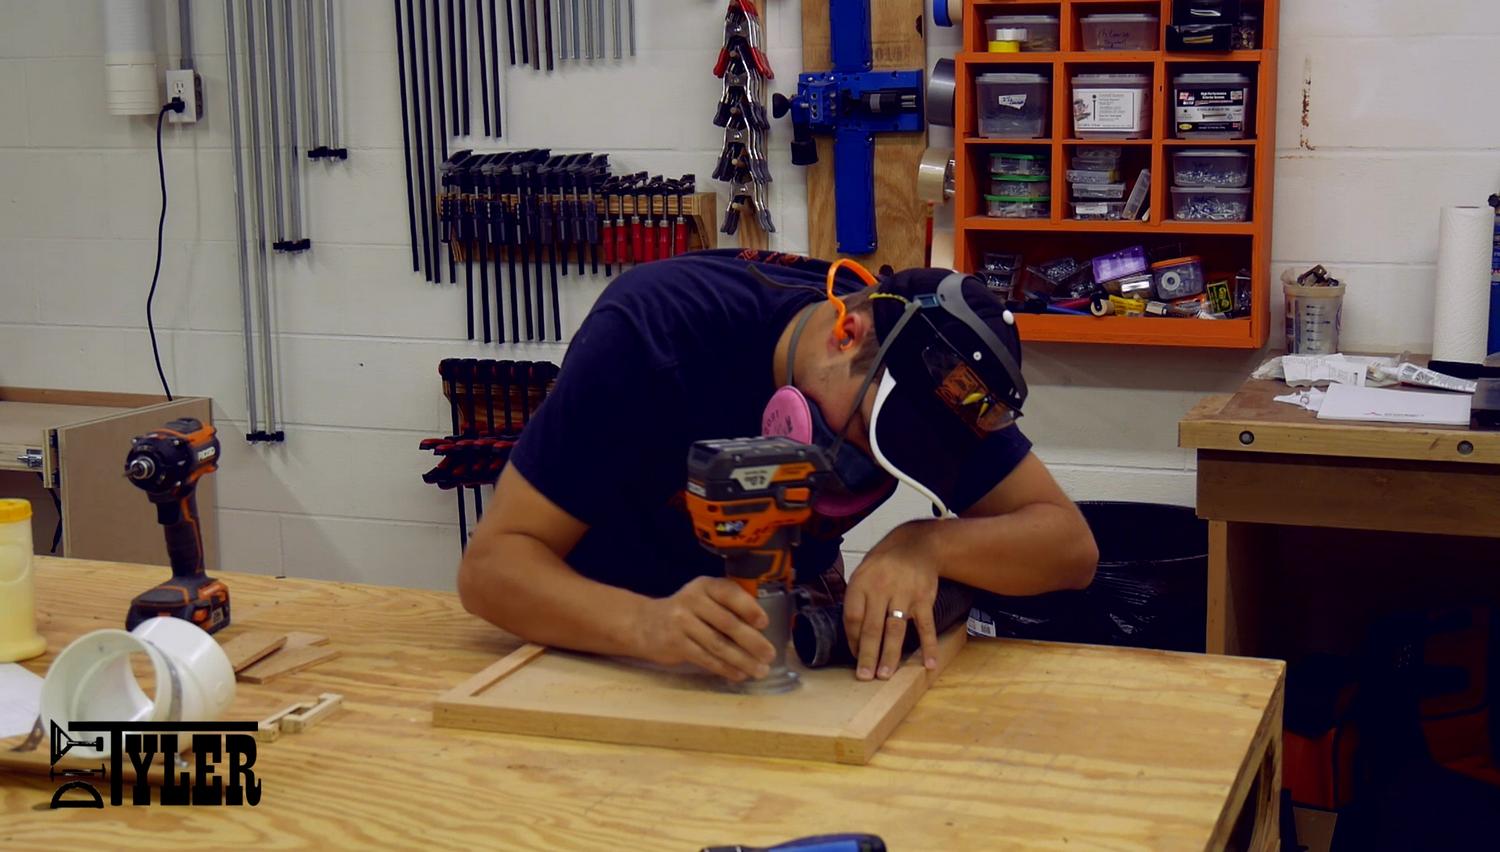
Now that the table is pretty much assembled it’s time to dress it up. I started by using a simple jig attached to my trim router to cut a recess to accept a insert plate in the middle of the table. This recess was cut 1/8″ deep.
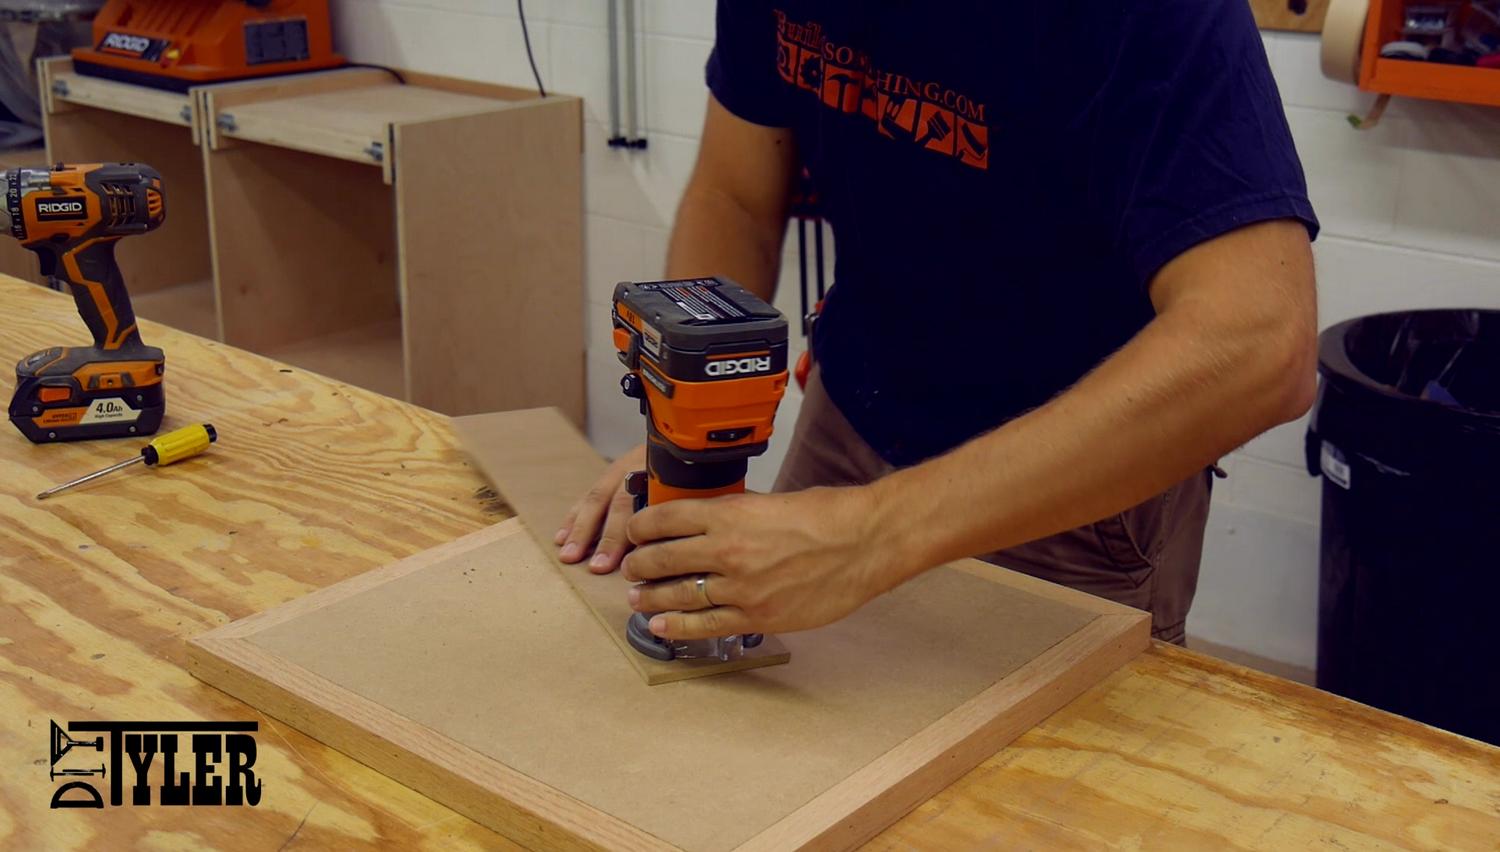
After cutting the insert plate recess I adjusted the radius of the jig and cut out a passage for the bandsaw blade. I would lower the router, cut, lower and repeat until I was all the way through the MDF.
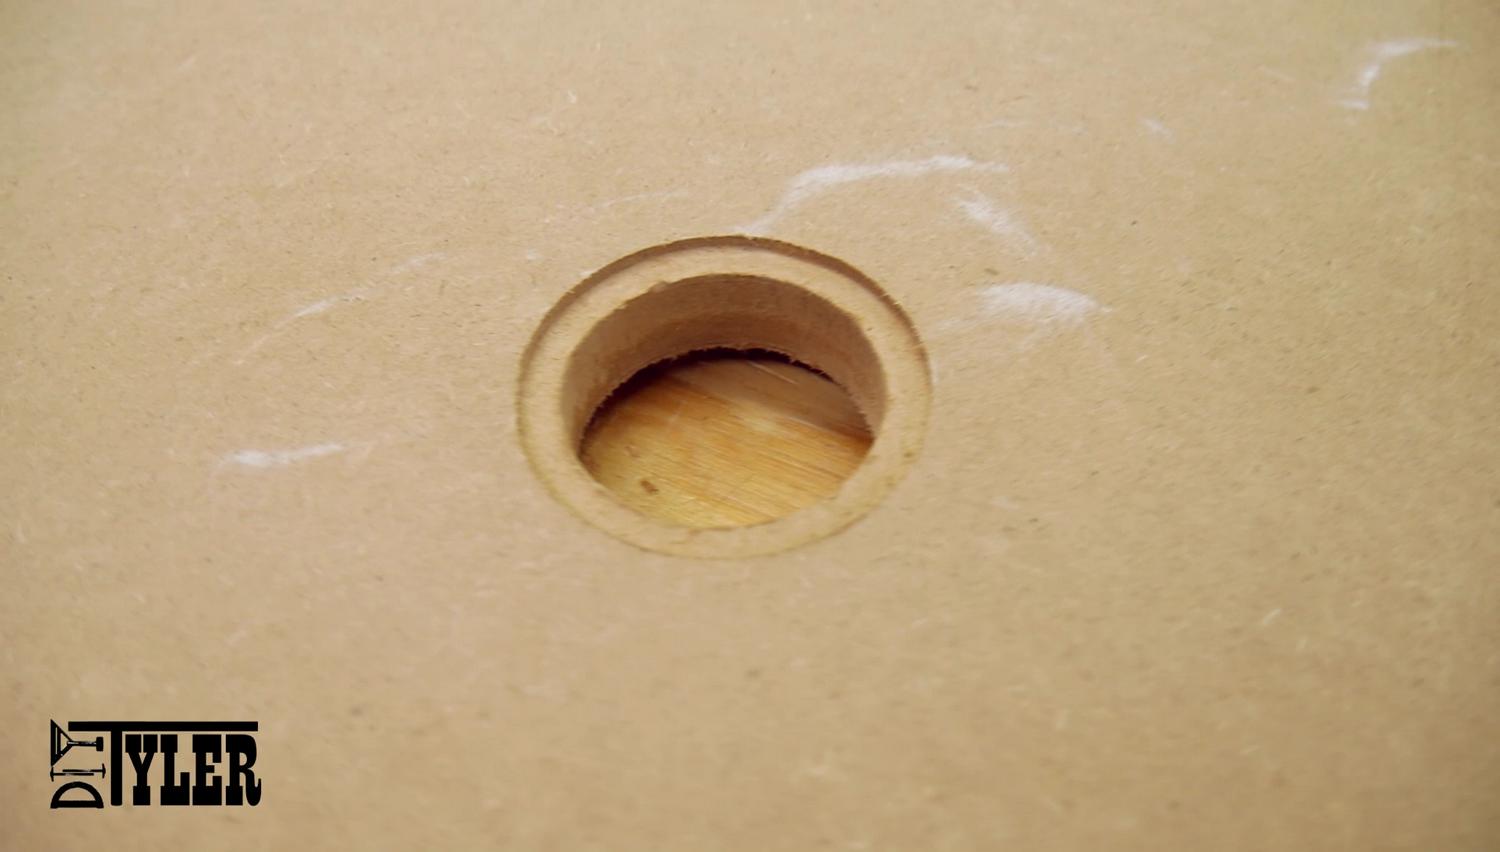
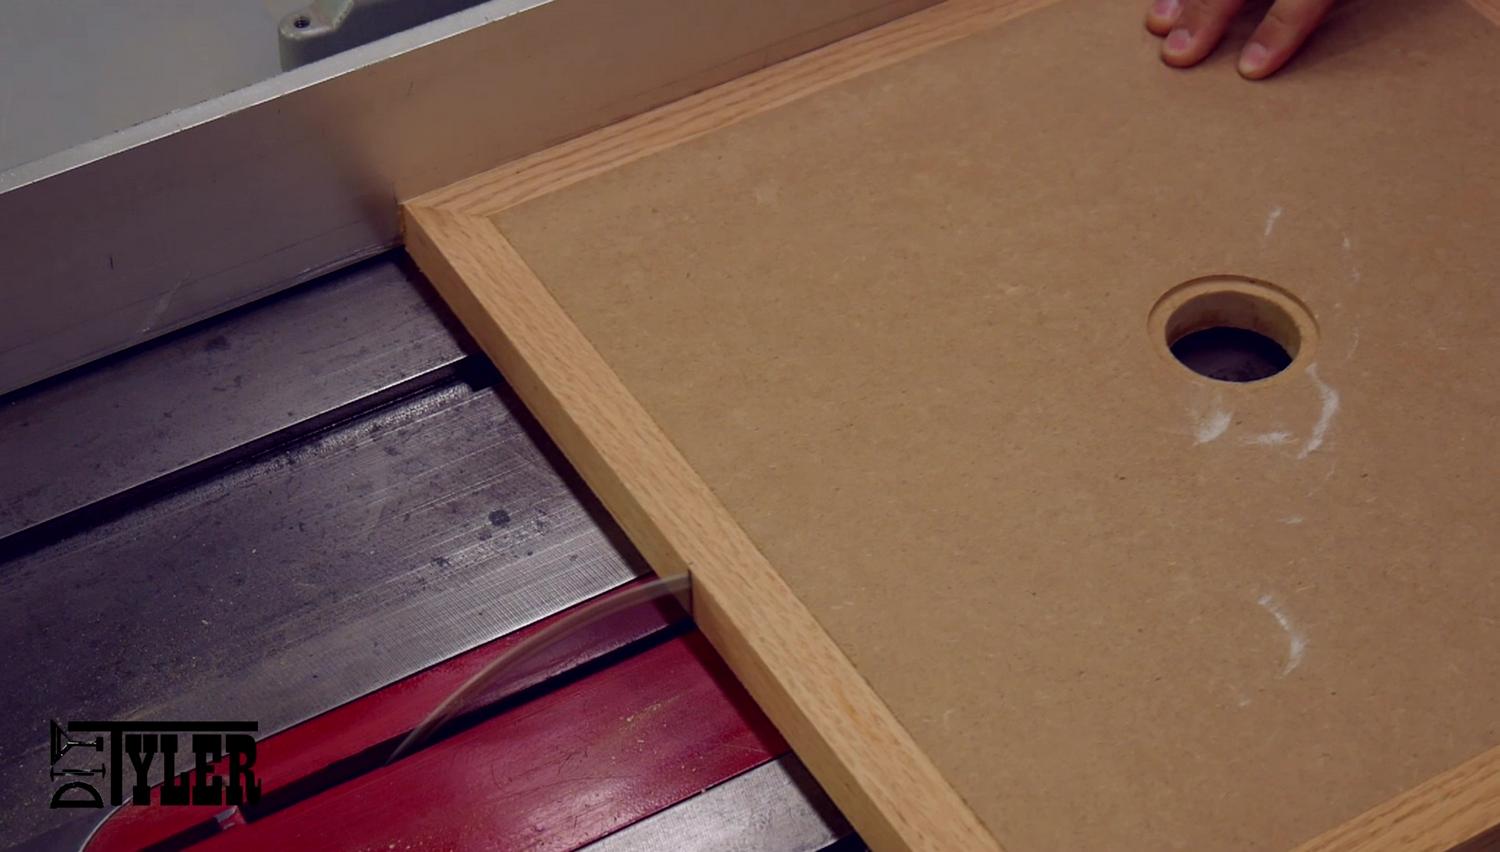
In the build video for this project I did not drill this table alignment hold until after cutting the blade change grove but I would strongly suggest drilling the hold first as it insures perfect alignment.
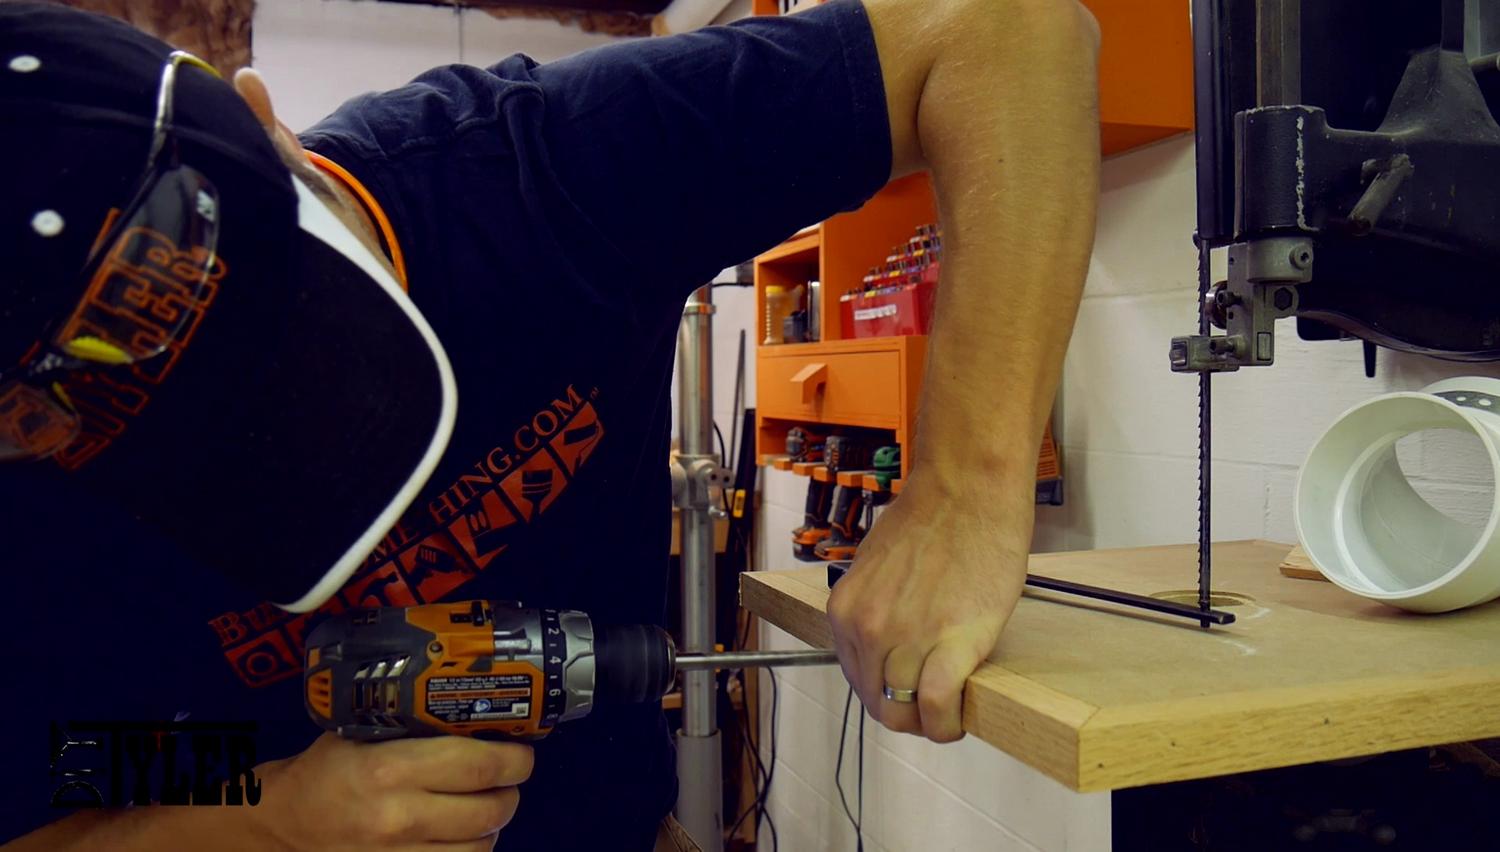
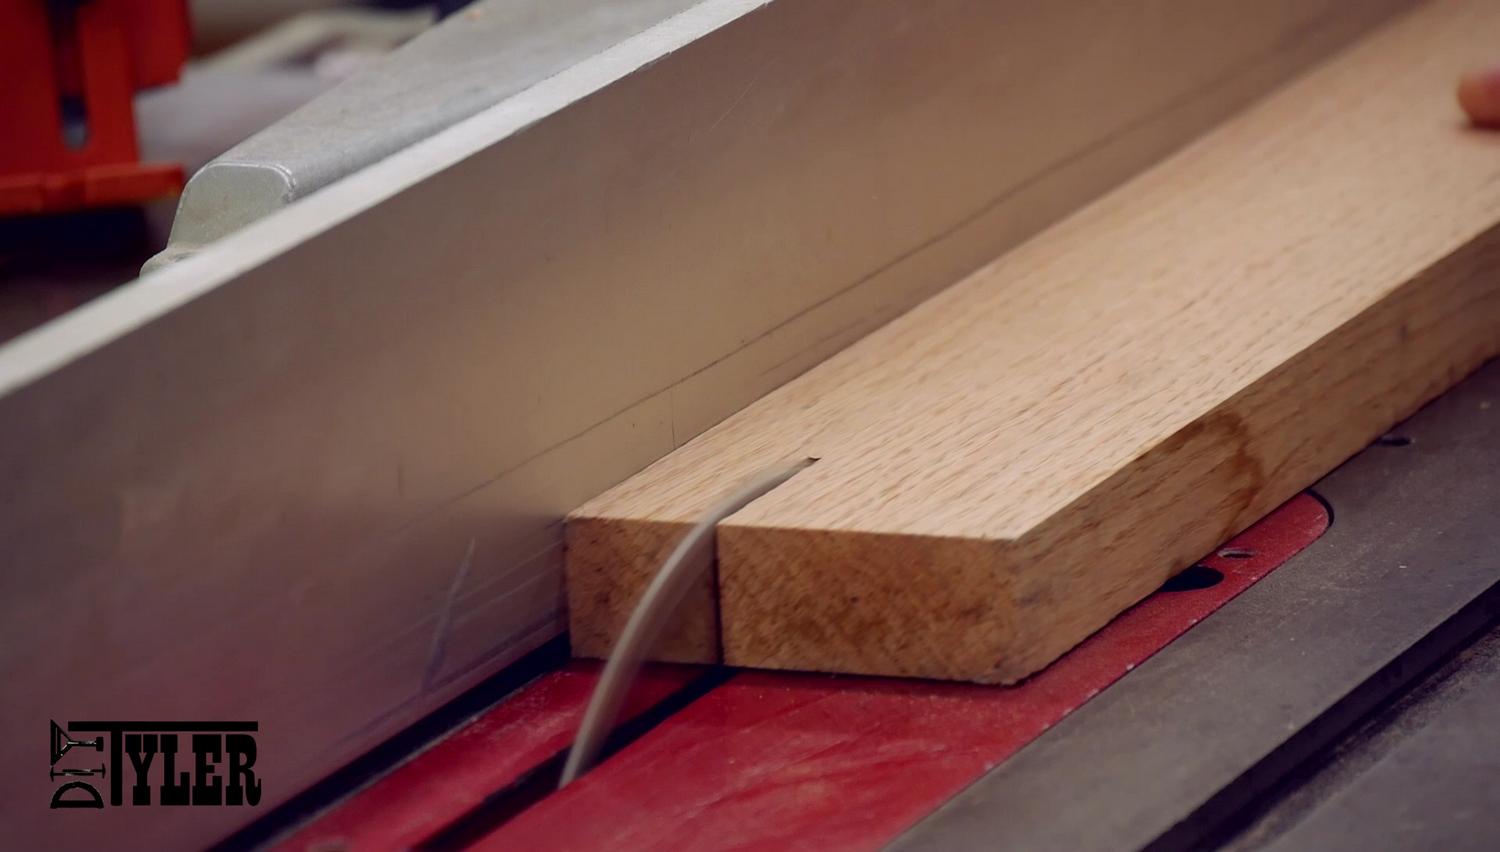
And use the table saw to cut the blade changing grove. Make sure you have it on the proper side.
Bandsaw Table Reinforcements
Since the main section of table is MDF and it doesn’t hold screws all that well I reinforced the section that the trunnions will mount to with some sections of 1/4″ oak. I recessed these into the MDF so I would not loose any resaw capacity.
And glued the reinforcement section in with lots of wood glue and added a few permanent small screws to help hold it in place.
Ever used a Glue Bot for glue application, AWESOME!
Bandsaw Table Dust Collection
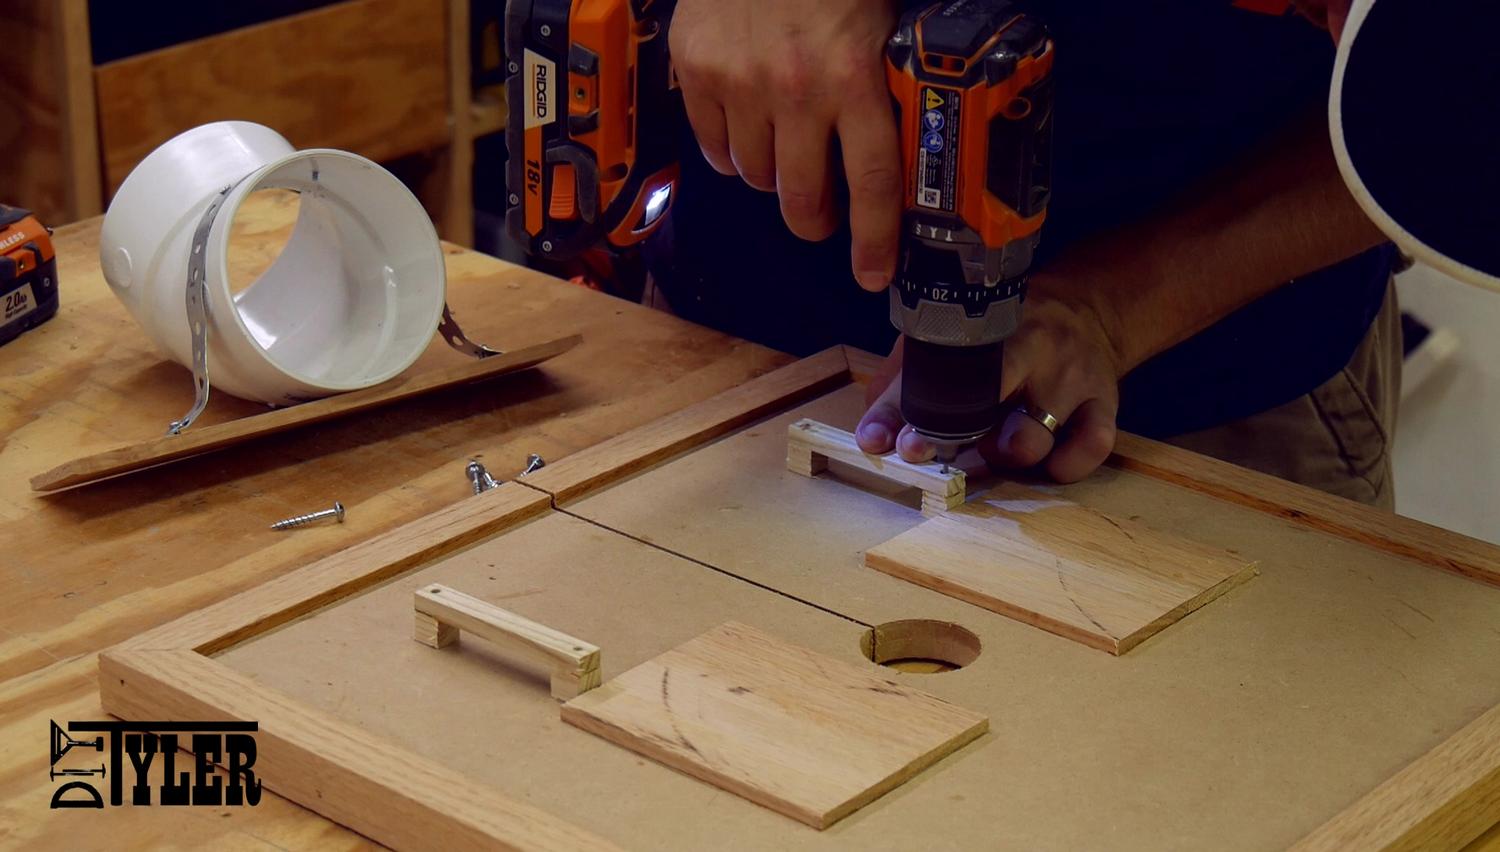
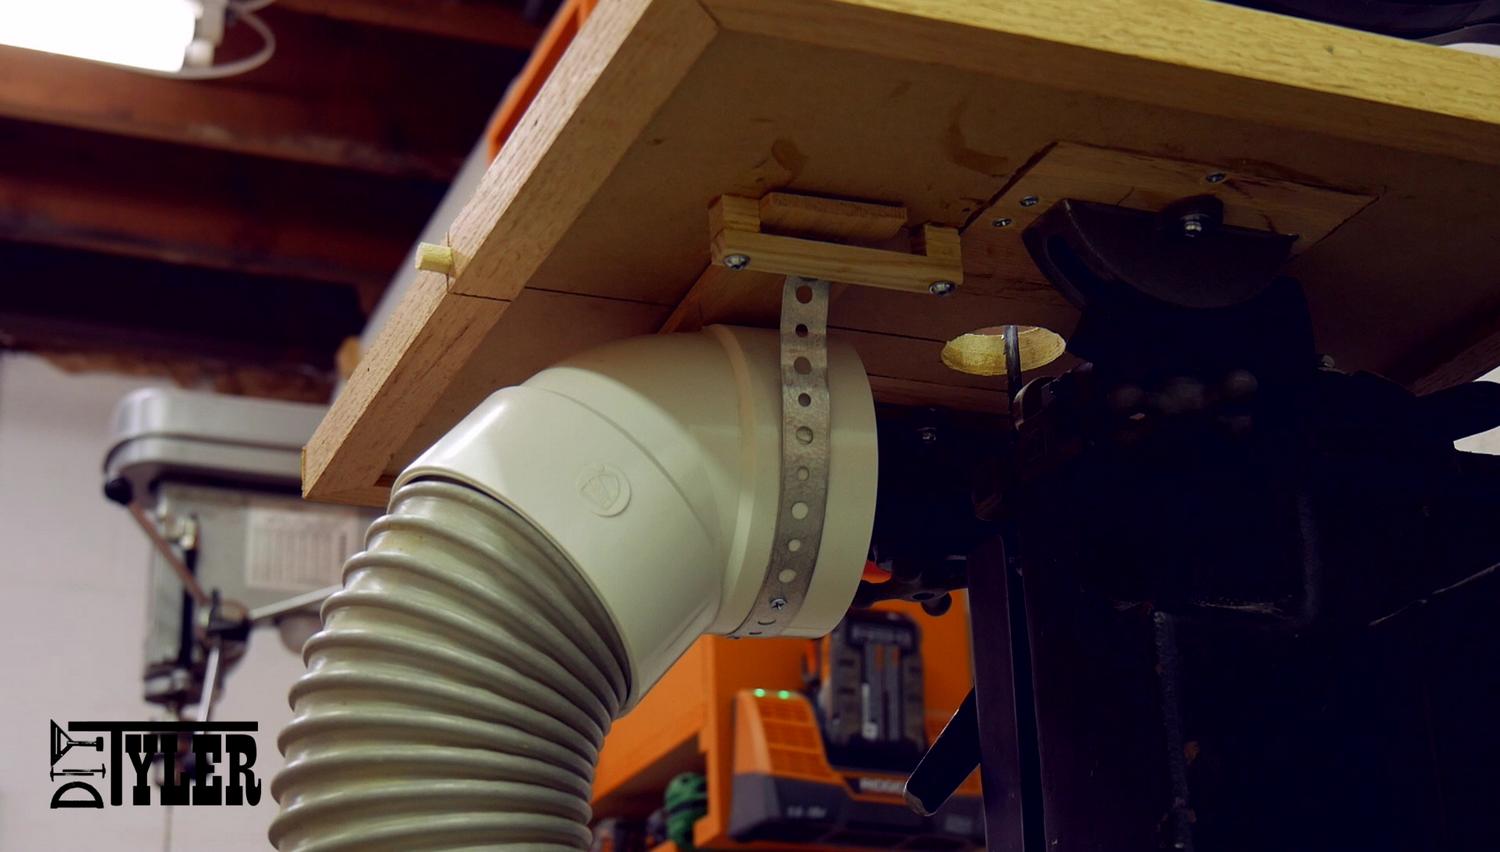
The dust collection on my saw needs to be removable to allow blade changes and angling the table. I accomplished this by using some metal strap to bolt a 45 degree sewer and drain fitting to a 1/4″ section of oak. I then added two “bridges” to the under side of the bandsaw table that will allow the dust port to be slid and pinched into place. The bridges are glued and screwed into place. Make sure that they are out of the way of the trunnions so you can get the 45 degree motion out of the table.
Insert Plate
I made the insert plate from a section of 1/8″ bamboo plywood. Cut a close to size chunk using the bandsaw and rounded it to the proper diameter on the belt sander.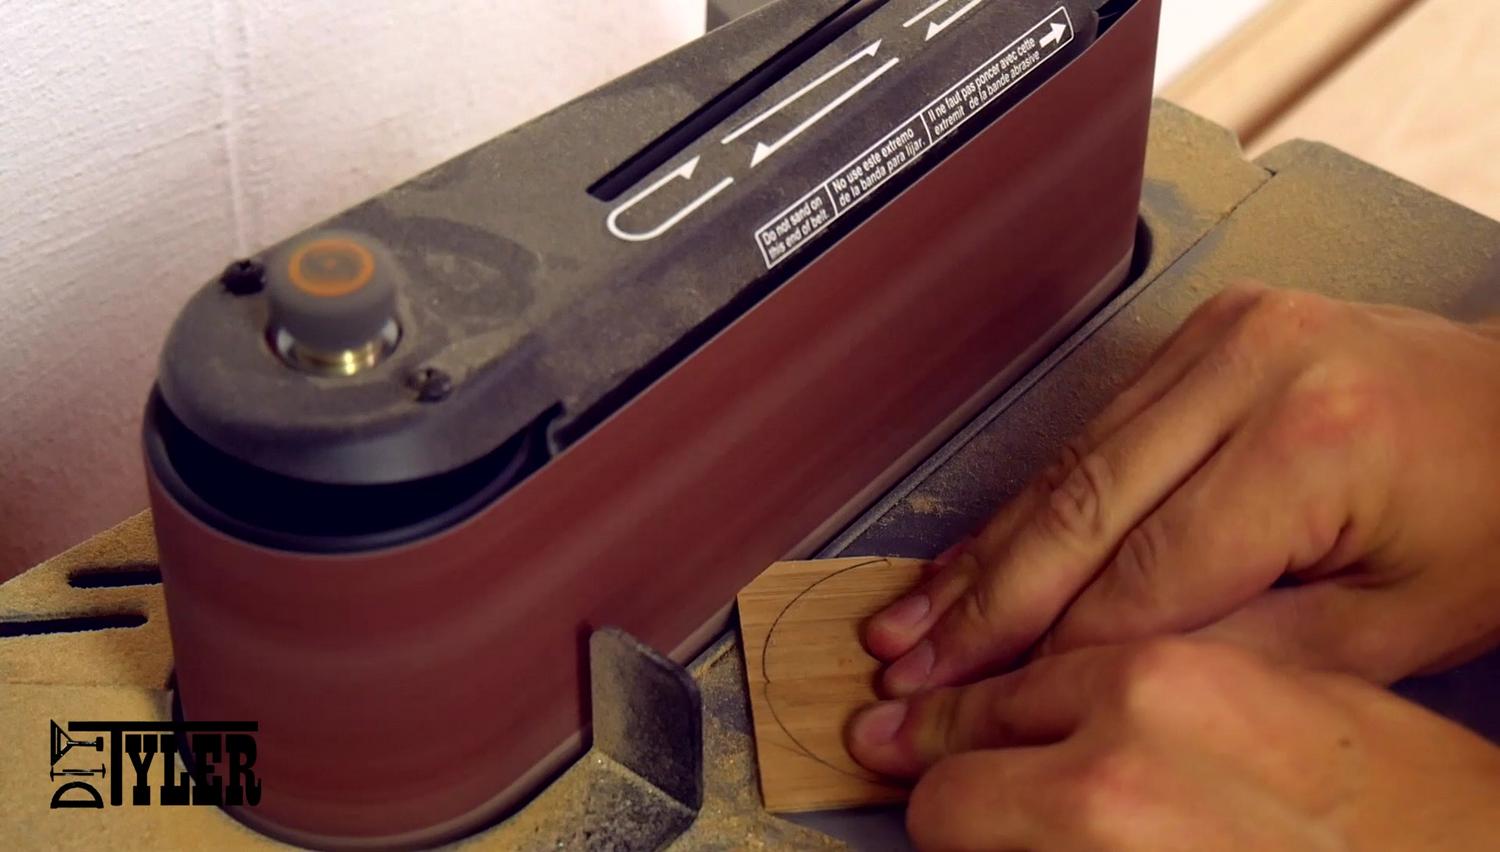
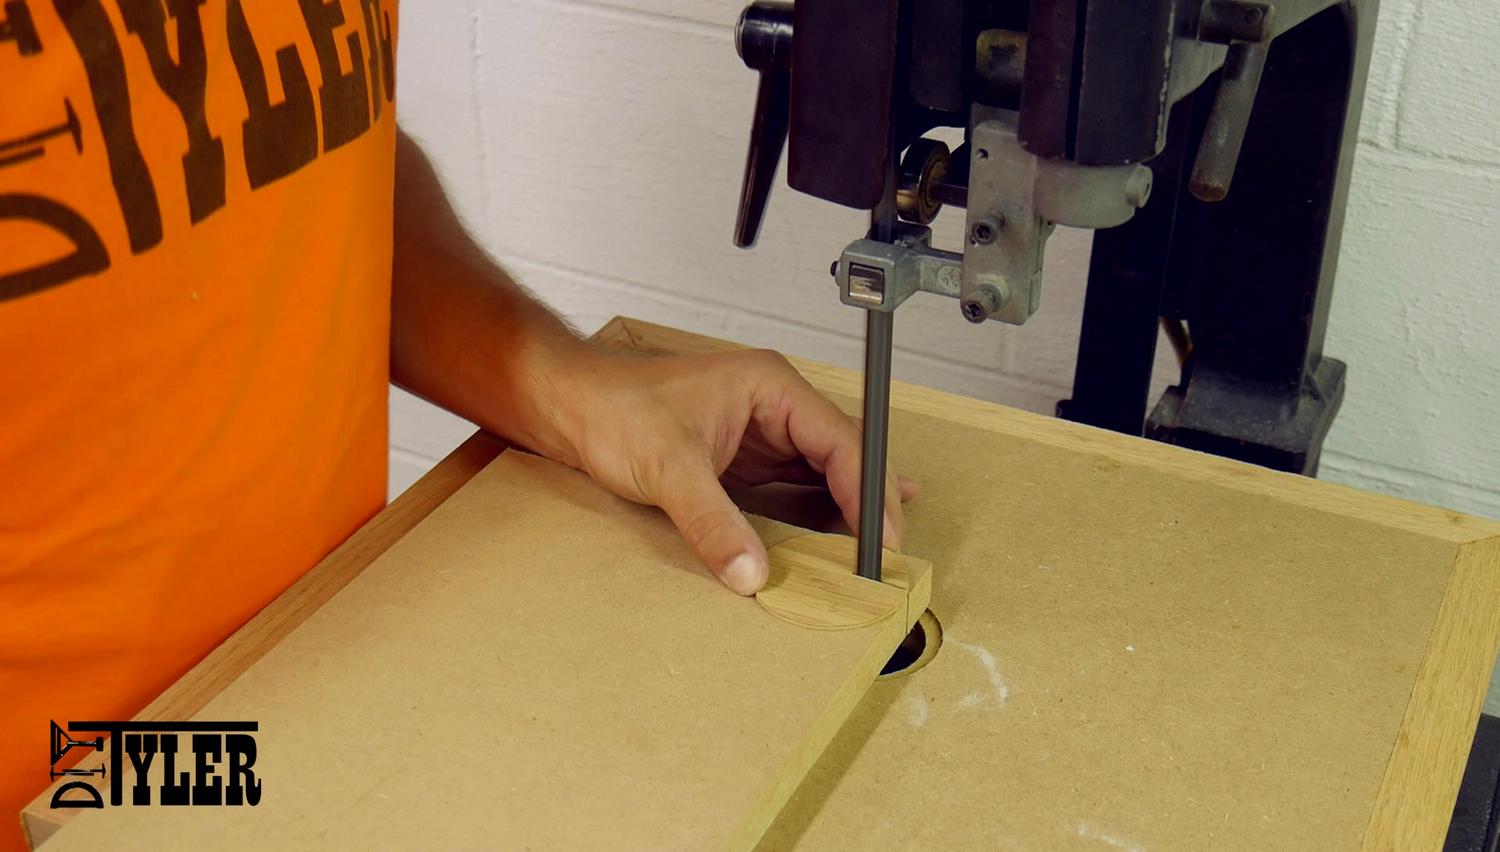
To cut the blade groove in the insert plate I placed the insert plate upside down on top of a scrap board this way I could easily align it with the passage hole below.
Finish up!
I then quickly sanded with 220 grit to knock off any edges and finished with a few coats of my favorite water based polyurethane.
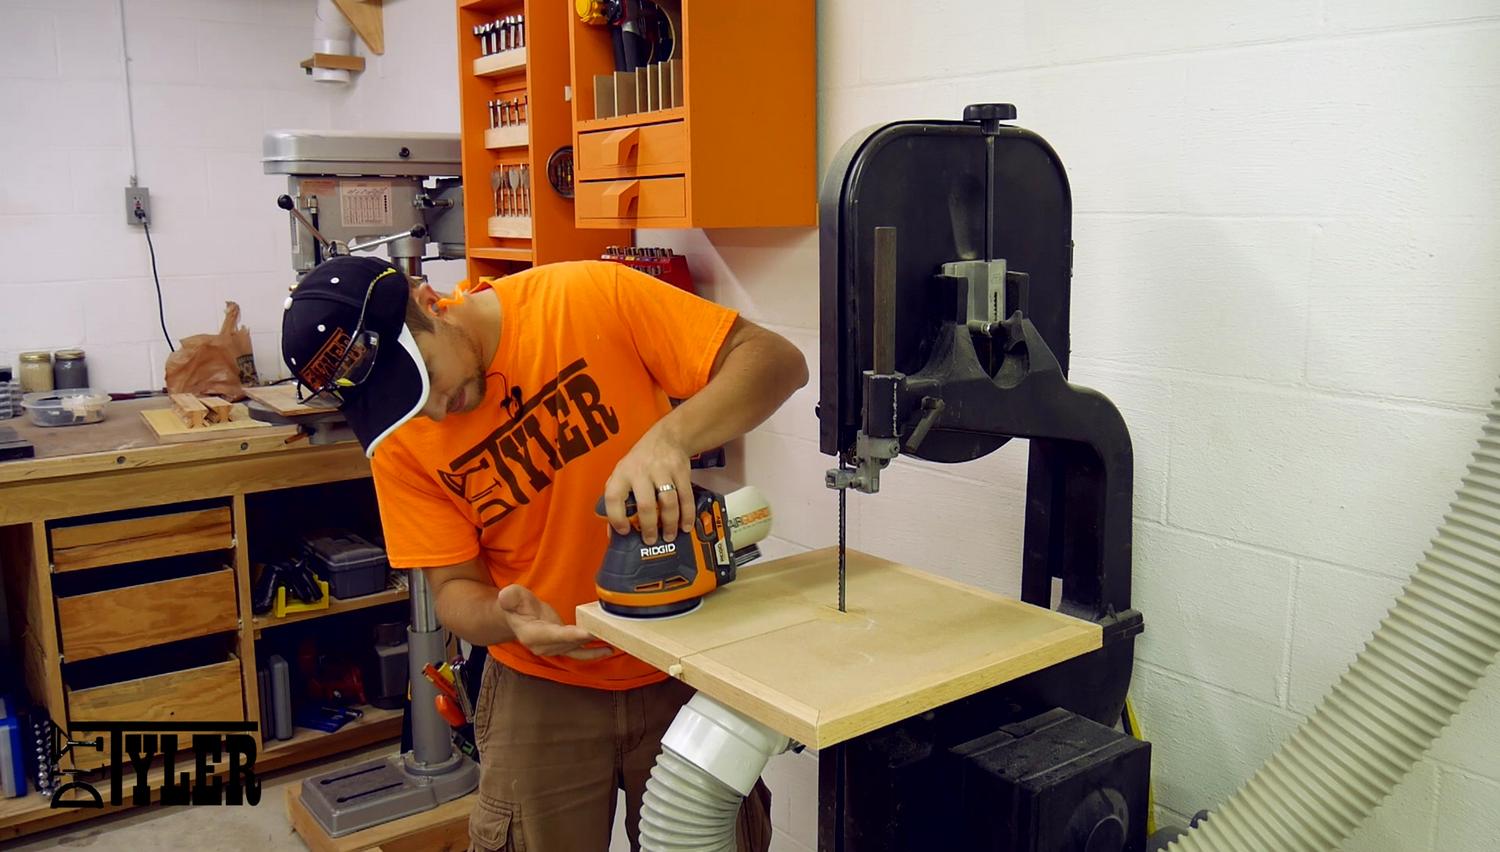
And it’s done! In the near future I will be adding a fence with drift adjustments so I can achieve consistent resaws and super thing veneer.
Please let me know what you guys think and hammer that thumbs up button if you watch the video! Subscribe to my email newsletter to you can get a quick email each time I build a new project. Thanks for checking this out!
Please follow and like us:
4 thoughts on “Bandsaw Table with Dust Collection | How to”
hey bud you are amazing. i wish that i had the thought processes that you have to think of these things. well done.
Pingback: Miter Saw Station Part 1 | Cabinet Frames - DIYTyler
Really enjoy your video’s and creative mind Tyler ! Keep it up and I’ll keep watching.
Could you please figure out (and of course show us) a way to setup a fence, along with this? Thank you!