Screened-In Porch Build – Free Standing Roof for Covered Deck
As part of our major deck home improvement project, we decided to build a screened-in porch so that we could enjoy our backyard from the comfort of a lovely covered deck.
The project consisted of three major parts: constructing the frame, overlaying the roofing panels, and installing the screens. There were plenty of smaller sub-tasks, such as filling gaps and painting, which we will cover below.
Constructing the Frame for the Free Standing Deck Roof
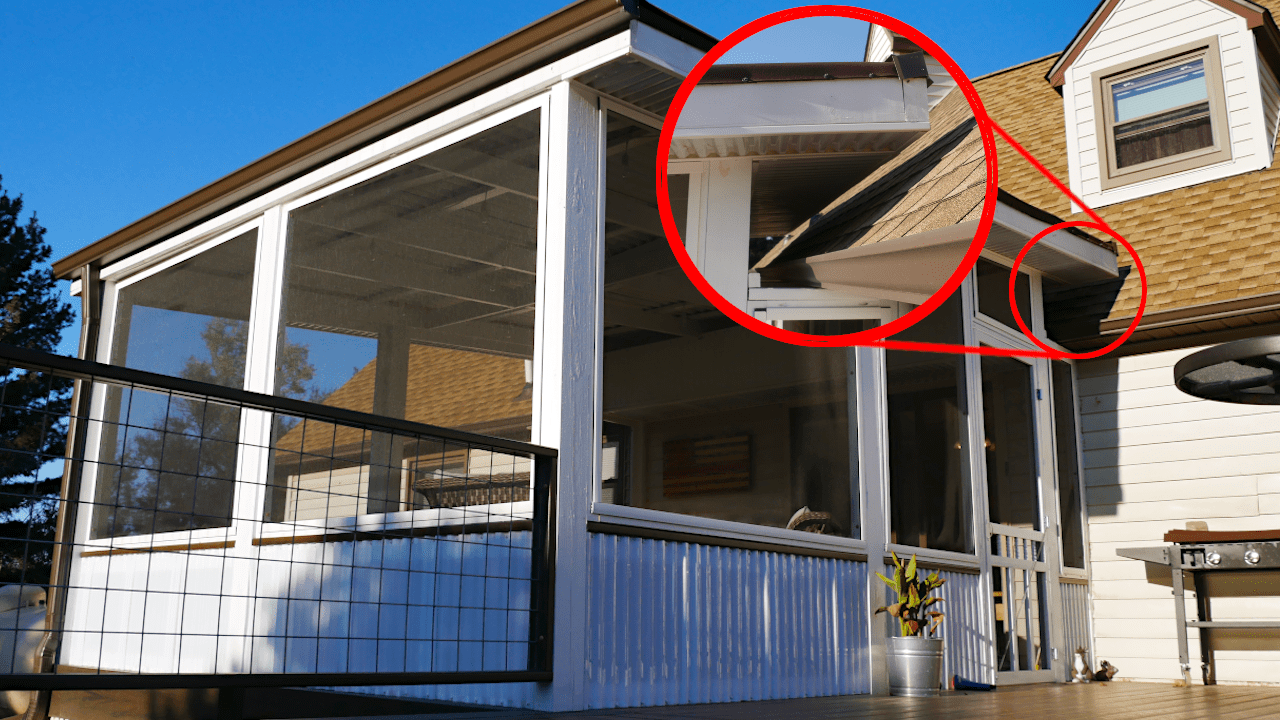
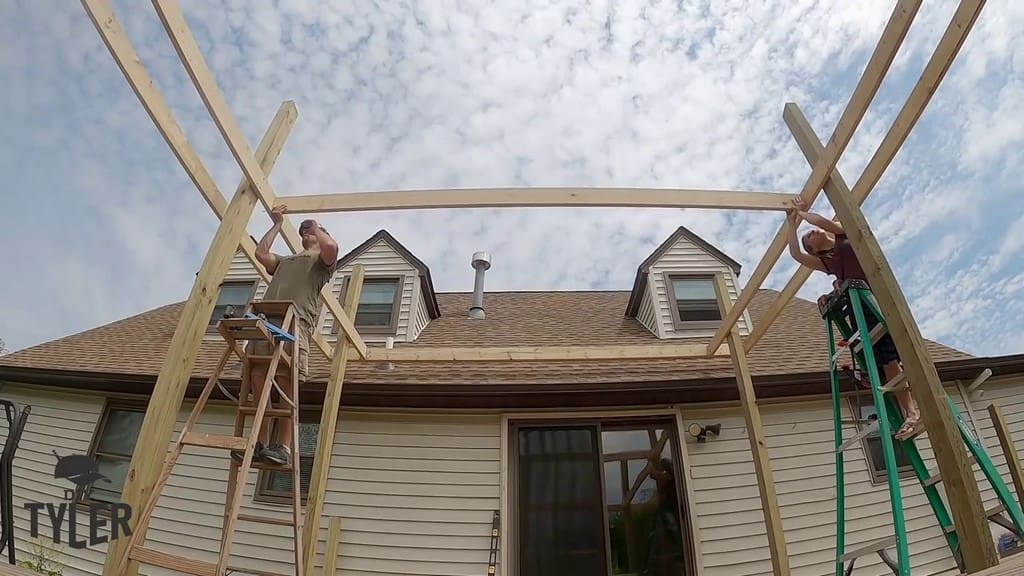
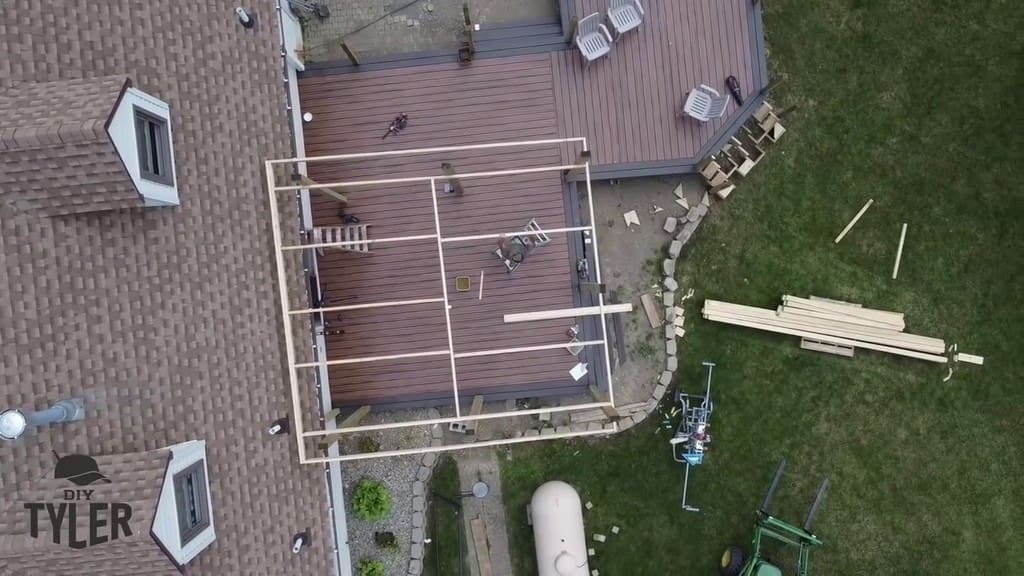
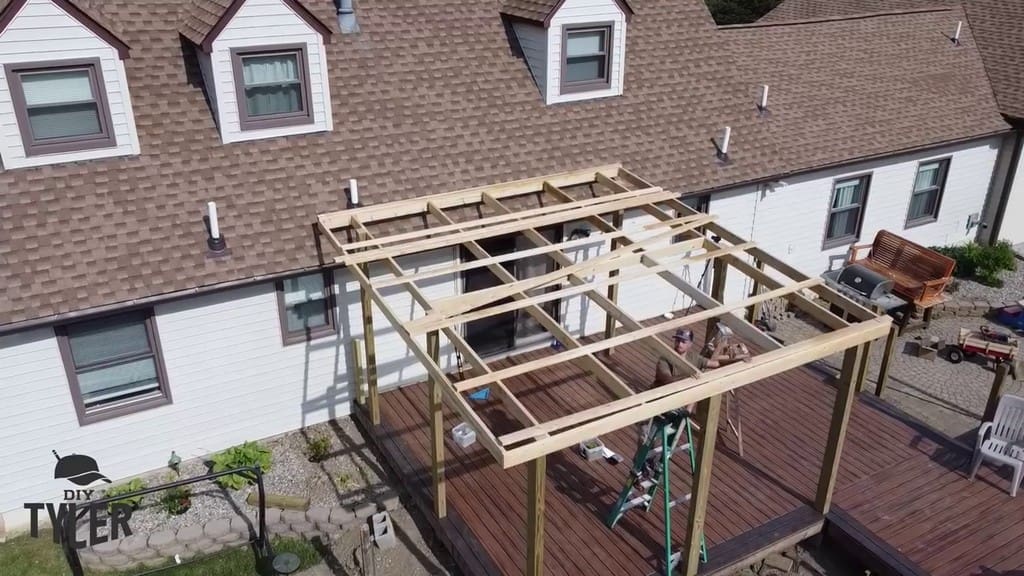
Like with any woodworking build, the frame was the first step. In this case, the pergola frame for the screened-in porch build consisted of a cantilevered overhang.
This structure was supported by a header beam in the center and a 2×6 doubleheader beam for the section adjacent to the house. The doubleheader was connected to the center beam by a series of angled pieces.
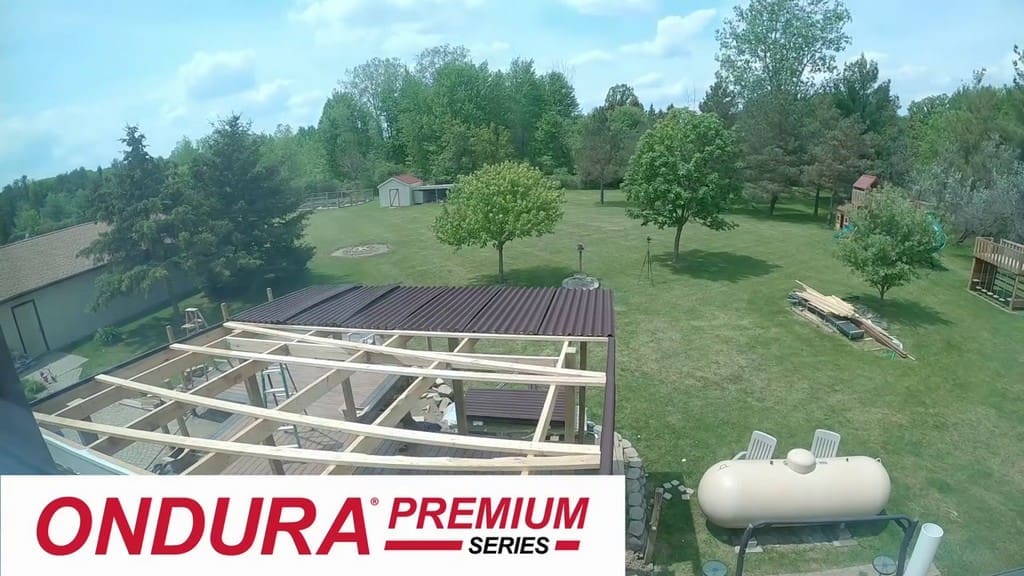
Here is what the in-progress cantilevered roof looked like.
Installing the Main Beams for the Deck Roof Frame
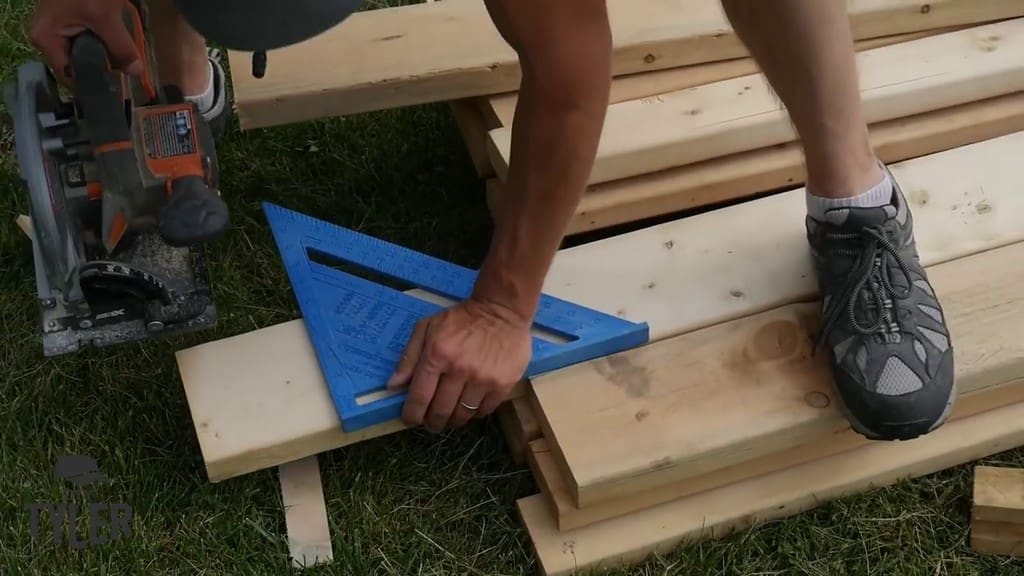
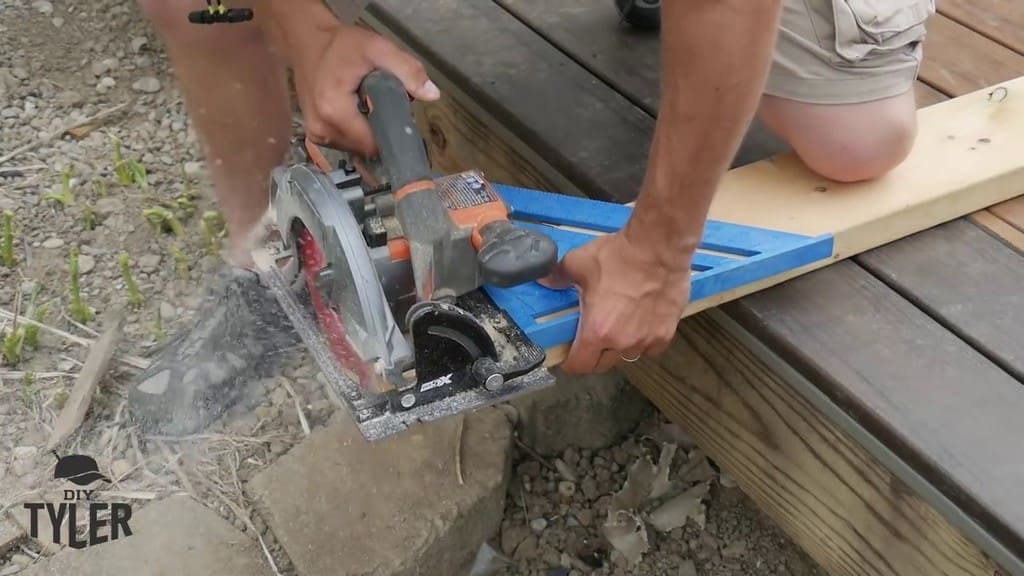
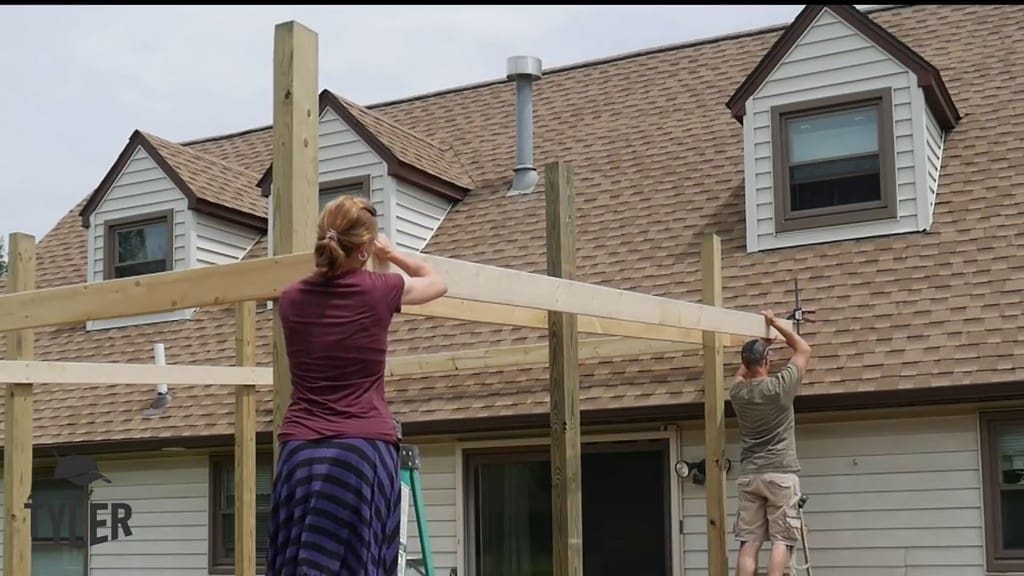
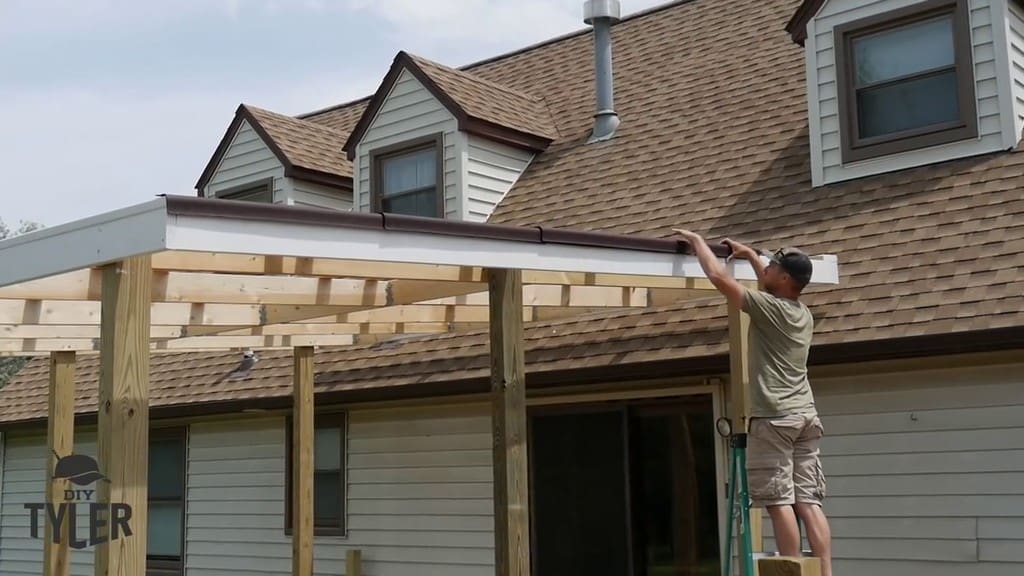
The boards for the main beams were simply too long to cut in the garage using our miter saw. As a result, we measured and cut those pieces outside using a circular saw.
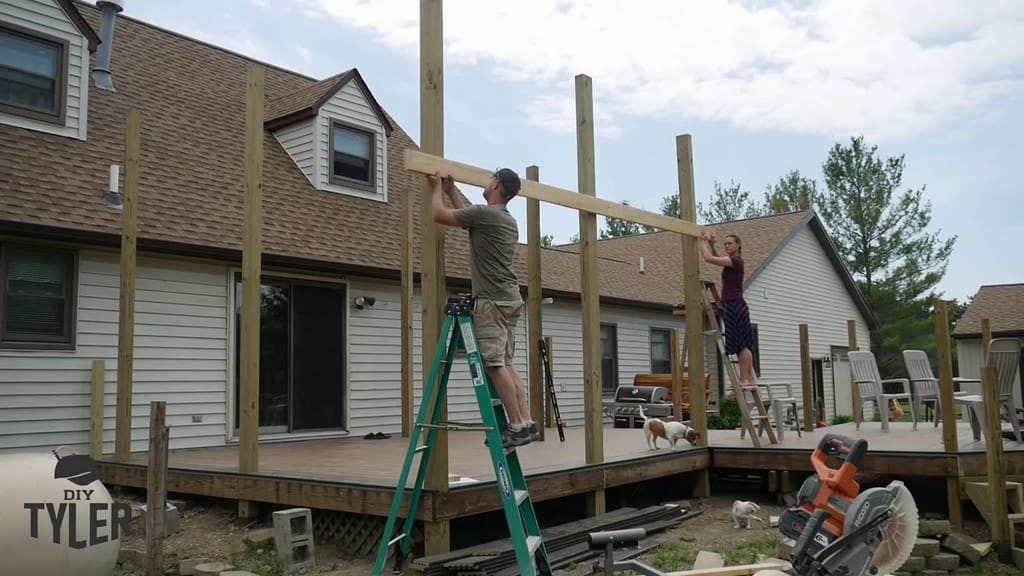
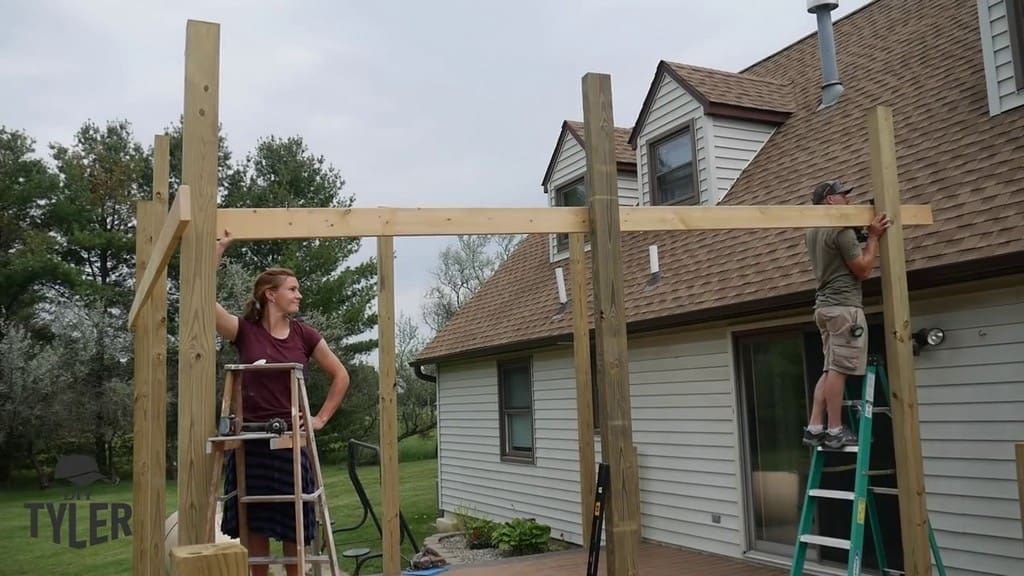
After we cut the 2×6 beams, we then attached them to the vertical timbers as pictured below.
The outer edge of these beams does need a slight angle in order to allow for a roughly 7-degree angle on the roof. This allows water to pitch off the free standing deck roof.
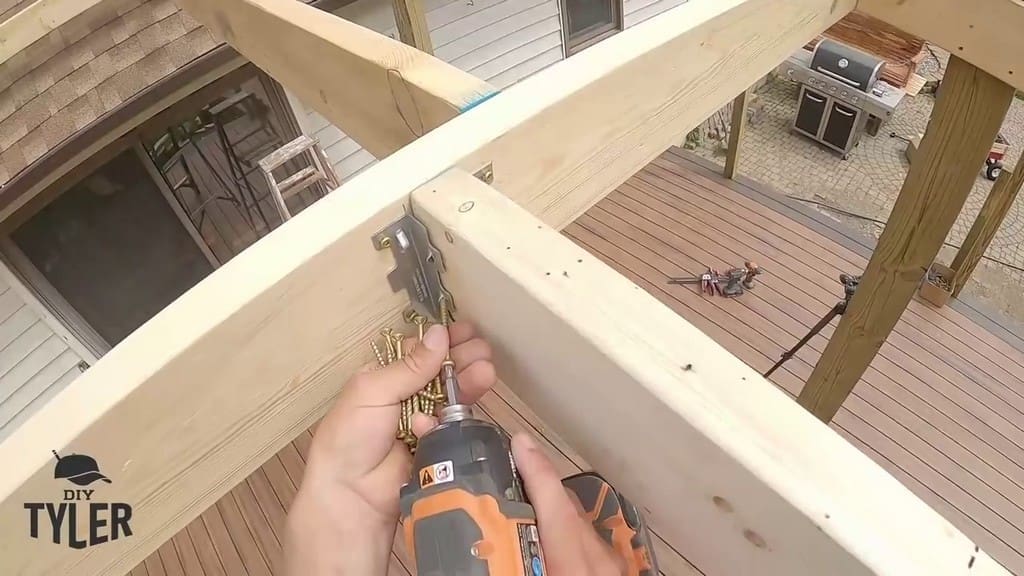
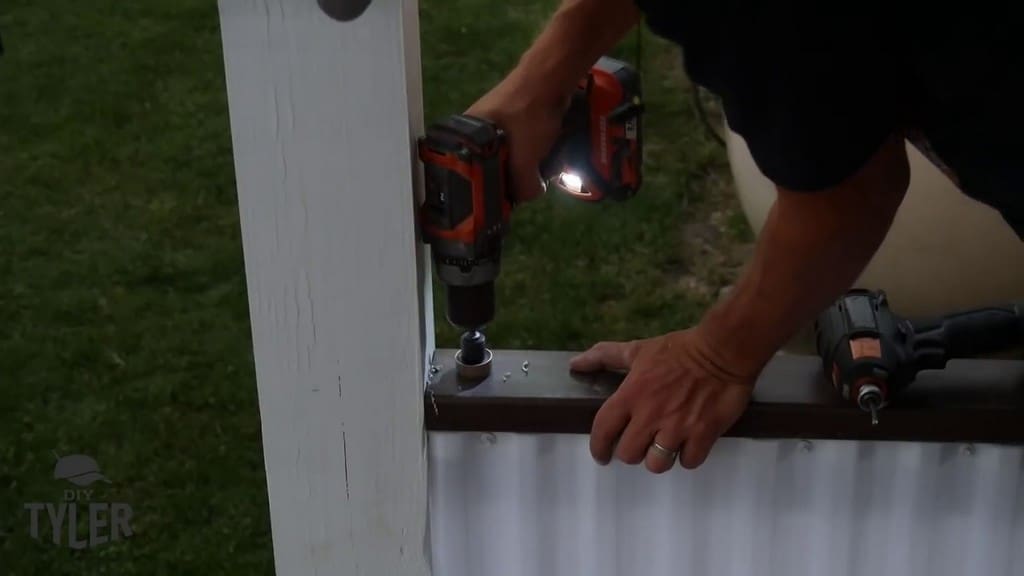
We chose to build this screened-in porch frame from the inside out, using 2.5-inch Power Pro screws and 5-inch Power Pro structural screws. Each of these screws were driven in with an impact gun and torque bit. We found that this method was superior to using lags for this section of the project.
Our original plan was to use two doubleheader beams but had to change plans midway through because we ran out of boards. We used a doubleheader only for the cantilever portion near the house. Consequently, the middle beam was only a single board.
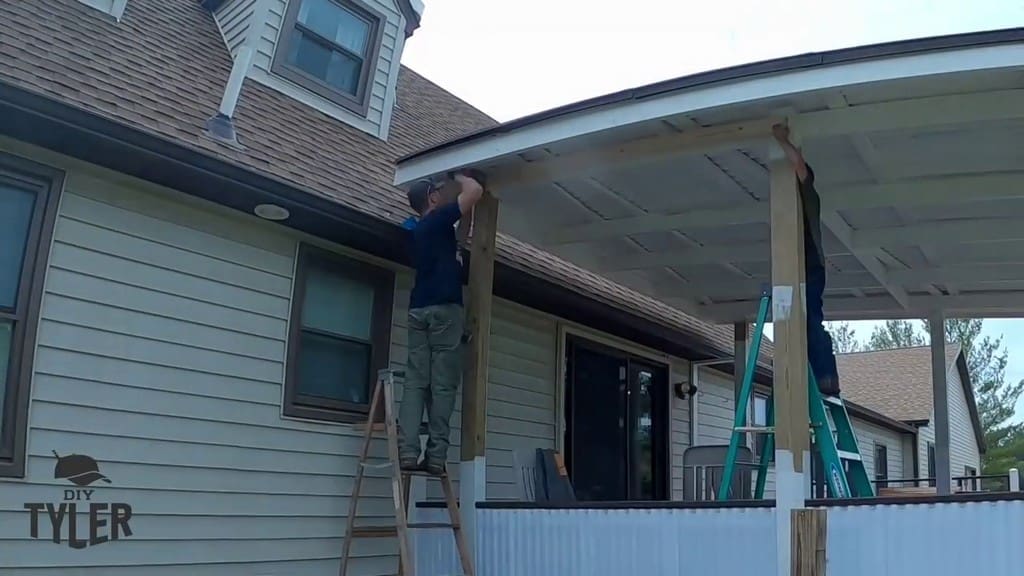
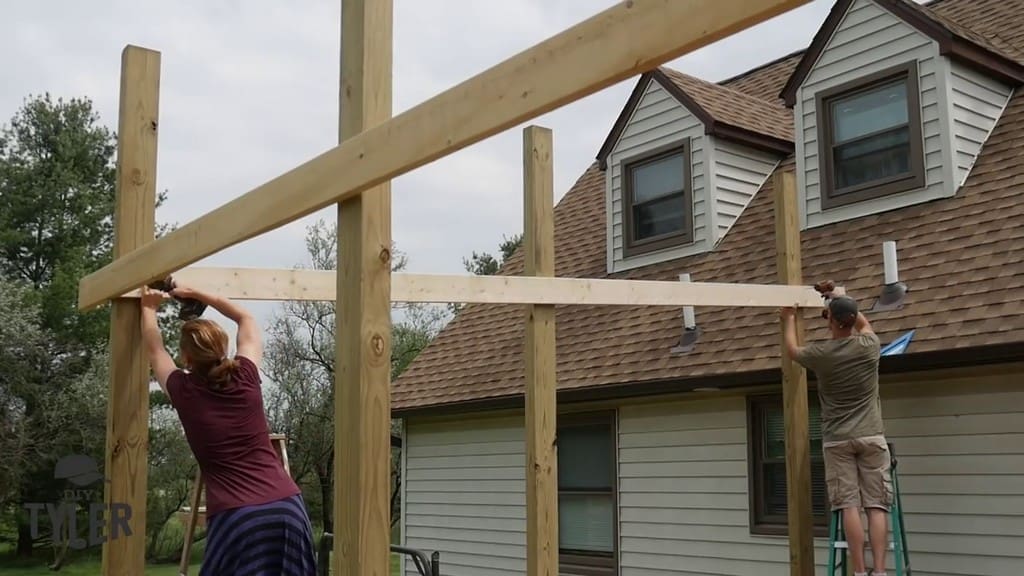
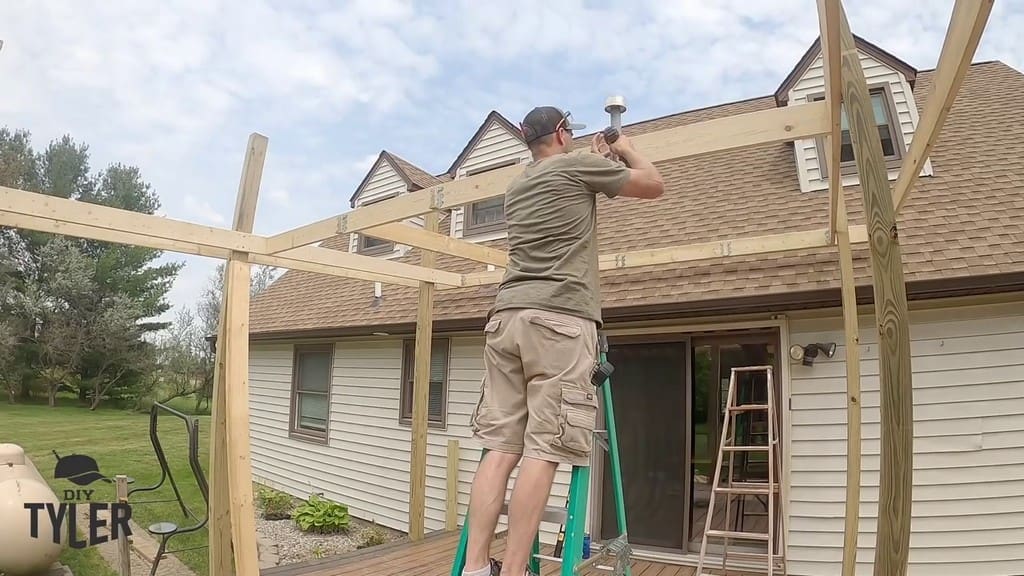
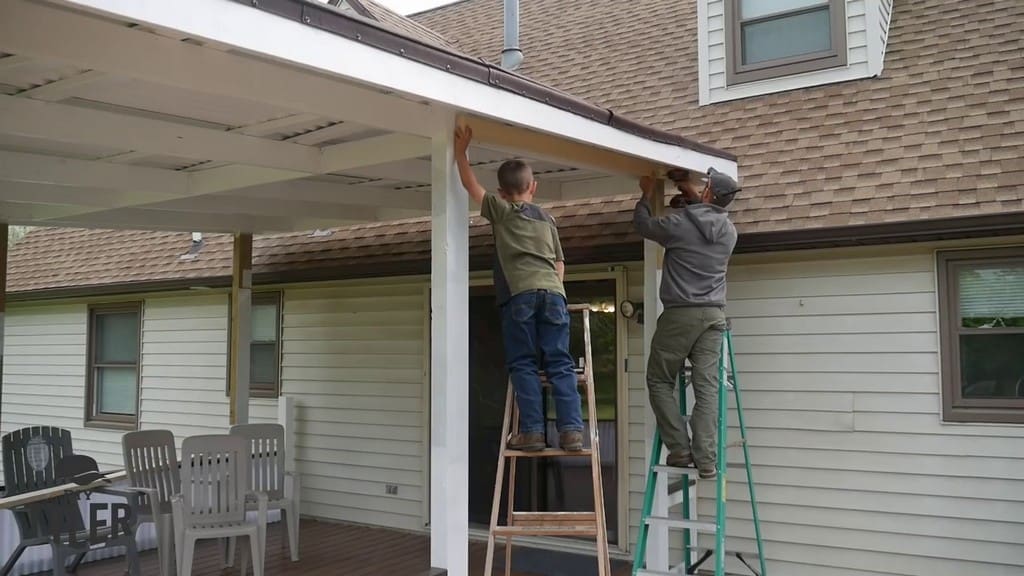
Here we are installing the doubleheader for the section near the house.
Pro tip: Use a clamp to keep two unwieldy boards together while you’re maneuvering them. We did this when placing our doubleheader near the house.
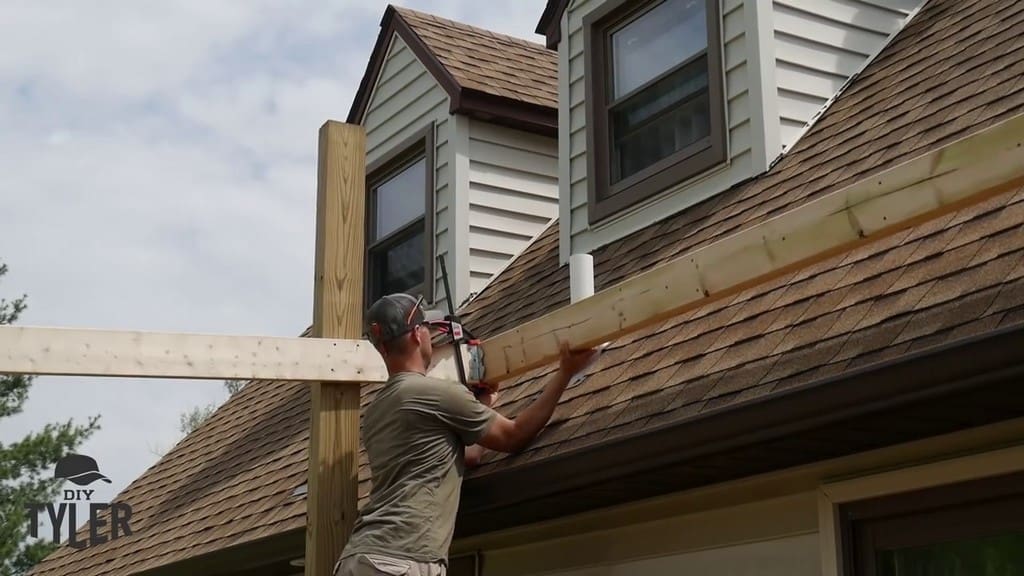
For the center beam, we screwed into the board from the outside before going back to add 90-degree brackets on all four sides of the board.
Installing the Joists for the Deck Roof
Having installed the outer pieces of the frame, we moved on to cutting the boards to be used like joists for the free standing deck roof. Each of these boards can be cut to the same length.
After cutting these boards to size, we installed typical joist-hanger brackets on the existing frame. These brackets are intended to be mounted on both sides of the joist boards.
With these brackets in place, we were easily able to drop the joists directly into place. This gives your screened-in porch build some of its necessary structural stability.
Once those were installed, we went back and fastened them firmly into place with 2-inch deck screws. The more structure we added to the screened in pergola, the sturdier it became. There was no wobble as we went further in the process.
Installing the Purlins for the Deck Roof
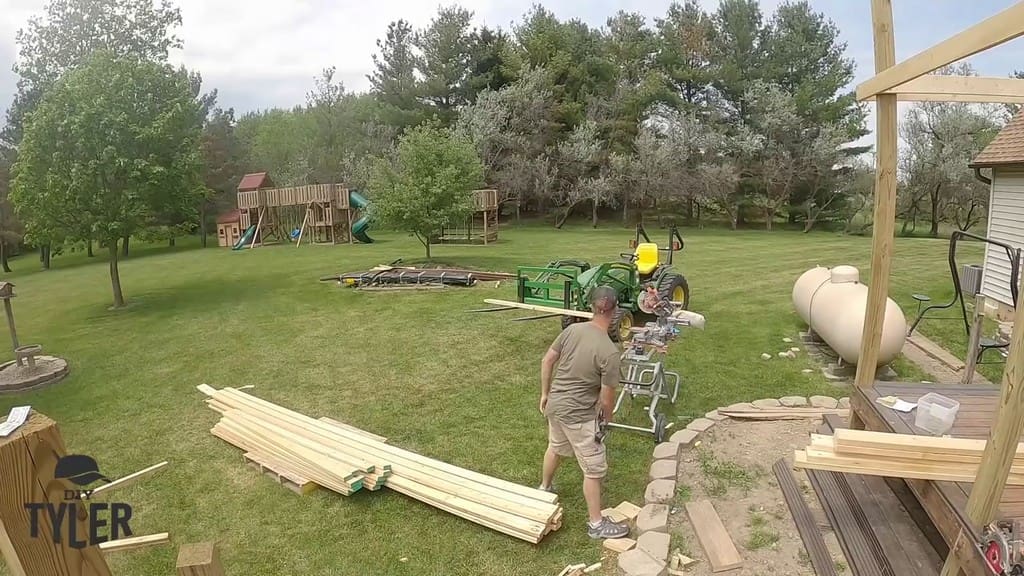
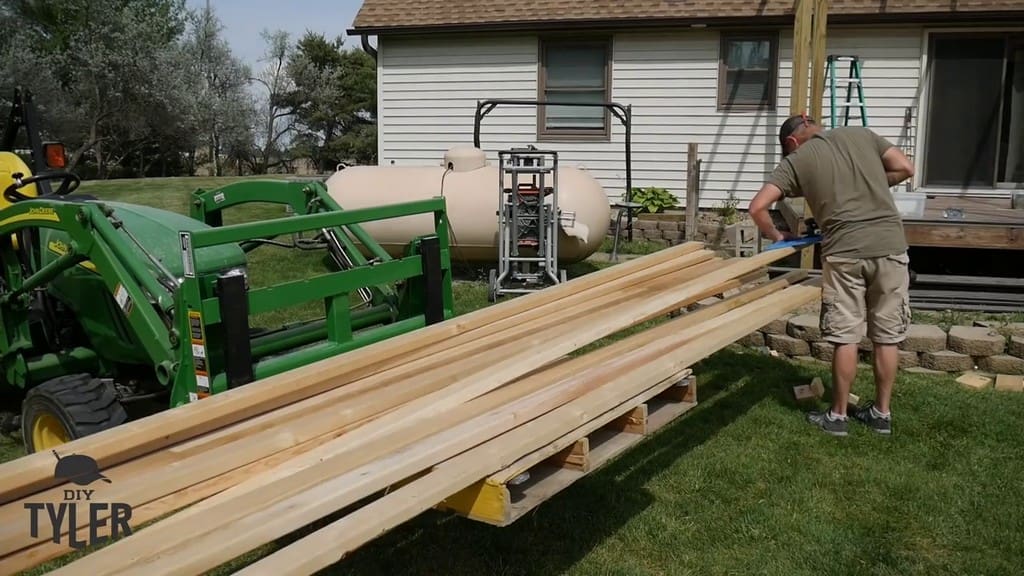
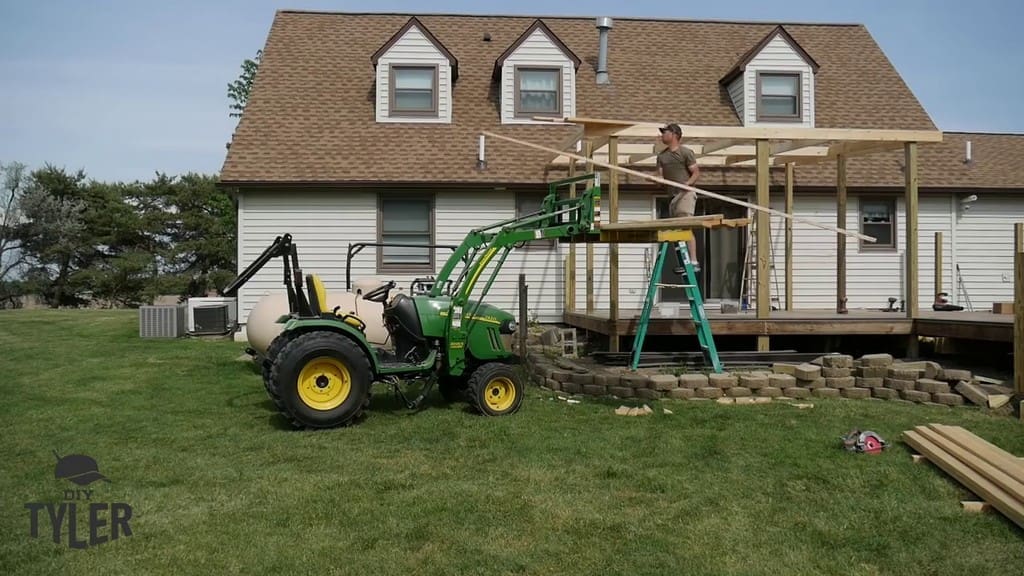
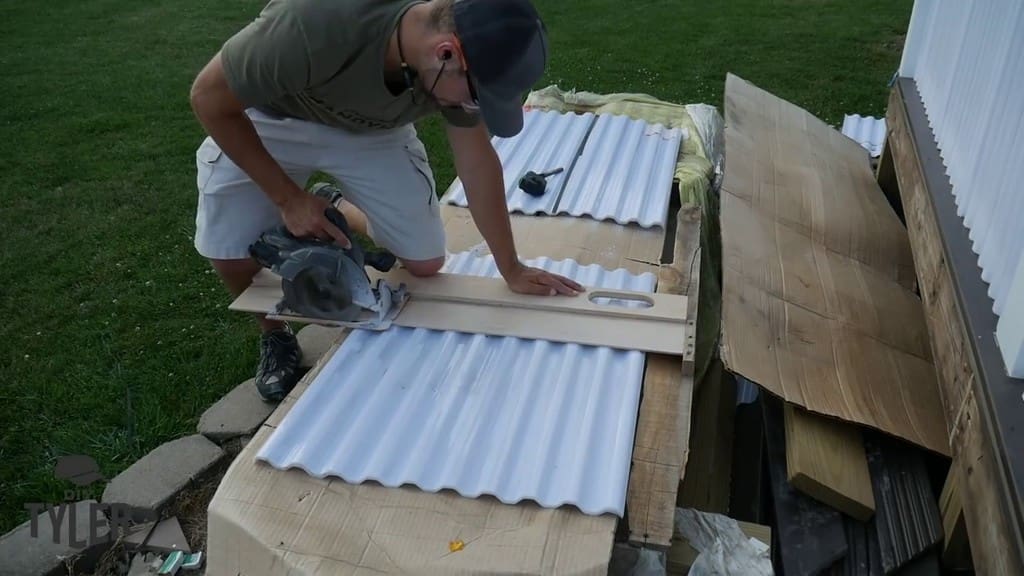
Next, we moved on to the purlins. These are used to support the pergola’s roofing panels. Since it is much easier to cut these long beams on the ground, we lifted them up with our tractor and cut them all to length with a circular saw.
Once the purlins were cut, we used the tractor for the heavy lifting and then transferred the boards to the top of the frame.
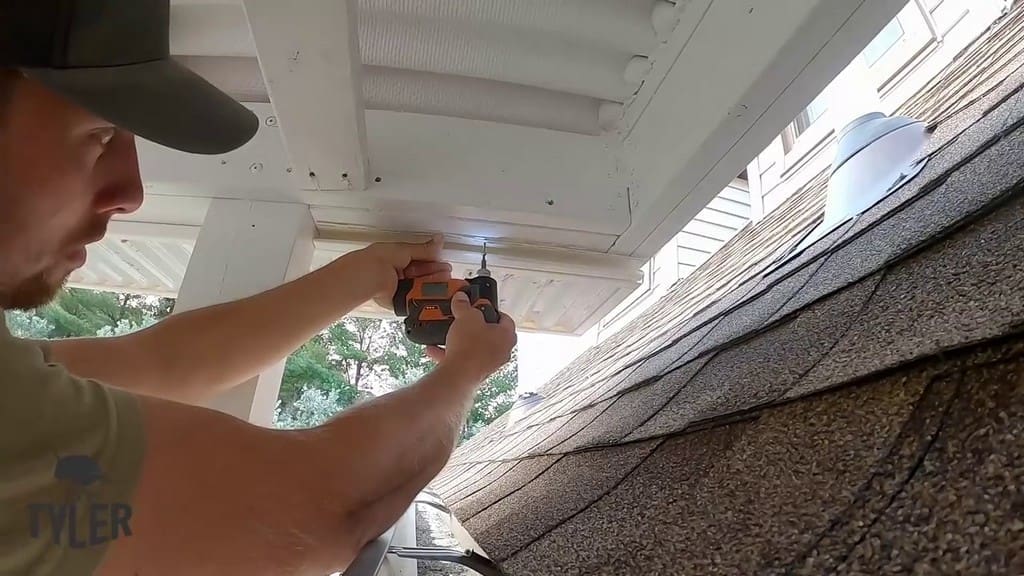
We then climbed up to the frame and added the purlins in the appropriate lengths that were needed so that we could screw through the roofing embossment and fasten the panels into place.
We installed a few of the purlins at a diagonal angle in order to provide additional stability. While this was helpful, it did make the roofing look a bit odd. Fortunately, the painting we did later helped mitigate this, as we will describe below.
Before moving on to the paneling, we painted the outermost edge of the deck roof’s frame white. This prevented the risk of getting white paint on the paneling, which could have happened if we had waited until later to paint.
Overlaying the Roof Panels for the Screened In Pergola
Laying Out the Roofing Panels for the Covered Deck
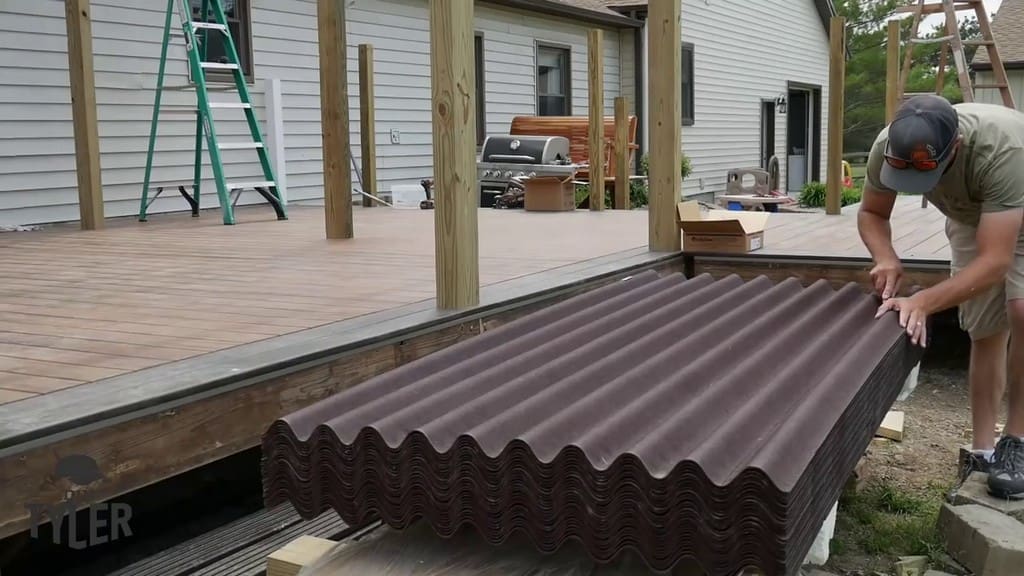
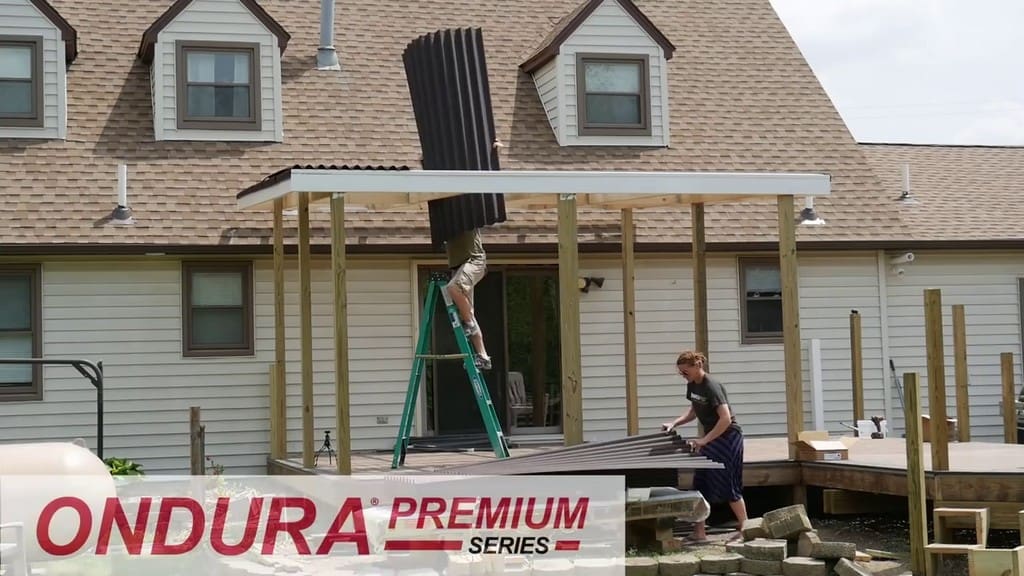
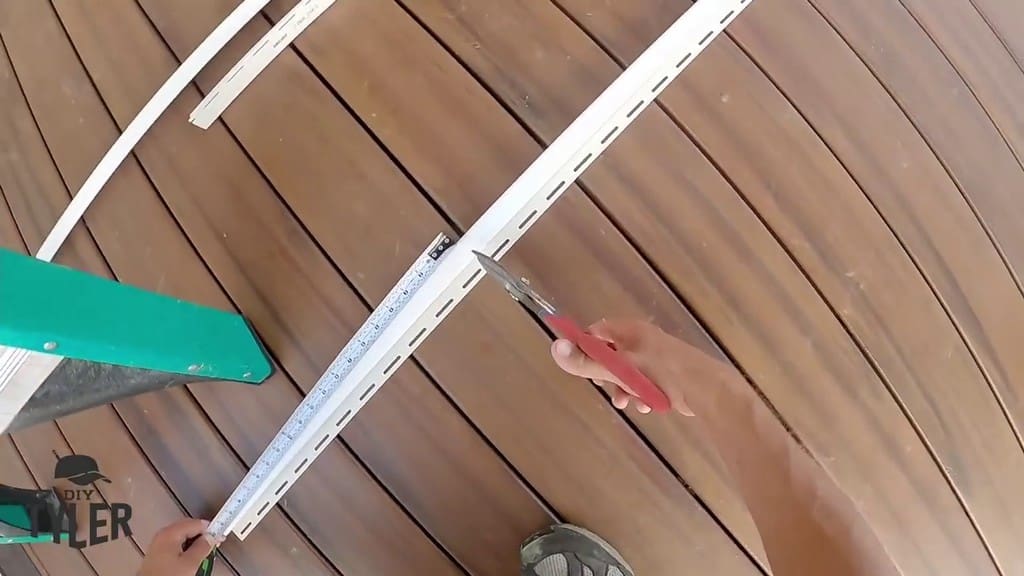
Having arrived at the roof paneling, we cut along the corrugation of one of the single brown panels. This produced several individual sections for the side of the pergola.
We overlaid these corrugation pieces on the edges of the pergola in order to prevent any water from blowing in through what would otherwise be a gap in the new roof.
The rest of the panels were installed on top. The frame was designed in such a way to avoid the need for cutting any of the other panels.
We were able to overlay the panels directly onto the roof without any trouble. Because our roof for the covered deck was at only the minimum pitch, we utilized a one-third overlap to prevent water from flowing back up into the panel overlap.
We have used Ondura Premium Series roof paneling for multiple projects in the past and were pleased to use them again for this screened in pergola project.
After the screened-in porch build, we experienced both a tornado and 80mph winds. The panels proved their sturdiness in the face of those weather conditions. Be sure to check out Onduline North America’s series of products at this link!
Fastening the Roofing Panels
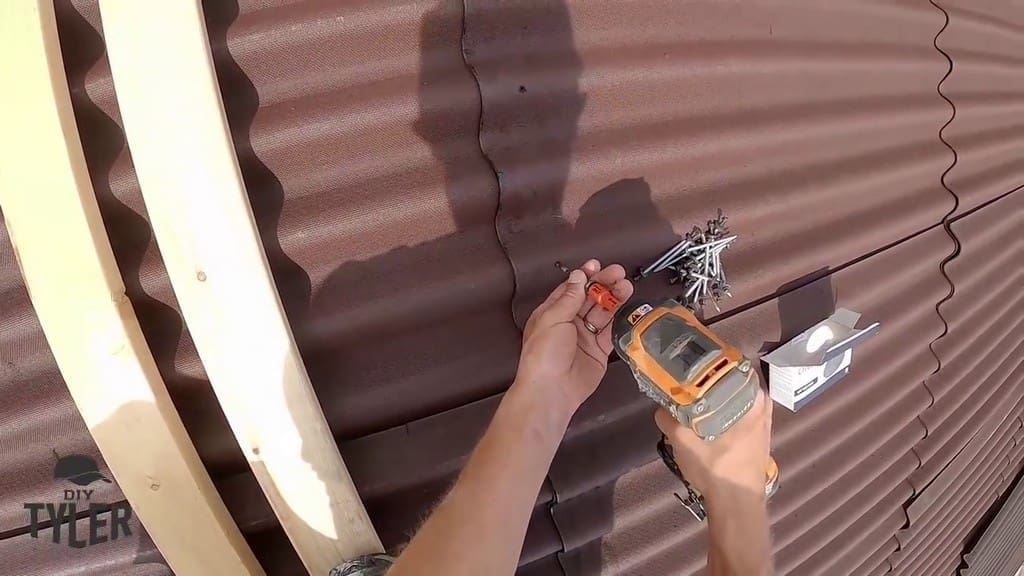
Once we finished overlaying the panels, we walked across a pair of 2x4s to avoid squishing the corrugation while fastening everything into place. We attached the panels using Ondura hex-head screws, which matched the color of our paneling.
All in all, these panels were easier to assemble than traditional shingles. We highly recommend them if you want to build your own screened-in porch.
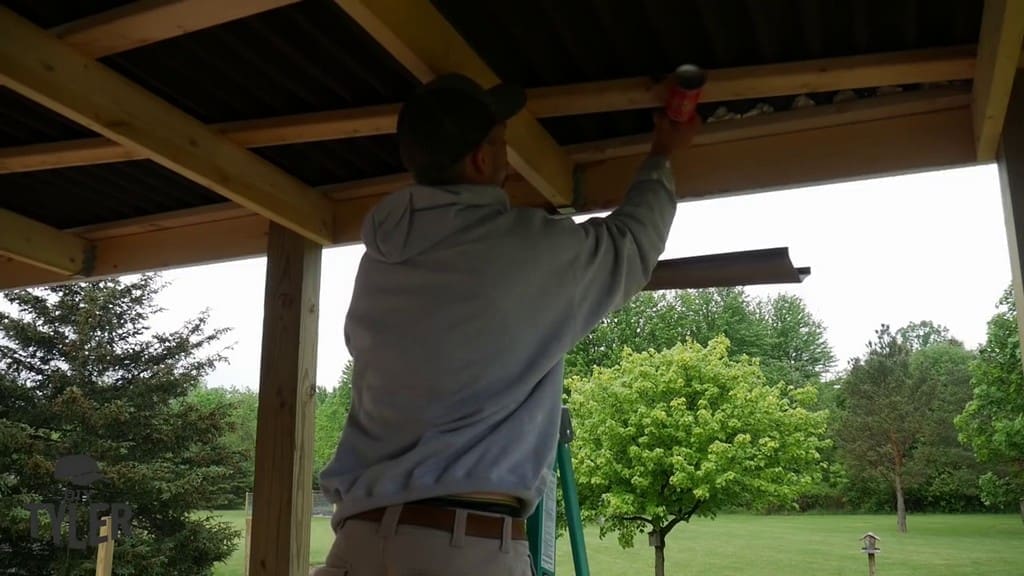
Sealing the Roof Panel Edges
We installed foam closer strips in between the edges of the corrugation. Since we weren’t installing these on an actual home roof, we didn’t need to worry about ventilation.
After completing the rest of the free standing deck roof, we went back and used some Great Stuff foam to seal up any holes in the foam closer strips. This helps prevent mosquitoes from getting in.
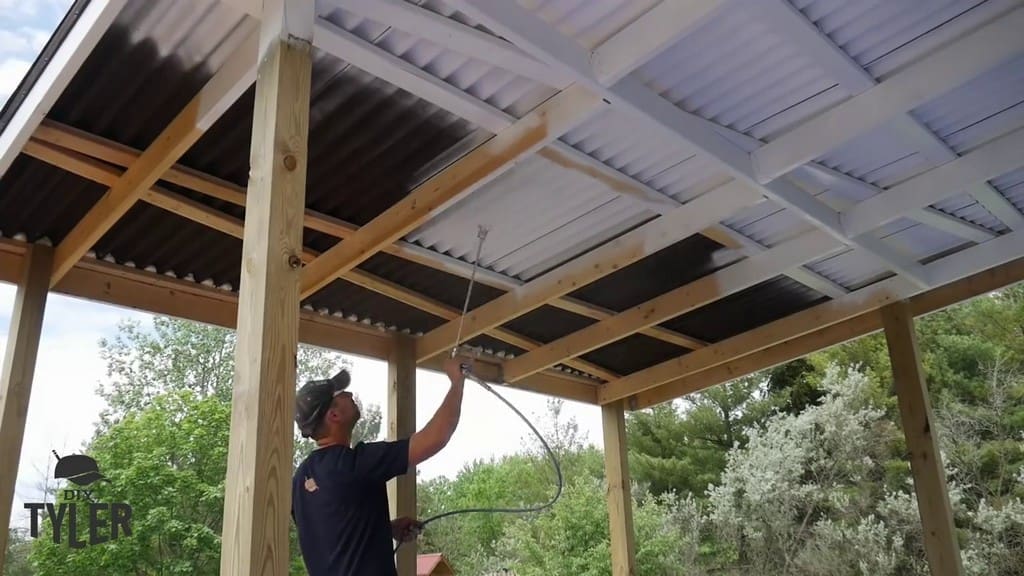
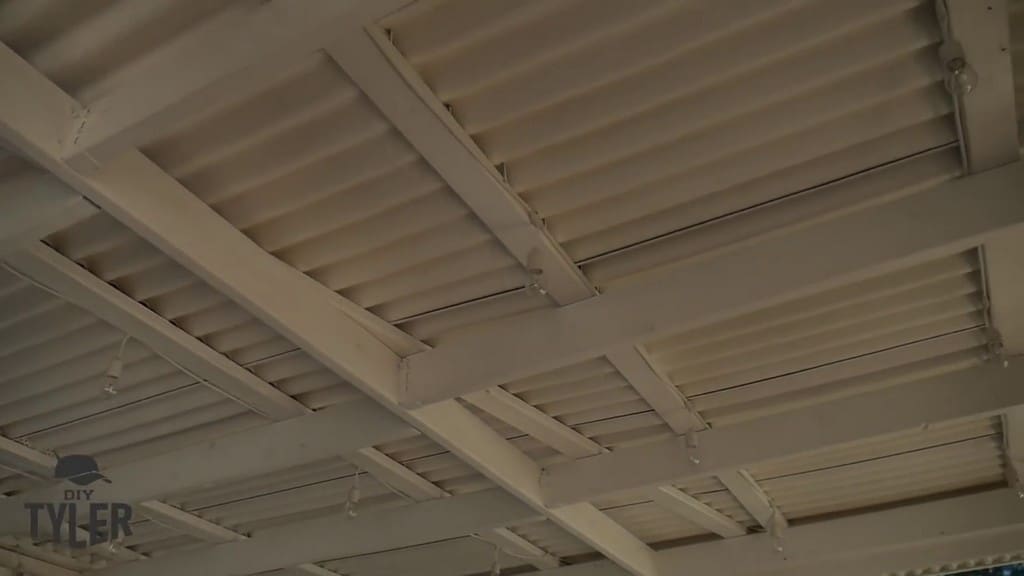
Finishing Touches on the Free Standing Deck Roof
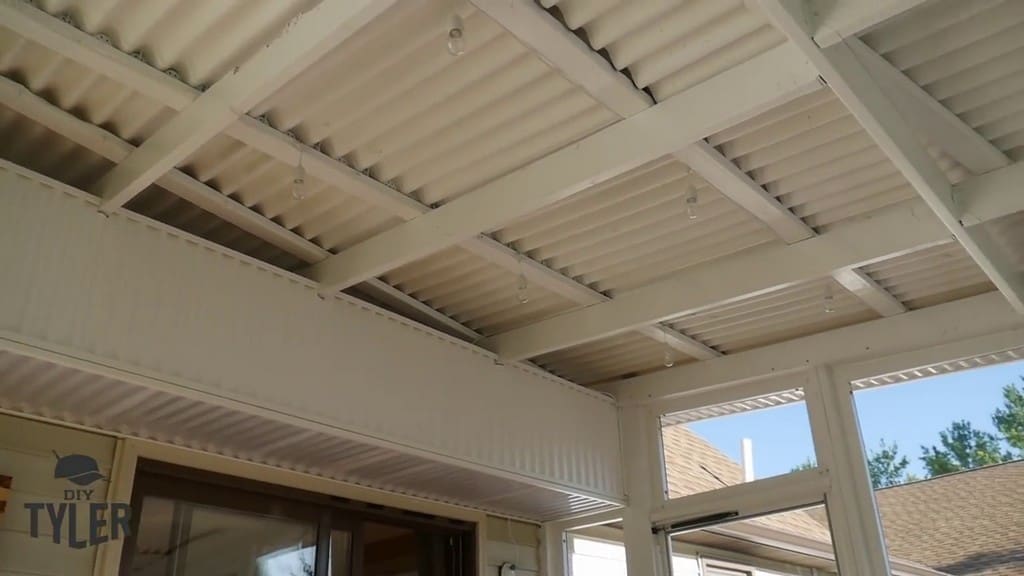
To cover the bottom portion of the roof, we spray-painted it with an exterior-grade white paint. We went through about four gallons of paint, which covered the area quite well and was applied relatively quickly.
As a side bonus, the white paint helped minimize the unusual appearance of the diagonally-placed purlins.
Installing the Knee Wall and Screens for the Covered Deck
Installing the Knee Wall for the Screened In Porch
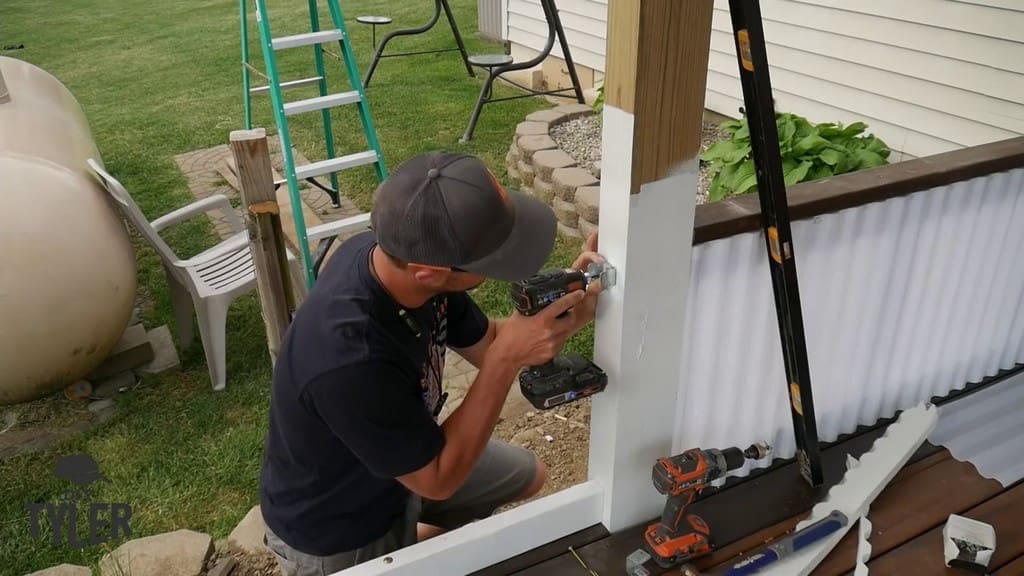
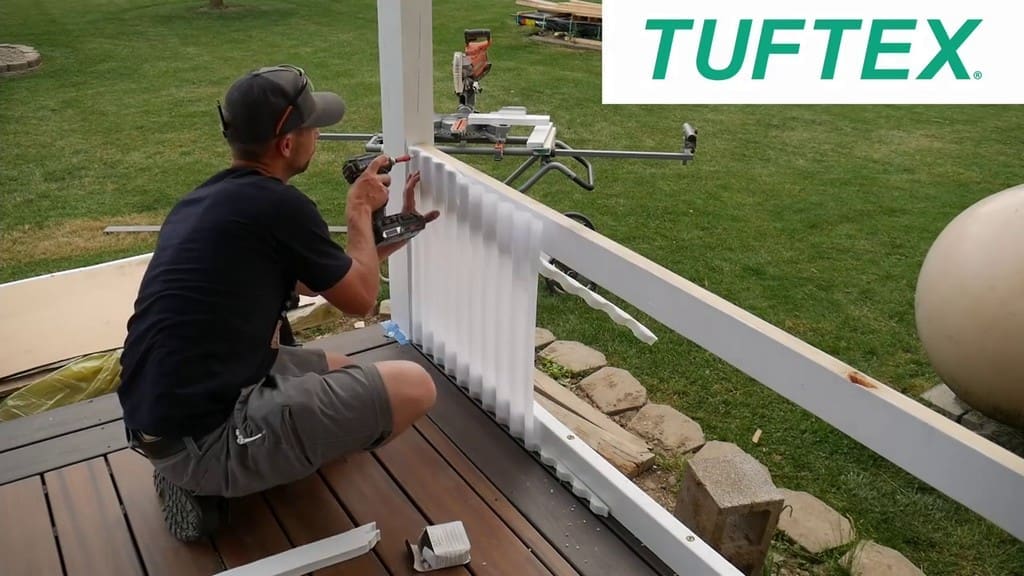
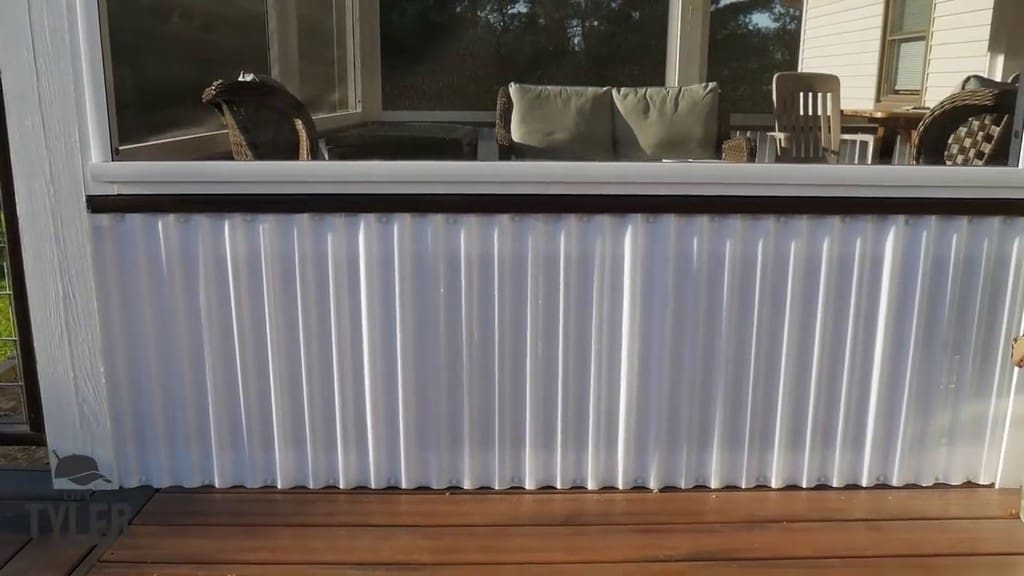
Once painting on the covered deck was finished, we installed a knee wall using Onduline North America’s white Tuftex polycarbonate panels. We screwed supports directly into the deck, followed by structural brackets to support the panels.
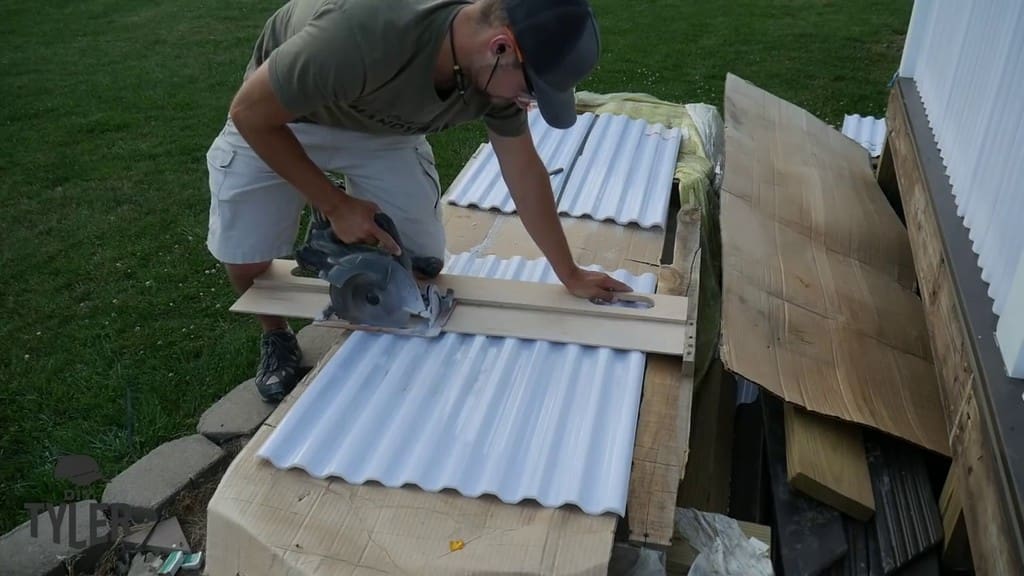
We then cut the Tuftex panels using a circular saw and installed them with a vinyl strip underneath the panel, which helps prevent water from getting in between.
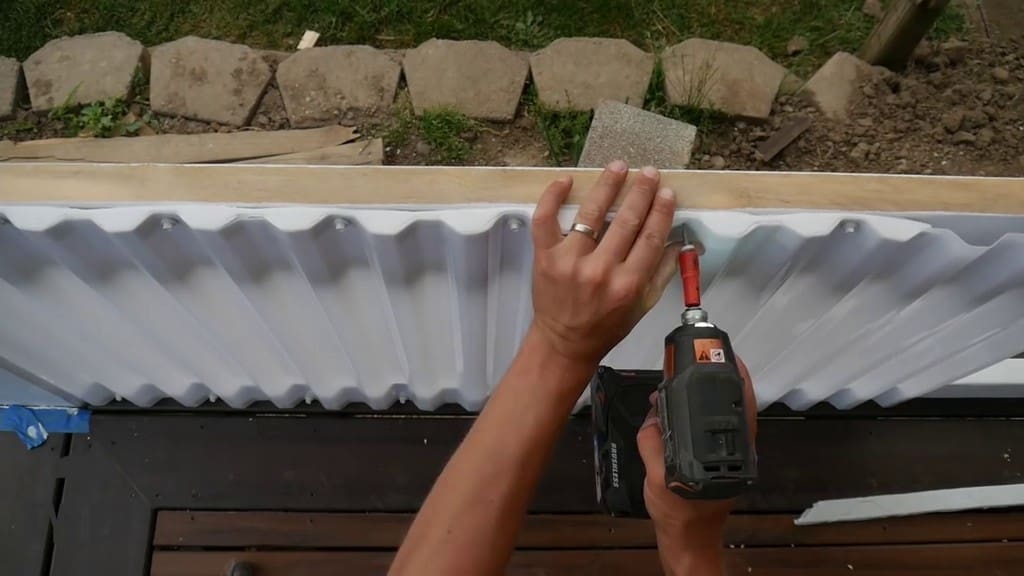
The entire assembly was fastened with white hex-head screws.
We capped the Tuftex panels in place with a piece of Armadillo 2×4 composite decking. Make sure to use a countersink bit for your screws!
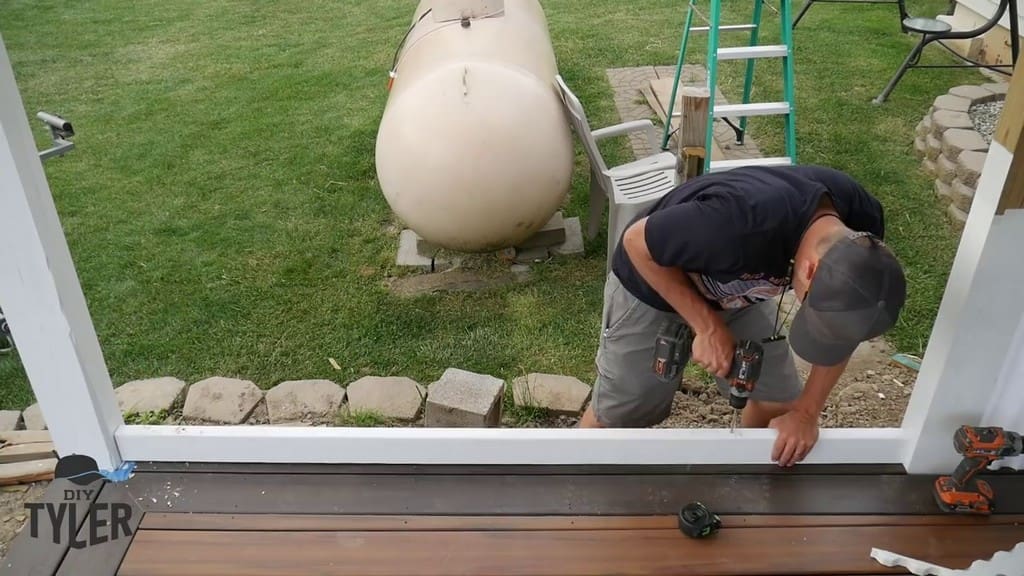
Building Additional Structural Support
After completing all of these phases, we decided to add more blocking for additional mosquito-proofing and anchoring at the top for our screens. The last thing we wanted was for bugs to be sneaking into our covered deck!
We added the extra blocking, then we installed a bit more structural support for the screen door that we were planning to install. We bolted the bottom board directly into the deck and then connected the vertical support using the appropriate brackets.
Installing Screens for the Porch
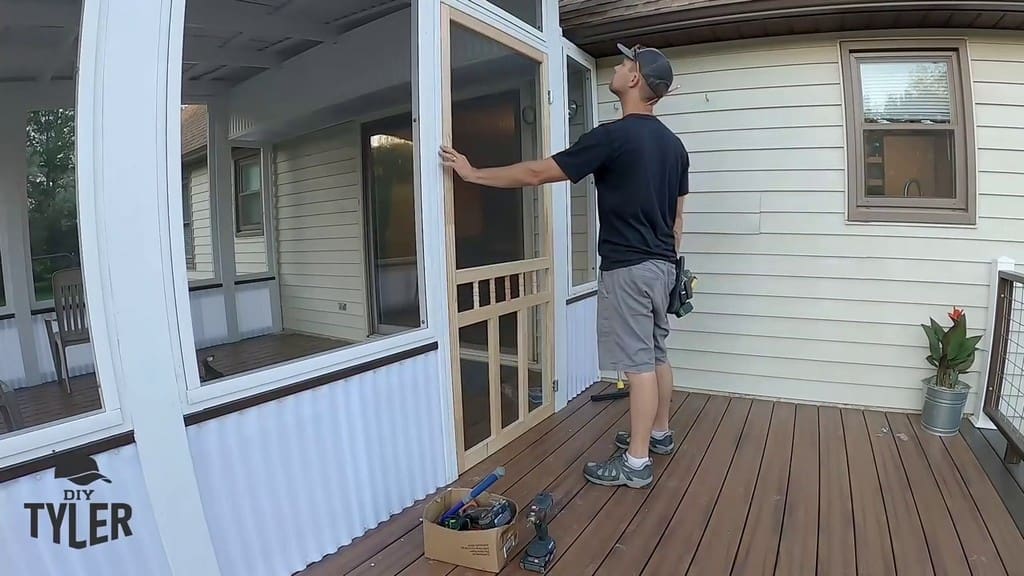
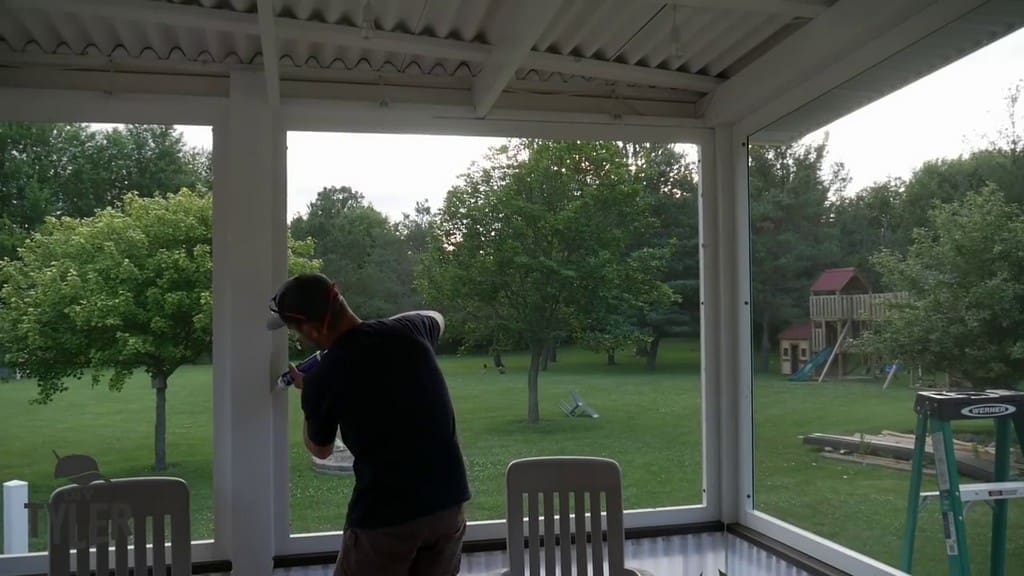
With that additional support in place, we installed the unfinished screen door.
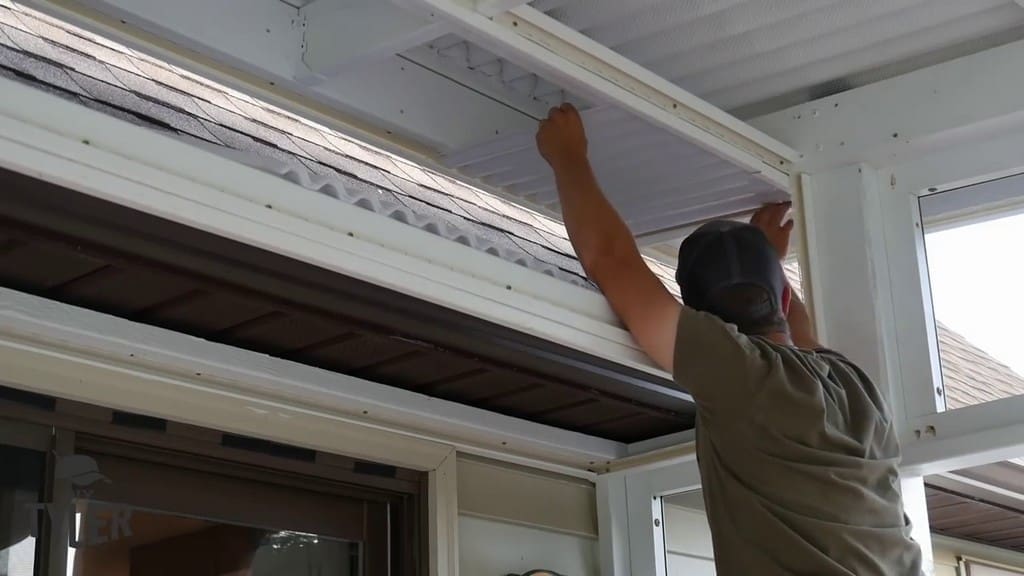
For the sake of additional mosquito-proofing near the house itself, we installed soffits using the Tuftex material. Onduline’s Tuftex products can be installed into any typical vinyl J-channel.
When cutting the Tuftex paneling, you need a trustworthy straight edge and a solid circular saw with a high tooth count on its blade. We used a blade with a 142-tooth count. This fine of a tooth blade won’t catch, but you should still go slowly and take your time when cutting.
Once you’ve cut them, the Tuftex paneling slides easily into your J-channel. You can modify the panels with tin snips or a utility knife wherever needed.
With the soffits in place, the covered deck roof was well and truly finished.
Our next step was to install our screens for the porch. Check out this video to learn about our build for our giant screens!
Last Steps for the Screen Installation
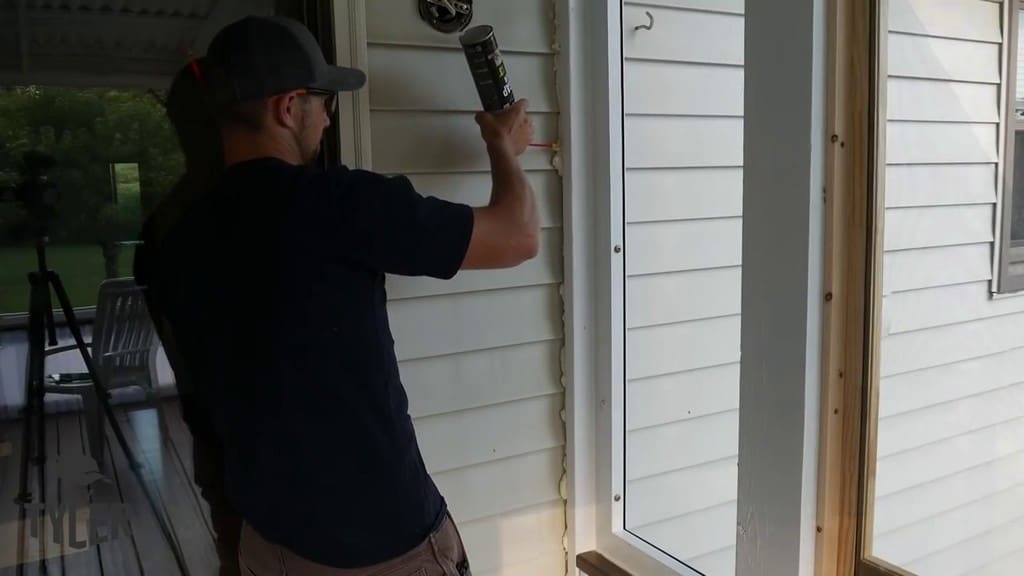
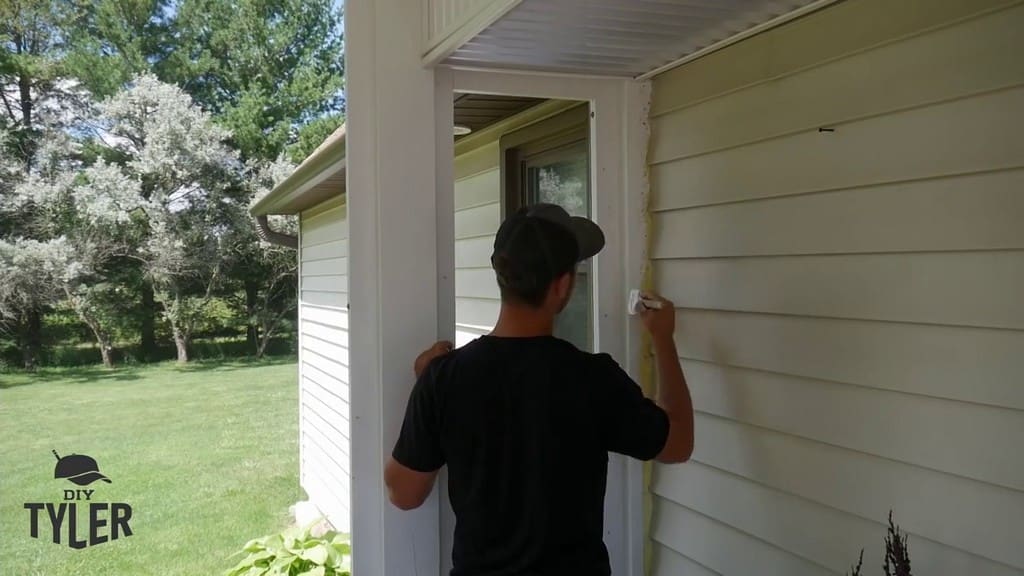
We sealed our edges next to the house with foam, scraping off the excess and then painting over it.
Finally, we sealed the edges of each screen with DAP Extreme Stretch caulk.
Final Thoughts
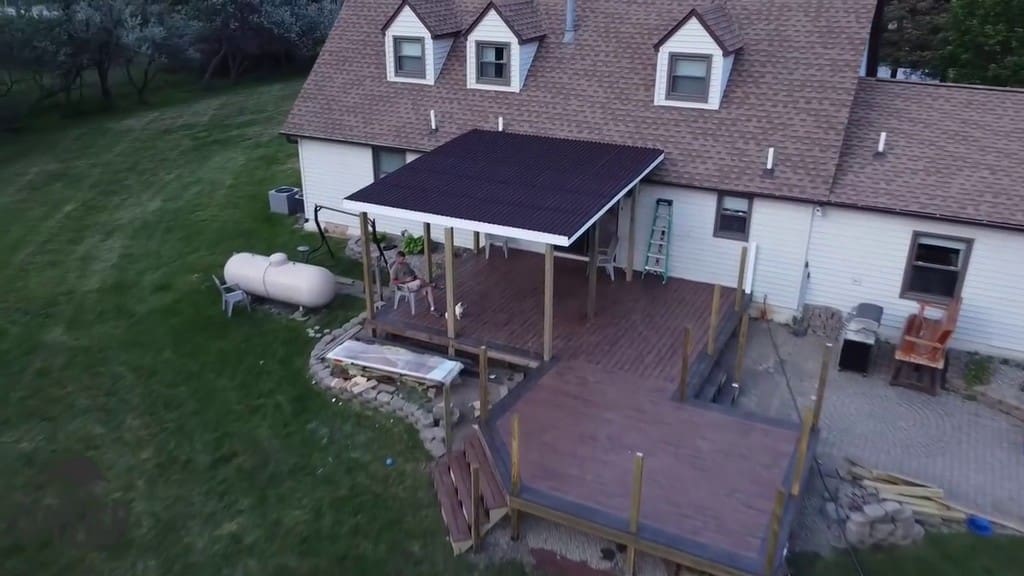
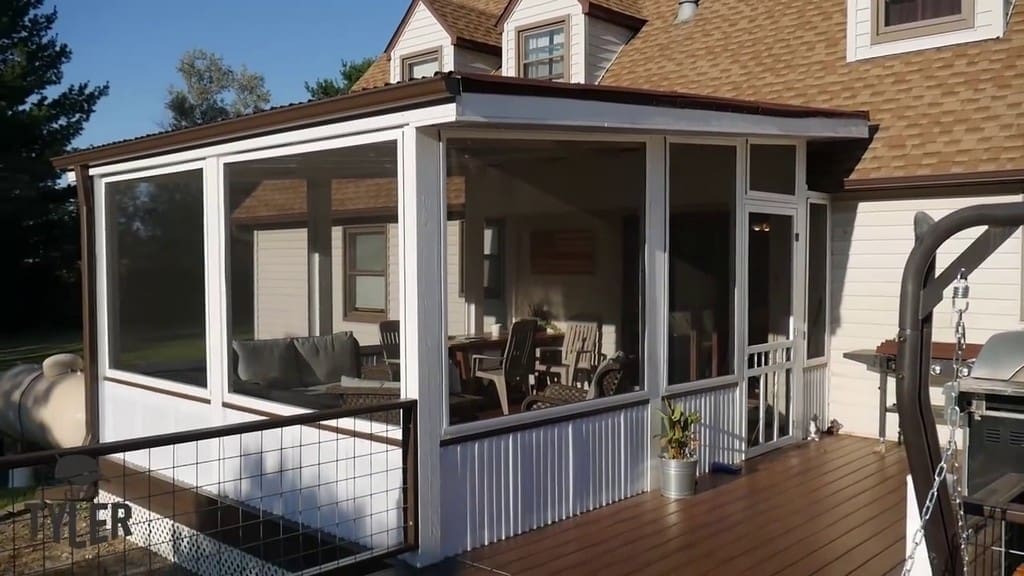
The completed build was, in a word, awesome! It’s easy to enjoy the quiet countryside every evening, including listening to the rain, when our beautiful covered deck keeps us dry and mosquito-free!
Check out some of the tools I used during this build at this page!
Please follow and like us:
7 thoughts on “Screened-In Porch Build – Free Standing Roof for Covered Deck”
Todd
Love it… this is exactly what I would like to do at my home however I would need a architectural drawing to get approvals. Thoughts on how to get those without spending a fortune on an architect?
That is a really bad idea if you live in a snow climate. Snow building up on the house roof up against the screen room roof is going to cause problems over time.


7 thoughts on “Screened-In Porch Build – Free Standing Roof for Covered Deck”
Love it… this is exactly what I would like to do at my home however I would need a architectural drawing to get approvals. Thoughts on how to get those without spending a fortune on an architect?
Great pergola. I couldn’t find the plans for the pergola. Am I looking in the wrong area? How deep did you put the post in the ground?
Pingback: DIY 2x4 Deer Stand with Box Blind for Deer Hunting - DIYTyler
That is a really bad idea if you live in a snow climate. Snow building up on the house roof up against the screen room roof is going to cause problems over time.
We need to pull permits with the County building inspector’s office.
Are there detailed plans for sale that we could buy?
Do you have plans available for purchase of this build? Thank you!
Do you have any plans to follow for the weekend carpenter? Much appreciated!!!