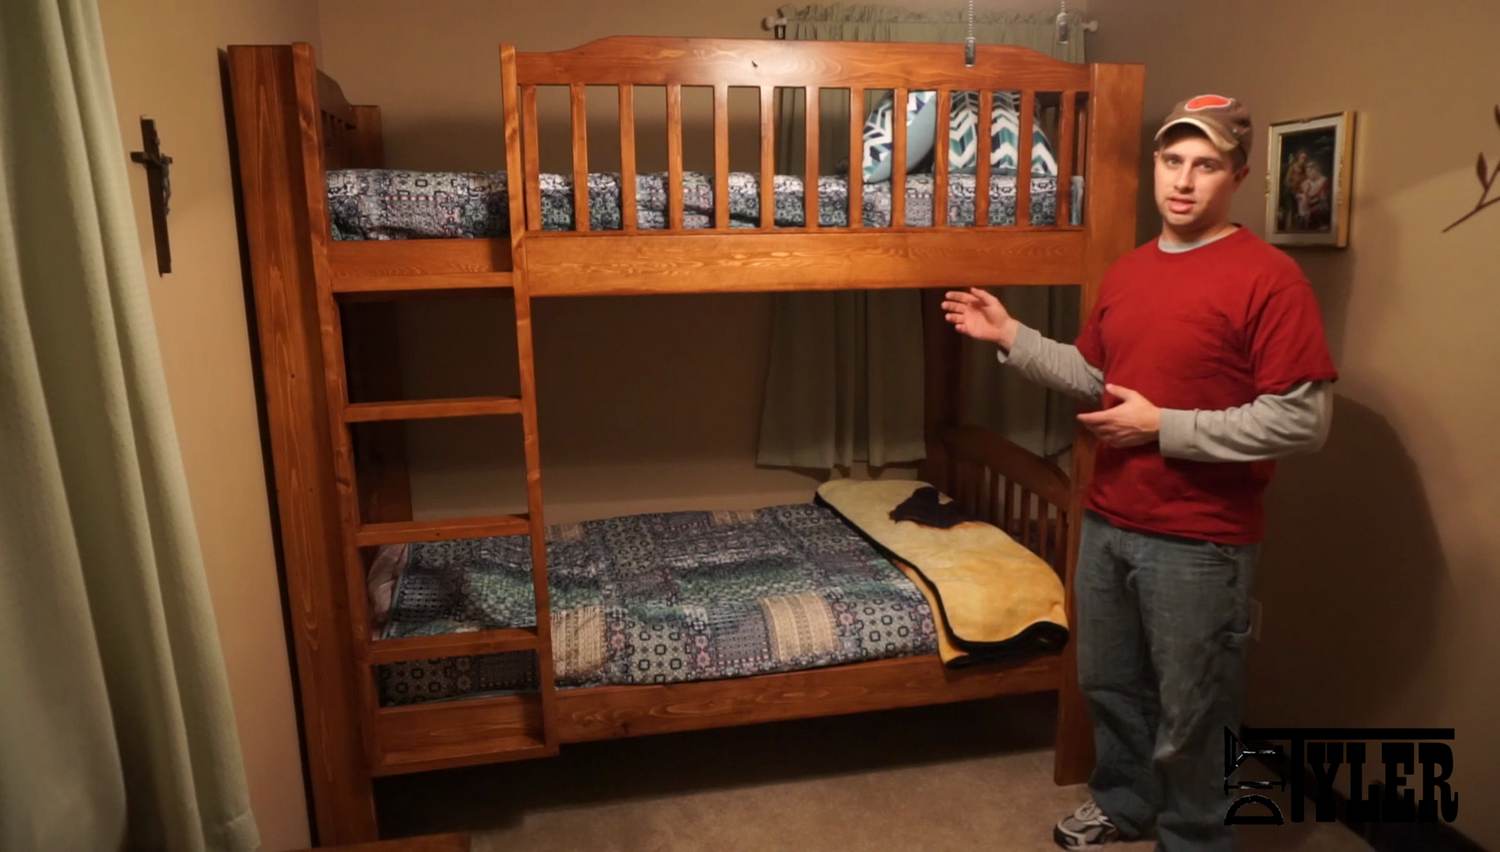
With Spring around the corner and buying, selling and moving in the air, my wife got the itch to rearrange the kids’ sleeping quarters and move them to different bedrooms in the house. There was one hang-up…none of the kids wanted to leave the bunk bed Daddy made for them.

I built this bunk bed for my daughter’s room over 3 years ago and she still loves it! It’s been a popular video on my Youtube channel so I thought it was time to show the project some love and let you know, too, that plans are available, which I made first for when I built the project and then for any of you who might want to change up your kids’ rooms this Spring. These beds are very sturdy, allow for trundle drawer storage underneath, and will only set you back about $200.
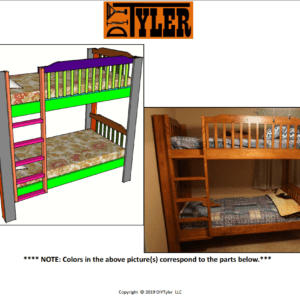
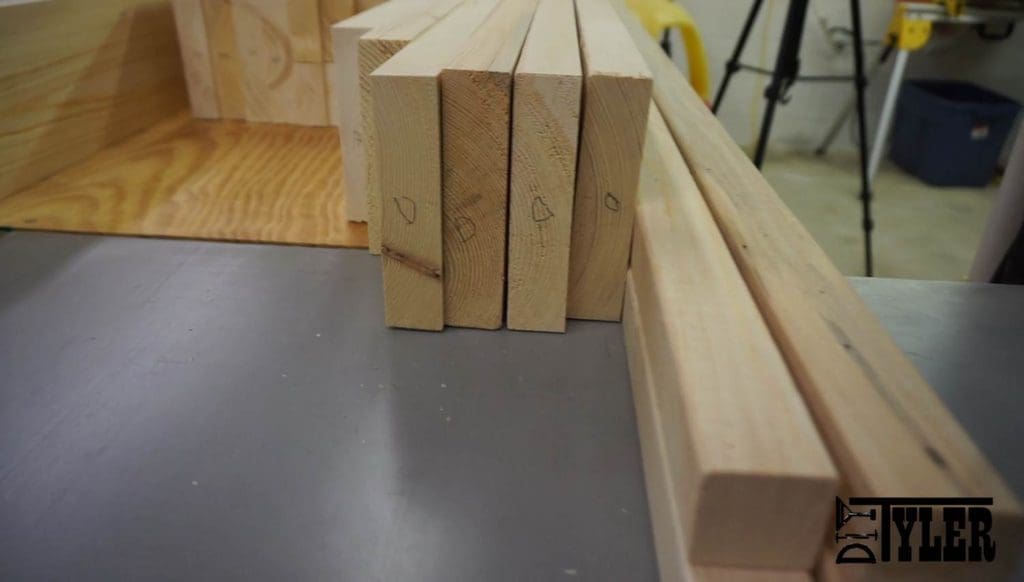
A visit to the local lumberyard found me toting home 22 (2×6) boards and 3 (1×6) which was all that is required for this build, other than some plywood on which to rest the mattress, if desired, which we had repurposed from the old bunks in the room. According to the plans the lumber can be left as it came, or it can be planed down for a more modern profile. We planed ours down.
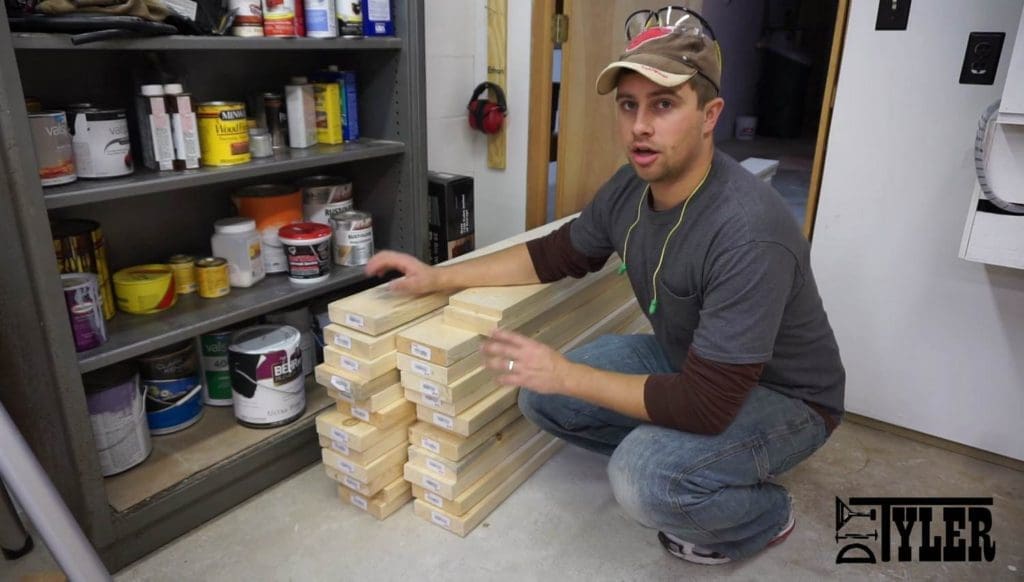

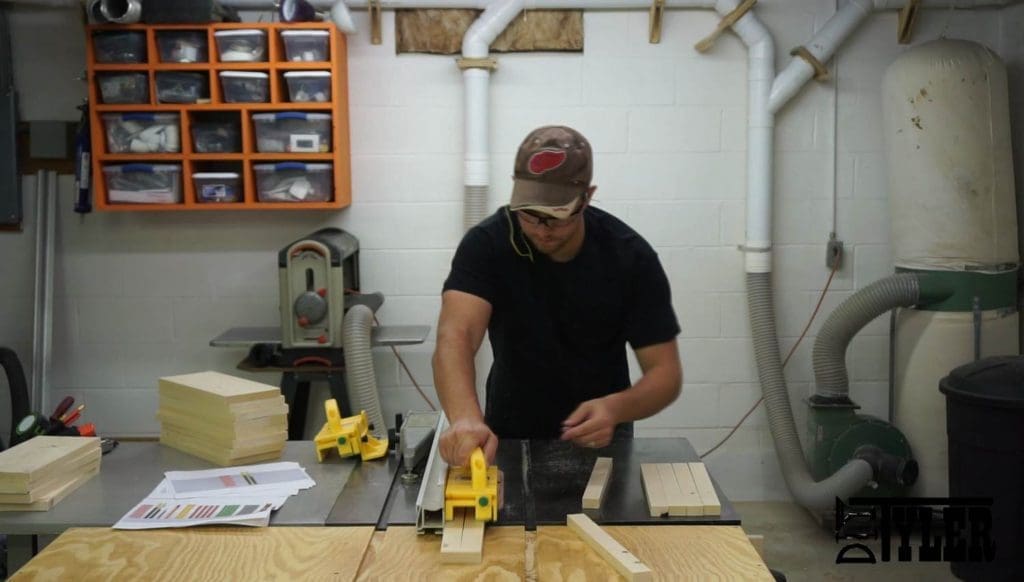
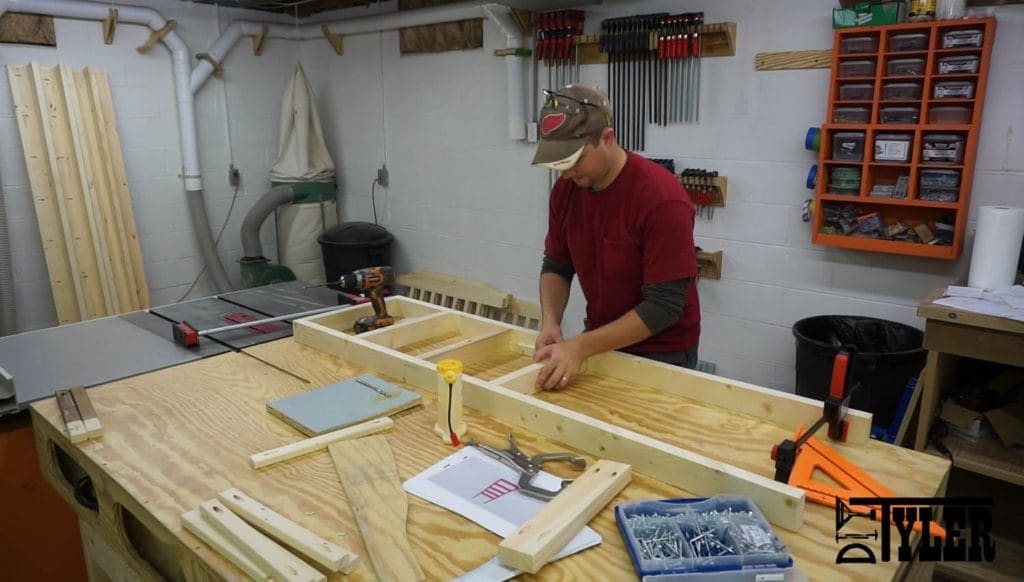
Since there are so many of the same pieces to this build that are similar in dimension, I suggest marking each piece well as you cut them to correlate with the plans and eliminate confusion down the road.
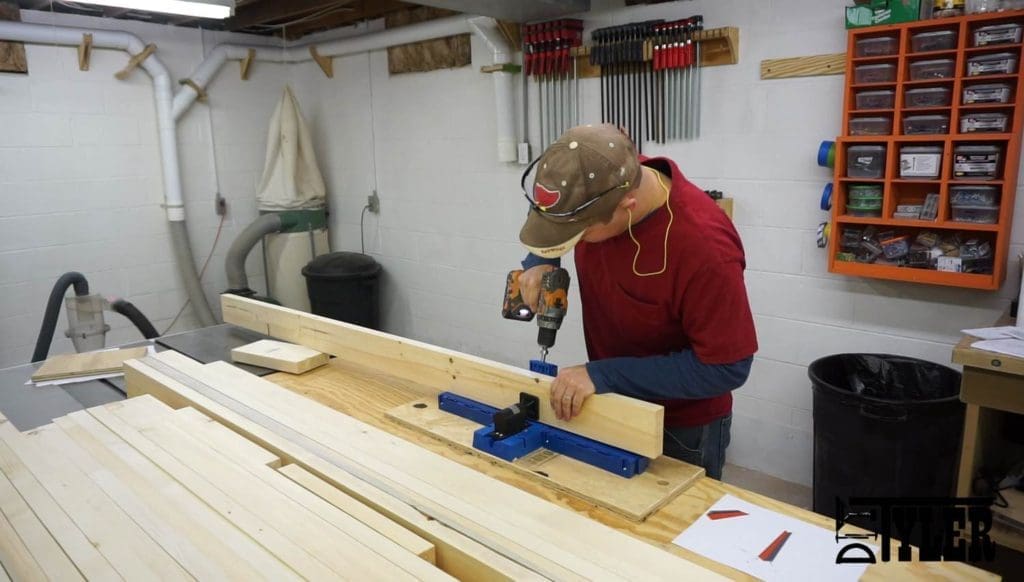
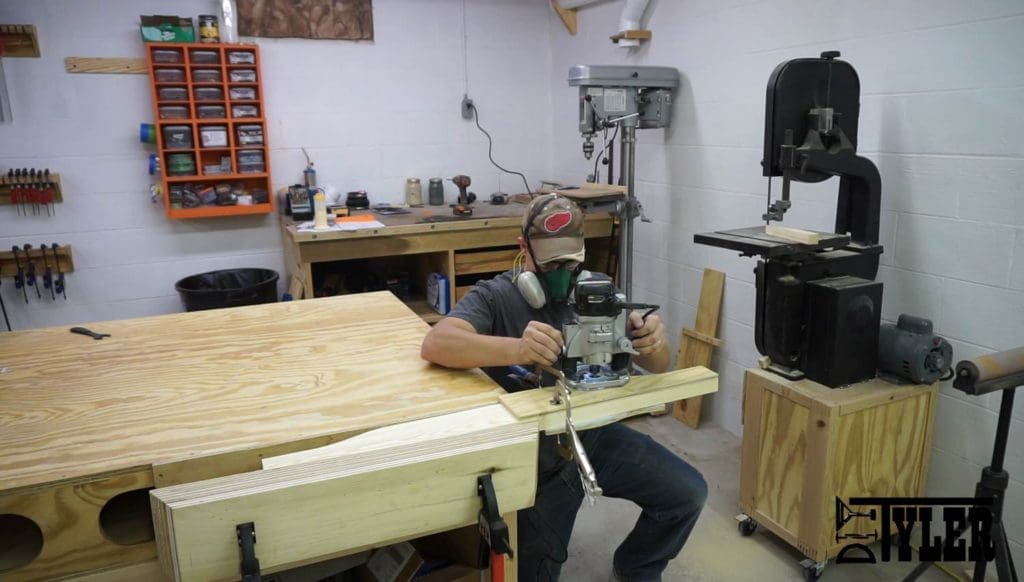
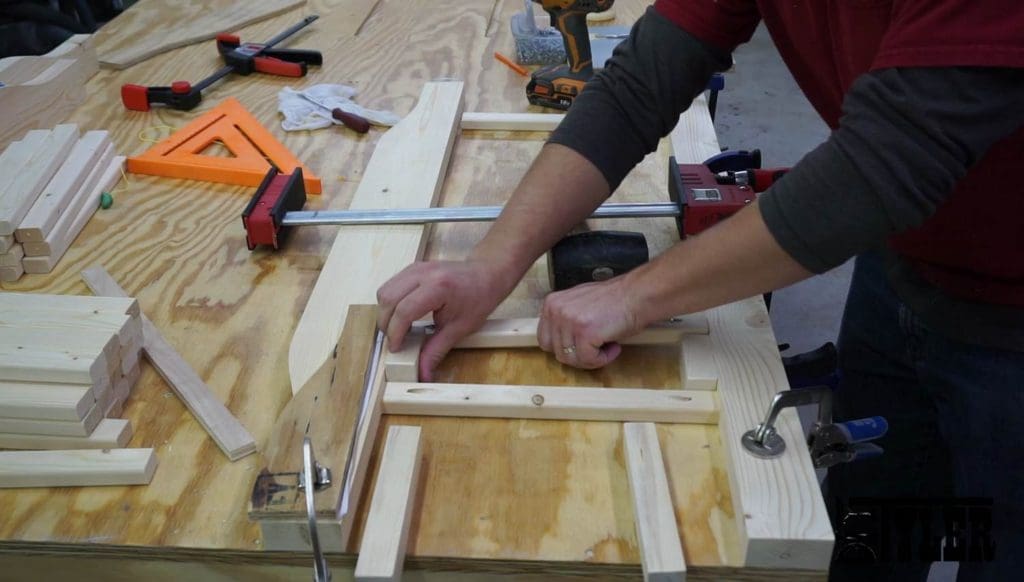
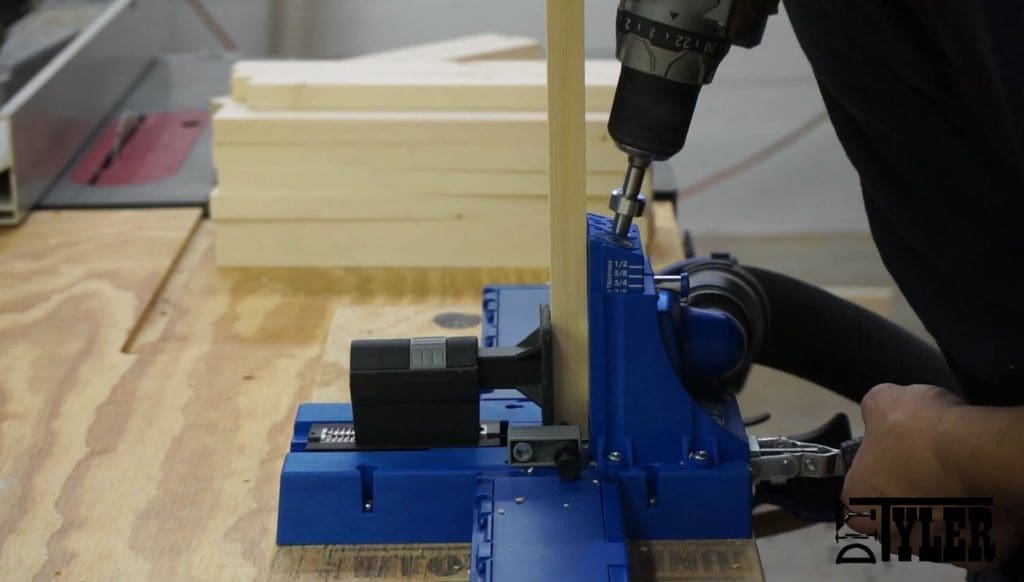
My kreg jig was my best friend for this build and made for quick work for the –hundreds- of pocket screws that are needed to make this bed strong and beautiful.
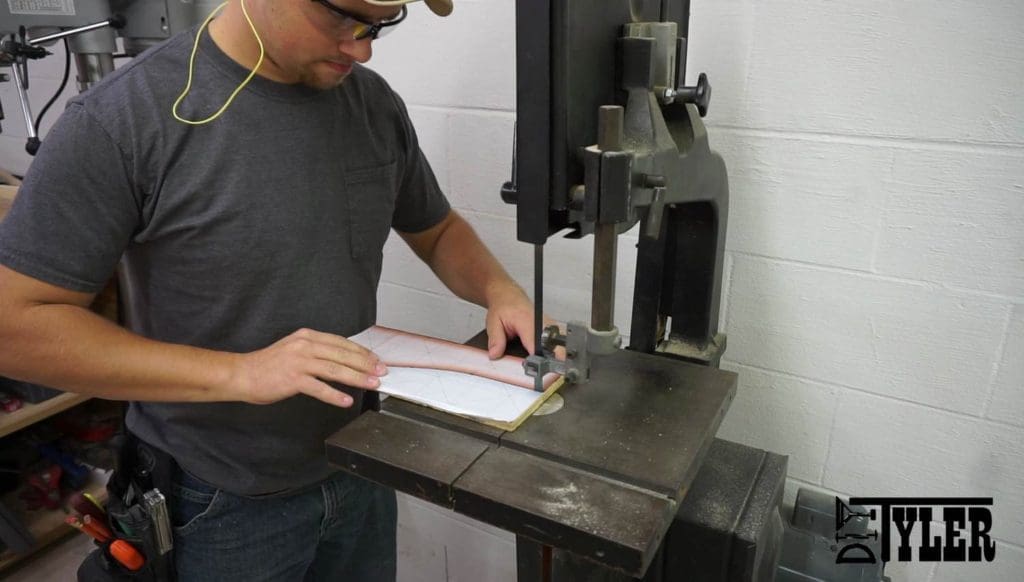
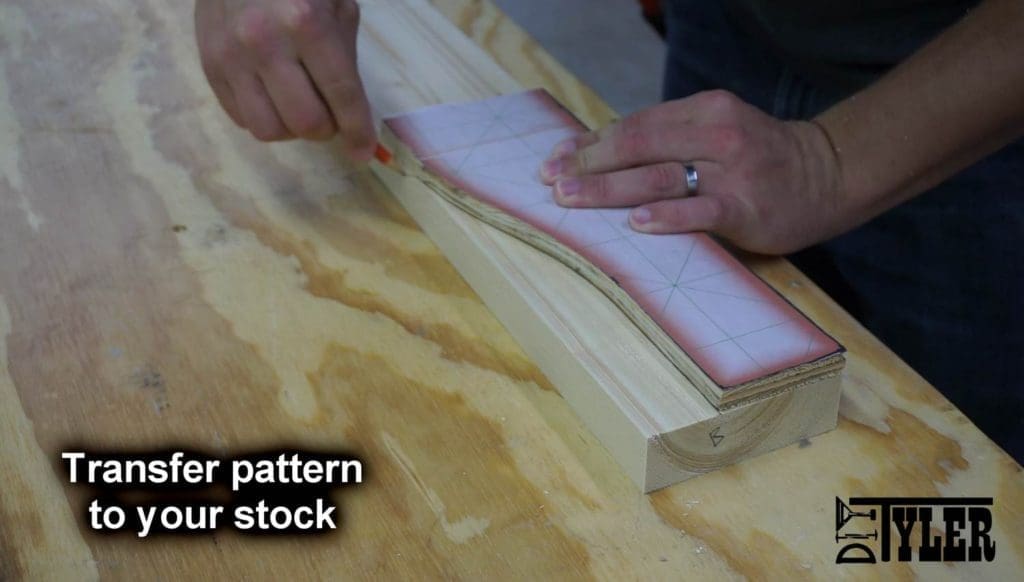
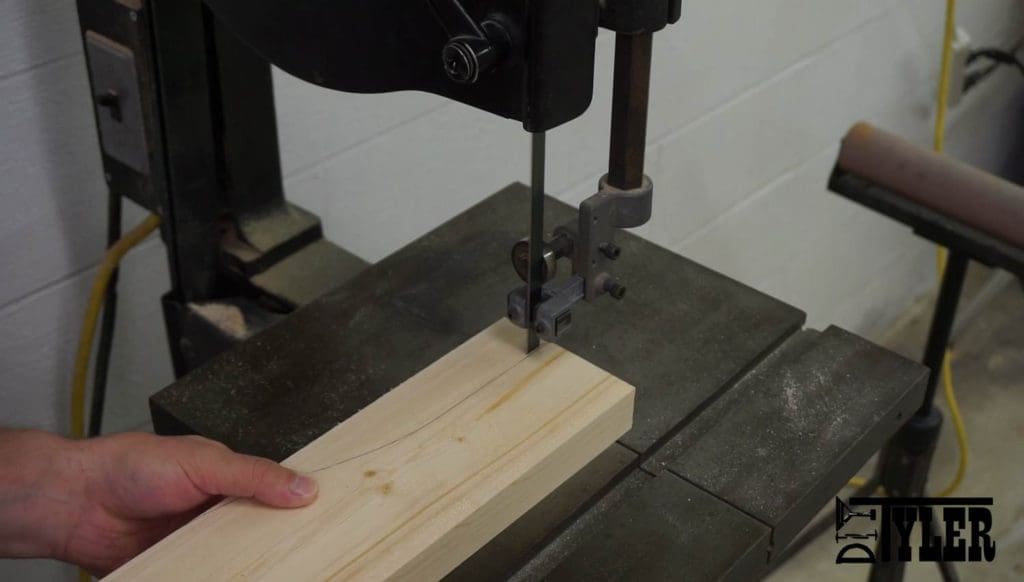
Making a curved profiled railing gave this piece some aesthetic help and was simply done on the router. I have included the cutting template in my plans which will save you a lot of math
I used a trim router to round over all edges of the boards so the kids everyday wear and tear wouldn’t knick them up. It was a good decision, and I can say after 3 years of daily use the bed still looks sharp.
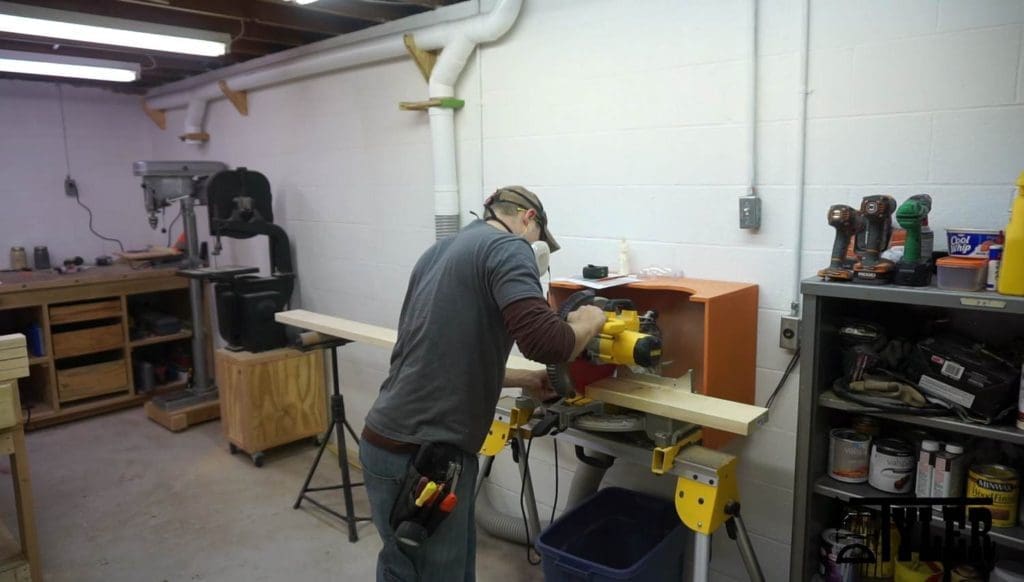
Time for some cutting and assembly en masse!
It took my wife and I 3.5 hours to apply the Shaker maple wood stain by General Finishes, and we liked the color and smooth application so much that it has been our most used color choice on pine since then.
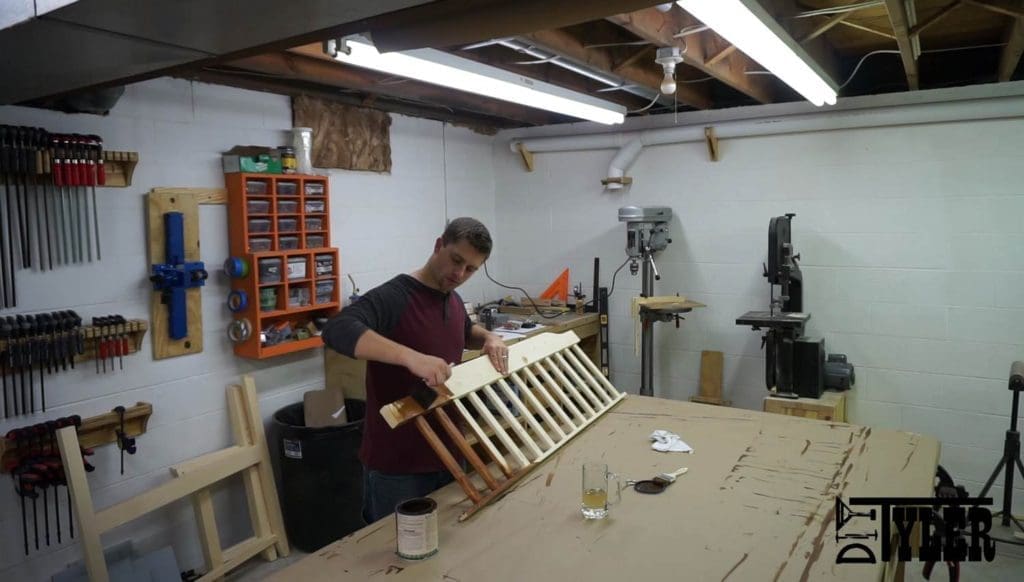
Applying finish (3 coats for proper durability) would have taken a whopping 12 hours of mind numbing brushing so once dry, I took the pieces out to our barn and tied them up with rope so I could reach each piece without needing to wait for drying between sides. My shop has evolved quite a bit since this project, and more recently I made this handy drying rack for spraying projects like this and have also upgraded to Fuji sprayer. Humble beginnings, but you know, it worked well.

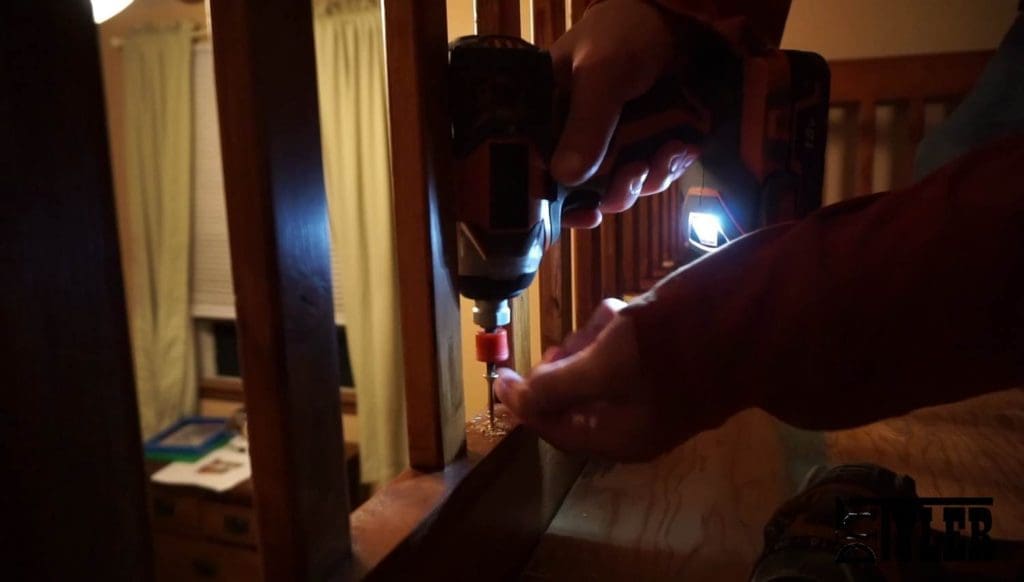
Now for the final assembly, using 2 inch wood screws, and a final shot of my girls showing off the bunk-bed they don’t want to leave. Makes a dad’s heart kinda proud.


Please follow and like us:
1 thought on “DIY Bunk Bed”
Do you have plans for a Queen on bottom and twin on top bunk bed ? Need one for a beach house.
Thanks