This project has been a long time coming! I honestly don’t even remember how long ago Sera and I went and picked up the stock. We knew when we bought this house that we would have to put a railing up on the stairs but we always thought we would probably buy something, that was before DIYTyler. The only option is to build projects like these noways.
Saw a article that John Heisz published about a railing that he built and it was the perfect model to follow. You can check it out here, IBuilIT.CA and his youtube channel which is fantasitc, John Heisz.
The best price I found for the handrail was from lowes and the only option was red oak so we went with red oak balusters. Would have preferred to do the whole project with ash so it would perfectly match the baby gates but red oak will deceive all but the most experienced eye.
Check out the build video below, if you have any questions or comments feel free to ask I will be happy to help! Cheers.
Below is a more detailed write up and pictures!
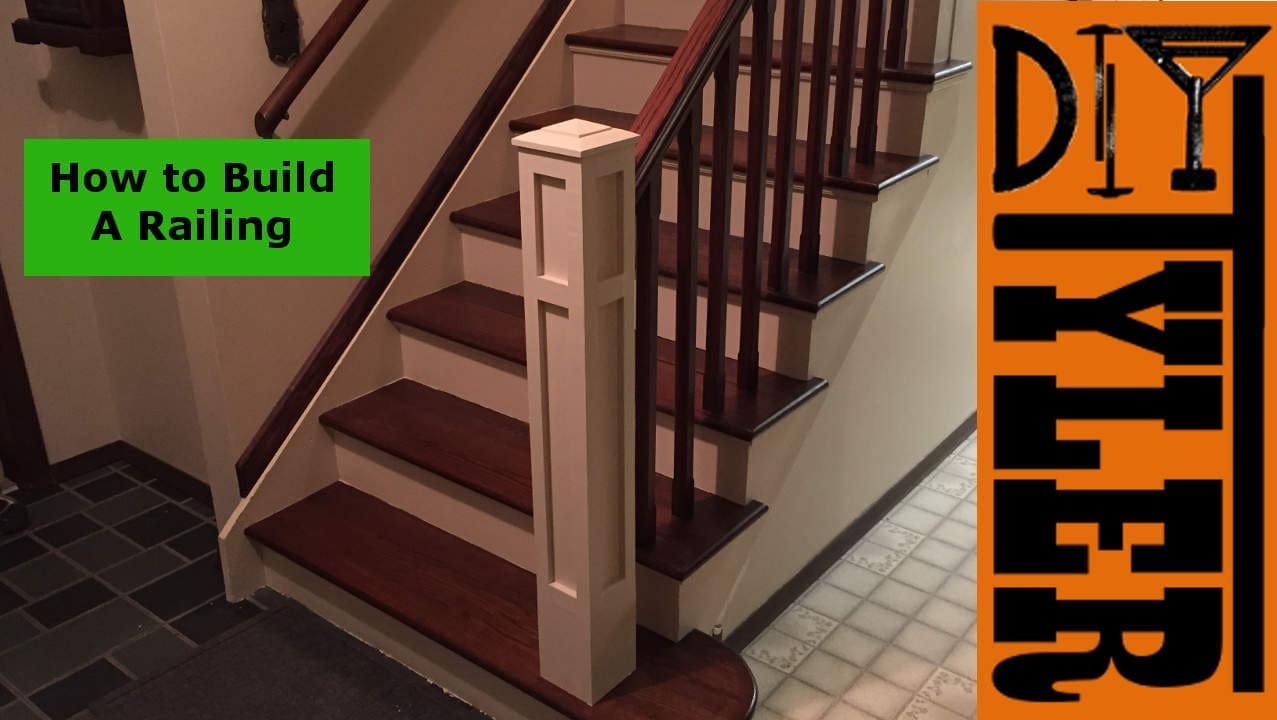
To make the newel posts we used a pine 4×4 that was planned down to 3×3 for the full newel and 2 3/8x 2 1/4 for the half newel.
We then wrapped the full newel post on all sides with oak plywood and the half newel on three sides.
Cut the foot of the post to the proper length to go through the step and onto the sub-floor.
Cutting several more pieces of oak to wrap the bottom of the posts a second time with plywood creating more dimension on the post. I started cutting the miters on the table saw but with a right tilting saw I found it a little tricky to keep the miters to a good tolerance, a splitter on the saw will help this in the future.
Installed the half newel using 4″ screws.

Cut the hole in the bottom stair (nerve racking!) applied polyurethane glue and set the post. Put a bunch of 4″ screws through the bottom of the post to hold in place.
Wrapping for a second time the bottom 7″ of both posts to provide some dimension.
Cutting 40° miters on the balusters and cutting the length.
Using my self-centering doweling jig to drill dowel holes in the stairs. I make a simple jig to hold the jig (figure that one out!) so I could have consistent holes on all the stairs.
Cutting the hand rail to length. I made a long measuring stick to make sure I cut this right, only one chance!
Used spackle to fill in the nail holes and miters. Saw Nick Ferry (you can find his site here: http://nickferry.com/) do this and its a wonderful idea, works WAY better then wood filler (for painting anyway).
Staining our typical red mahogany and finishing with my absolute favorite polyurethane…Rustoleum Ultimate Polyurethane….in a satin sheen.
Dry fitting and marking for final assembly.

Drilled holes in the hand rail for mounting, glued up with PA and set in place! Screwed the hand rail in place with 4″ screws and glued and nailed the balusters into place. Very solid already but may add some spacers between the balusters to provide more lateral support in the future.
Planned a pine board down to 1/2″, cut to length and mitered one edge to make the trim for the newel posts.
Cut the post caps out of some scrap 2×6. Was able to put a wonderful angle on without to much difficulty. Also made some trim to go around the cap.
A bit more paint on the posts and this project is done! There are a few more things that we might do, more decorative trim being one of them but that is good for this article.
If you guys have any questions please let me know would love to help out! We will see you next time.
Please follow and like us:
1 thought on “Build a Staircase Railing”
Awesome job on the staircase railing! Its exactly what I have to do in my house. I still have to cut out the wall though. I dont know how hard that will be, but hope it goes well. I want to cut the stairs out, if you know what I mean, I dont want the railing to run on the wall, on the bottom. I would rather have the Ballasters like yours.
Any suggestions on cutting out the wall will great!
Thank you