
This build is all about creating a steam box that you can use to steam bend wood right in your own shop!
Assembling the Steam Box
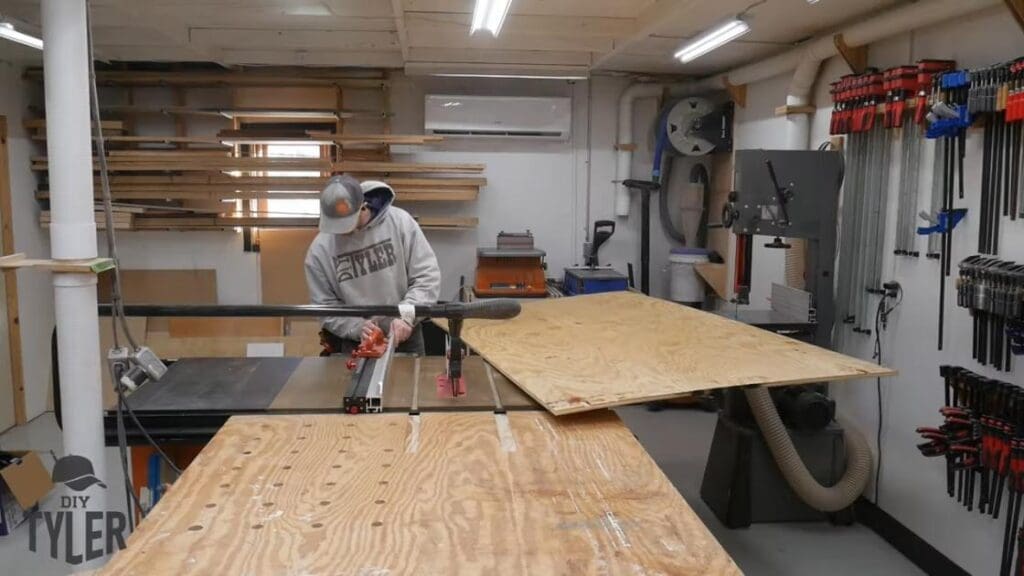
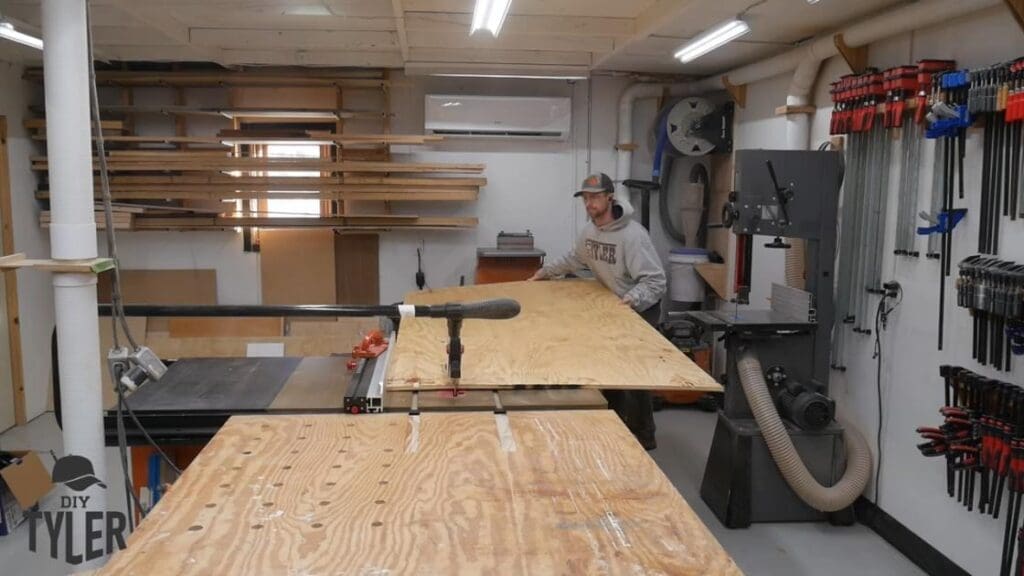
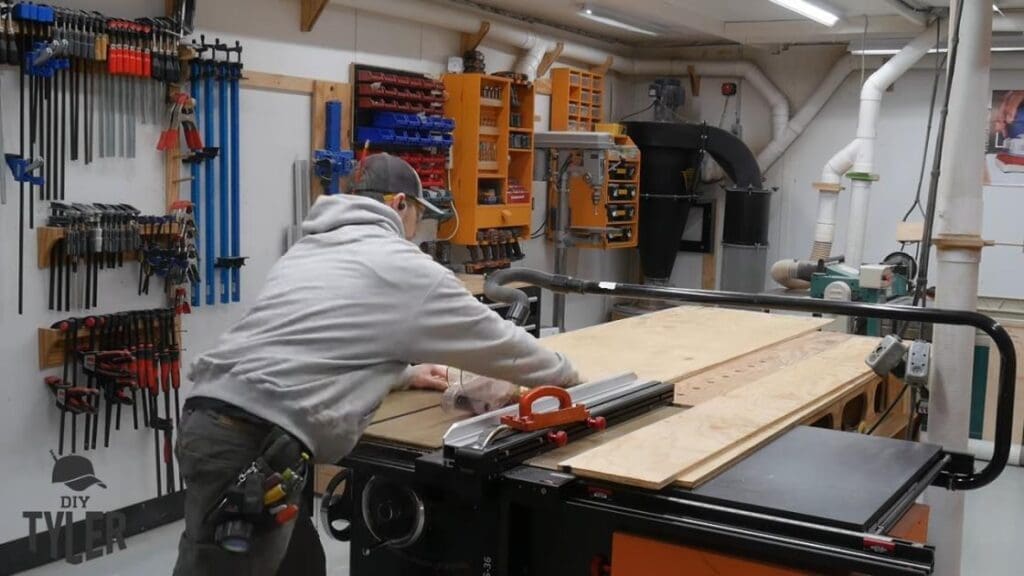
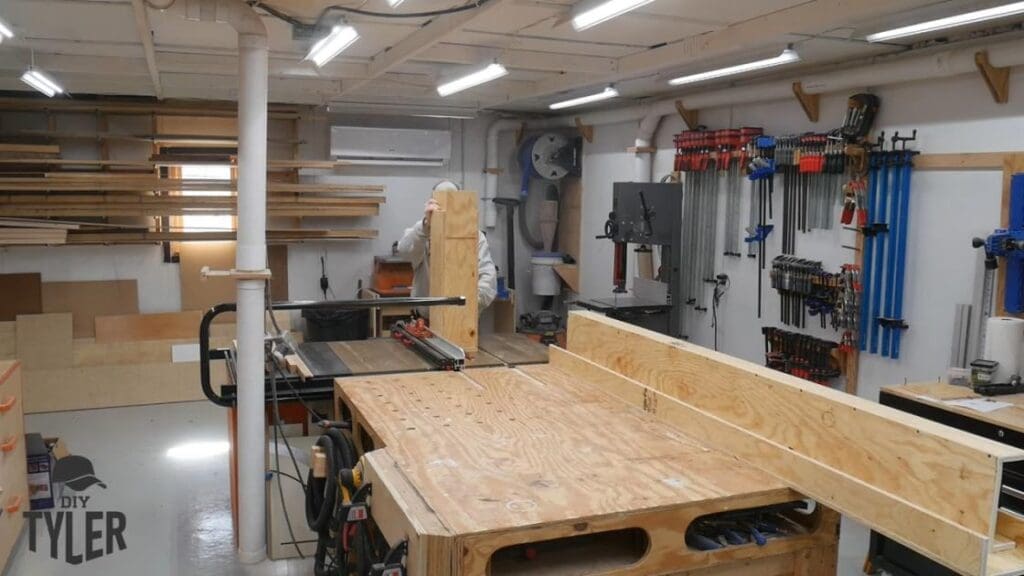
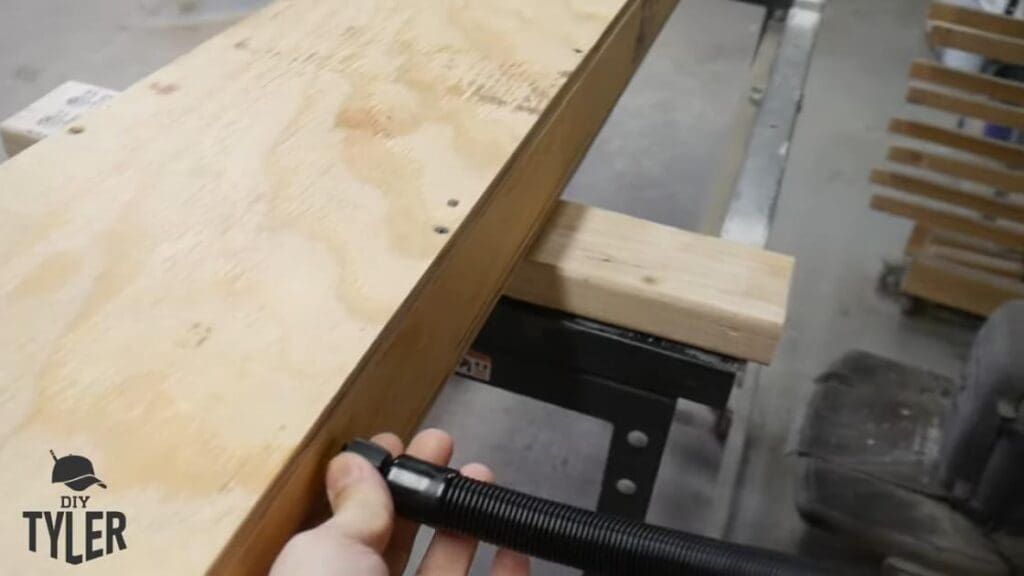
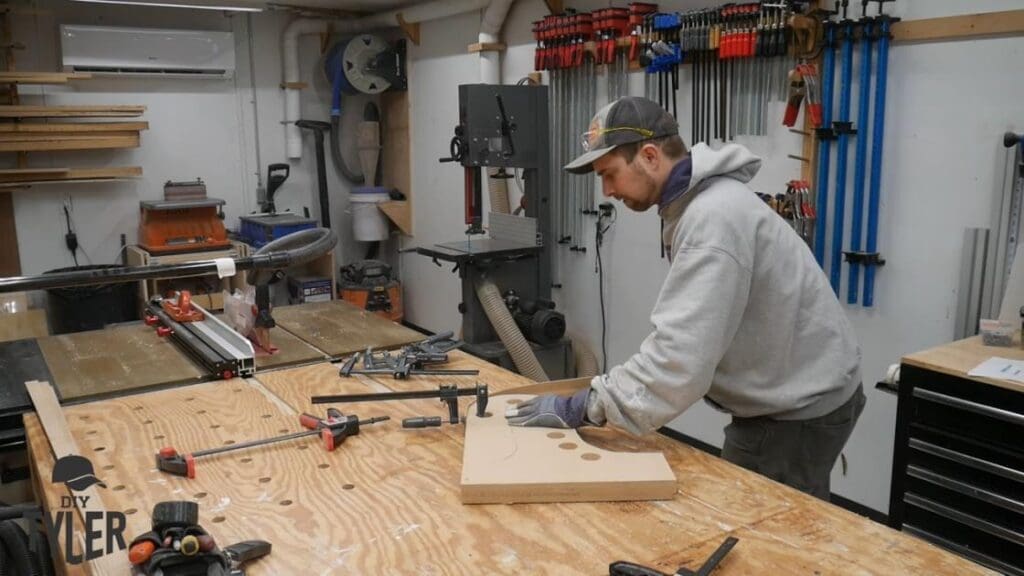
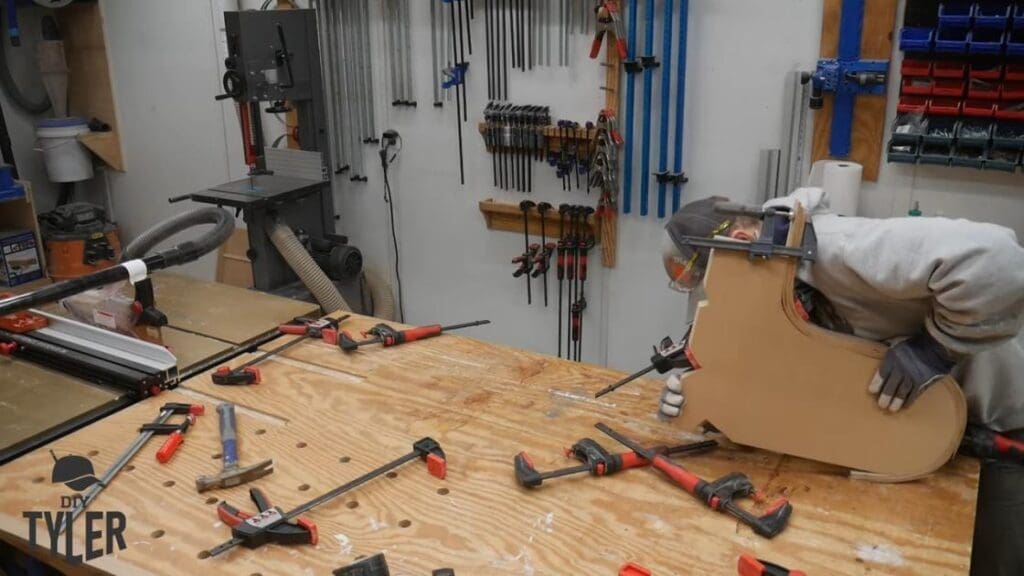
As you might imagine, the first step is to build a box. The process isn’t too groundbreaking, but we need to start by breaking down material over on the table saw.
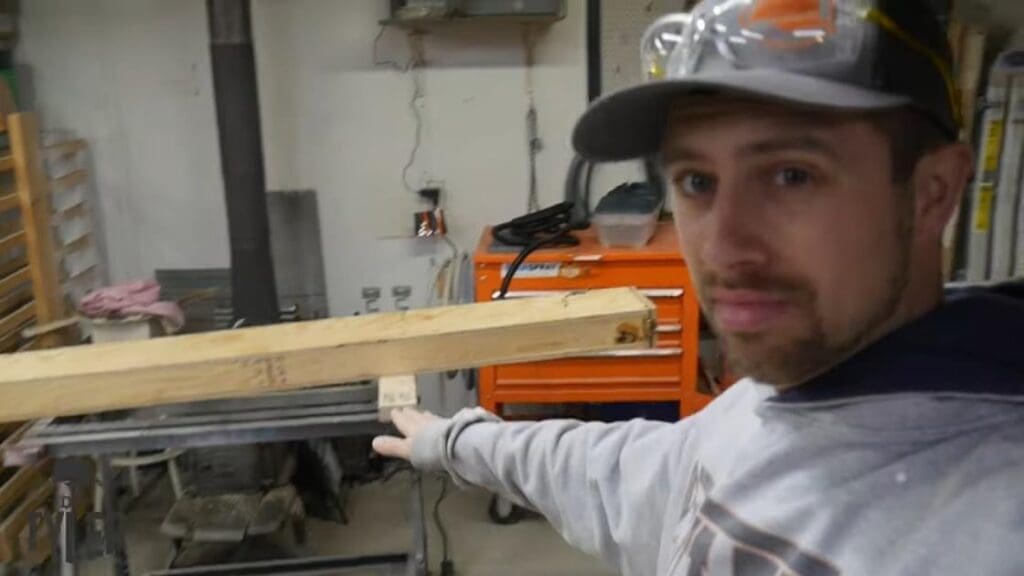
I used a relatively inexpensive piece of subfloor plywood. First, I broke it down at the table saw, then I further broke down the end portions at my miter saw.


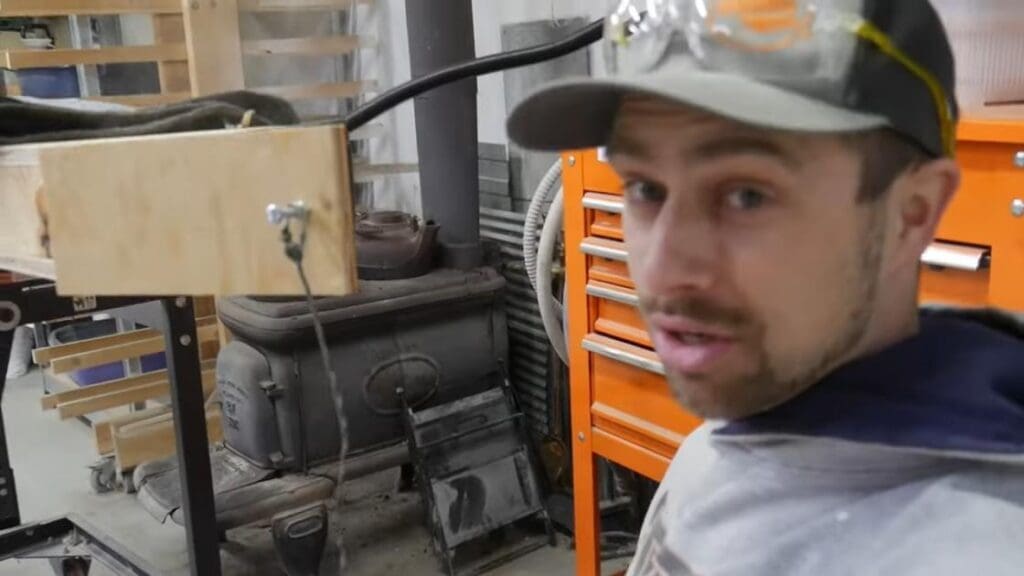
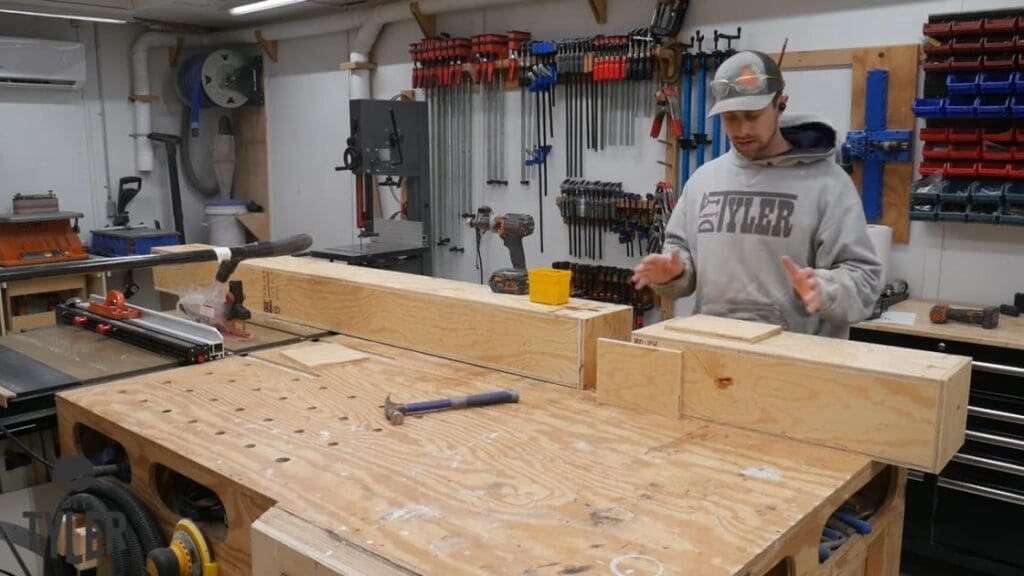
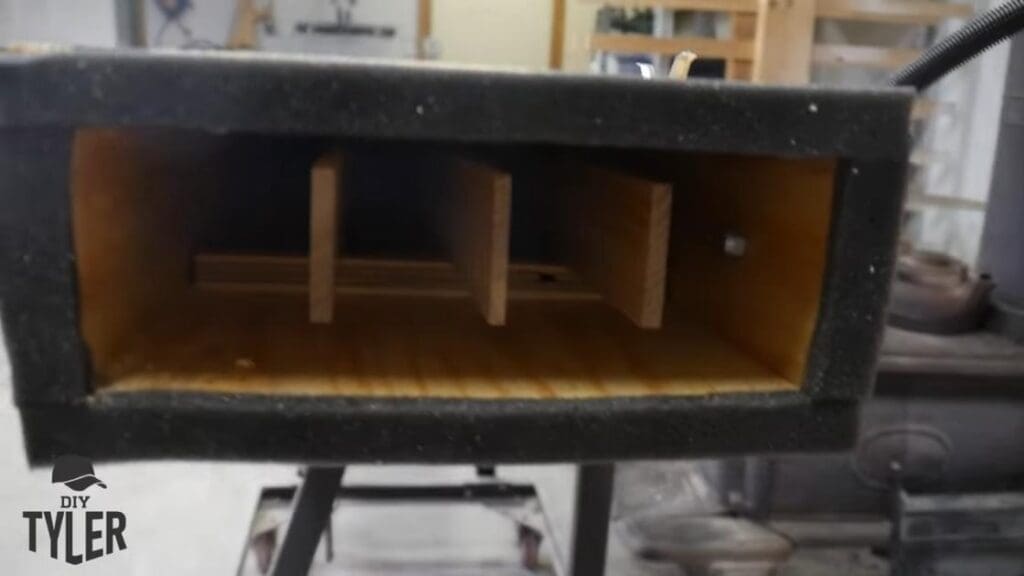
My end goal was a box like the one pictured below, but obviously quite a bit longer. This shorter box was actually an add-on section to create a 10-foot steam bending setup.
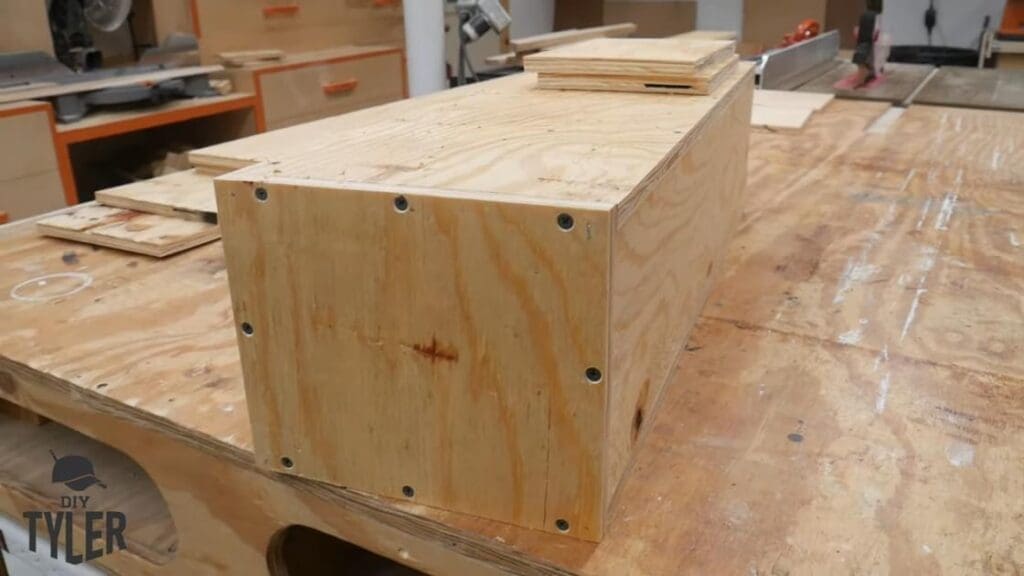

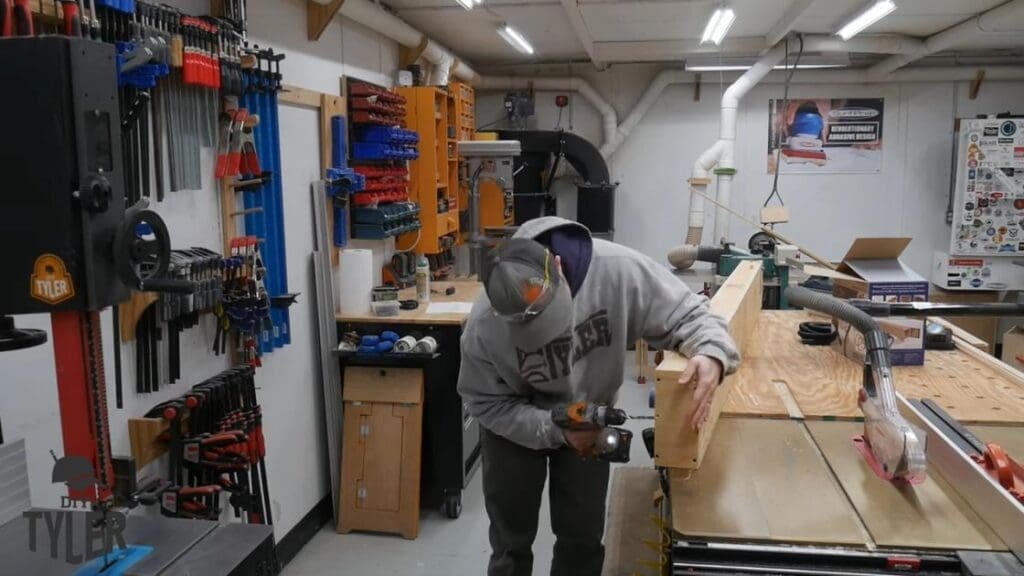
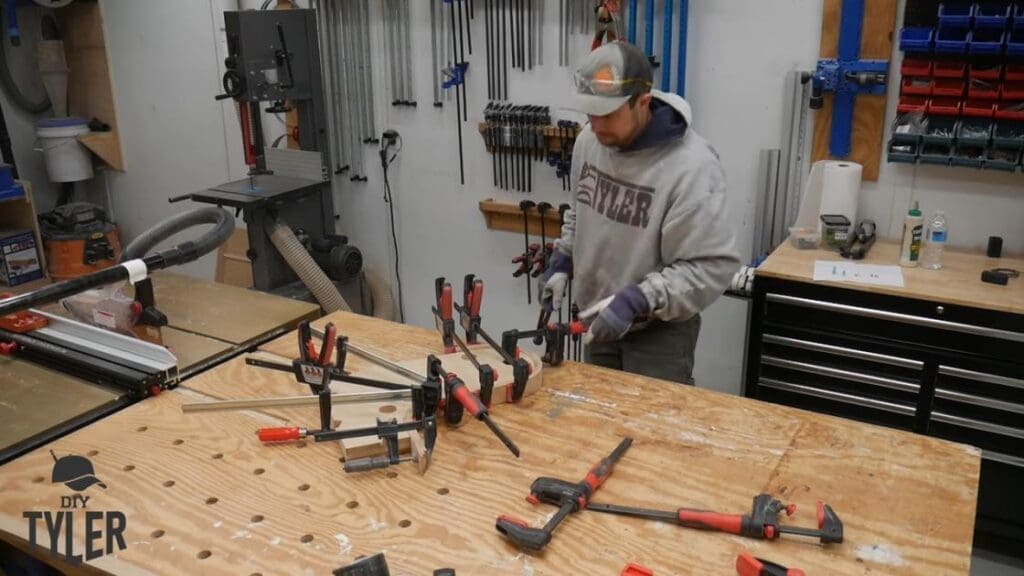
Because it is waterproof, I used Titebond III to glue everything up. Everything else was further held together with 18-inch Brad nails. Plenty of additional screws ensured that this thing wouldn’t go anywhere.
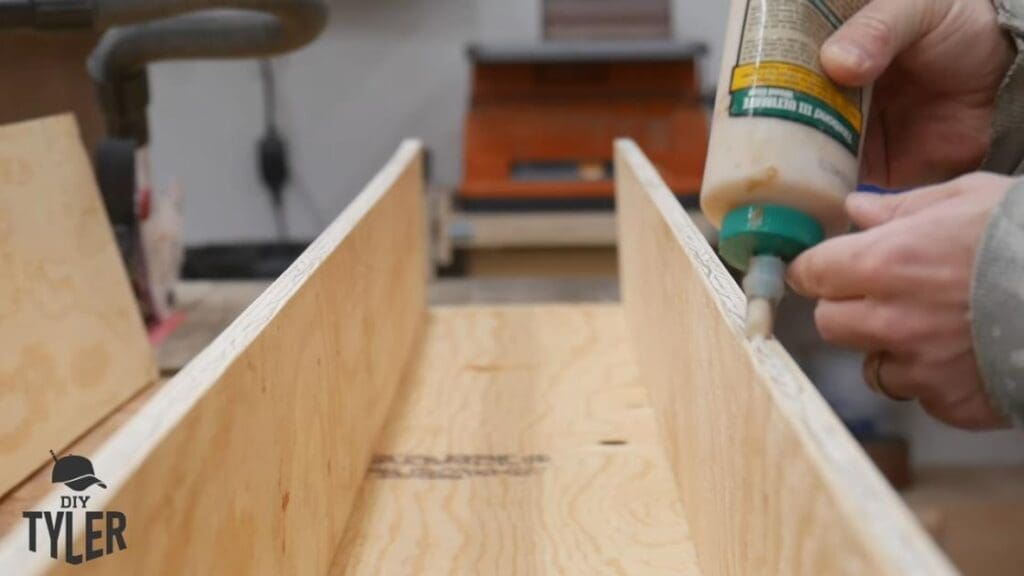


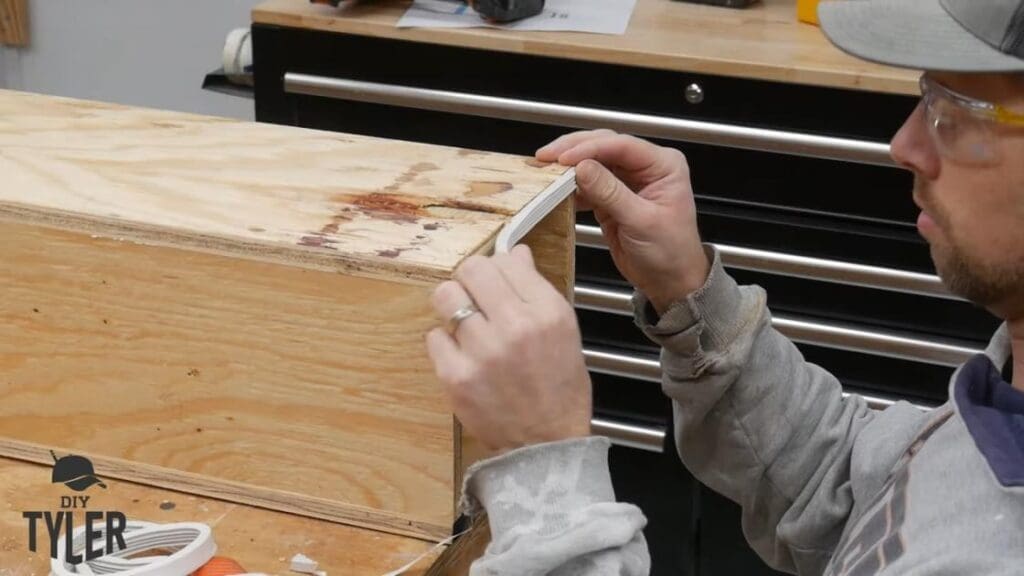
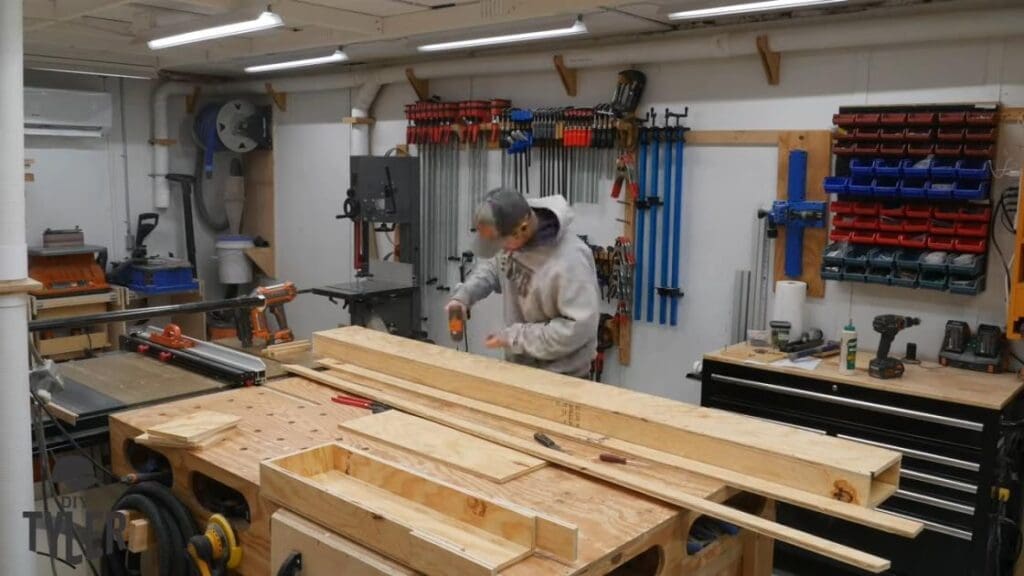
I tacked and screwed both the top and bottom portions together. To ensure a good seal on one of the ends, I used some weather stripping. I also screwed (rather than glued) one of my end pieces into place.
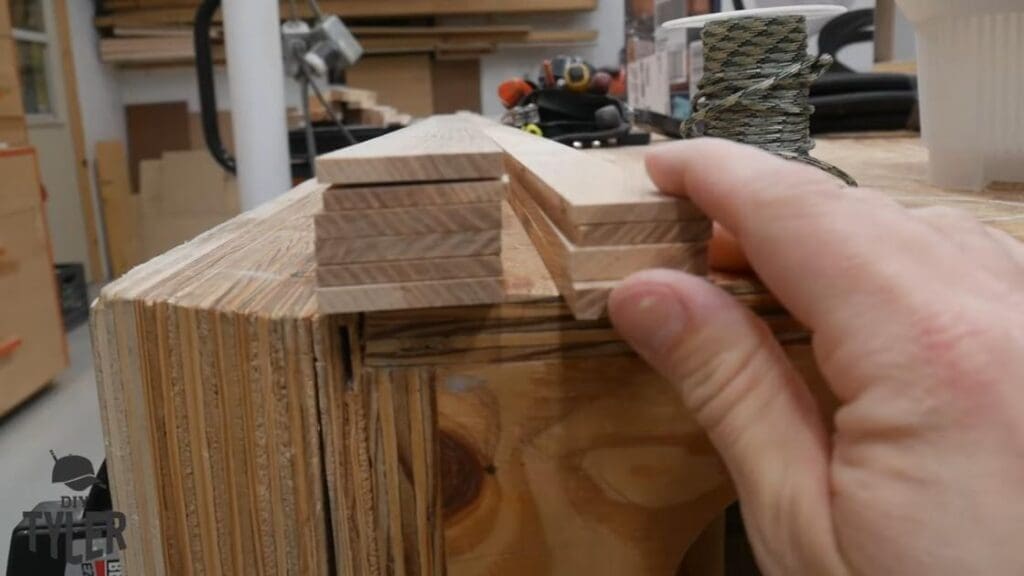
My plan was to use some of the other small end pieces (which I had cut earlier) to attach the longer and shorter steam boxes together. That way, I could assemble my 10-foot box for upcoming glider rocking chair and boat projects. Then I could use just the longer box without the add-on if I enjoyed the steam bending technique.
Changes to the Plan
While thinking about my steam box overnight, I realized I needed to add something running horizontally in the middle so that I wouldn’t have pieces of wood steaming directly on the bottom surface of the steam box.
I also realized that I didn’t need my steam box to have so much volume. To solve both of these problems, I decided to cut my existing steam box in half. This kind of breaking apart your work and putting it back together is what woodworking is all about!

Over the years, I have found that woodworking is about covering up your mistakes or (as in this case) hiding the fact that you changed your plans midstream.
This fix was relatively simple: namely, breaking down the pieces and then fastening them again through the same process as before. After just a few minutes, I was back to where I had been earlier in the build.

Once I was all caught up to my previous progress, I could add the hinge to the opening end. Except for the plywood, all the material used for this build came from old projects. For instance, this hinge came off of an old cabinet.
I affixed the hinge to the side and then removed part of it with my angle grinder.
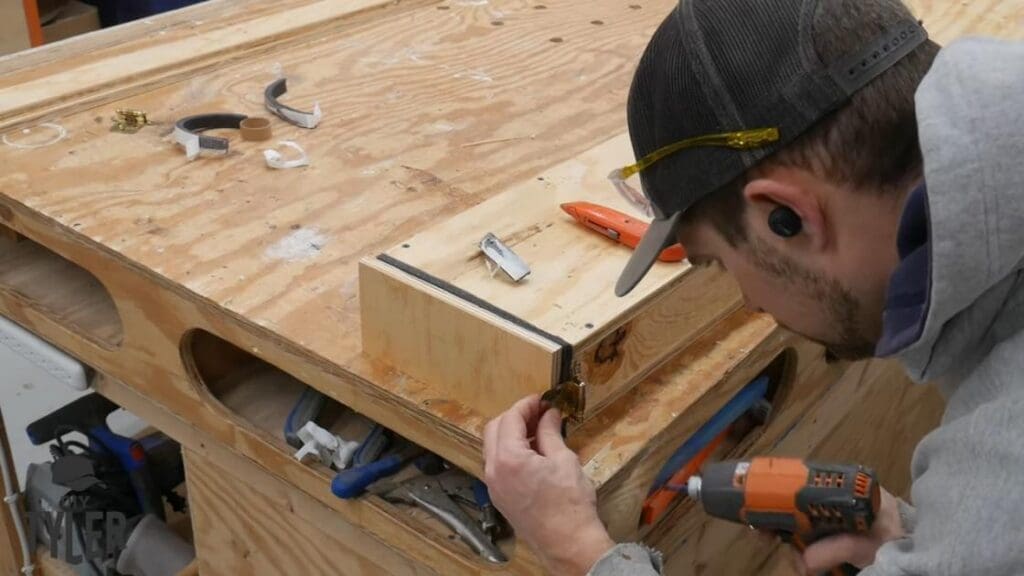


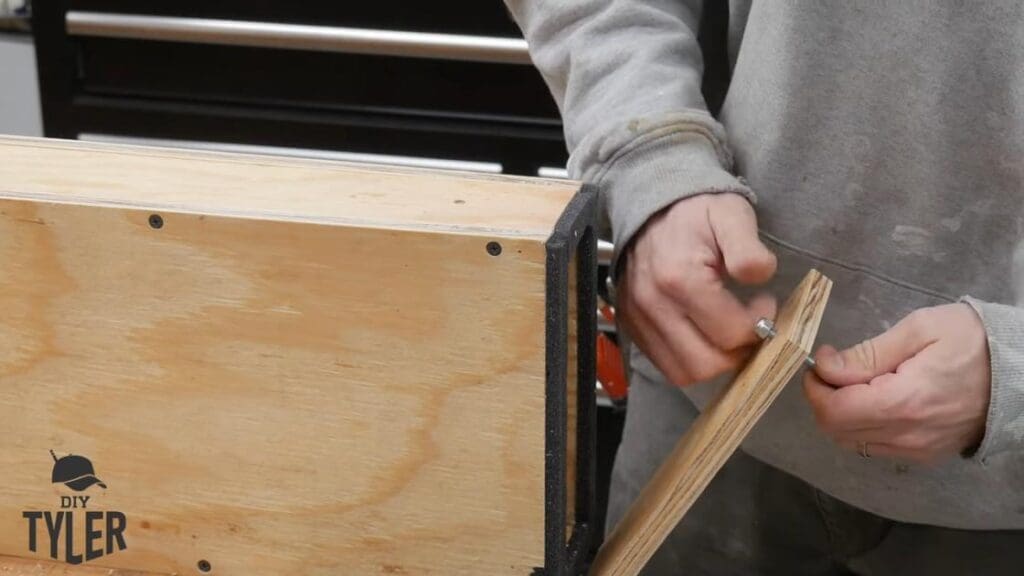
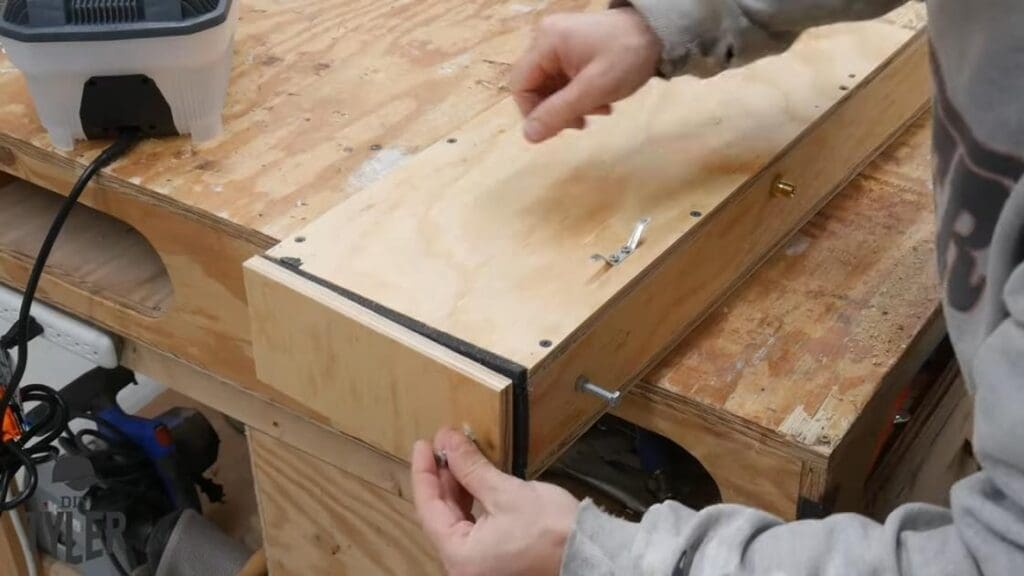
To hold the door end in the “closed” position, I added some bolts and a cleat (the part used for docking a boat).
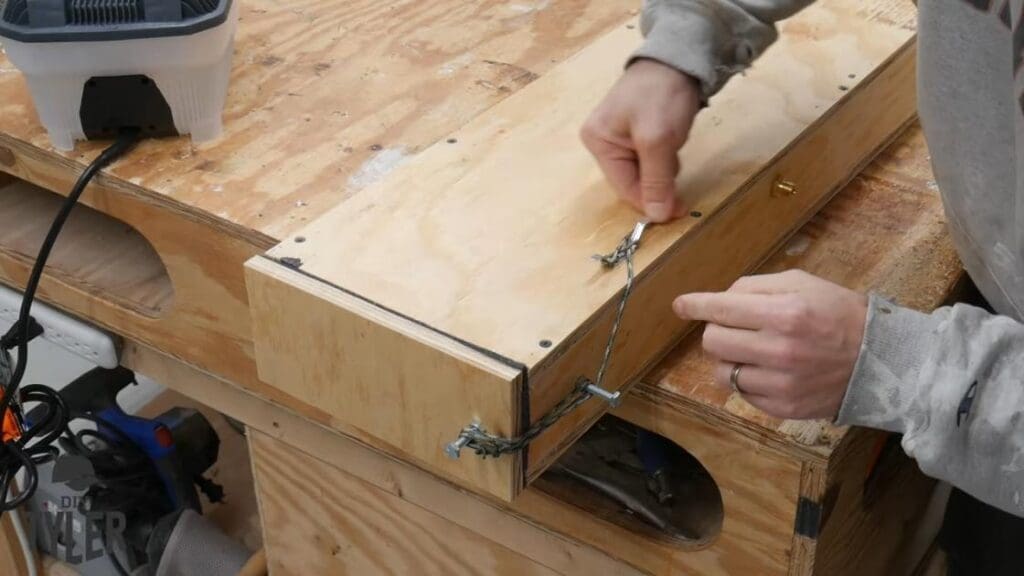
Closing the door is as simple as wrapping some paracord around the two affixed bolts and then tying the end around the cleat at the top of the box. No latch required!


First Steam Bending Test
Next, I had to give the steam box its first test. For this experiment, I decided to steam bend some pieces of ash.
The pieces I cut came from a board with as much flat grain as possible without the grain running straight up and down. The idea was that I would get the longest grain possible against the board where the bend was going to be.
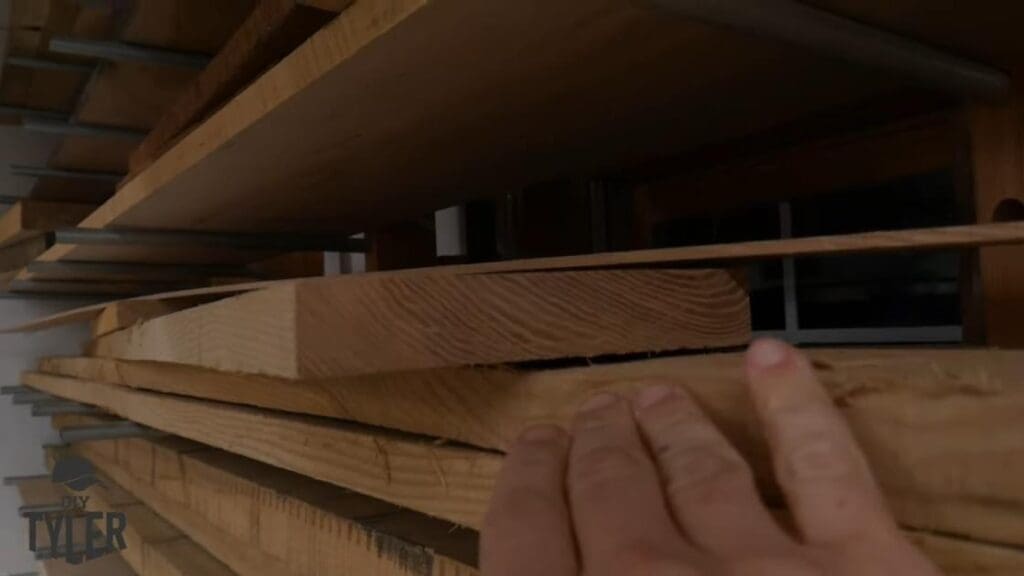
Pictured below are the first couple of pieces. You can see that I avoided any straight grain running all the way across in a straight vertical line.
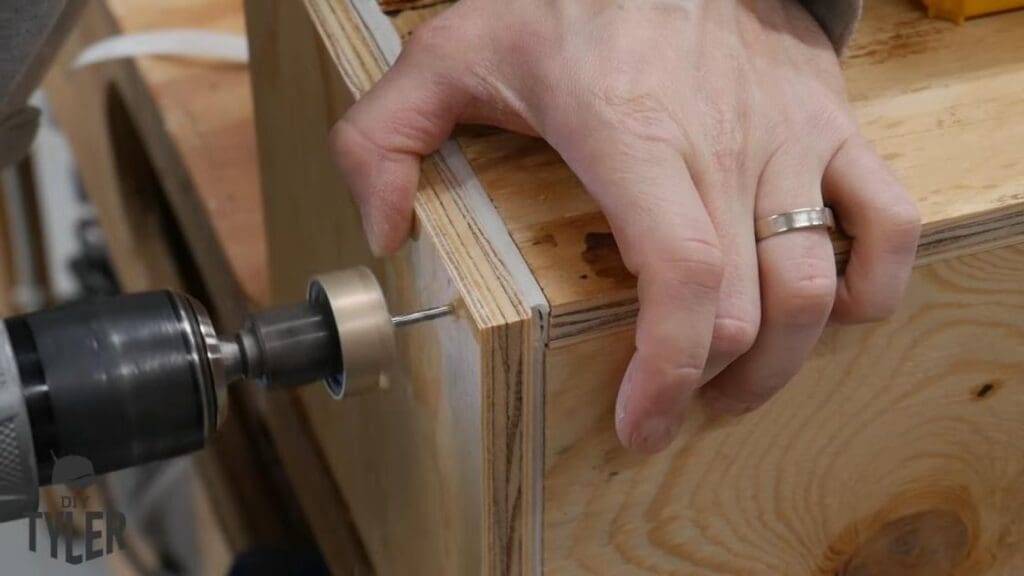
Before my test, I drilled one 5/16th hole at an angle so that any condensation could drip out during the steam bending process.
My chosen steamer was an Earlex steam generator. After warming it up in the part of my shop that has an HVAC system, I moved the generator out into the “unconditioned” side of my barn. I wanted to protect my tools in the shop from all the steam and moisture produced during this process.
Also note that I set the box at an incline so that the condensation could flow out (as mentioned above).


After connecting the steamer, I let everything heat up and then fed some of my ash pieces into the steam box. Note how I installed a few slats of wood at the bottom so that the steam-treated pieces wouldn’t be sitting directly on the bottom surface of the box.


I started off with three individual quarter-inch pieces in the steam bending box. After just over thirty minutes in the box, I tried my first piece on the mold.


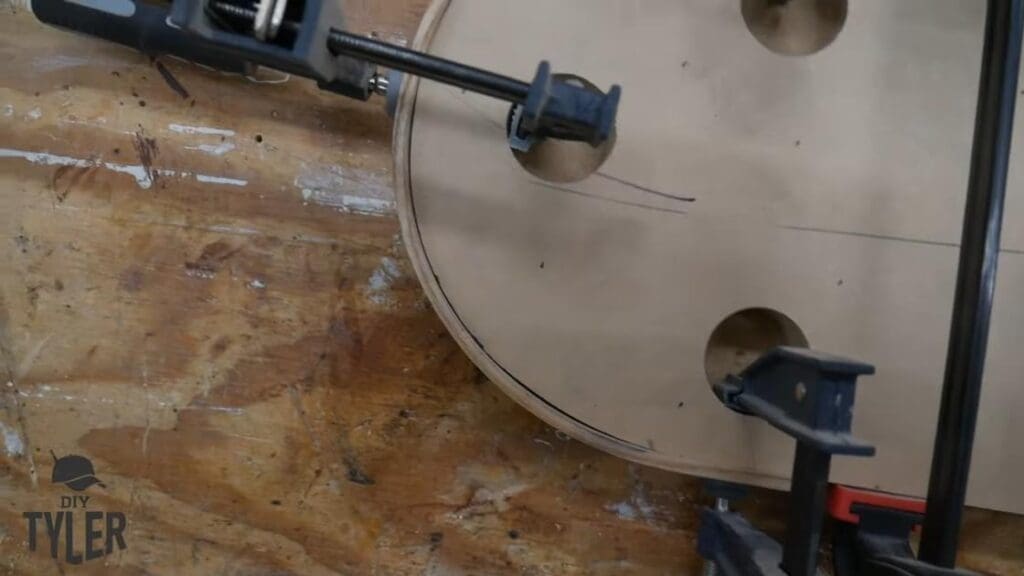
Bending the Wood to the Mold
For my first attempt, the wood seemed rather dry, yet it bent quite well. I did discover that F-clamps aren’t ideal for this sort of job, as I needed to readjust them inch by inch.


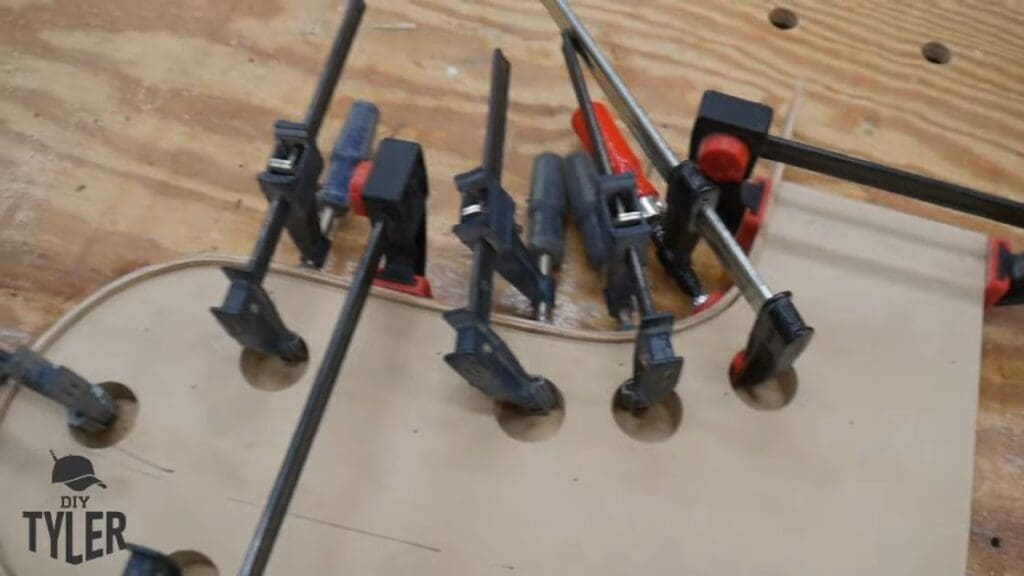
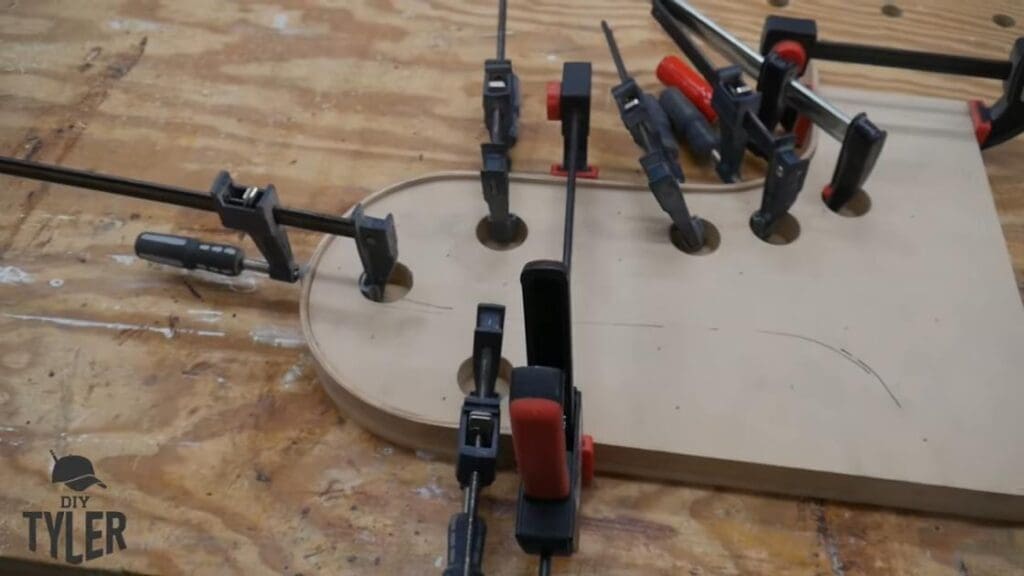

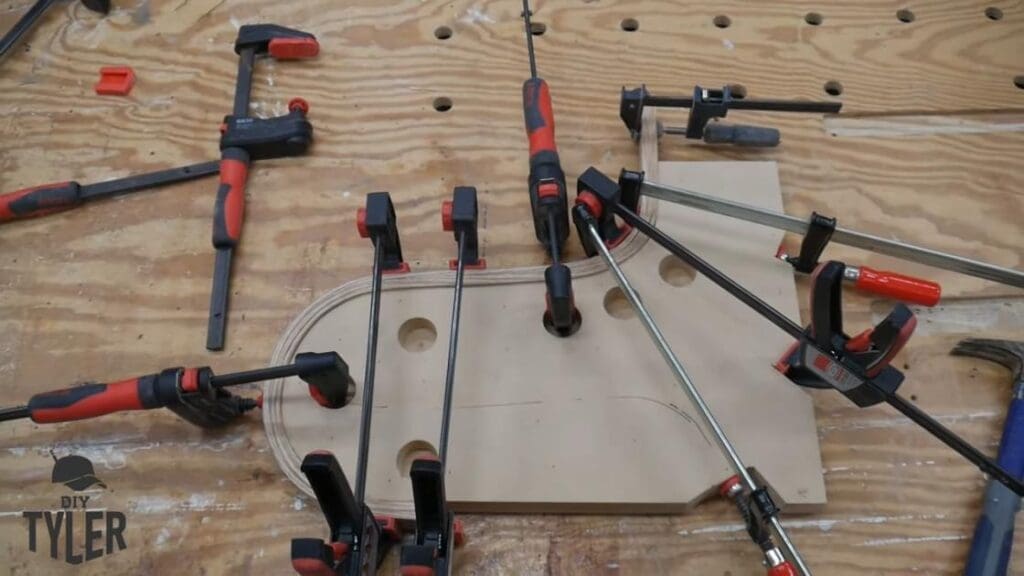
I managed to get all three pieces on (which was the maximum number this mold would allow for). However, I did snap the outside of the last piece just a little bit. I thought I might be able to hide this defect in a roundover.
I ended up cutting a few notches into my jig so that I could get some extra clamping pressure with my Bessey clamps. This method seemed to work out all right in the end.

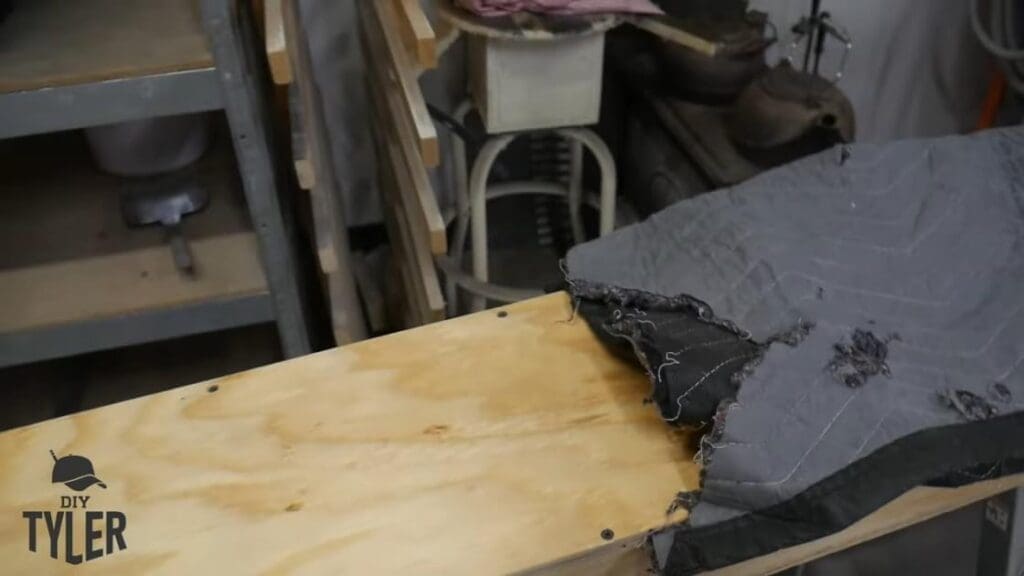
After the stream treatment, there was a small bit of condensation that dripped from the steam box onto the floor. I also put a blanket on it to retain some of the heat, given that it was 38 degrees in the barn!
End Results and Thoughts for the Future
I’d characterize this first experiment as 95% successful, but I’ll need to get really good with it so that I can bend the ribs for this old boat!
I was able to determine that I needed another steam generator to compensate for the added volume. It would also be prudent to move the inlet pipe down the incline, which may help spread the heat further around inside the box.

Final Thoughts
Stay tuned for more adventures in steam bending!
Overall, this was a fun experiment for me, and I learned a bit more about what I’ll need to do for my projects that require steam bending.

Please follow and like us: